Part 165: The Bardel Redemption
The Bardel RedemptionThis one is unfortunately not blind. Not because I didn't try, but because I had some weird video file corruption thing happen and I couldn't use the first recording. So I played it again, with the the result being that I'd already figured out what to do so it went faster without as many screwups.

When Skars isn't happy, ain't nobody happy.
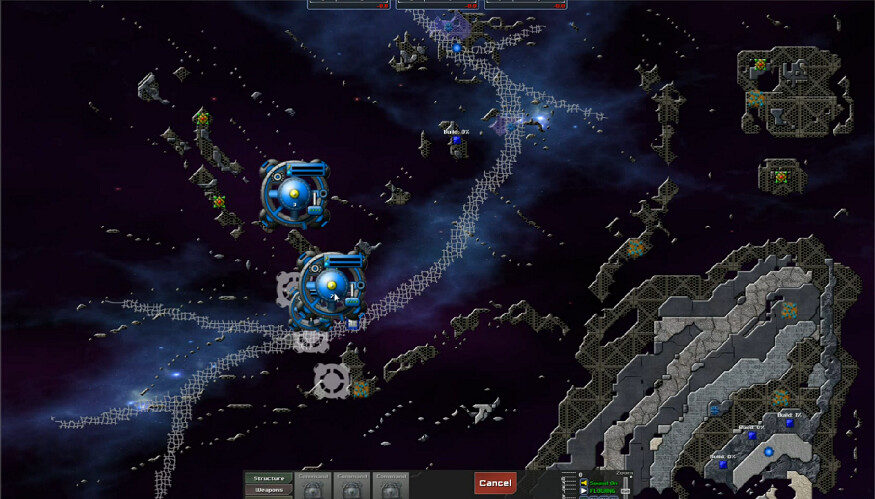
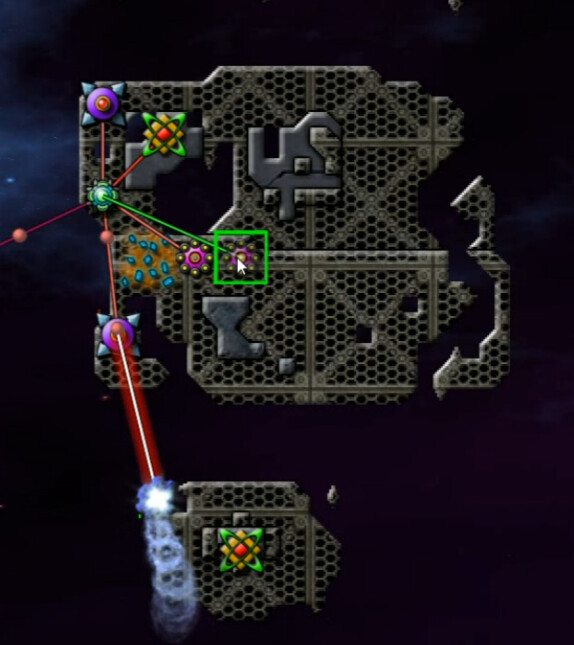
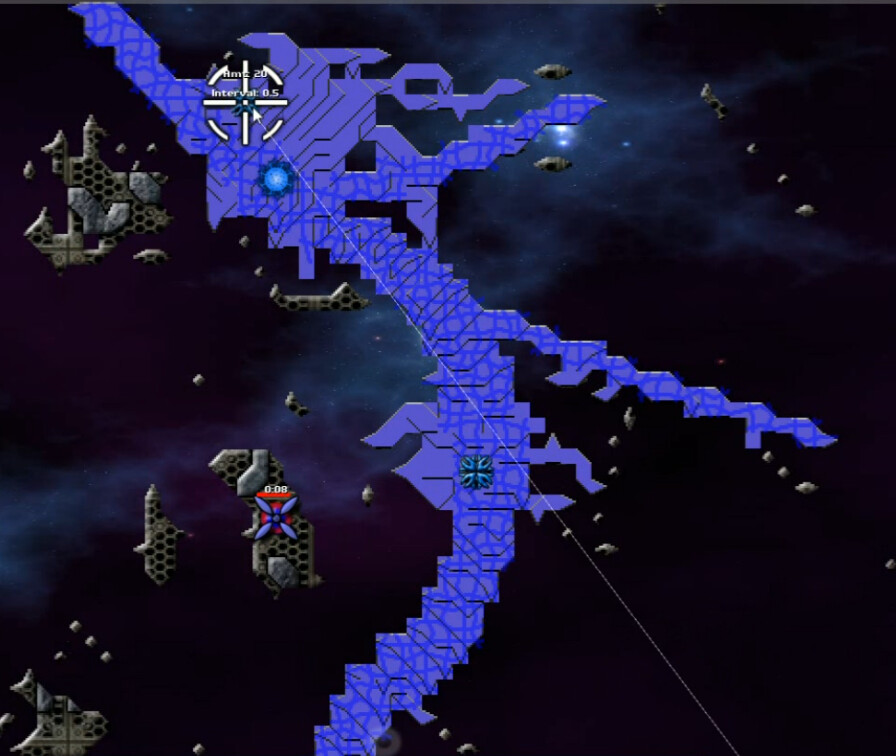
As indicated, we are landing somewhere that we shouldn't be able to land. Overall this is just a very sparse map - there's not that much land to deal with one way or the other.
So the deal here is this. The ribbon of digitalis is eventually going to fill up and come this way. That's going to take out the center Command Node and split our position in half. There's nothing to be done about that. So I put up a nullifier to get rid of this Runner Nest, but otherwhise the rest of the energy needs to be well-used making our way down the island chain at the bottom. Above - well there's a couple more Totems out that way but I've never figured out how to make use of them well here. You've got to a terraform and by the time you have the energy to do that, they mostly aren't wort the effort IMO.

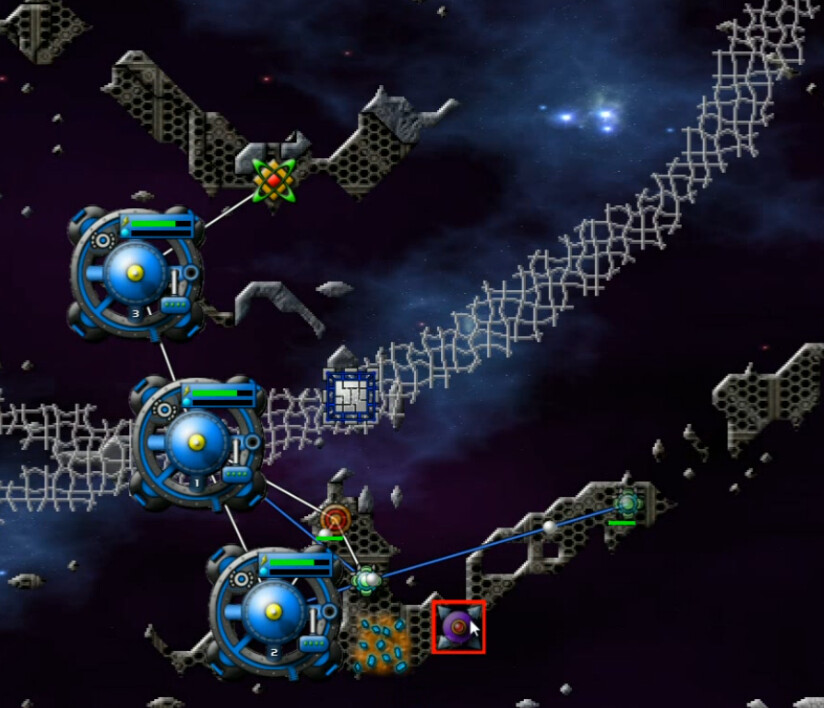
The first spore, just over two minutes in. This island chain makes defending against the Spores very costly. There's not much room, and most of it is needed for Relays and Beams. There's only a couple places where I found I could build something else, such as the lone Reactor here.
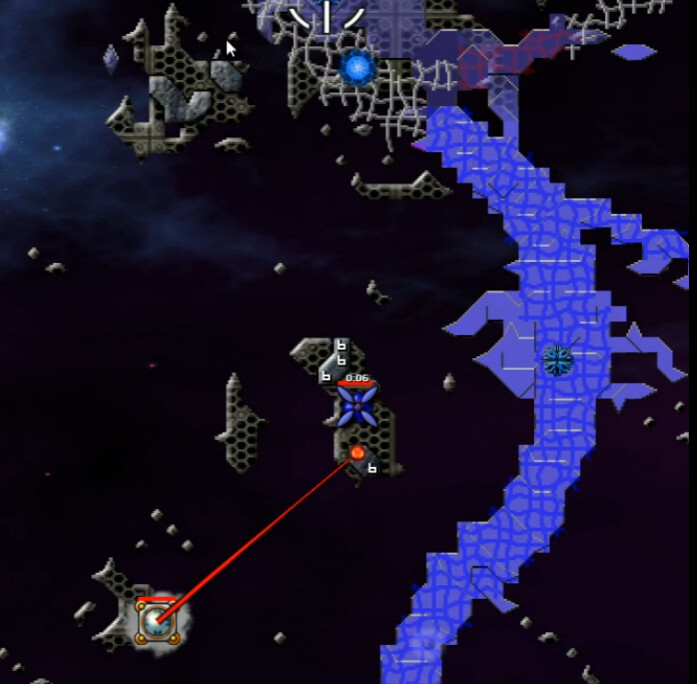
And here's the end of the chain, where we can connect to this bit in the northeast. It's the only substantial unoccupied landmass on the map, so it's pretty darned essential. Leave too large a gap between beams on the way up here, and you can kiss your whole setup goodbye.
I spent a little too much time blabbing and not quite enough focusing on my play - it's really important to build things at the right times and use your energy wisely as you move up the island chain - and I failed by this much. That spore is almost dead, but not quite, and it slams into the relay, ruining the start here. There's no room for this kind of early error.
Starting at about 7:03 video, I restarted and did things well enough to get through this opening section.
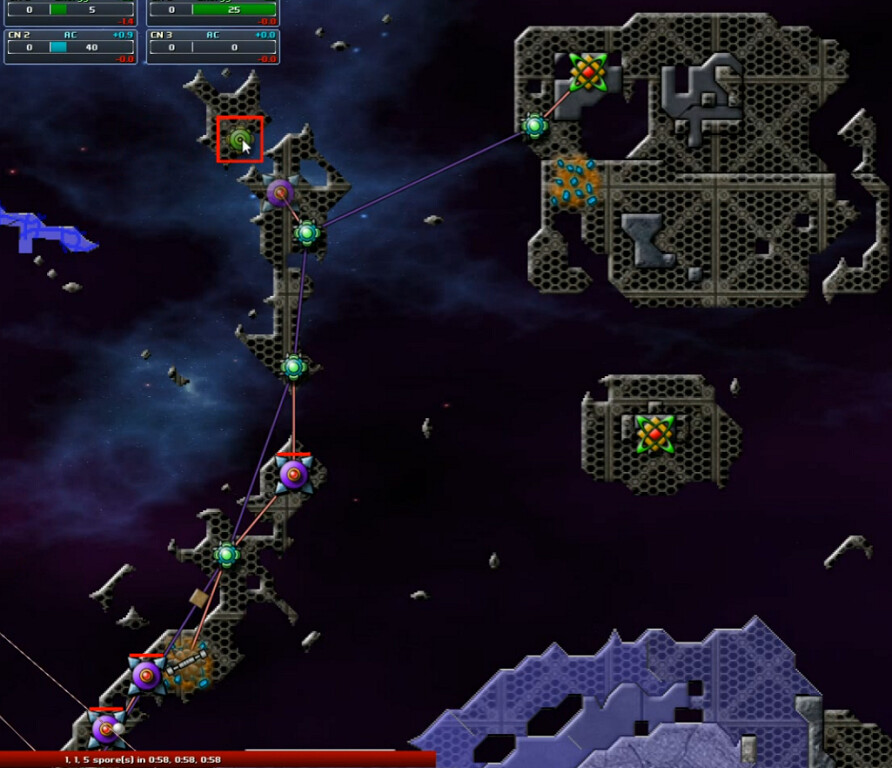
I don't make it by much though. I had just enough energy in this beam to take out a spore coming from the south. That one right by the Totem is there just in case something gets by the island chain - it's an added protection to the west. By trial and error, I discovered this was necessary. Just can't fit another one in the chain itself anywhere.
I have a whopping 2.3 energy right now, and it was 1.9 until I got that first reactor on the 'mainland' up. You don't have much to work with, and are regularly refilling beams, so patience is a virtue when it comes to ramping up. The good news though is that at this point you pretty much can take your time with that, so long as you keep all possible angles of approach sufficiently covered.
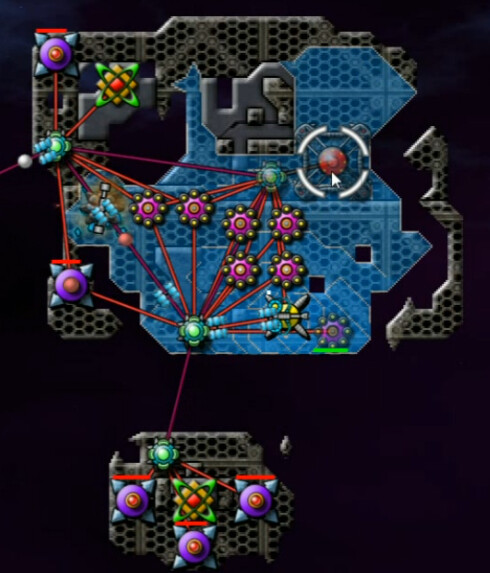
We've got a trio of Ore Mines now, so an always-on sprayer adds more security in case something gets through. The trio of beams to the south help make sure it doesn't, and the gradually-built reactors have allowed for a more secure supply. So now it's time to add a Forge and start upgrading. Energy efficiency and range are particularly valuable I think, but so is ore efficiency.

Next, a Terp to flatten out the areas that I can't use right now. Every bit of space helps when you don't have much.
With enough ore upgrades, a pair of sprayers can create room for a beachhead to the south all by themselves.
Getting up the hill is a bit tedious, adding more reactors and weapons gradually. But then we start getting more ore deposits online, and progress begins to accelerate.
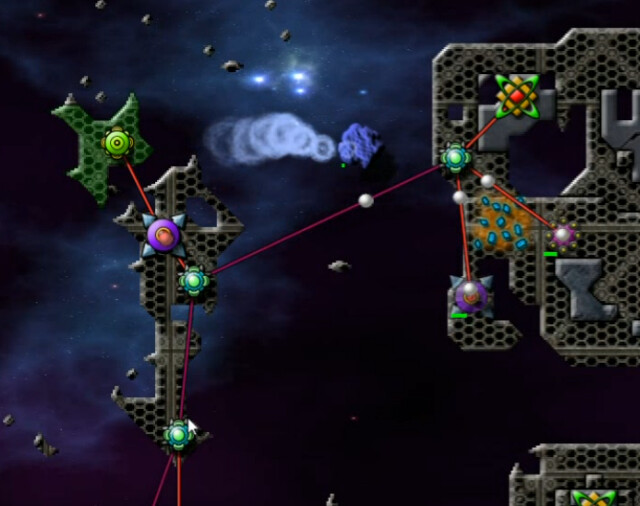
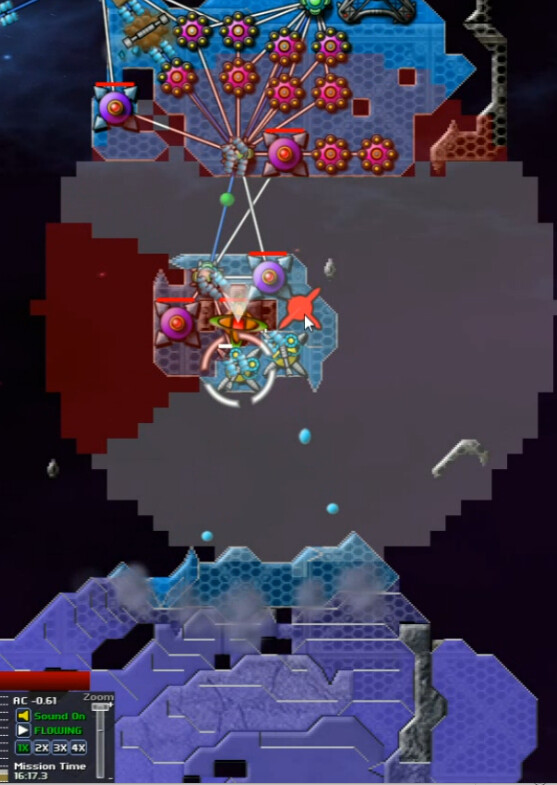
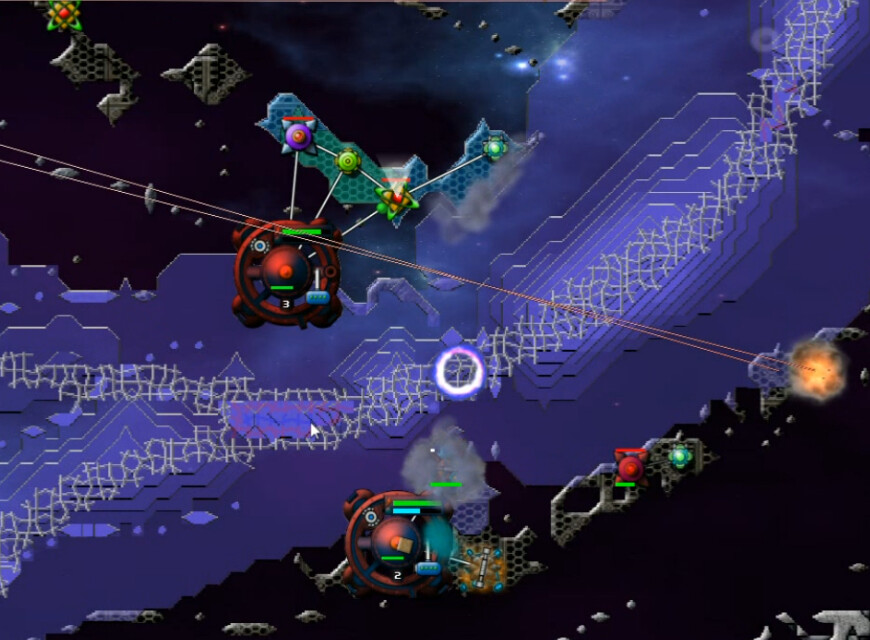
This is the last bit of the puzzle to solve. And it has a trap in it. Do NOT target the lower emitter or anything below it with a bertha. You'll see why later. It's just a couple of emitters with digitalis - and an AE Tower that makes it hard to get close. Also, that's the strongest spore tower - five of them - on the map so they won't stop coming yet.
Here's the first step - after terraforming enough to even get here, this terp will level out the area around the spore tower so we can land there.
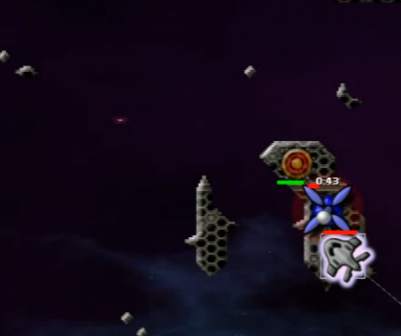
Then a SuperGuppy to nullify it. This is necessary because the AE field expires with just enough room for the guppy. Can't put it anywhere higher, certainly not on the main part of the land here.
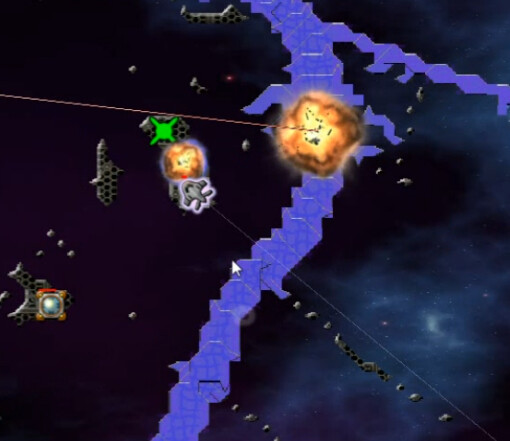
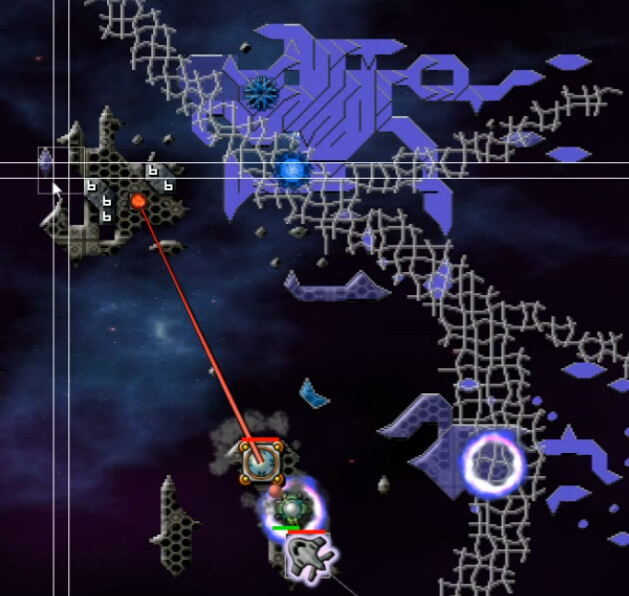
Using that power zone for a SuperNullifier, I do this in the wrong order and am about to pay for it. This is best done with that emitter killed LAST. Close observers can already see why ...
No longer restrained by digitalis, the built-up creeper just flows out everywhere. This is a particularly dastardly trap that can make you lose the level. It took quite a while for me to recover it.
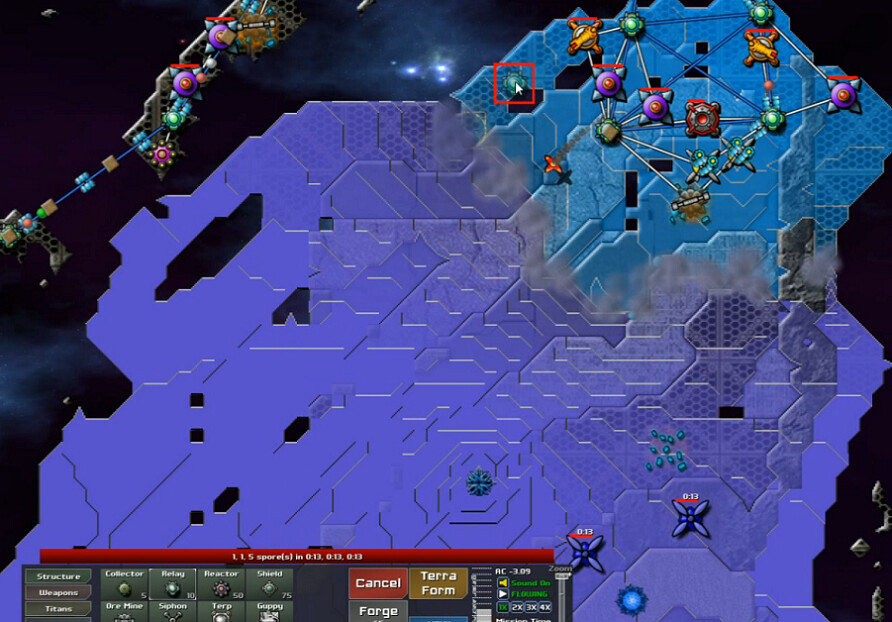
Once done, I head back to level off another island ...
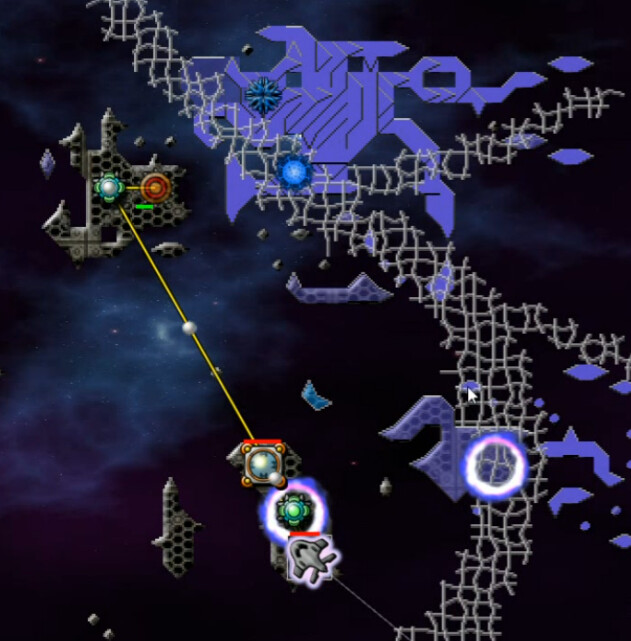
That SuperRelay is absolutely essential. Without it, you don't have the range to put another relay up there - guppy can't go there with anti-air field - and still fit in the nullifier close enough to knock out the tower. Soon as it blows, we're done here. A sneaky little adventure of a level that forces you to explore almost the whole map ... and packs more of a punch than you might initially expect.