Part 179: Creeper Wall 3 & the pit
Creeper Wall 3 & the pitToday we conclude the 'Creeper Wall swing', and then I demonstrate my ineptitude at a different map that doesn't seem to entirely obey its own rules, and seems to contain a more elegant solution than I ever found.

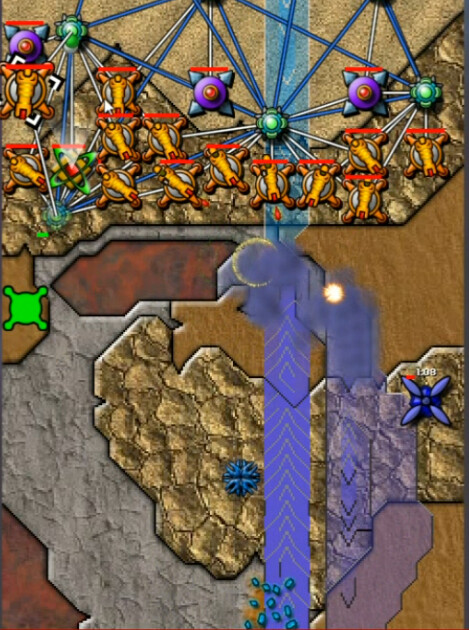
There's more north in this very vertical map. Even so you really can't see much here. Pandora left a Device in the south, and we clearly need to start in the north.
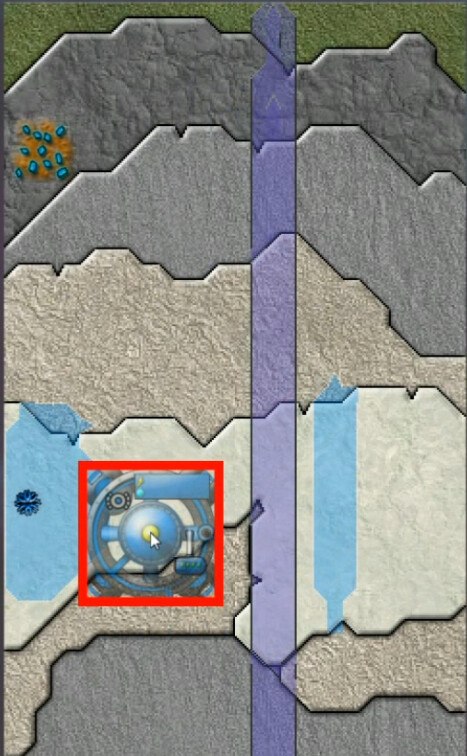
We have a constantly-moving wall that takes seconds - 6-8 I'd say - to traverse the short width of the map. We also have a very weak AC emitter - 3 every 2 seconds - here near our obvious starting location. My initial reaction was profound in its brevity:
"Ok that sucks"
Followed by not really knowing what to do.
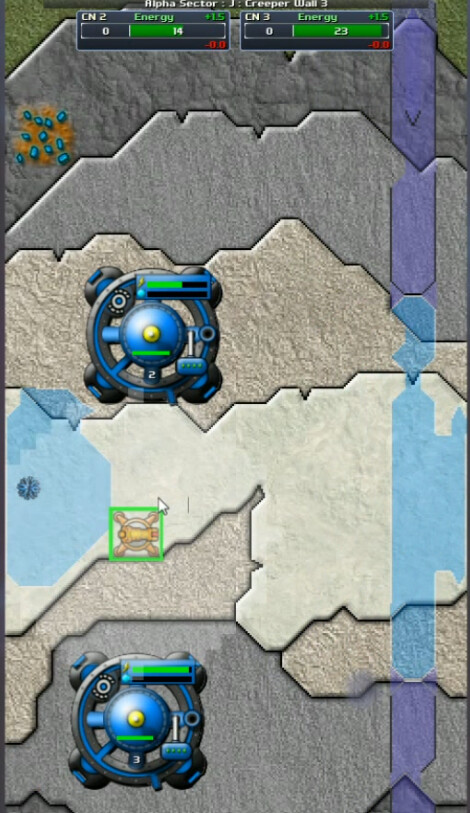
After a couple of passes though, the wall was interrupted by the anti-creeper. It's getting very little 'reinforcement' if any up this far on the map, so that tiny little AC emitter gives us a bit of a safe zone.
After a bit I realized that I had a same spot to start getting reactors up, and that I'd soon be able to clear out all creeper from the north end of the wall entirely and focus southwards, including grabbing that ore deposit for my own benefit. I was starting to figure out what the heck to do.
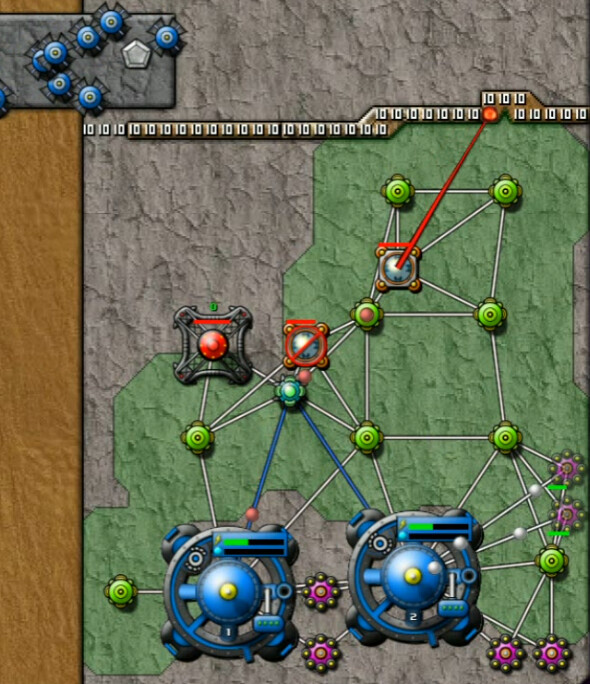
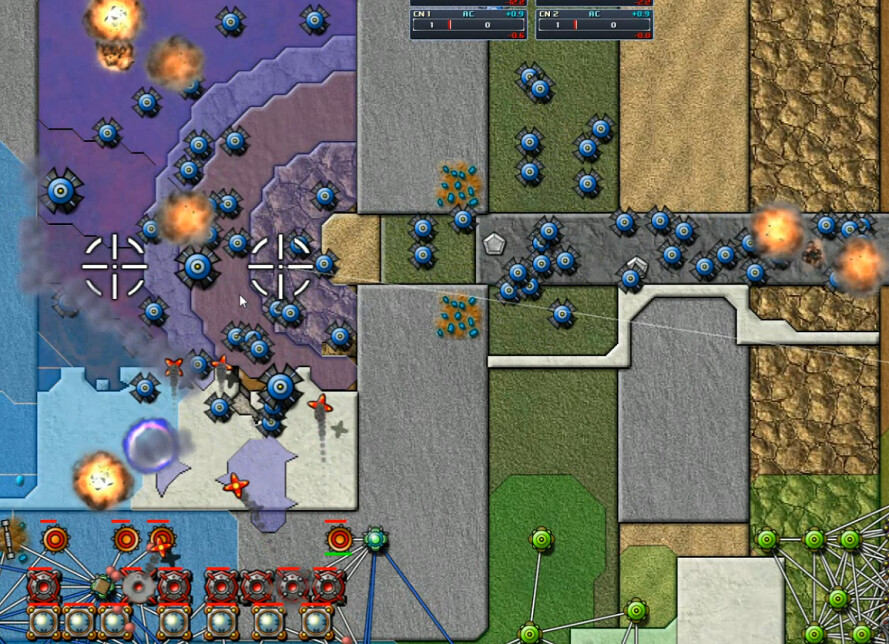
Here I am properly oriented for offensive operations. A few more cannons, but it's hard for them to do much as they only get off a shot or two by the time they pick up the wall, track it, and aim - it's soon out of range. A trio of Beams and an always-on Sprayer are vital for defense and organic attack respectively.
Of course, I can see the solution to my problem already - I don't need to progress far to grab that Totem and start upgrading. Meanwhile we can also see the wall getting bigger. There's a major tug-of-war, or rather push-of-war, element to this where the longer you wait to get going, the more difficult it'll be to push the wall southward. And that's the only way to progress - otherwhise it'll wreck whatever you put up with impunity.
Next, this map makes darn sure you know the value of high ground. This will be a recurring theme as we push southward. Most of these Cannons aren't doing a darned thing, because the wall goes past them at a higher elevation. Mortars wouldn't do any good, because any charges they shoot will just hit empty space. By the time they arrive, the fast-moving wall is long gone. It took me a couple minutes to figure out what was going on, but thankfully not too long. Amusingly, at first I just added a few more cannons which also did next to nothing.
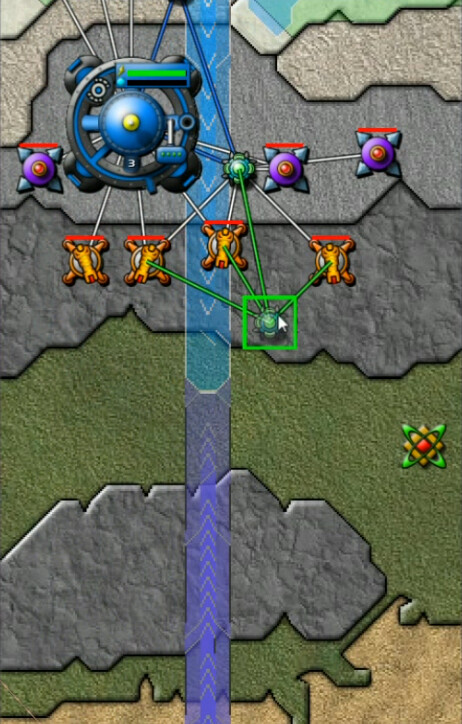
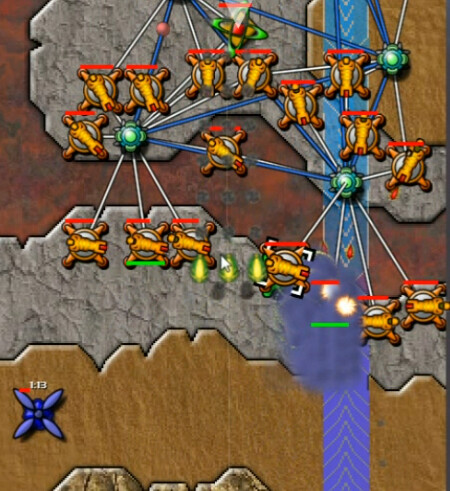
After my working my way downhill to another totem, I came upon this - my first chance to directly undermine the wall's source of strength. It's a weak emitter - 15 every 0.7 - but the sooner I got rid of it the better. It took a while though. There's just not much in the way of good locations to shoot at the higher ground containing the Emitter and Spore Tower. And that Ore Deposit on the far side just sits there and taunts you. I might have been better off trying to go around the left side and briefly bypassing them - but that would have made too much sense.
Brute force eventually did it - eliminating the spores first and using that PZ for a SuperNullifier helped. I also took some time to boost energy income and throw up a couple of Berthas.
That last idea wasn't a good one. As fast as this wall is moving, they shouldn't help much. As it turns out though, I put them at pretty much exactly the right distance, so that when they shot down to the low end the wall had time to leave the map, come back, and reach the target zone at the same time as the shells landed. I do not, however, advocate this kind of depend-on-blind-luck strategy (about 24 mins on the video or a bit afterwards to see this). I also put up a SuperBertha that I would eventually abandon for that reason.
At this point I had one upgrade each of weapon range and firing rate along with a few others. With resistance stiffening from the wall, firing rate esp. would be vital to proceeding further. Boosting ore efficiency is also a fine idea.
With increased capabilities and firepower, I now faced ever-increasing resistance and an uphill approach to the finish. The obstacles on this map are well-considered.
More wimpy structures go down immediately, but the cannons themselves can survive pretty much indefinitely in the path of the creeper. I wonder if the wall speed was specifically tuned to this fact. In any case, that makes somewhat aggressive forward moves possible. You can also see that I'm still pointlessly shooting off that SuperBertha, to virtually no effect.
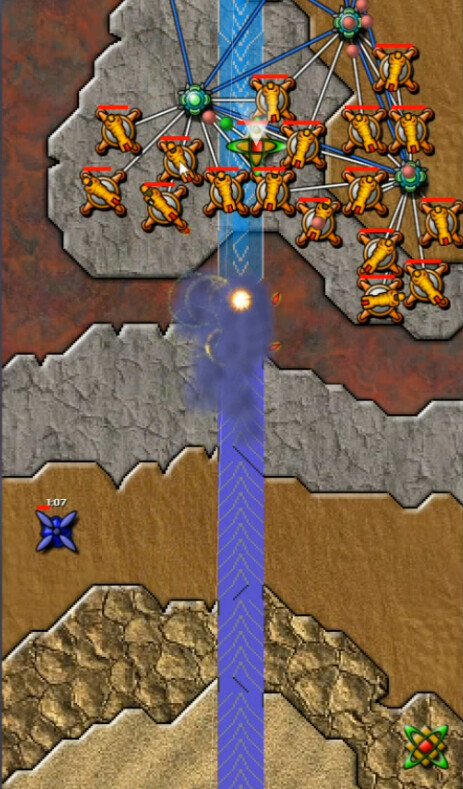
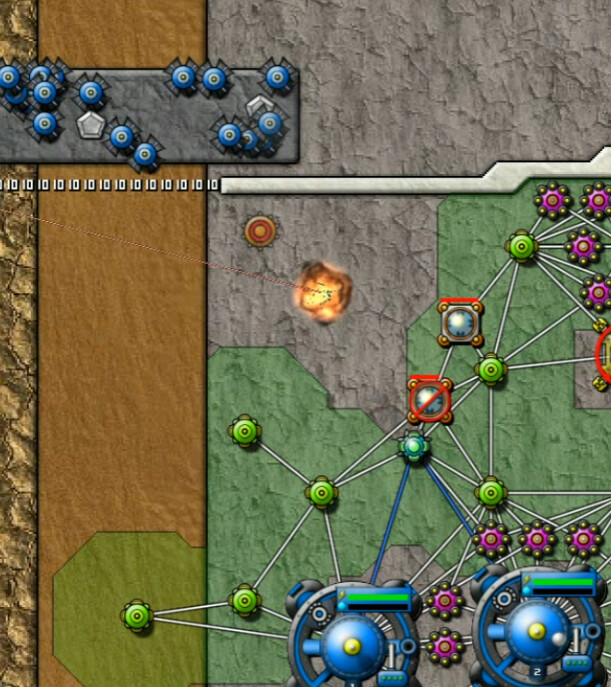
Shortly after this, I hit what I think is a dastardly booby-trap. Several seconds after knocking out the next spore tower, a bunch of stuff exploded in the rear of my network. It could have just been a spore impact, but I doubt it. No spores got through that I know of before or since. About 20 things blew up, most of them reactors.
Here's the tail end of things, at which we see that mysterious device and there are a couple of emitters just off-screen. Further weapon upgrades have facilitated a steady if still a bit annoyingly-slow advance. I suspected that the device was controlling the wall, but I wanted to be sure.
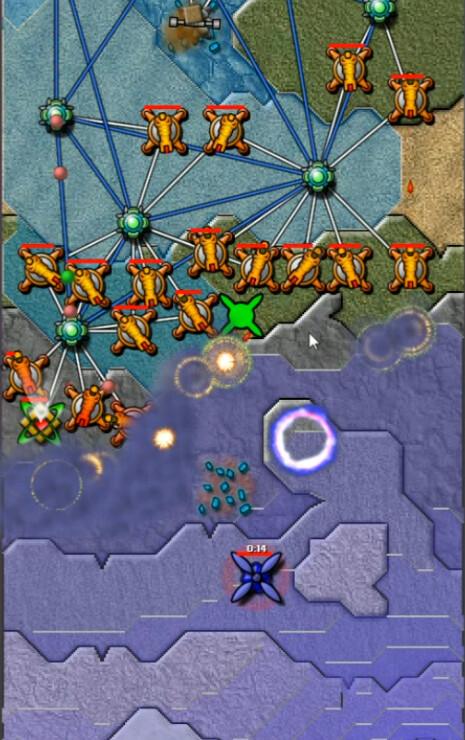
Yep, it does. Most of the map flooded in anti-creeper, standard creeper down here. I moved sprayers forward, had a reason to build a few mortars at last, and generally conducted a more typical finishing attack. Three very different applications of the same general idea, each of which presents a unique challenge. While I do not withdraw my salt from the earlier quiz map, clearly most of J's material is far better.
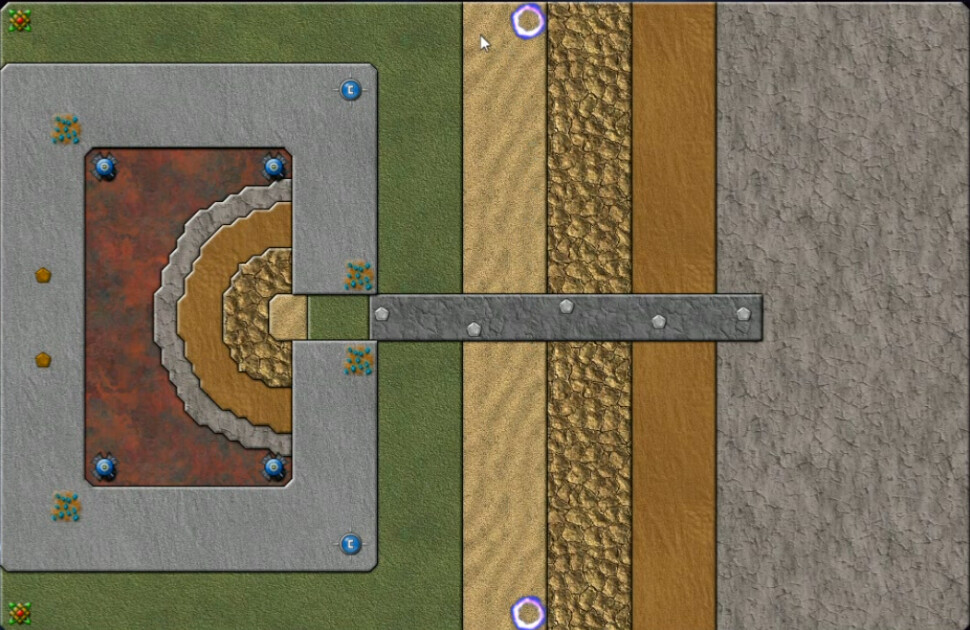
And then there was ... this. It's worse than it looks.


I never did find a way to do this, and I'm suspicious of it for reasons that will be explained.

I did initially Skip the spoiler, and would later find it to not be particularly helpful.
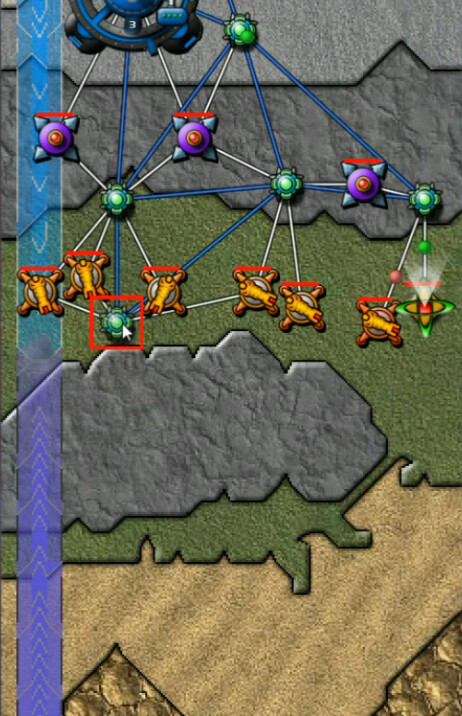
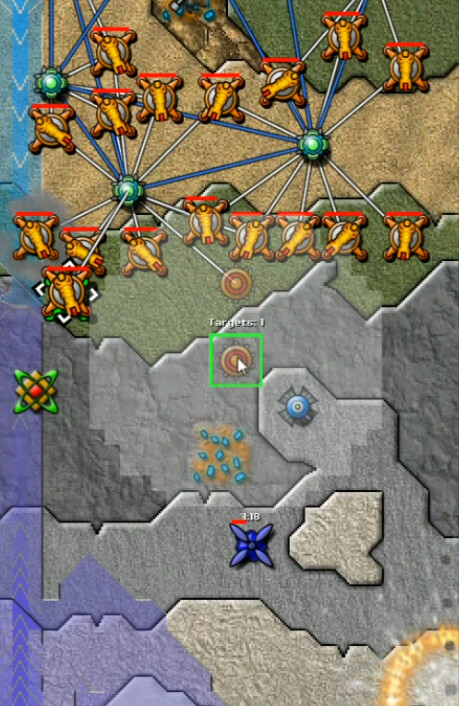
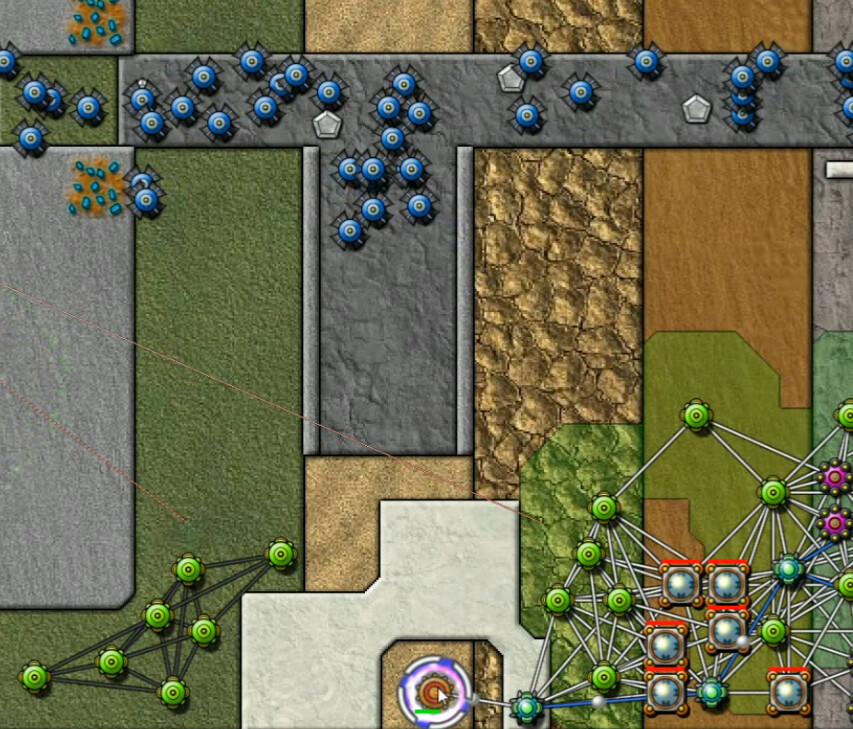
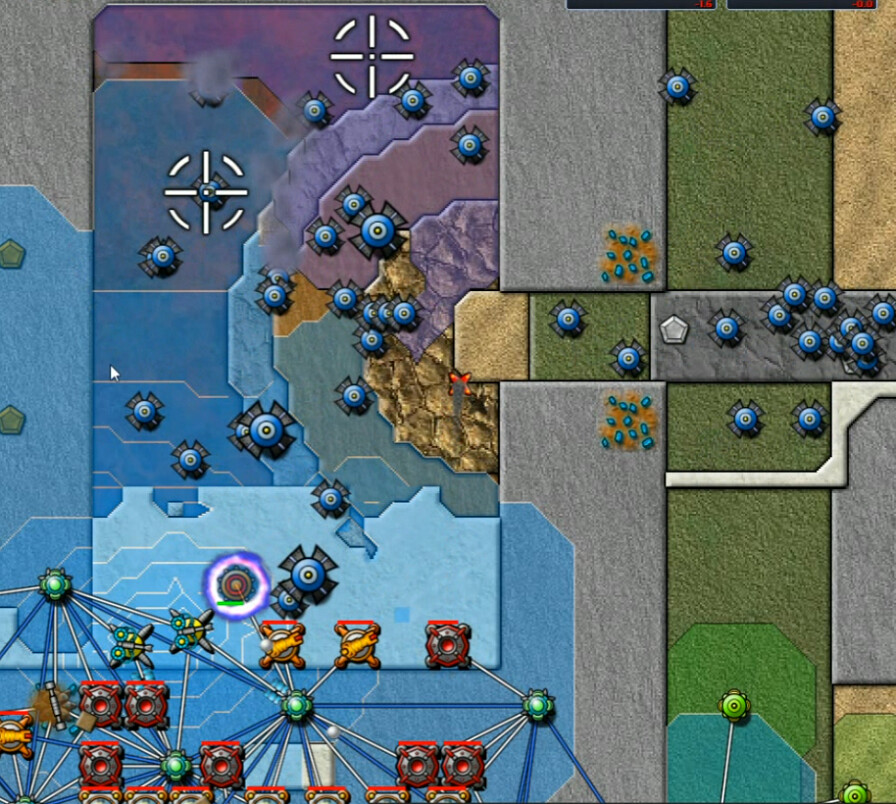
One might be able to use Snipers to destroy the Drones ... if this map didn't completely remove snipers. That of course would be a cheap way to win. This image is just over a minute in. They don't waste time building up a healthy supply.
You can also see here elements of the basic issue I ran into, and tried many different bad ways of solving. The drones like higher ground and are therefore encouraged by the steps out of the pit to leave and go elsewhere. They'll mostly hang out on that pier and generally not want to leave it. When they do, they'll leave more towards the western (higher-elevation) end of it. But ... a lot of them always stay in the lower ground of the pit. That being the case, how do you trap them?
My answer: beats the crap out of me.
So I tried to grab one of those Aether Siphons on the pier, and failed. I could have eventually done so by walling it off and doing various other nonsense, but never thought it worth it. I tried to throw up a SuperCannon here, only to have connecting relay blown up. Each attack destroys both the drone and the building it attacks.
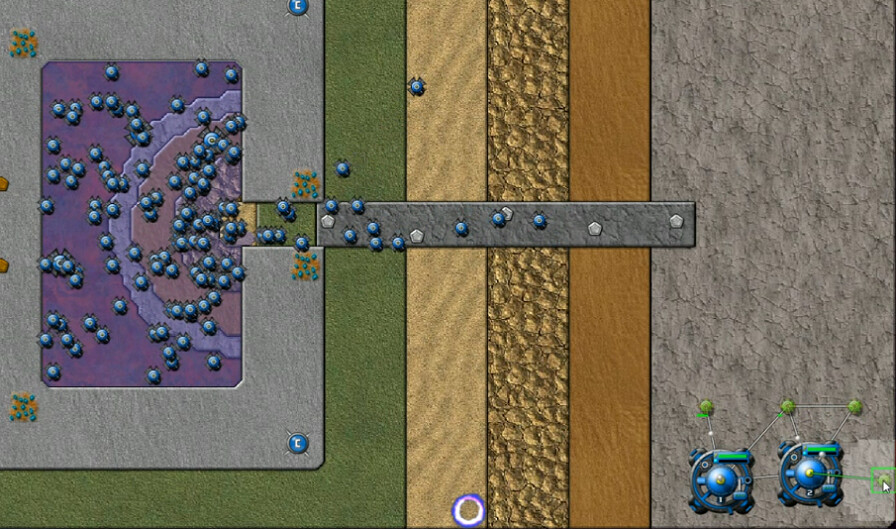
I have started here in a pretty safe area - low ground far away from the places they like the best. I could easily survive here indefinitely, and spent a considerable amount of time doing just that, building up energy, and wondering what the actual I was supposed to do.
Here's me impressively demonstrating a lack of critical thinking and cluelessness on how this mission operates. I'm building a max-height wall in precisely the direction the drones are least likely to approach from. I could run this map afk for hours and I don't think it would ever happen, so intensely do they hate low ground. They will eventually, slowly and in very small numbers, approach from the west, but not the north.
However, I have managed to form the coherent idea that Terps are going to be really important due to all that stuff about elevation impacting drone behavior.
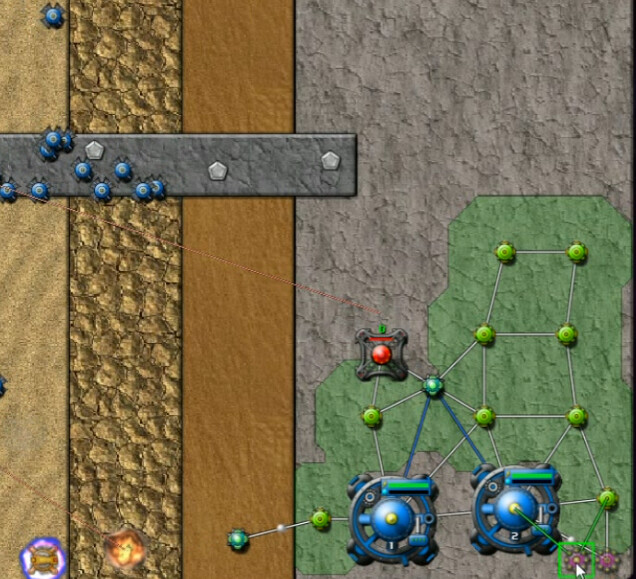
Then I had the brilliant idea that I'd just nullify the drones - which isn't the goal, you need to knock out the machines - from behind the wall, because maybe I'll interrupt their Line Of Sight. As this Relay found out immediately upon completion, that is not a thing.
Here's another Bad Idea(tm). I'm trying to draw enough drones over towards the Power Zone to nullify them, but only a small amount would ever approach, the range of a SuperNullifier isn't much longer than a drone so it'll only reach a really small space, and yeah there's other bad things about it but basically it was never going to get me anywhere. Really just grasping at straws here.
I was successful in clearing drones out from the 'countryside' by mass-producing collectors. They're cheap, and anywhere without a big concentration of the pests can be temporarily knocked out this way. Of course the machines just build more ...
Eventually I made my way towards the southwest and tried to terraform the Pit itself. The idea here is to give them high ground that they'd hopefully be attracted to, thin the drone population out that way, and then ... something. I dunno. I have Berthas now - you're allowed two - targeted on the pit to eliminate the creeper that is produced there.
The drones didn't care. They seemed to behave exactly the same regardless of what the height was within the pit. That height-favoring algorithm seems to be turned off there. While I pondered this, Creeper World 3 had a very rare crash. So I did some off-screen testing.
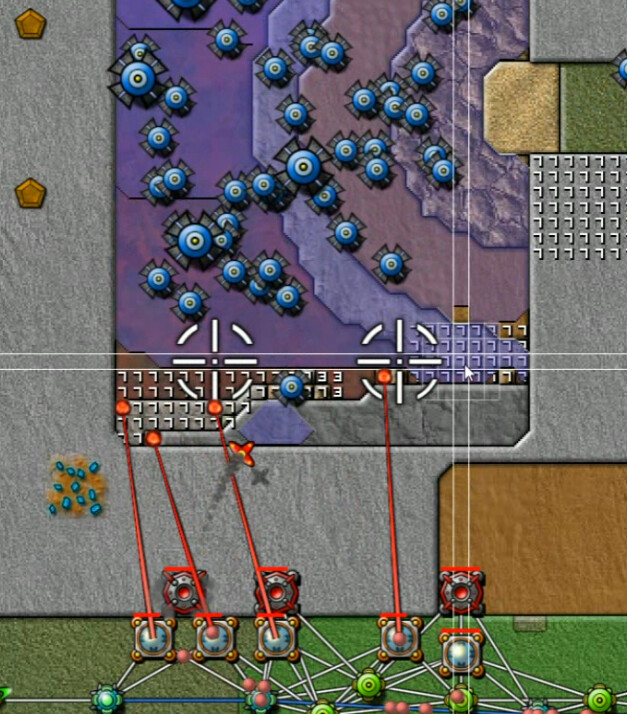
And now we get to where we're really not supposed to win the level this way, but ... So I found some interesting things.
** The drones really like creeper in the pit. If they are in the pit area, and there's no creeper, they'd rather make some and disperse it than attack your units. So while AC itself has no effect on them directly, it can be useful.
** I initially built this south end of the pit up to max height thinking they would stay away from it since they can't go above 8. Nope, they don't care about that either in this part of the map.
** Mass-building of nullifiers nearby combined with that whole MUST.HAVE.CREEPER philosophy allowed me to take out one of the machines just before this shot.
** That also apparently caused their 'child' drones to self-destruct. Without the parent drone machine, they cannot survive because reasons.
This is a particularly egregious tactic here; the Nullifier Hole. It allows enough AC to collect at the SuperNullifier location that a random drone dropping creeper on it doesn't destroy the weapon. Some while after this, with enough weapon - collector - nullifier-spamming, I was eventually able to knock out all the machines and claim victory.
I look forward to being educated on what the 'right way' is to do this, because I sure as heck didn't find it.

Color me unimpressed with this, the previously-mentioned spoiler. Given the relatively inconvenient PZ locations and the difficulty in getting the drones to all leave the pit under any circumstances I could surmise, and/or behave predictably enough to trap most/all of them, I wouldn't have done all that much differently had I seen this right away. So I'm still confused. But at least I finished the level, and moved on.