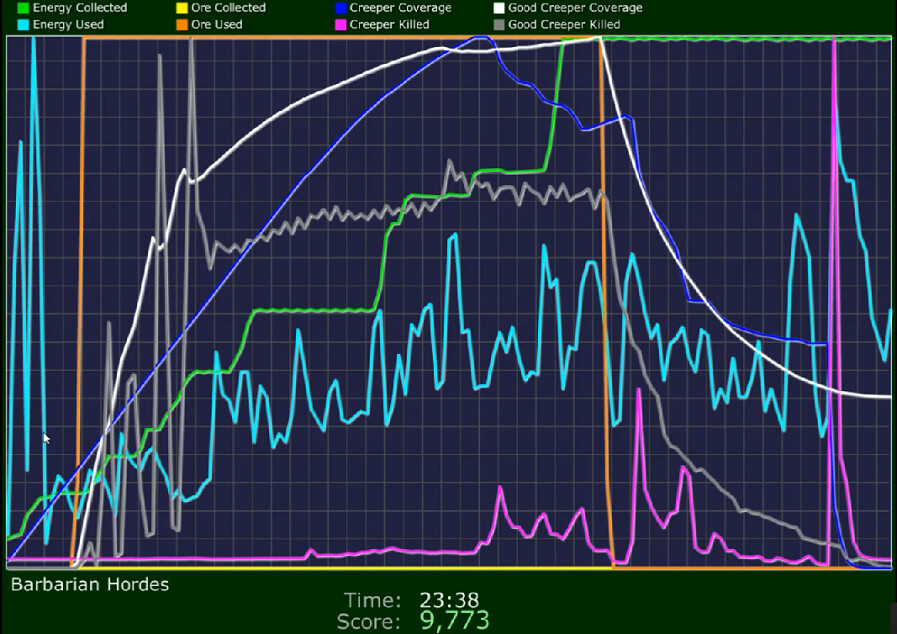
Part 70: Bonus 7: Barbarian Hordes
Bonus 7: Barbarian Hordeshttps://youtu.be/h8kAoayzmuU
Of course, it's mandatory to say the name of this mission like this guy:


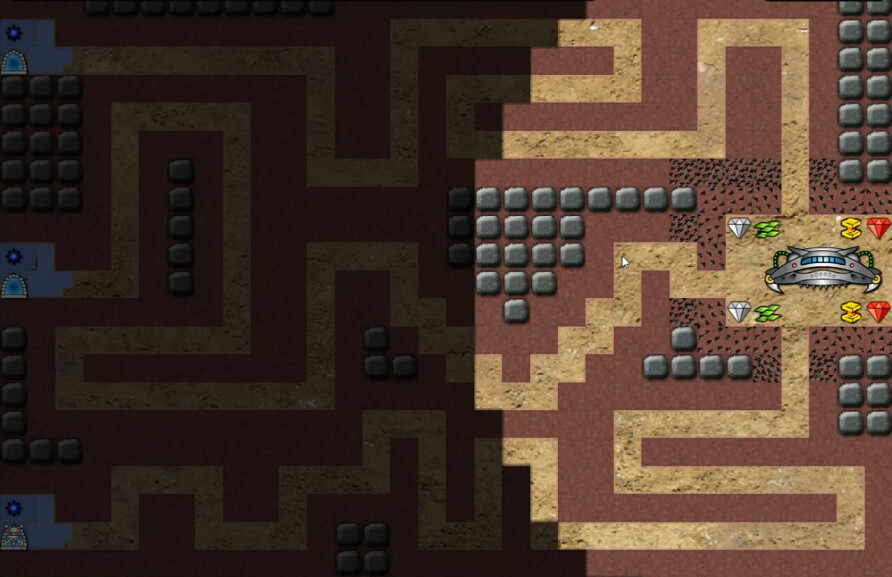
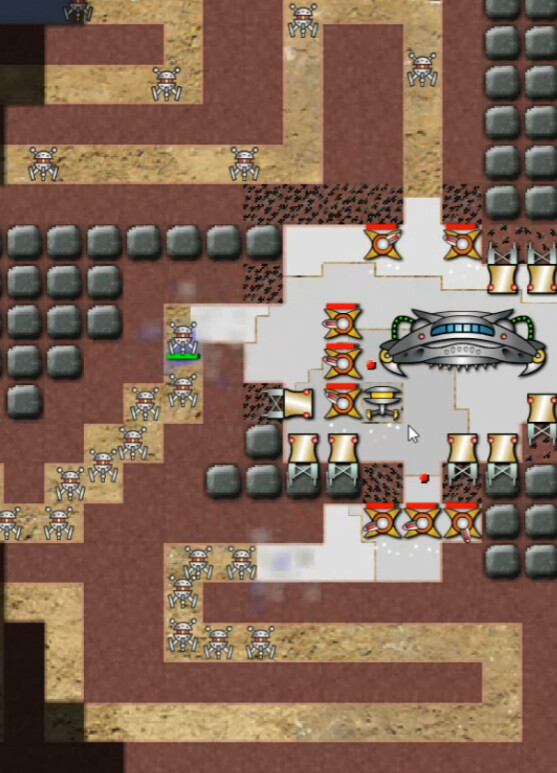
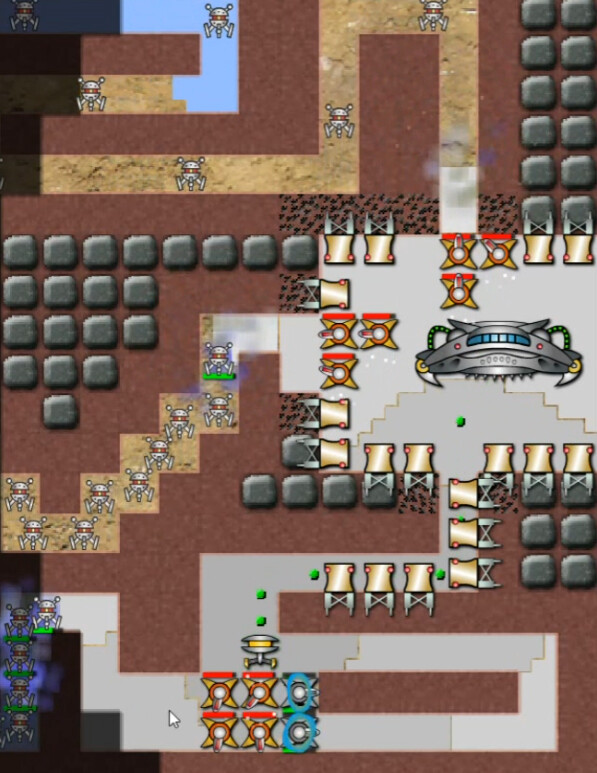
A small map, but not necessarily an easy one. Three emitters, three gateways by them on the left, and drones will come from them. LOTS of drones. The narrow pathways make this mostly behave like a top-down map even though it isn't. And once again no gravity. So basically, it's just weird, but still quite an interesting challenge.
** Doom Timer: 1:07
There's just enough drones in the first group, five coming from the bottom emitter, to take out the Liberation Ship in just over a minute. This is most definitely another 'can you survive the start' mission, which seem to be the toughest CW type.

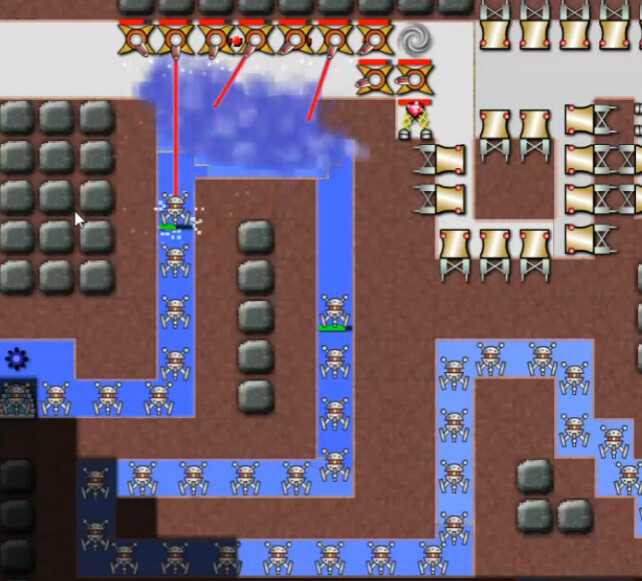
This is 50 seconds in so you can see what's going on. The gateways release at different rates and intervals but basically you're going to have an escalating amount of drones while the creeper makes it's way through the passageways. All converging on us. I've grabbed the goodies which is mandatory not just for resources but also for space; in no other level I've seen do you start off this cramped. A total of 600 energy comes in from the crystals, and that'll power the blasters ... but not for long.
Here I've got some excavating done, and a few blasters. Right from the first time I use the initial 30 technytes to get one range and one firing rate upgrade. That's pretty much a non-negotiable IMO. As much as I'd like to upgrade the reactors with such limited space I don't really think that's an option here.

I don't get enough up in time though, and the energy deficit is already proving very problematic here. This is when I give up the first attempt, and it's not quite four minutes on the mission timer. One thing about this level is you don't go after for it half an hour only to realize you made too many mistakes. It becomes apparent pretty darned quickly.
** Take 2: 4:37 video, 0:37 mission timer
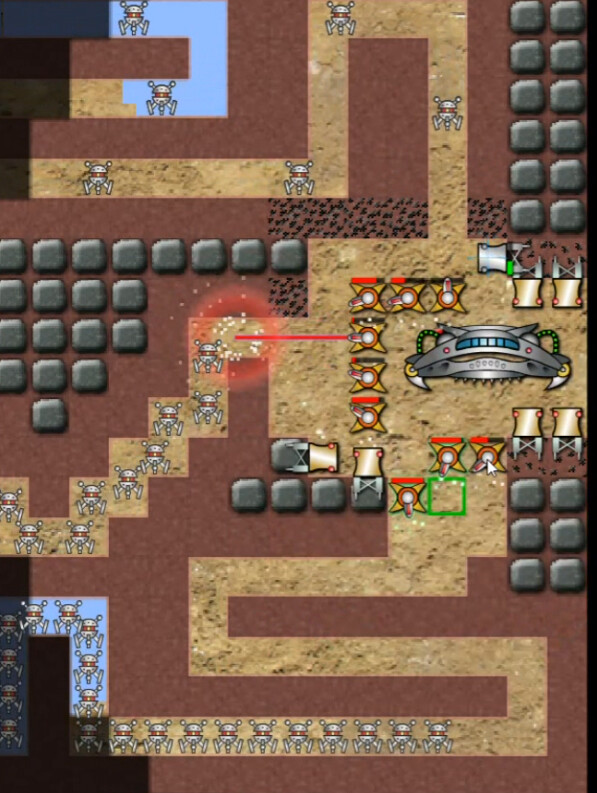
This is only 30 seconds before I gave up the first time, and you can see I'm holding much better, energy in the blasters and more reactors up wherever I can cram them. I find that with the upgrades, 3-4 blasters can hold each passageway.
After being not sure what to do and realizing more and more drones are coming all the time, I move the blasters forwards on the bottom passage in between groups of drones. But I move them too far, and this ends in catastrophe. You can't afford this kind of mistake on this level. All the blasters went down, and soon a bunch of reactors would have if not the ship itself before I could have stopped them. And even if I did, I would have been too crippled to recover.
Take 3: 8:29 video, 0:27 mission timer
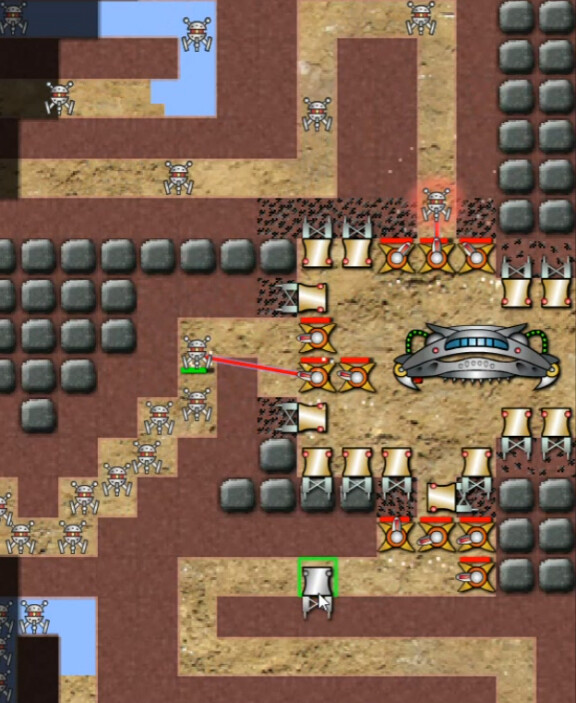
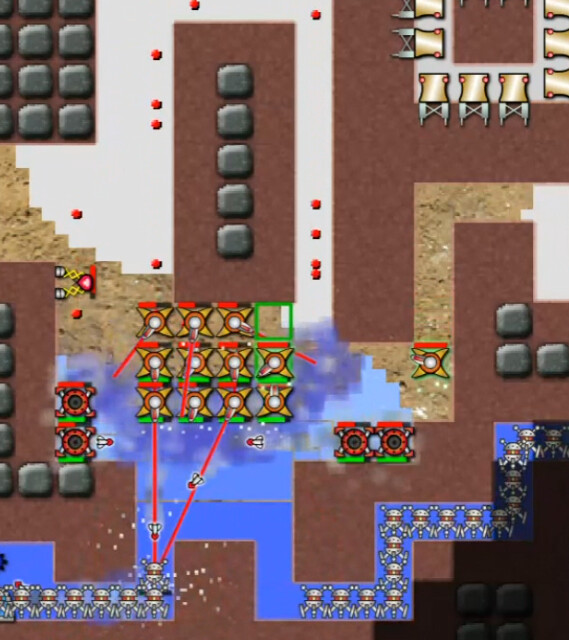
Similar start, but with one wrinkle. You get 4000 ore to start with, I might as well use it: the anti-creeper will help some. Not enough to make a huge difference, but even a small one helps turn the tide. I also got a little better at the blaster build this time; 3 each direction to start, a fourth later.
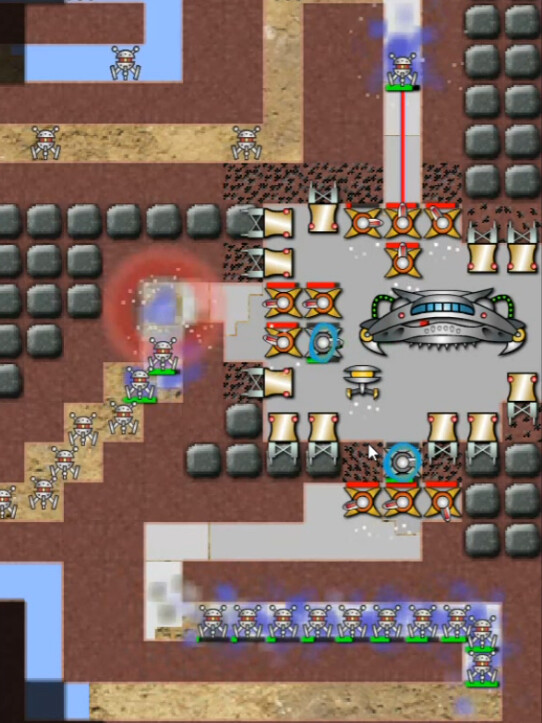
Look at the bottom. Blasters don't even have to fire there; the AC takes out the drones before they get to me. The energy that saves can be used elsewhere. The maker proves more important than I expected.
I had this started well enough to succeed, and moved the blasters down in shorter jumps. Here though I didn't get them out to the corner soon enough and then got greedy, and paid for it. Without concentrated fire from all of them we can't hold back this many drones, and once again the defenses fall.
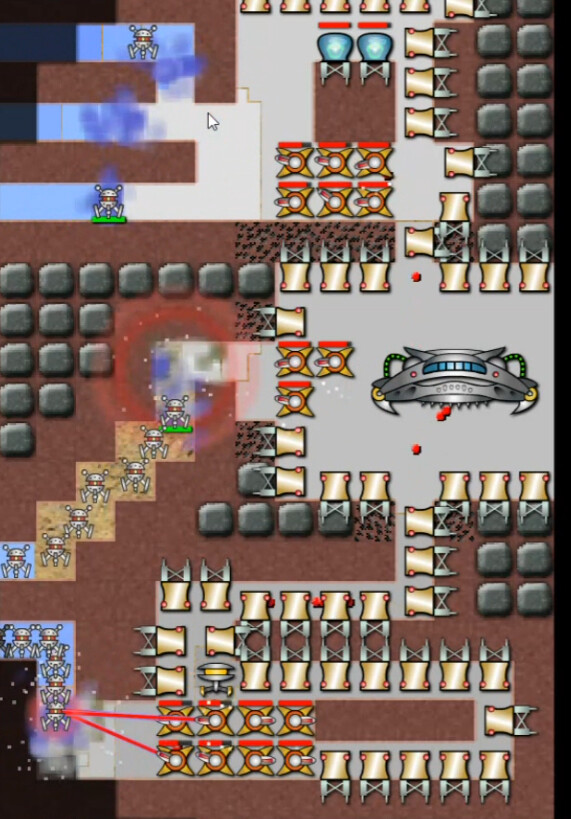
Take 4: 14:20 video, 6:52 mission timer
I've expanded upwards and downwards for more energy, but energy isn't the issue. Once again the bottom is falling apart, because I don't have enough room for constant fire and that's a lot of drones. They wear us down again. At this point, several minutes in, there are only small, far-between gaps in the drone groups.
Take 5: 15:29 video, 2:29 mission timer
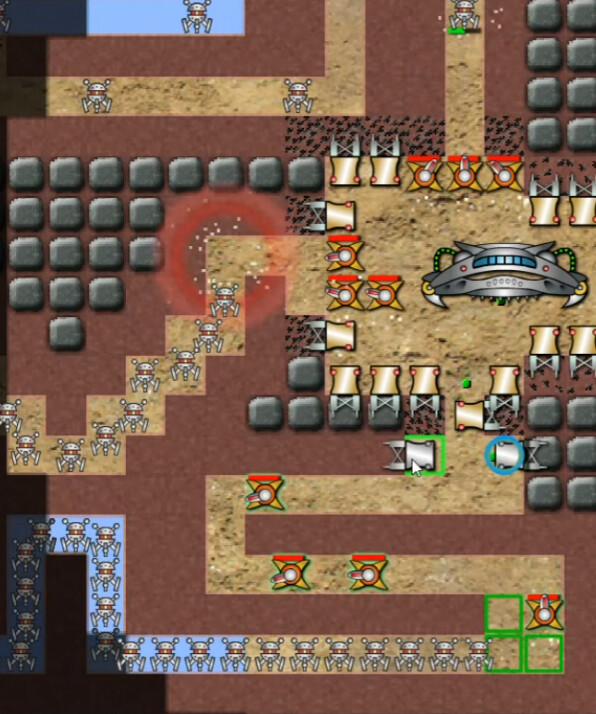
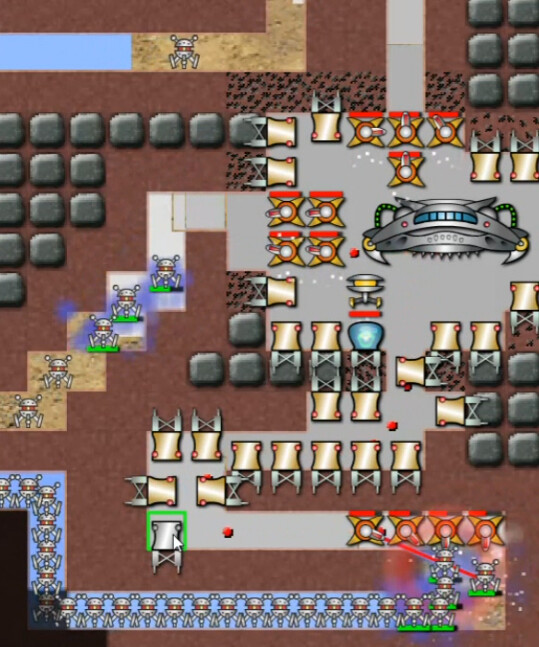
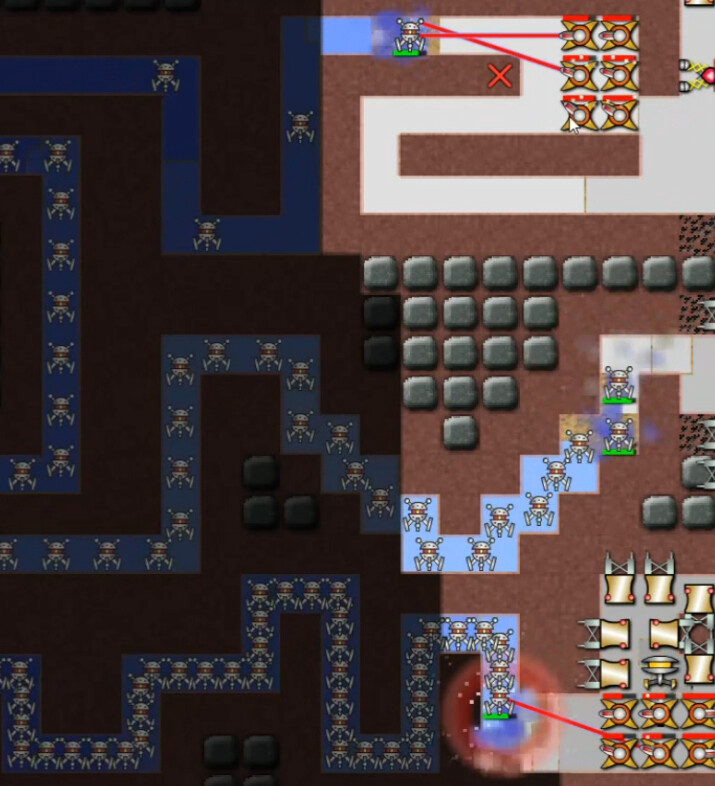
This time I make a point of getting to the bottom as soon as possible, excavating a shortcut through, and placing a third pair of blasters. Then I can fill in behind them with lots of reactors.
I add a fourth pair just in case, though they prove basically unnecessary, then start pushing upwards on the top passage. After some reactors and for the first time a couple tech domes are added, I'm sufficient energy-wise and can gradually escalate, so I start chewing through some shortcuts up here as well. For the first time, I've managed to turn the corner.
The top was chosen because the drones are the fewest and furthest-between up here, so it's the path of least resistance.
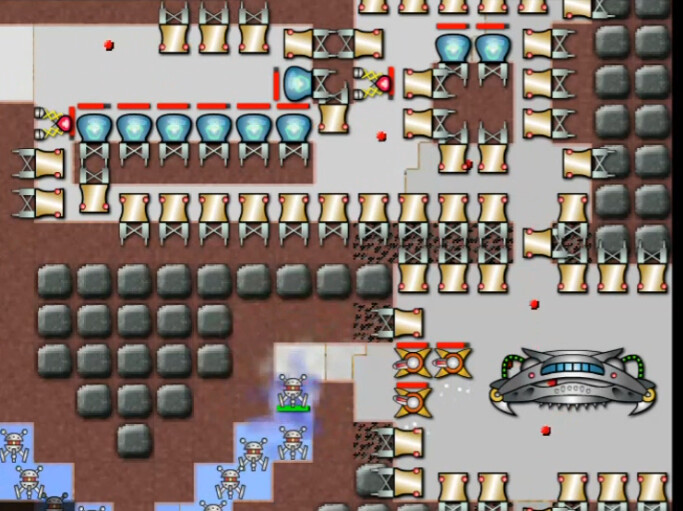
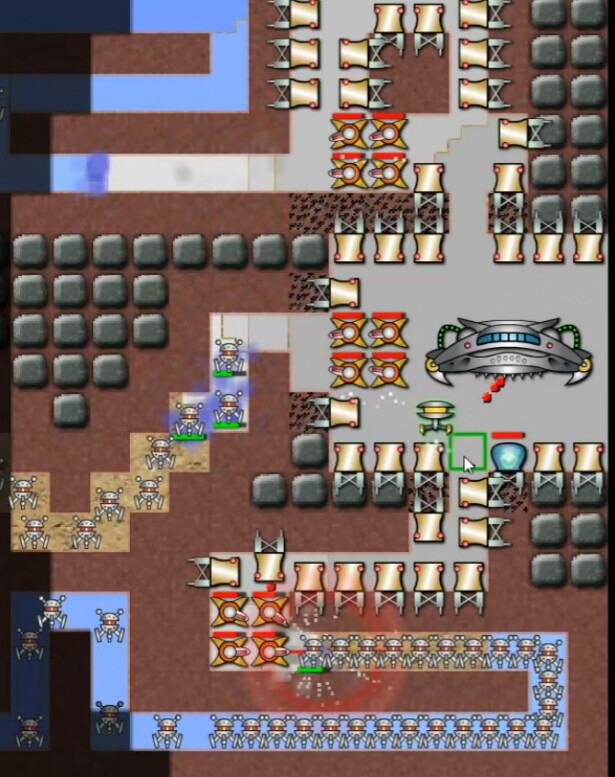
For a while I crawl forward, regularly building more reactors and a nice batch of TechDomes to make darn sure I can handle anything that goes wrong. After this is up though I start attacking more aggressively.
No point in going all the way around: once the first top emitters/gateway combo is gone I just cut through to the second one. Around this point the staccato of constantly-firing blasters gets pretty darned annoying. They just won't shut up, because the drones don't stop coming.
After taking out the second pair, adding a few launchers and bringing forward the now-spare blaster additions, I think I'm ready to finish the job. As you can see here, I was wrong. Over half of the weapons take significant damage before I get things under control.

Finally they will all shut up now.
Carving out enough space to build the reactors you need to defend yourself effectively is basically the challenge here.