Part 84: Starsync
StarsyncVideo
Discovered another audio problem on this one. I'll try to get rid of that background hum in the future.
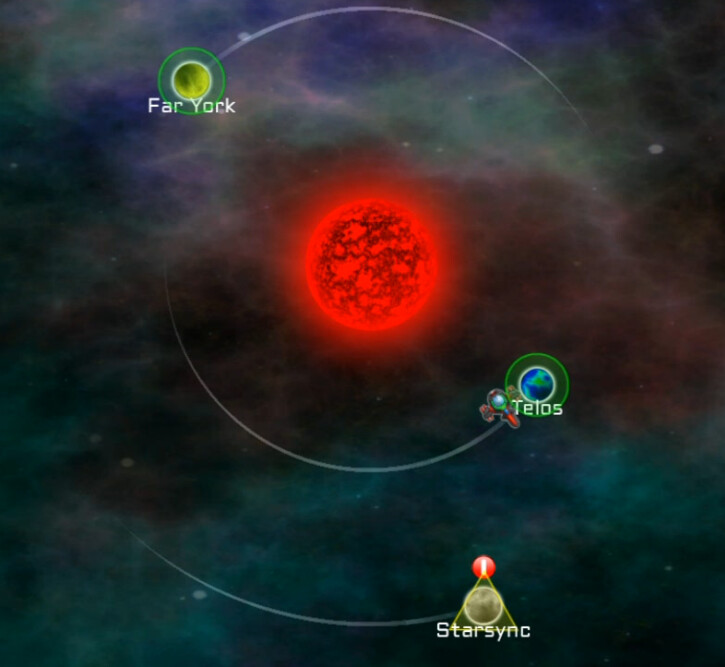
This is just to show something else which wasn't planned. Look at the yellow triangle over Starsync, our next destination. I started this mission and had a technical issue so I re-started the recording. Apparently this graphical effect is shown when you have a save in progress(autosave in this case) on the planet in question.
When this happens, you get an option to load the file(no) or restart world(yes) ... but for some reason it doesn't automatically restart the briefing when you restart. So I had to trigger that myself.


We're doomed. All is lost.


Yes, of course. Lia can rebuild an entire starship multiple times(able to retain her human cargo in cryostasis but not basic weapon schematics in the process), but can't delay routine 'gel circuit' maintenance for two minutes.
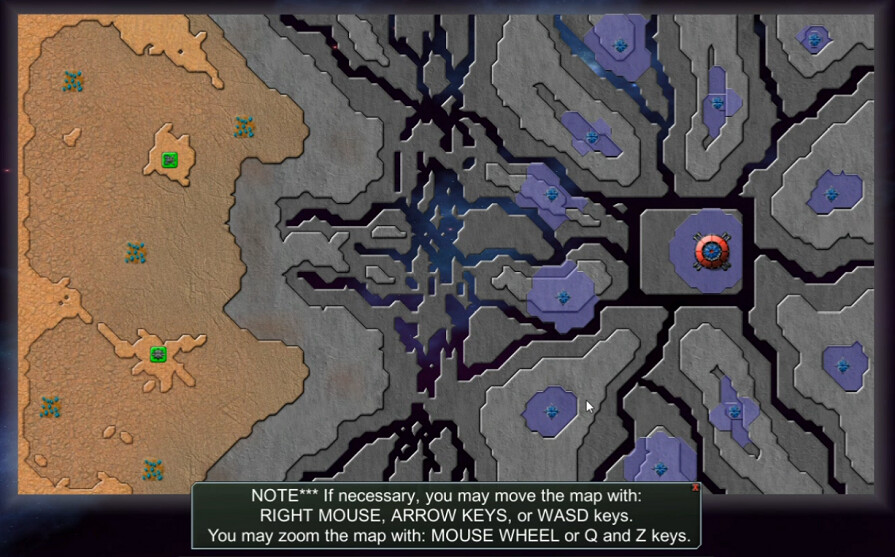
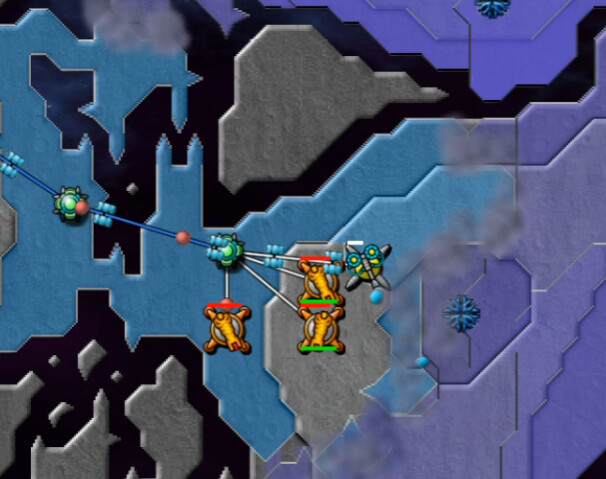
The discussion about ripping the planet apart appears to have been quite literal. One wonders how it even manages to maintain shape. And CW3 is compelled to remind us of basic movement controls.
There's a ton of emitters on the right side of the map. All of the outlying ones produce 5 every 0.5 seconds; the one with the Warp Inhibitor is twice as strong(20 per second).
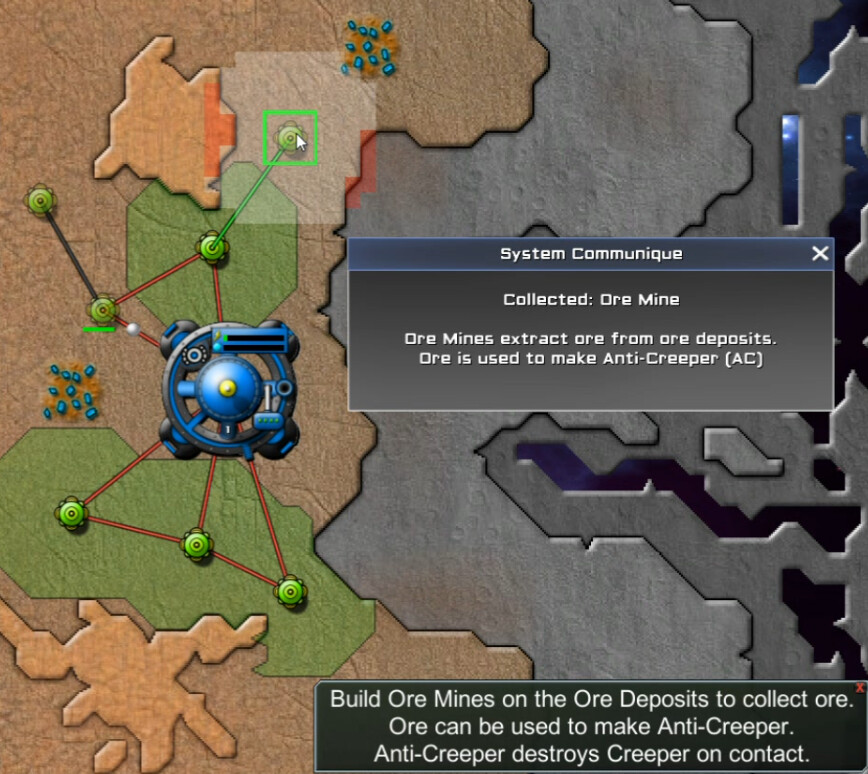
We take the decent ground to the left, and almost immediately get access to the ore resource for the first time.
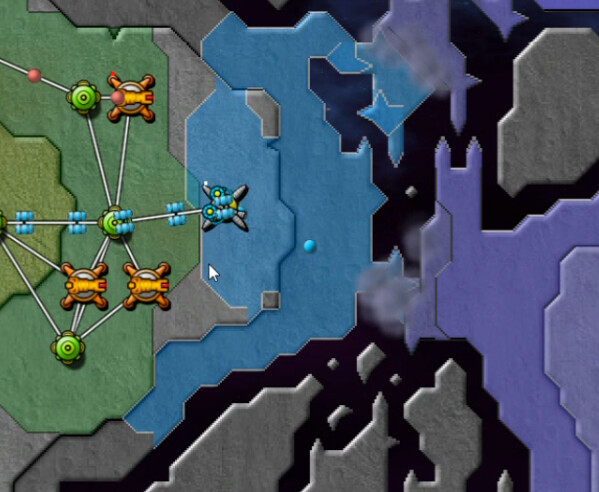
Also this. It apparently has a new version of the Maker's Vacuum ability from CW2. That could be useful at some point.
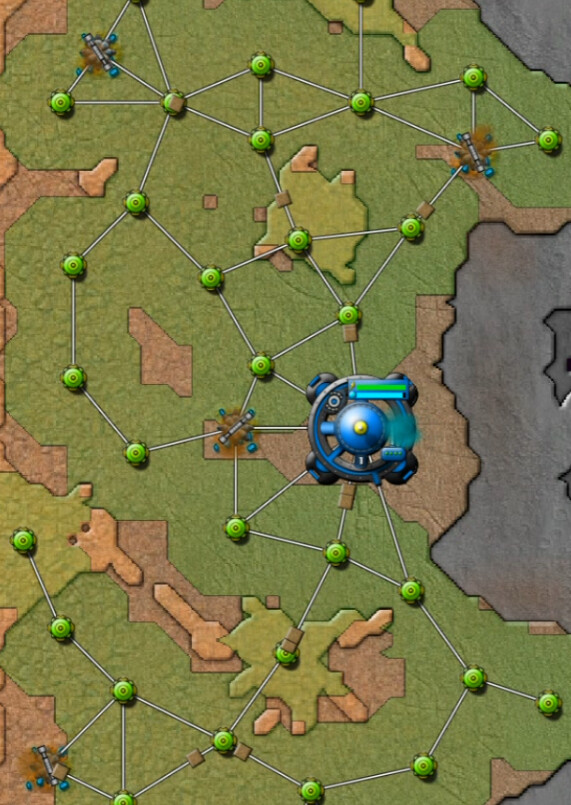
There are several of those bluish ore deposits around, and once a network is built out with mines, they send brownish ore packets back to the Command Node. There is a significant amount here, but it does appear that all such deposits are limited just like in the last game, so we need to be intelligent about how we use it. Ore Mines are moderately expensive, at 25 energy each.

I put up a single Pulse Cannon for defensive purposes further up, but I plan on making my push at the bottom here where the sprayer is. That seems to offer the best approach to the inhibitor.
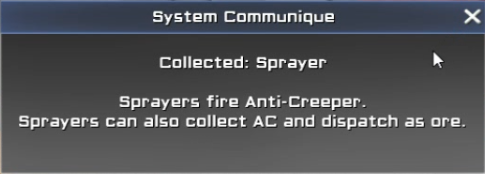
Once in position, the Sprayer gets right to work. AC is now blue instead of white because reasons. It does the same basic thing as before, acting as a nice protective barrier to help push forward or hold back the creeper attack. The Sprayer will only shoot it at creeper within its range, so it will stop operating if it is too successful, and I'll have to move it.
Some relays and a few more cannons are more than enough to gain a foothold here.
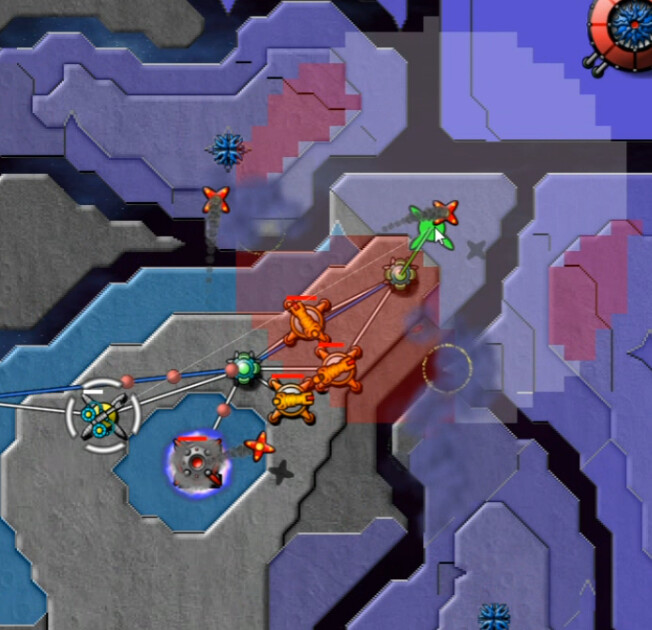
After nullifying that emitter, I put a Mortar there since it's the only thing that can effectively shoot out of the crater. Once again a major boost in rate-of-fire and range can be observed. It's time to move in on the primary target. About 10:30 here on the video for the mortar action.
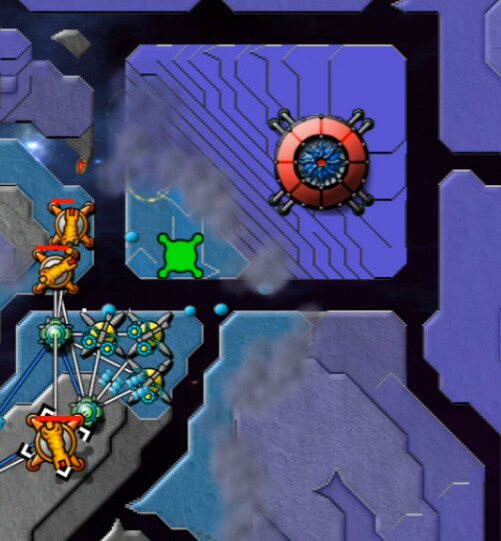
Adding a couple more Sprayers, probably one too many based on our supply, helps create an incursion onto a corner of the central platform. Then I'm able to send cannons over there to finish the job.
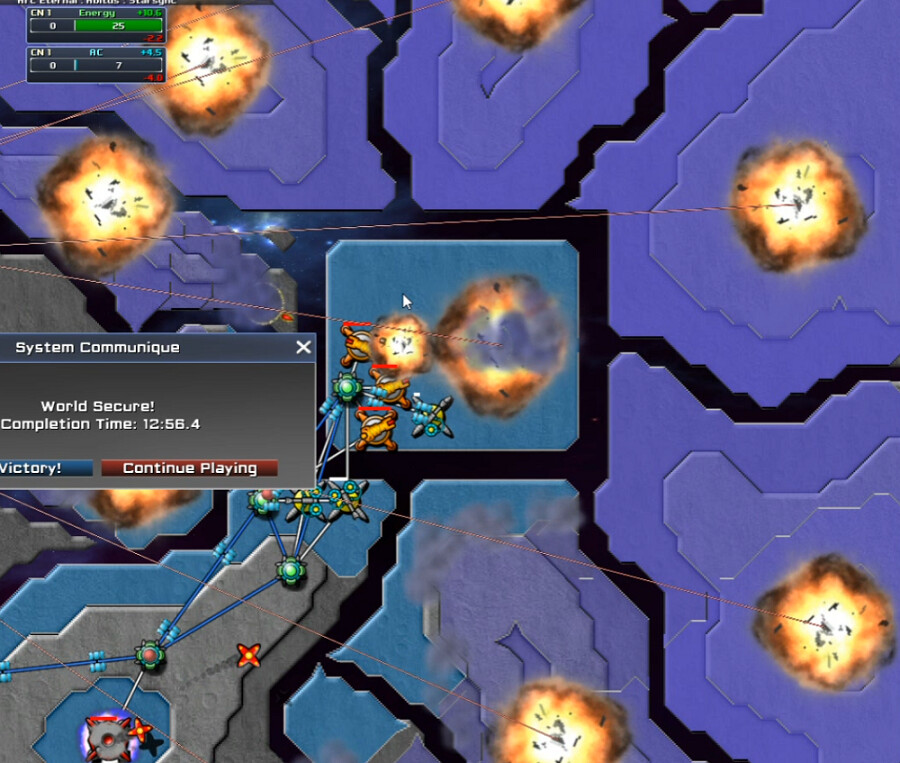
That's a lot of emitters dying at once ... 10 of them I think, not all of which were on-screen here. We have finished a second sector and will wave goodbye to Abitus next time.