Part 3: Wherein we break into some poor bastard's castle just because we can.
Chapter 2: Wherein we break into some poor bastard's castle just because we can.
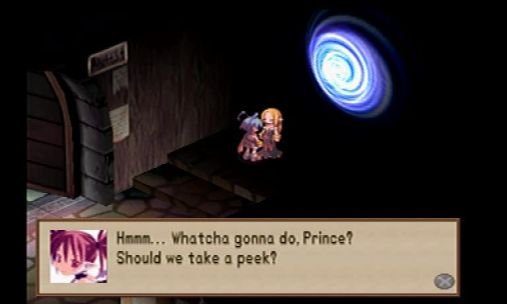
Last time on Disgaea, our Heroic Prince woke up from his refreshing nap to find his father dead and the Netherworld in chaos. However, no demon is an island. What good would an Overlord be without people to lord over?
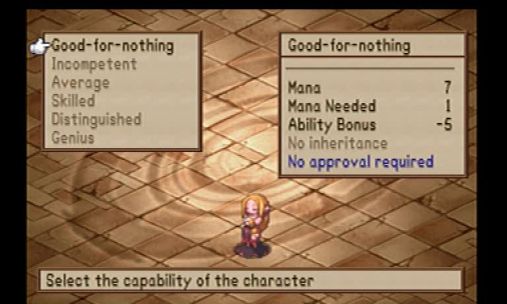
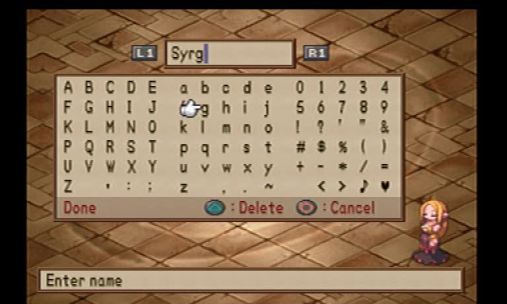
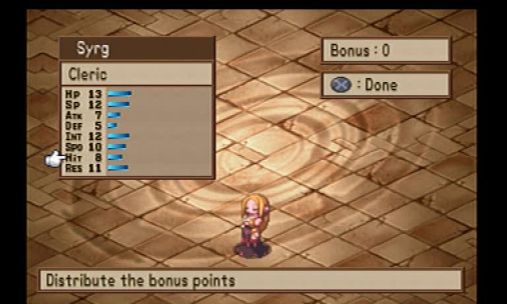
So, this is the character creation sequence. We pick a class first. Then we choose how strong a character we want to make. Stronger characters cost more mana, and right now we're a bit mana poor. When creating a character you get points to put into their base stats. Good for nothing and incompetent characters, however, actually get negative points. Base stats determine the stat progression as characters level. Higher base stats translate to much higher stats at high levels, which means that we'll want to do something about the base stats of these characters later on. More on that as we get more mana.
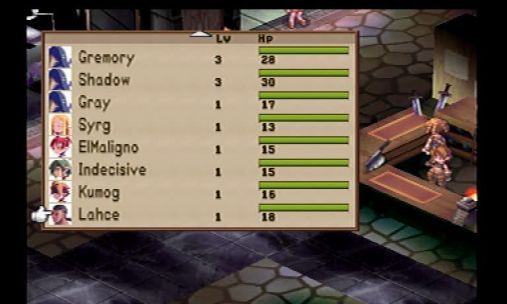
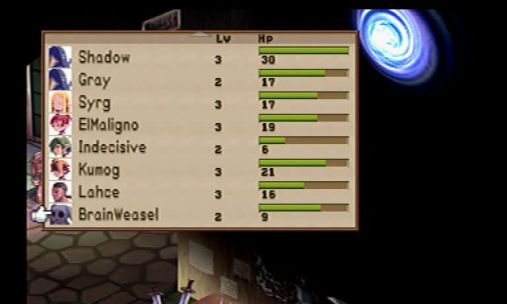
So, this is the roster as it stands before the first area. Let's go talk to the Dimensional Gatekeeper.
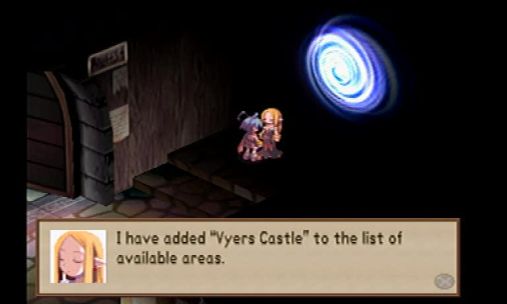
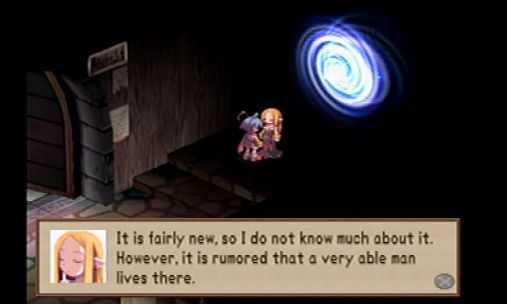
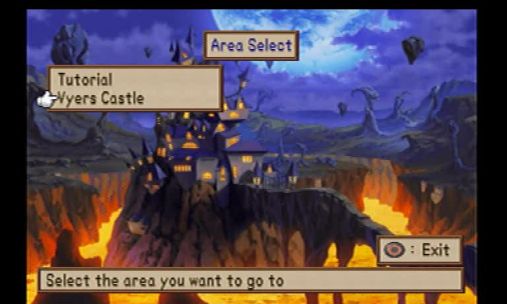
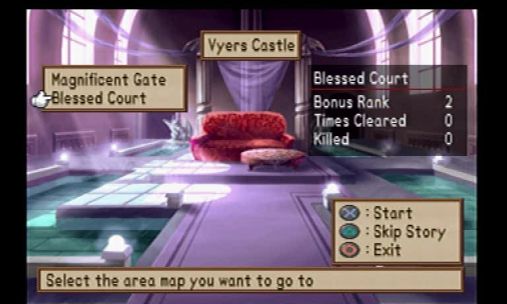
So, it seems we can go to Vyers Castle now.

Map 1: Magnificent Gate:
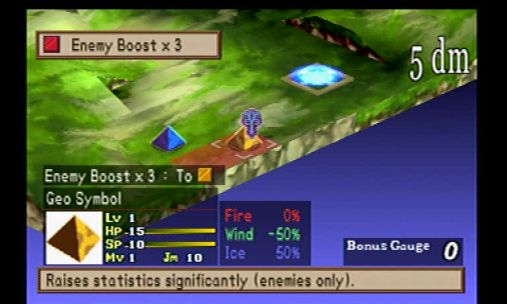
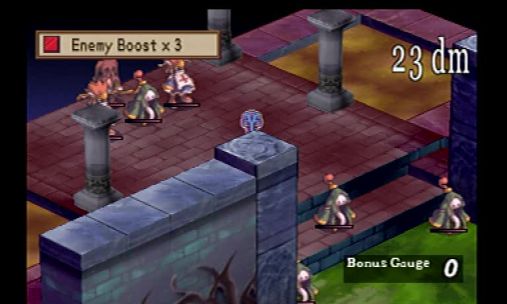
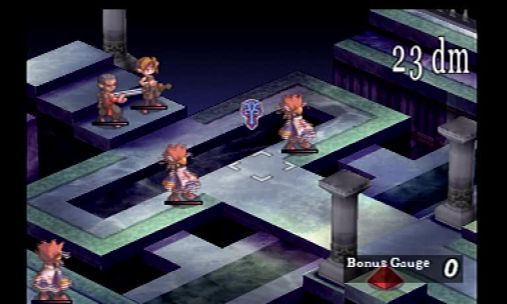
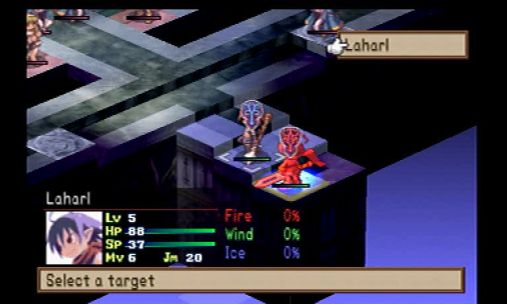
This is the Magnificent Gate. The enemies are low level ghosts, two faeries, and a red skull. But what's this? The inside of the castle is filled with a sort of red glow. And if we scroll over it, we see that it provides 'Enemy Boost x3'. Further investigation suggests that the source is that little pyramid thingy. That's a Geo Symbol, and the colored tiles are Geo Panels. So, what happens if we kill that Geo Symbol?
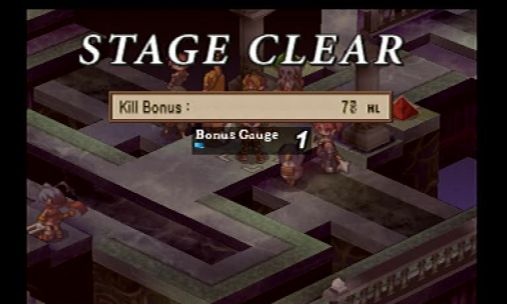
Not only does the enemy boost go away, but the panels it was on switch to the color it was! Furthermore, we get a bunch of bonus meter out of that. The bonus meter fills up as you change Geo Panels and as you attack enemies. At the end of the level you get items, HL, and experience points.
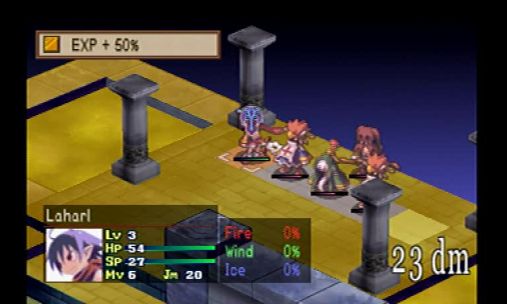
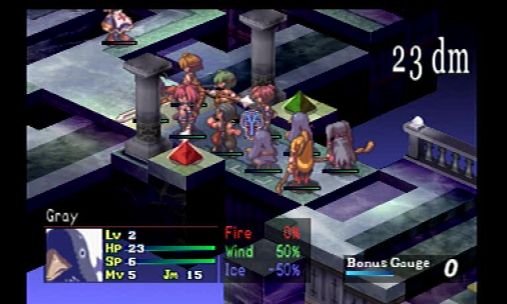
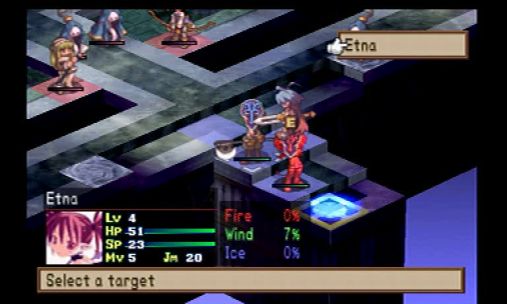
Now, that blue Geo Symbol meanwhile provides 'Exp +50%'. That sounds like a useful sort of thing. But how to get it onto the now yellow Geo Panels?
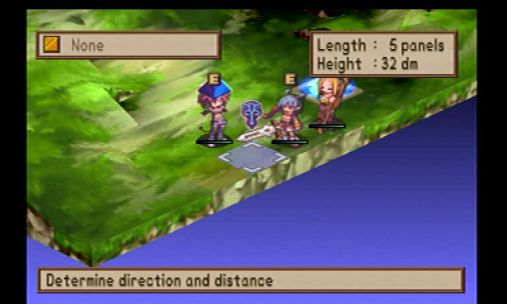
Non-monster characters can lift and throw objects and other characters around the map. This is crucial to many of our endeavors, as we'll see later.
While we're here let's check out some skills
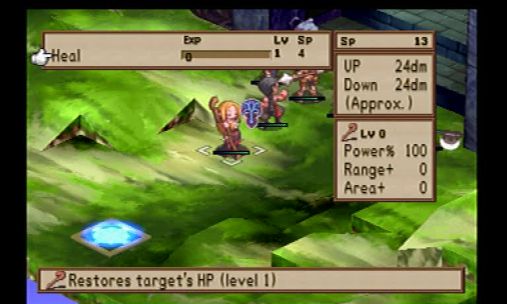
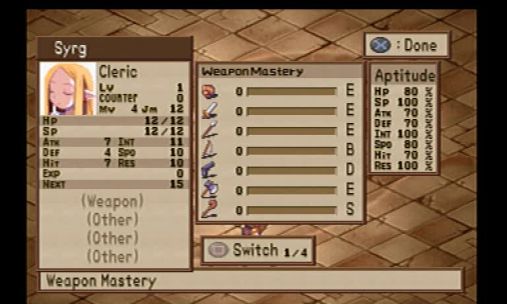
Clerics have heal. It heals the target. Incredible, I know.
Laharl, meanwhile, has picked up a Sword Mastery skill.
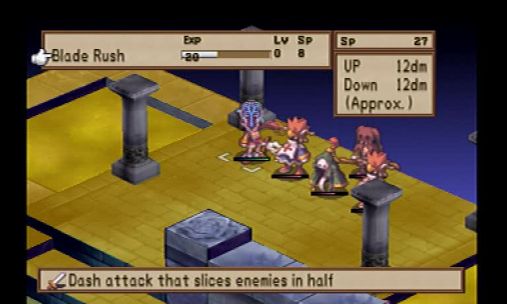
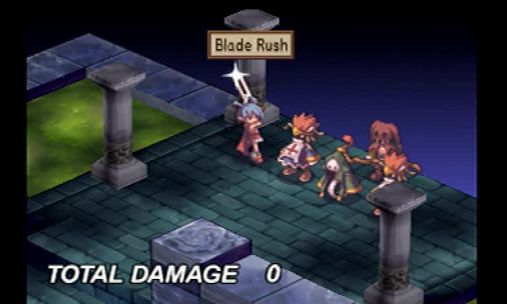
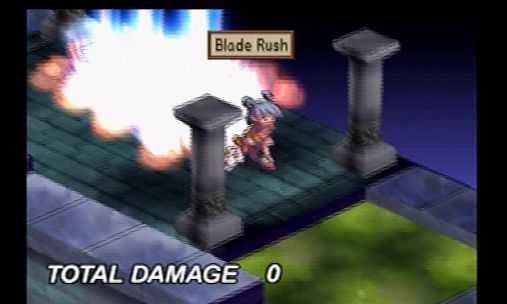
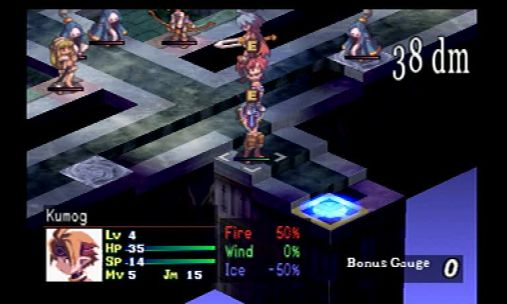
Blade Rush is the first sword skill. When using a skill, it's important to note that the blue panels are target squares, and the yellow panels are squares that must be open but are not targeted. Pink panels show the range an ability can be targeted in if it isn't a melee skill.
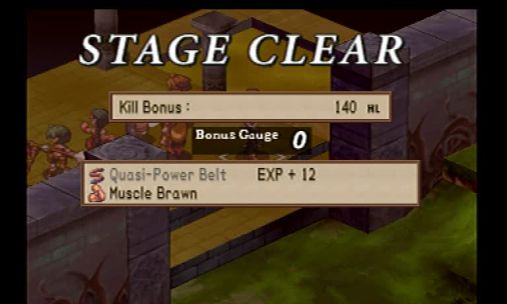
And Magnificent Gate is complete. See that first item on the bonuses? It's glowing silver. That means it's a 'rare' item, and has higher stats than a normal item of the type. Belts increase attack at a small defense penalty, by the way.
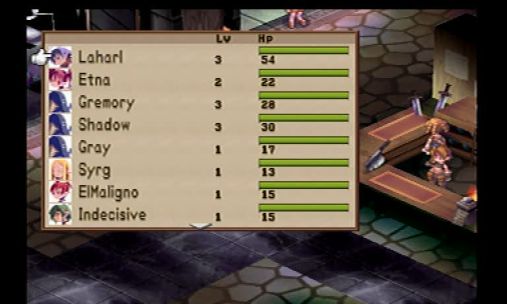
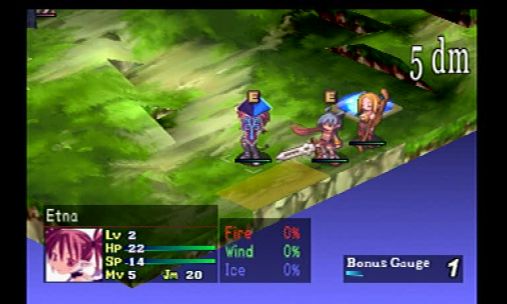
We have a new addition to the roster after the last fight, by the way.
Why did I wait until after playing the first map? Reasons. It'll all make sense after the first thing I do in Chapter 3.
Now, on to Map 2: Blessed Court
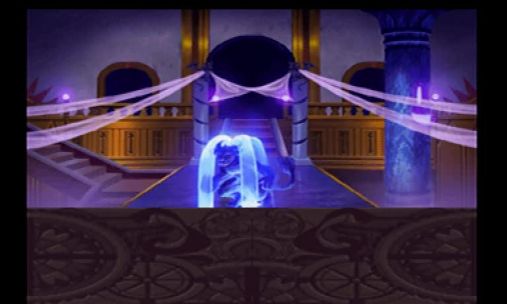
We get a cutscene before this one.
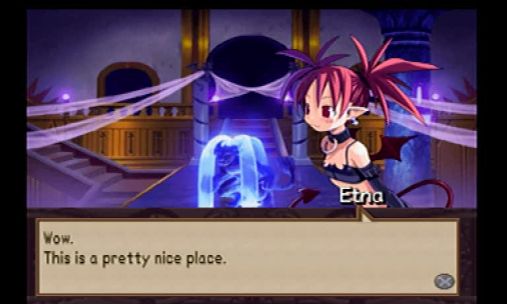
 Ah! That vase would sell for a lot.
 Fool! That makes us petty thieves.
I can't disgrace the name of the Overlord. I have to be impartial and...
Impartial and... what?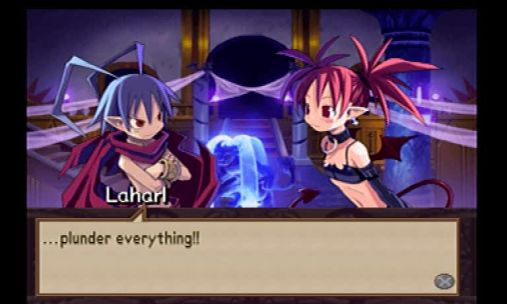
 Hey there, you atrocious fiend! You cold-blooded monster! A demon among demons! Hmph... Quit complimenting me so much... It's embarrassing.
Now, listen up! I want you to pillage and plunder anything and everything in this castle!!
This map is pretty simple. We start out surrounded by some weak level one ghosts, who are really no threat at all. We move ahead and there's some panels with defense +50% and +1 attack (you repeat whatever action you take on them basically if possible) that we can stand on to butcher the enemy if we want.
Not really much to say, I plowed through them.
So let's move on to Map 3: Corridor of Love
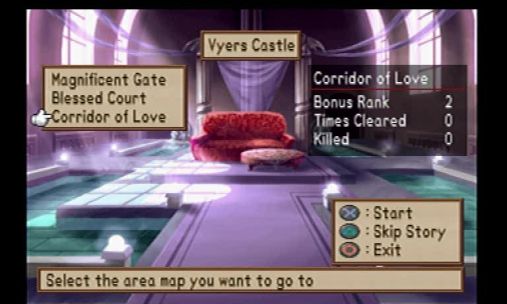
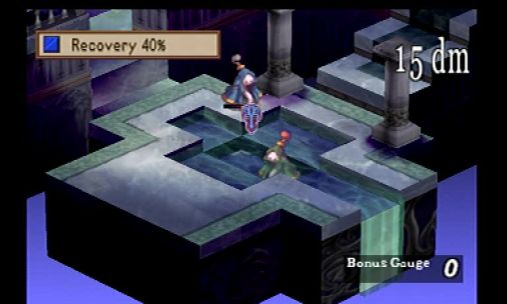
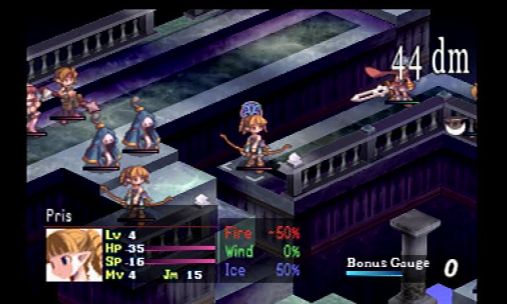
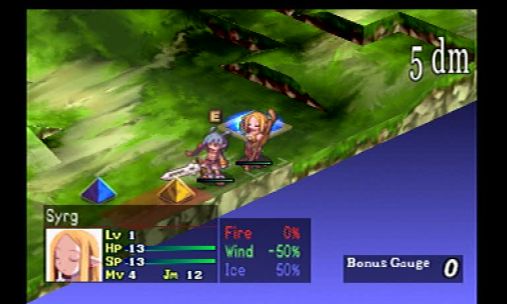
This map features a few interesting things. There's a pool that provides 40% recovery every time the turn changes. It also introduces enemy Archers. You know how I said bows aren't as good as guns? Well they're still pretty nasty, especially in the hands of archers. We'll want to kill them as quickly as possible, and ideally we'll lead with Laharl, who can take a hit or two.
So, I'll showcase a few of the new skills we've picked up while I'm here. At level five Laharl got the first of his unique skills: Blazing Knuckle.


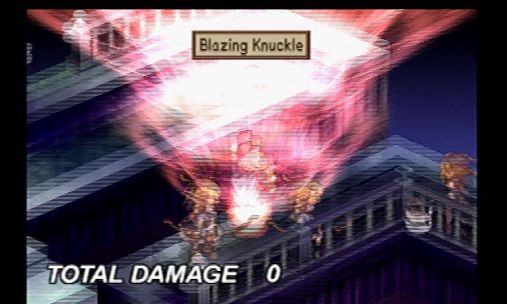
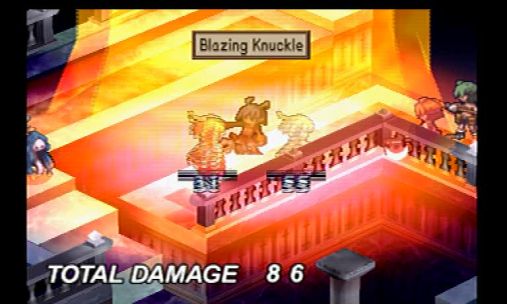
This does some pretty nice fire damage to the four tiles directly adjacent to Laharl. It's not as good as his Overlord's Wrath, the next unique he gets, but it's pretty solid when you are surrounded.
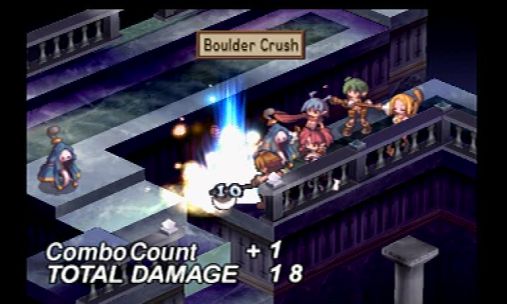
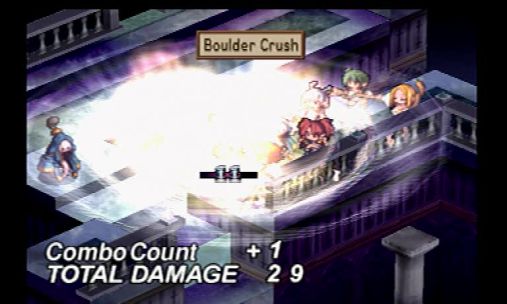
The first Axe skill is Boulder Crush, which does two hits on the target. It's not really THAT much stronger than a regular attack to be real honest, but it never misses, which is what you're really looking for in an axe attack.
And, a few brutal beatings later, the Corridor of Love is complete. The whole party is around level 3 or so. If you're just playing through for the first time, I'd highly recommend playing through the first few levels a few more times to grind. I, however, am far too arrogant to admit how much of a threat the first boss is, so I've only replayed the one map, the first one, and that was to get my Blue Skull up a bit and accomplish another goal related to him.
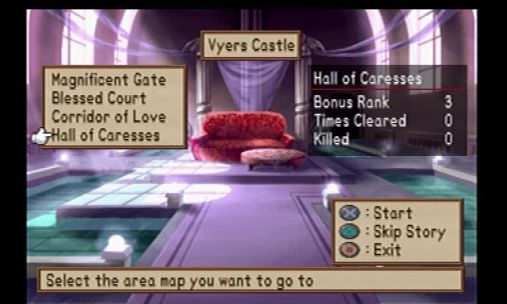
Let's go on to Map 4: Hall of Caresses
We are greeted by yet another cutscene:
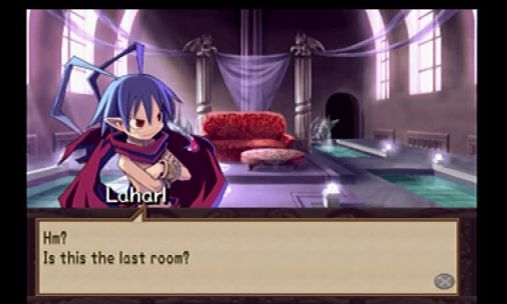
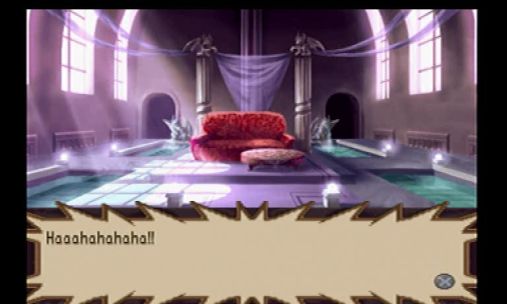
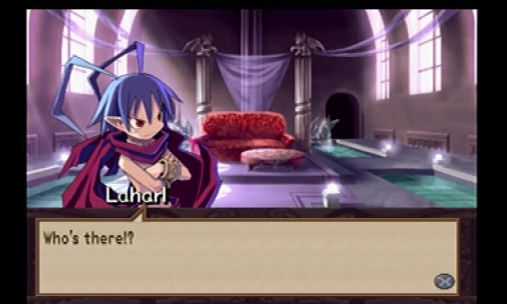

Voice: But, I give you credit for your bravery.
Haaaaaaahhhh!!
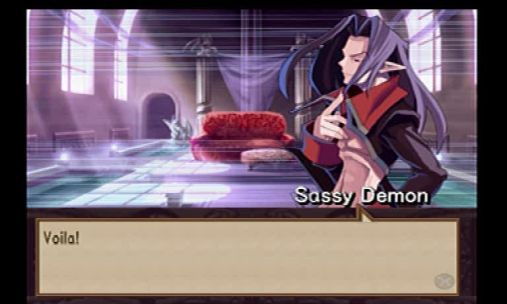
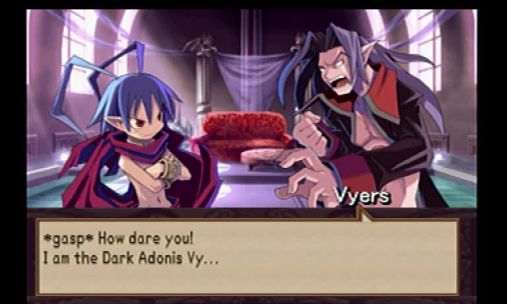
 ...Forgive moi, I must leave you in awe.
My name is Vyers. I am the lord of this castle.
Vyers? Isn't he the demon that's been knocking off competition for the throne...? Oui. That is correct, mademoiselle.I am an aristocrat with both strength and beauty... They call moi the "Dark Adonis".
...Young man. I assume that you are the son of the late King Krichevskoy, are you not?
That's right. I'm Laharl, the heir to the throne. The heir to the throne?Hah! That is history, dear boy. Your existence has been forgotten...
Are you blind to the horde of demons lining up to fight for the throne?
So? I'm the heir. That's all that matters.If they've forgotten, then I'll just have to make them remember.
I see. So you saw my potential and decided to strike first against moi...Such wonderful intuition... Well played, son of Krichevskoy.
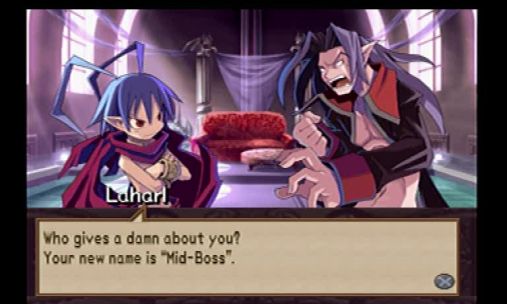
I've never even heard of you. It's only a coincidence that we're here.You're just a tiny stepping stone on my path to the throne.
 Unforgivable...
That is unforgivable!!!!
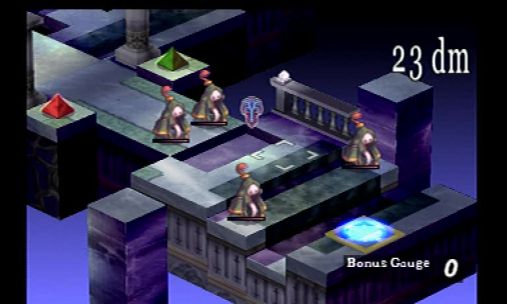
And now we're fighting Mid-Boss. Let's check out this stage, which is by far the trickiest yet.
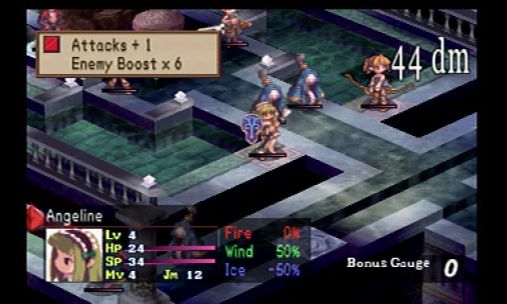
This green mage and archer both have Boost x6 and Attacks +1. That's what we like to call a Bad Thing. Where are they getting it from? Well, it's those Geo Symbols over to the side that you can sort of see behind the mage's status screen. They're awfully far from the Base Panel, though, and we don't want to have to weather the attacks on the way over. How to deal with it?
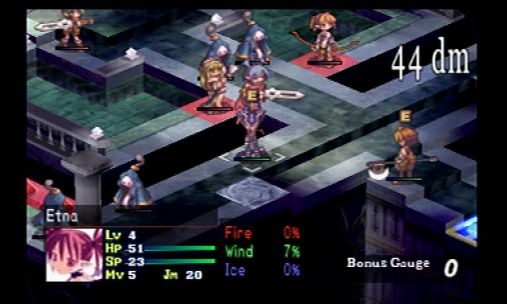
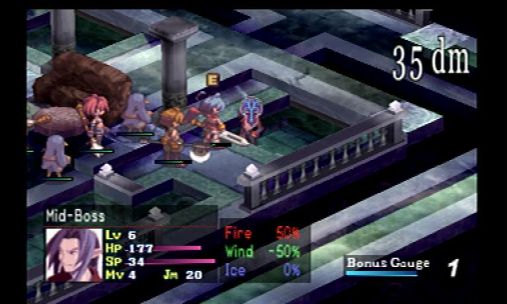
This little trick is a Tower Throw. You can pick up people who've lifted someone else and chain the throws for distance. This lets you travel long distances in a single turn to destroy punishing Geo Effects.
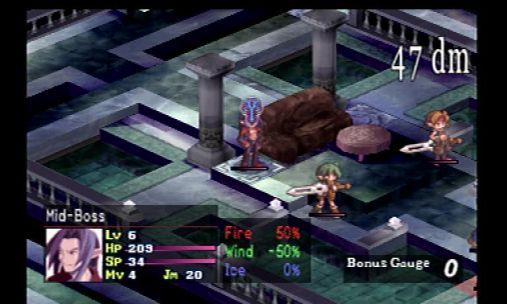
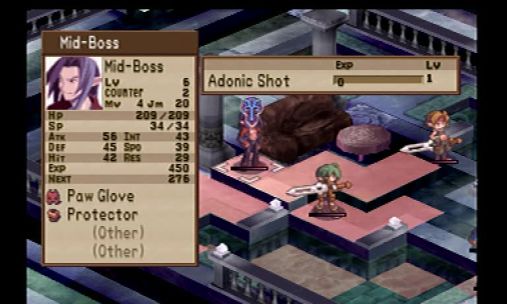
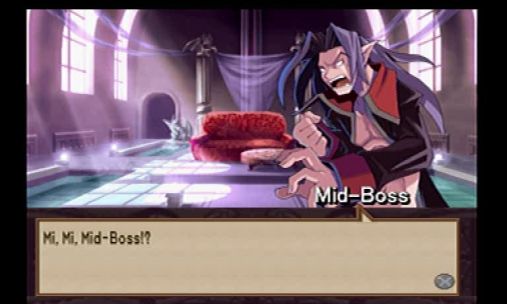
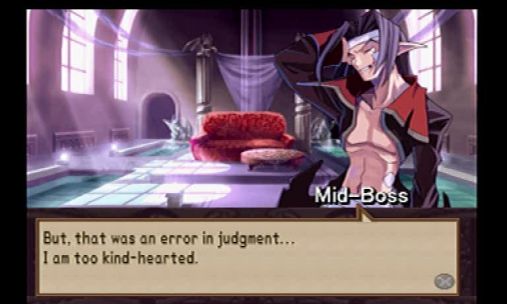
Here's Mid-Boss. He's actually reasonably tough. Amusingly, his class is also Mid-Boss.
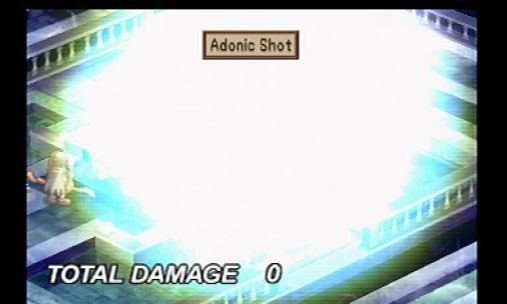
Here's Mid-Boss's special attack, Adonic Shot. It hits really hard, but luckily he doesn't have the SP to spam it.
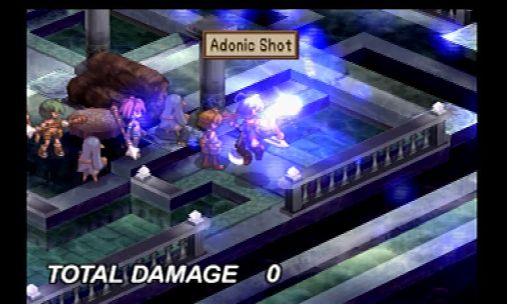
We lose a few guys, but Mid-Boss is the one that ends up on the floor at the end of the day. We're also not too worried because it's the end of the Episode, and we get a full heal between Episodes.
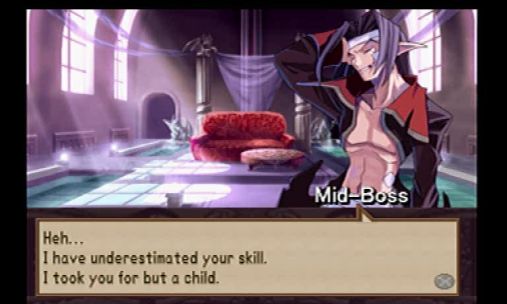
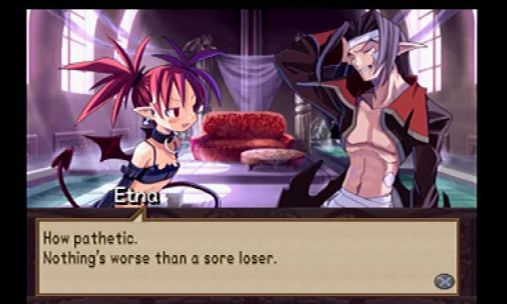 Ugh...! What repulsive little brats you are.
I shall come to return the favor, so do not forget moi!!
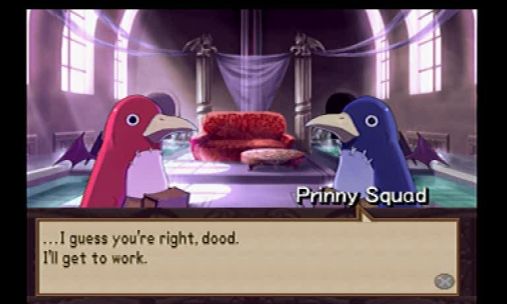
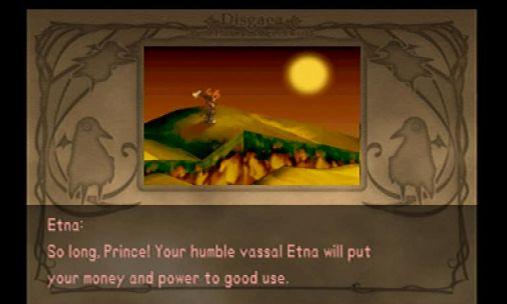
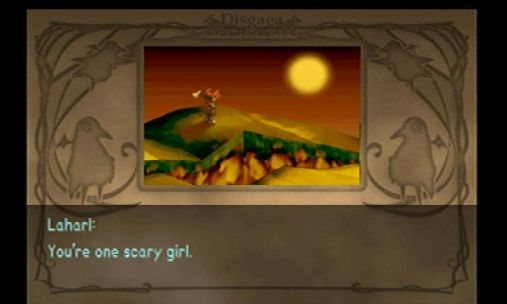
Alright, let's collect the spoils and head home. Uh... Prince, I need to use the restroom. Master Etna ran away....Which means... Dood, we're gonna hafta carry all this?
We're Master Etna's vassals, not the Prince's...
Etna's vassals are my vassals. And my vassals do what I say.Now, get to work.
Dooooood...
Meanwhile...
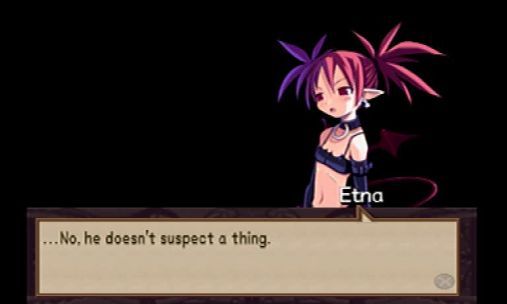

Voice: Are you sure you can deliver on that promise?
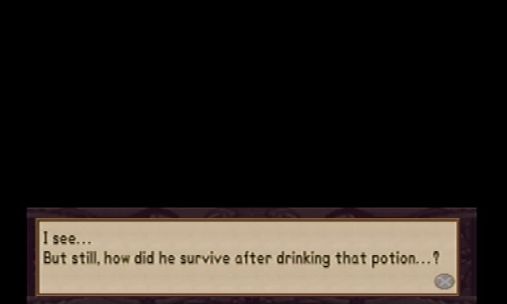
...Yes. Remember, in exchange...Voice: I know. When I reign supreme as the Overlord, I shall return it to you.
......Voice: Hmhmhm...
Hahahahahaha!!

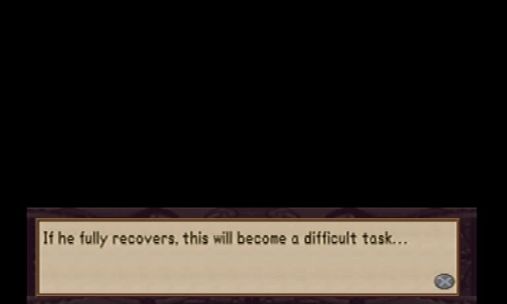
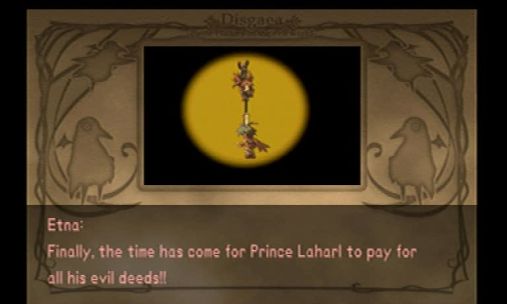
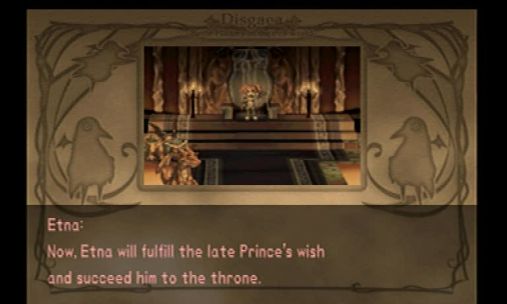
And now get ready, here it comes. Etna does the Next Episode previews:


So, now we are done Episode 1. Next time on Let's Play Disgaea: Episode 2: We meet the worst assassin ever, and get all sorts of juicy backstory. Next post will mostly be the Opening stuff for Episode 2 (which I already have, so I may do that later today) since I think it works well to separate that from the maps. There's more cutscenes in Episode 2, so I'll probably have to split the maps into two updates so as to not end up with updates quite as large as this one.