Part 18: City of the Yellow Mud Toad
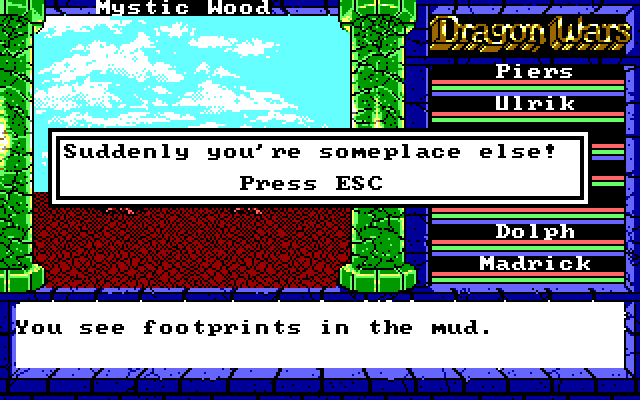
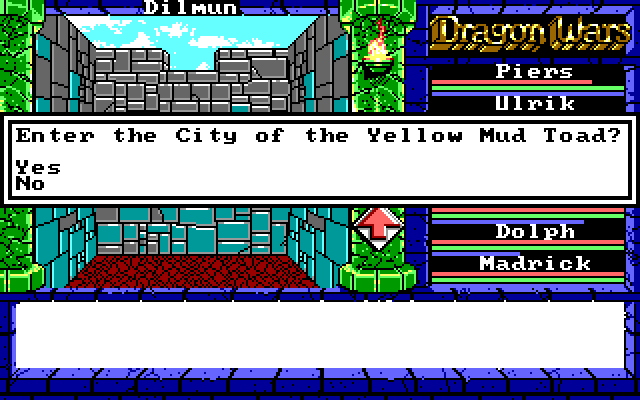
Update 18: Quag and the City of the Yellow Mud ToadAfter a quick trip to the Underworld to recharge our magic, it's time to make our way to the City of the Yellow Mud Toad. There are two ways to get to Mud Toad; we can cross the bridge to Lansk and then cross another bridge to get to the island of Quag, or we can use the Mystic Wood's transportation nexus to zap over to Quag directly. We'll cover the Lansk path when we visit Lansk, so for now we'll just teleport on over.
Before visiting the city proper, let's swing by the Quag Information Bureau.
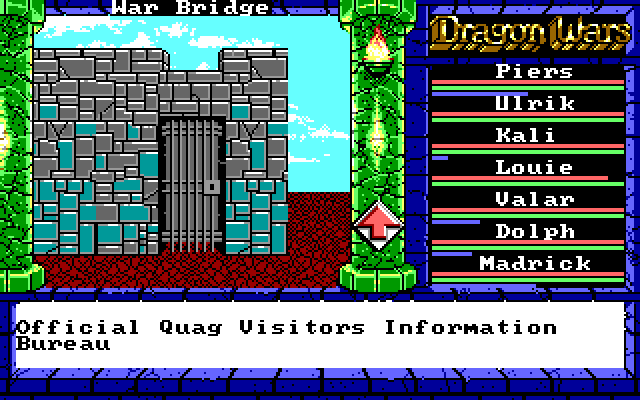
We'll just walk in here and listen to some exposition before going to Mud Toad...
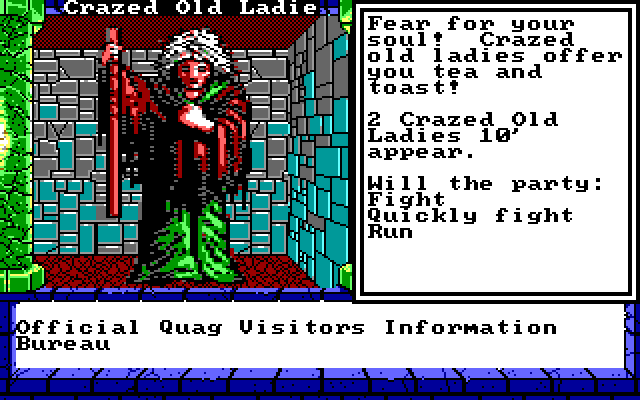
Wait what? Why is there a fight here? Why is it with two old ladies? This makes no sense!
Well, nothing to worry about, we can take them...
DUDE WHAT

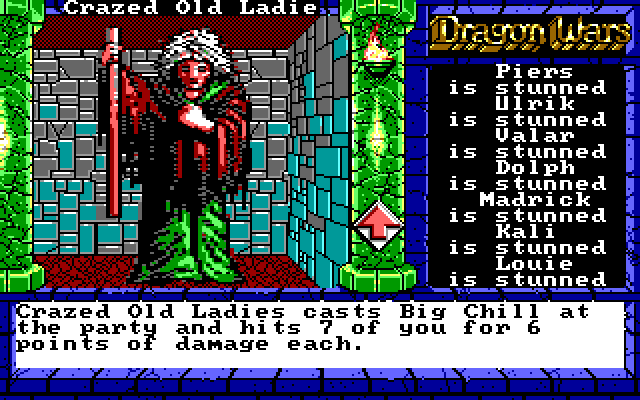
For the record, it's possible to win this fight. Surely we must get a significant reward for defeating two enemies with Big Chill, right?!
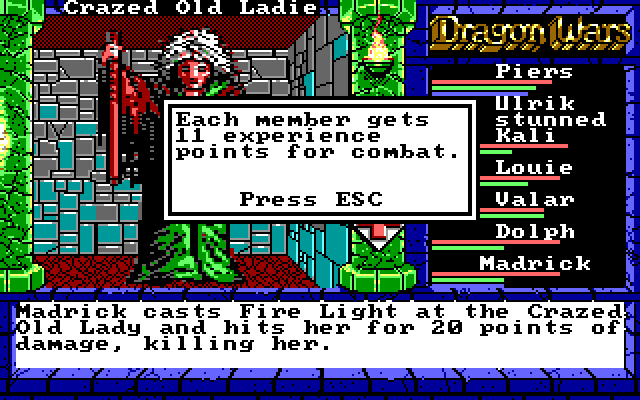
Nope. Worthless. Just run away.
So, the Crazed Old Ladies fight actually shows up randomly. Sometimes we get the fight, other times we get Paragraph 47:
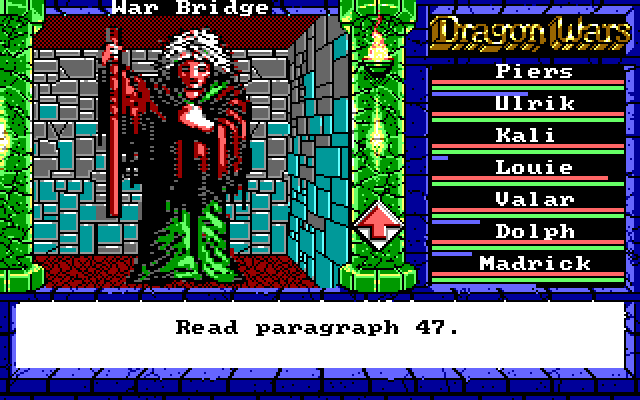
Paragraph 47 posted:
Near the bridge you find a run-down building. A sign above the door identifies the place as the 'Official Quag Visitors Information Bureau'. The building is every bit as run-down on the inside as out.
An ugly little woman with a cluster of purple eyes enthusiastically greets you. "Welcome to Quag, Isle of Luxury!" shesays. "I'm so glad you're here. We don't get so much business since the war." You learn that Quag's only city - the City of the Yellow Mud Toad - is sinking into the swamp and the priests of the Yellow Mud Toad are powerless to stop it. "But it's really quite safe for travelers," the woman is hasty to add. "Quag remains an isle of wonders, and many still dream of taking the vapors!" You judge the woman quite mad. Saying good-bye, you depart.
It makes a bit more sense if you see the paragraph first, and then get the fight if you come back, but you can get either one first, and in fact you could see either one several times before seeing the other. It makes a little sense, I guess, except that there should only be one woman, and nothing in Paragraph 47 explains why this crazy lady can cast the most destructive High Magic spell in existence.
Also, the "safe for travelers" bit is all kinds of nonsense. The primary reason? These assholes:
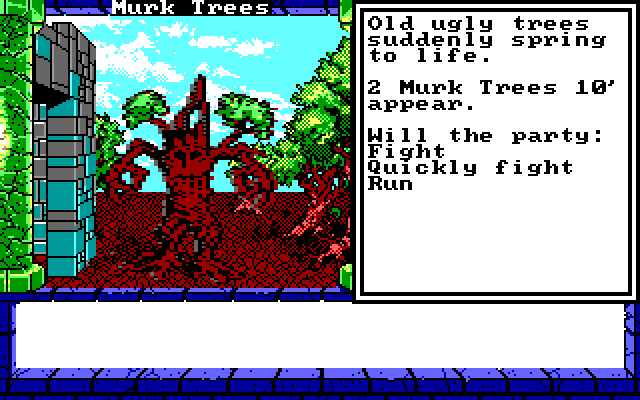
Murk Trees only show up one or two at a time, but they start out in melee range, do a ton of damage in one hit, and usually connect. Even with our high AC and decent HP totals, they can still sometimes one-shot kill a character:
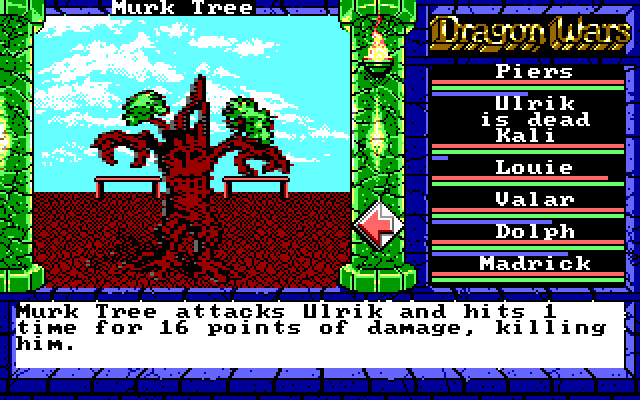
There is a trick.
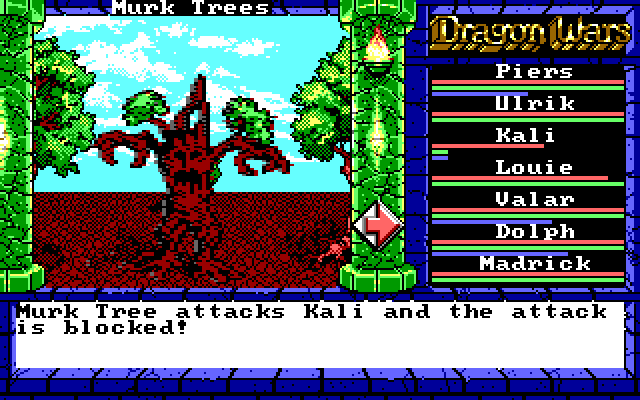
We can use Block Attack with our front-liners while our magic users kill off the trees with magic. Alternatively, save frequently and hope for the best.
Paragraph 29 posted:
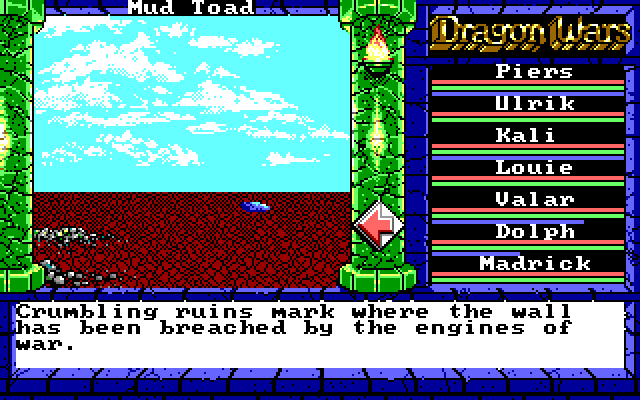
Perilously weakened from your long journey through the swamp, you at last enter the City of the Yellow Mud Toad. The walls here are sagging and brown with grime. The city smells almost as bad as the swamp that surrounds it. Still pools of foul water and puddles of bubbling mud clog the streets. The people of this city shuffle about on their tasks, letting your greetings go unheeded and refusing to look you in the eye.
The entire eastern section of wall is missing. Like the other towns, Mud Toad was utterly crushed by Namtar's army.
So this town sucks. And as we all know, there's only one thing to do in a lame town: get wasted!
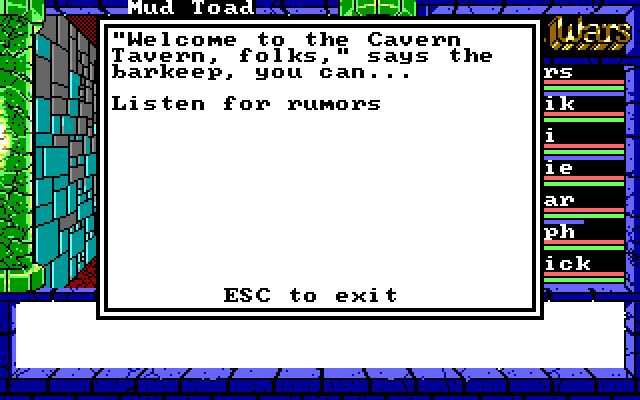
I always wonder where the "buy alcohol" option is. Do these taverns not want to make money? There was plenty of booze to be had in the Bard's Tale games, why not here?
Anyway, since there is no booze to be purchased and there are no allies to be recruited, let's hear the rumors.
Barkeep posted:
I hear there's a secret hatch within Lanac'toor's statue.
Huh, okay. You realize it's not so much a "statue" as "scattered petrified bits of the actual guy," right? Was there a secret hatch within the actual guy? Do I even want to know how this is supposed to work?
Barkeep posted:
I hear that the 4 parts of Lanac'toor have been strewn about the kingdom.
Well, we knew that already. We're even carrying some of him around with us!
Barkeep posted:
I hear that you should avoid the souveneir shop, the shop keeper's really weird.
We'll check out the shop, but there's actually nothing special about it.
Barkeep posted:
I hear that Namtar just can't be killed, someone's gonna need a powerful ally to be rid of that beast.
"Powerful ally." Who could that be?
Barkeep posted:
I hear that the temple keepers have some magic boots that can give you a lift over many water barriers.
This right here is the first and foremost order of business here at the City of the Yellow Mud Toad. We're going to need those boots. I don't mean they're nice to have -- we actually need them to complete the game. So we'll definitely need to check out the temple.
Barkeep posted:
I hear that Berengaria hangs out in a booth here from time to time.
Oh yeah! Let's talk to Berengaria before heading out.

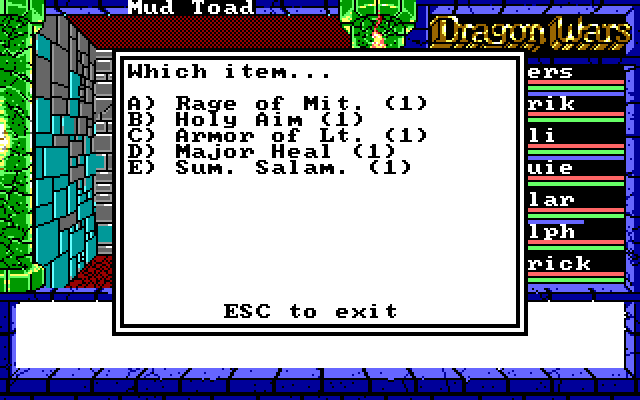
Rage of Mit. is Rage of Mithras. It's a Sun Magic spell which is like Fire Light, except it's better because it can hit enemies at a whopping 70' away. Very useful for picking off enemies from far away, though it still only hits a single target. We'll give it to Valar.
Another Major Healing is great to have, We'll give it to Dolph, so we now have two characters with full-party heal spells. Sum. Salam. (Summon Salamander) is every bit as useless as all other summon spells are at this point.
We'll take care of one other thing before going to the temple.

Paragraph 20 posted:
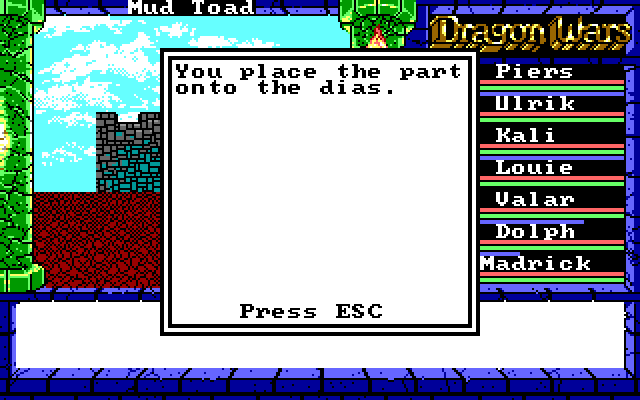
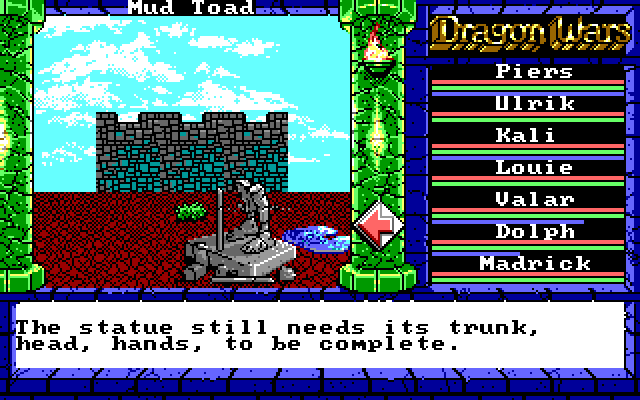
In the center of the ruined tower that occupies the heart of this city, you find a dais and what's left of a statue. The dais stands about four feet high, and, from the looks of things, appears to have been placed here since the tower was destroyed. A plaque on the dais reads, 'This plaque marks the original location of Lanac'toor's Tower and Magic Academy. This statue commemorates his feats." There used to be a statue atop the dais, but it has been removed, leaving only Lanac'toor's swollen feet behind. The statue appears to have broken off clean at the ankles.
Once again, this is confusing. If this is supposed to be the literal remains of Lanac'toor, why is it labelled as a commemorative statue? It's as if the game designers never quite figured that part out. In any case, we don't have all of the pieces of him, but we can drop off the arms here.
Heading north of the statue, we come to the temple:
Paragraph 17 posted:
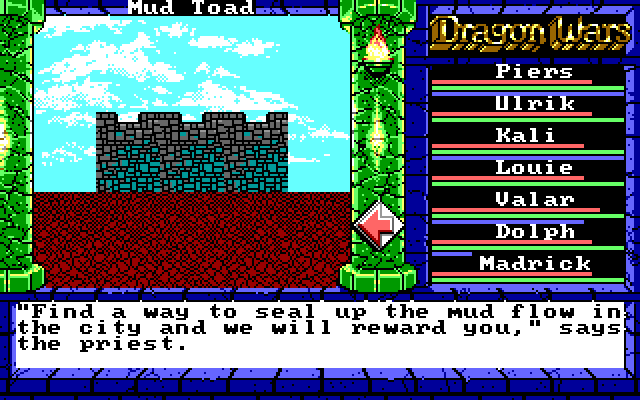
This is the temple of the Yellow Mud Toad, dedicated to the patron beast of this city. The temple is a run down and depressing as the rest of the city. The center of the temple is dominated by a huge statue of the Yellow Mud Toad, sunk fully a third of its height into the muddy floor of the building. "Everything sinks these days," a priest of the temple complains. "This whole city must be built on a lake. We'll all sink away to nothing if this keeps up!"
(The temple is actually a 3/3 enclosed area, despite how it looks in the image. 1980's graphics at their best.)
So, seal the mud flow, they say? How will we do that? Well, first off, we have to find the source of the mud. Let's investigate the outside walls of the temple.
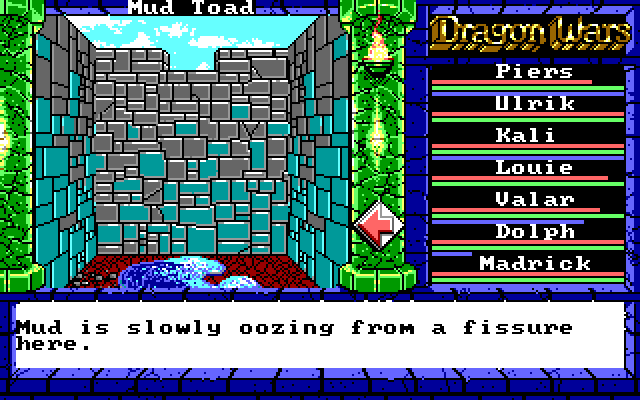
Here it is. We need to seal up the fissure in the wall's foundation. None of our skills include wall repair, but that's okay. Whenever you can't do the job right, just use magic! We have a Create Wall spell which we can use to build a whole new wall!

Paragraph 113 posted:
The priests gratefully accept your knowledge and help in restoring the temple. "Truly you are people of the Toad," says a priest. "Please accept these boots as our gift." You are provided with several sets of oversized golden boots. The boots are fashioned so as to resemble the flipper feet of a toad. It will be difficult to walk wearing such thing. "The owner of Magic Golden Toad Boots can leap great distances!" the priest says with pride.
Paragraph 113 is misleading. We're provided with one pair of Golden Boots, and they don't make it difficult to walk. They can be equipped, raising AC by 2. (We'll equip them on Piers.) But more importantly, it will allow us to "jump" in a few spots to access areas we would otherwise be unable to reach. Only one of these spots is strictly necessary to reach to win the game, but the other areas are useful in their own right.
That's all we need from the temple. There's one other thing to check out in the city, and it's easy to miss:
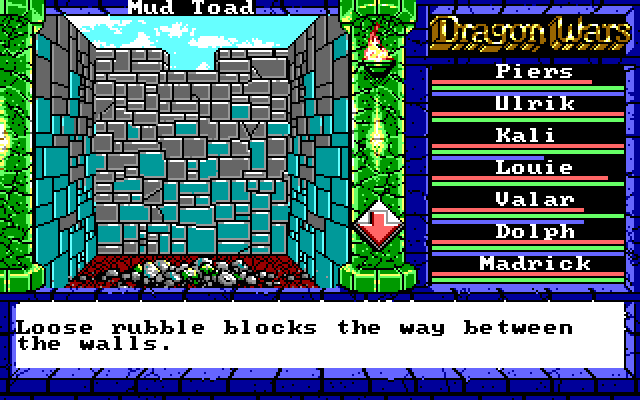
We can climb through the rubble here. There are actually two different walls where we can do this, but there's nothing behind the other one. Use Climb, and we manage to squeeze through the rubble...
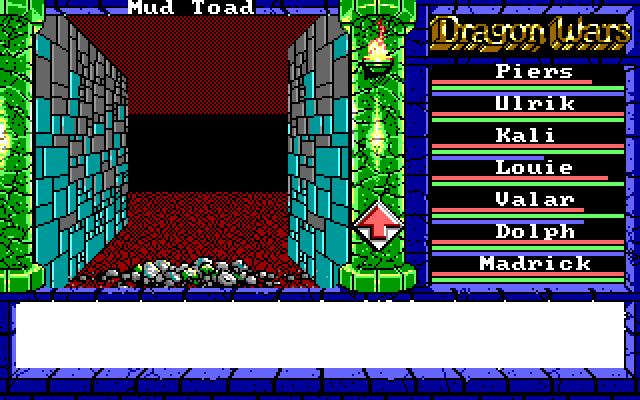
...putting us inside what remains of the Mud Toad city walls. From here, we can walk all the way around the walls until we're right next to the city gates.
Paragraph 32 posted:
Huddled in the shelter of the city's ill-repaired wall you find a militia of wild-eyed men. "Is the war over?" one of them asks. "Does Lanac'toor live?" wonders another. You are able to piece together something of the history of this place. The patron of the City of the Yellow Mud Toad wasa wizard named Lanac'toor. He occupied a tower that formerly stood in the center of town.
Lanac'toor quarreled with Namtar when a general ban on magic was announced, and war broke out between the City of the Yellow Mud Toad and Namtar's city of Kingshome. As soon as the war began it was over. Kingshome legions summoned a dragon from the swamp to shatter the walls of the City of the Yellow Mud Toad. Lanac'toor's tower was destroyed and the wizard himself was turned to stone. After Lanac'toor was killed, the enemy army withdrew, apparently unconcerned with the fate of the City of the Yellow Mud Toad. The citizens of the city are convinced the worst is yet to come, and thus maintain a feeble city militia as defense. It seems unlikely the city has anything worth defending. The men of the militia mutter to themselves as you leave.
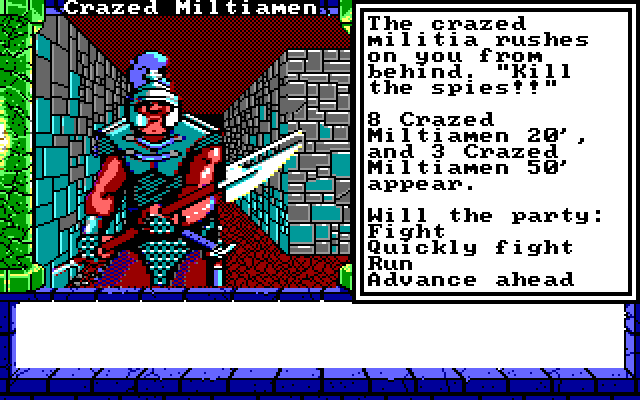
These guys are on the tough side, but they don't deal a ton of damage and they don't advance quickly, so we can hit them with Fire Blast and Big Chill while they're at a distance, then melee whoever is left.
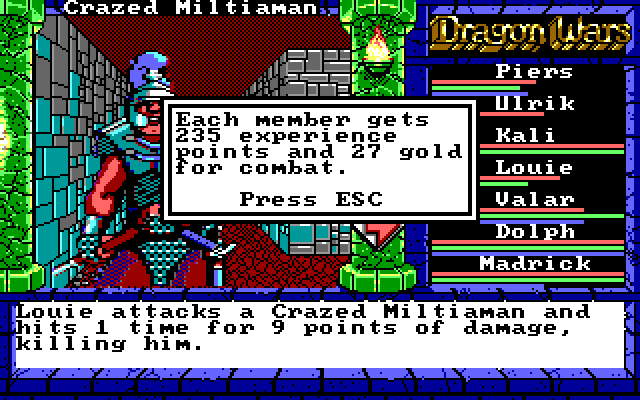
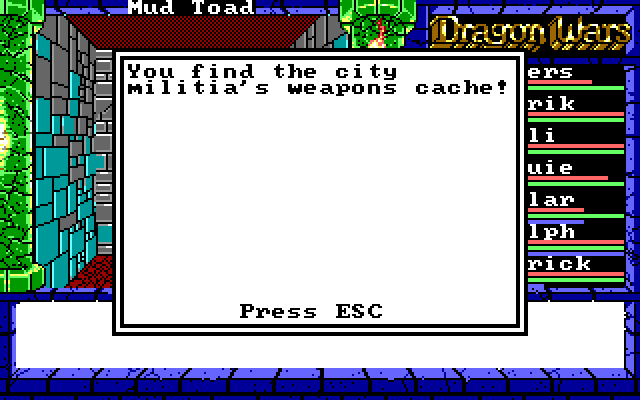
We take a few hits. Nothing we can't easily fix with Bandage. Just behind them, we find some pretty good loot:
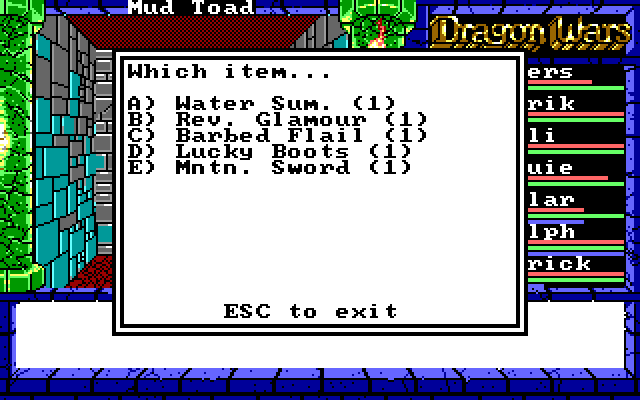
Water Sum. is Water Summon, so that's useless. Reveal Glamour is a spell to dispel illusions. It has its uses.
The Barbed Flail can hit for up to 30 damage (making it the strongest weapon we've found thus far) and gives +2 to AC (yes, that's armor class from a weapon). The first time I played through this game, it was tough to tell which weapons were better, but after just a couple of combats it was clear that the Barbed Flail was considerably stronger than other weapons.
The Mountain Sword (a two-handed sword) can also hit for up to 30 damage and gives +2 AC and +3 AV (accuracy). The catch is that it requires a Mountain Lore of 2 to equip. Fortunately, Piers has a Mountain Lore of 2 and some skill with two-handers. Also, you can equip both a "two-handed" sword and a shield in this game for some reason. So he still has a shield equipped. With some re-arranging, we get all of our front four equipped with high-quality weapons:
Piers - Mntn. Sword
Ulrik - Lance Sword
Kali - Long Mace
Louie - Barbed Flail
The Lucky Boots don't actually improve Luck, as there is no such attribute in Dragon Wars. They do raise AC by 1. That doesn't sound like much, but the Golden Boots are the only other type of footwear in the game, and we only get one pair of them, so these are the second best option. Kali gets them.
There's not much else to see in Mud Toad. On the way out, we stop by the souveneir shop:
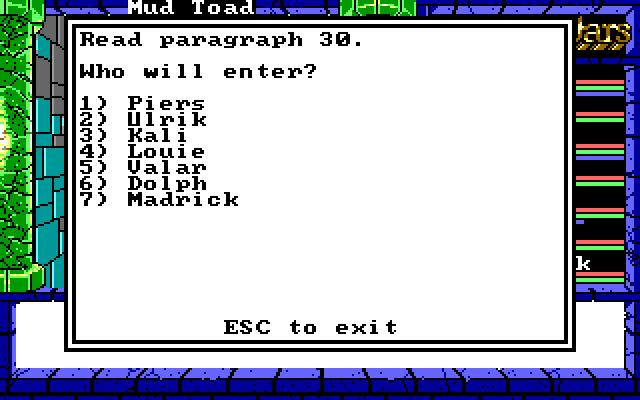
Paragraph 30 posted:
Sheltered at the base of the ruined city wall you find a funky little souvenir shop. A sign in the window identifies the place as "Your Lanac'toor memorabilia shop!" Intrigued, you enter. An unseen bell chimes an offensively sour note as you swing open the door to the shop. Inside you find a remarkable selection of Lanac'toor souvenirs. Images of the mad sorcerer are inscribed on mugs, bowls, plates, bookends, trophies, boxes, candles, and lanterns. Lanac'toor grinning face or family crest is embroidered on hats, ties, underwear capes, and belts...a store clerk even offers to personalize any item you select, sewing or engraving your name on your purchase. A very small portion of the shop is given over to items unrelated to Lanac'toor. Most of it seems like junk - bits of masonry from the city wall, tiny images of the Yellow Mud Toad, and odd scraps of metal. You are amazed by the single-minded devotion this shop shows to an historical figure so insignificant outside the walls of the City of the Yellow Mud Toad.
We can buy arrows and Dragon Stones here, but we don't need any, and the rest of their stock is useless (Shortswords, for example). They sell a Lantern which casts Mage Light -- we don't need it. They also sell an Ankh, which several FAQ's incorrectly claim is necessary later on in the game. We don't need that either.
So yeah, that's the City of the Yellow Mud Toad. We'll be back when we have the other Pieces O' Lanac'toor, but for now that's all.
Heading outside, there is one other noteworthy place on Quag. To the north of the island, we can find Smuggler's Cove.
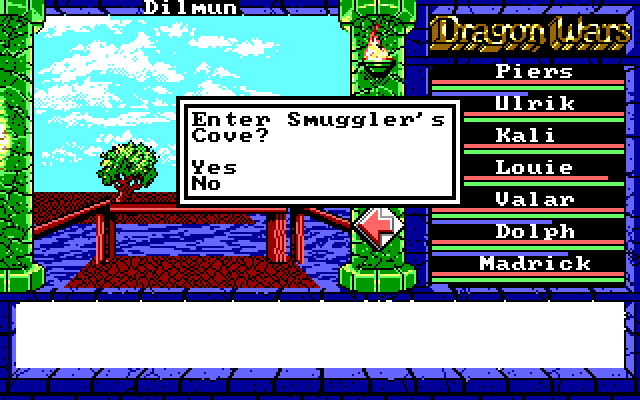
Perhaps Smuggler's Cove will be our next destination? Maybe someone there can smuggle us to the other islands in Dilmun!