Part 6: Walking Through Webs
EOTB 4: Walking Through Webs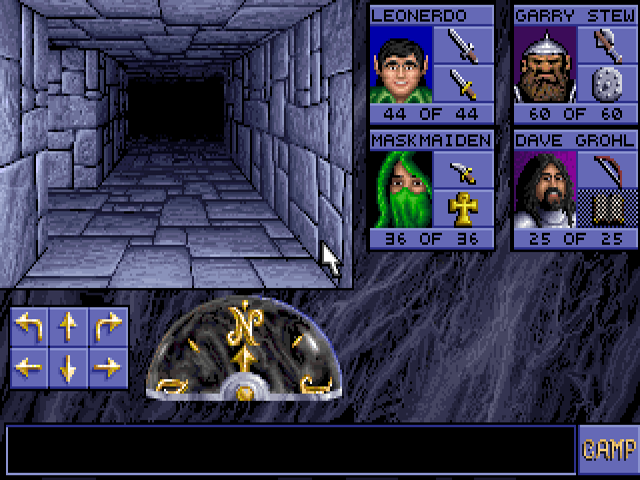
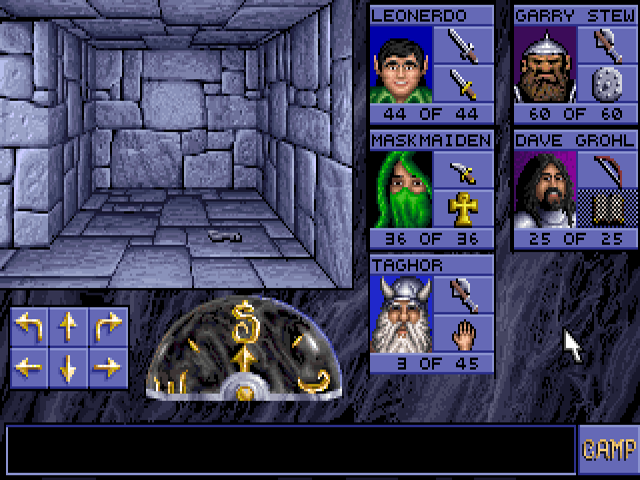
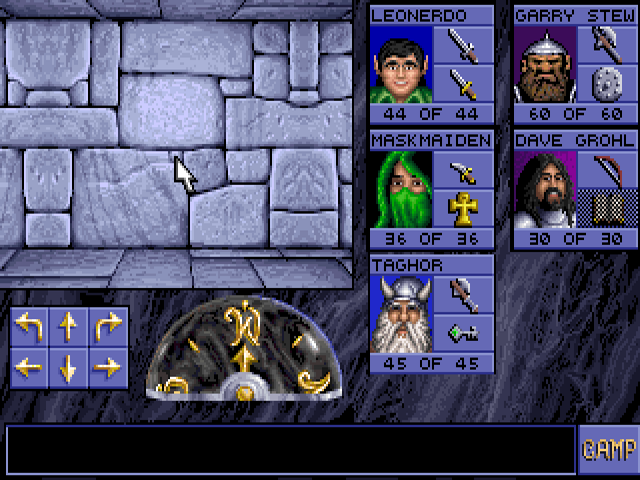
Entering the second quarter of the game means some new surroundings. After one step forward:
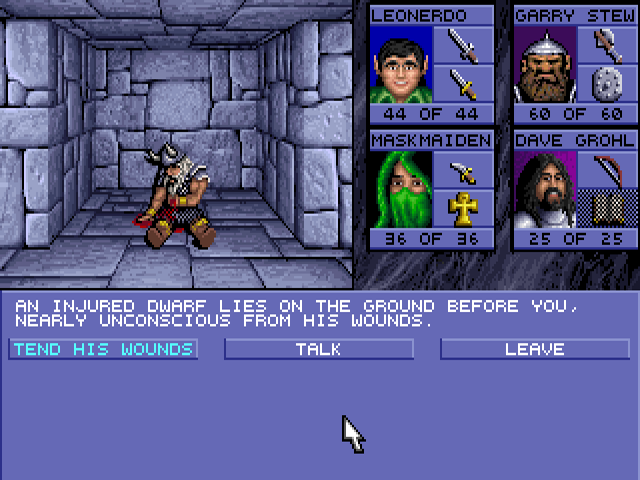
First, I choose talk:
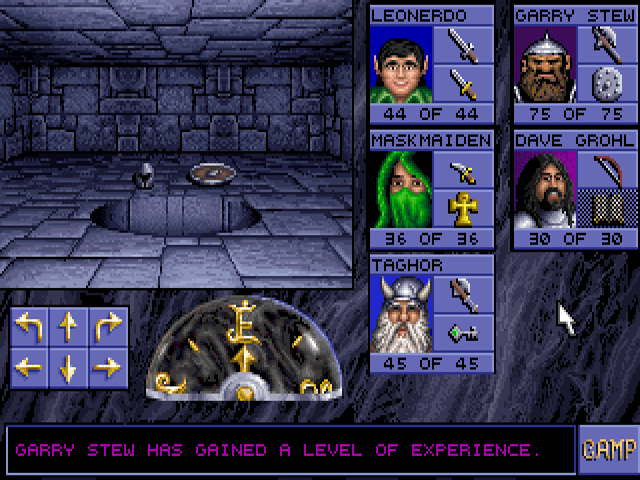
You can still tend his wounds after that:
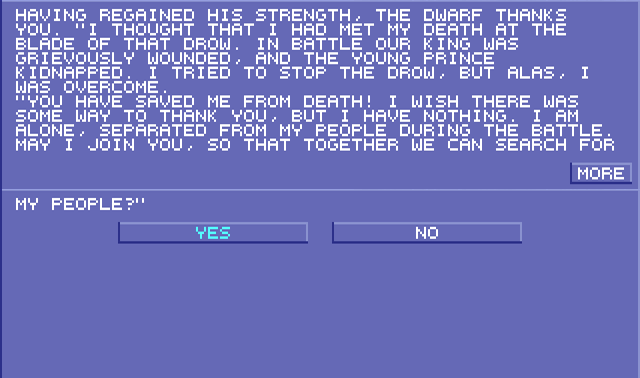
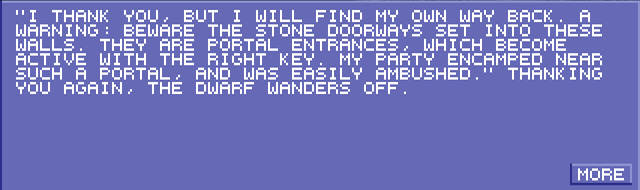
If we refuse his offer:
I accept him into the party since even just the extra inventory space is useful.
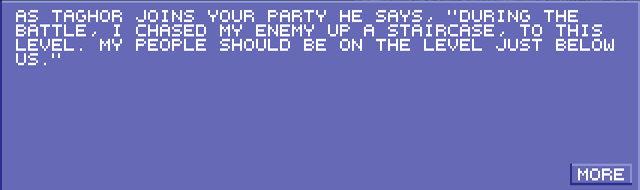
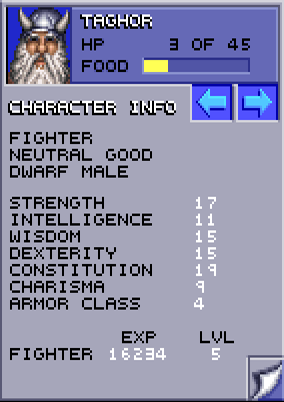
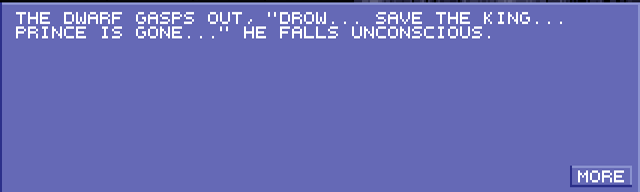
Taghor is the very first NPC who can join you. He starts severely injured and near starvation, but you should be more than capable of aiding him at this point. He comes equipped with chainmail and an axe.
Just north of where we met Taghor, there is a rectangular hallway with moving walls that will follow you in a counter-clockwise direction. Just past the northwest corner of the hallway is a dwarven key. I take another lap around so that the walls are arranged this way:
Note that this level has a north-south wraparound in the east corners. The party's current location is here:
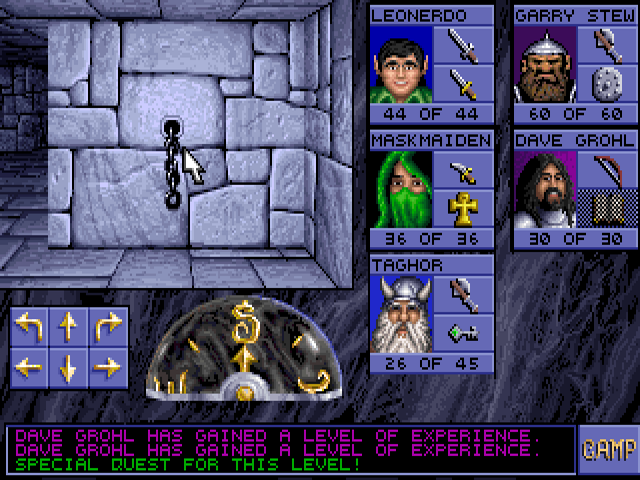
Pulling on this chain keeps the moving walls in their current positions, and solves the Special Quest when they are as above.
There will be some HP discrepancies in the following shots since I didn't do things in the order I decided to present.
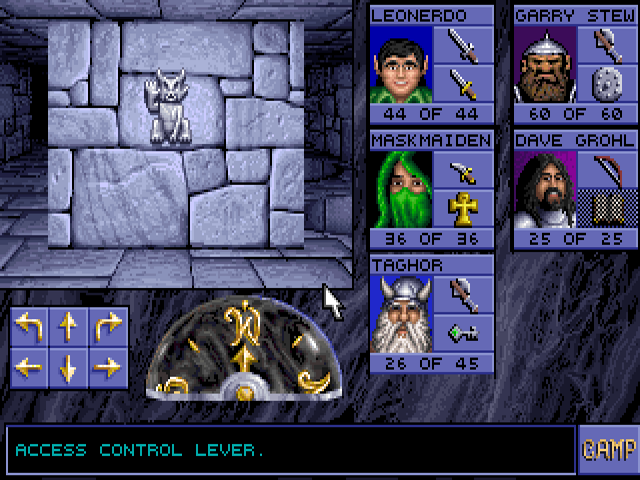
Northwest from there is a hallway with three pits which would drop us into level 5. Just before it is some text referring to this gargoyle with a raised hand. There are two more like it in rooms to the south and east, and each one closes a single pit.

South from there is a room with three doors. The east one leads to another gargoyle lever, and the west one has another key. I go to the locked middle room first.
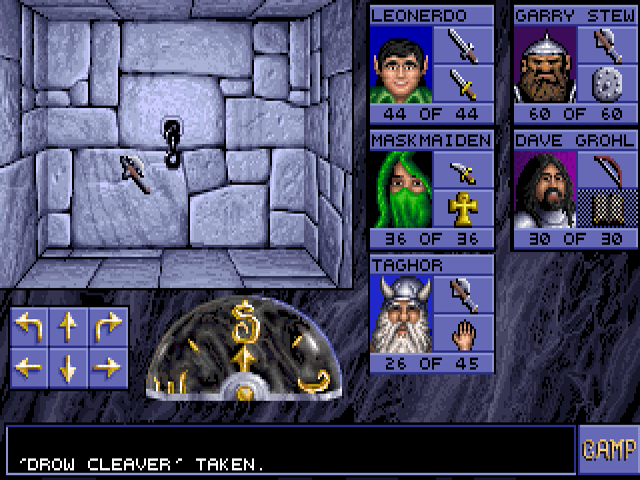
If you go there while the other two doors are closed, there will be an opening to this nook with a +3 axe and a chain that removes a wall to the west.

With that, you can bypass the pit puzzle. Three other carvings around this room describe Kruen as "The Holder of Wisdom", "King Under the Mountain", and "Destroyer of the Ancient One."
Going south down that hall, there is a very sneaky button that opens a room to the southeast.
It has another one of those pits that opens up right in front of you. It will toggle every time you step on this tile. On the other side are a dwarven helmet and shield, which use different graphics but are functionally identical to their normal counterparts.
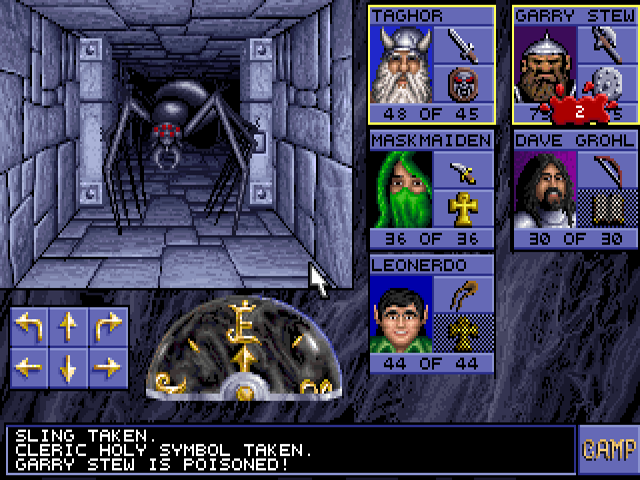
I go up to the northernmost hall of the level. In the center room I have my first encounter with this level's only enemy type, the giant spider. As you can see, it's also my first experience with poison. Poison causes damage in intervals, though those don't seem to be consistent. Resting is a death sentence to any poisoned character. I cast Slow Poison on Garry to delay the effects.
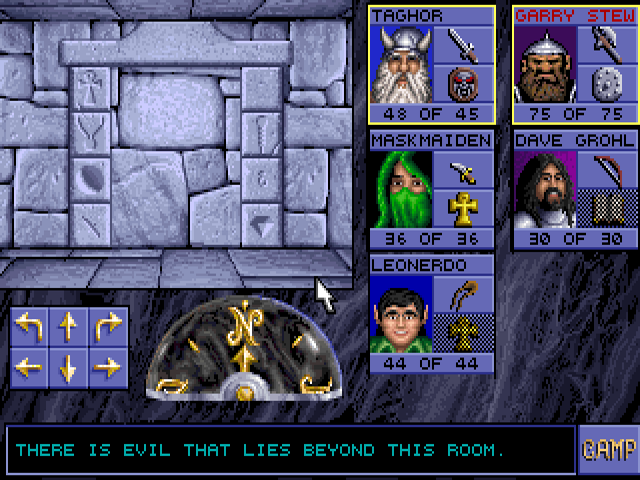
The room with the spider also has the portal carving Taghor mentions if you reject him, with that text appearing next to it. These are activated by stone items like the dagger found on level 2. We don't have the item to activate this one yet.
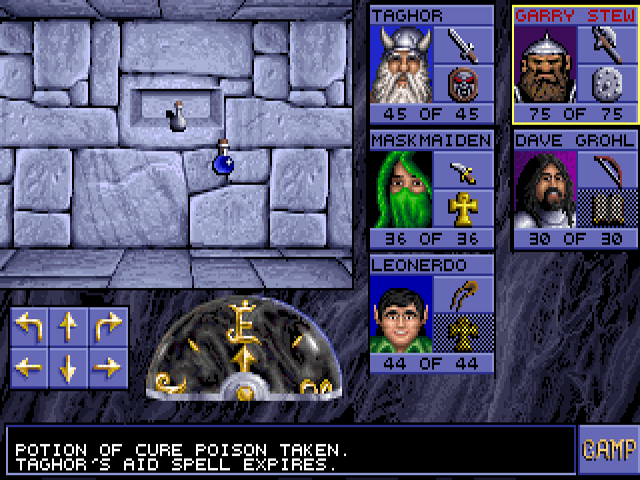
The next room has four of these potions. Since nobody can cast Neutralize Poison yet, they are the only way to actually remove the poison effect right now. There is a limited number of them so don't use one until you know that you're done fighting spiders for a while, or the character(s) might just get poisoned again.
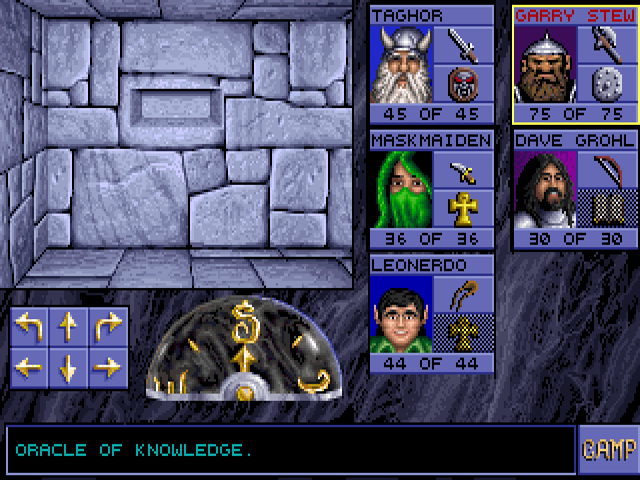
In the room after that we find a shelf with this text next to it. If you place an Orb of Power into it, all your items will be identified. However, it will be a little while before we get one of those.
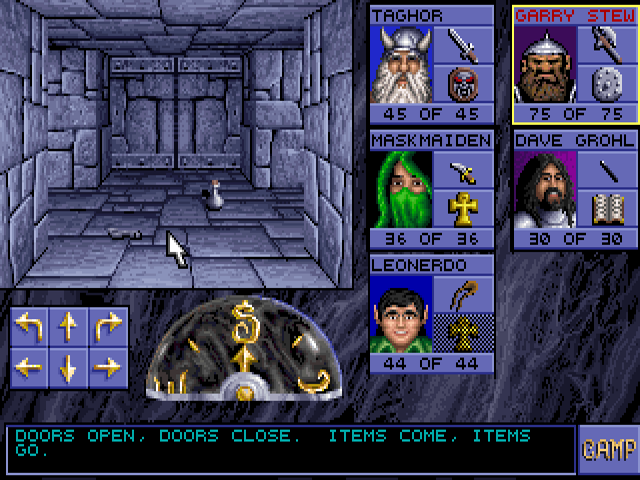
Going back all the way west, we find a room with one tile surrounded by four doors. There's a spider in there guarding a key. When a door is opened while the other three are closed, there will be a healing potion on the floor. You can repeat this for each side to get four potions. The spider and key appear only once.
We could go down to level 5 at this point, and could even have done that as soon as we got access to the west hallway without ever encountering spiders. I bypass the stairs down to go into the area the south entrance from level 3 leads to. That plate will close the door behind you.
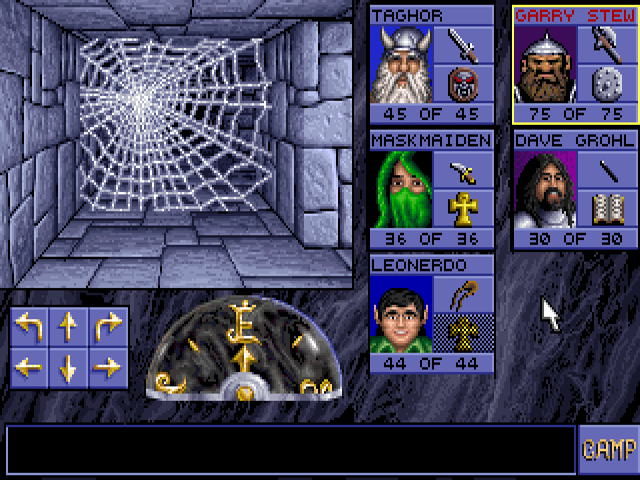
These webs can be hacked down with any melee weapon, including bare hands. A good way to deal with them is to unequip a shield, take them down with the offhand, then quickly re-equip it. It's important to be ready to attack since there are often spiders directly behind these webs. Both of those will periodically respawn in this area.
Among the items here are two rings. One of them does nothing while the other is a Ring of Protection +3.
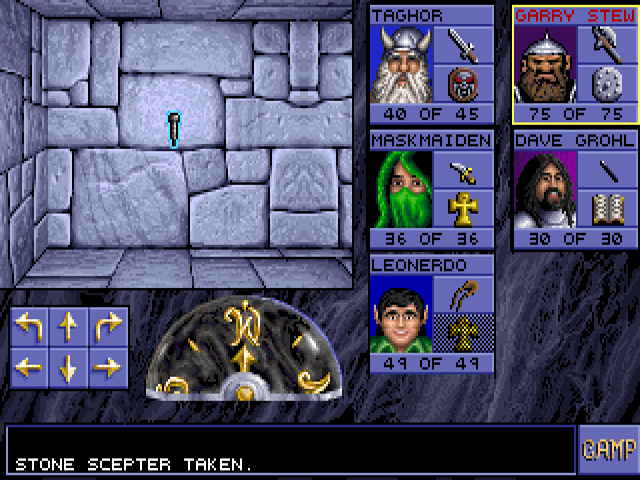
There is also another stone portal key, though not for the one on this level.
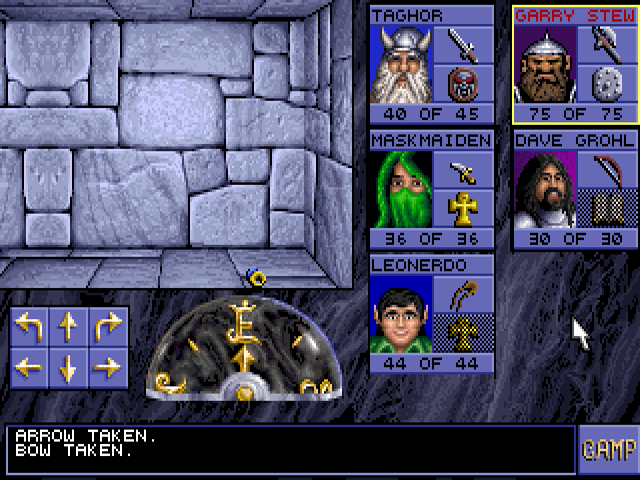
After collecting those items along with more arrows and such, we finally cure Garry's poison and go down to the next level.