Part 9: Ate Nine
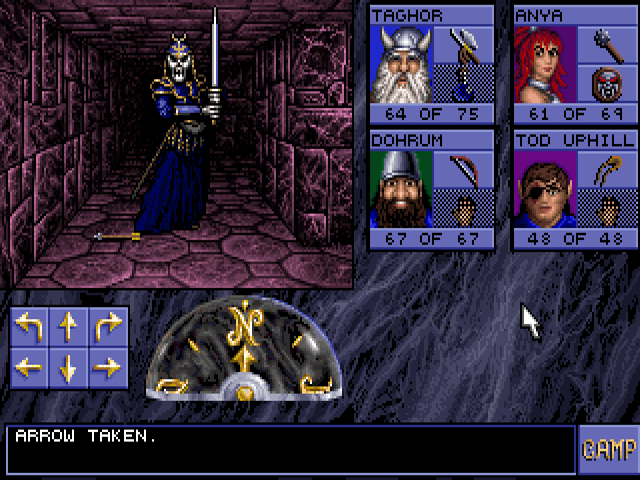
EOTB 7: Ate NineLevel 7 is the start of drow territory, and we are immediately confronted by their guards. Listen to them be absolutely not intimidating here.
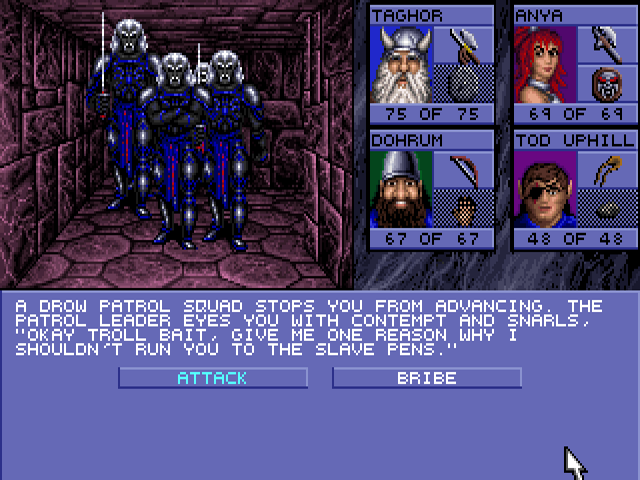
I try to bribe them but don't have what they want right now.

This is not enough to make them hostile, which is good because a fight with them would be a pain in the ass. There's no room to maneuver and these drow can paralyze with their hits, which we currently have no way to remedy. I go back and get what he's hinting at:


NB: Be sure to leave at least three eggs behind, they are still used for something later. Yes, I did just sell kenku into slavery, but I also just explained why fighting the drow would be annoying, so I clearly made the right moral choice.

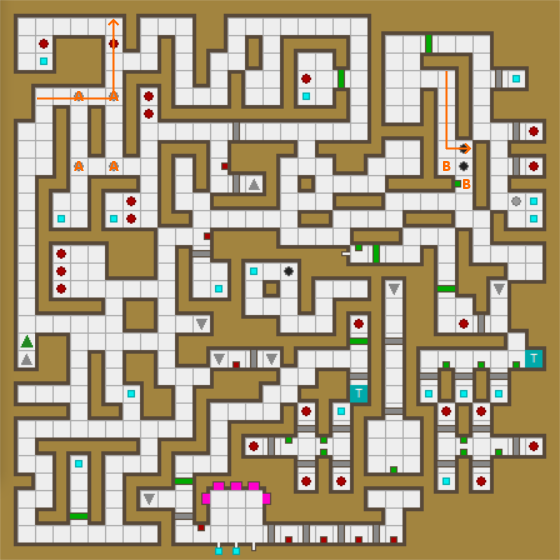
Here's the layout. The orange arrows are paths of fireballs, and the letters are places their launchers are activated. Note that one of the arrows goes through a red circle. That means the drow's brilliant security posted a guard where he can get hit by a fireball. If that happens, it counts as an attack against them and earns their hostility. My destination is the northeast corner. The button at the first tile marked B will close the pit ahead of it and launch a fireball over the next one. The other B tile will launch a fireball every time you step on it, but that won't harm you if you just wait for it. Incidentally, the B tiles are also the area where drow guards start spawning after they become hostile.
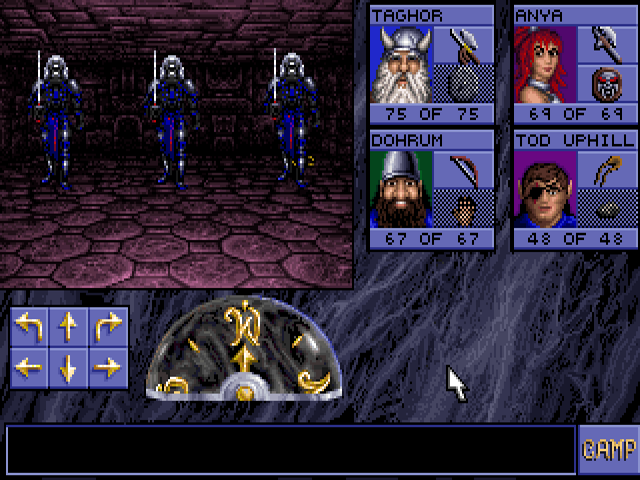
We get there to find three doors all opened by this plate.
Two of them are occupied by skeletal lords, which are among the most dangerous monsters in this game. They move and attack very quickly, and can do damage up to the teens with each hit. They also take half damage from sharp weapons - the Chieftan Halberd's bonuses give it damage on par with a mundane blunt weapon with better chance to hit. Luckily they only approached one at a time, to the 2x2 room where the plate is (this is the second one).
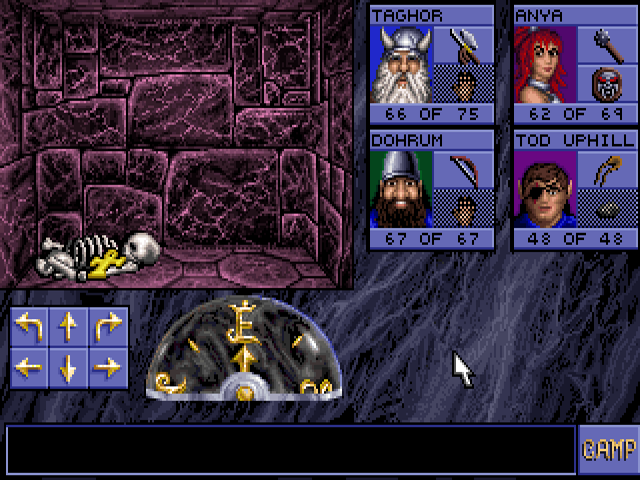
The third door has the remains of the half-elf cleric Ileria. Their presence here suggests she was going to be turned into another skeletal lord. The holy symbol might be what prevented that.

On the way back I use a key I got to unlock some stairs up.
This leads to a small, isolated section of level 6 where we find the key to that level's portal.
There are several items on this level guarded by drow that you can only get by attacking them. All of the drow here are male. There is exactly one drow woman in the game, who we won't meet until we leave their territory (on that note, this is the only drow level that actually has them). Strange considering their matriarchal society is one of the few bits of D&D lore I'm aware of.
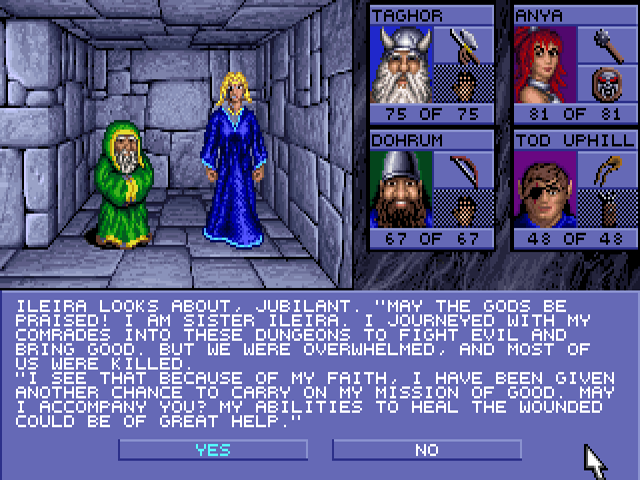
Ileria has her name spelled differently in her introduction. The skeletal lords we fought were likely her previous companions. If her offer is refused:

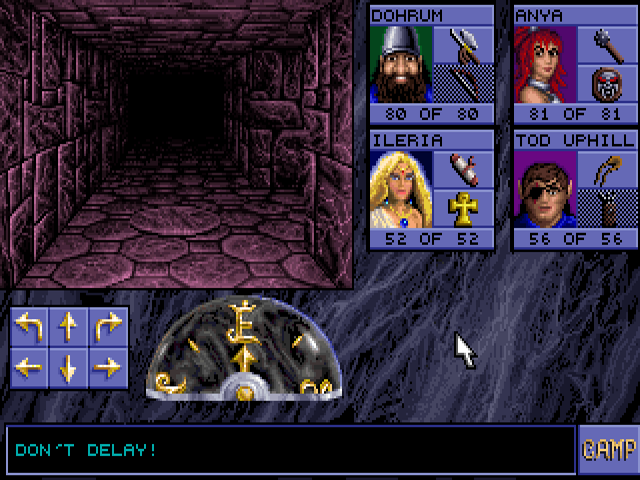
I take her and also drop Taghor to increase everyone else's experience gain. The dwarves are not going to be in the final party.
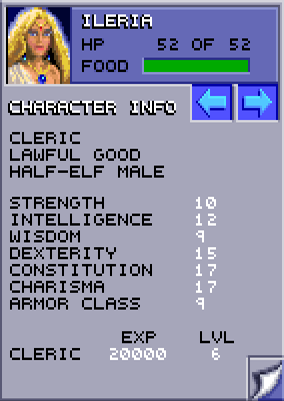
Ileria has the minimum possible wisdom for a cleric, and is also "officially" male in a presumable error.
This is the northwestern "A" plate. I step on it and quickly dodge the fireball it launches, thereby declaring war on the drow. The loot I get from this includes a Luckstone Medallion (which I think improves saving throws but I'm not entirely sure) and several scrolls, including some I got while they were still peaceful:
Bless
Create Food (brings everyone's hunger meter to full, making rations pretty much obsolete)
Fireball (the only mage scroll)
Protection From Evil 10' Radius (whole party defense buff)
Remove Paralysis (does what is says for the whole party, right when it becomes relevant)
Slow Poison (despite the drow love of spider motifs, there are no spiders anywhere further on, nor any other monster that poisons)
The southeast portion of level 7 is separated from the rest by a section that goes through all three drow levels.

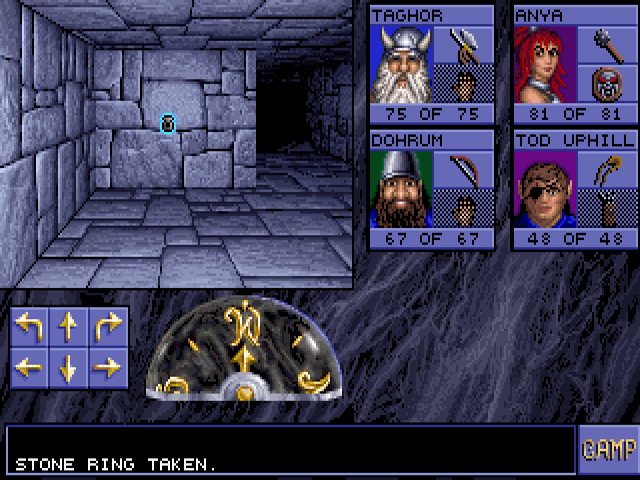
It is a series of short hallways with lots of stairs and locked doors. I find a red gem and a drow key here.

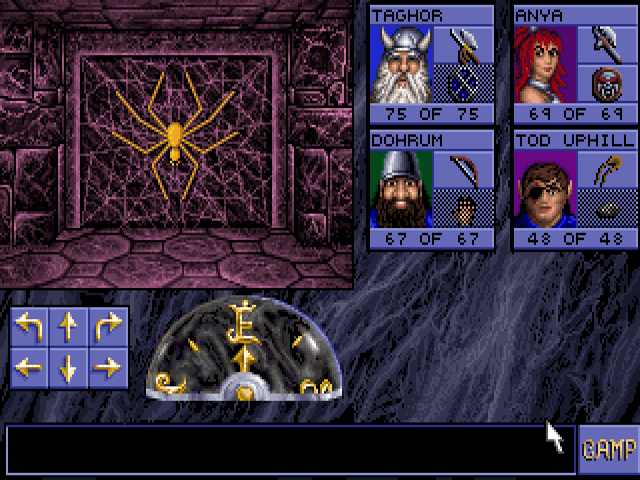
This is an illusory wall, leading to a locked door. The key I just picked up is not the one to unlock it. Annoyingly, the locks are all identical-looking for three different key types.
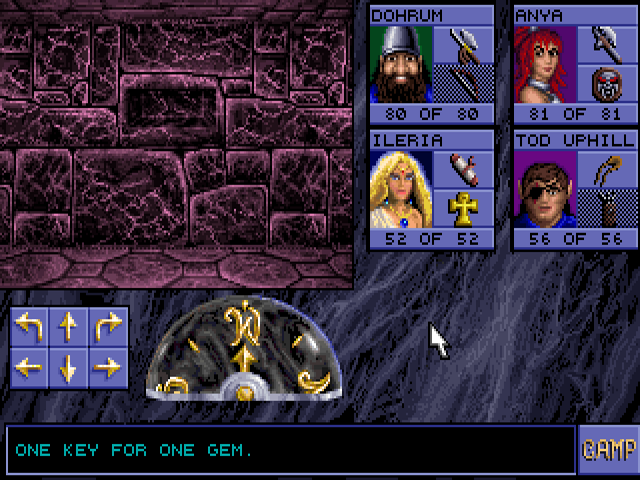
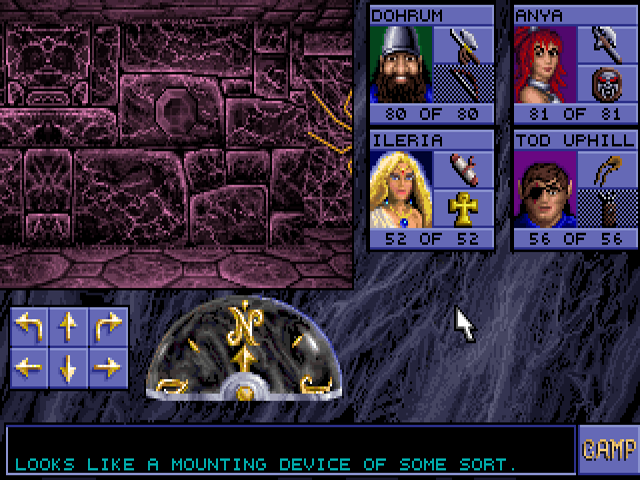
A button will turn a gem on this shelf into a jeweled key.
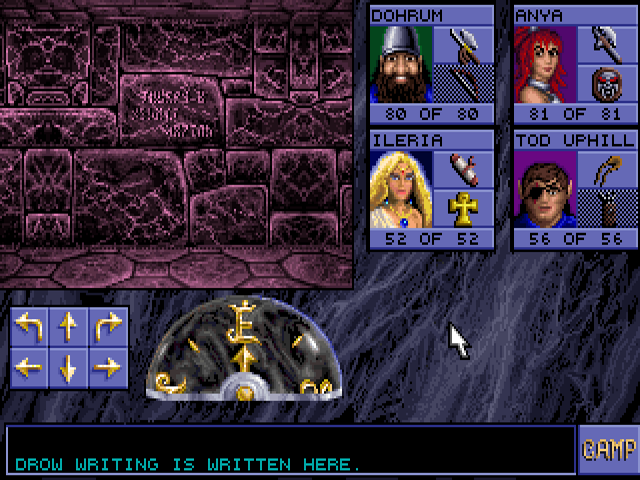
On the opposite side of that room, there is text we can't translate.
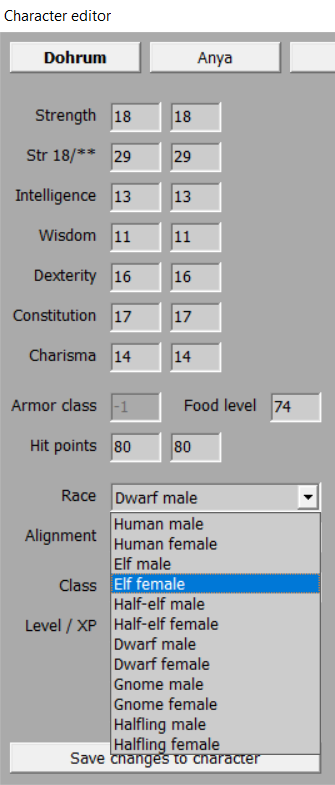
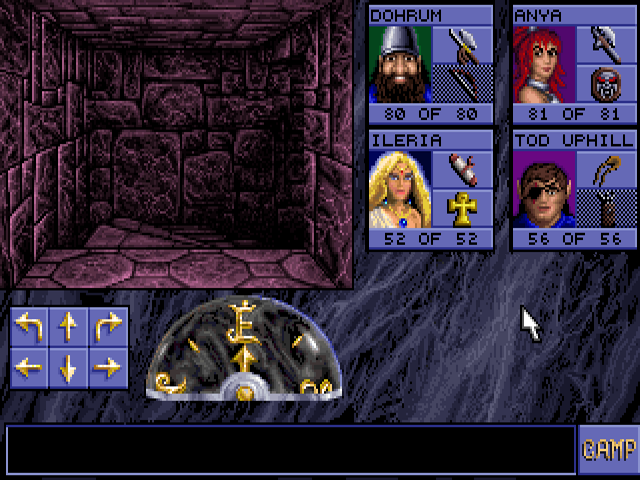
Until now. Dorhum won't be a member of the final party so I don't mind doing that. I bring the party gender balance while I'm at it.
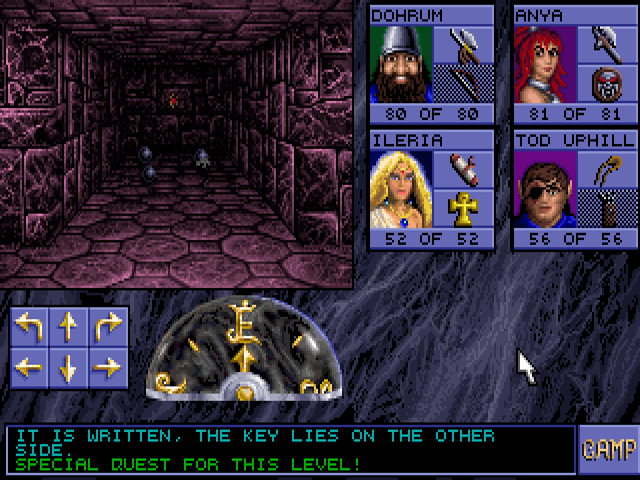
Translated or not, the writing marks level 9's special quest. Throw or fire an object over it to remove the wall and get three orbs of power. They allow items to be identified at the Oracle of Knowledge in level 4.
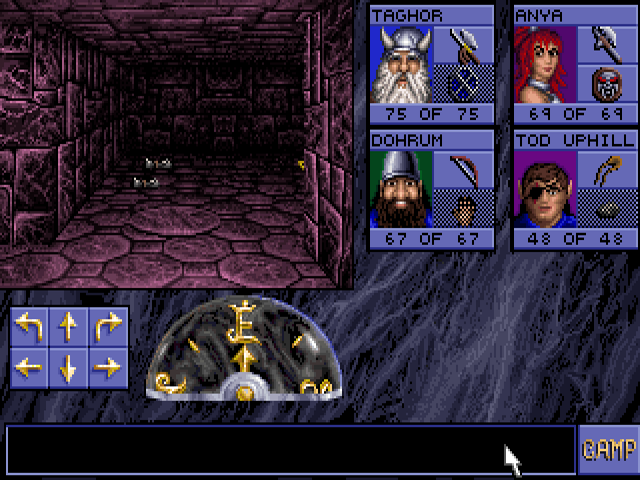
A different section of level 9 labeled "Storage" gives an early introduction to one of its monsters, the displacer beast. If they have their image projection ability here it's in the form of being harder to hit. The room next to this has scrolls of Armor and Flame Blade.
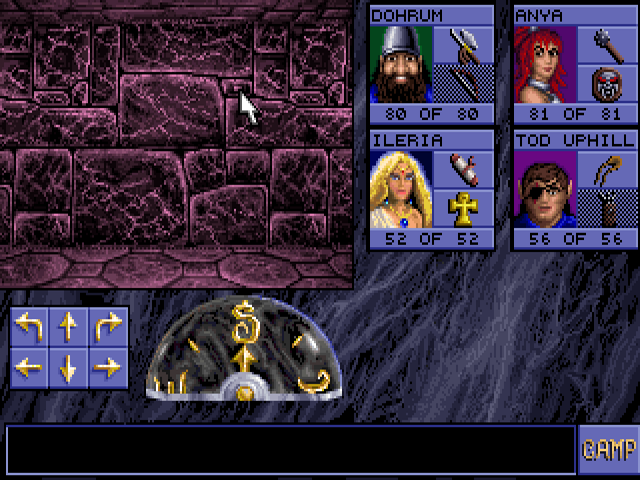
This sneaky button removes the wall next to it. That opens a path to another illusionary wall with a spider mark which hides a drow key. This one does not directly open a door, but is instead used here:
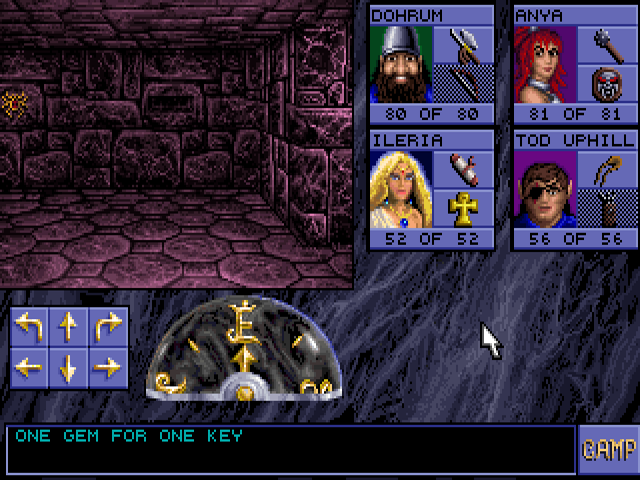
The button will turn any key on the shelf into a red gem.
Put that gem in here to open this door. Behind it is a ruby key, the type needed to open the door at the start of this section. (I slightly cheat and use ASE's teleport to get there and back to save myself having to remember or look up where all the stairs go).
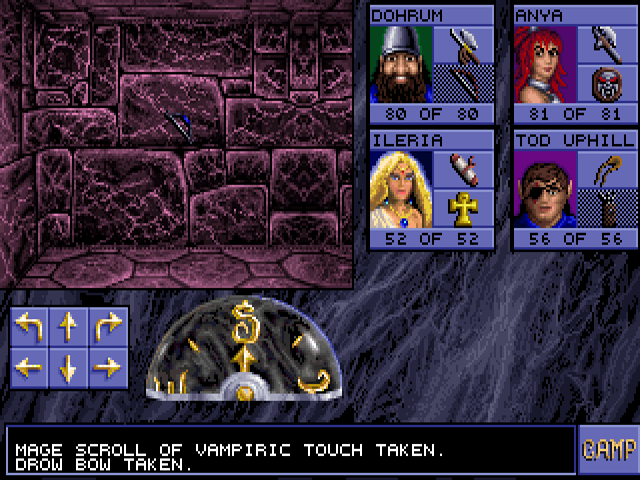
These items are in the room behind it, along with another ruby key. The drow bow is functionally identical to the one I already have, but better-looking IMO. Vampiric Touch drains life from an enemy and can bring the mage's HP above max, but requires them to be in the front row to do so.
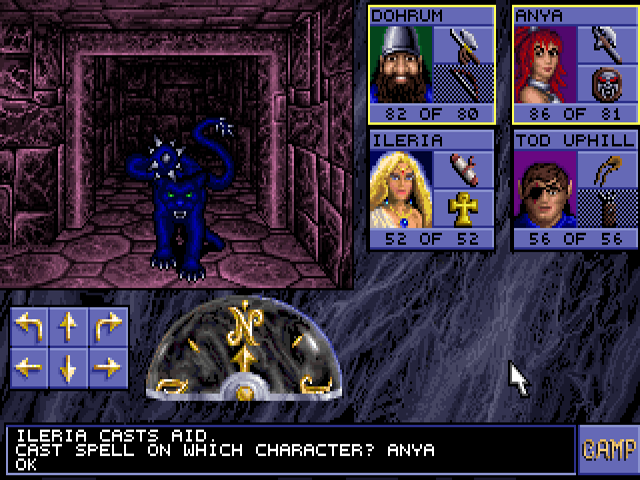
The gem door goes to a short hallway with an upward staircase on each end. The western one leads here. There is a skeletal lord behind a door next to this message. It's in a 2x2 room, but likely to meet you at the door due to its fast movement and thus force you to fight with no space to move. The Aid bug saved me some healing here.

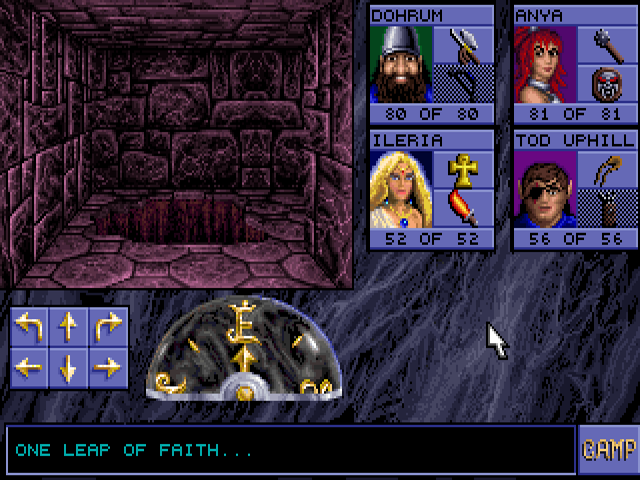
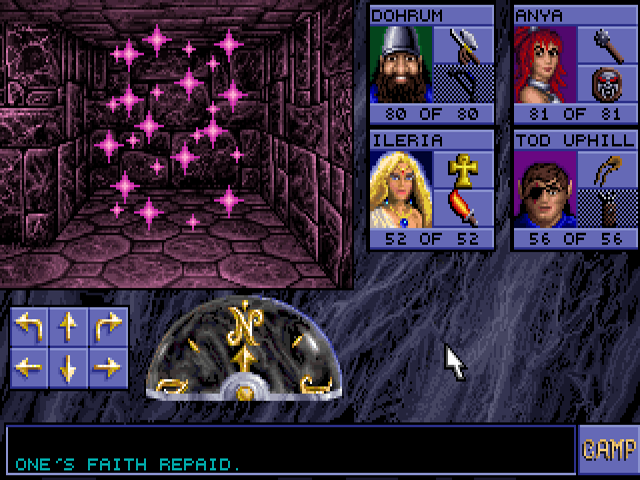
Past that, you must give up a small item to proceed further.
In one corner of a square hall is the only pit which will not cause fall damage. Another corner has a Ring of Protection +2.
It leads here. This teleporter goes back to the gem door. There is a room behind it with a scroll of Raise Dead and a Potion of Extra Healing.

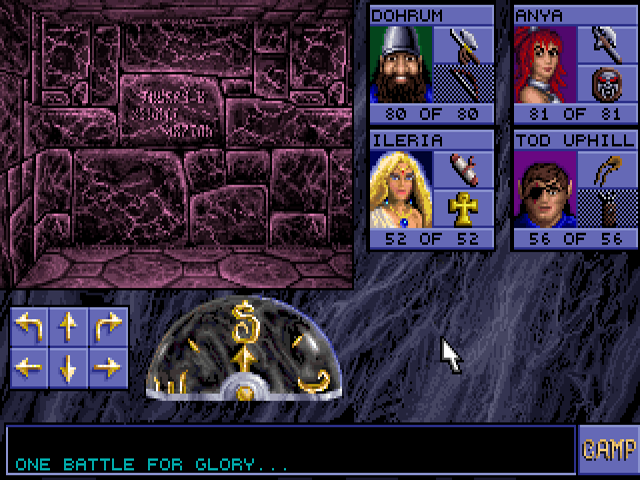
The east stairs go into this hallway. It has two doors that will close behind you, along with another message saying "Fight for your freedom." This will lock you into the final section of level 7 in the southeast, which will be covered in the next update.