Part 11: Moss, Mantis Men, Meetings, Mind Flayers
EOTB 9: Moss, Mantis Men, Meetings, Mind Flayers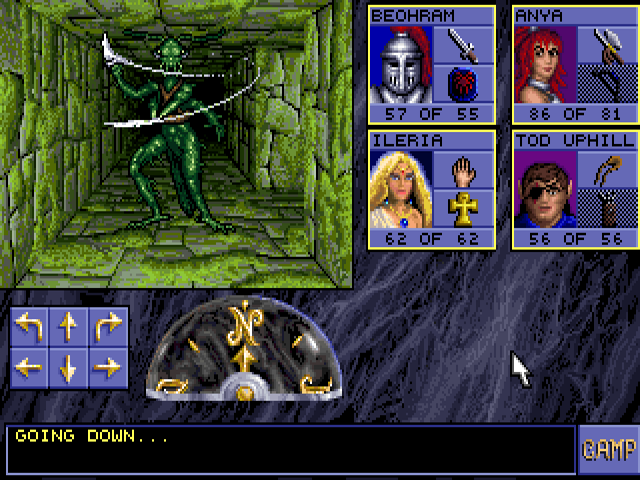
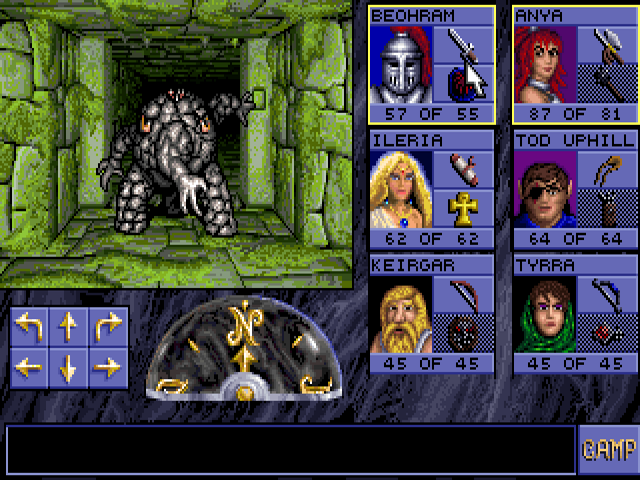
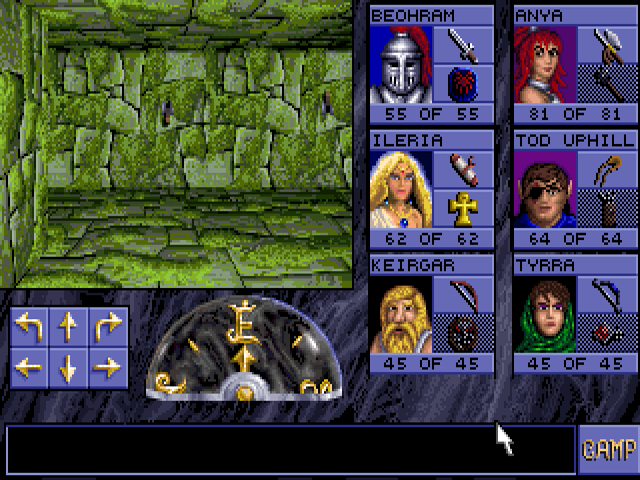
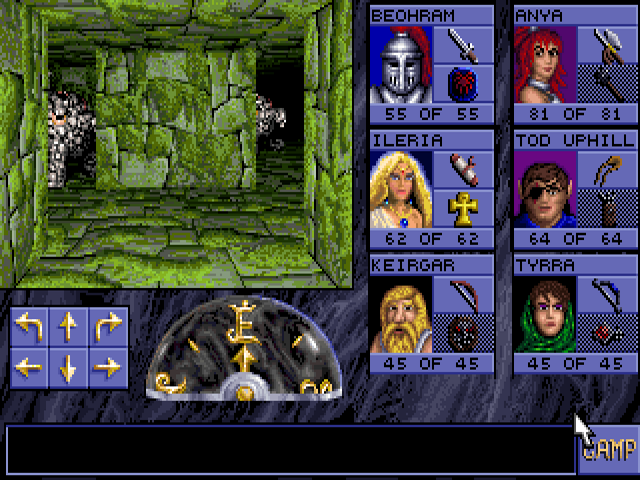
Welcome to level 10. We're greeted by a mantis warrior. They are extremely fast, and attack the instant they are facing your party in melee range. What's more, their hits can paralyze. The Remove Paralysis spell will be valuable in the next couple of levels.
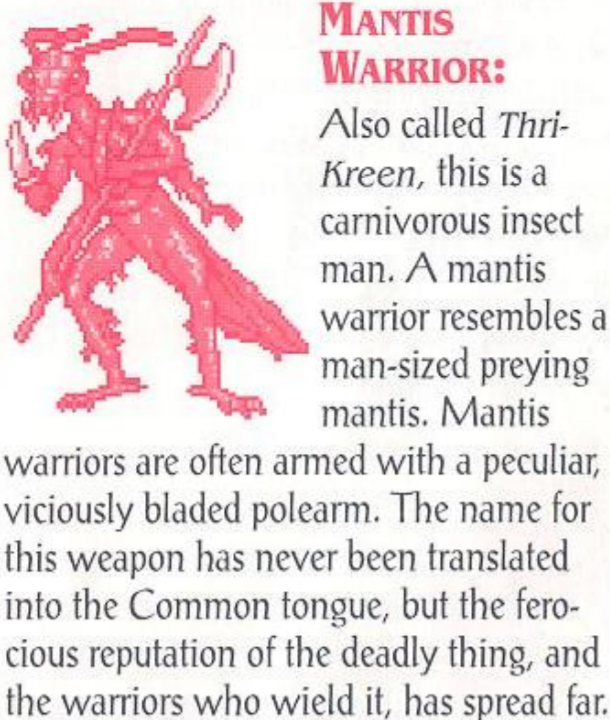
The manual neglects to mention their ability to paralyze, instead describing their completely mundane halberds as if they're something exotic. They can drop those or daggers.
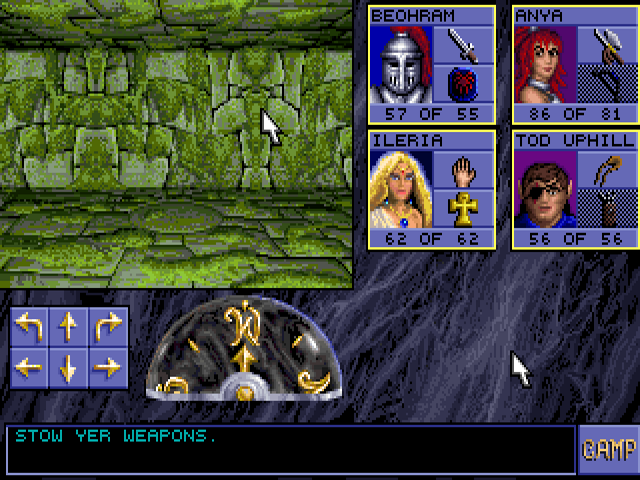
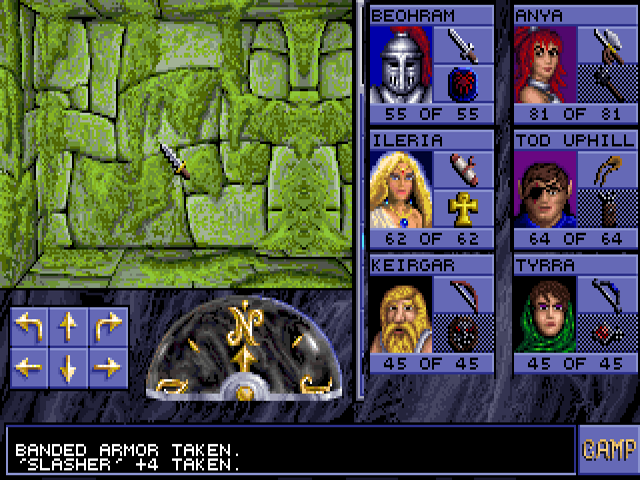
Speaking of weapons, three of them must be left on pressure plates to open a door to the north. Once again the staff doesn't seem to count as a weapon for this purpose. I use the cursed axe from level 5, the actually good axe Drow Cleaver, and Night Stalker, since this game's power creep has spiked to such a degree that +3 weapons are now throwaways.
Doors here look like this, by the way.
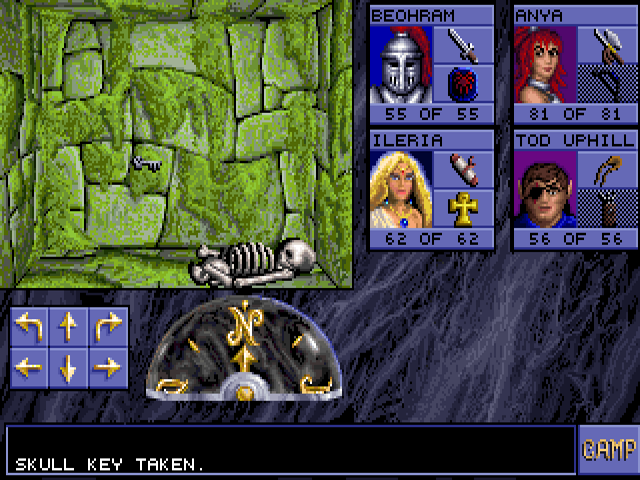
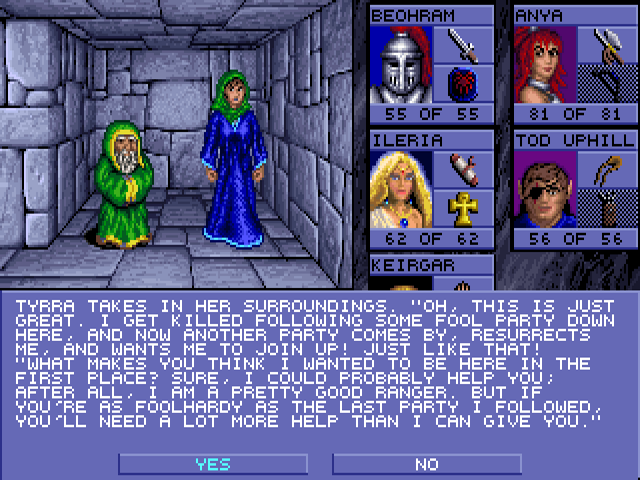
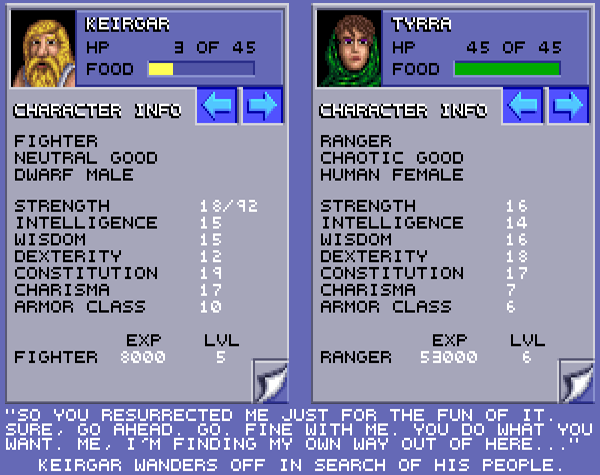
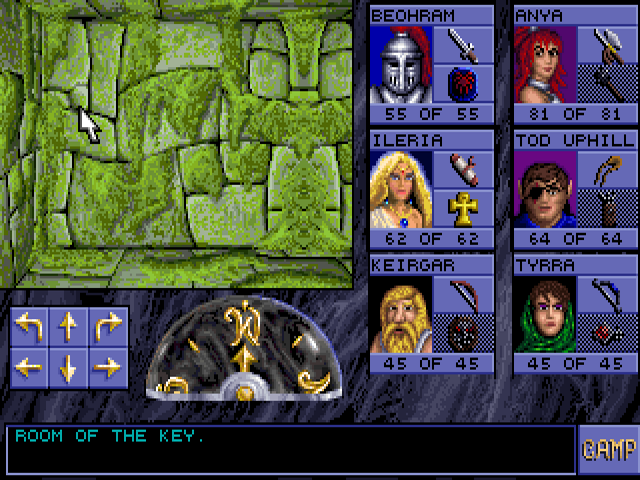
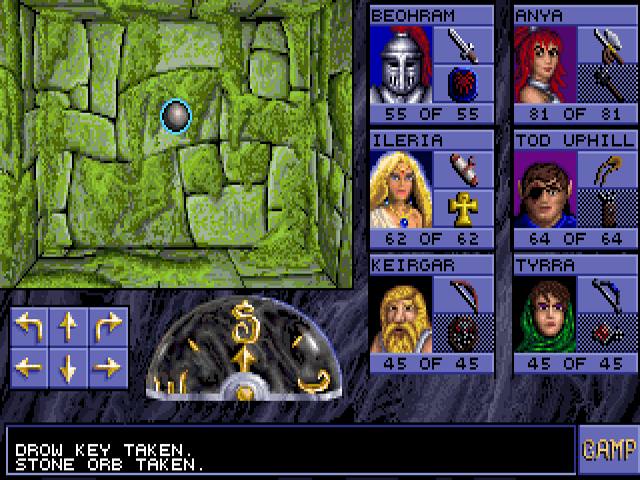
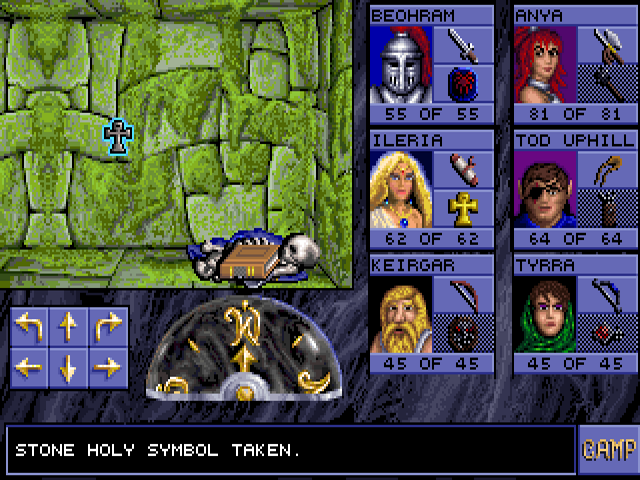
In a section north from the central hallway, we find the remains of the ranger Tyrra as well as a key.
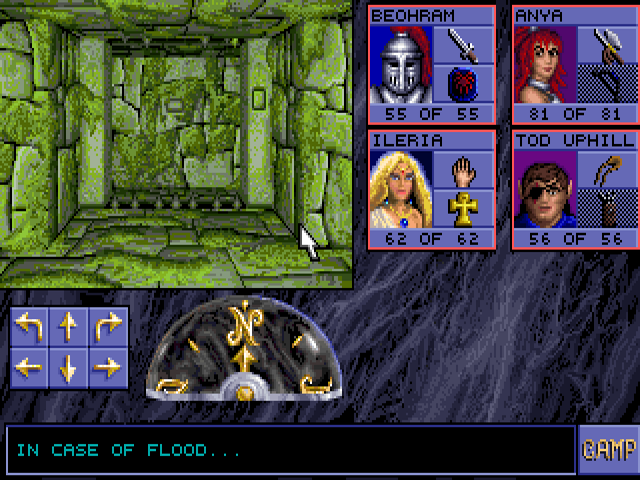
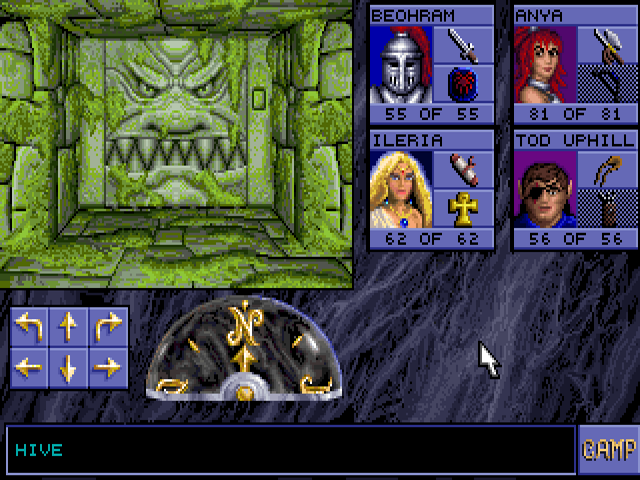
This room is at the end of that central hallway. Pressing this button will hit you with a fireball. Another button next to the message "In case of fire..." will hit you with an Ice Storm. Just ignore them and use the key from earlier to unlock the southern door.
That leads to a short hallway with a message that will hit your party with a fireball when you read it.
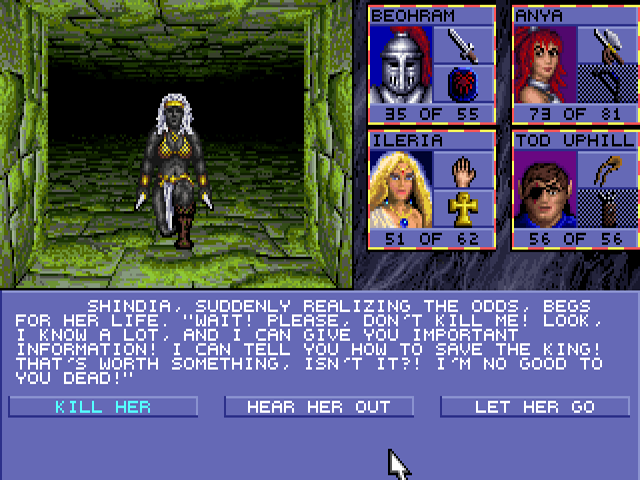
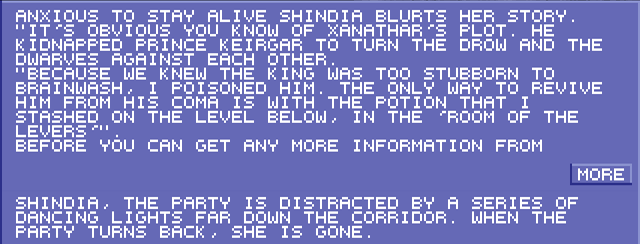
What it really leads to is Shindia, the game's only female drow who led the attack on the dwarves. If you select "Kill her" she'll fight back. That option and letting her go result in no further words, so let's hear her out:
The room Shindia is encountered in has both of level 10's stone portals. The scepter portal to level 8 is on the west wall, and the ring portal to level 6 is on the east. There are doors to the north of each leading to small rooms.
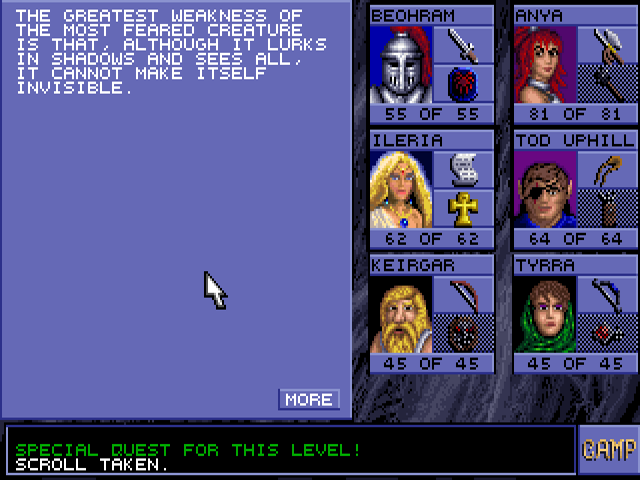
The east room has three shelves. The alcoves next to them are initially occupied by mantis warriors, who can be lured out one at a time. This is level 10's special quest. Take the items from the shelves (scroll of Flame Blade, Potion of Poison, Wand of Frost), and replace them with kenku eggs (the level 6 portal is near the nest room). This will spawn another four mantis warriors in the alcoves, so save the north one for last and retreat quickly to avoid getting surrounded. Each of them will drop a ring: one Feather Fall, one Sustenance, and two Rings of Protection +2.
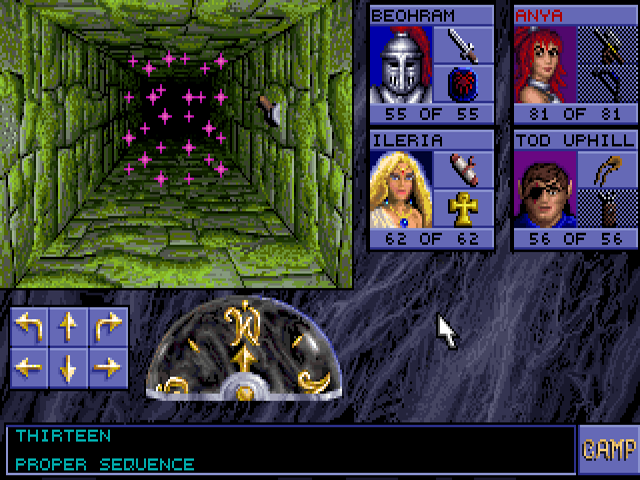
South from the portal room is a long hallway with seven teleporters, each with a lever next to it. The levers will change their destinations, but it's much simpler if you don't. Simply go into the first teleporter, then stepping east from there will land you on a plate at the end that removes all of them.
Getting past the teleporters leads to plate mail and stairs to this isolated portion of level 9.
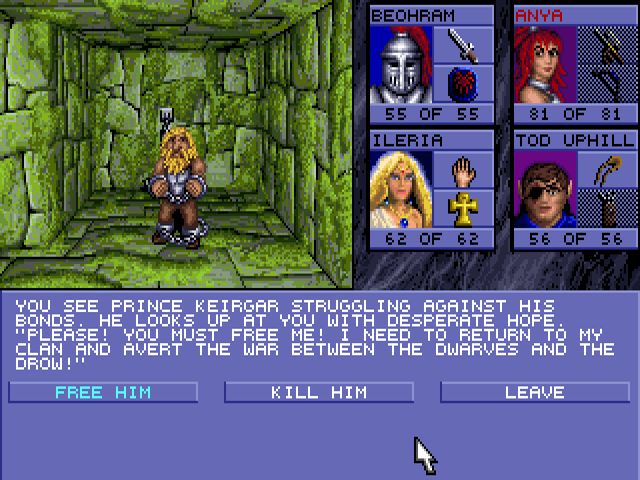
West of the portal room, we release the captive dwarf prince. Voiced version here.
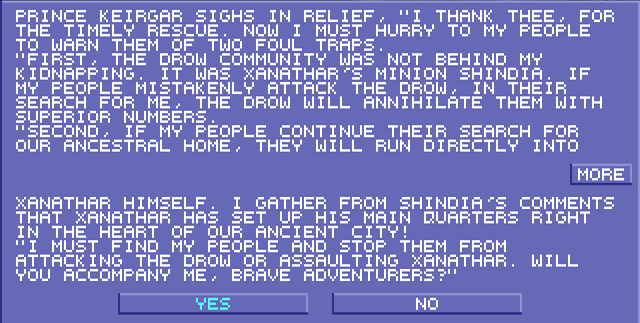
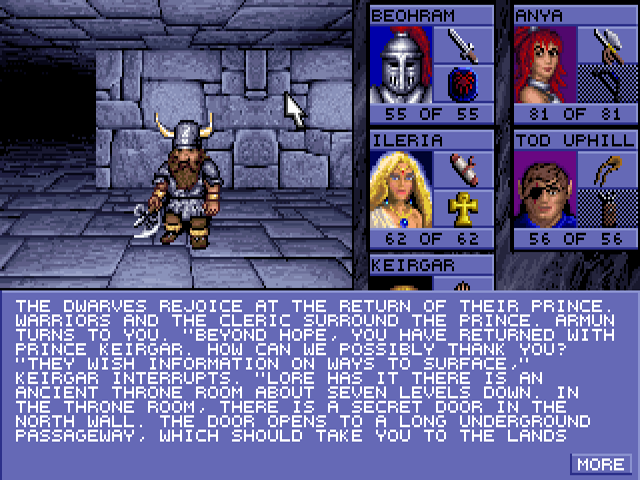
Using the portal to level 6, we bring him back to his people.

We also revive Tyrra.
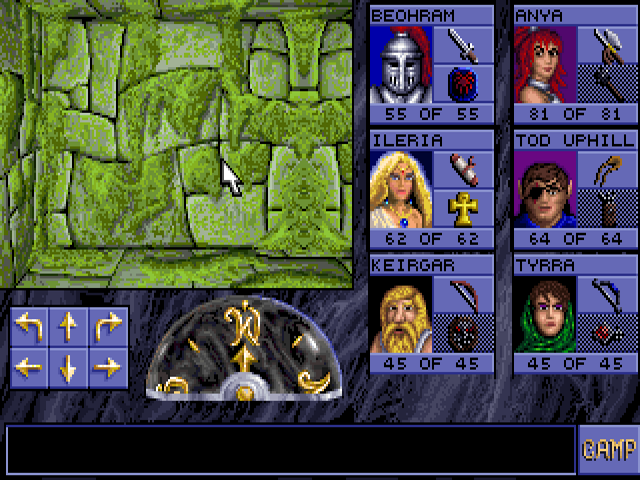
Our new companions:
We return to level 10 via the north entrance, which is a more direct path to level 11.
A slight detour to this pixel hunt of a button, opening a room with a scroll of Cone of Cold.
This pit is the only way into level 11. Shelves on the east and west walls have a Potion of Giant Strength and a Ring of Feather Fall. With three of those rings and three Aid spells, I take the plunge.

The starting area of level 11 is three concentric squares with a stone portal in the middle. Each square has a message, a star, an opening, and a button that changes which sides they are on. The messages in the middle and outer layers read "Leave no stone unturned." and "Alignment must be true" respectively. The goal is to get the stars and openings on each wall on the same side. Doing so will remove a wall in front of a door on the open side.
In the outer square I find this rock, which is +2.
I line everything up to go west. There I find this pre-identified longsword and banded armor +3. That's the best individual body armor in this game, though plate mail paired with a Ring of Protection is equal to or better than it (they don't stack with magic armor).
A door in the north path brings our first level 11 monster, the xorn. They hit hard and are hard to hit, but attack very slowly. There's another +2 rock in this room.
South from that door, we find the potion needed to cure the dwarf king. You can have one of your characters drink it, and from experimenting I've found that it cures poison. But it's best used for its actual intended purpose.
The room that potion is found in is also the location of level 11's special quest. This room is at the end of a hallway with eight levers, some of which change the positions of others. If you can get all of them up (just click each one once from its initial position starting from the north), there will be a Wand of Frost on the shelf, but that's not what the quest is.
Put any scroll on the shelf, and arrange the levers so that only those second ones from each end are up, and that scroll will become this one.
The northeast section of level 11 has a whole bunch of xorns in it. They never enter that middle tile, so you can go in and retreat to take them out one by one. That method is of course slow. This part is the biggest stumbling block for speedruns, since there's really no reliably fast way to get through it.
After getting past the xorns, you need to find and press this hidden button.
The room it opens up has this, the only way in and out of level 12. The portal it activates is not the one at the beginning. The key for that one is also in level 11. Speaking of which, it's now time to open up the east path from there.
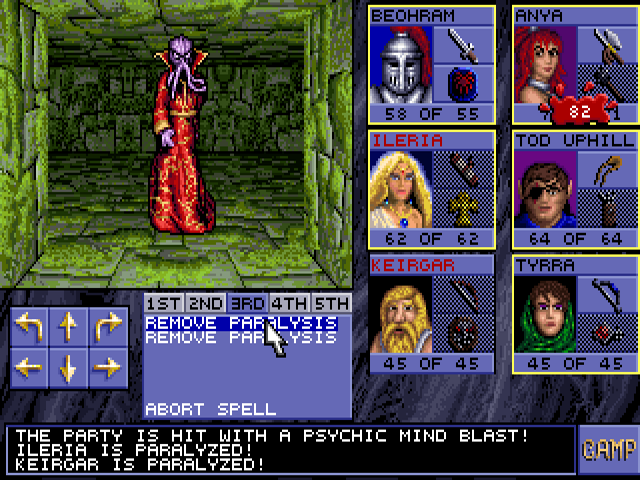


This section introduces level 11's other monster, the mind flayer. As you can see, they can do a lot of damage if a hit lands - I think it might be percentage based, but I'm not sure. They can also paralyze multiple characters with their psionic powers. Note that Ileria's spell menu is still open despite being paralyzed. Using a spellbook or holy symbol beforehand can enable you to cast through paralysis. They have 90% magic resistance, so using offensive spells is pretty much pointless. They all inhabit 2x2 or 2x3 rooms and go down pretty quickly to physical attacks, though meeting them at the entrance can be a problem.
Here we find the remains of the mage Kirath, our final party member for this game. He was pretty decked out: in addition to the spellbook, there is a Robe of Defense (+5), Bracers of Defense +2, a Ring of Protection +2 (doesn't stack with the other two), and a +5 dagger named Flicka. We also find the key for the portal at the beginning. It goes to the hub in level 7, with easy access to the oracles and the dwarf cleric.

The room with Kirath's remains was also occupied by a mind flayer, the likely cause of his death. It dropped a regular robe. I'm finally showing what Detect Magic does. Since robes are all blue in the first place, you still can't really tell the magical one apart. Before coming here, I opened up the south path from the level 11 starting area. From there I went through a series of square rooms with hidden teleporters and collected some items. These include a Wand of Lightning, a second Luckstone Medallion, and a scroll of Hold Monsters. I'll go into spells a bit more next time when we finally have another mage.