Part 16: Cata-Cata-Cata-Comb
TLOD 2: Cata-Cata-Cata-Comb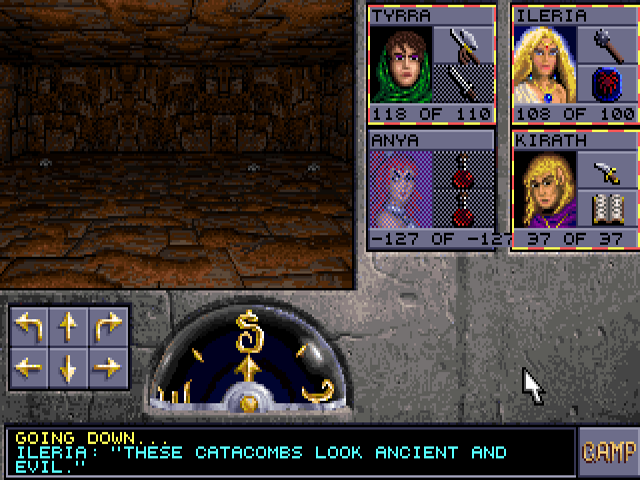
They also look very brown. Better get used to that for the next few updates.
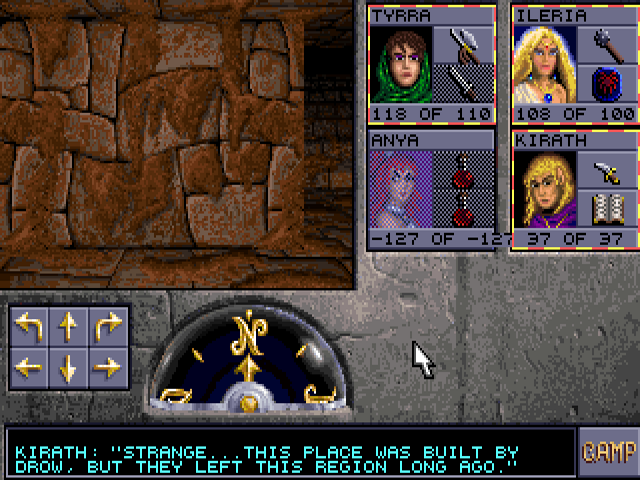
The temple was built on top of old drow ruins, which gives some explanation why this area's tileset is a recolor from the latter parts of the first game. There are doors to the east and west. The east one is locked, forcing me to go west.
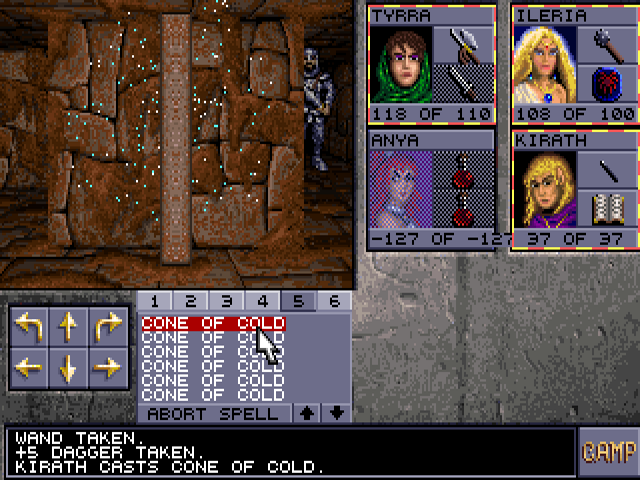
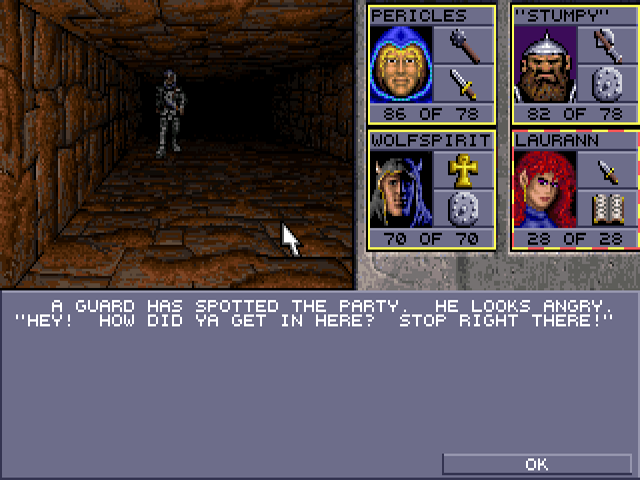
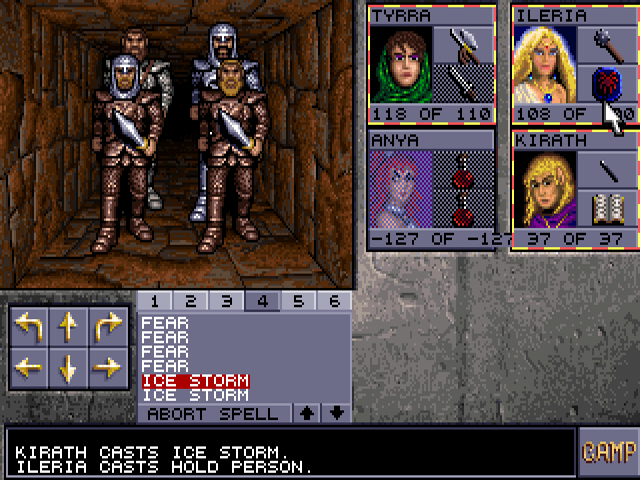
There are two guards to the side of a door. They have a scripted event, and won't do anything until you step into the tile that triggers it behind the door. Cone of Cold still ignores walls, and does spread out as its name would imply. This can be used to pre-emptively kill a lot of enemies. The guards here are 7th level fighters and can have HP up to the 70's.
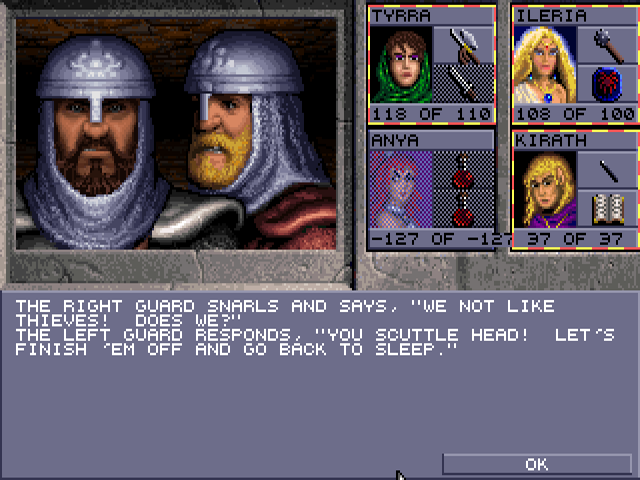
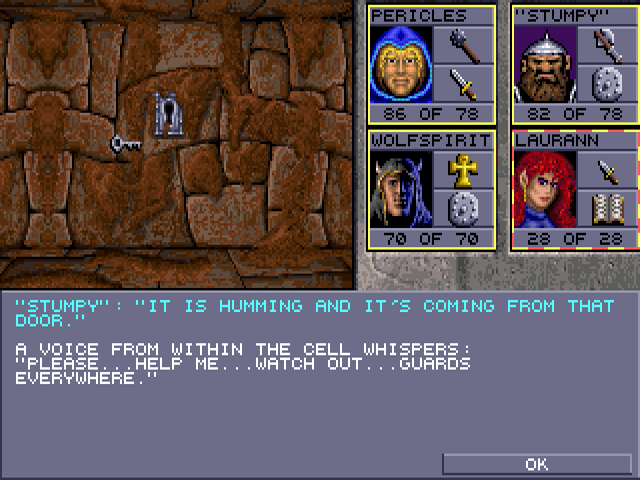
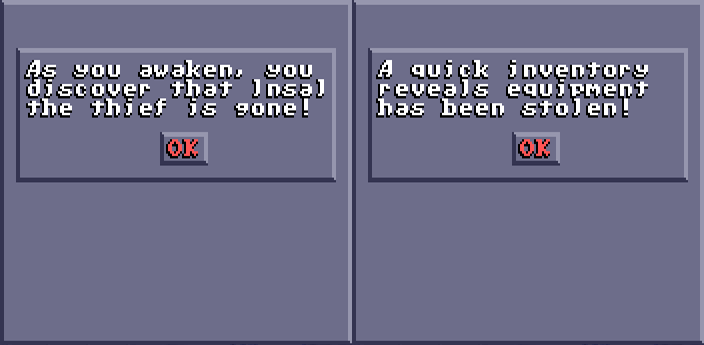
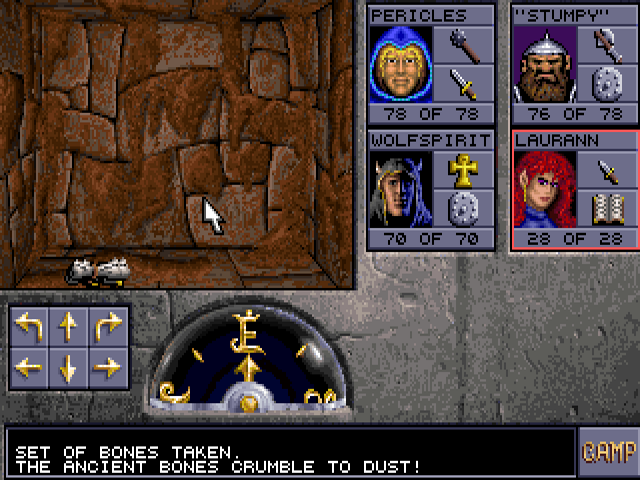
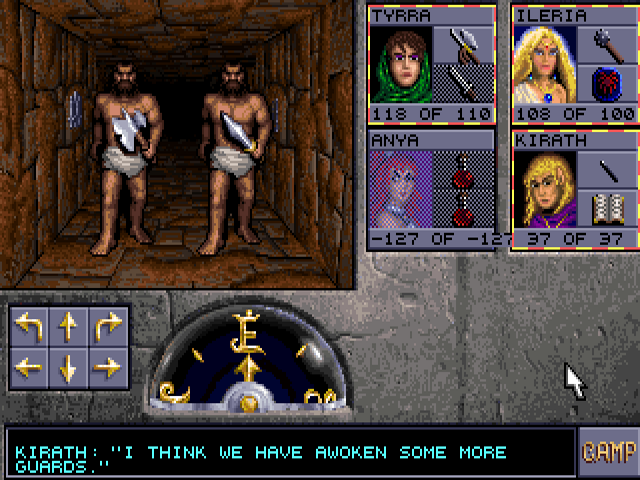
This event still happens, but they don't attack due to already being dead. One of them had the key for the east door, so we head back there. But first an aside with the quick start party.
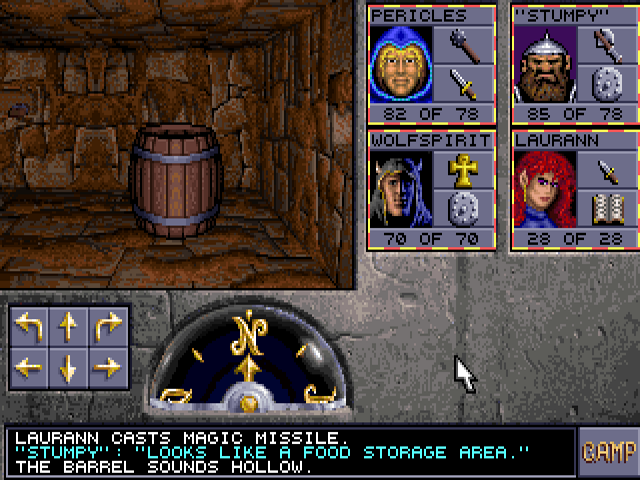
North of that encounter are some barrels, which can be smashed. Rations are in these ones, as well as on shelves around the room.
Going further on the path from the west door brings us a return of the classic "leave an item on the pressure plate" mechanic.
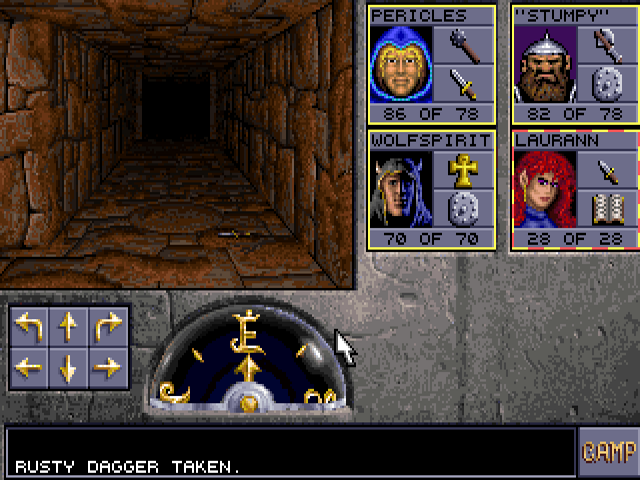
This happens in the room it leads to. Unlike the two before, this guard can't be pre-empted by Cone of Cold. Not just because this party has no way of casting it, but because he actually doesn't exist until you step into the tile triggering this event. He throws a dagger, which the previous guards also do at the start if you properly fight them. No other guards have daggers to throw. He drops some lockpicks.
North of there a barrel has magic dust, which can cure petrification and allow you to unequip cursed gear.
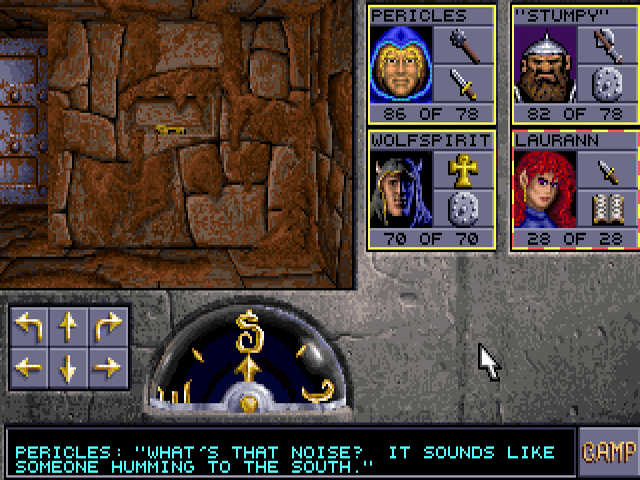
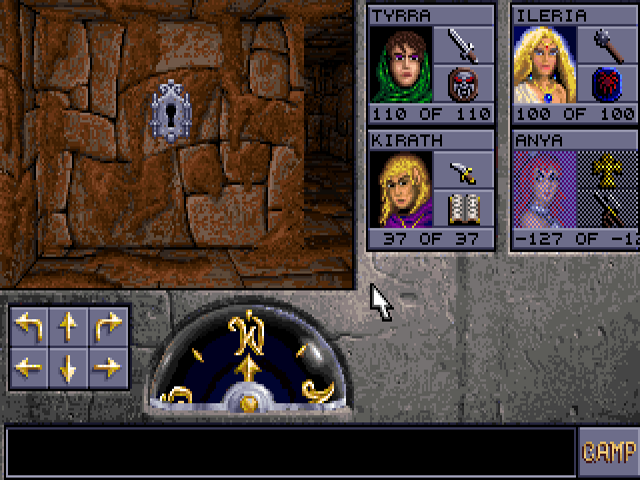
This locked door conveniently has its key right next to it.
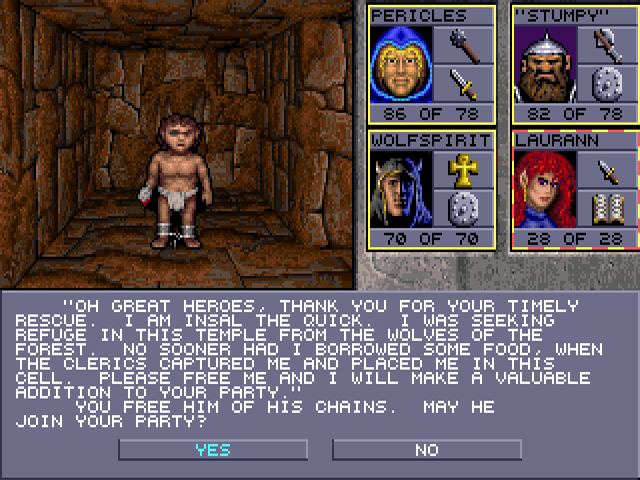
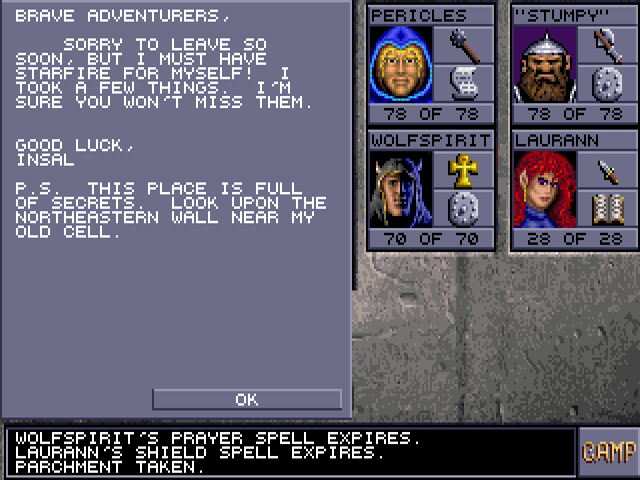
Insal was mentioned in the journal at the beginning, having been briefly hired as Wently Kelso's guide. If you refuse his offer:

If you accept:

He starts off in terrible condition and with no items.
I feed him then take a rest to heal him, since I need some spells restored anyway.
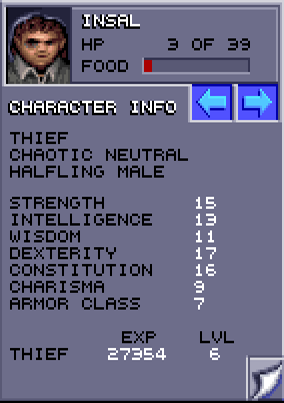
He takes a sword, three rations, and two rings if your party has them. Any items in his own inventory will be dropped on the floor. He also leaves a note:
May as well check that out.
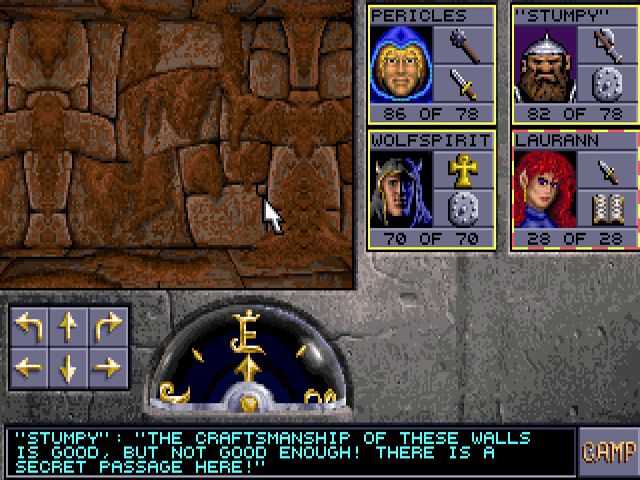
This comment has a chance of happening if there's a dwarf in the party. The short sword is back since I actually did this and the following before rescuing Insal.
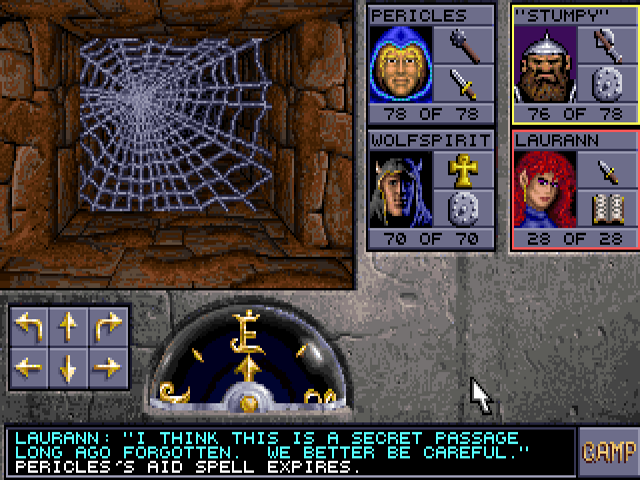
Here's where it leads.
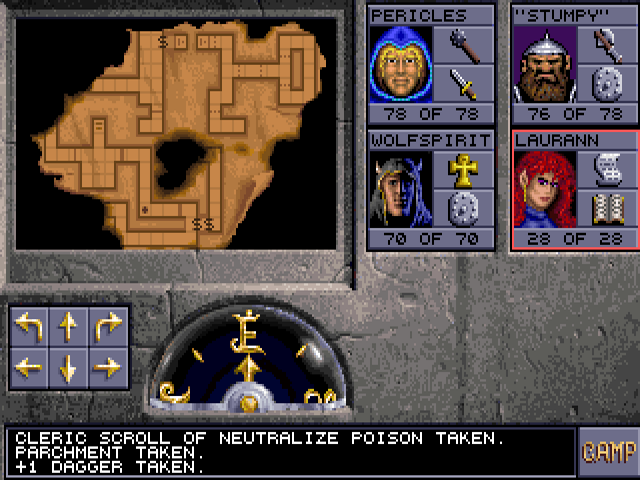
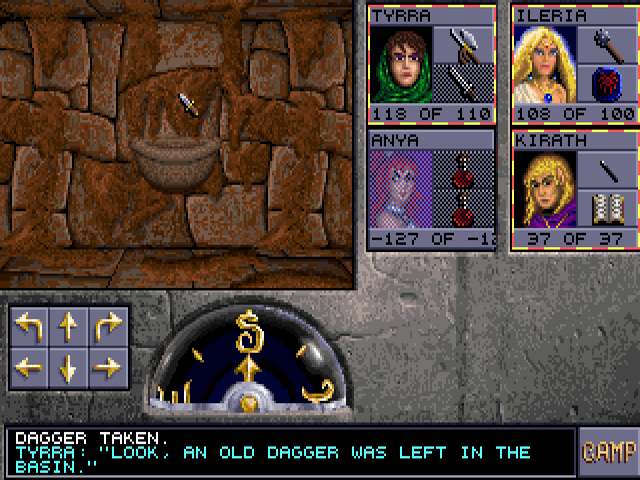
At the south end of the corridor we find three scrolls and a copper key that can be used on the upper level. One scroll is Neutralize Poison, one is Magic Missile, and the third is a partial map of this level.
We're currently at the south end of the northeast section. At the east end:
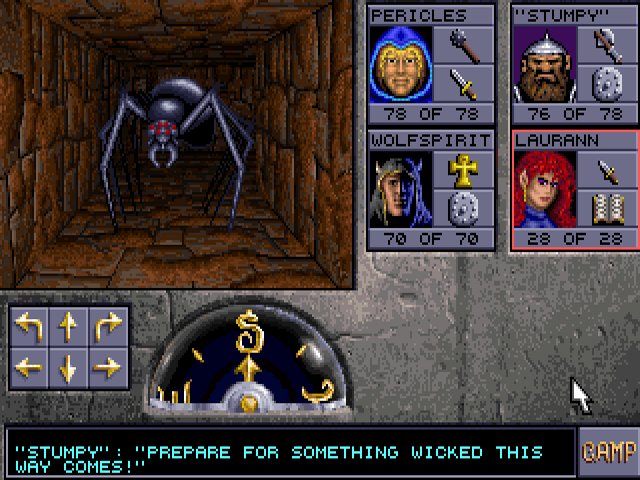
Giant spiders spawn on both sides of the party, prompting this comment from a fighter. Several monsters return from the first game, mostly among the most annoying and/or dangerous of its roster. Spiders are near the lowest end of that list.
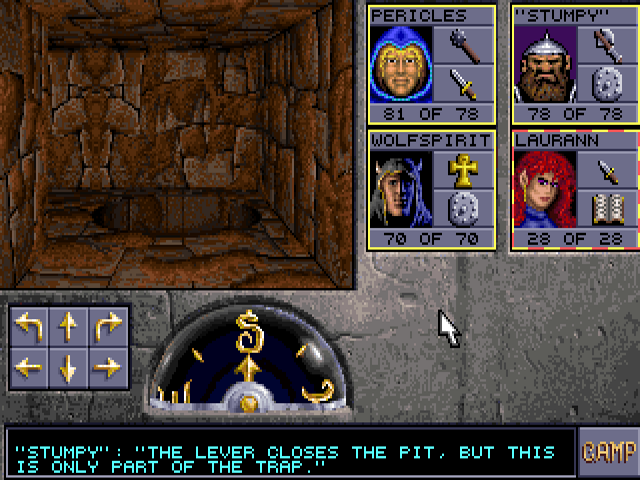
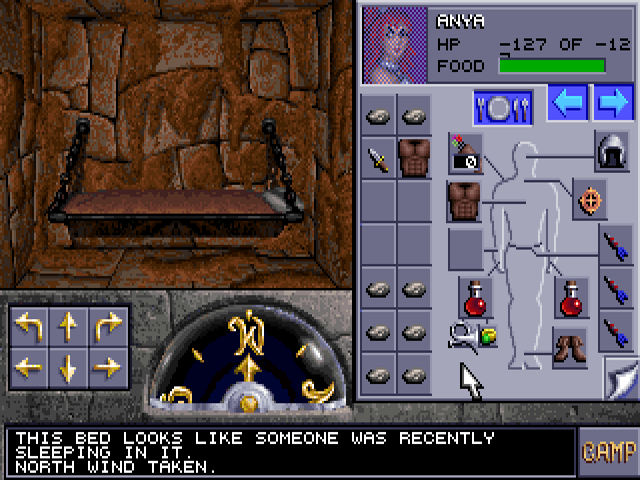
A thief will warn that this pit is slightly more complicated than just closing it from the east wall and moving on. This is the last we'll be seeing of the quick start party, back to the main one.
A pressure plate will open a door with four guards behind it and also re-open the pit behind you. Backing up will drop you into a cell, which you can escape by throwing an item through the bars. Stairs will go up to a hallway with a hidden button at the end, also shown on that map. The guards will likely be back there to meet the party. One of them drops a key. A lever at the other end of this hall will close the pit so that you can go back to ground level.
In the small cell block below, you can find this lock. There is no key for it, so the only way to open the door on the other side is by picking it. There's a scroll of Lightning Bolt in that cell.
The corridor winds and goes past the guards' quarters, consisting of three rooms. The one on the north wall opens behind you when you step here. One of these two undressed guards has another key.
The two rooms on the south must be unlocked by you and have four guards each.
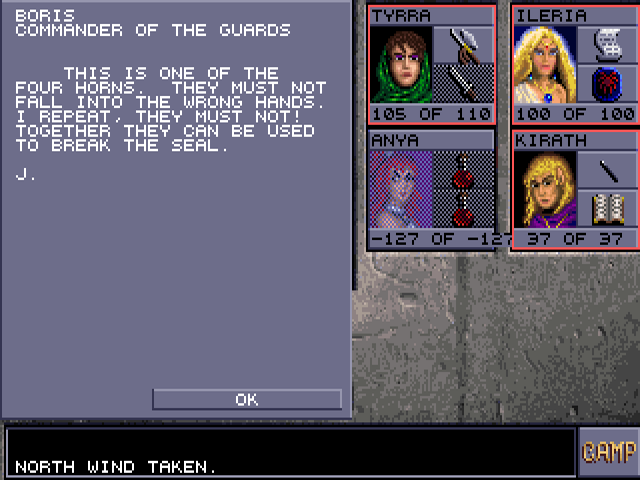
This note is found in the west room, along with the horn it's referring to:
It can be worn as a ring, which can free up more inventory spaces.
The east room has a dagger +1.
The stairs north of the barracks go down into a short landing, where a hidden button uncovers a shelf with a scroll of Raise Dead and a Sling. After that...
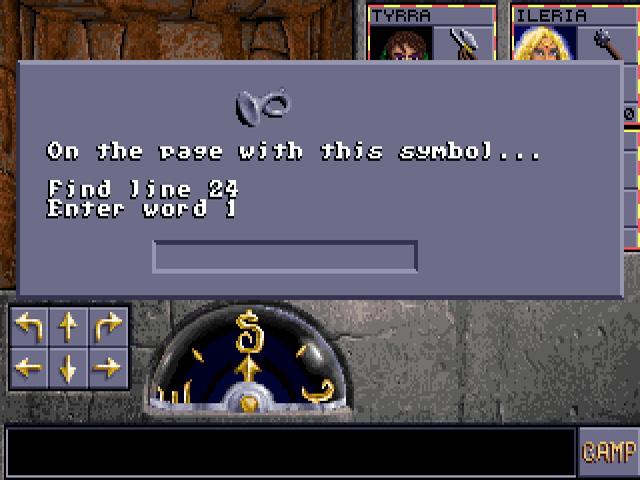
The stairs down trigger copy protection, with the same scheme as the first game. The word is "greater" here, but again the GOG version is cracked to allow anything.