Part 18: Nightmarish
TLOD 4: Nightmarish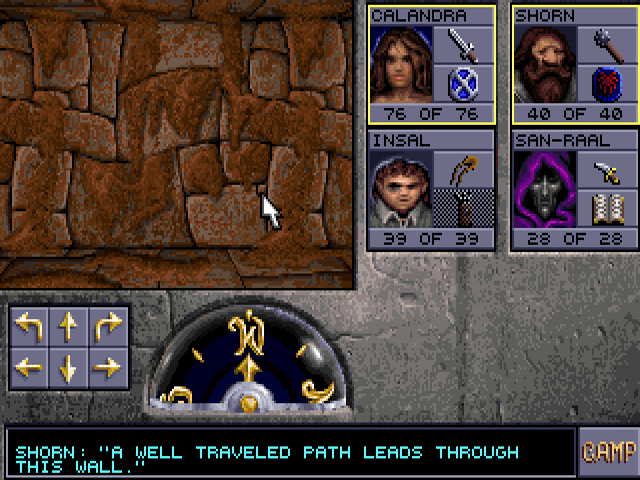
Back in the second level of the catacombs, I go to a secret passage in the west wall that I bypassed last time. A dwarf will point it out.
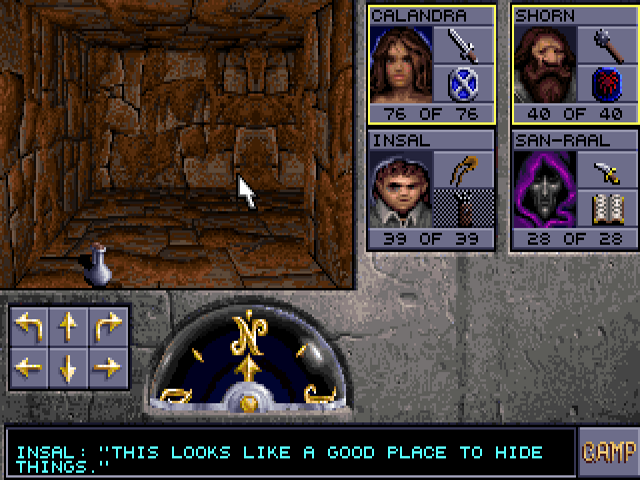
It's connected to the illusory wall at the west end of the cell block. A thief makes this comment on a tile with potions of Cure Poison and Vitality. I go to the northwest section, past where I got the first skull key.
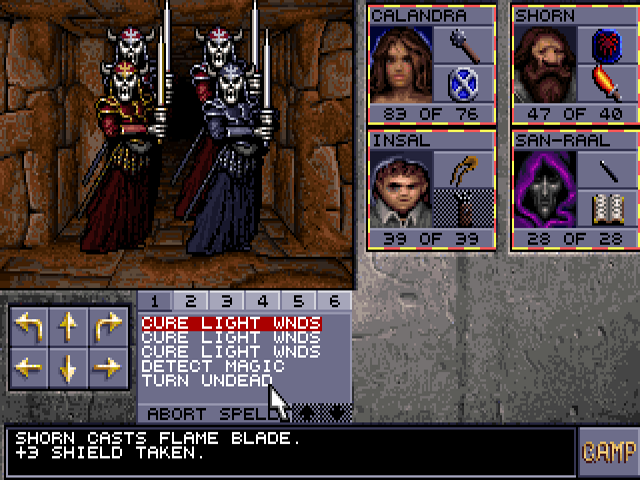
A door opens on its own and re-introduces skeletal lords. They seem to be slightly nerfed from the first game, but are still dangerous, especially since they come in larger numbers now. You'll notice that Turn Undead is treated as a first level spell now. It no longer happens automatically, but can now be done without a holy symbol in hand since the spell menu stays open. These are the only monsters in this game affected by it anyway.
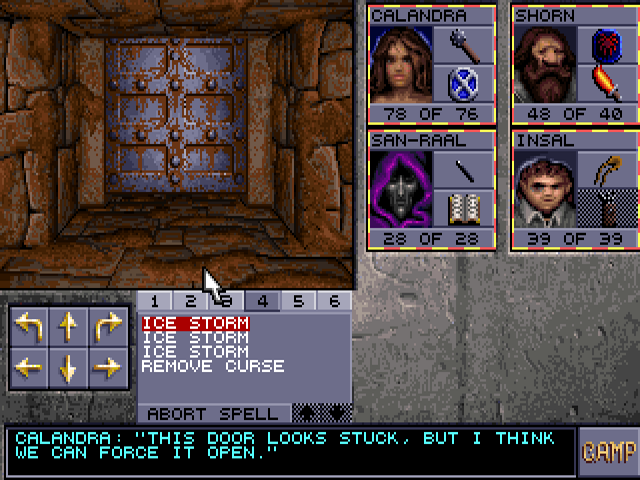
The northwest hallway winds to get here. On the way, I have to fight through two groups of three skeletal lords, each accompanied by a priest. Before opening this door, ASE can preview what's behind it:
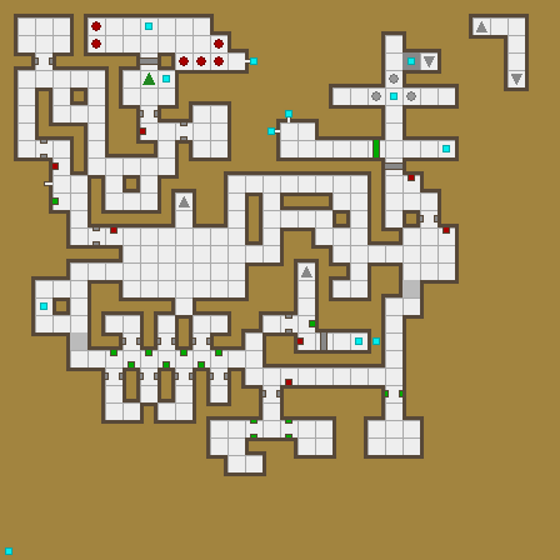
Each of those six red dots is three skeletal lords plus a cleric. You'd better rest and then buff up for this one. Some of the enemies in the east end are in range for Wand of Frost cheese. It's not particularly effective against the skeletal lords due to their high magic resistance, but the clerics are the bigger problem anyway. I also have the front row characters drink Potions of Speed brought from the first game since I don't have the Haste spell right now. Mages created in this game don't start with it either.
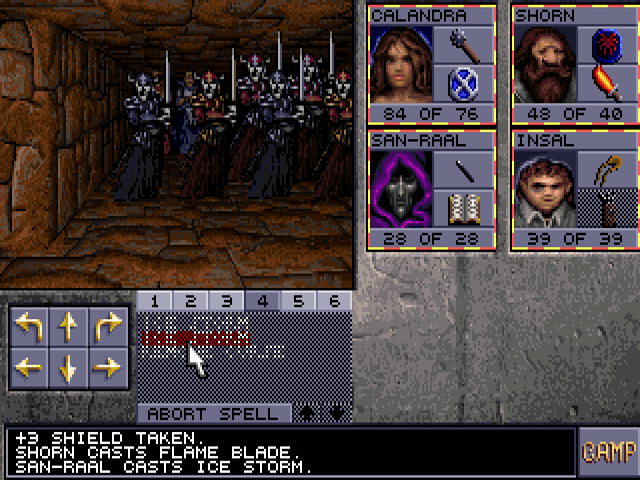
It's go time. I start with an Ice storm here, move back a tile behind the doorway, then cast another once enemies reach it. Again, it doesn't do much to the skeletons but the clerics are higher priority. After that I use retreating hit-and-run tactics to avoid getting overwhelmed. Fireballs connect just often enough to be worthwhile.
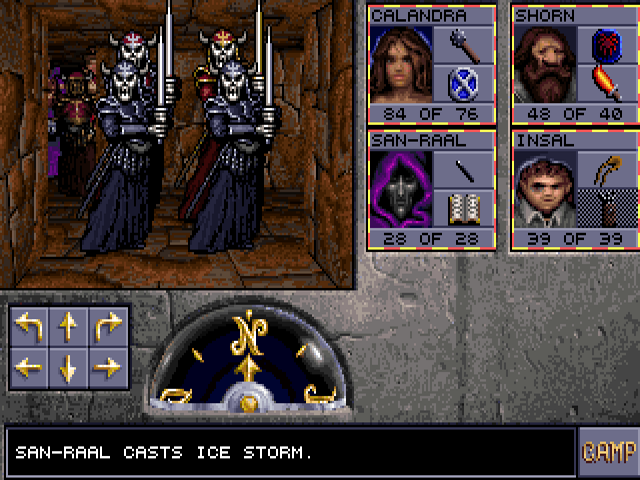
I've generally avoided redundant shots of enemies, but I think it bears emphasis just how many of them there are here.
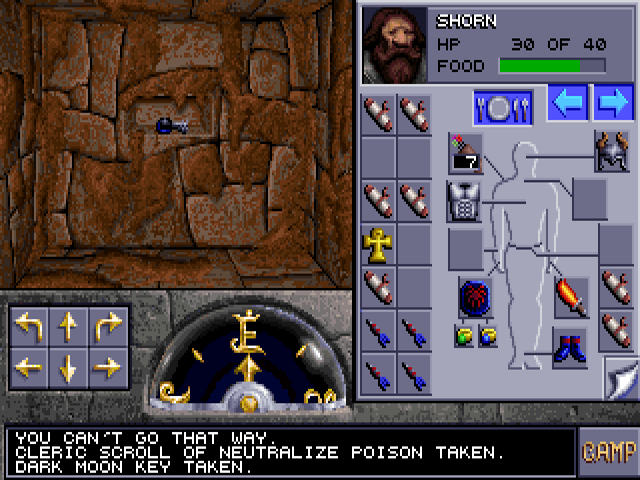
All of that trouble was to get this key. There are also cleric scrolls of Cure Serious Wounds and Neutralize Poison in the room, as well as two +2 weapons, an axe named "The Bait" and a short sword named Sting (original weapon do not steal).
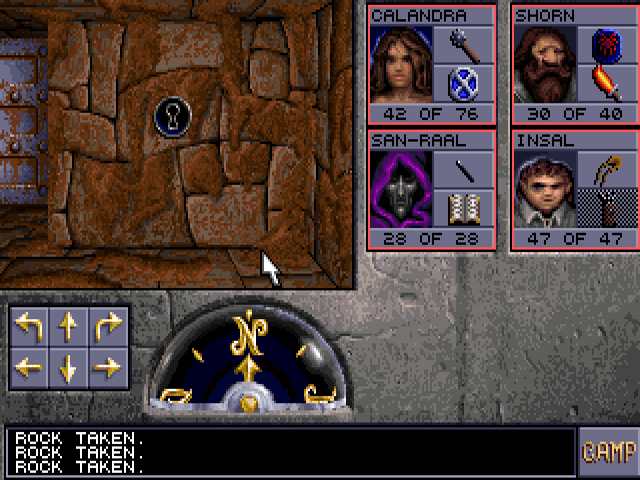
The Dark Moon Keys are for these locks in the easternmost part of the level. Behind this door:
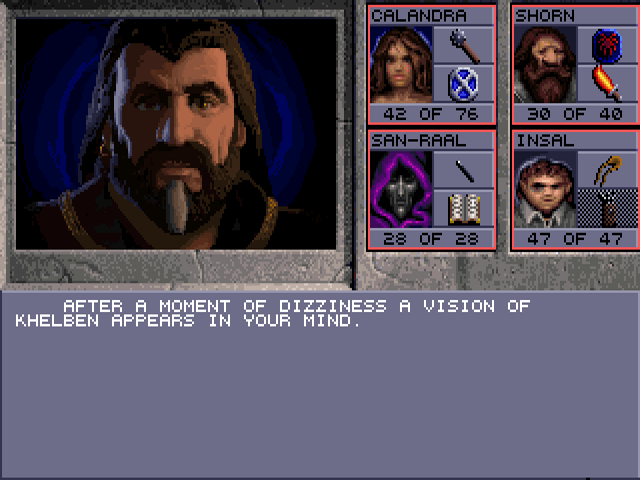
This is what Khelben's Coin does. It won't happen without that in your inventory.
That happens at an intersection. I open the west door and find a room with shelves. Those contain two Potions of Healing, a Potion of Speed, and the East Wind, along with a parchment:
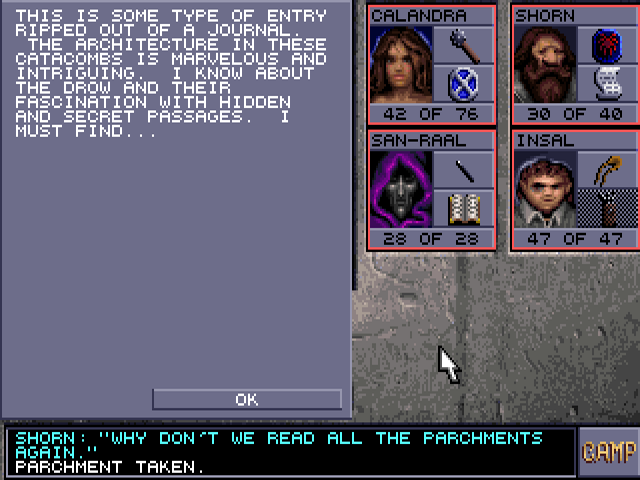
After that I go north and find another one:
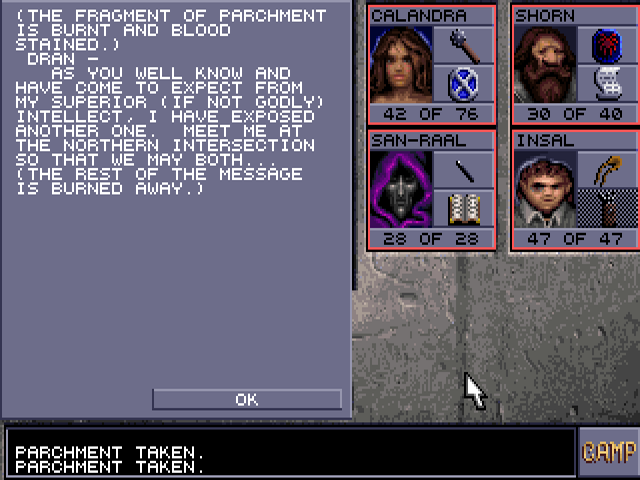
Why is it burned? Well, here's where it's found:
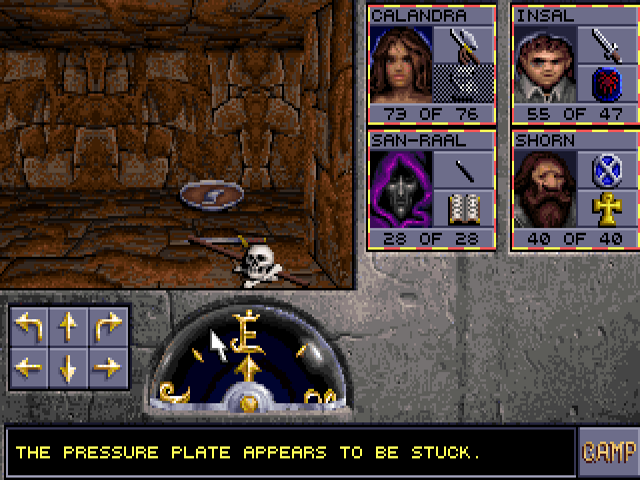
This is the north intersection it mentions. It has pressure plates on each side except south, which activate one-time fireball launchers. East and west are just dead ends, but north is where we ultimately need to go. I step on the plate and quickly run to the southeast corridor to dodge the fireball. There I find a third parchment:
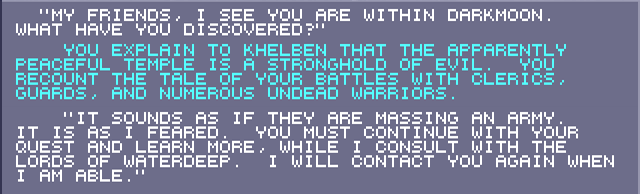
parchment posted:
...I think I have found the passage way to the hidden level. I am excited. If only...
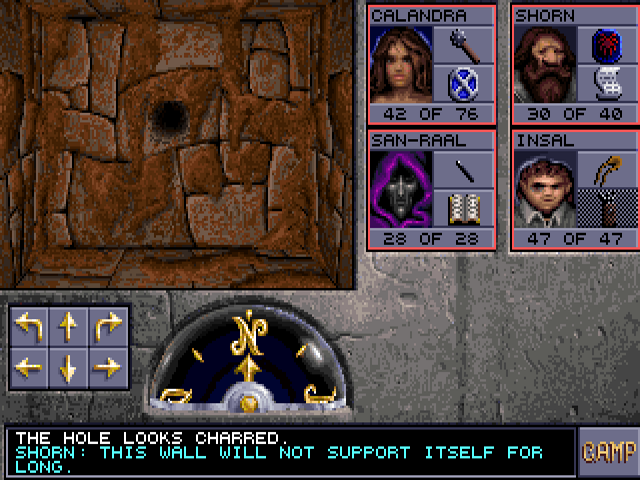
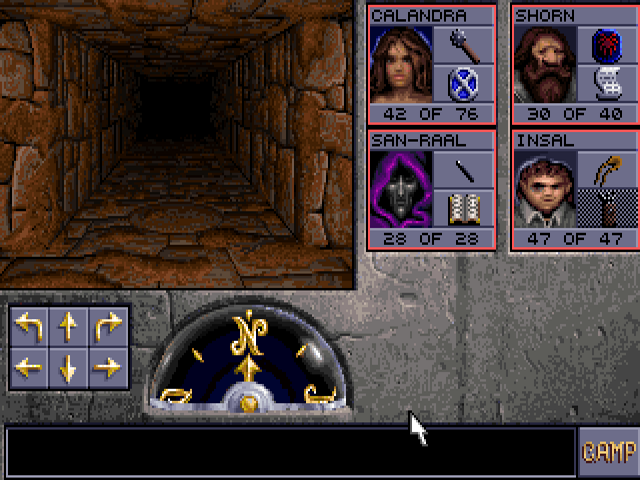
This is referring to the eastern wall:
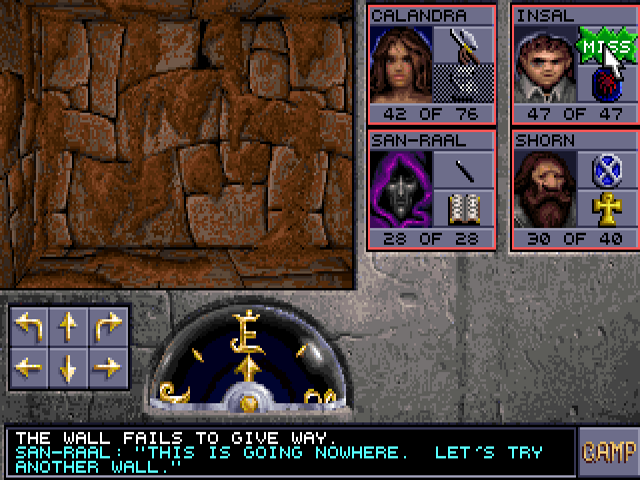
It and the wall directly to its south have conspicuous gaps, but only the latter can be busted down.
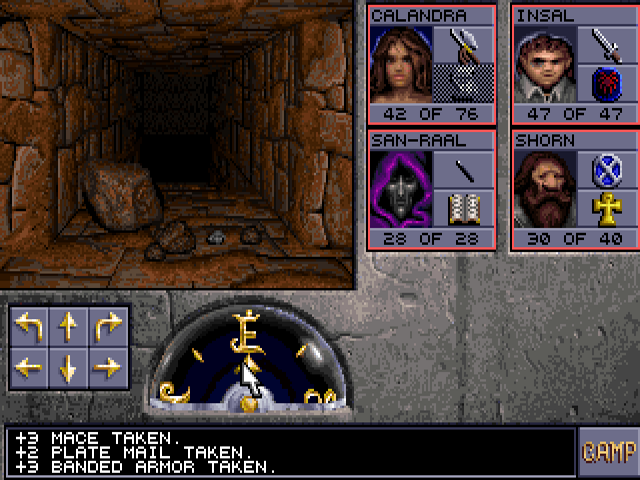
Two hits is all it takes to open the way to the lower floor.
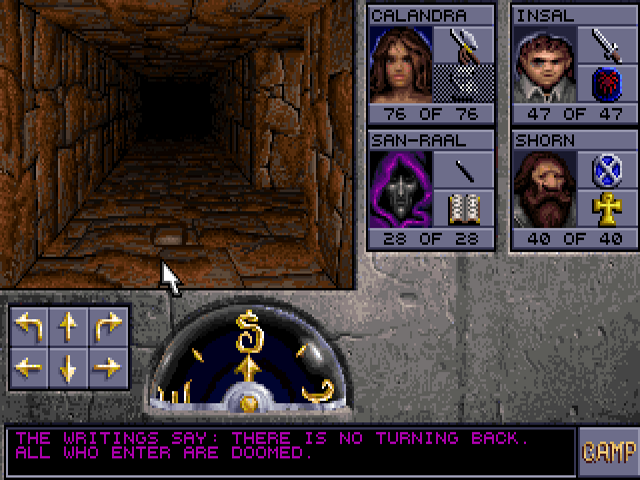
Stepping on this button will close the door behind you. This is your last chance to go back upstairs and rest. Why do you need to go back up for that?
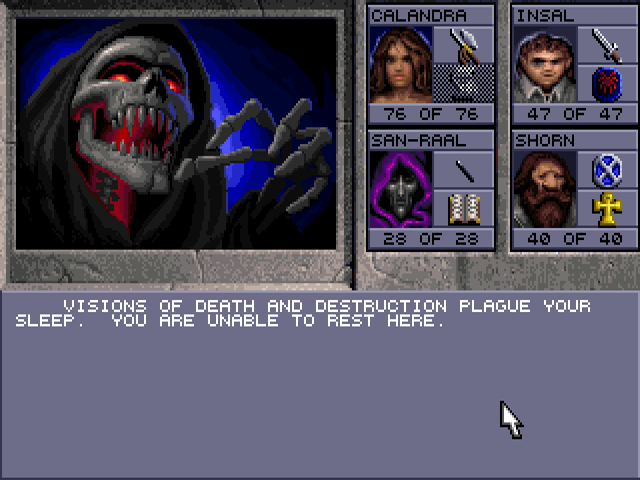
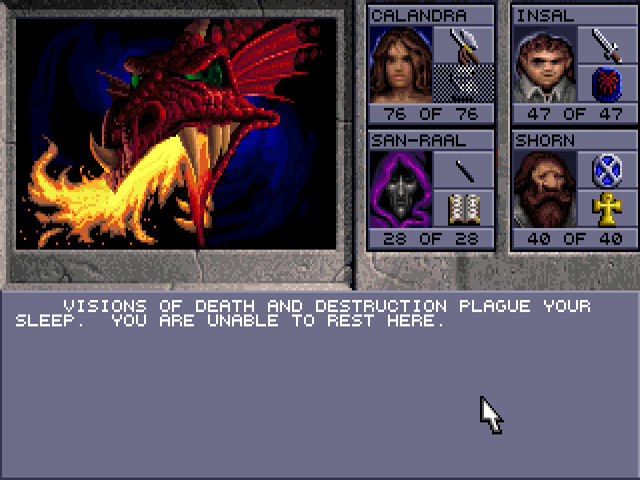
That's why.
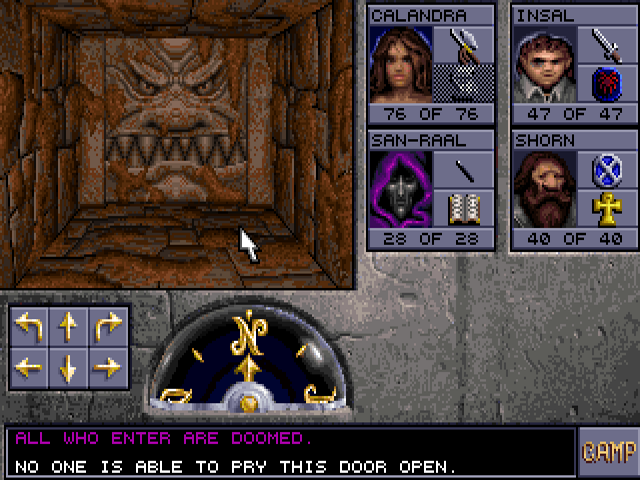
This door style returns for this stage.
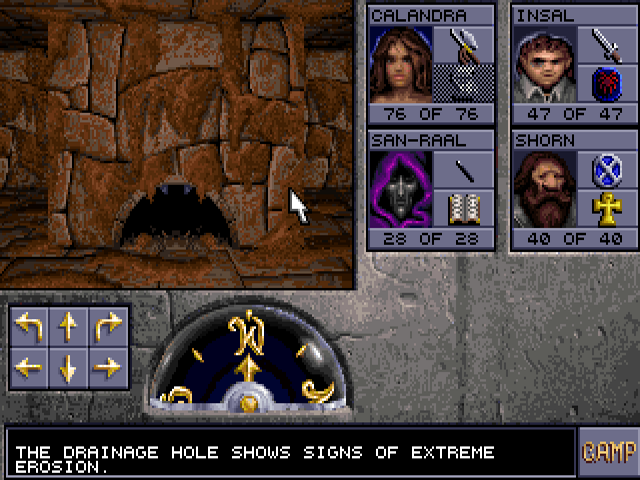
An altered sewer decoration is also used here.
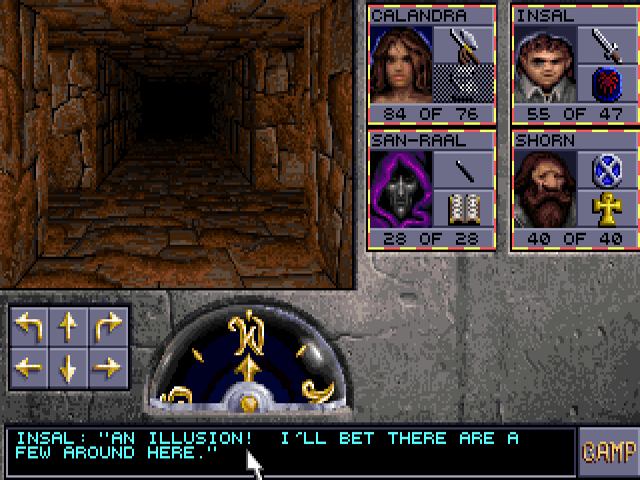
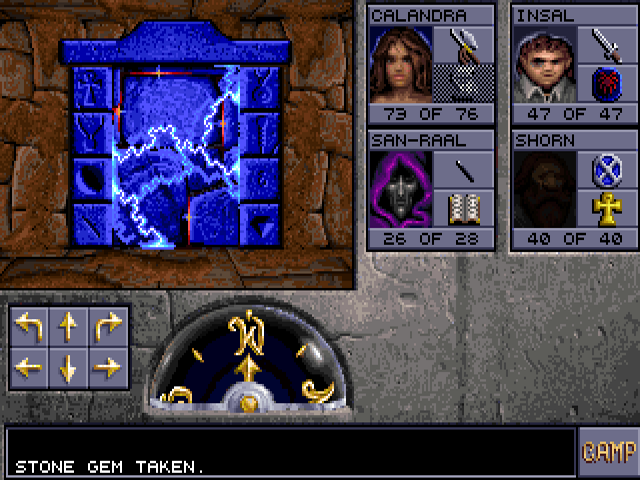
This comment isn't made until after you've already stepped inside the illusory wall. At this point I can't cast True Seeing since Shorn is still level 8 and therefor doesn't have 5th level spells.
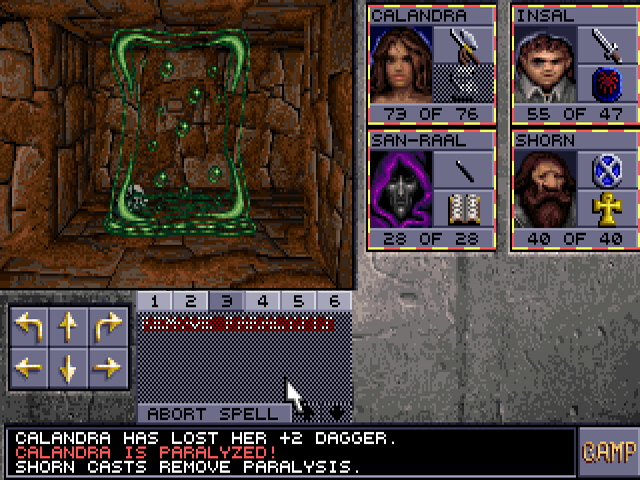
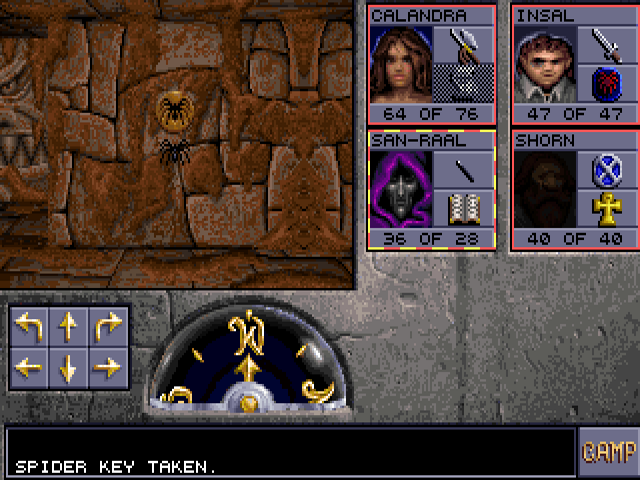
The first enemy of this level is the gelatinous cube. Its hits can paralyze and also eat items from that character's inventory. From what I've seen, it seems to use the same edibility list as the rust monster. This one doesn't move and drops a spider key. You can see the button on the wall through it, which is neat.
The room to the south sets up a nasty ambush, which can also fall victim to Cone of Cold cheese. I leave two alive to show it at least semi-properly.
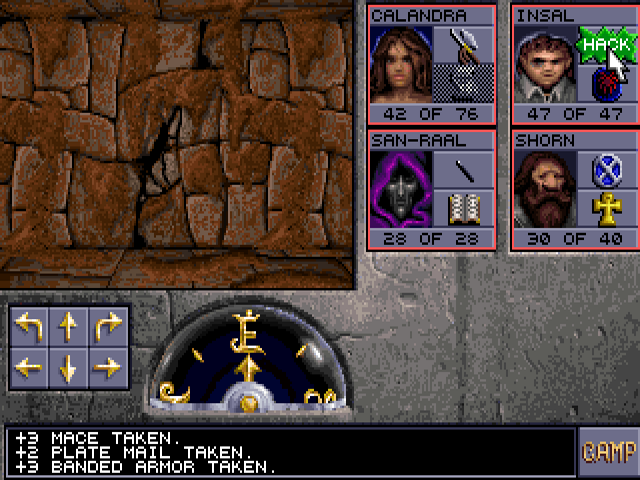
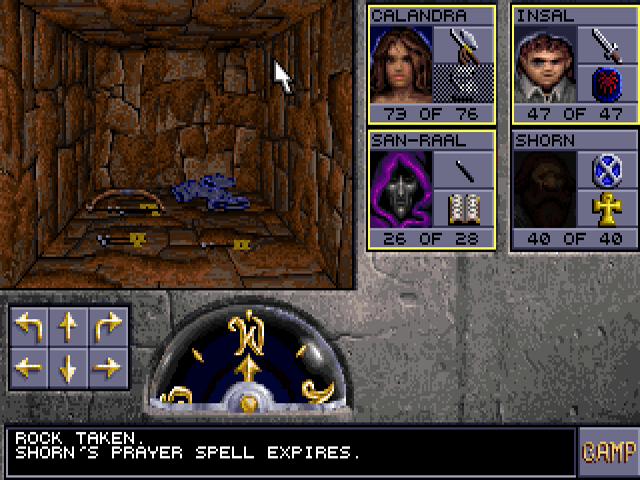
The skull and staff (+1) can be picked up safely. Picking up the sword (cursed -2, named "Hath Kull") or the shield (+1) will close the door and remove the north and south portions of the east wall, giving you a rude introduction to this level's other monsters:
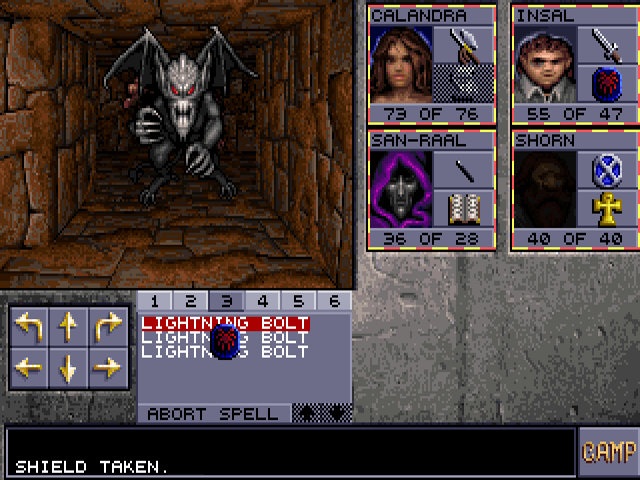
Margoyles are notable as the first enemies in the trilogy that can't be hit by normal weapons. That shouldn't be an issue at this point, since even characters created in this game start with +1 weapons. They move quickly and can do a lot of damage - I've seen up to 30, though I think there's also some power scaling for imported parties. In this small space, you're guaranteed to get attacked from multiple sides at once if you didn't abuse Cone of Cold. Stay in a corner to make that two instead of three or four. Since Shorn is fully on support duty, he won't break his invisibility. This room is entirely optional. A pair of bracers +5 under the shield, the only +5 item found in this game, are the reason I went for it.
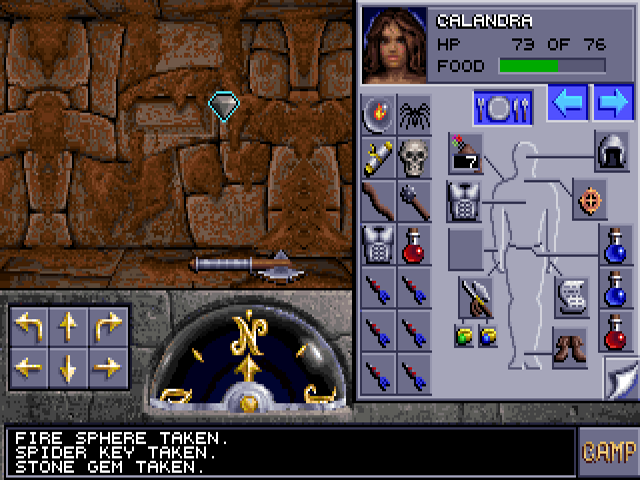
This is what the spider key I got earlier looks like, along with its lock.

It leads to another familiar sight. The tiles next to it have another spider key and a scroll of Haste, which San-Raal scribes.
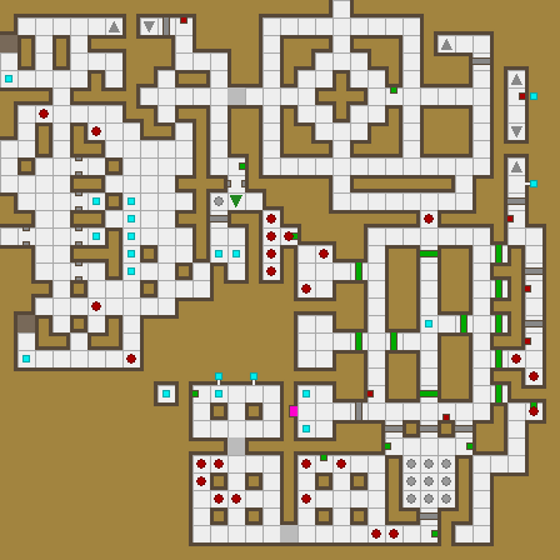
A room in the south of this level has a 3x3 grid of pressure plates, minus one on a tile directly in front of a door. To open it, the plates must be weighed down in an X formation. It goes to a hallway with several margoyles. You can step on one of the other plates to close it again and avoid fighting more than one at a time. If you're able to get in, Lightning Bolt will work wonders.
This cache behind a hidden button has the first magical arrows of the trilogy, eight of them at +2. They come with a normal longbow (there are no magical bows in the series) and a +3 cloak called "Moonshade".
A shelf on the north wall above a nonmagical axe has a couple of items we'll need later and the portal key never used in the first game. Another shelf has two arrows +1 and healing potions, plus another Dark Moon key.
With that, we leave this terrible place.