Part 26: Imprisoned Giants
TLOD 12: Imprisoned Giants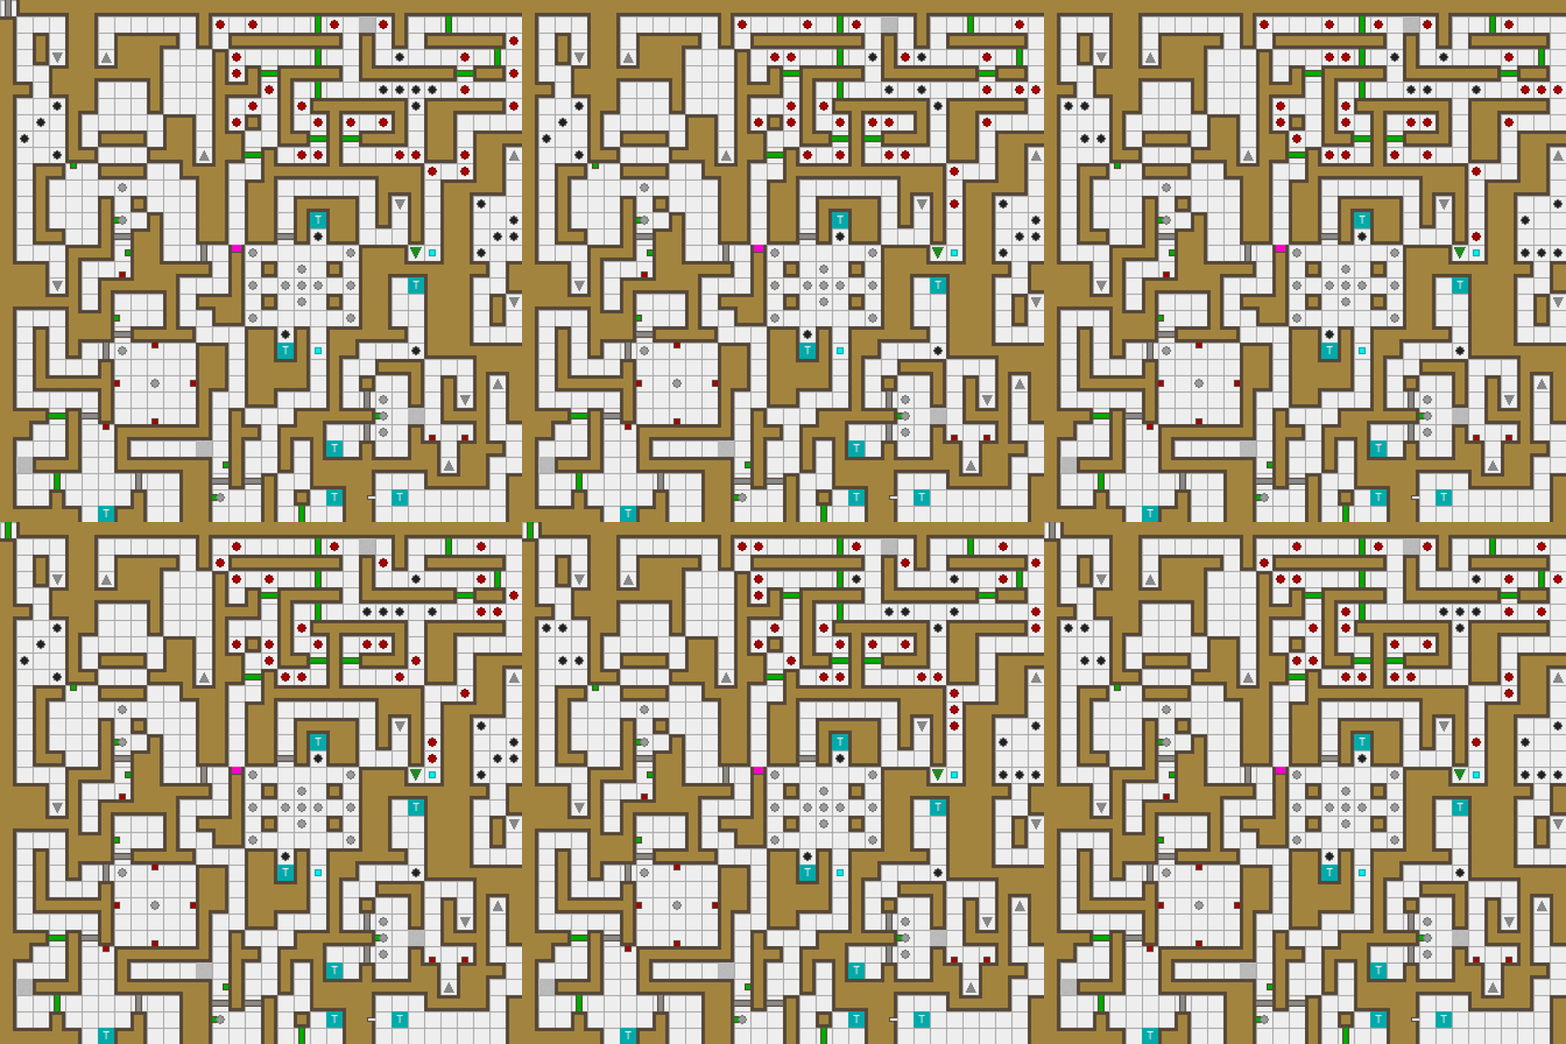
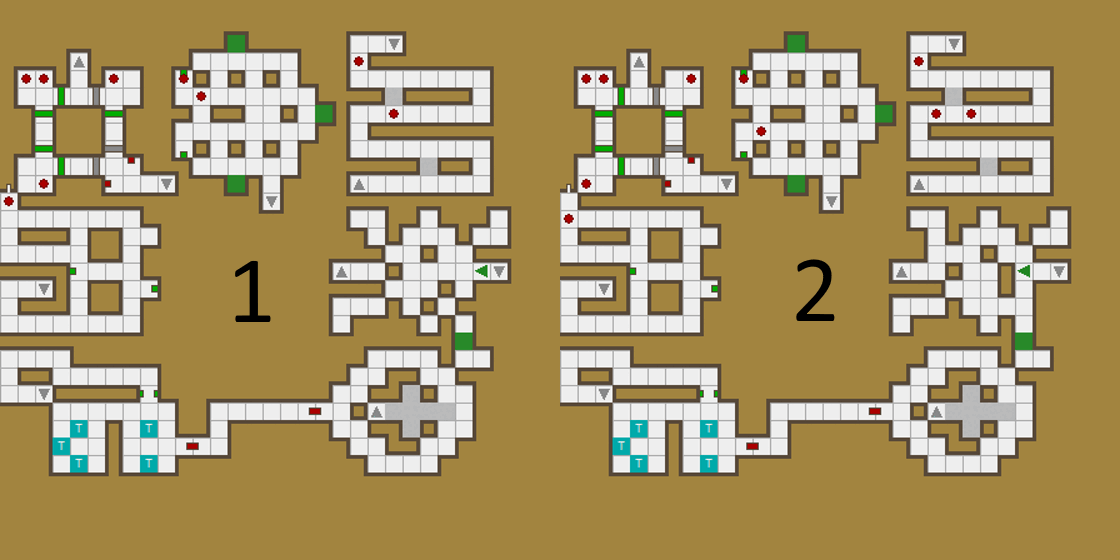
Does this map look familiar? It's nearly, but not exactly, identical to Azure Tower 3. It's actually considered an entirely different level by the game. The temple entrance and priests' quarters have a similar relationship. Things like staircases and teleporters are still present, but mostly nonfunctional if you warp to them with ASE. We've already been to this level, in the side rooms with moving pits. The enemies won't go into the corner next to the starting spot until you do. This allows you to heal and prepare to some extent, though you can't rest there.
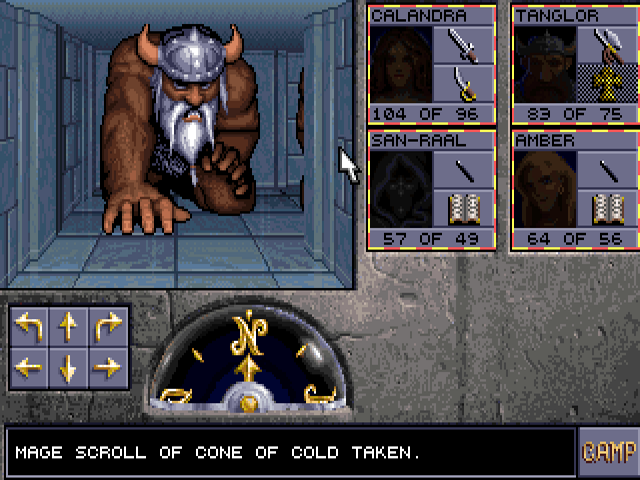
Those enemies are frost giants. As you might guess from that name, they're immune to Cone of Cold and Ice Storm. That scroll from the corner is no use here. Insta-kill spells can work on them and are definitely worth trying since they average 100 HP. If they don't work, or you just don't have them, Lightning Bolt is ideal for large monsters in narrow corridors.
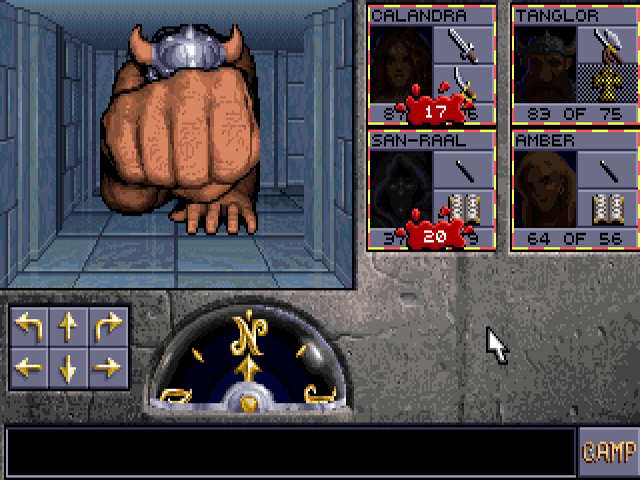
In this cramped space, the only weapons they can use are their fists. As you can see, that's still quite effective and it can hit multiple characters. They can punch an entire party of six at once.
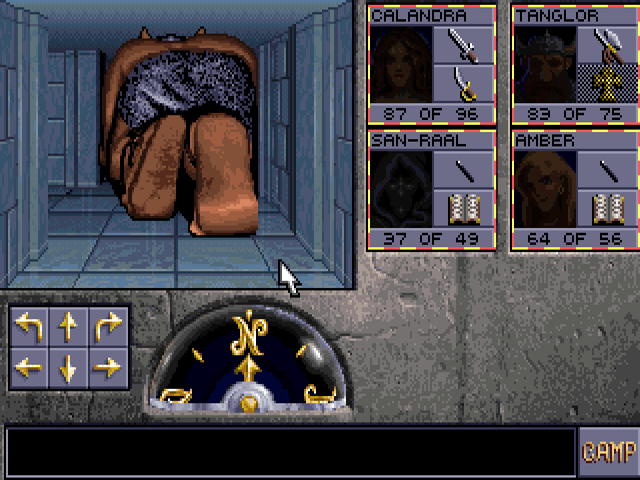
They don't seem to have side sprites and turn around instantly. Getting behind one is still a good opportunity for a pre-emptive attack.
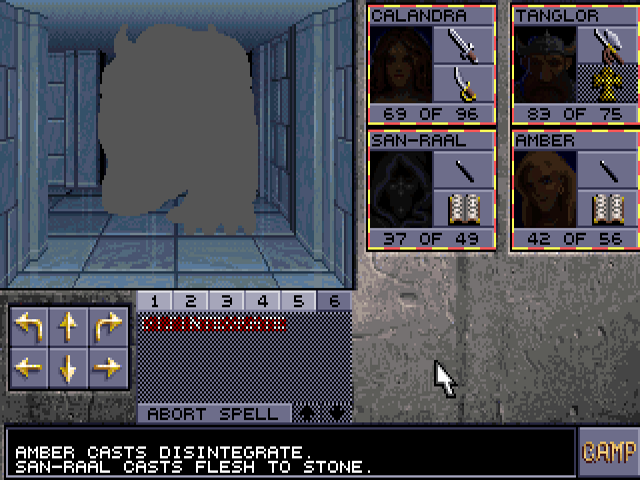
Here's the new spell from the previous update. It's essentially a permanent Hold Monster that also makes its victim die to the next hit. This can give you a chance to rest.
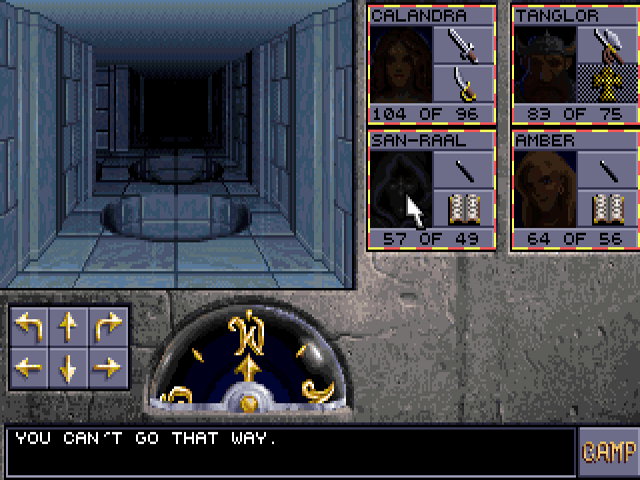
Here are the moving pits of this section. Falling into one will drop you to the second floor of this tower. That's not a shortcut since you need an item from the end. You can get back here by breaking one of the glass panes at the end of the labyrinth with a single attack. The pattern of this set forces you to go into the south hallway, where two more giants are waiting. To the west are three doors, each with more giants behind them. Opposite the north door is a wall that's passable from the west but solid from the east, which locks you into going backwards and doing this again. The way to the end is the middle door, which has a pit that opens directly in front of it, so don't stand there too long.
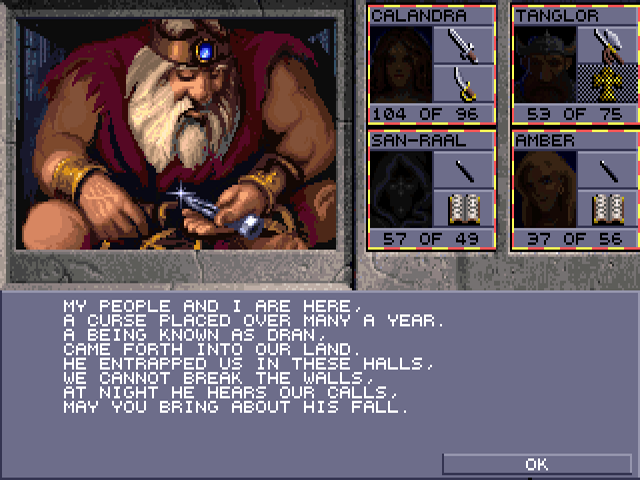
After fighting through some more giants, we finally meet one willing to talk instead.

I think this is supposed to be a hint on how to get into the last tower, or at least the first two lines.
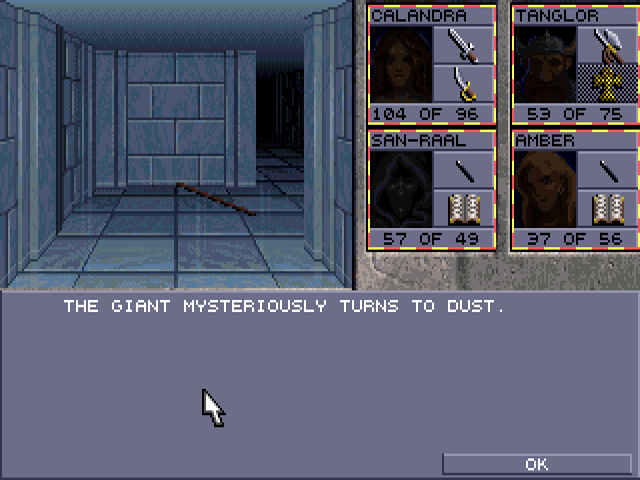
What looks like a staff on the ground is actually the blade he was holding.
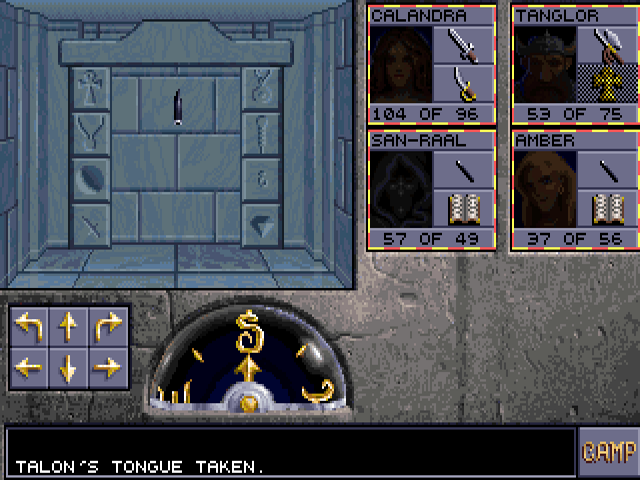
Using the stone dagger here takes you back to the priests' quarters. The stone gem goes to the no rest zone in the catacombs, where you can get to the same place by using it again. Without either, you'll have to fall.
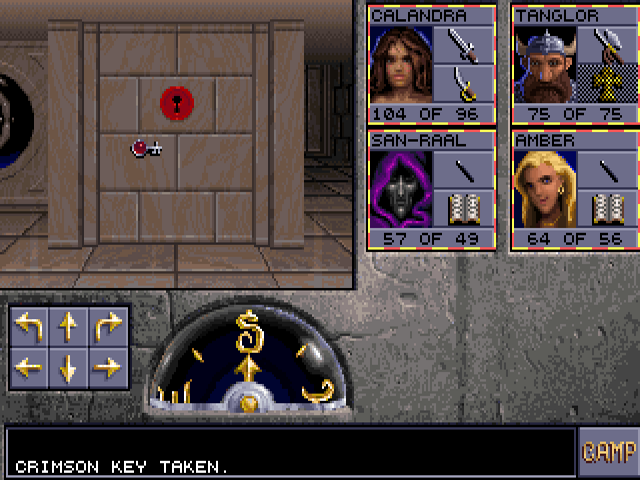
This locked door is just around the corner from the portal room.
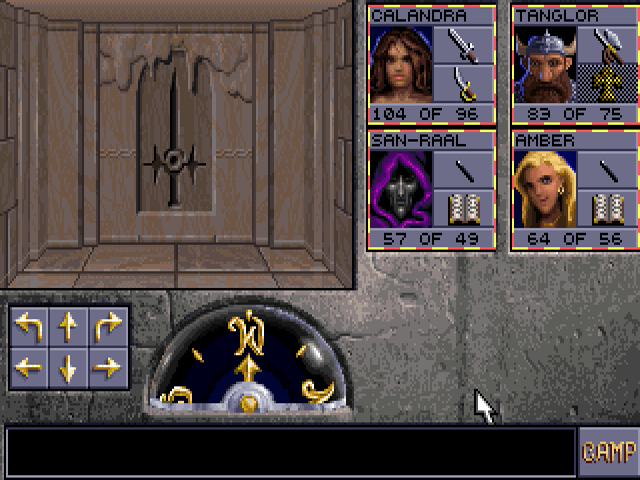
Behind that is this very unique wall carving.
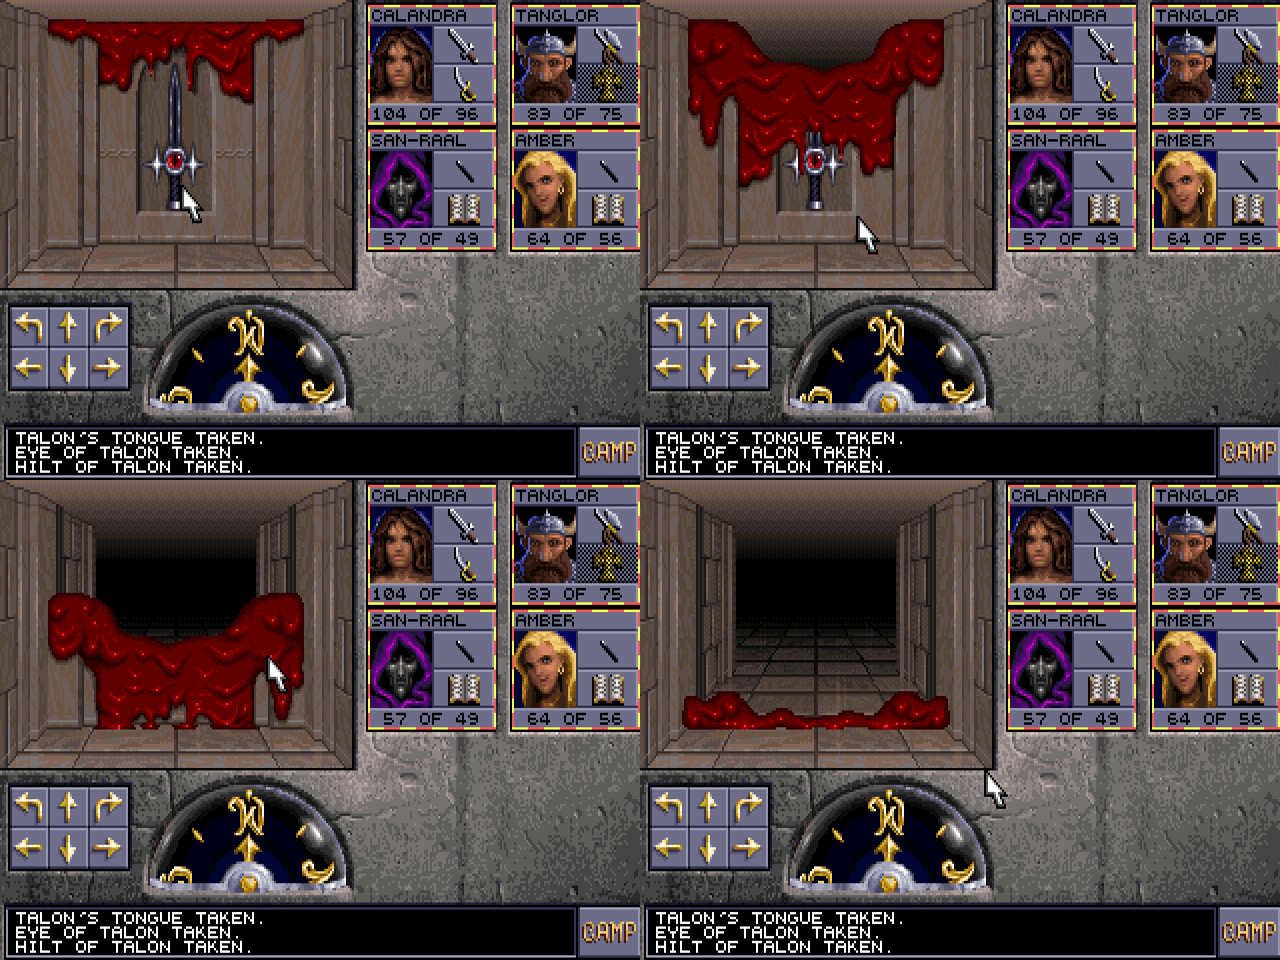
Putting the three Talon parts into it makes it melt away and creates a longsword with a distinct icon.
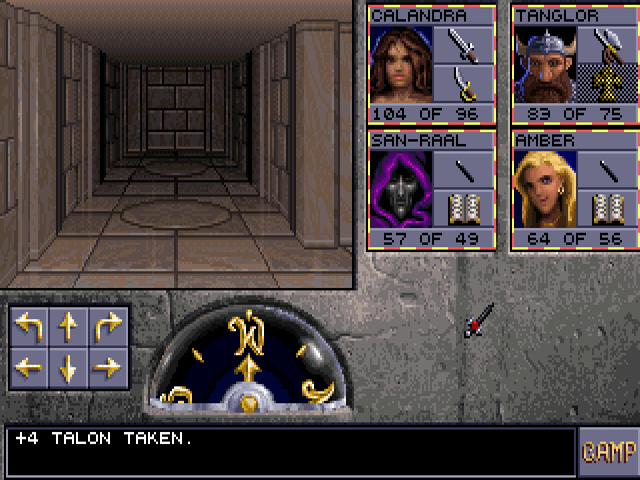
There are two entrances to the Crimson Tower, which is the final area of the game. Weighing both of these plates down with items opens up the south entrance. Just in front of the staircase up is a group of four priests who never move from their starting position. That makes it trivial to hit-and-run them to death.
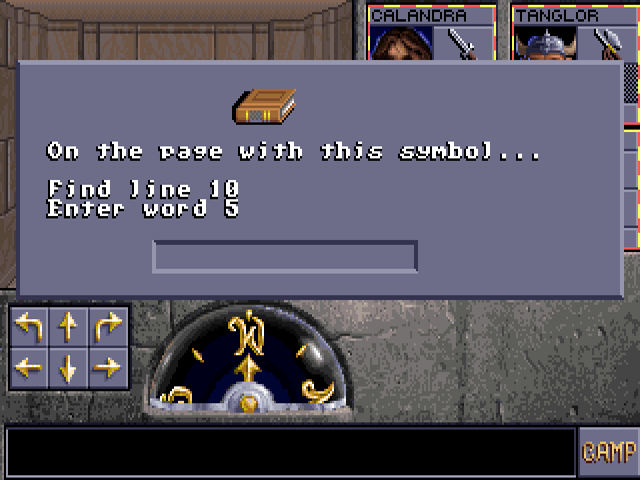
Before we can enter there's one last copy protection check. In this case the word is "button" but once again the GOG version allows anything.
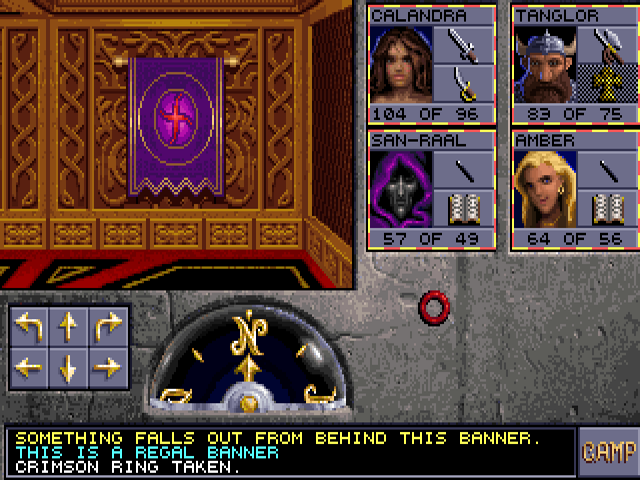
The first thing we get in the Crimson Tower is this. There's a door on the opposite side.
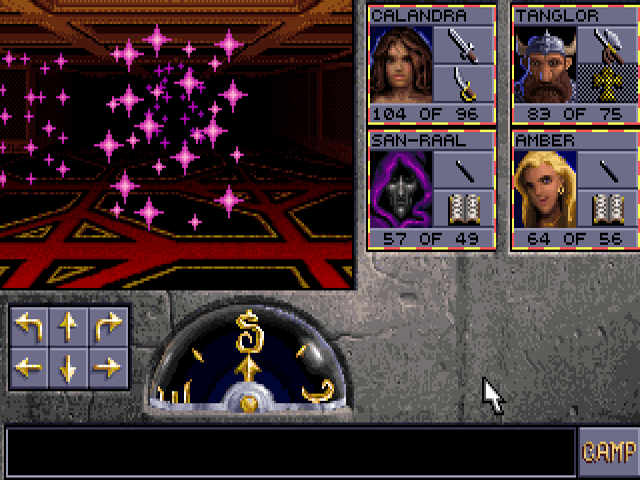
That leads here. That teleporter to the east (left) will disappear after one use, giving access to what's behind it.
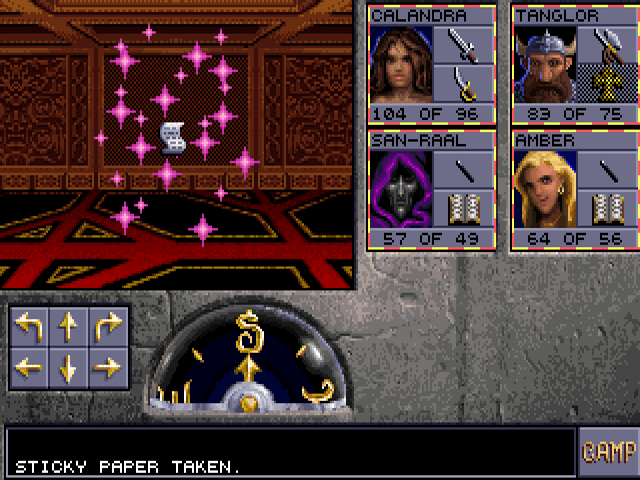
It goes to the middle of a similar setup on the other side of this room - they're connected by a single tile on the north side. This paper is a cursed item when put in someone's hand, but it's needed later. From here I go into the teleporter to the west.
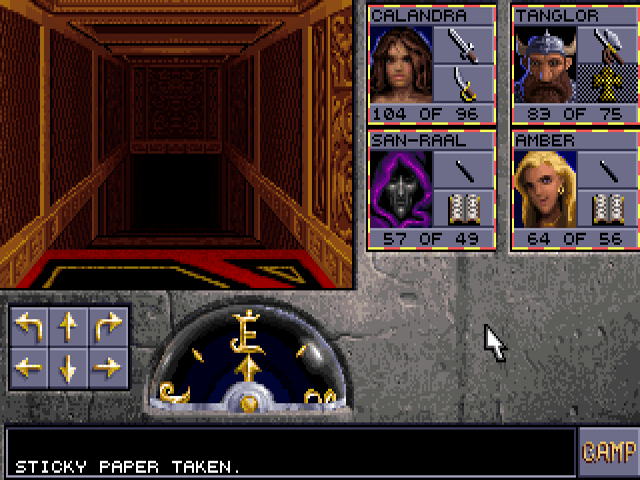
That goes to the other tower entrance, in a separate room not connected to the one we came from. There are two invisible teleporters here that go elsewhere in the room, and the layout ensures you'll step into at least one of them near the start. These can be deactivated by levers, which is necessary to get out.
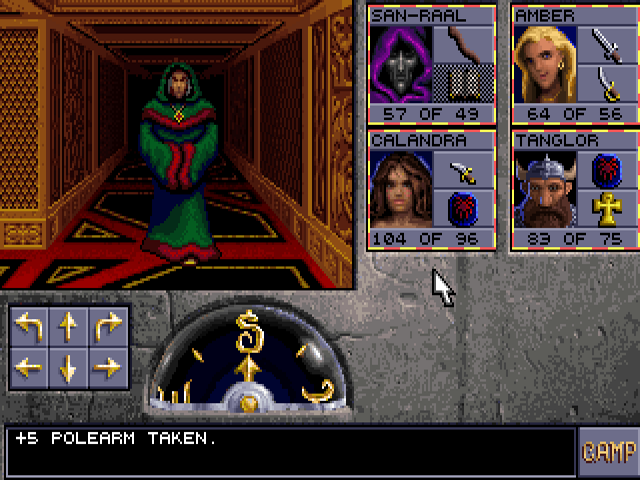
At least one of these mages will be here at the start. If you step into the middle tile of the teleporter room, one of them will spawn on each side of it. They always start with Magic Missile. That can be nullified by the Shield spell, so I put both mages up front. Their second spell is always fireball. The ones in this room drop crimson rings.
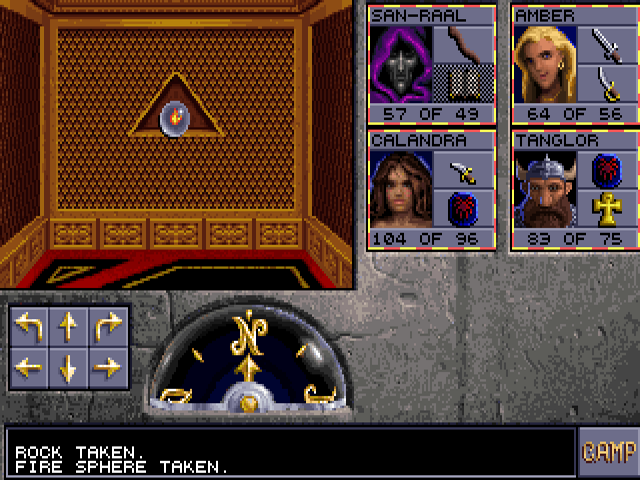
The northwest corner of the room has this shelf, which changes any item into a fire sphere. This is also near the place where more mages spawn.
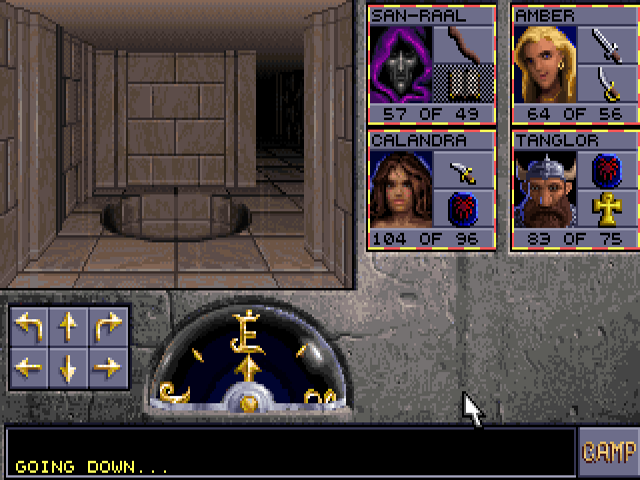
In front of the Crimson Tower's north entrance, there's a pit which opens and closes periodically. Past that corner is a pressure plate that launches a fireball from the west the first time it's stepped on and every second time after that.
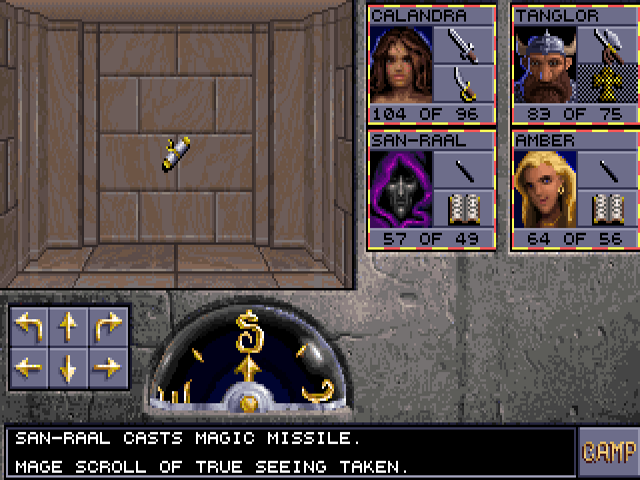
The pit drops you onto the tile just north of this, a cross junction that starts with priests on all four sides. Between the tower entrances is a staircase leading to this room, which allows you to fight them more manageably. This is a 6th level spell for mages, as opposed to 5th level for clerics. San-Raal learns it.
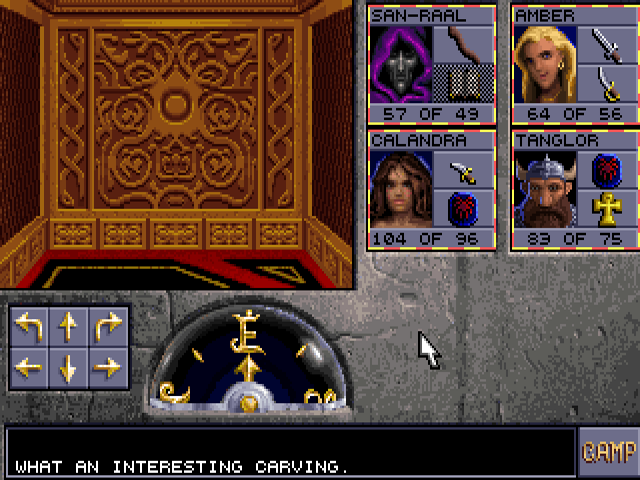
Back in the south room, this is behind the former location of the east teleporter. Looks like one of those crimson rings will fit into it.
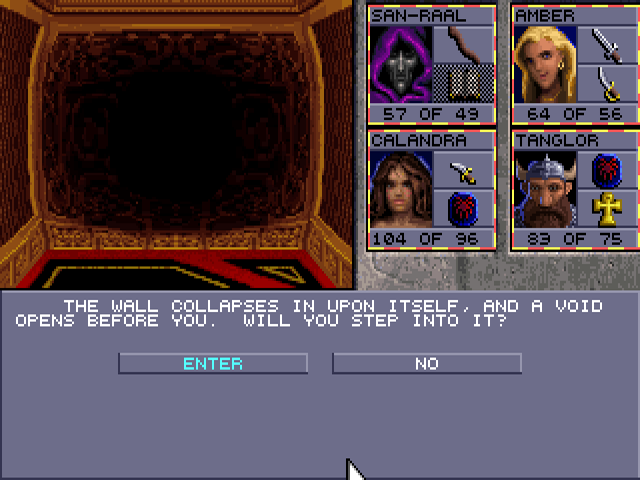
This is what happens when you do that. Going in is of course the only way to progress. Refusing will just lose you the ring. Another one of those carvings is on the other side, so you can get back if you have another ring.
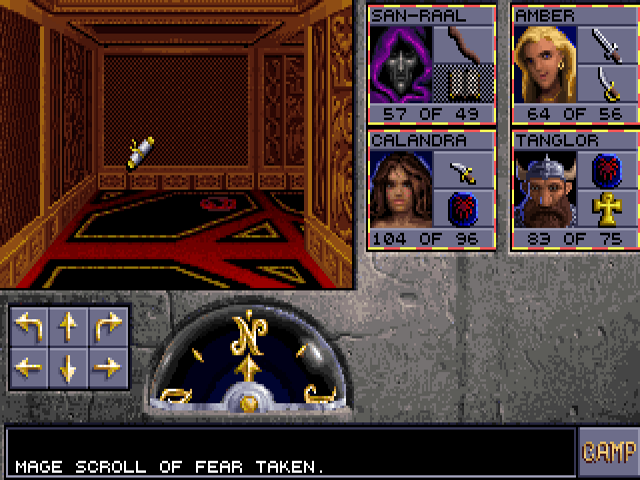
Speaking of which, there are two more on the floor here. However, they will move away from you if you approach them. If you get near the end of this hallway, they warp back to the start and you find a plaque on the north wall saying, "Ringmaster am I! Watch me fly!" Putting the sticky paper from earlier on the floor will stop the rings from moving. One is needed for another wall like the one that got us in here. San-Raal scribes the last scroll in this game.
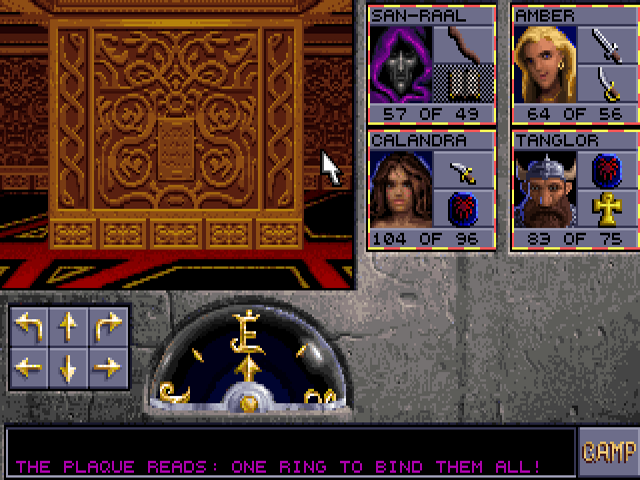
First we found a short sword called "Sting" in the catacombs, now we see this.
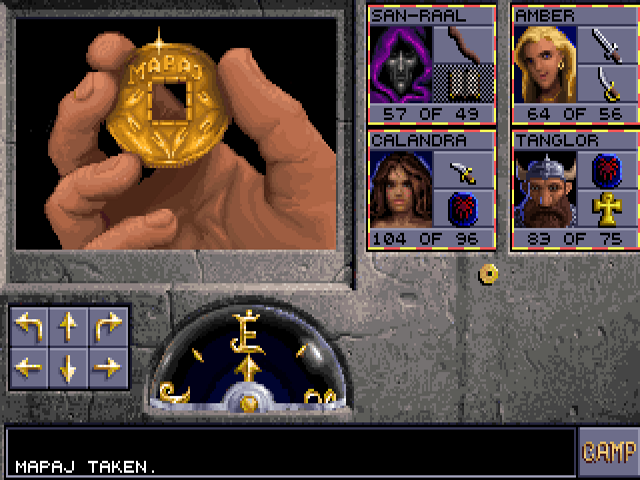
On the opposite side of the room we find this coin. It's next to a corridor of illusory walls which leads to stairs up.
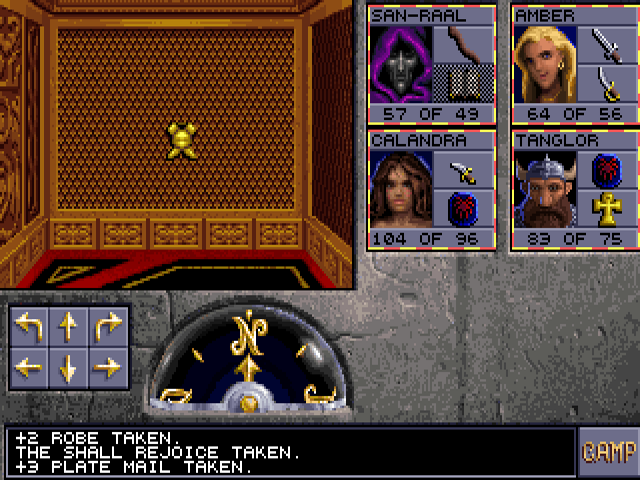
That corridor has alcoves with these items. The Shall Rejoice is another coin with the same shape as Mapaj.
The next room has walls that constantly change position as you go through it. We do get a straight shot to that green square to the south.
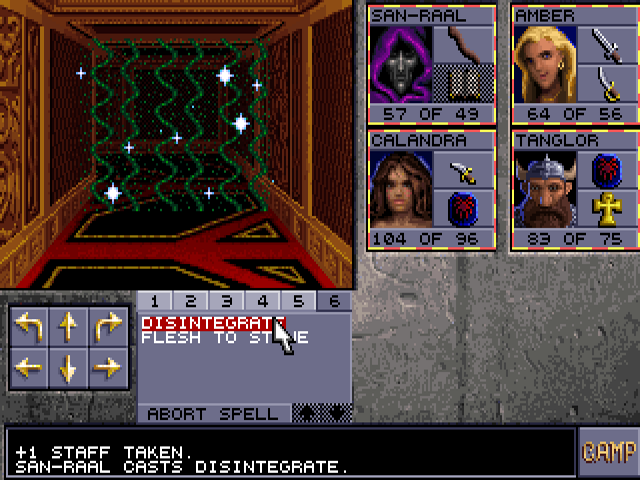
It's a pre-placed Wall of Force, which can only be removed by Disintegrate.
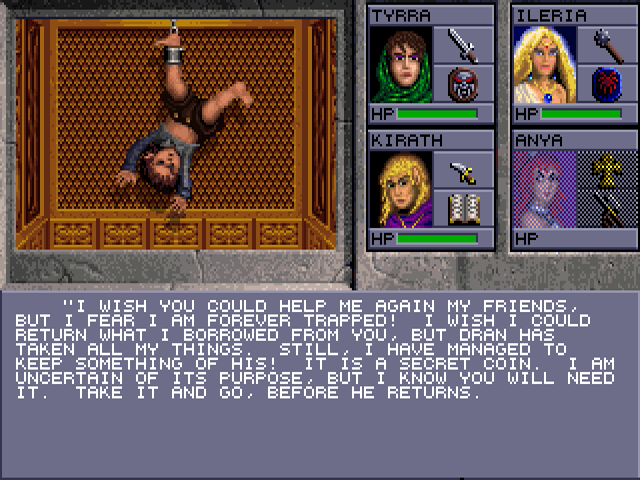
Behind that is a "reunion" with Insal, but notice I had to bring back some old friends to see this with ASE warping. That's because this event only happens if he was never actually in the party, despite what his lines indicate. With crimson rings, you can even go back to his cell in the catacombs and recruit him after this if you never met him in the first place. That means it is possible to finish the game with a party of all six NPC recruits, but I didn't learn about how this event actually works until very recently and I'm not going to redo everything this far into the game.

The coin you get here doesn't have a hole in it like the other two, nor a special name. One of these coins is needed later on, but thankfully there's another place to get one.
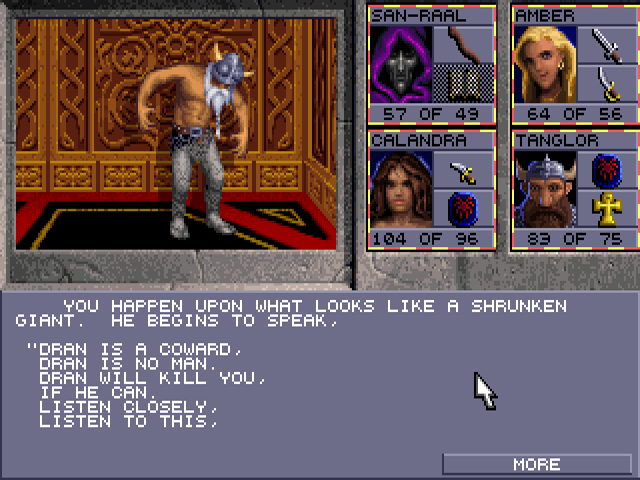
We meet another rhyming frost giant in the northeast corner.
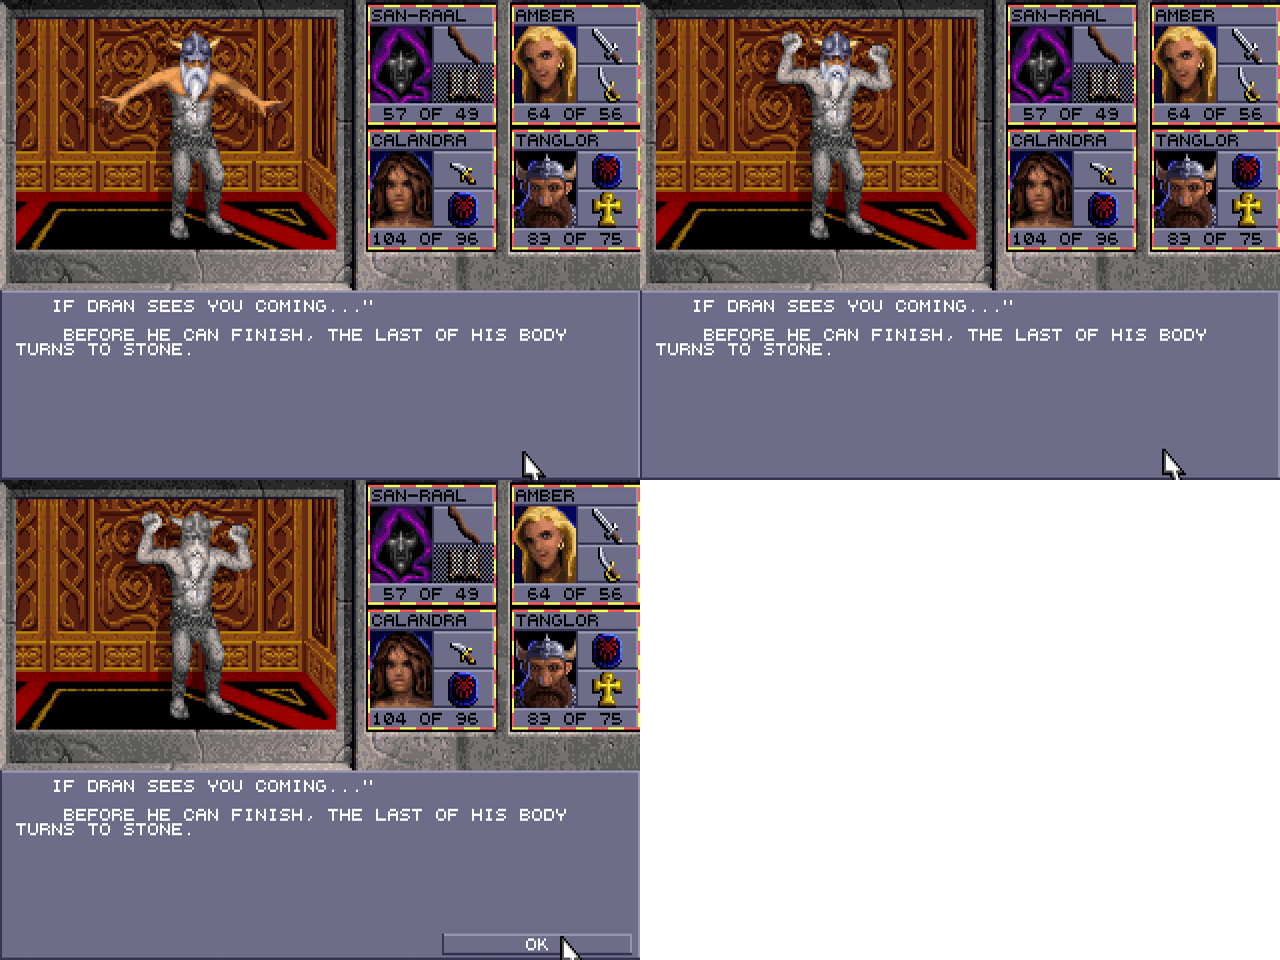
After this we go to the northwest corner, which takes a lot of walking around to make the walls cooperate.
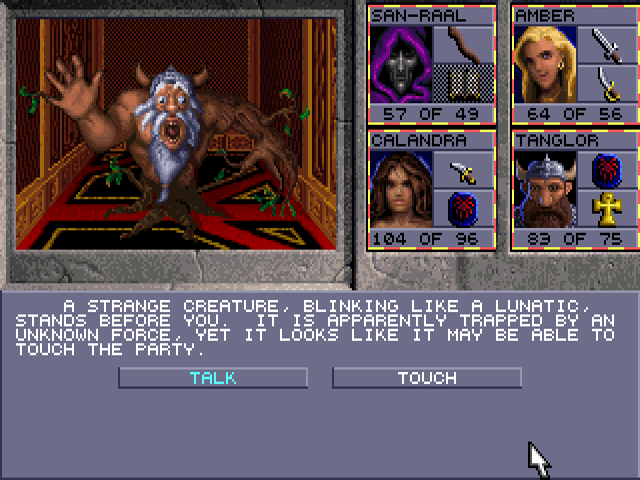
I first select talk, which ends this encounter and makes me have to walk back into the tile. Then I pick touch.

This trades Mapaj and Shall Rejoice for a coin like the one Insal would give.
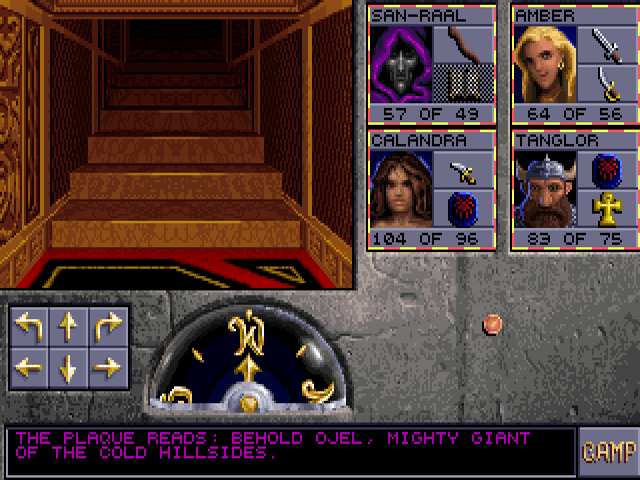
He's very close to the stairs up. This is the shortest of the three towers, and overall the easiest too. Next update will finish this game.