Part 30: Draining, Training, Trailing
AOMD 2: Draining, Training, Trailing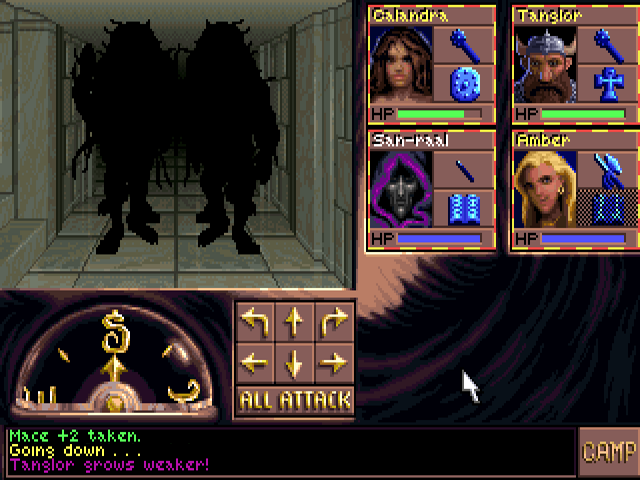
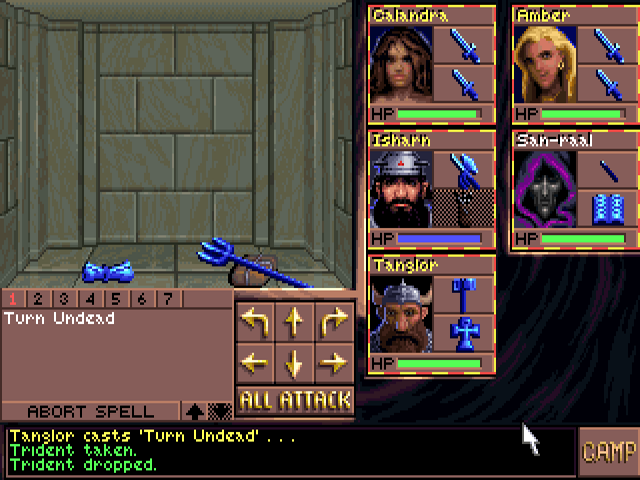
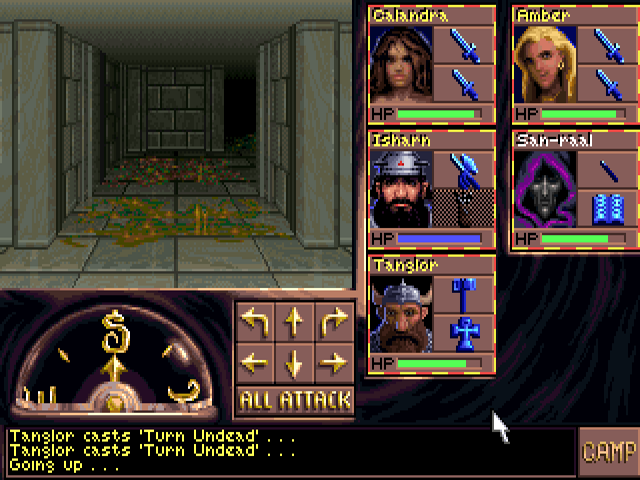
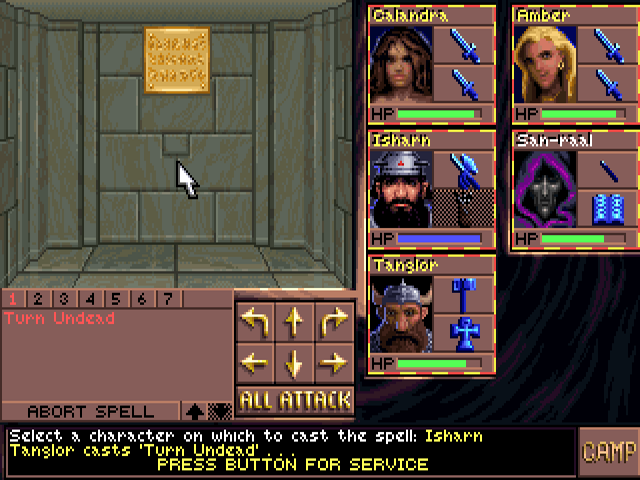
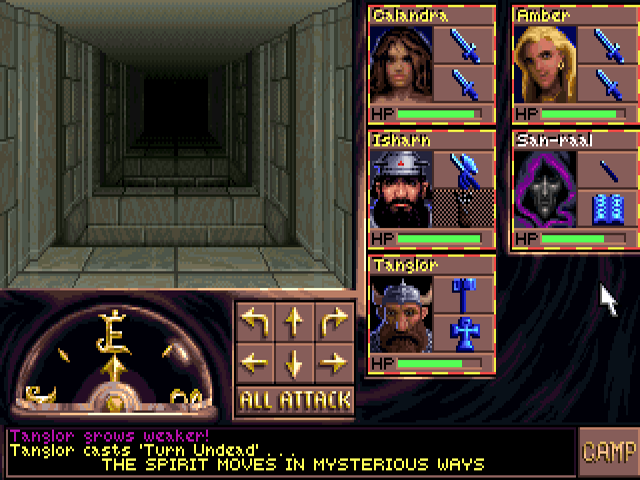
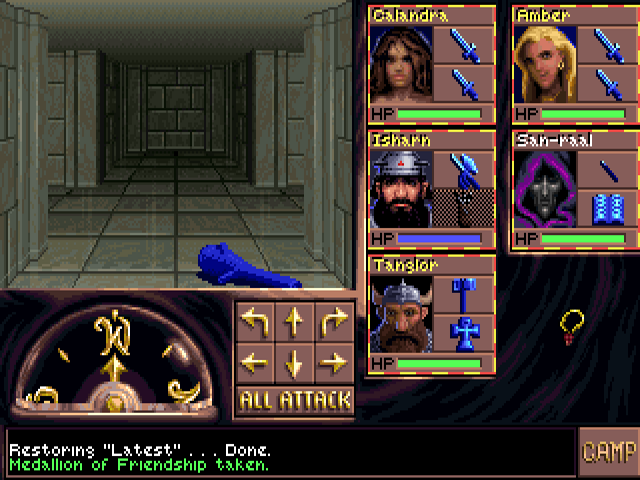
I start with the south section of Warriors' Tomb 2, and immediately encounter a group of four shadows. As seen here, they can reduce strength with their hits like swordwraiths. They are also immune to normal weapons. What's kind of strange is that they are significantly weaker than the monsters in the first floor of this dungeon. At cleric level 11, same as a single-class character made in this game, Tanglor destroys this entire group with Turn Undead.
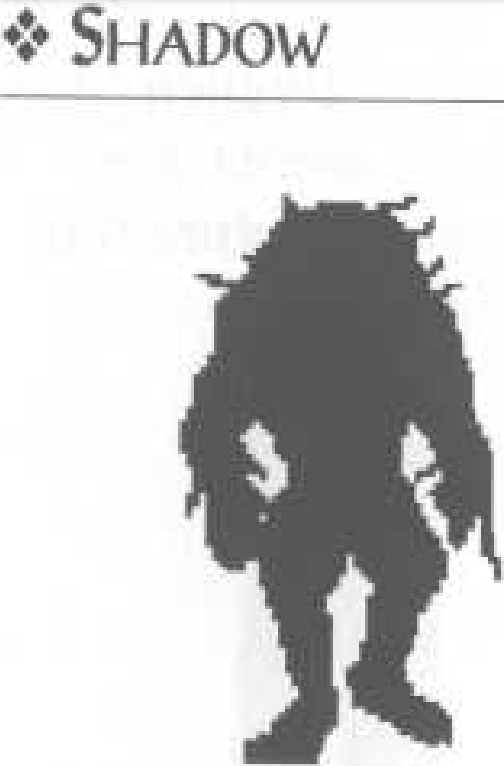
Their solid black coloration makes the ones in the back seemingly merge with those in front. It also means their entry in the manual shows exactly what one looks like in-game.
The party is able to rest a little further on. This encounter happens the first time you do that on this floor.
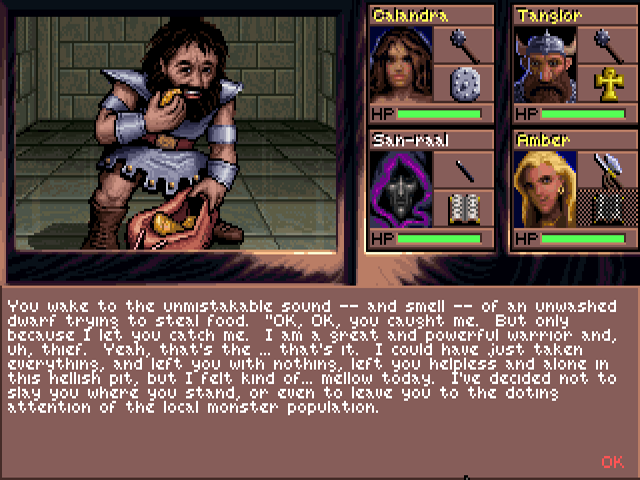
We have our first NPC recruit for this game.
Like the second game, the permanent thief recruit is available just after the only part you might want a thief for. While his introduction might give a similar impression to Insal, he won't rob you and run off at the first opportunity. He's the only character aside from triple-classes made in this game to start at a low enough level to still have hit die rolls. His initial hunger meter does match what he was saying. He starts with an axe +2, three +1 daggers, and normal splint mail. Instead of rations I give him a Ring of Sustenance, an item that finally works properly after two whole games of doing nothing.
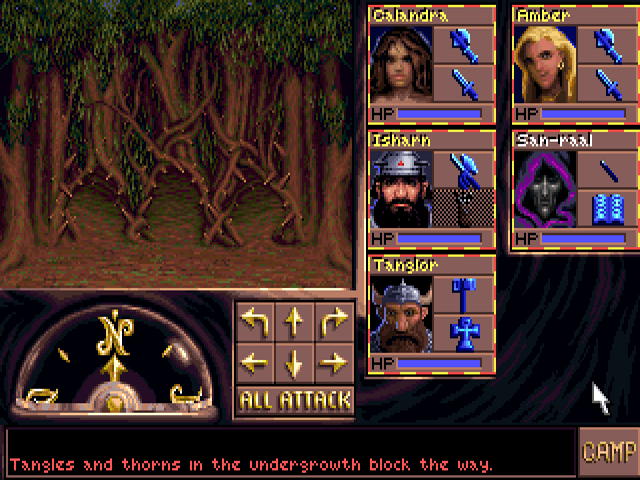
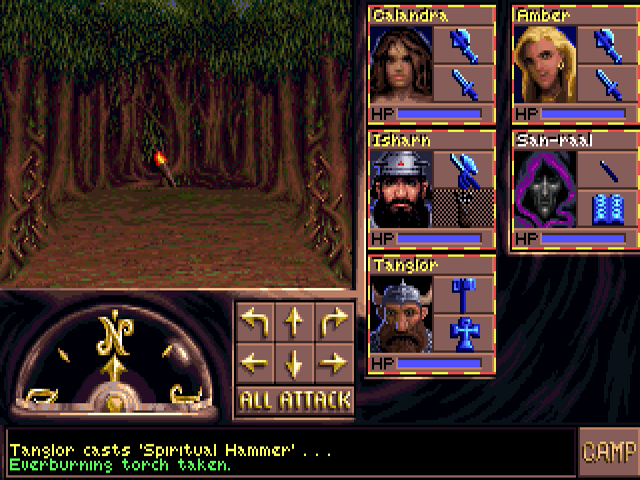
This room is 5x5 except for one row that's three tiles wide. This plate opens up one of three walls corresponding to which of those three tiles you walked on beforehand, and closes the other two. It's not permanent, you can change which hallway is open by walking over one of the other tiles before stepping on the plate again. You'll want to go through all three anyway. I put Tanglor in the back and have him cast Spiritual Hammer, which creates a throwing weapon that automatically returns. It's a great way to have clerics contribute to your offense, with no need to retrieve projectiles.
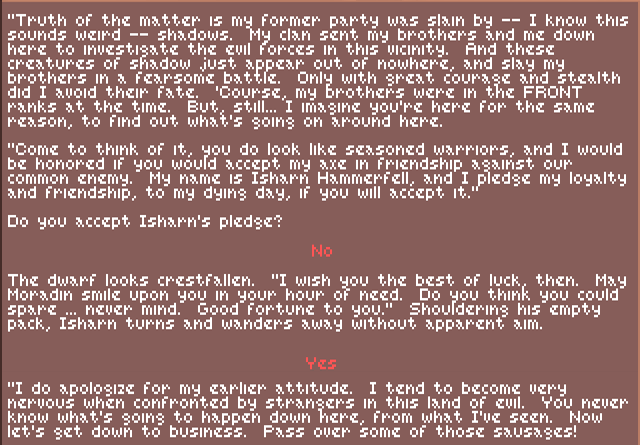
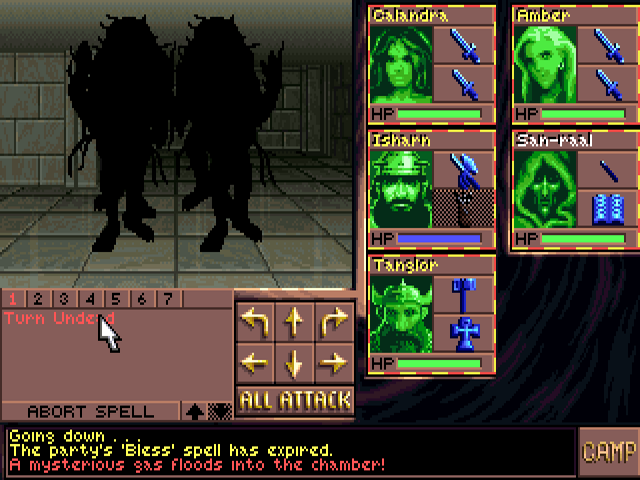
I take the south hall first and encounter this level's other enemies, wights. As seen here, they are undead with that much loathed mechanic of level draining. While about a third of this game's bestiary is undead, these are the only ones who can do that. Luckily they don't land hits very often, this shot was the result of intentionally waiting around. Negative Plane Protection is a must if you aren't treating certain party members as temporary and therefor disposable - Isharn has it on, along with all the best defensive gear. Like shadows, they require +1 or better weapons to hit and are also weak enough to be destroyed by Turn Undead.
Each subsection has one of these at the end. The one in the central hallway is behind a tiny corner button.
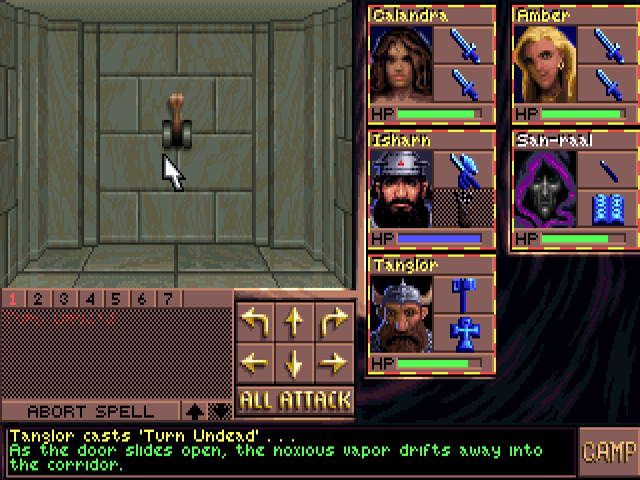
The north subsection has a +3 trident named Revko. It's not something I need, I just wanted to show that there are polearms other than halberds in this game. The scroll is Cure Serious Wounds. After collecting the third rod fragment I go up then back down to the north section.
The northernmost hallway has a door into this room. This poison is fast-acting and there are also wights to the party's left. I cast Slow Poison on Isharn.
This lever in the room immediately detoxifies everybody. The room isn't very big, so the poison doesn't last long. It's still enough to do some damage to everyone but Isharn.
To the west, we find this behind a corner button.
In the southwest is the most annoying part of this floor. This stuff on the ground severely slows down your movement speed. It takes a few seconds before you can walk to the next tile, no matter how you mash the keys. Even Free Action doesn't seem to help. Thankfully attack speed is unaffected, since there are monsters here. Granted, I pretty much only used Turn Undead on this stage anyway. The area is ultimately not that big, but still lasts way too long. Especially since you have to come back through it.
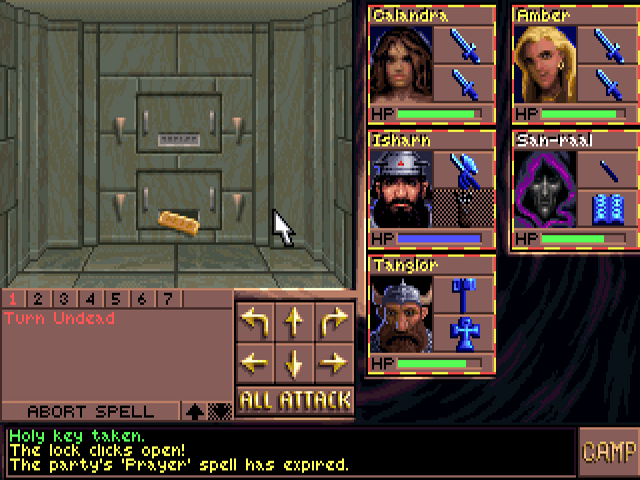
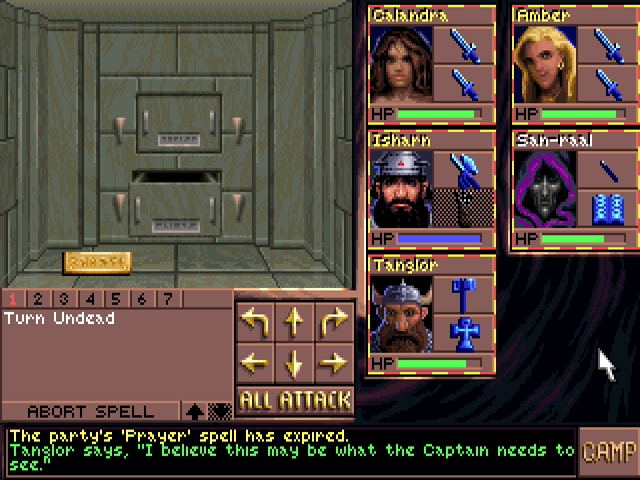
After finally getting through that, we come to a button that opens a pit at its location. That drops us to a small room with a key needed for a door to the south and a teleporter back here.
This room is behind another corner button.
Clicking on that gets you Fflar's nameplate.

Unfortunately, this is the only way back out from there.
After getting through the muck again, we come to this corridor. The pits move along with the party. When you reach this tile and have two in front of you, step back to permanently close them all.
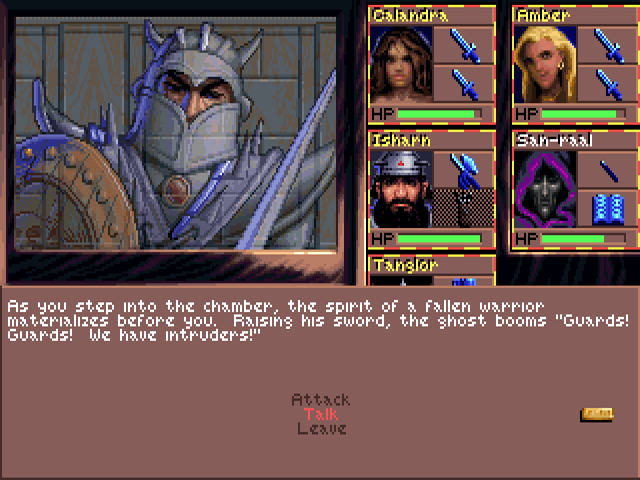
Fflar awaits in the room at the end of that hallway. If you choose something other than "Talk" he has no further lines. It's the most complex branching dialogue in this game, though ultimately goes to one of two outcomes depending on whether or not you have his nameplate. Having the item on your cursor does count as it being in your inventory this time.
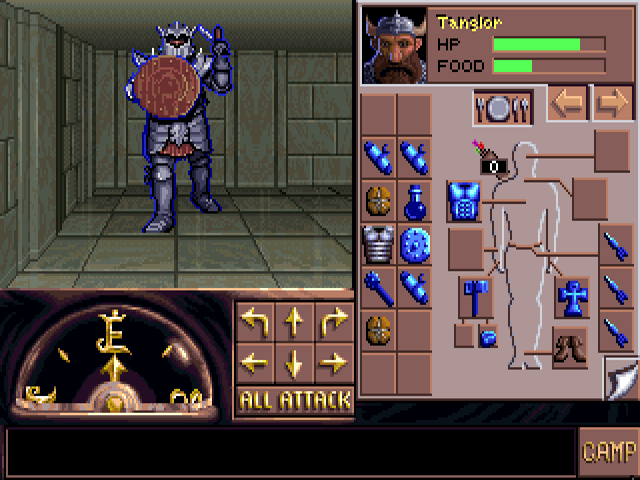
Choosing "Attack" will of course lead to a fight with him. It's also the end result of talking to him without his nameplate. He swings that sword pretty quickly, but doesn't cause especially high damage or any effects when he hits. While each stage still has only two regular monsters, the end of each dungeon has a boss who is not mutually exclusive with them. There's another tiny button in the northeast corner of this room, which can lead to fighting Fflar alongside wights and shadows.
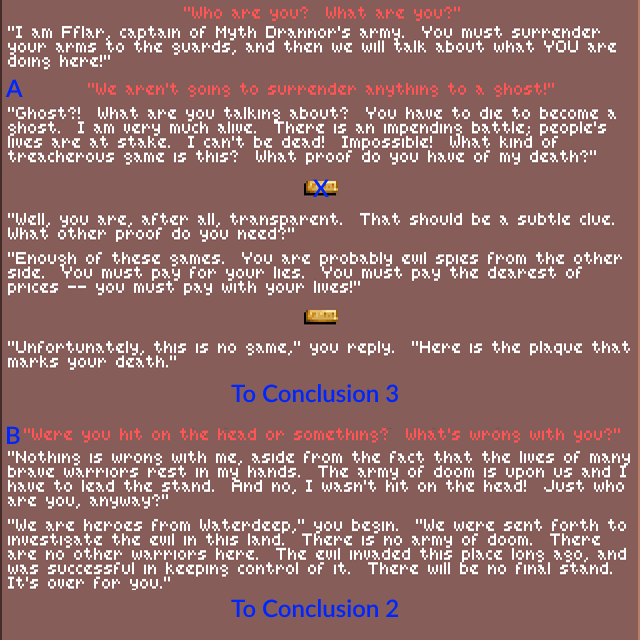
The first option is the only one to have further branches.

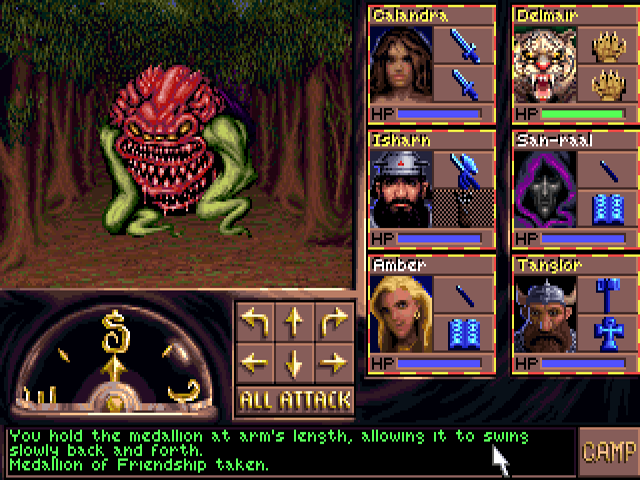
The other two options go the same way. The experience for resolving this peacefully is much higher than defeating him in battle. If he has become hostile, it's no longer possible to talk him down even if you get his nameplate after that. Either way you get a Medallion of Friendship.
Past Fflar's room, there are six +1 clubs on the floor.

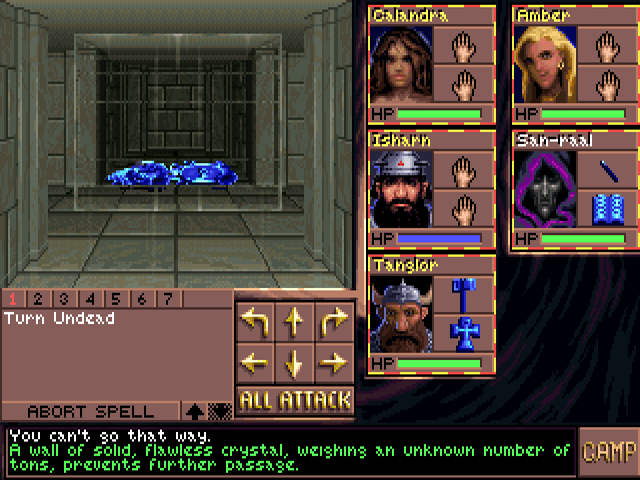
Flipping that lever will bring all of the party's metal items into this glass box, and spawns shadows nearby. The clubs give a way to fight back against them if you don't have Turn Undead available. Pulling on it again will remove the box, allowing the items to be retrieved.
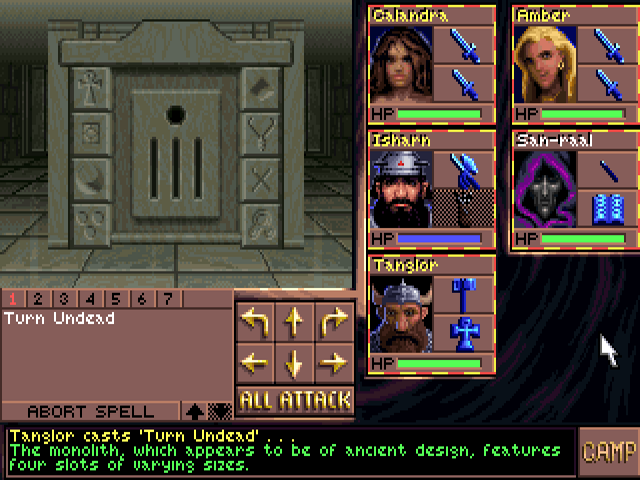
While the carvings on the side look kind of similar, there are no stone portals in this game.
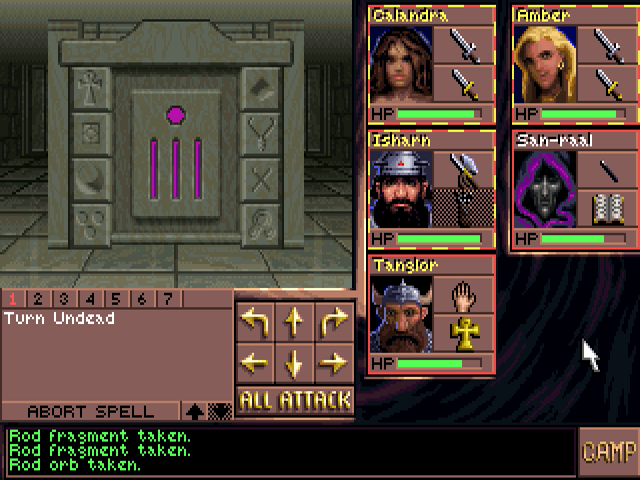
Instead it's used to assemble the rod.
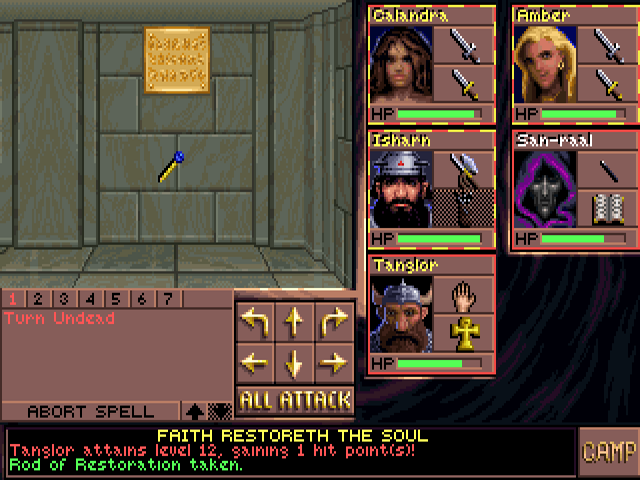
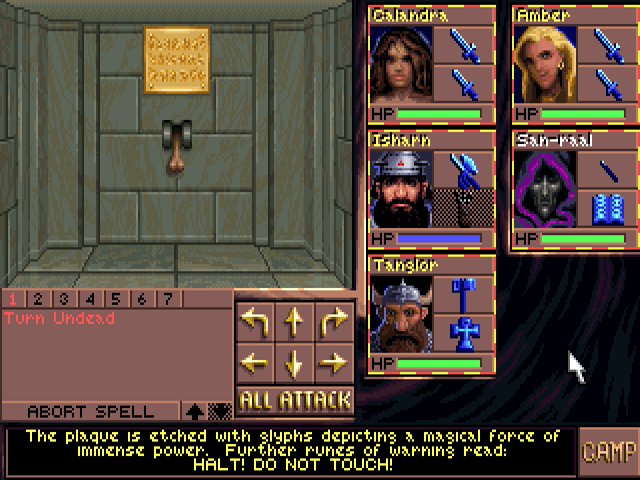
You have to go and read this sign before it actually appears in front of the device. I took this shot after going back for it. The rod brings anybody who lost levels back to the minimum experience of where they were before. On a hunch, I tried it on Isharn due to his low starting levels. It didn't have any effect on him. Since he was only 10K XP from thief level 9 at this point, I got him there with a little grinding on the first floor of this dungeon before leaving.
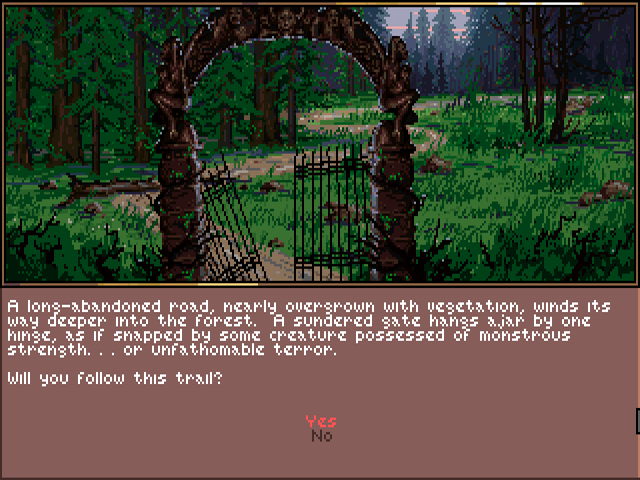
The entrance to the next area is in the northeast corner of the Burial Glen, behind two layers of choppable trees.
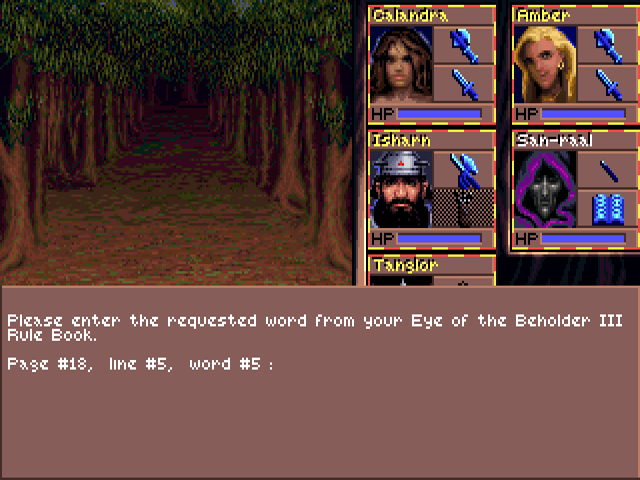
A few steps in is a copy protection check. The word here is "though" but once again the GOG version is cracked to allow anything.
The main gimmick of the Forest Trail are these thickets, which allow you to move straight ahead or to a diagonal tile.
That first one to the north leads to this, which does the same thing as the Medallion of Friendship. The other gimmick of this area is seeming dead ends of trees. Using either item will cause them to move away. This is necessary to get further in or even back to the Burial Glen.
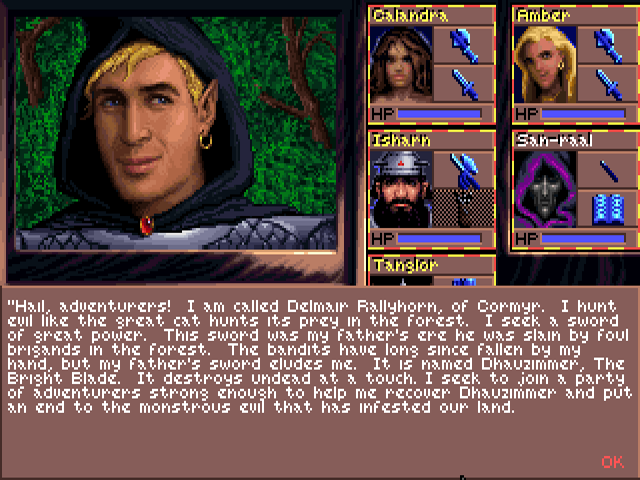
After the first two instance of that, we meet another companion. Delmair is the protagonist of the story that starts the manual, Moonrise Over Myth Drannor, which takes place during his childhood.

He joins, bringing our party size to maximum.
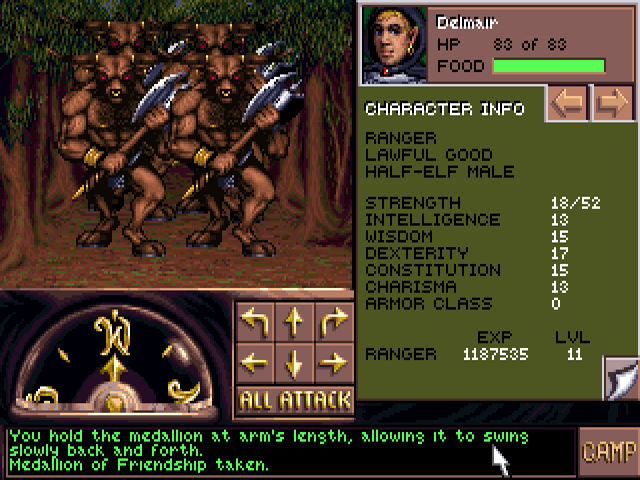
Delmair starts very close to reaching level 12. He has +2 elven chain mail, a +3 long sword, a +1 short sword, a longbow, and 15 arrows +2. East of his location past more movable trees are the first enemies of this area, minotaurs. They're nothing special, but one of them does land a hit on Delmair.
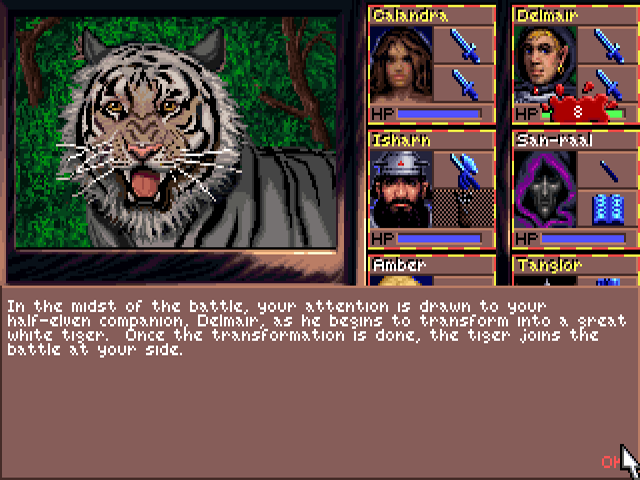
Delmair is a weretiger, and will transform the first time he takes damage. This causes him to drop the items in his hands, which can be annoying. Even more annoying in some places is that his claws do not count as magical weapons. They're still quite effective against enemies that don't require that, since they consistently do damage in the teens and have a fast attack rate even without Haste. He turns back after resting.
Soon after we find the other monster type in this area. The feyr (pronounced "fear") is invisible most of the time, but True Seeing makes it hard to tell. They have 40% magic resistance and no other special abilities, but are dangerous since they attack quickly have damage output similar to the undead beast.
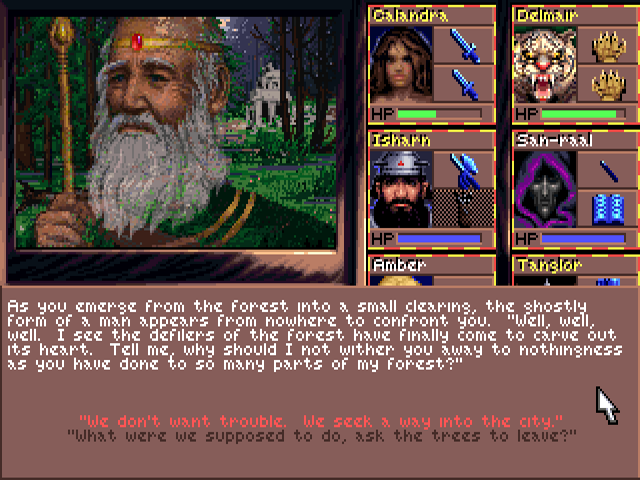
Near the end of the trail, we meet a spirit upset with our lumberjacking in the Burial Glen.
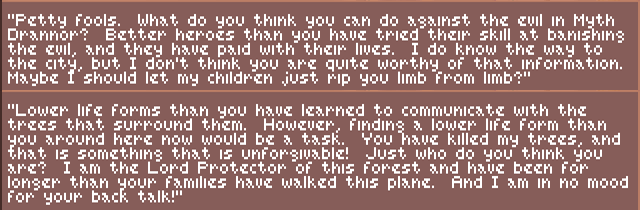
Both responses lead to the same thing: the Lord Protector defends this forest and the city by putting up a massive wall... of text.
There is a choice of four books, all called The Book of _______ Deeds. Each one brings certain classes exactly to the next level.
Adroit: Thief
Daring: All warriors.
Arcane: Mage
Exalted: Cleric and paladin.
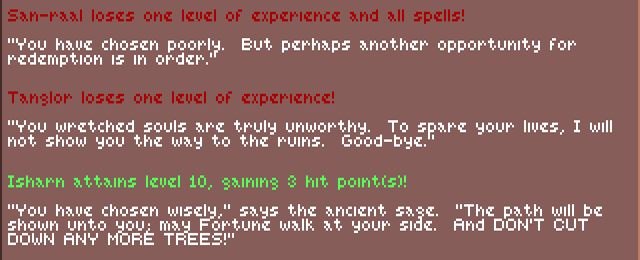
Choosing the wrong book causes the character to lose a level, which the Rod of Restoration can bring back. A correct choice is required to remove two tree tiles blocking the exit. Three wrong choices remove the encounter, forcing a reload. Isharn reached fighter level 9 just before this, and was only 49 XP over the requirement for that. That's where the last hit die is rolled and experience requirements become linear: 250K for each level afterwards. This game does enforce racial level limits, and from character editing I learned that the books won't do anything for characters at them. Dwarf limits are 13 cleric, 15 thief, and 18 fighter. Multiclass hit die rolls are still properly divided, but it gives the single-class 3 HP for fighter 10 instead of just 1. Because of all this, Isharn levelling up as fighter was the best choice all around.
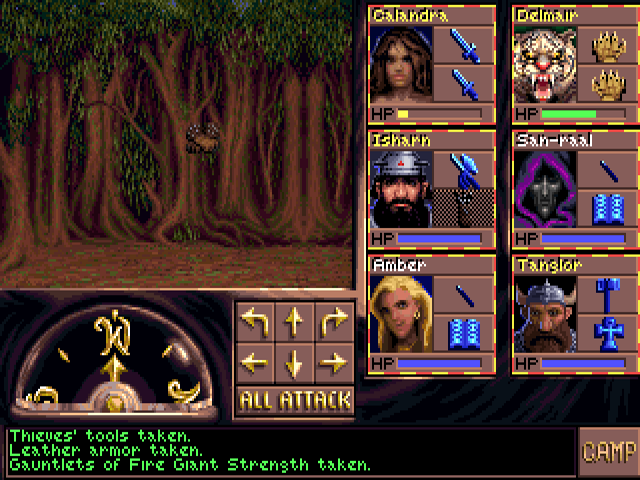
West of that is a clearing with four feyrs in it. They guard an incredible pile of loot. It starts with a Wand of Magic Missile and a Ring of Wizardry, which all only double 5th level spells in this game (Including the one brought from the first). These last couple items are totally redundant, since no lock in this game can be picked. Thieves' tools are only used to flip stuck levers, which someone with fire giant strength (22) can also do. The leather armor is +3. Other items from the trail include +2 plate mail, a +3 cloak of defense, chainmail +4, a Wand of Cone of Cold, a two-handed sword +3, and a dozen arrows: half normal and half +2.
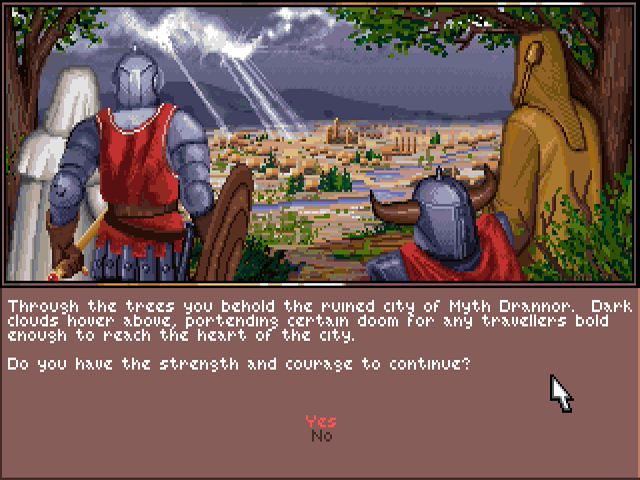
Next time we finally go into the titular city.