Part 2: Bean (2 of 2)
Part 2: Bean (2 of 2)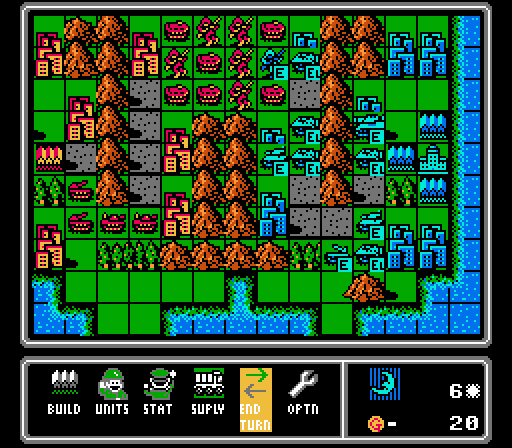
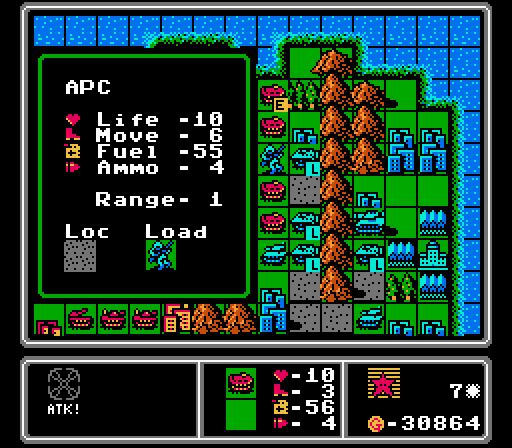
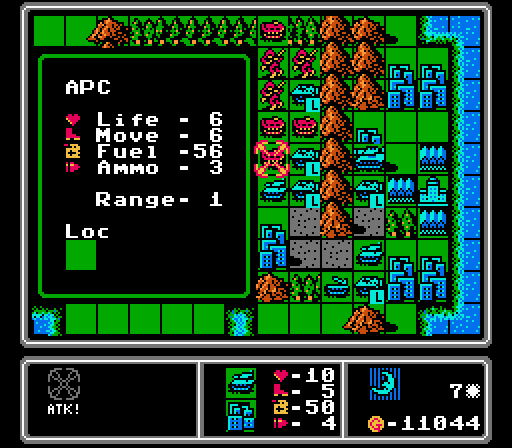
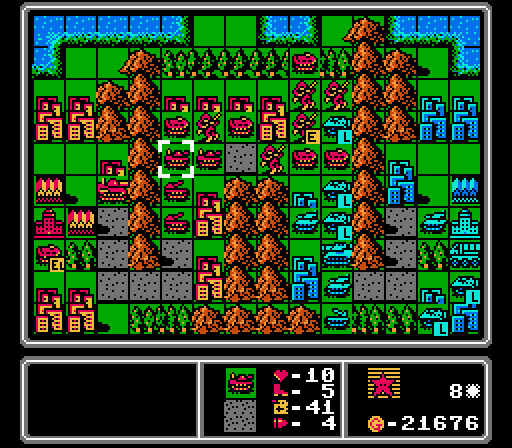
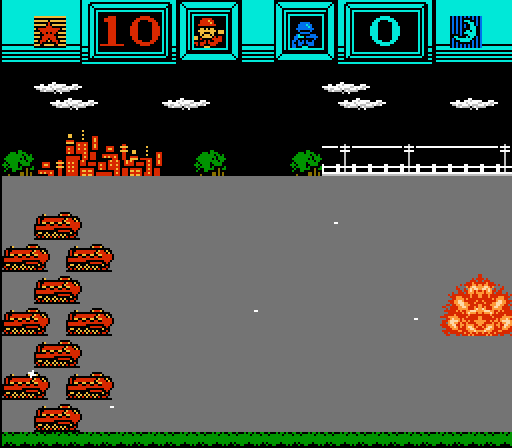
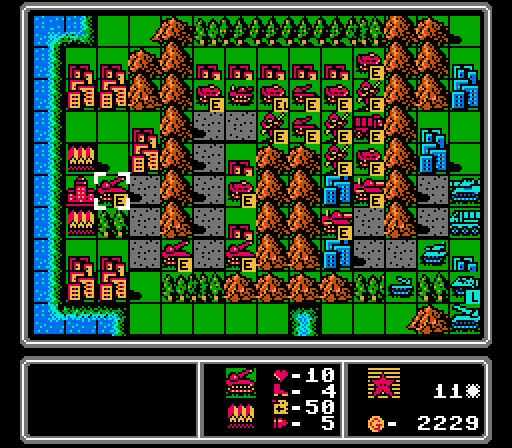
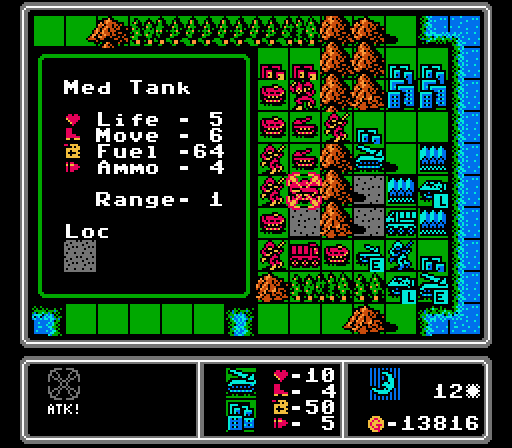
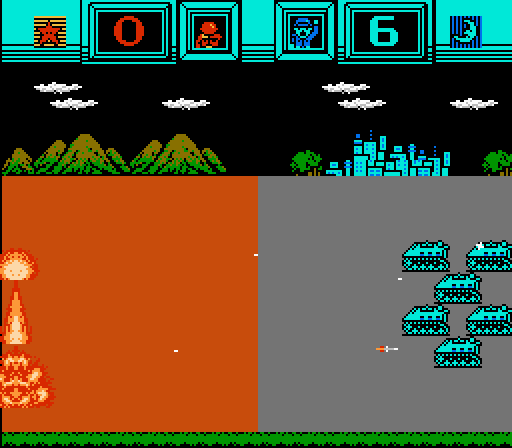
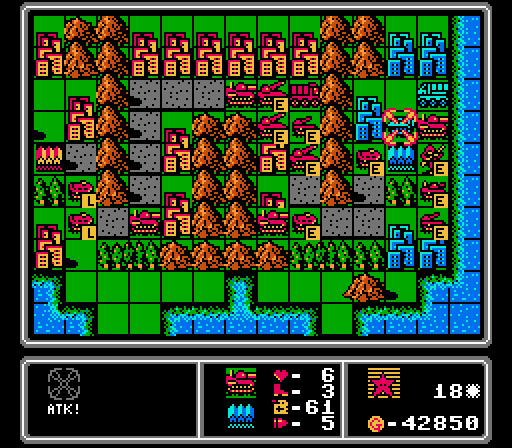
We last left off with our opponent throwing out a medium tank, the most expensive ground unit. Hopefully we can get more than infantry and APCs on the front line by the time it gets there.
Turn 7
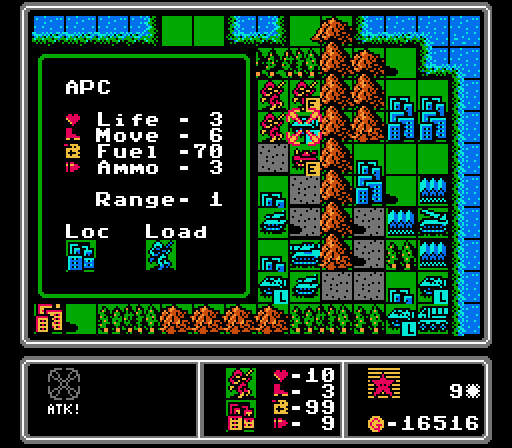
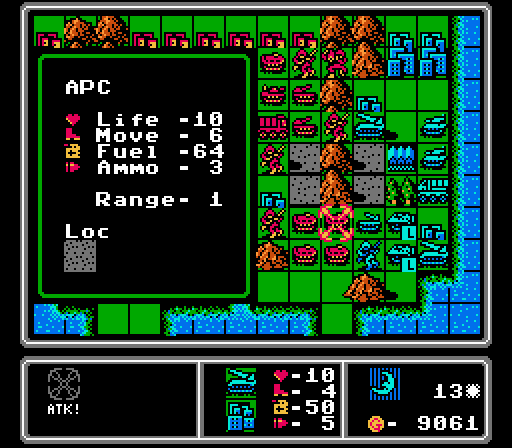
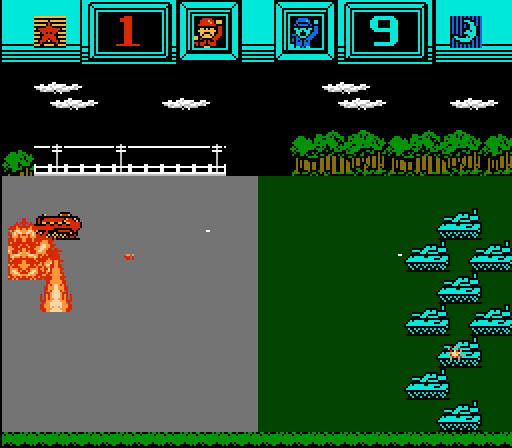
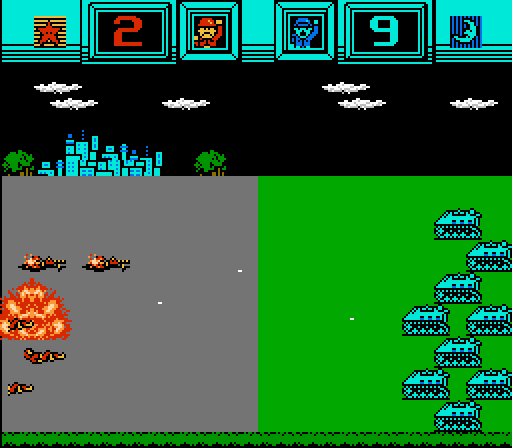
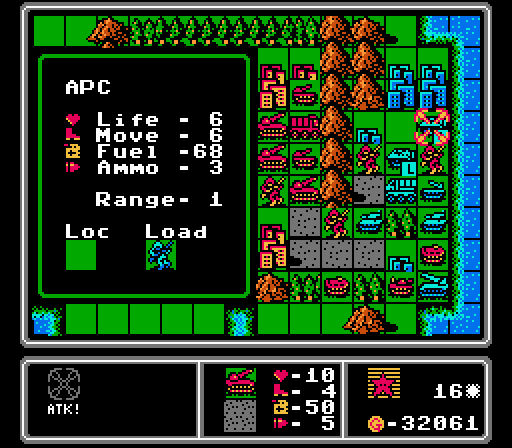
We start off with some APC-on-APC action. Our target had just three life remaining and was easily wiped out, along with the infantry it was carrying.
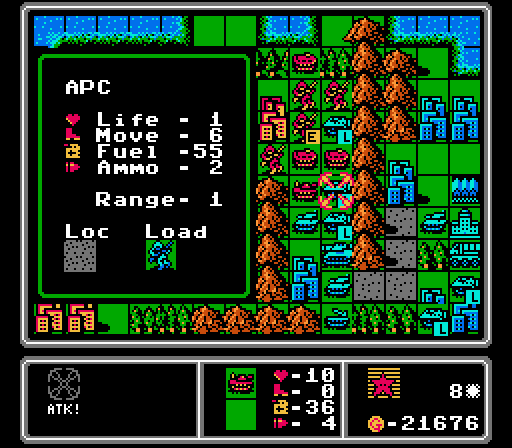
Another APC of ours moves down and strikes another loaded APC of the enemy.
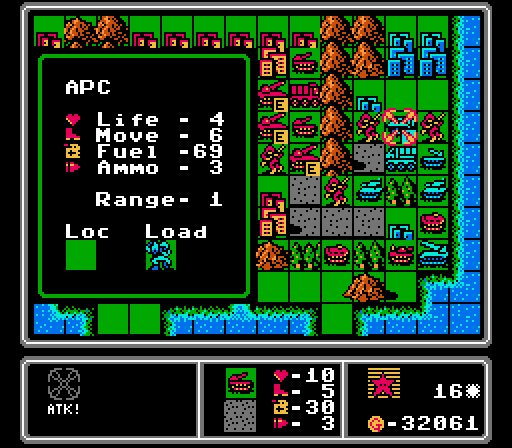
I'm not sure why that one went so poorly but I suppose equal damage with equal units makes sense? Maybe there's no first strike advantage in this game.
I try to finish off the APC but no luck. At least it's out of the fight for awhile.
While a couple other APCs move back to the cities to heal, I take one of our wounded APCs and try to finish off the capturing infantry here. Unfortunately it's just short again.
Luckily I've still got plenty of full-health infantry around to finish it off.
The frees up the city for one of our other infantry units to start capturing.
Full-life infantry attacking a full-life APC on a city....not sure what I was thinking here.
It really does not go well.
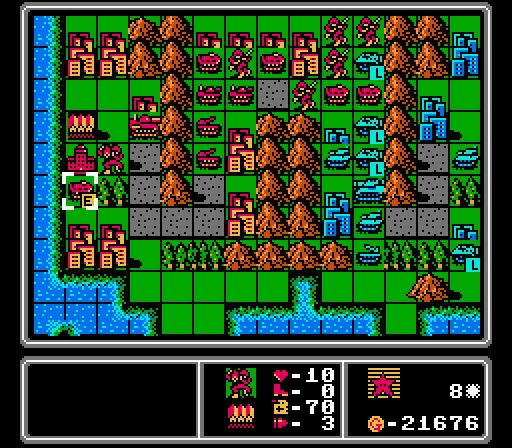
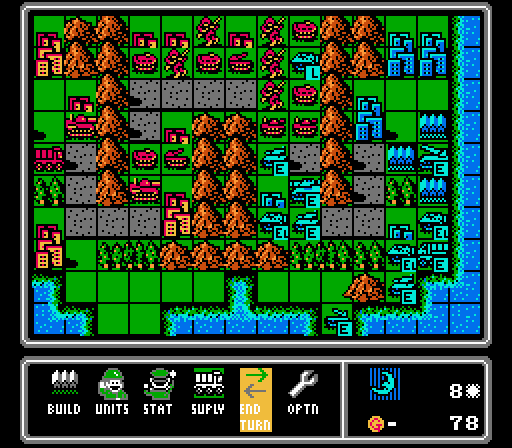
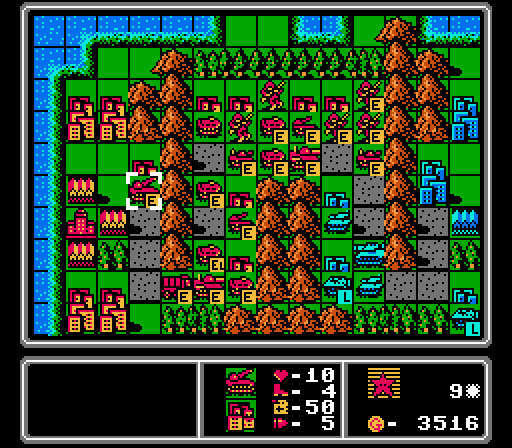
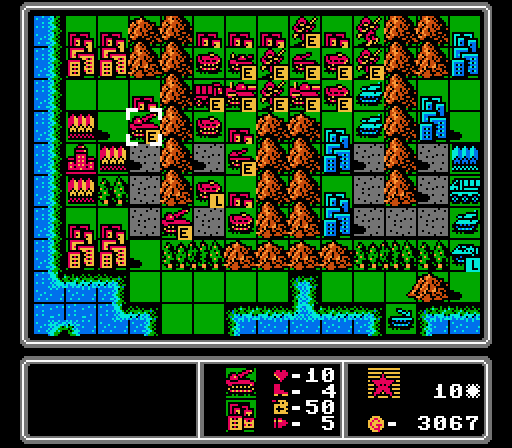
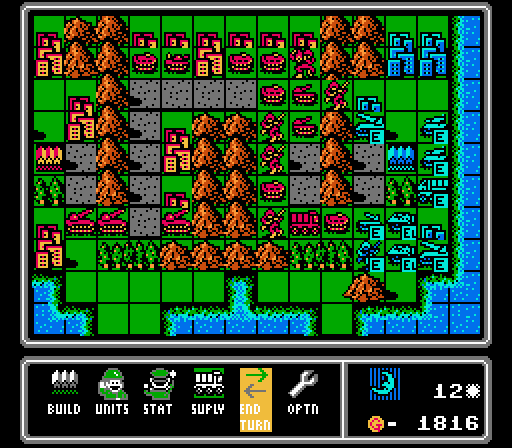
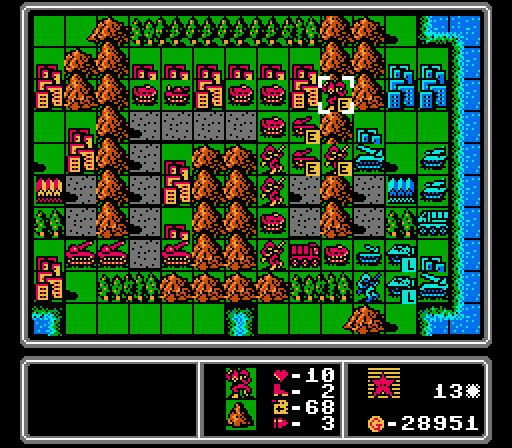
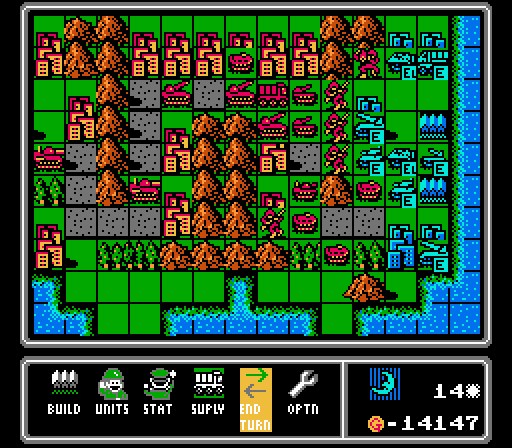
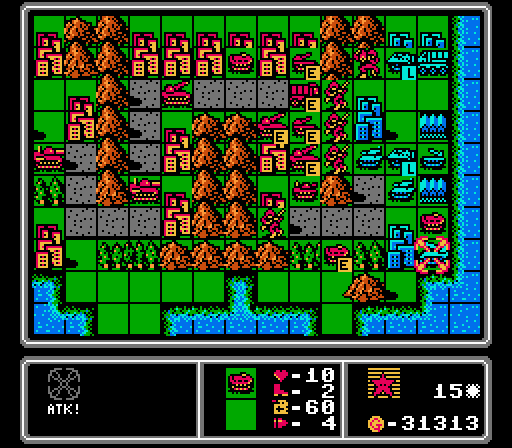
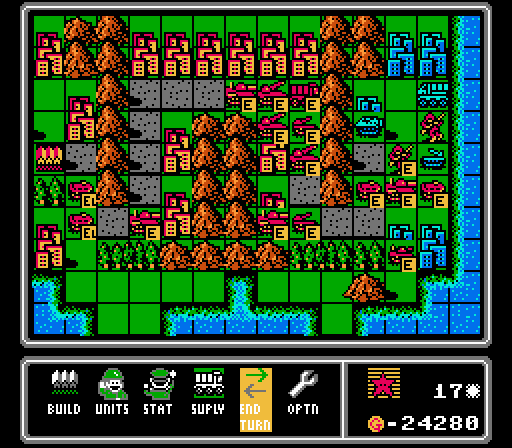
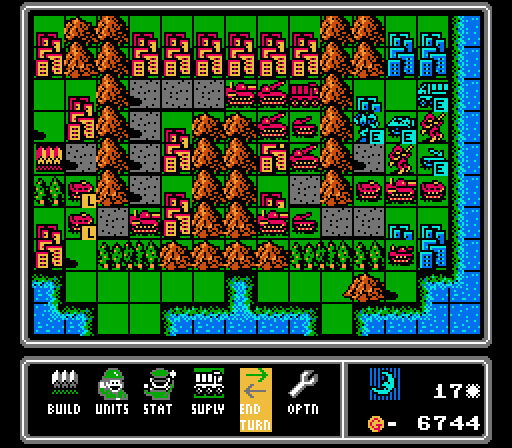
With the front line fully clogged, I just move up the tanks and artillery to try and get them closer to the action. My lead artillery could've gone onto the city instead to get in range of the enemy tank, but I didn't even notice that opening at the time.
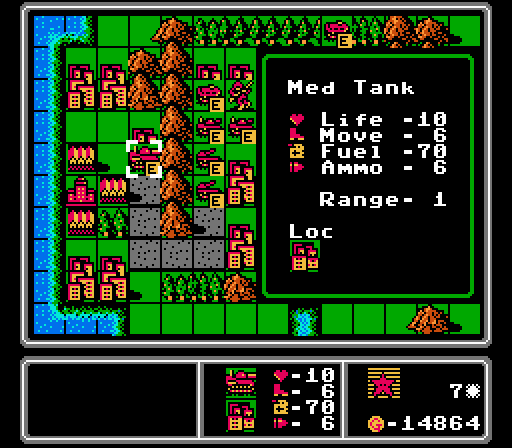
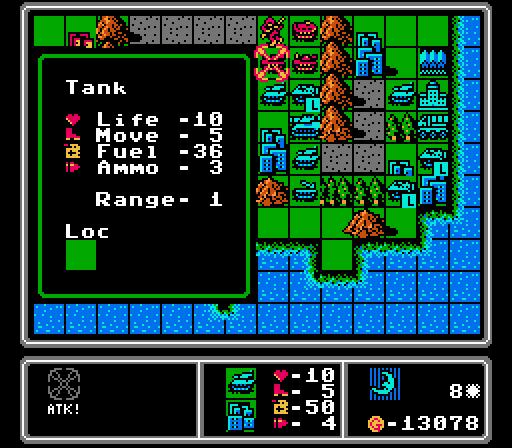
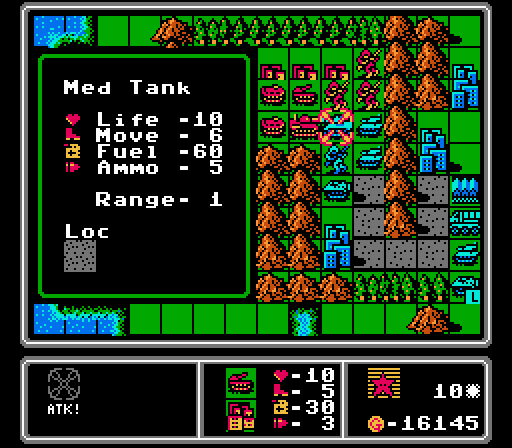
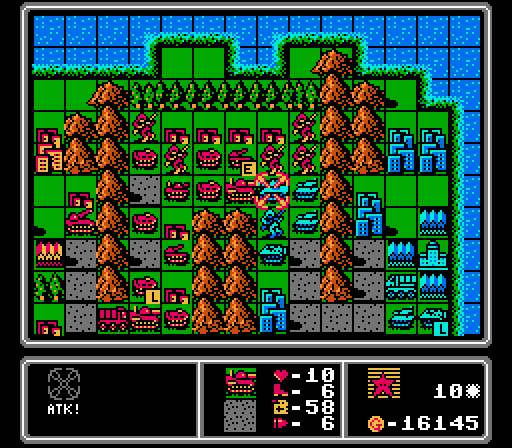
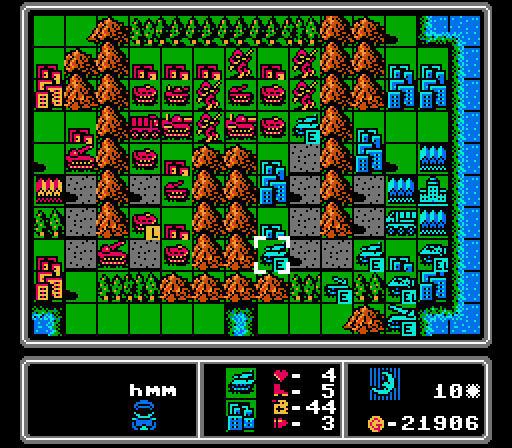
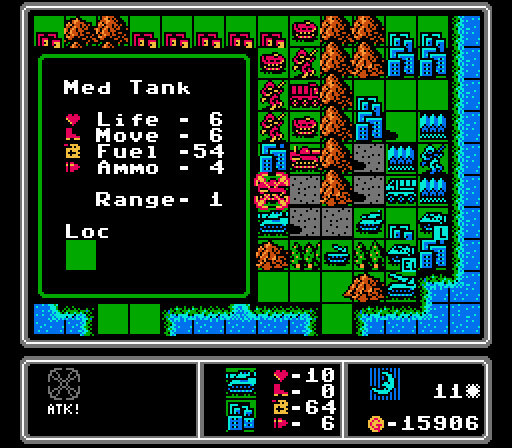
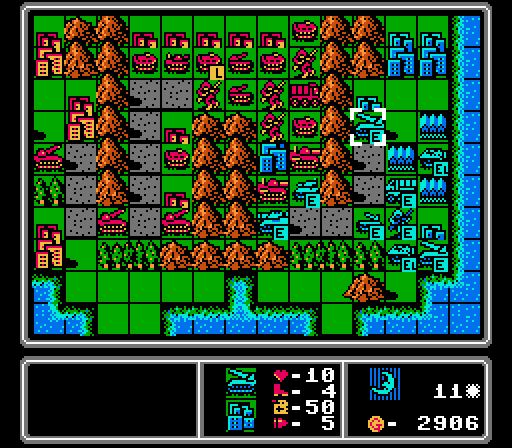
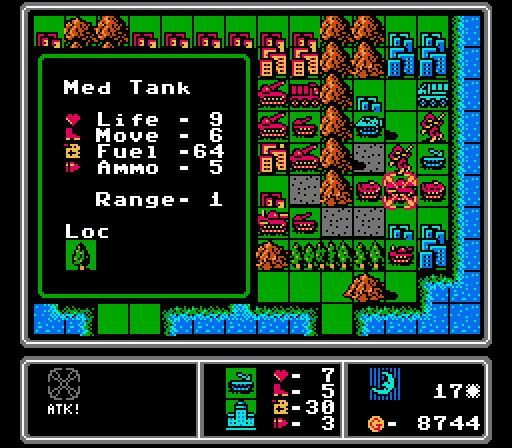
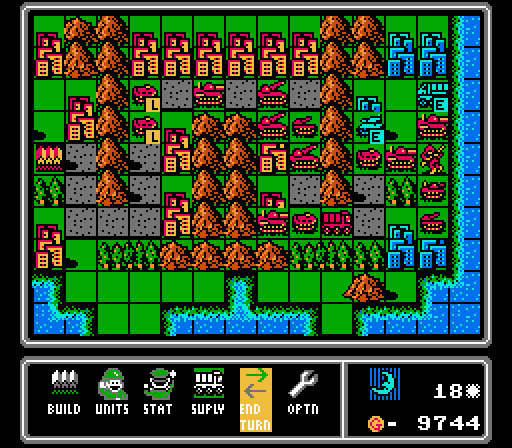
Upside to our opponent building a medium tank, is we get one of our own. It's a whopping 16000 G (almost as much as three regular tanks). It has one more movement, 20 more fuel, and two more ammo compared to a regular tank. At that price, I'm expecting it to hit a lot harder, too.

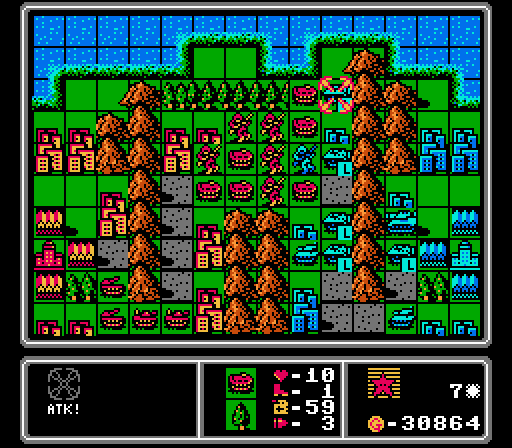
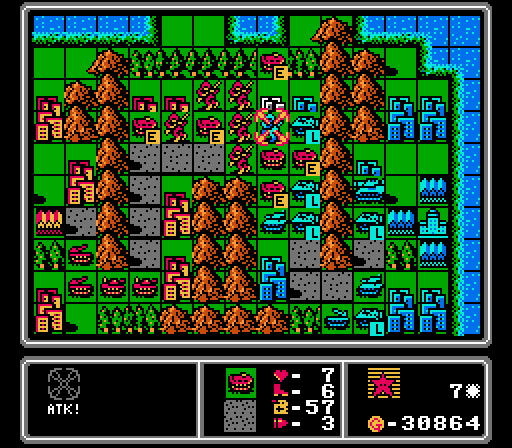
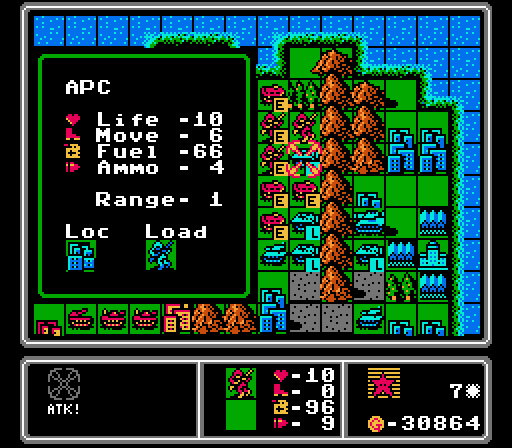
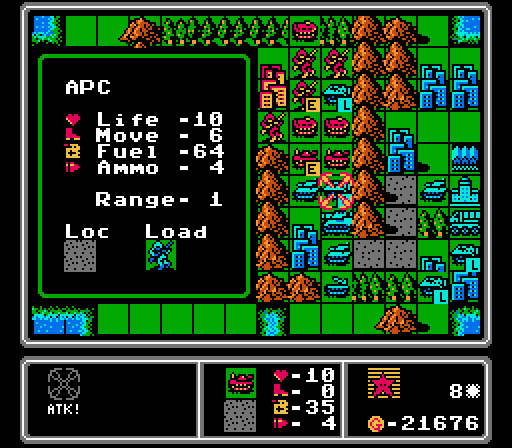
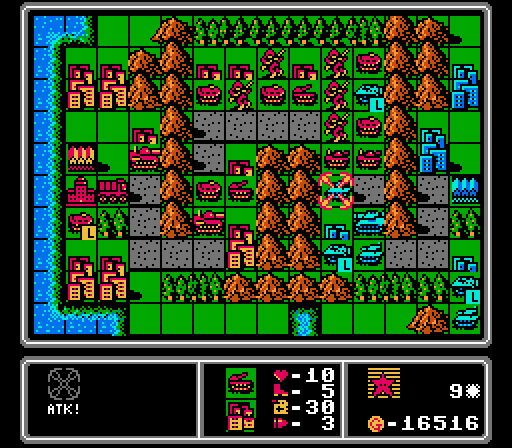
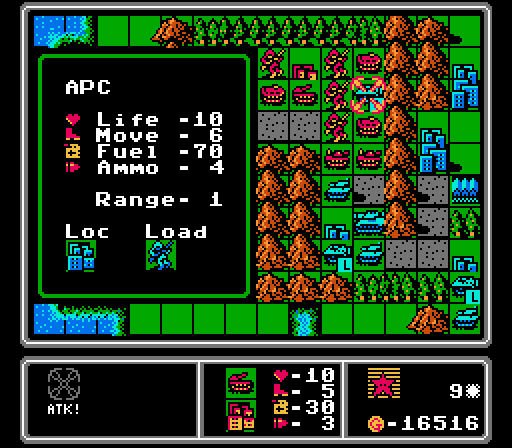
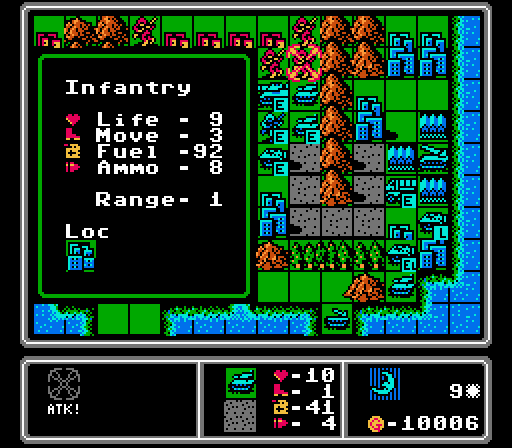
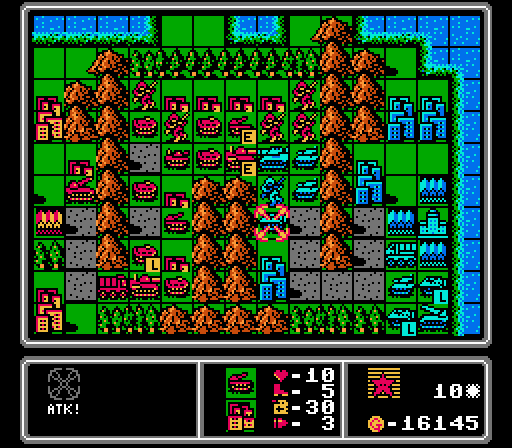
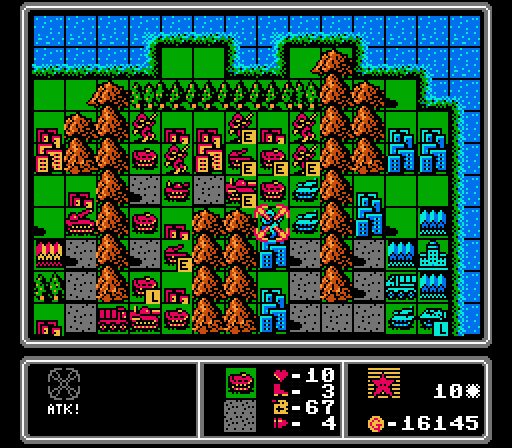
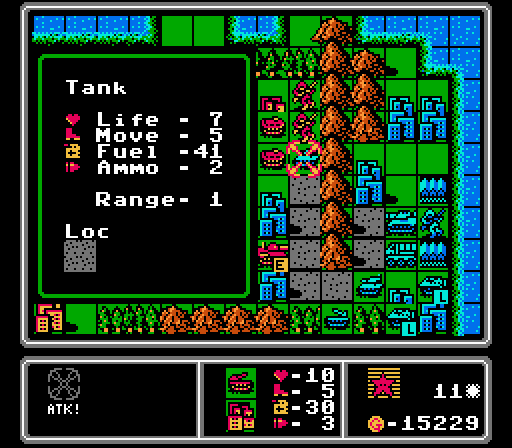
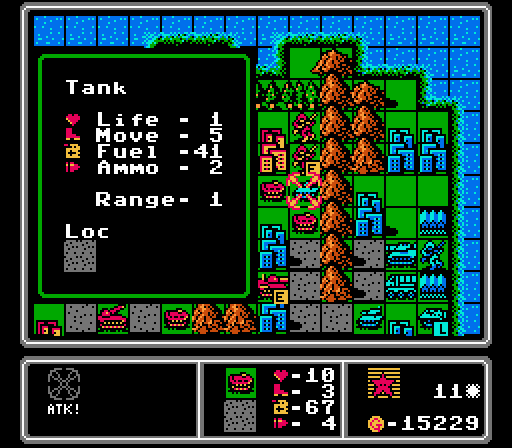
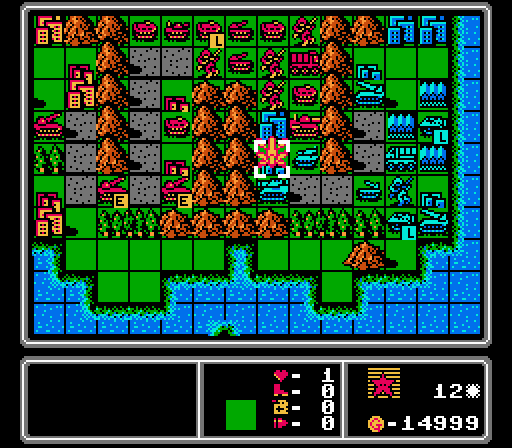
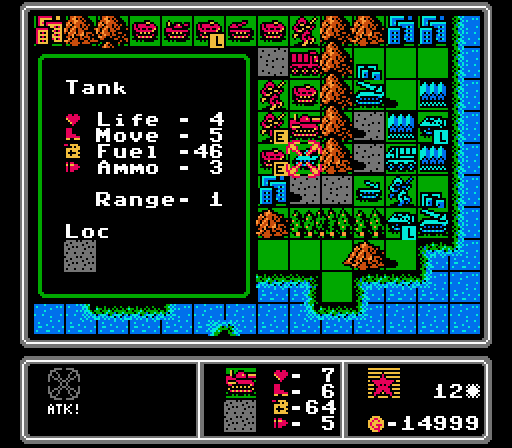
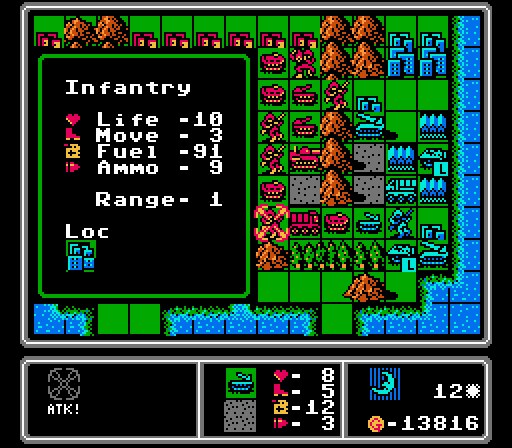
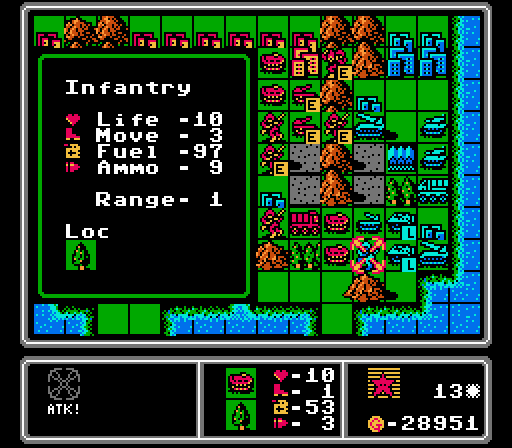
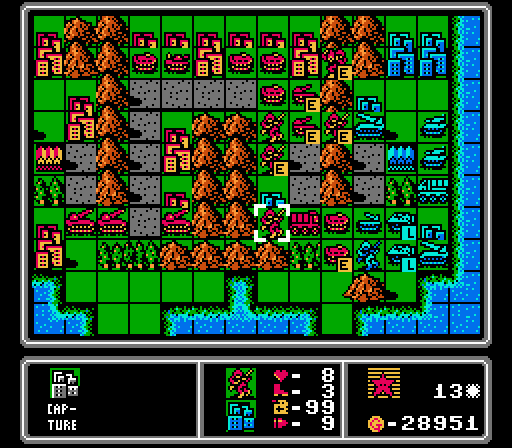
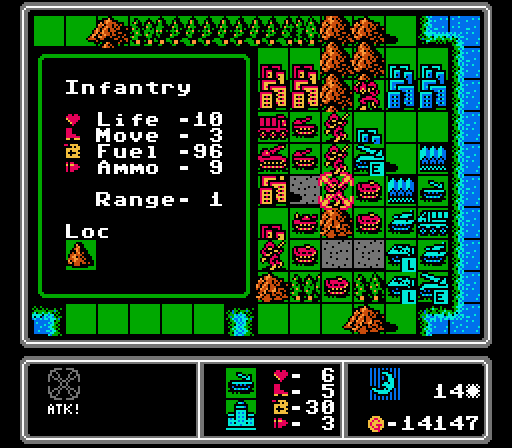
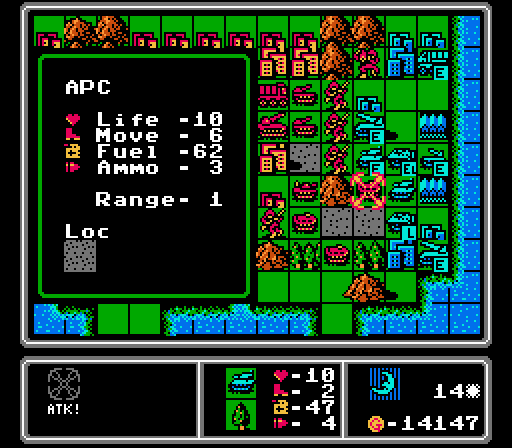
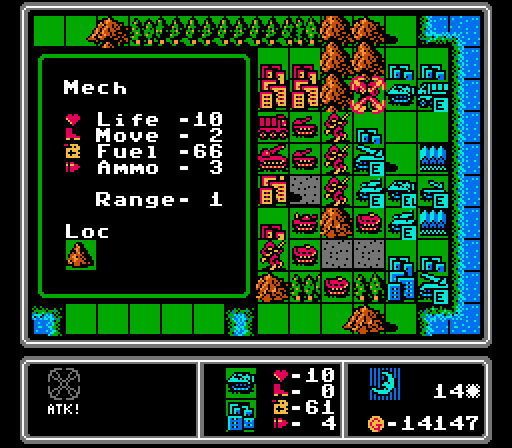
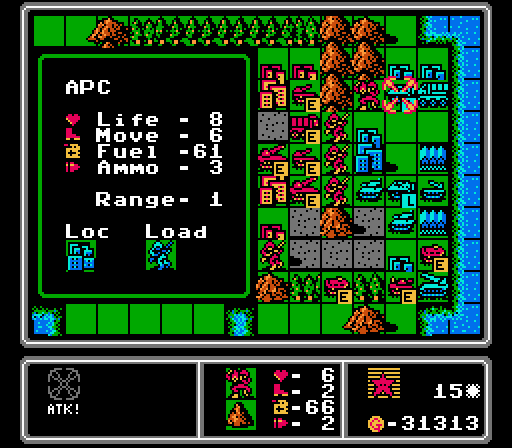
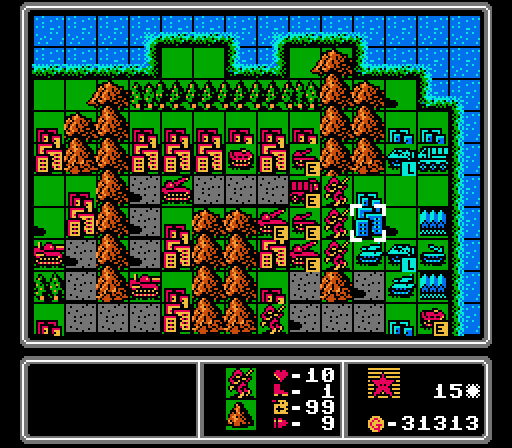
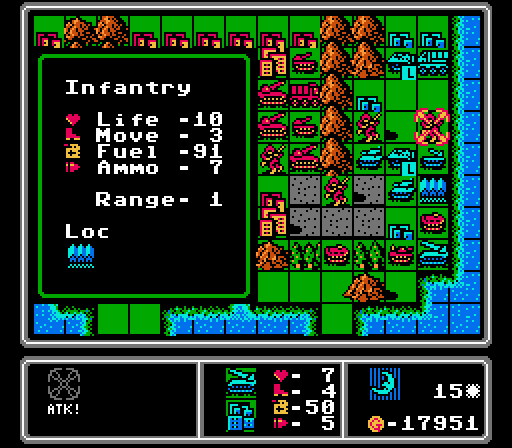
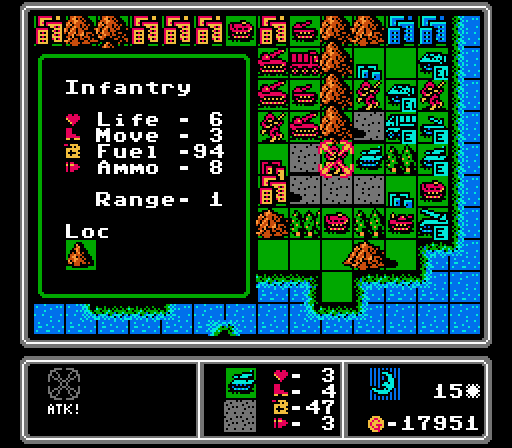
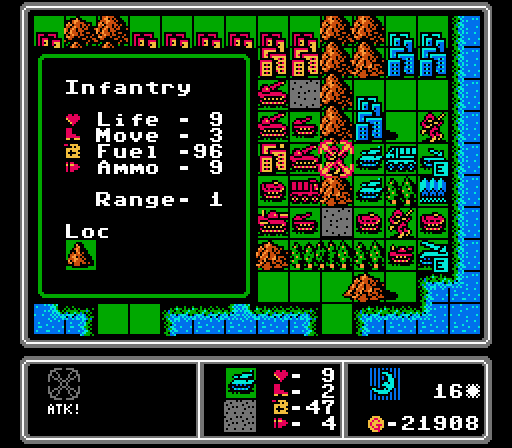
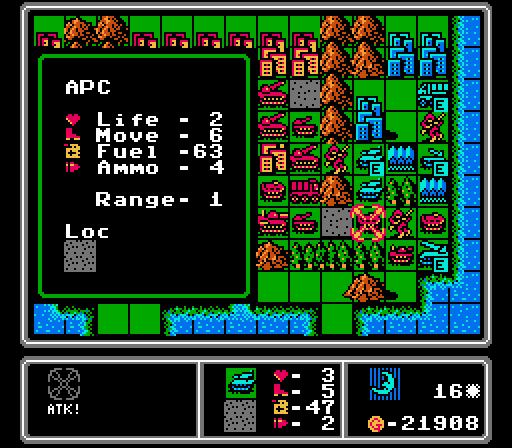
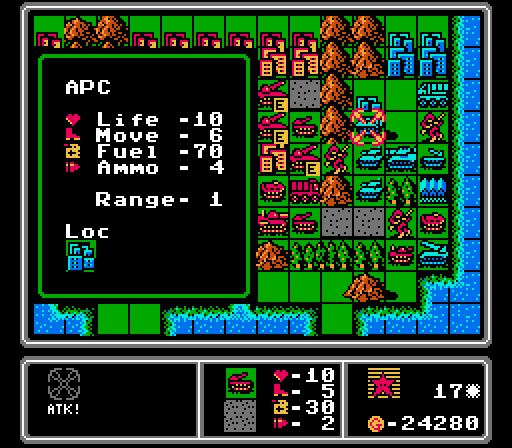
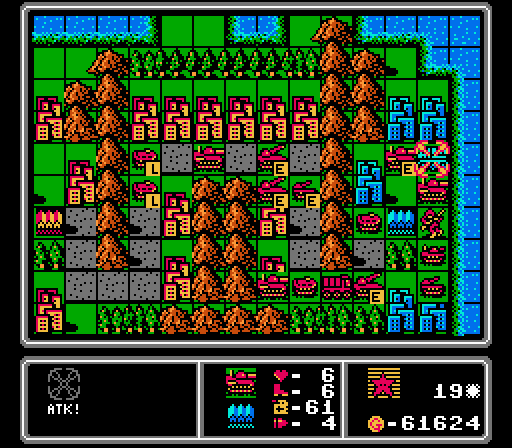
I also throw out a mech mostly just to take a look at it. Might as well point out that the center panel along the bottom will show the details of whatever's under the cursor. The mech is pictured, as is the tile it's currently occupying (the base), along with the unit's current life, movement, fuel, and ammo. I routinely forget this information is present there and bring up the full unit detail screen all the time instead.
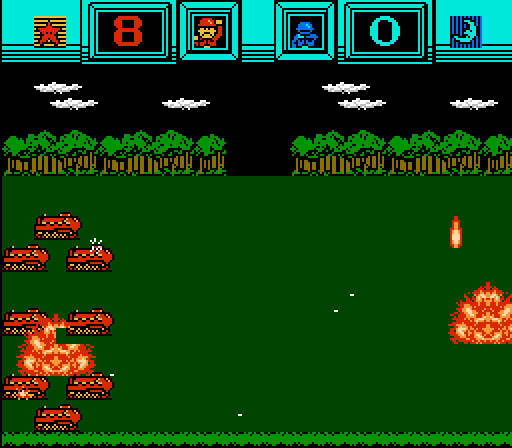
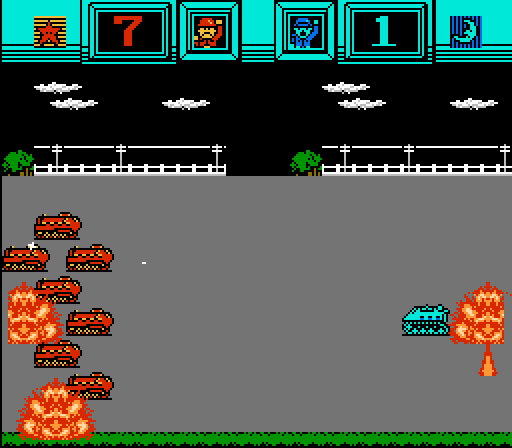
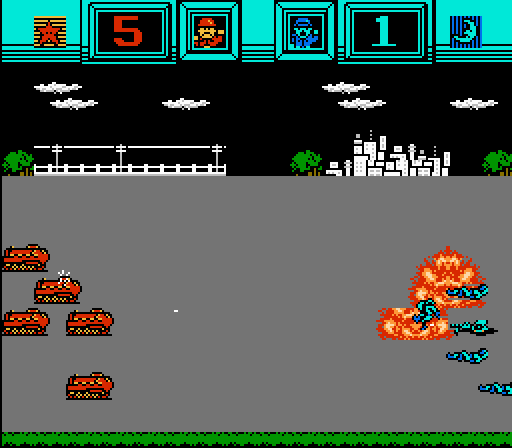
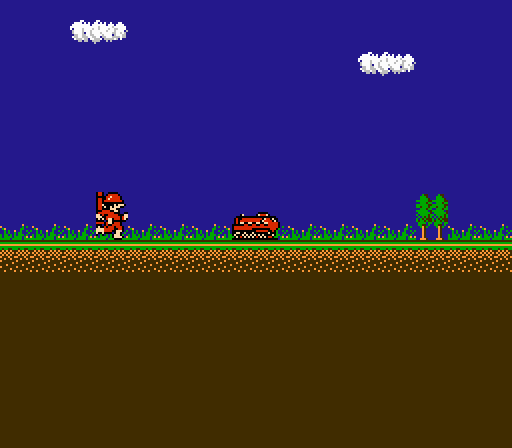
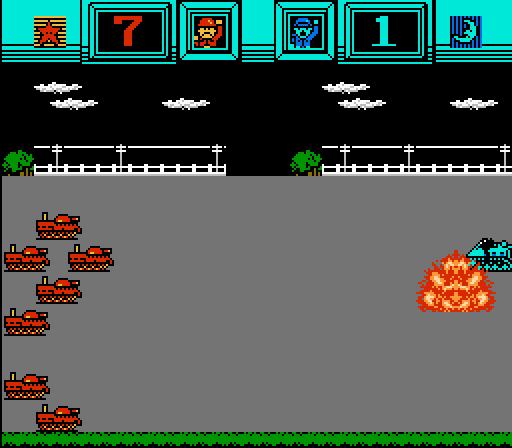
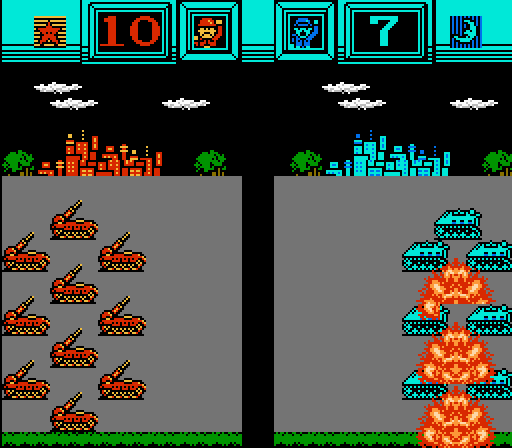
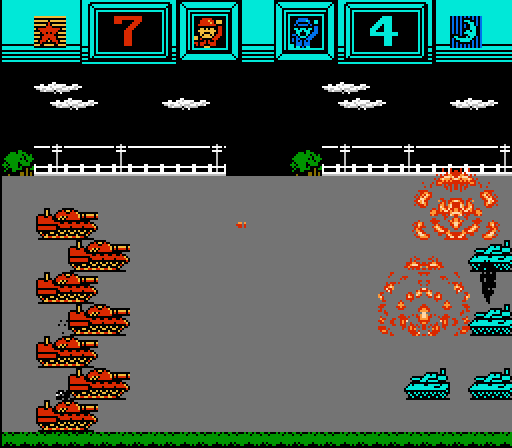
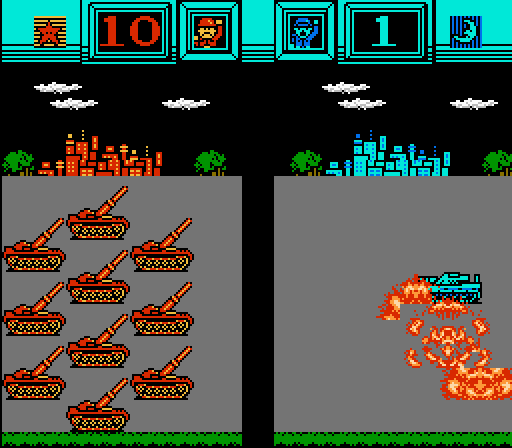
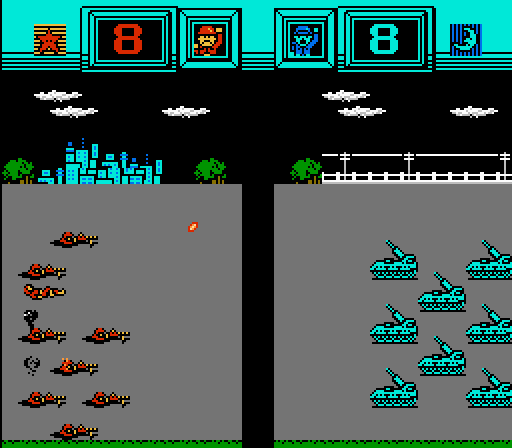
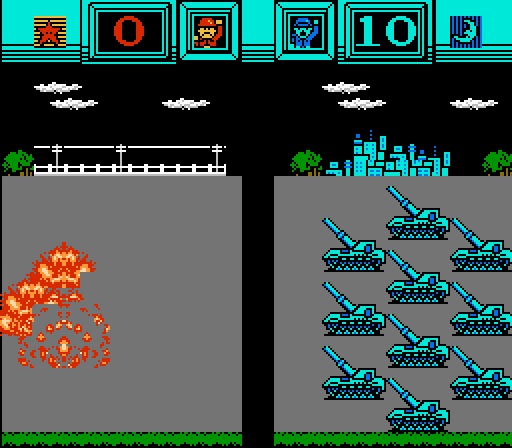
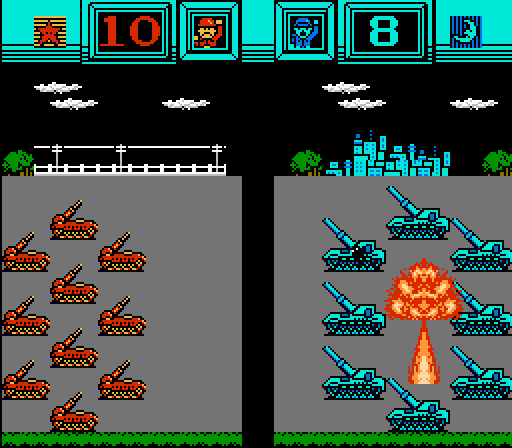
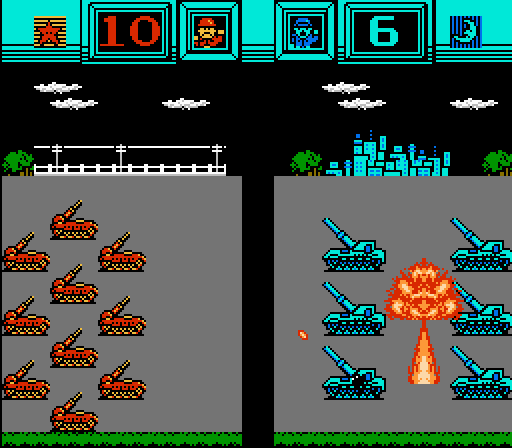
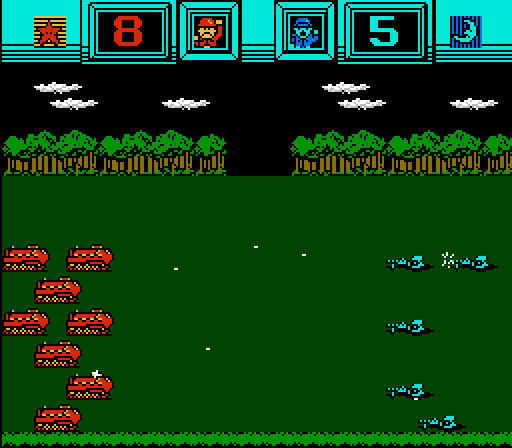
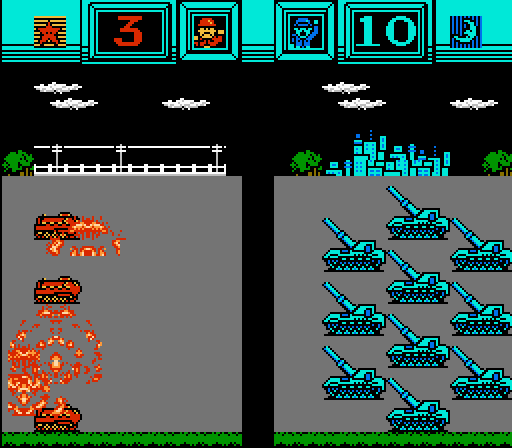
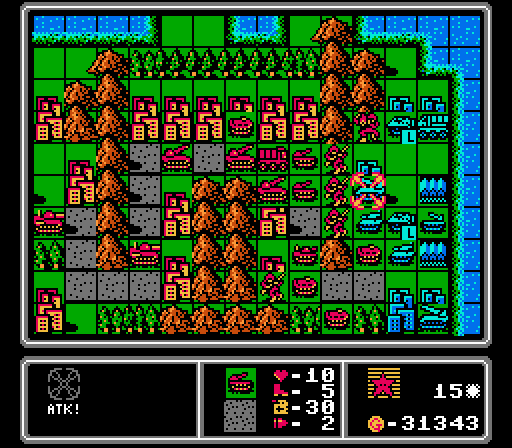
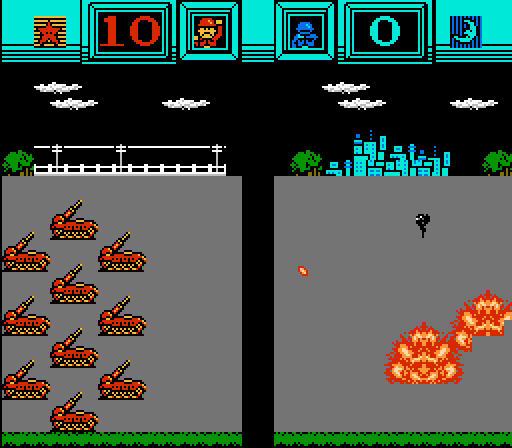
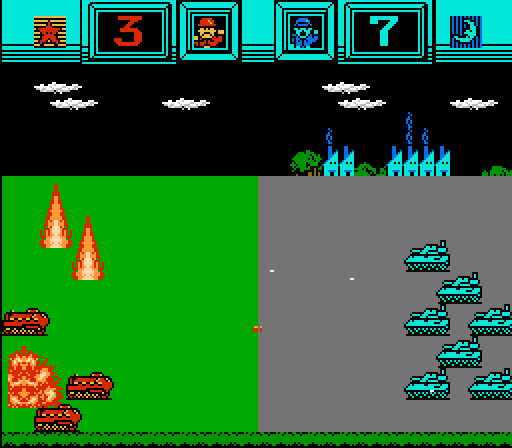
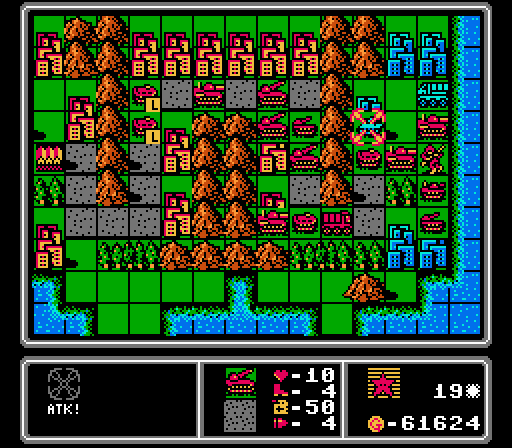
Blue's first action is to send a full-strength tank against a weakened APC.
Guess we won't be doing a deathless run here. The APC didn't even get in any chip damage on that tank. I guess now we know that Tank > APC > Infantry. You can see our commander portrait change to the crying version as the APC goes down.
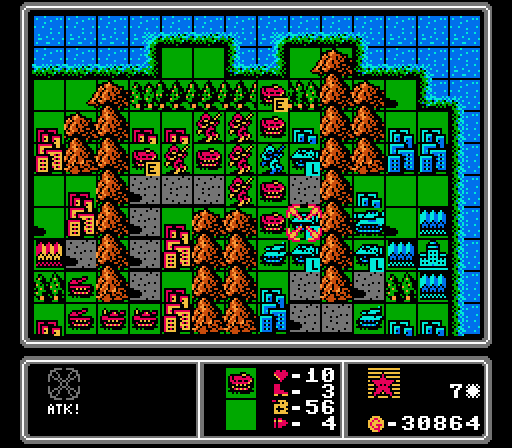
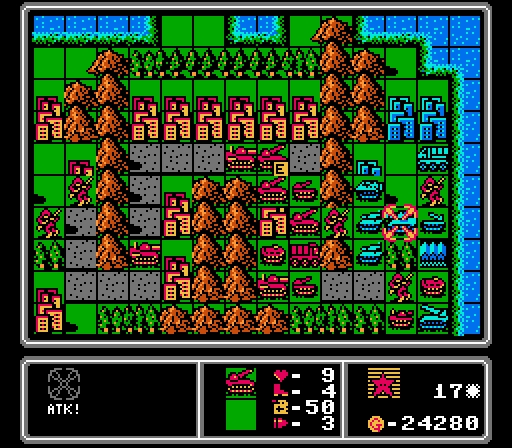
Two of the APCs don't move but the medium tank is coming up to see us, with another tank and an artillery right behind it. Suddenly our front line of APCs and infantry is looking pretty shaky.
For some reason the APC up at the top of the map didn't attack our capturing infantry (or do anything else for that matter). The computer player unlocked a new unit for us though - that truck is a supply unit. It'll be pretty important later, but I'll go over it more when we get one of our own.
Turn 8
The first thing we do is buy another APC and shove the mech inside it. Otherwise at just 2 movement per turn, the mech will take forever to get anywhere.
The mech has a slightly different loading animation that includes the bazooka on his back. Also be careful moving footsoldiers around near APCs - I discovered here that there's no confirmation (unlike every other action) so the mech just jumped right in unprompted.
Since the AI was foolish enough to leave my capturing infantry alone, we finish taking the fifth city from the center area.
Our armies are fairly even but I've got a sizeable income advantage now. That's an extra medium tank every four turns for example.
Time to try and get some strategy going. Our own tanks are finally in range to do some damage.
The rear one slides into the open space left by our destroyed APC, and finishes off this wounded APC without taking any damage.
Our other tank moves up into the new empty space and unloads on a full-life and loaded APC.
Not quite a one-shot kill but I'll take it.
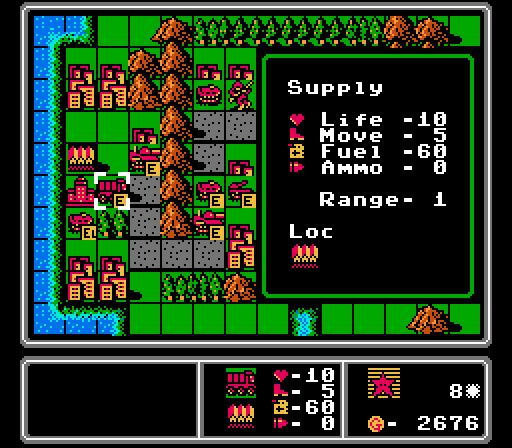
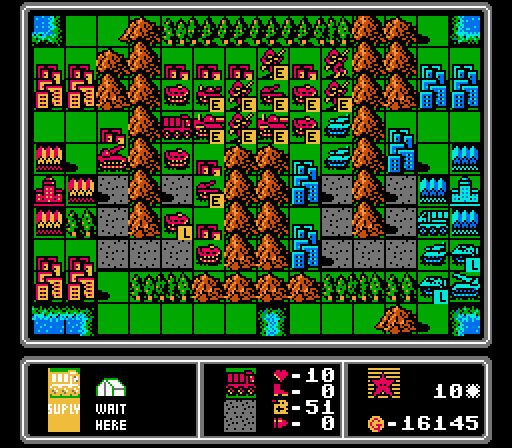
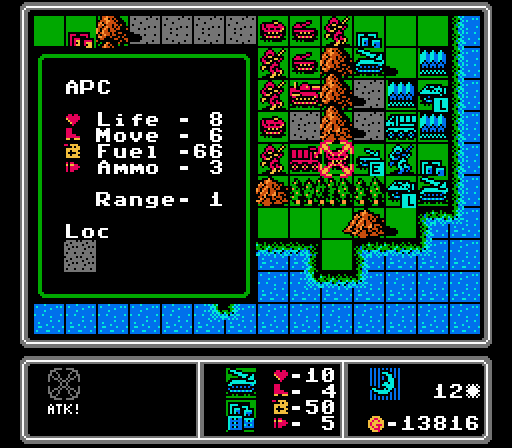
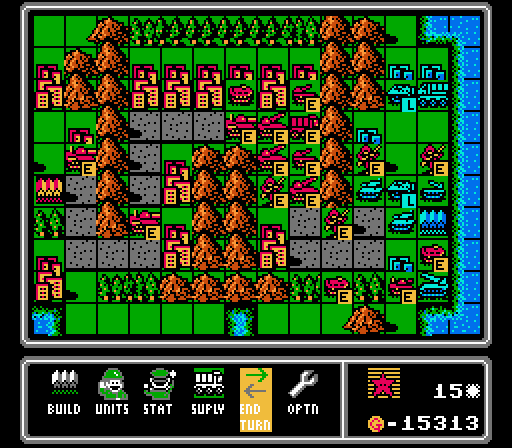
With our two tanks holding the front line, I don't have anyone left in range to dislodge the APC from the city up top. Instead I shuffle some units around and build another medium tank and our own supply. This little truck can't attack but will refill adjacent units' fuel and ammo whenever the menu "Supply" option is selected, or on command after moving.
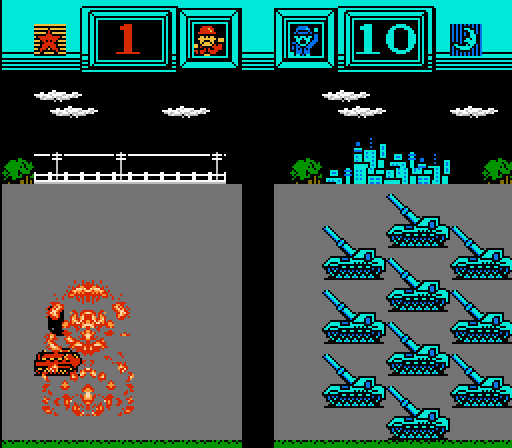
Blue's first move is a direct tank-on-tank attack. Both are at full health, but the enemy tank is parked on a city.
As a result we get mildly wrecked while barely doing any damage in return.
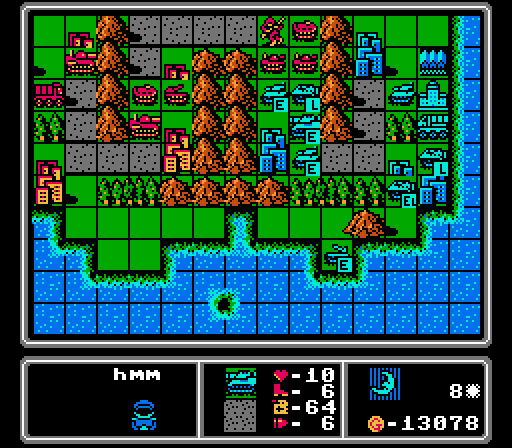
The artillery retreats to an odd peninsula and the medium tank just ends early instead of moving the APC out of the way. I'm not sure what determines the order of action for the AI but it worked out in our favor here.
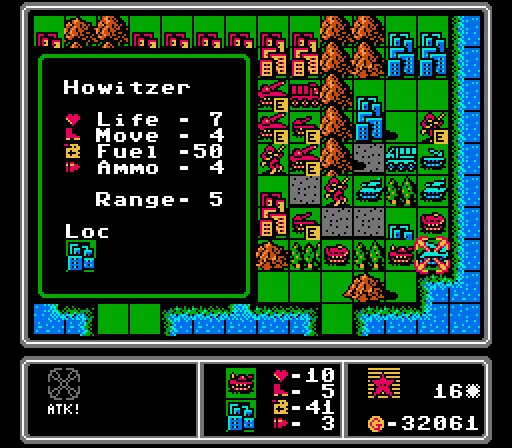
The APC does eventually move back to a city for repair, but we also get to see on the enemy HQ the last ground unit for this map - a rocket. (Note that this translation patch calls the unit a "Howitzer", but I'm sticking with rocket.)
Turn 9
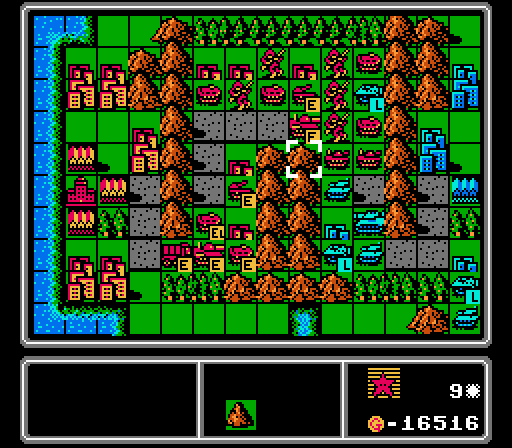
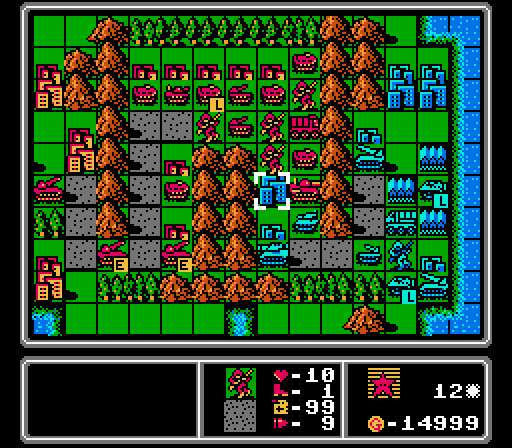
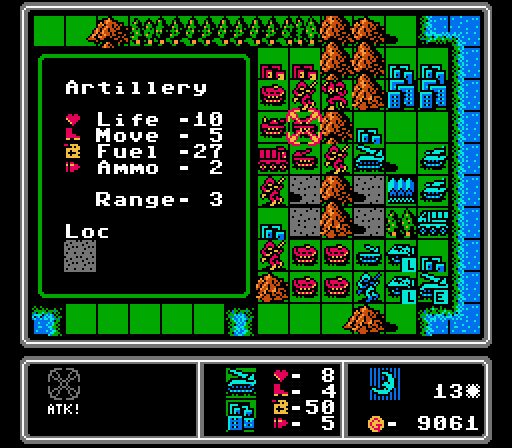
I finally realized I could park the artillery on the city and fire over the mountains at the tank. I'm going to need some help to deal with what we're facing here so let's hope for a good shot.
Four damage on a city isn't too bad. I don't think I can finish it off without leaving our tanks exposed to the enemy medium tank, though.
Our other artillery is in position to try and get rid of this APC that's been parked on the city up here for awhile.
Only three damage dealt this time. With the APC getting back two life each turn, that won't add up fast enough.
I stall while trying to think about who to sacrifice on the front line this turn, by moving up our back line first. We've got a medium tank of our own ready to join in the fun next turn.
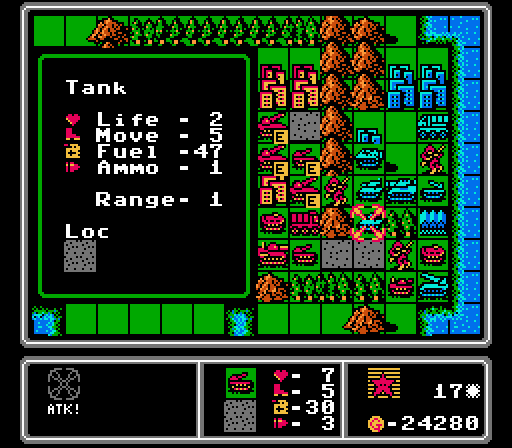
I really need this APC gone so I figure leaving a tank exposed is worth taking another crack at it.
More damage than the artillery did at least. But that tank is a goner on the enemy phase.
I take a chance by giving this full-life infantry a shot at the APC. I'm hoping attacking from a city will help the infantry not get destroyed this time.
Success! And we only took one damage, too!
We immediately move another infantry in to capture that last top-row city. It isn't at full health though so it'll take three turns uninterrupted to get the job done.
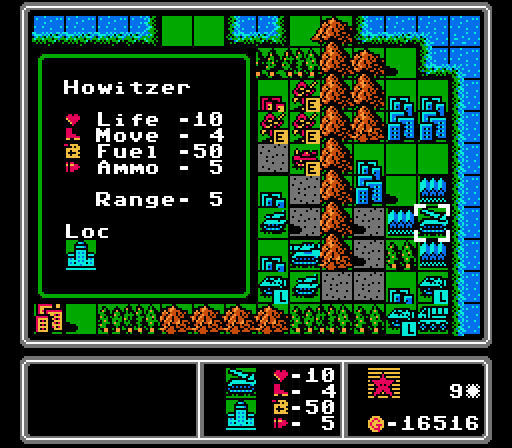
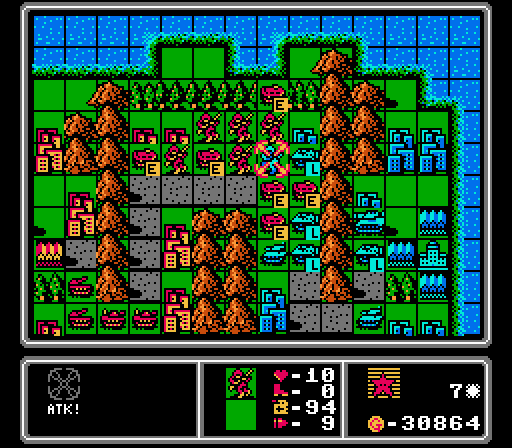
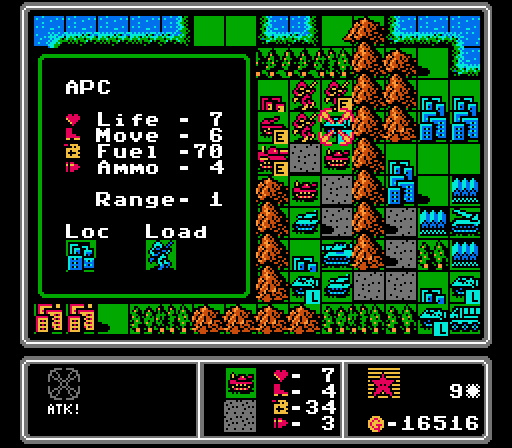
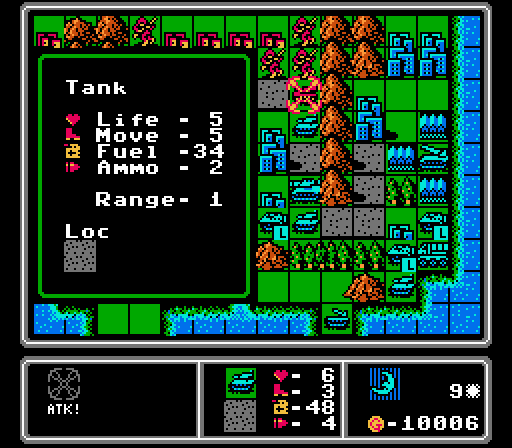
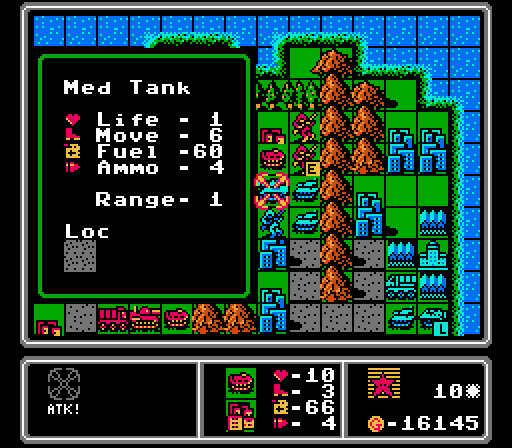
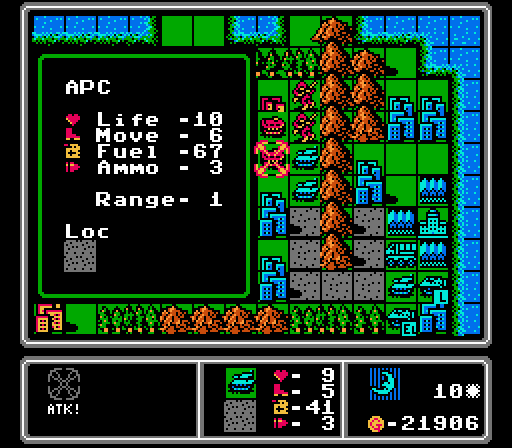
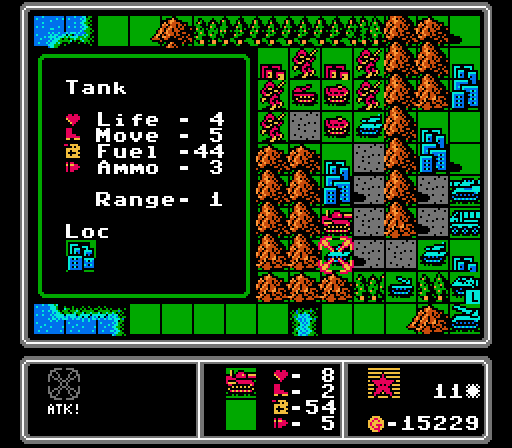
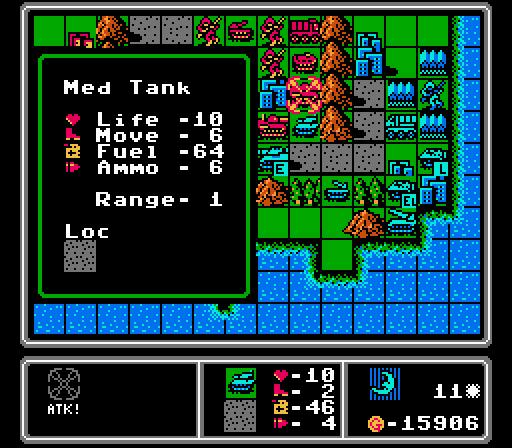
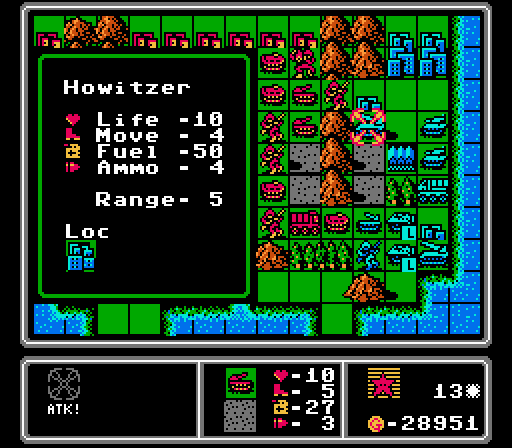
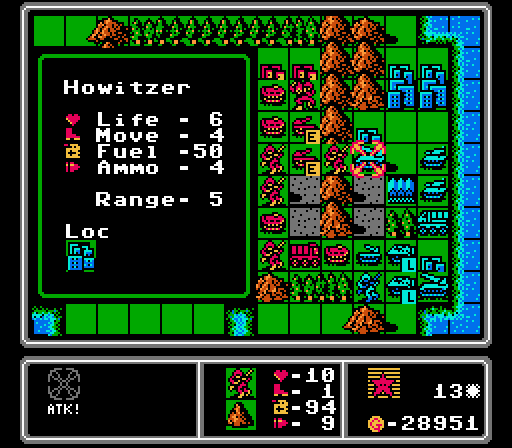
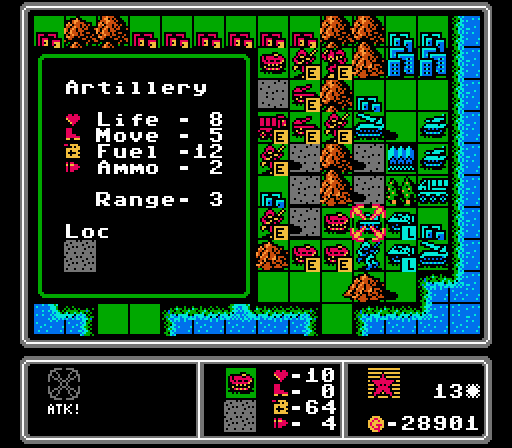
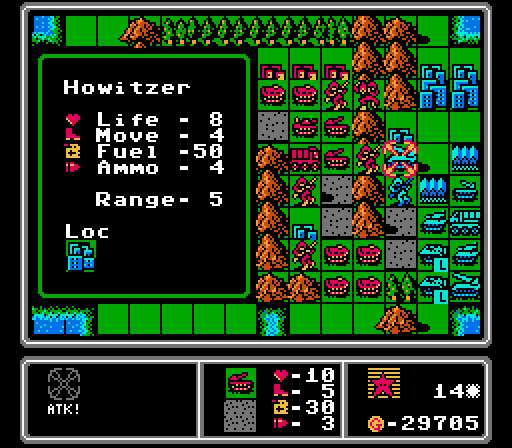
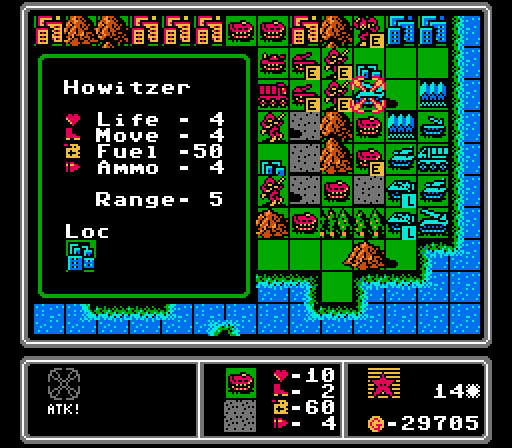
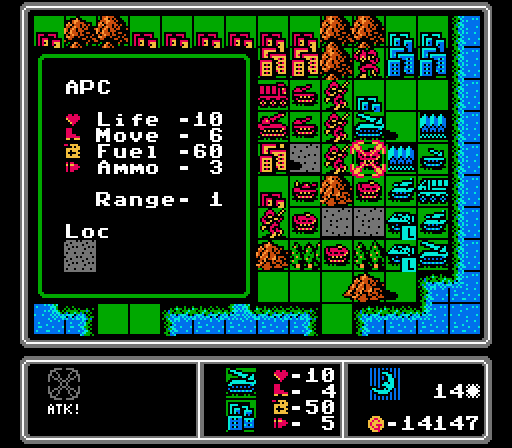
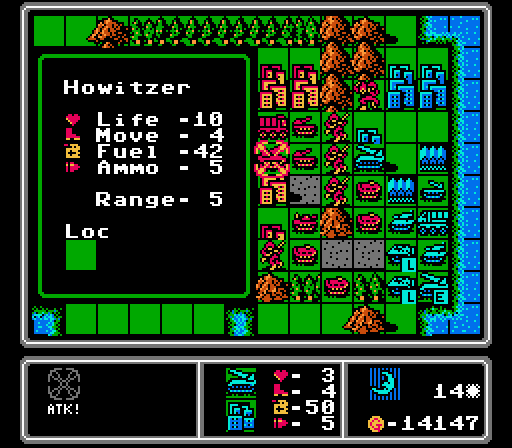
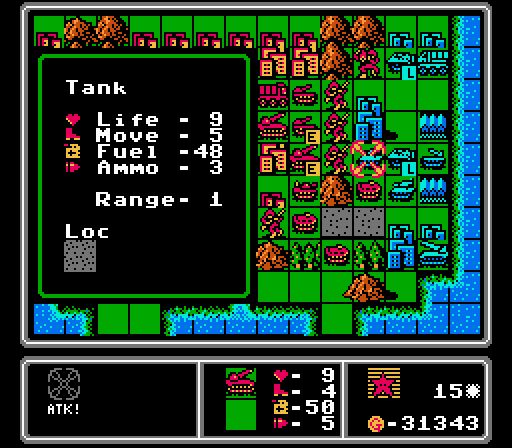
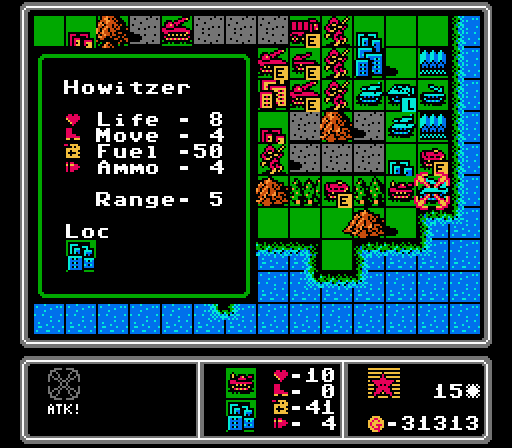
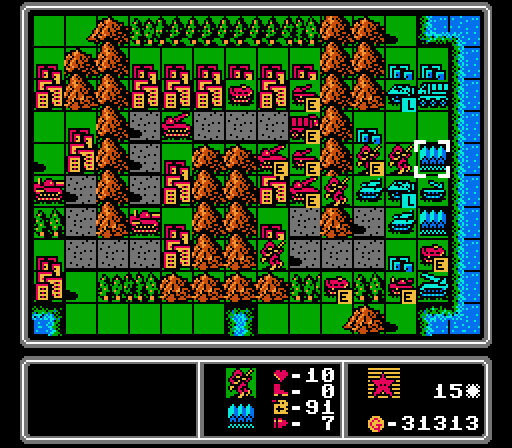
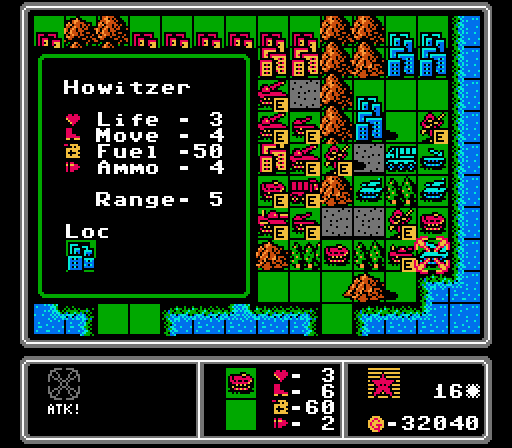
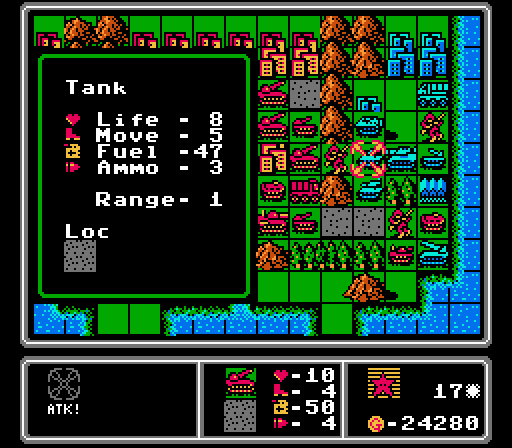
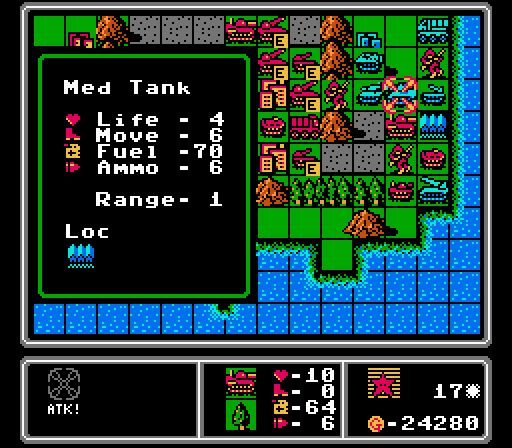
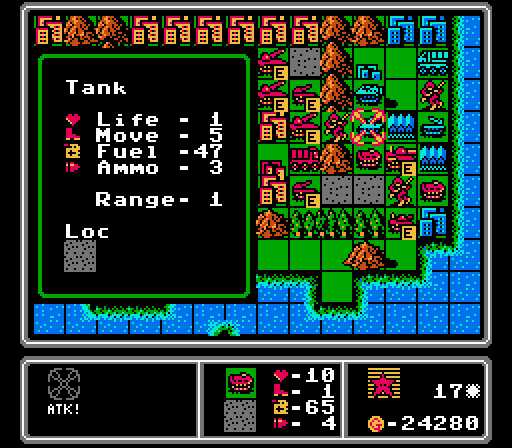
Let's take a look at the rocket unit. It costs 13000 G, putting it right behind the medium tank for most expensive ground unit. It's slower than the artillery with one less movement, but it's got 20 more fuel, two more ammo, and most importantly two more range. It would actually have been able to hit one of our tanks if we hadn't just moved it up a space. The game never directly tells you anywhere, but the rocket actually has a minimum range, too - it can't hit targets fewer than three spaces away.
They seem pretty handy, so let's get one of our own, shall we?
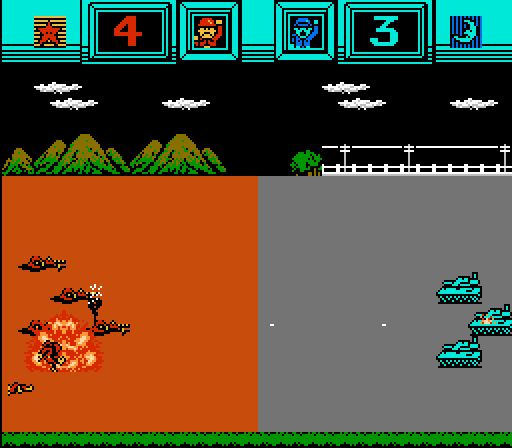
Oof our tank is in trouble.
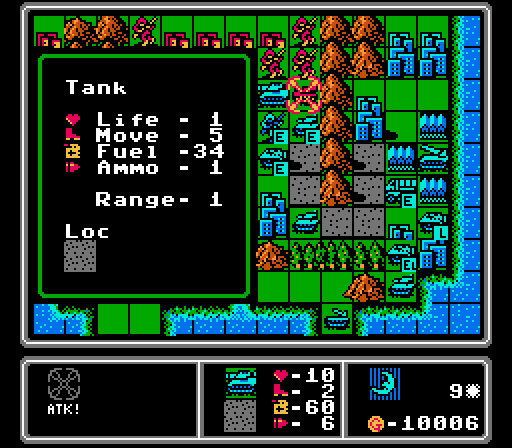
An infantry got off-loaded from the APC just below but more importantly that medium tank is seeing its first action, wiping out our severely weakened tank here.
Not even a contest.

Unfortunately that frees up space for another tank to come in and cripple our capturing infantry. At least we get the benefit of the city defense bonus this time.
Nothing new built, which really just means they're going to throw something nasty at us next turn. I'm not liking how entrenched that rocket is in the corner, either.
Turn 10

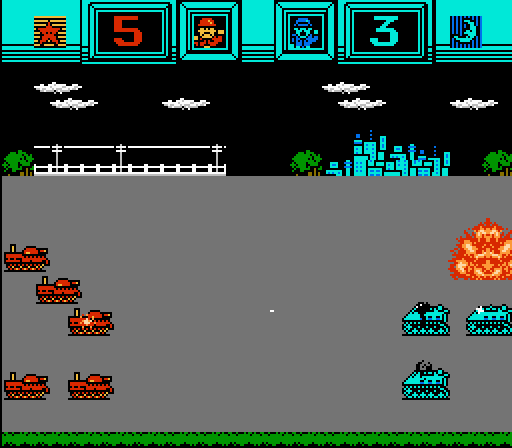
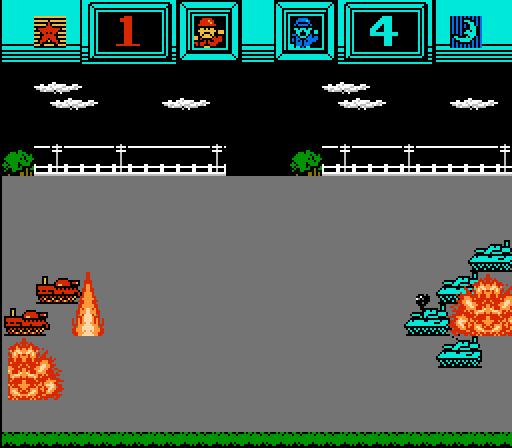
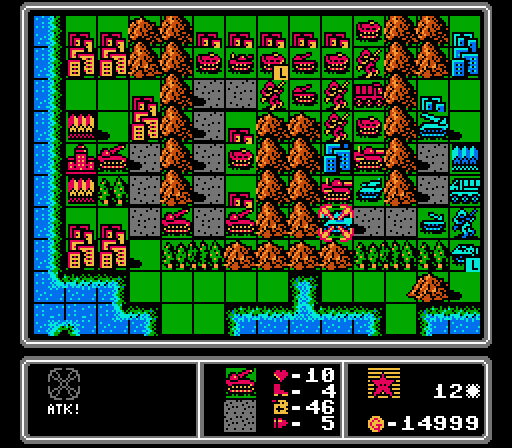
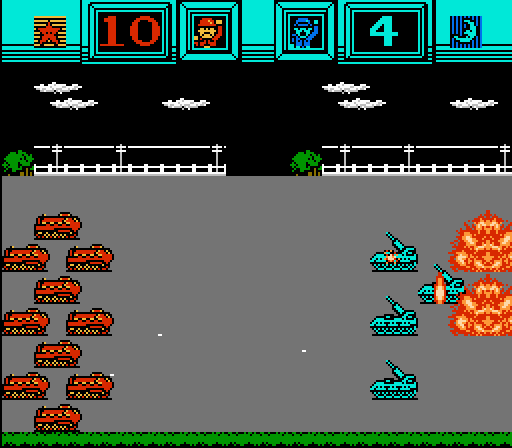
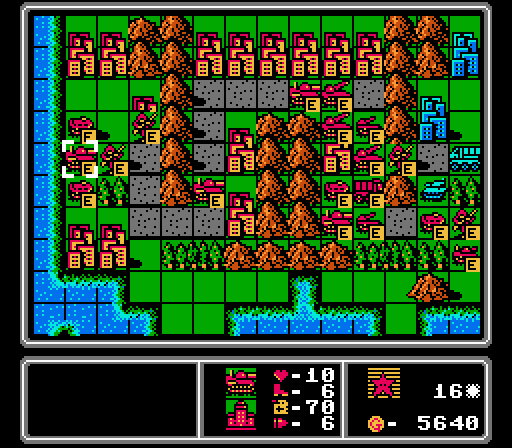
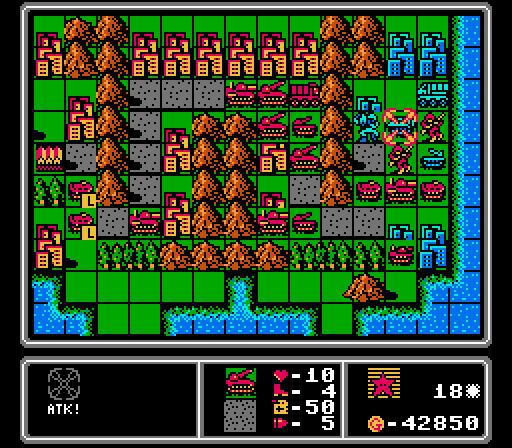
The artillery takes a respectable chunk out of the medium tank here.
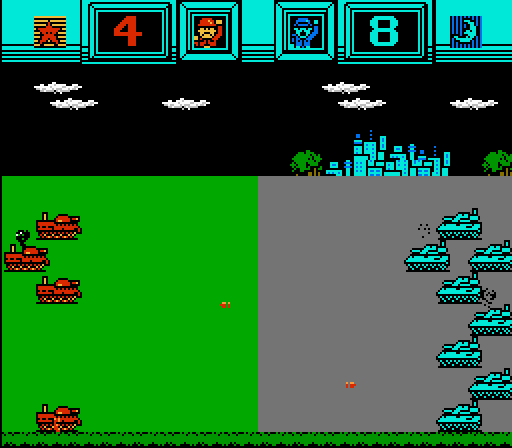
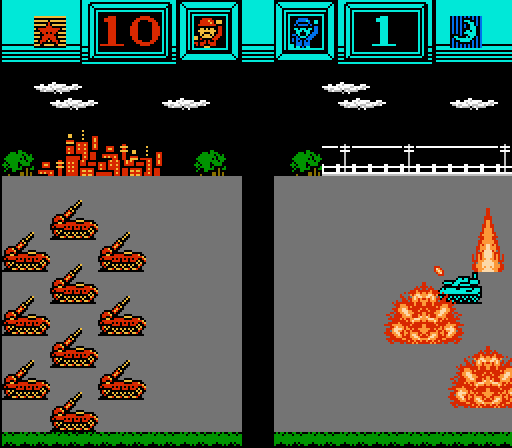
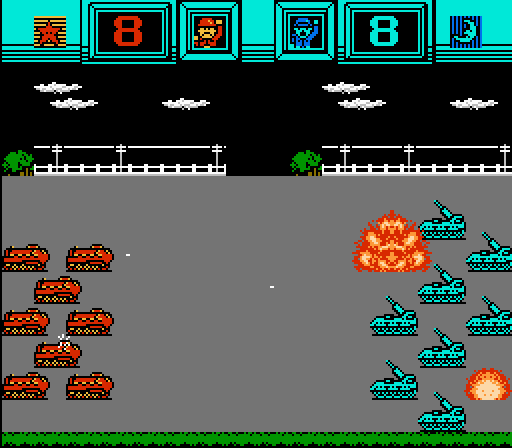
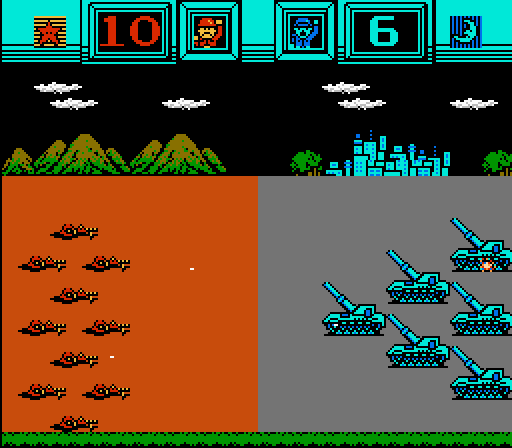
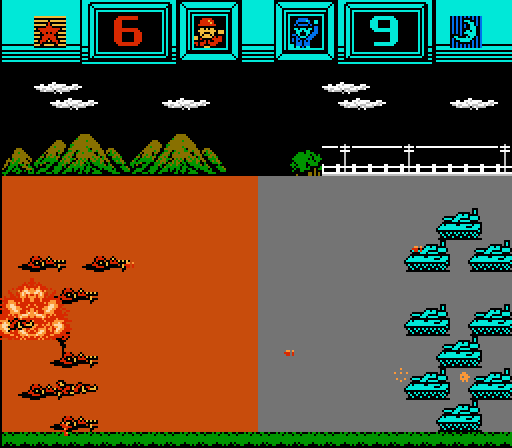
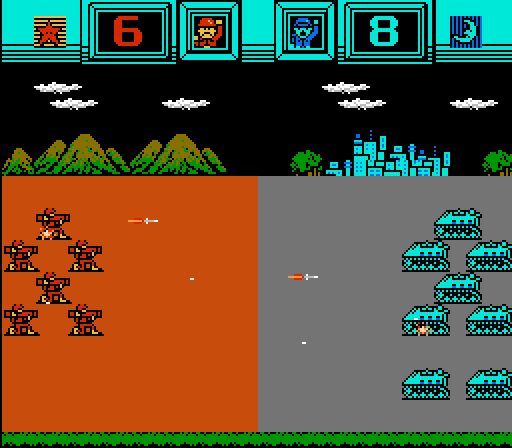
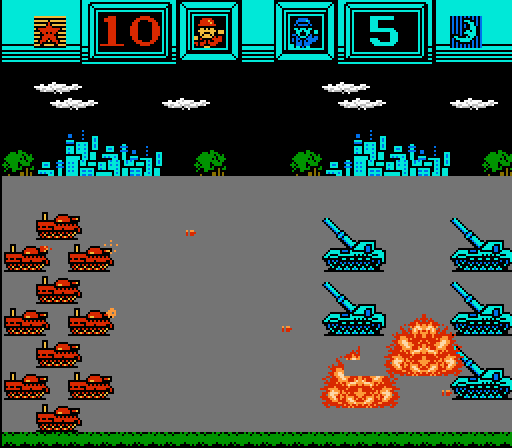
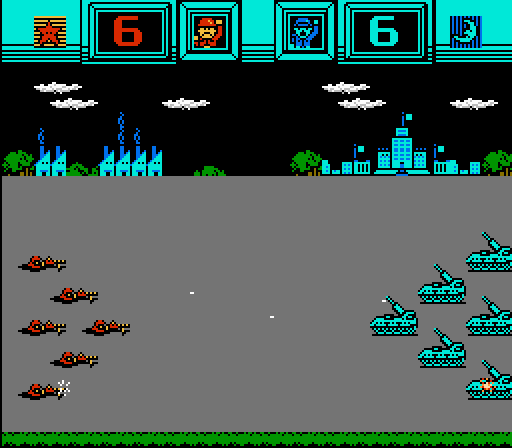
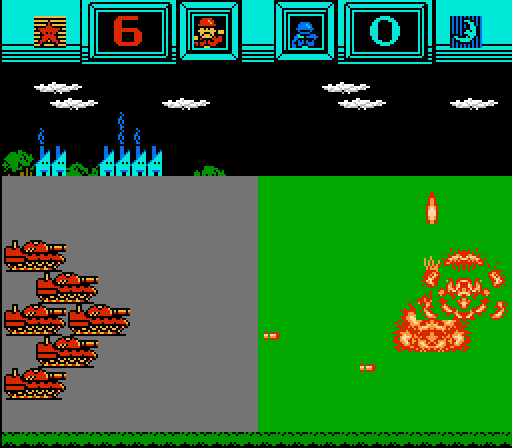
Here's the heavyweight bout - medium tank vs medium tank, both on the road.
Well. That went a lot better than I was fearing.
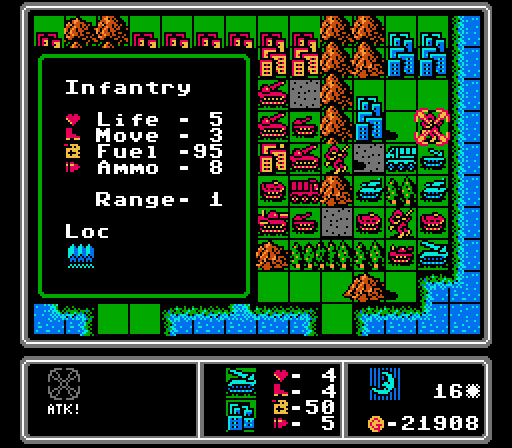
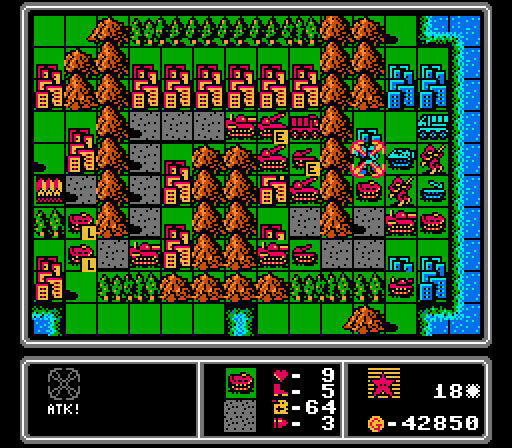
While I try to figure out how best to finish off the medium tank, I use the artillery down below to remove the damaged APC from the city.
Yes, I'm attacking a medium tank with an APC. I think it'll be ok. First I moved the damaged infantry on the right out of the way, and the full-life infantry moved from above the medium tank onto the city to the right to start capturing it again.
Ha the APC didn't even take any damage since it was attacking from a city. Raise your hand if you legimitately thought you'd see a medium tank destroyed by an APC in this LP.
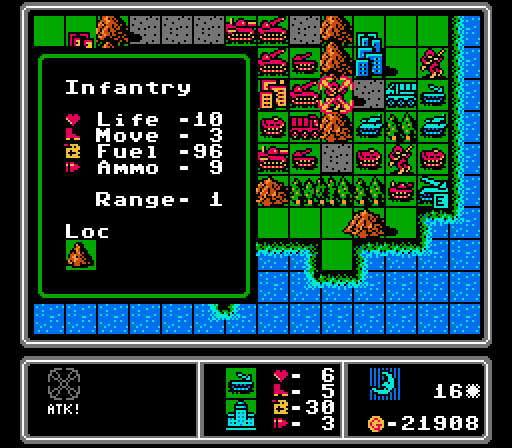
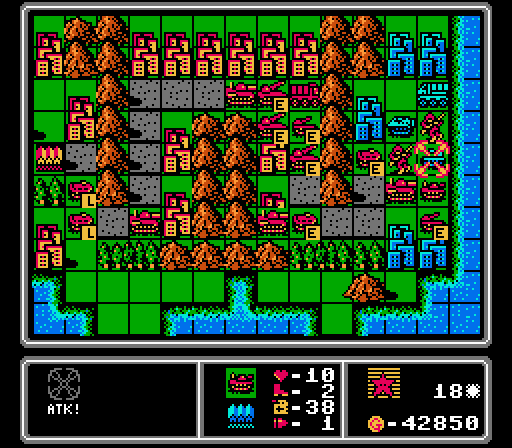
While I'm on a roll, I bring an APC down to finish off this broken infantry unit. All that's left on the front line is two tanks.
I don't really have a need for it right now, but while I was rearranging units for better repairs and moving the back line closer to the front, I decided to show off the supply unit. Remember that only units that haven't already acted can be supplied, and the APC above the supply already got supplied by the city, so it's just the APC below the supply unit actually getting topped off here.
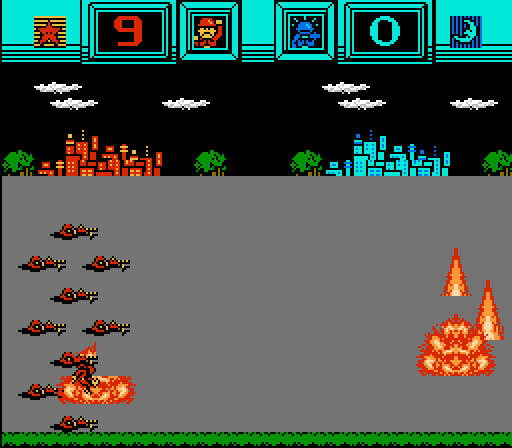
Music: Receive Supplies
The guys in the supply truck toss a barrel of fuel and a crate of ammunition directly to the dude poking out of the APC, and then run off-screen instead of getting back into the truck. This animation even gets its own unique music.
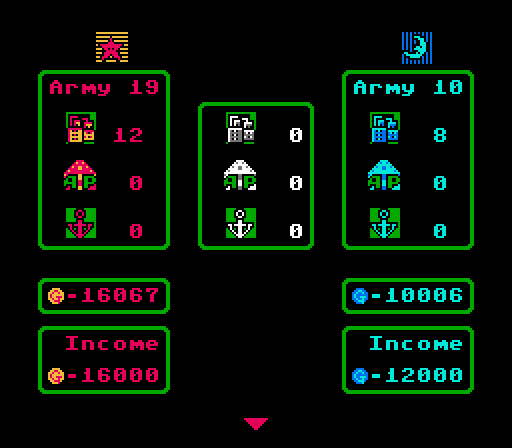
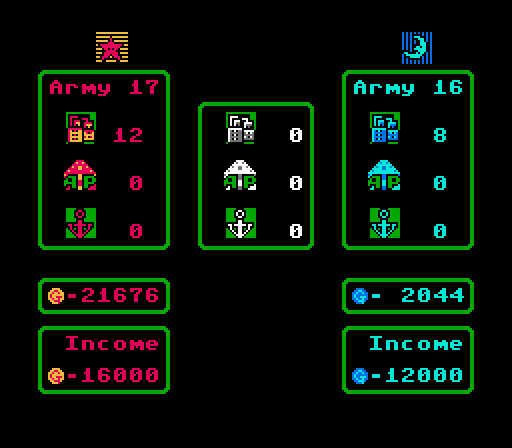
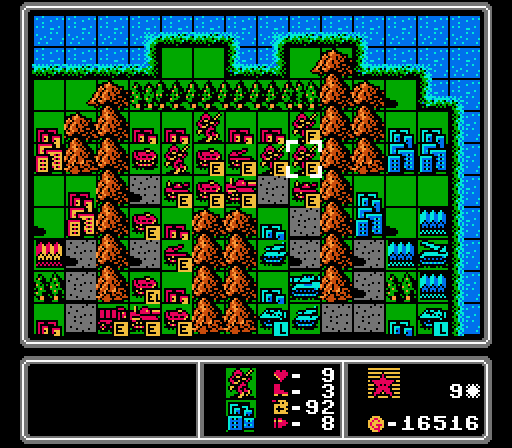
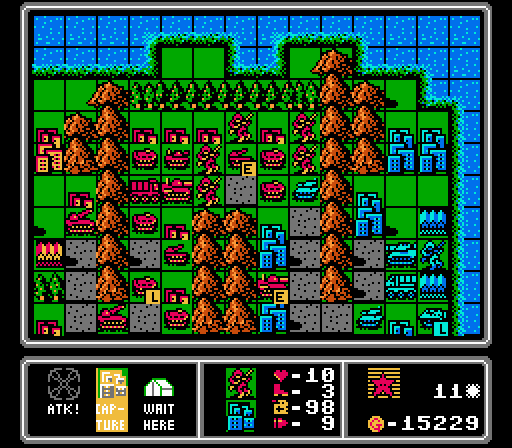
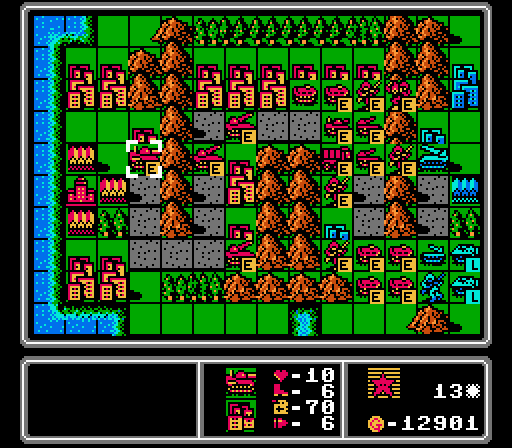
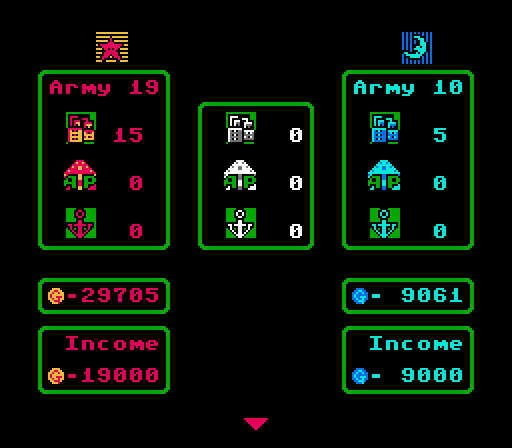
Suddenly we've got almost double the army of our opponent, including two full-strength medium tanks.
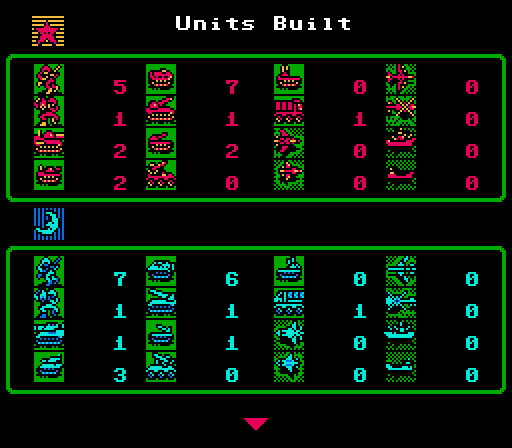
A quick look at what each side has built so far.

And finally a casualty count, where you can see where we've really come out ahead. If you don't remember us killing all those infantry, half of them were stuck inside APCs at the time. I haven't kept count but I don't quite understand how we've killed seven enemy APCs if they've only built six of them, either. There are actually two enemy APCs still left on the map, too. Maybe there's a bug where a loaded APC that is destroyed gets counted twice?
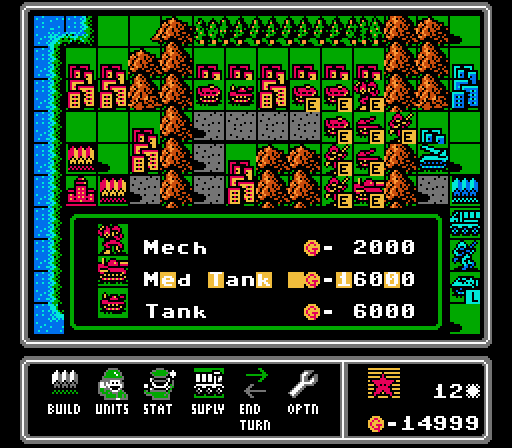
Since I've got the cash lying around and we've unlocked everything we're going to see in this map already, I throw out another rocket.
After first moving their rocket down offscreen, our opponent is drawn to the APC we left sitting out front. It's another slaugher, but the APC is still there blocking off our medium tank.
The other tank (at 4 life) runs away instead of finishing off our APC.
Oh good, another medium tank for us to play with.
Turn 11
I'm not real inclined to let that other tank get fixed up so we send our medium tank down to harass it.
Even the city's defensive bonus isn't enough to save the tank.
Then the artillery we've had parked on the top row of cities the last few turns puts the other tank into critical health.
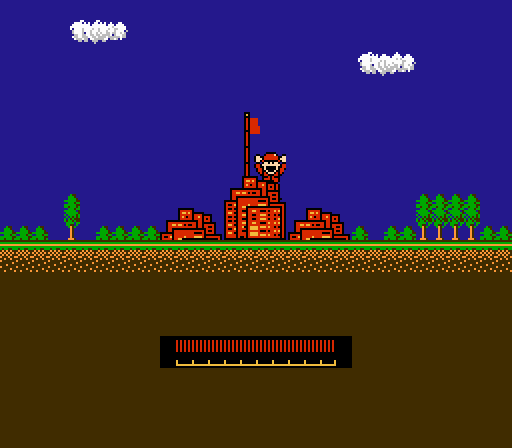
Time to finish capturing the last of the formerly-neutral cities.
The animation is a bit different for capturing an enemy city, with an enemy soldier getting kicked out.
I get an APC out in front to finish off this tank, and suddenly we not only have the entire strip of six formerly-neutral cities, but we also have a lot of open space in front of us.
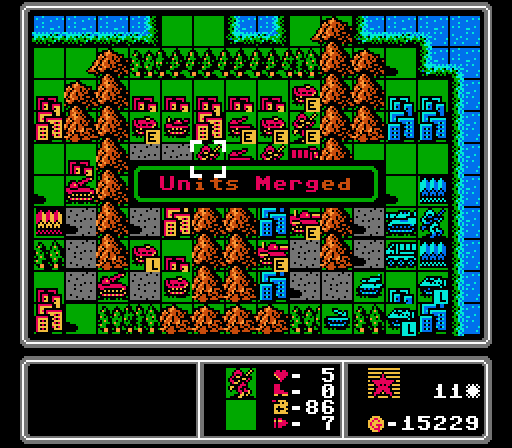
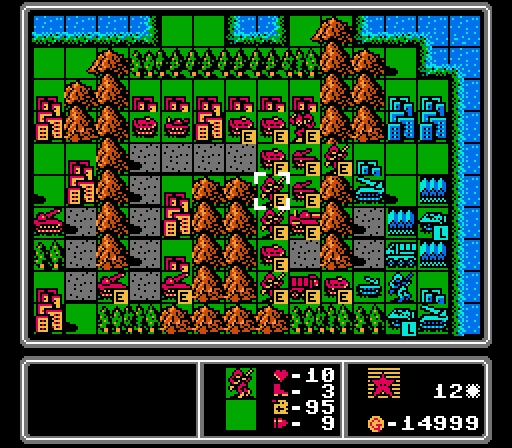
We've now got a wall of two medium tanks encroaching on enemy territory. While moving some units around in the middle I move one damaged infantry onto another, causing them to automatically and (again) without prompting merge together. Merging units will take one off the field but the one remaining will have the combined life of the originals (up to the maximum of 10 life).
I've now got two rockets slowly moving up. One is now in position to fire upon anything that moves to attack our medium tanks. It's pretty well-protected between the city and the wall of mountains, too.
I haven't even used them yet, but I've already decided I like the rockets enough to grab a third one here.
Our advantage is starting to snowball a bit here, but the AI does the smartest thing it can right here and parks its medium tank on a city to go after our damaged medium tank.
We live through the assault, barely.
Instead of finishing off one medium tank, the AI for some reason spends its last tank weakening our other medium tank instead. I suppose that's a good trade for them - we took 4800 G of damage (0.3 * 16000), and the tank took only 3600 G of damage (0.6 * 6000). But it's not enough to offset the extra 6000 G we get every turn now.
This new rocket is going to be trouble. It's perfectly positioned to keep sniping at our army as we come down the road. And down below, even if we get rid of the two tanks, we can't attack the artillery without being in range of both rockets.
Turn 12
Time to see a rocket in action for the first time. The enemy medium tank is actually in range of both of our rockets.
The first attack does four damage to the medium tank despite it being on a city. I was a little disappointed at the time, but after writing everything up and analyzing the data in more detail that's actually a fantastic result.
The second rocket attack does the same amount of damage, almost killing the medium tank outright.

I'm a little curious what will happen here. Our 1-life medium tank is attacking the enemy 1-life medium tank. I figure we had a good shot here, but I forgot to take the enemy city into account.
The animation actually shows both medium tanks firing and destroying each other simultaneously, which I'd never seen before in this series.
Unfortunately only our medium tank gets removed from the map. Not sure if that's a bug or what.
Anyway, we send one of our many infantry down to start capturing another city.

Then I'm able to get a fresh APC down from the very top of the map to get rid of the medium tank for us. That's two medium tank kills for our APCs now.

Meanwhile our last medium tank is able to take out the damaged tank below it.

I'm used to indirect fire units being pretty vulnerable to direct attacks, so I was happy to expose a damaged APC here just to get in a free shot at the artillery.
It doesn't really go that well though.
The rest of the turn is more positioning. Our two artilleries move up to be able to fire on the rocket next turn. One infantry starts crossing the mountains to get at the rocket next turn, while another sneaks all the way down to start capturing another city in the lower middle area. The mech finally makes it near the front and is ready to cross the mountains next turn as well.
I realize I just barely can't afford to get another medium tank, and decide to just save up for next turn instead. My income is 17000 G at this point, so why don't I have enough for a 16000 G medium tank? Well apparently resupply actually costs some of our funds. Ammo and fuel are cheap - 10 G per unit of fuel and even less for each ammo, from what I could tell examining the footage afterward. However repairing units costs 10% of the unit price for each life point returned to the unit. So there's no cost advantage to repairing a damaged unit instead of just building a new one. However we do save time (since the damaged unit is already at the front) and we don't have to waste a build tile on a new unit (which can be a limitation in some maps).
All of which would've made me feel better if it weren't for the fact that the funds spent reparing APCs kept me from building another medium tank this turn. Oh well. I guess that's one argument for making supply a manual command - you can choose to save the funds instead.
On the enemy phase, the artillery first takes a shot at our capturing infantry. I was hoping it would be lured by our supply truck instead, but no such luck. At least it was only able to do two damage due to the city's defensive bonus.
The rocket on the lower right goes after the APC in range, almost-but-not-quite killing it.
The other rocket destroys our medium tank, which is totally unfair when it's done to me.
The AI buys two more tanks, but really the only question left is how much blood is it going to take to take out those rockets?
Turn 13
Our first action is trying to dislodge the upper set of rockets with the artillery. The first attack is underwhelming, but at least the rocket can't fire back even against another ranged attack.
The second attack likewise does just two damage.
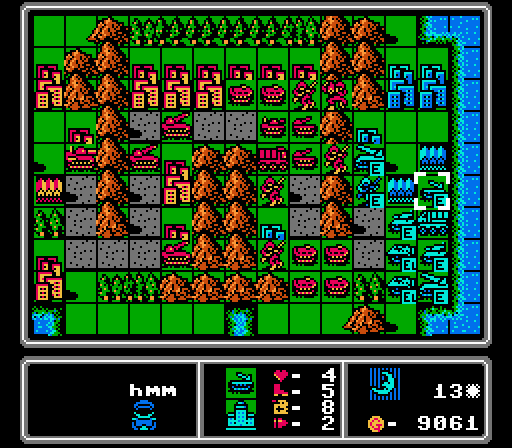
I send in an infantry to go after the rocket from the mountain and it literally does zero damage. What the hell?!
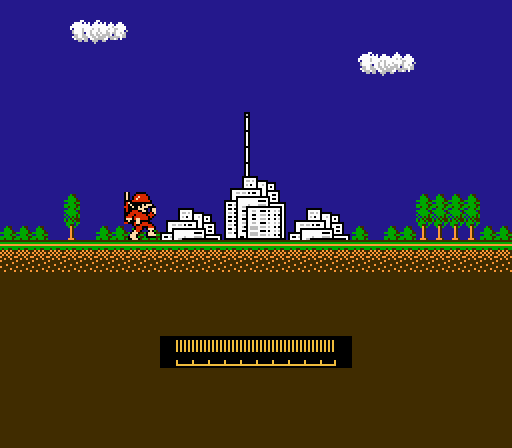
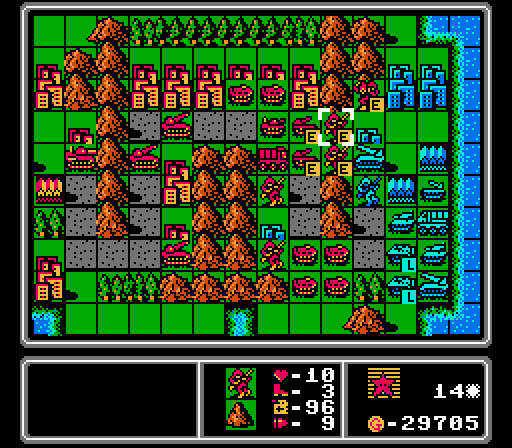
In later games, the mech unit makes up for only having two movement by not having any movement penalties in any terrain. Pictured above is me discovering that in this game the mech unit can still only cross mountains one tile at a time.

On the bright side, this infantry got left alone and is able to finish capturing this city, further putting the squeeze on the blue team.
I don't really have much left to do with our APCs, so I send one forward to harass this infantry.
The lower infantry here is able to get its city 90% captured. He's not in range of either rocket so might survive another turn to finish the job.
Another APC gets sent in to harass the artillery, and is a bit more productive at it.
The rockets can't reach anyone this turn so they all move forward, with the rear-most one nestled in the same corner. And I get us a new medium tank.
The enemy phase once again begins with the lower-right rocket taking a large chunk out of the APC blocking the road.

The other rocket doesn't like getting shot at and takes a big piece out of one of our artilleries.
The enemy artillery retreats, but we still can't get to either rocket. At least the AI doesn't have enough funds to build anything threatening, choosing to stand pat this turn.
Turn 14
Both of our artilleries fire at the nearby rocket again. The full-life one does four damage this time, but the half-life one does just one damage.
The mech and another infantry move through the mountains. I try firing on the rocket again with the infantry and again deal no damage, so it wasn't just a fluke.
Good news is I have plenty of APCs to throw at the enemy. This one manages to eliminate the damaged infantry.

That opens up space for another APC to slip in and get at this rocket. So close!

Oh and we finished capturing that city in the corner.
We've still got twice the army and now more than double the income, too. Really as soon as our rockets get to the front, the map is over.
We merge together a couple of the damaged APCs, keep everyone else moving forward, and get another medium tank.
The lower enemy rocket, still at full health, continues its crusade against our APCs, doing six damage this time.
The other rocket tries to get in a pre-emptive strike on one of our rockets, but only does one damage.
The artillery goes after the nearby infantry instead of one of the APCs, doing only one damage thanks to the defensive bonus from the mountain.
Some APC-on-APC action here, but our damaged unit doesn't even take a single life point away before it explodes. On the bright side, the lower rocket is now exposed.
The AI really doesn't like this infantry unit, going after it with a tank next for a bit more damage.
The other tank moves up to mostly wipe out another APC.
Another enemy APC moves all the way to the top of the map to harass our mech.
Blue Moon once again neglects to build anything. We've got an opportunity to strike at that lower rocket now!
Turn 15
First step is finishing off the top rocket with our artillery.
One rocket advances while the other does six damage to this tank.
Two more damaged APCs merge together, while a third makes it to the rocket but does just two damage to it.
I'm hoping for a little more out of the fully-repaired tank that I finally got back up to the front, but it only does three damage.
Mechs in later games usually do okay when attacking vehicles so I thought I'd try it out against an APC but instead the mech was cut down.
I sent an infantry in to start capturing this city, mostly as a distraction but also to block it as a build point.
Then I do the same for this base. The bases and the HQ take the same amount of time to capture as cities.
I build another medium tank, but I'm not sure it'll even get to the front in time to see any action. I've also got the supply truck nestled between two artilleries and a rocket, so it'll refill ammo at the start of next turn. I don't really point it out afterwards but you will continue to see the supply truck moving around to alternate which units it's resupplying.
The enemy rocket goes after the infantry that's capturing the upper base, but only does one damage. That's still enough to delay capture by a turn, even if no one else attacks the infantry further.
The artillery targets the other capturing infantry, doing two damage this time.

APCs are still solid against infantry, even with defensive bonuses.

And tanks in turn can handle the APCs still.
Thankfully the other tank is damaged enough that it can't really do much to the infantry in the mountain here. Also the AI blocked all of its deployment points so for the third straight turn doesn't build anything.
Turn 16
Rockets are also a good counter to unprotected APCs. This one is taken off the board.

I waffle on where to have the next rocket attack, but eventually settle on the other APC. It only does five damage this time, though.

The enemy artillery is almost fully repaired so the last rocket attack knocks another four life off of it.
One of our artilleries is up top getting repaired. The other can only reach this APC so takes a shot at it and is able to destroy it.
The two damaged infantry near the enemy HQ merge together, and our damaged artillery moves down closer to the enemy. Then our tank takes another four life off of the last rocket.

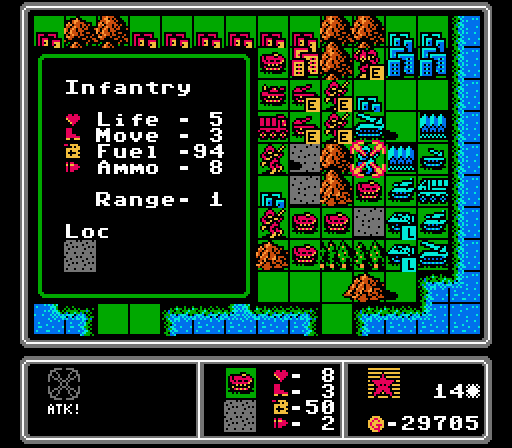
I move the supply truck down, and figure I might as well supply the infantry unit to the right while its there.
Apparently the "fuel" for the infantry unit is actually food. Neat.
The APC here is pretty hurt but it's still able to do another one damage to the rocket.
At this point it was getting late and I forget that I could win by just wiping out the enemy army. I was worried I would lose all my infantry and not be able to capture the HQ, so made a couple more here as well as a couple of APCs to ferry them ahead. And another medium tank for the hell of it.
On to the enemy phase again. The rocket once again harasses the capturing infantry, but only does one damage.
The artillery likewise attacks an infantry, also doing just one damage.
The tank is moderately more successful, doing three damage to the same infantry.
This damaged tank still has enough life left in it to finish off our crippled APC, but that's really all the fight that Blue Moon has left in them today.
Well they do manage to add a medium tank and an APC, but there are three rockets ready to tear them apart already.
Turn 17
Rocket 1 is just barely unable to get rid of this tank, leaving it with one life.
Rockets 2 and 3 both go after the medium tank, collectively dealing six damage.
One artillery does three damage to this APC, while the other finishes off one of the tanks.
That attack frees up our medium tank to move in and finish off the enemy medium tank before it can even take a turn.

Finally, the rocket is eliminated by our tank, and an APC is able to get in to destroy the last enemy tank.
I sent in an infantry to try and do some damage to the artillery, but it just does nothing again. At least it's blocking a base I suppose.
For some reason I bother to load up the infantry into the APCs back at our HQ.
The enemy artillery is still being a nuisance and does three damage to our medium tank here. But that and an attack by the APC on one of our infantry is all of the attacks on the enemy phase.
I'm sure that new mech will really turn the tides.
Turn 18
Let's see if we can wrap this map up here. First a rocket gets the APC down to just one life remaining.
Then the artillery, a rocket, and an APC all team up to take out the mech.
The last rocket strikes the enemy artillery, and after our APC moves out of the way, our tank gets in to finally finish off the pesky artillery.
I send in an infantry to capture the HQ mostly to get it out of the way, but I also just noticed that the animation is different. We aren't really capturing the HQ so much as blowing it up.
The medium tank gets rid of the APC here, but I've got no one left to go after the supply truck. At least it can't attack us.
My punishment for being unable to finish the map this turn is getting another tank to play with. Yay.
Turn 19
The rockets and artillery are enough to take care of the tank.
The first medium tank somehow only does seven damage to the supply truck, but luckily I have a second one available.
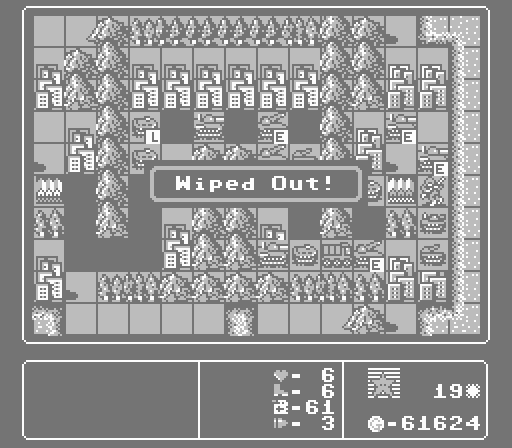
With that, Blue Moon is officially "Wiped Out", giving the victory to Red Star!
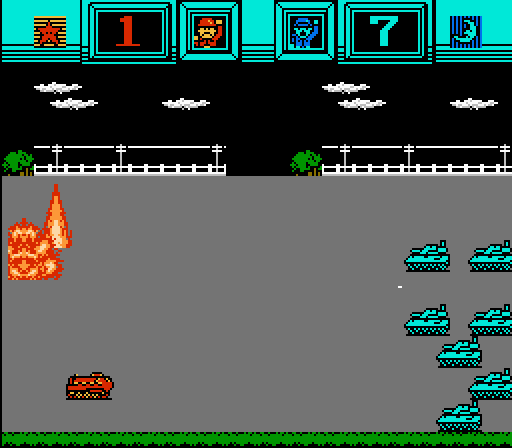
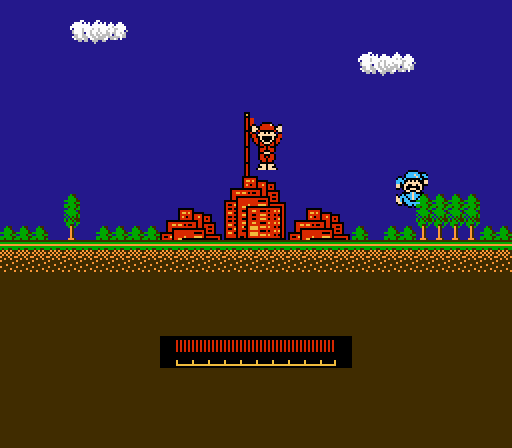
Music: Stage Clear
I'm not sure if this animation is celebrating taking the enemy HQ or if everyone is partying back at our HQ.

Music: Battle Results
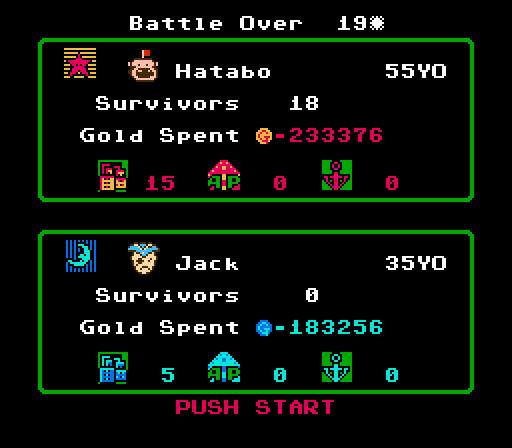
Finished in 19 turns, which is apparently slightly better than average. Given the new discoveries in the first map here, I suppose I'll take it. We also get to see who the commanders were for each army. 55-year-old Hatabo, who looks something like a Jawa, defeats 35-year-old pirate Jack. We can also see other information like final army and building counts, and how much gold was spent by each player. Oh hey it really is just called "gold".
Edit: Blaze Dragon pointed out where Hatabo comes from:
Blaze Dragon posted:
Hatabo is a reference to Osomatsu-kun, an old manga that got several adaptations. Hatabo is a character there.

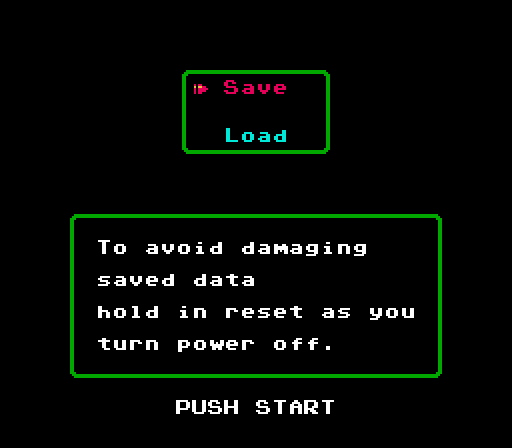
With one map cleared, we get prompted to save, but we don't actually have to power down this time.
Back on the map selection screen, a victory fanfare plays (not part of the playlist I found) as the map darkens and displays the winning army and how many turns were needed to win.
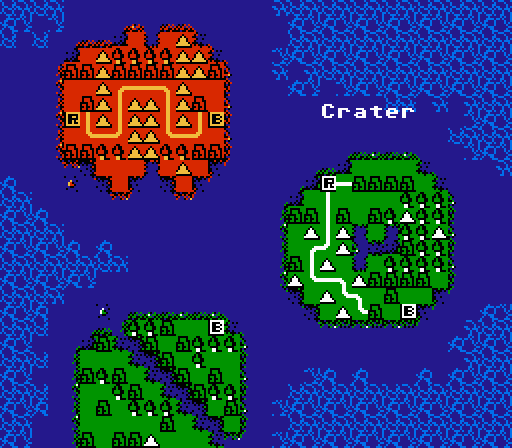
Next time we'll be taking on the "Crater" map. But first we have to decide on the next challenge! Feel free to offer your own ideas for future challenges, but for the next map we'll be doing a Permanent Lock challenge. One unit will be completely unavailable to us next map. Which one, you ask? Why, you get to pick! (Don't hold back!)