Part 9: Triangle (2 of 3)
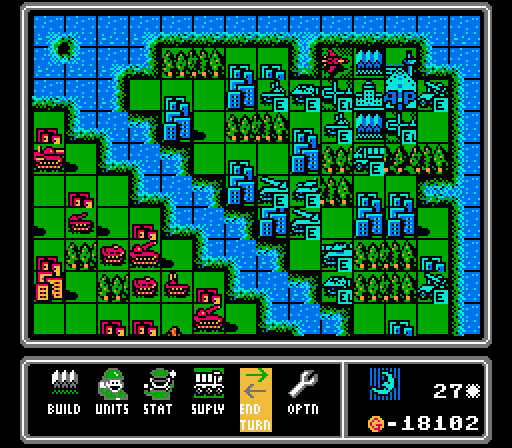
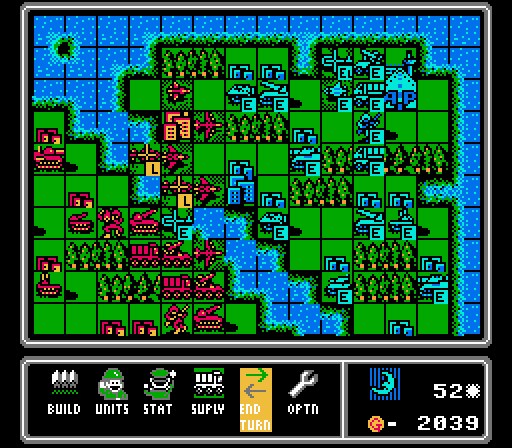
Part 9: Triangle (2 of 3)Turn 22
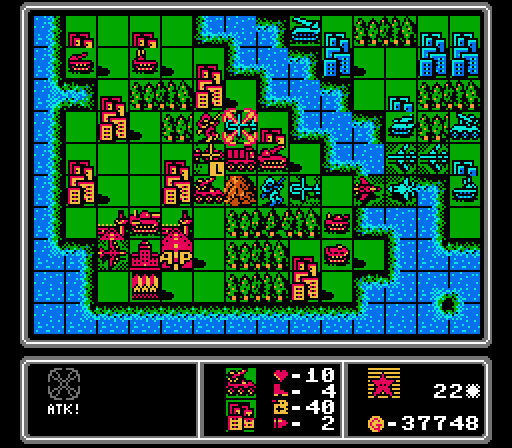
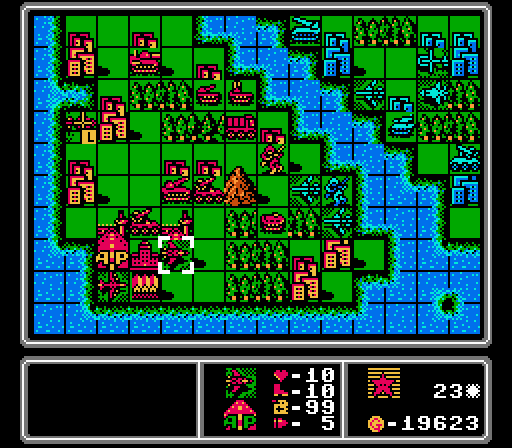
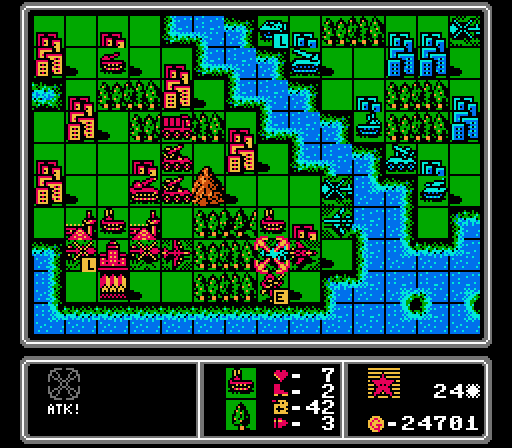
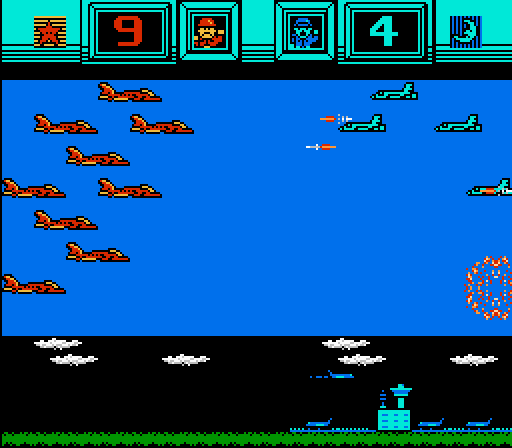
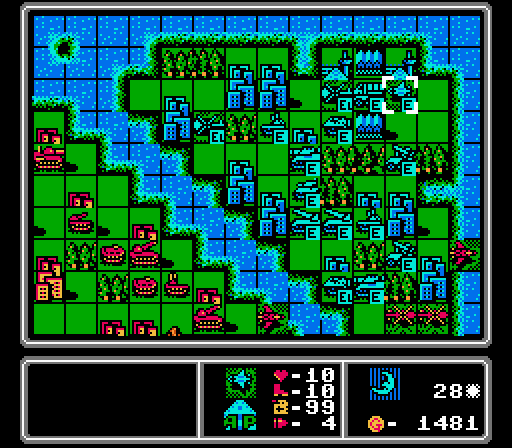
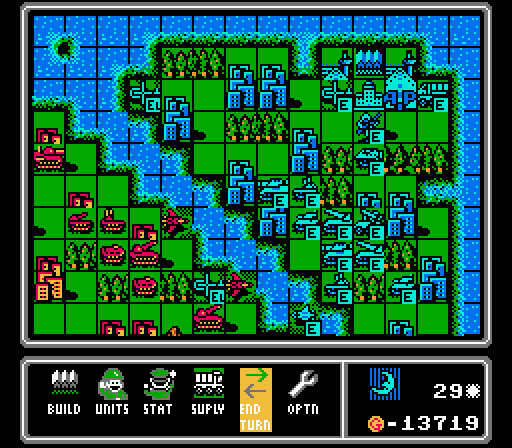
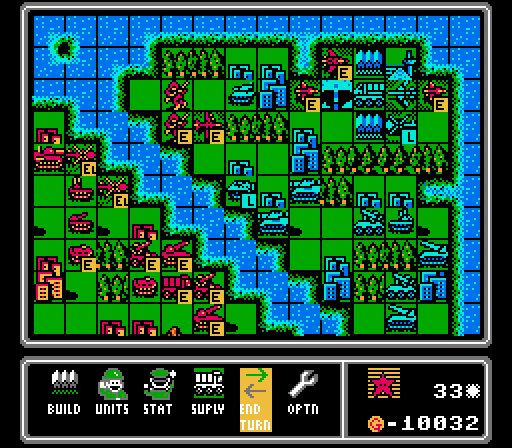
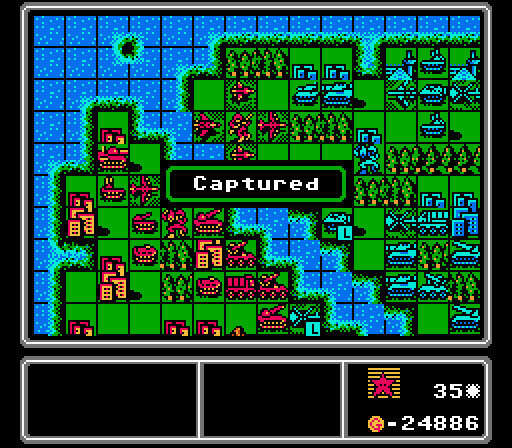
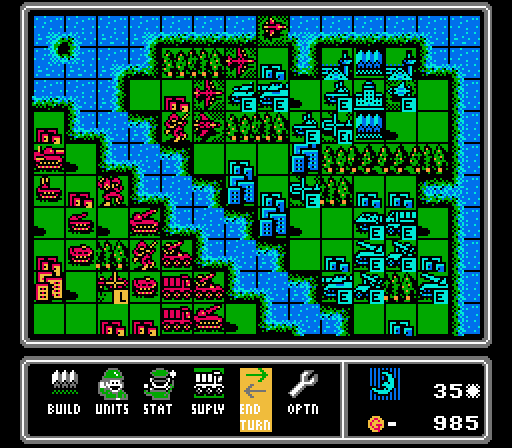
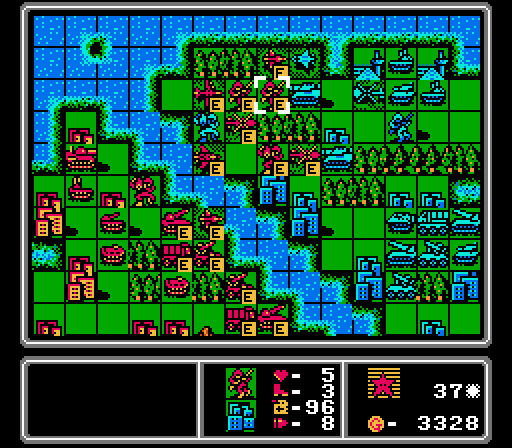
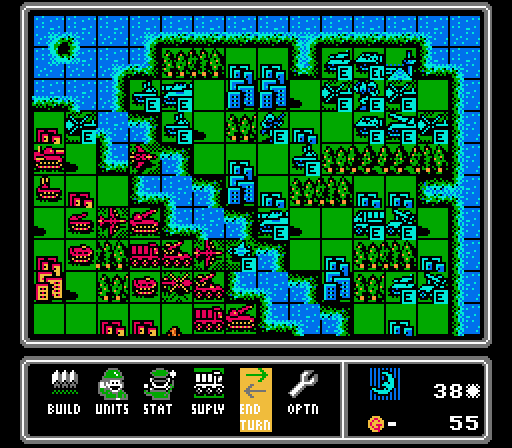
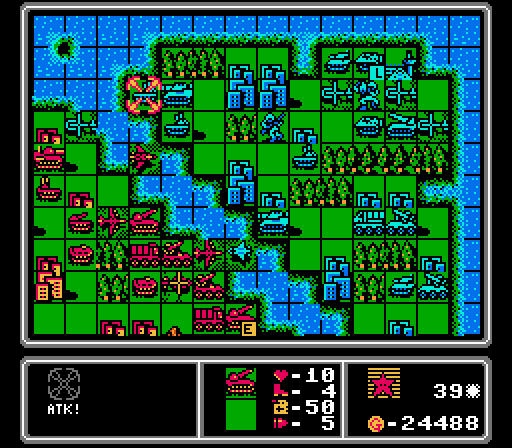
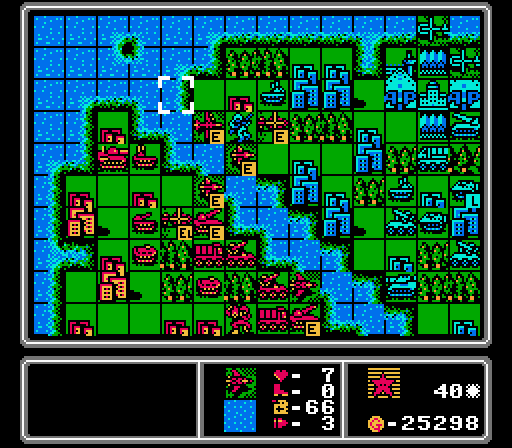
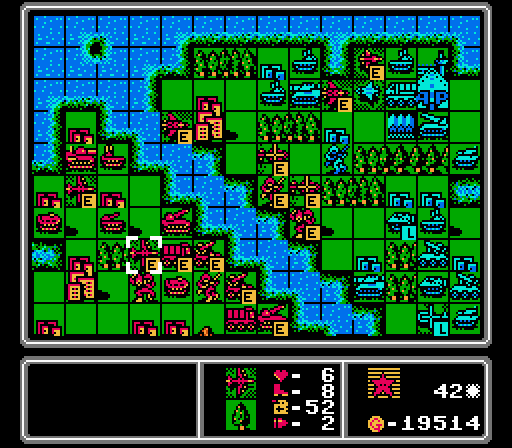
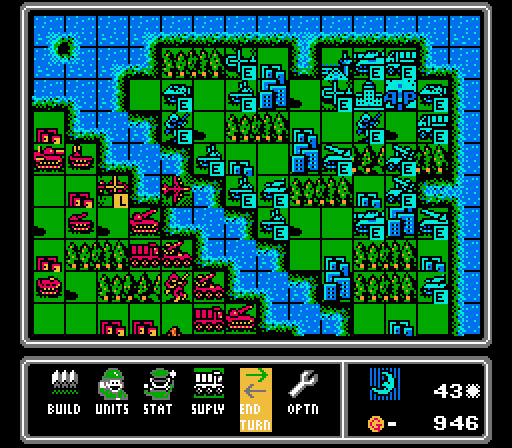
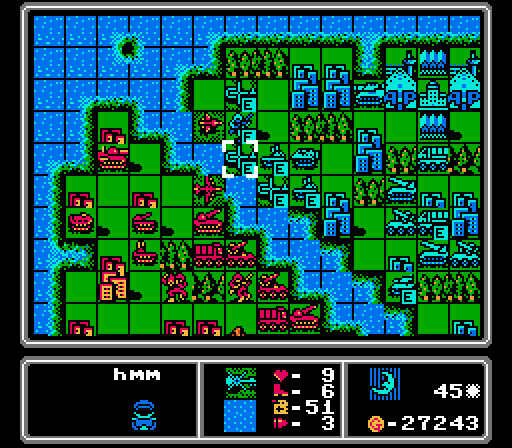
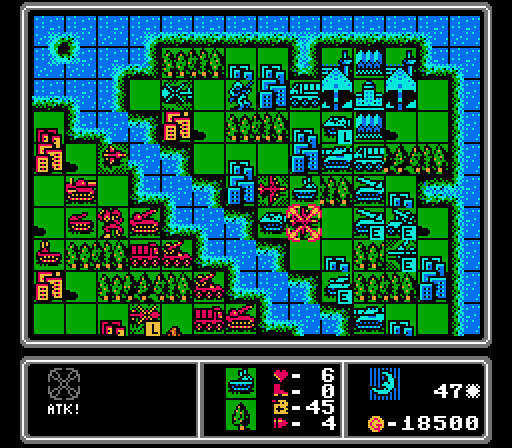
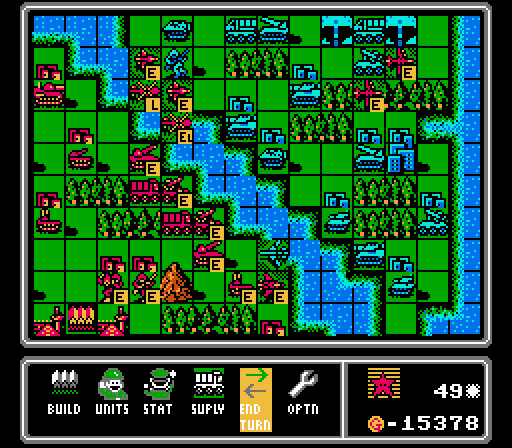
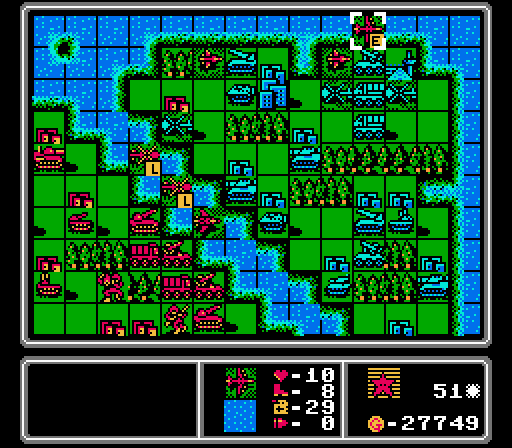
Ok, we left of with finally capturing all of the cities on our triangle. Time to try out some offense; but first we have to deal with the current invaders. First our AA missile and AA tank team up to take out this copter.
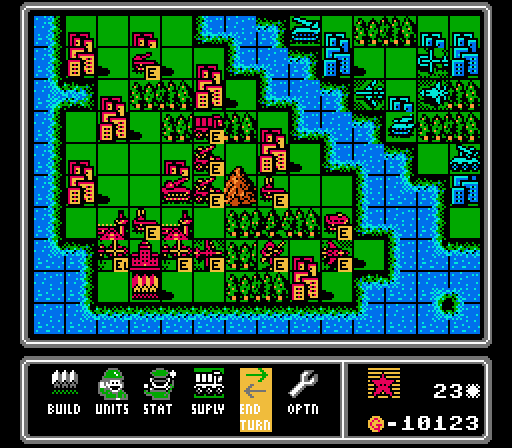
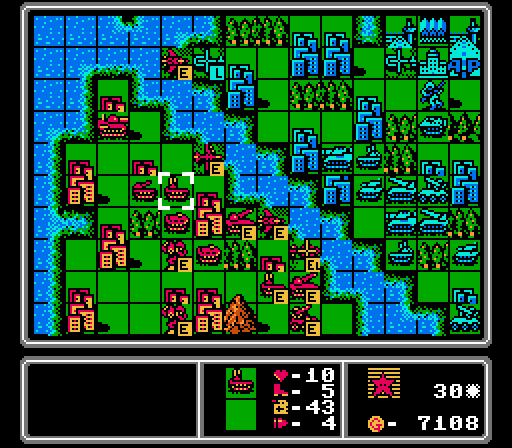
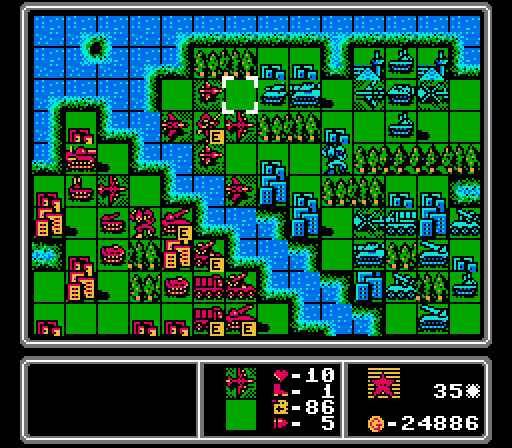
Our tank is able to finish off the other damaged copter, while our APC and infantry weaken the enemy infantry. I can't do much against the enemy planes coming in; we're just going to have to take the hit and get the bomber and loaded copter out of the way.
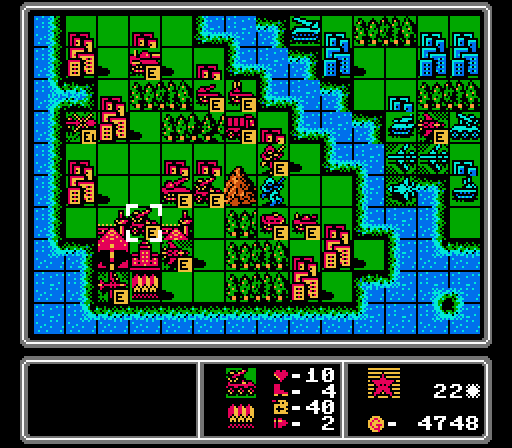
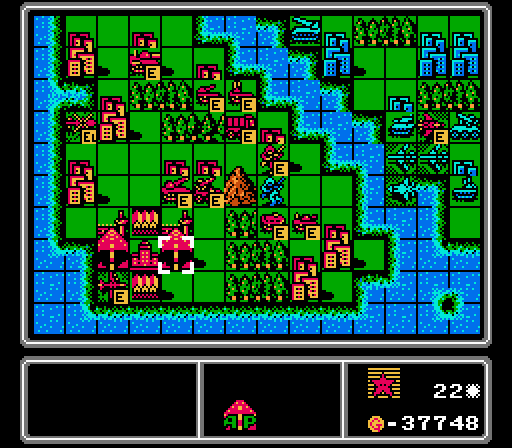
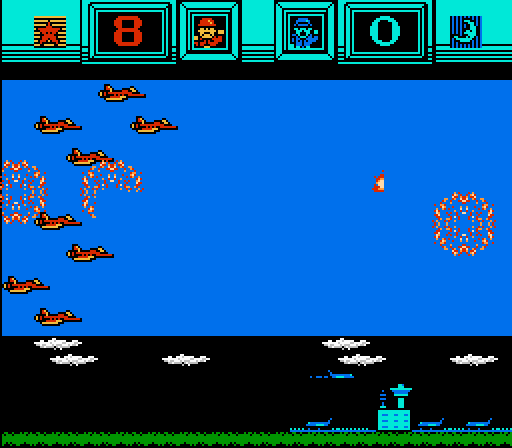
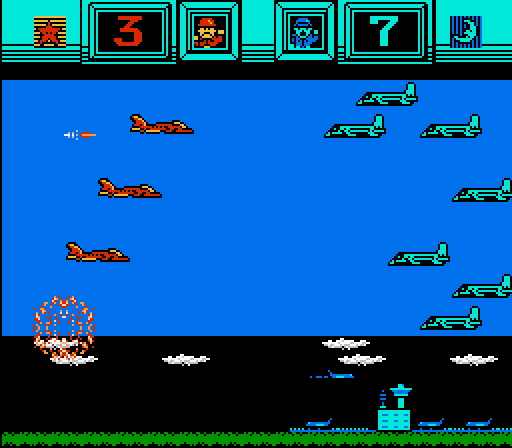
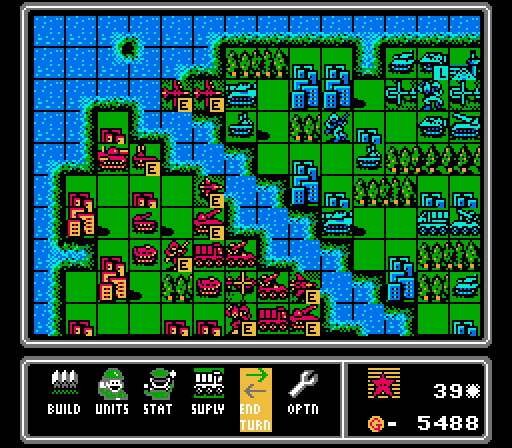
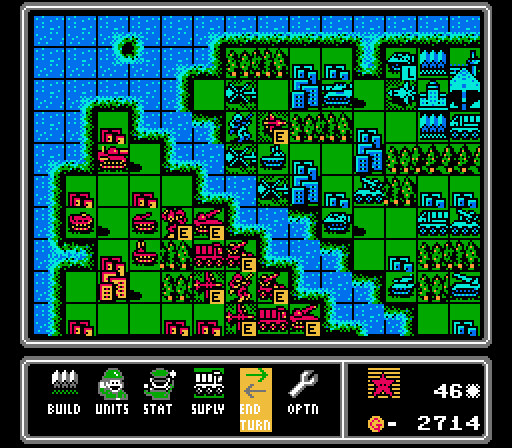
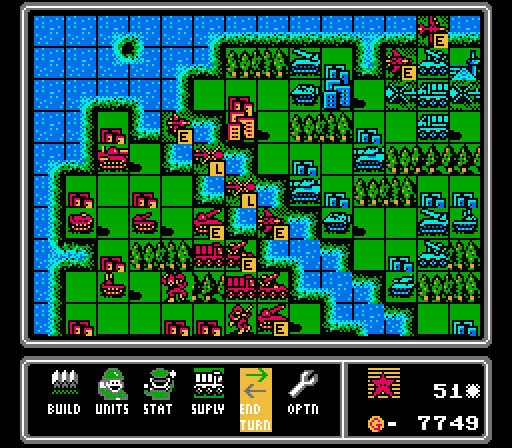
We're modifying the original challenge. Now that we've secured the supply lines on our own triangle by capturing every city, our Limited Supply is expanded to two instances of each unit deployed at the same time. So we get another fighter and another AA missile to deal with our more immediate problems.
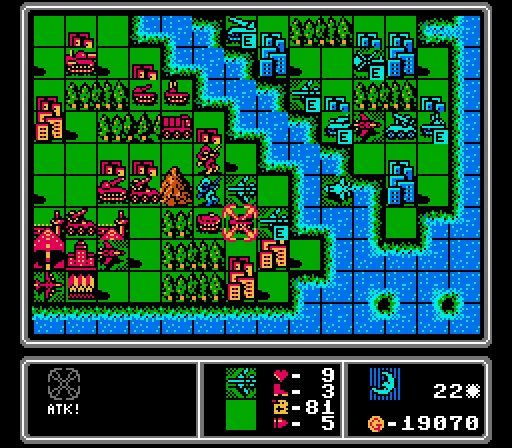
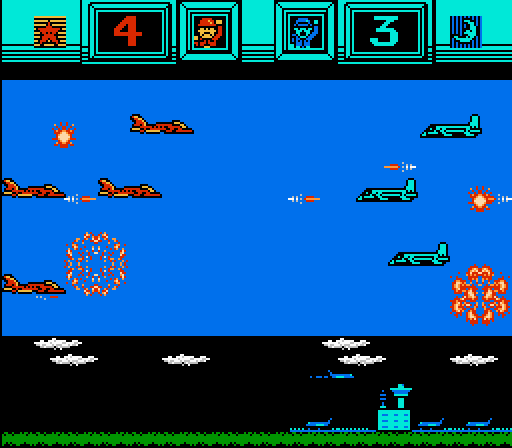
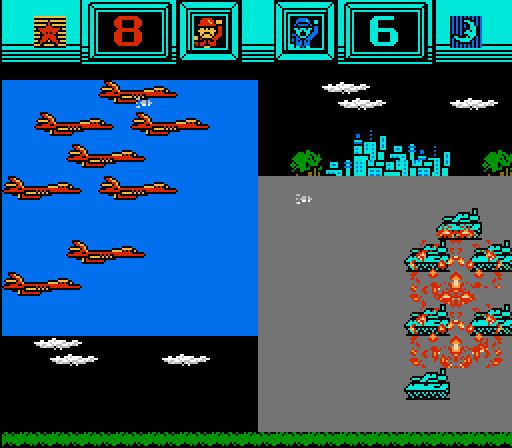
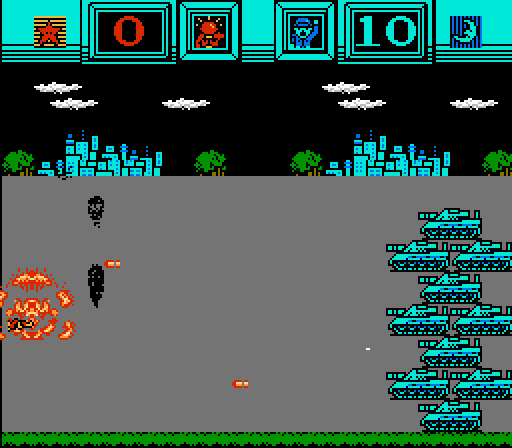
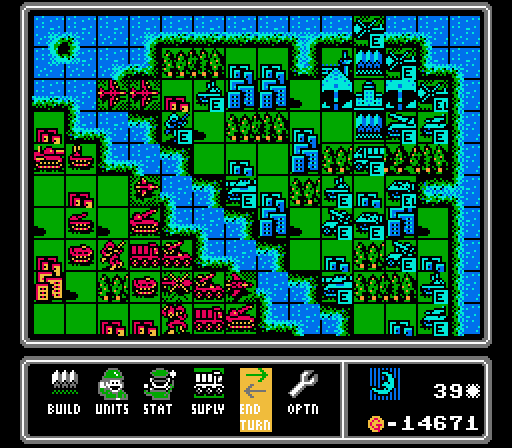
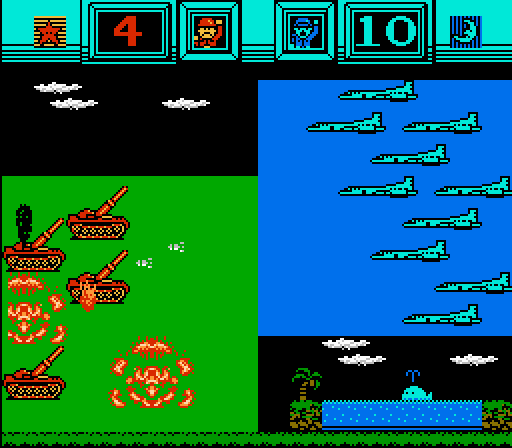
The bombers team up to take out our tank, which is really the best case scenario for us.
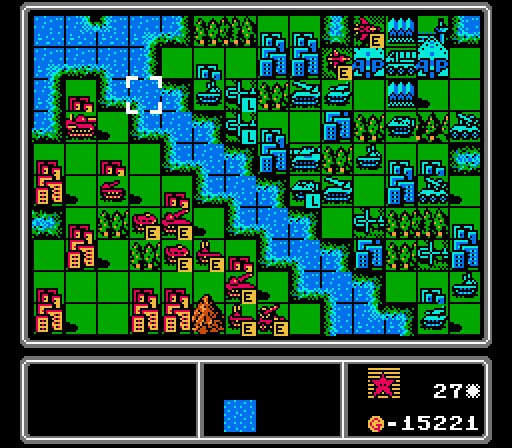
Turn 23
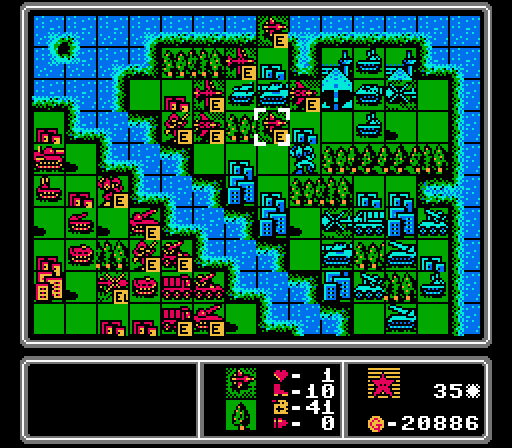
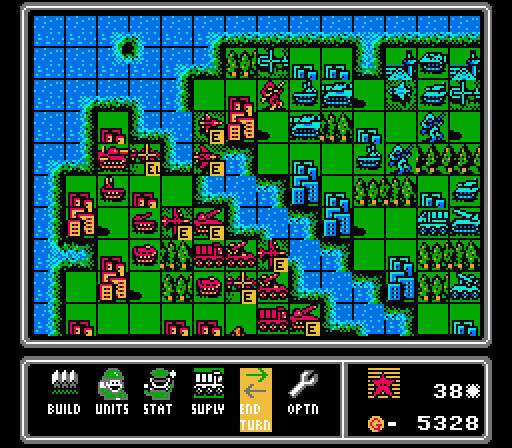
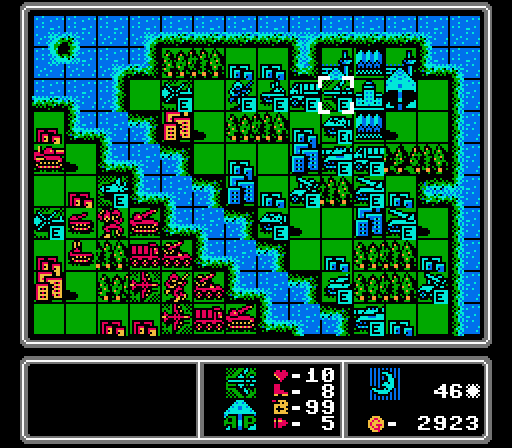
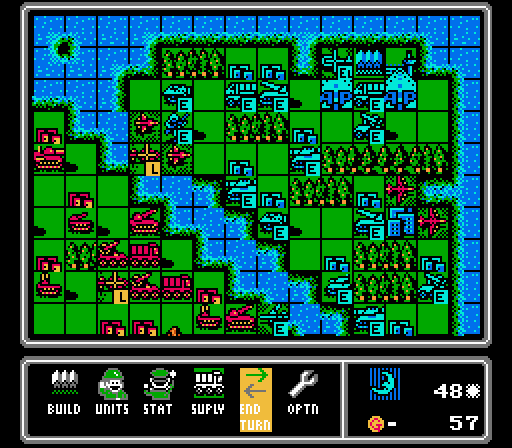
From here, protecting our own triangle is a little bit easier, as our extra fighter and AA missile are able to help take down the bombers.
A second copter will help with getting our ground troops ferried over more effectively, and second AA tank will increase our defensive coverage.
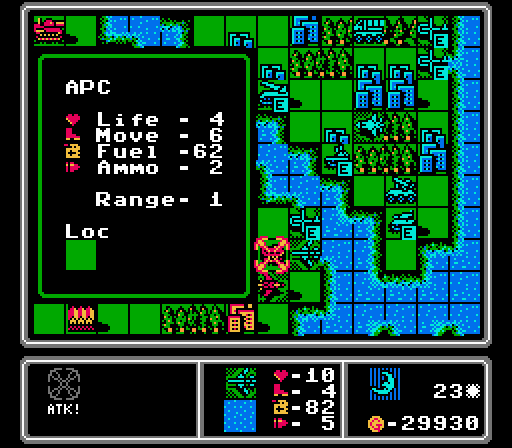
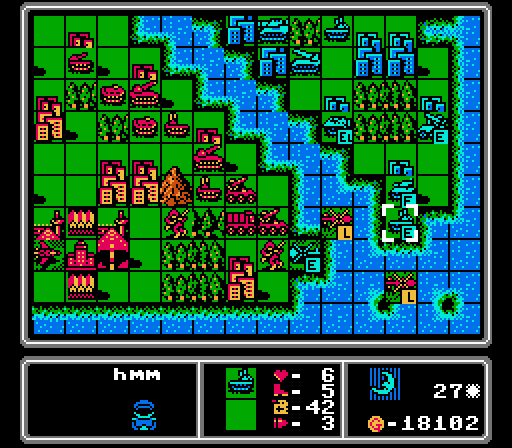
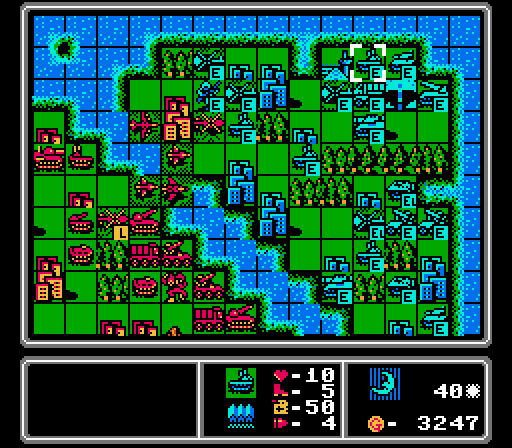
The only action on the enemy phase is the last bomber moving up to take out our APC. It's out of the AA missile's protection, however, so our fighter can make quick work of it.
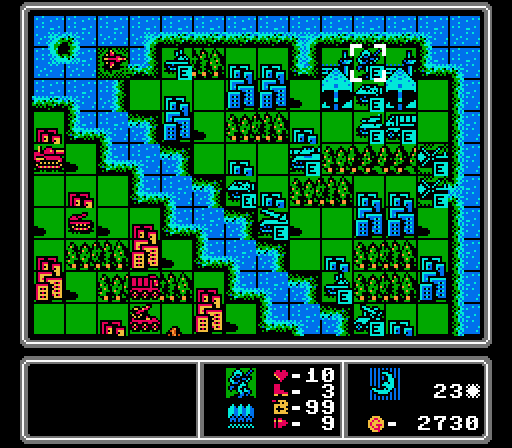
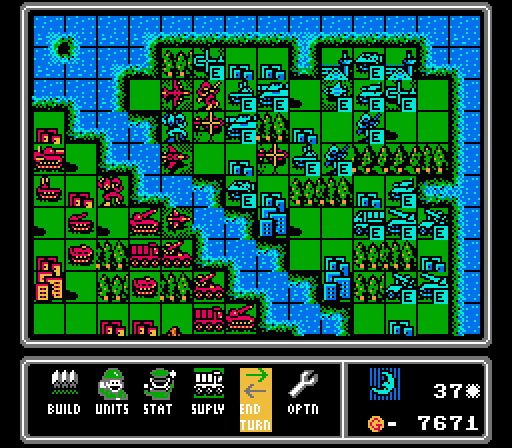
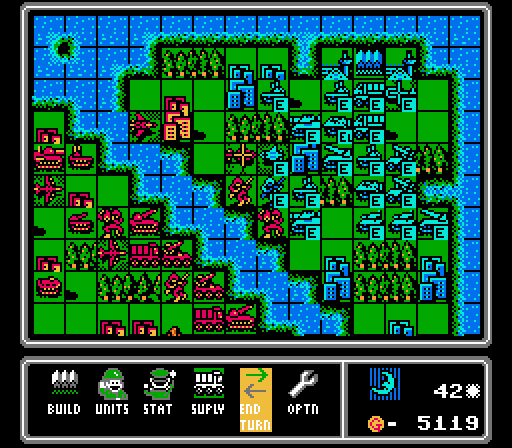
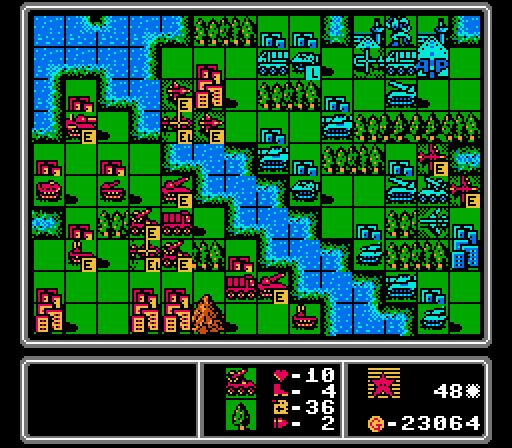
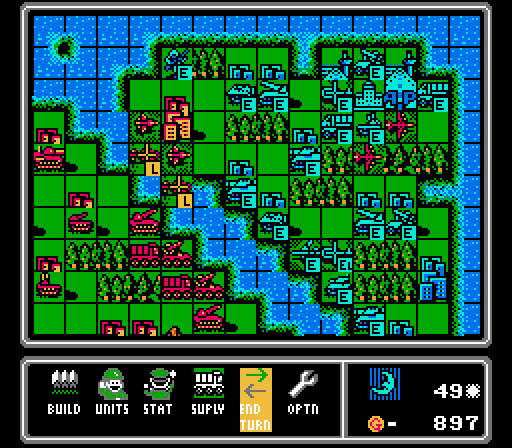
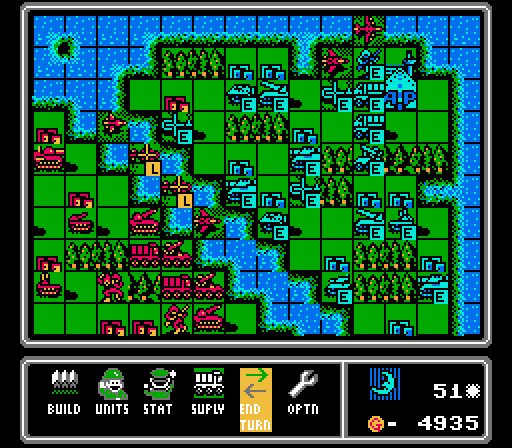
Blue is building more ground units this time, almost like they know I'm coming for them.
Turn 24
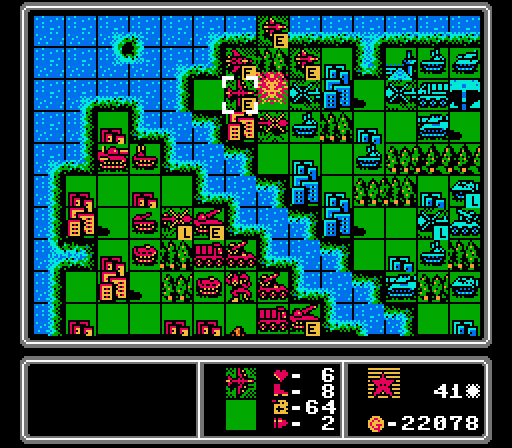
The enemy fighter came back down to harass our infantry, but that movement just put it in range for our AA tank to finish it off. Our fighter also destroys the bomber, but is going to take a hit from the AA missile, which moved up without my noticing.

We get another fighter out, which is good because our other fighter is taking a shot from the AA missile here.
Turn 25

The bomber gets some revenge on the AA missile. For some reason we only do five damage here, even though the wiki says a bomber should do 6-7 damage against an AA missile on neutral terrain. In fact I've noticed enough instances on this map where we do just a bit less daamge than expected, and take a bit more damage than expected, that I expect there's a little random factor in the AI's favor on hard mode. That would explain why every fight that would otherwise be even (two identical units, or a bomber vs an AA tank) almost always ends with us taking more damage, too.

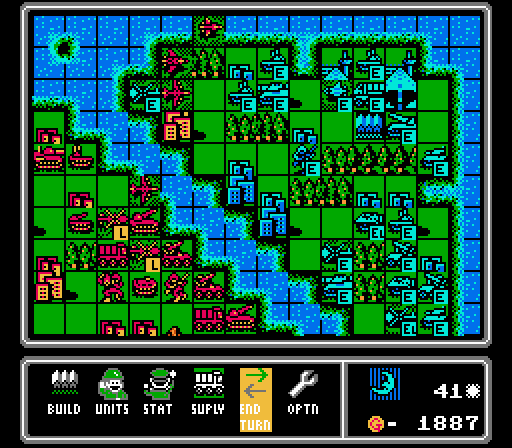
A second rocket to put pressure on the Blue shoreline is our next priority. Our scout goes back to refuel, and our damaged fighter moves back for repairs.
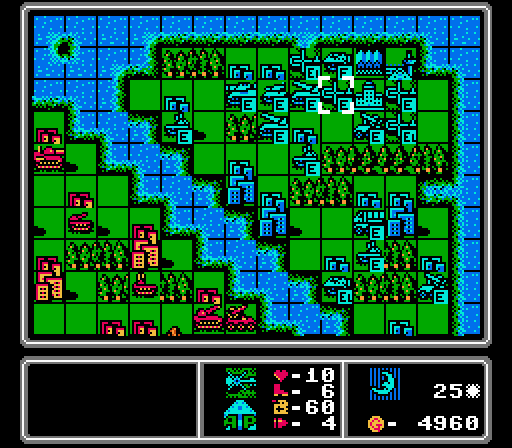
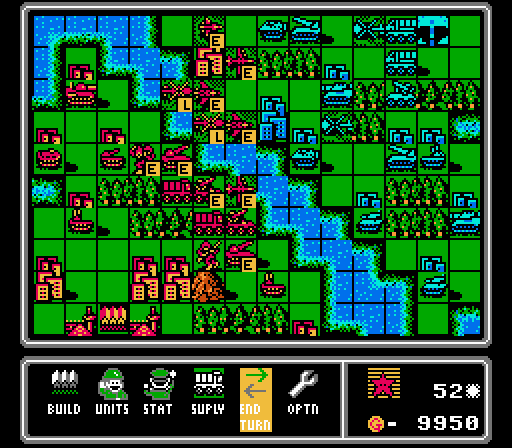
We've got enough defensive and anti-air firepower in particular that Blue isn't really bothering with planes much anymore. That's to our detriment, however; it's going to be tough to dislodge all that equipment up there. In particular there are two rockets, two AA missiles, three AA tanks, a medium tank, a tank, a couple APCs, and four copters. Enough to tear apart any planes and footsoldiers we send over.
Turn 26
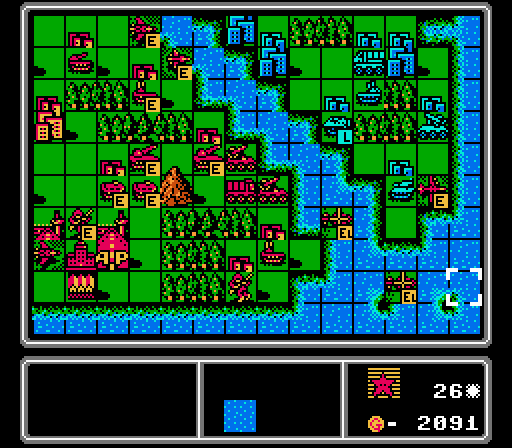
We try to stay aggressive with the bomber but I mis-calculated the AA tank's range here. Our copters are in range to drop off their loads, and we add a couple of APCs back home to fend off any encroaching footsoldiers.
The main actions of note on the enemy phase are our bomber almost getting destroyed, and a new enemy scout getting built.
Turn 27
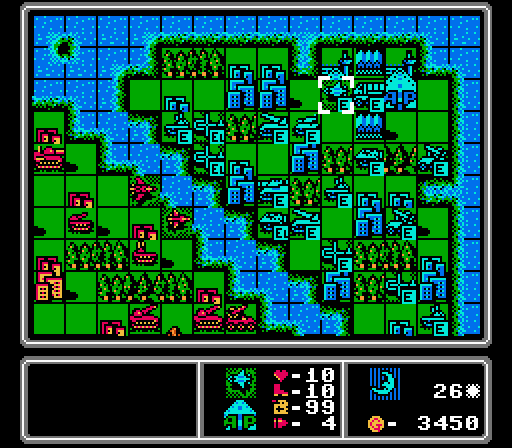
There isn't much for our fighters and scouts to do anyway so I send them deep into enemy territory to take out the new enemy scout.
I suicide our bomber but don't build anything, trying to save up for more bombers. In retrospect throwing away the fighter and scout up there was probably not a cost-efficient move.
One enemy copter killed itself on our copter, while the other goes after the loose infantry again.
Our scout fell to the AA tank, but our fighter was able to escape unharmed.
Turn 28
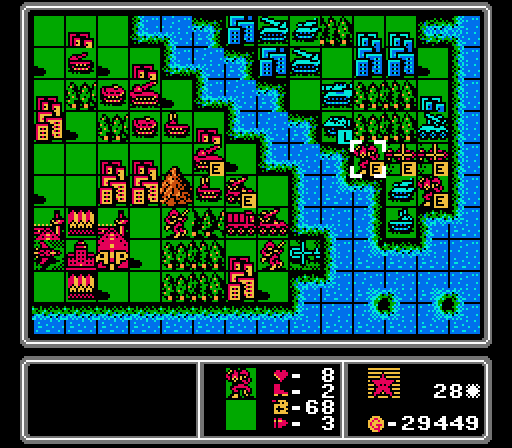
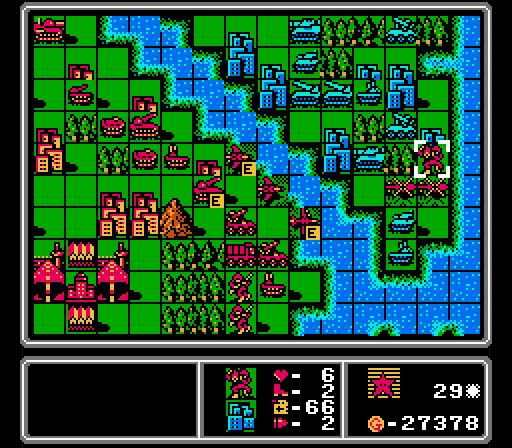
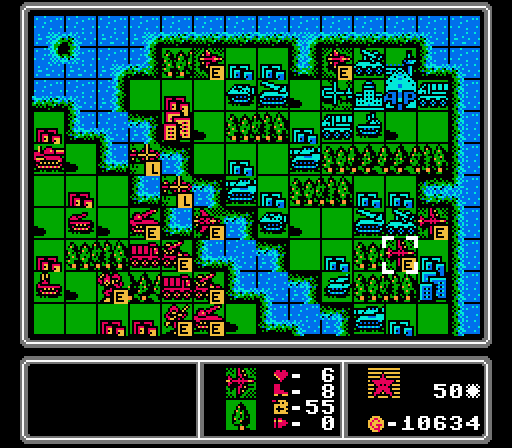
Assault #1 with a couple of mechs. While I got both copters inside the AA missile's minimum range, I wasn't as careful with the mechs. Can anyone spot the immediate problems we're doing to have?
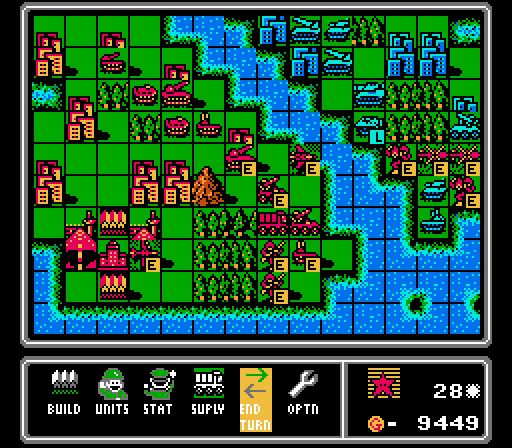
Our advance figher retreated to the far right, next to the enemy AA missile. We've got another fighter coming up to support/distract, and built a new bomber.
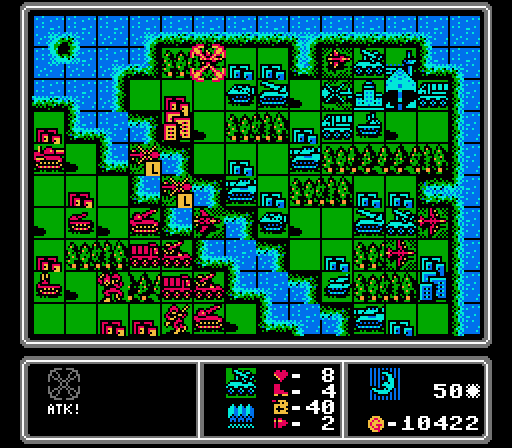
One mech was in range of both a rocket and a medium tank and didn't live through the enemy phase. The other just took a hit from the tank on the city. A tank we have no way to dislodge right now.
There's also another enemy scout now.
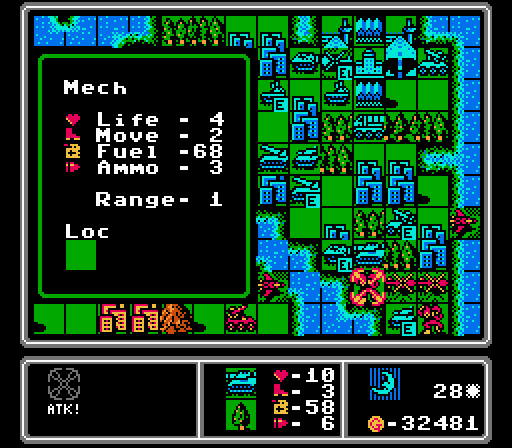
Turn 29
I futilely have the mech start capturing the nearby city. It's still going to get hit by a rocket and a medium tank on the enemy phase.
We get another new bomber and pull our copters back, abandoning the mech to its fate.
I'm still under-estimating the range of enemy planes, and it cost our bomber seven damage here.
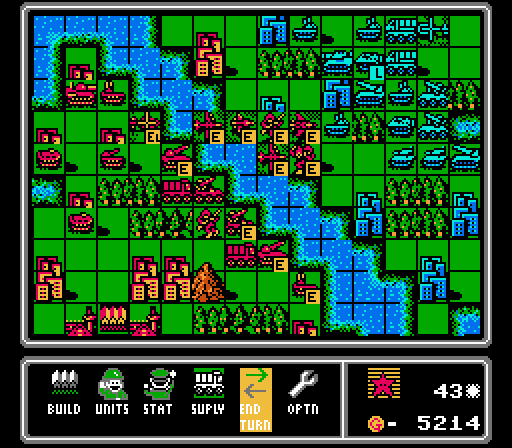
Blue didn't even need to use the medium tank to finish off our mech. Look at that cluster of units lumped up in the middle. In fact, I'm getting an idea about how unprotected the upper-left part of Blue's triangle is right now.
Turn 30
Here comes Assault #2. We start moving back towards the top of the map, and get another scout off-screen. Our AA missiles, AA tanks, and fighters clear out the enemy copters and scout in the area.

An enemy fighter this time, but not much else going on this enemy phase.
Turn 31
This fight started off with our 9-life fighter against the new enemy fighter. Should not have been this lopsided.
Here we had our other fighter at 8 life attack the same enemy fighter, with four damage on each side this time. Should have been a bit more in our favor.
We're able to drop off an infantry and make quick work of the enemy AA tank that was nearby. Though I left one of our rockets in range of an enemy rocket, that'll hurt later. Our defensives forces are also able to finish off the enemy copter and mech that had landed on our triangle, too.
We take some hits from the enemy copters but there is enough distractions around that our assault lives through the first turn.
Turn 32
Here's a formation that Advance Wars veterans may recognize - vulnerable ground units protected by air units, who somehow block off the enemy ground units from approaching.
It's mostly successful, though a copter slips through for a couple of damage. Note the new bomber on the enemy airport, too.
Turn 33
I sent forth our planes to finish off the enemy fighter and damage the new bomber. I'm still leaving our bomber screening the now-capturing infantry (40% complete).

The bomber and tank are able to take out one of our infantry, but the other is left untouched. An AA tank got all the way back to hit one of our scouts, too.
Turn 34
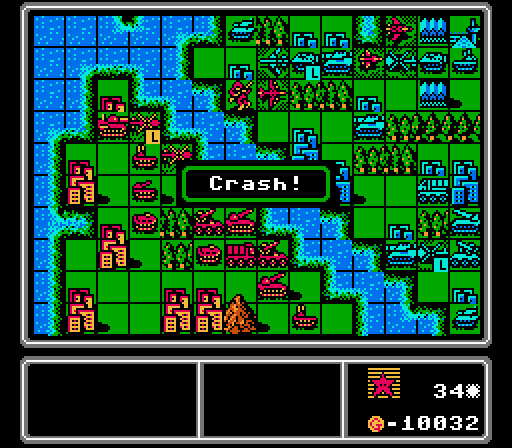
Here's what happens when an air unit runs out of fuel at the start of your turn. It crashes, destroying it. In this case the mech our copter was carrying is also destroyed. I'd almost gotten the mech reinforcements across the river, too.
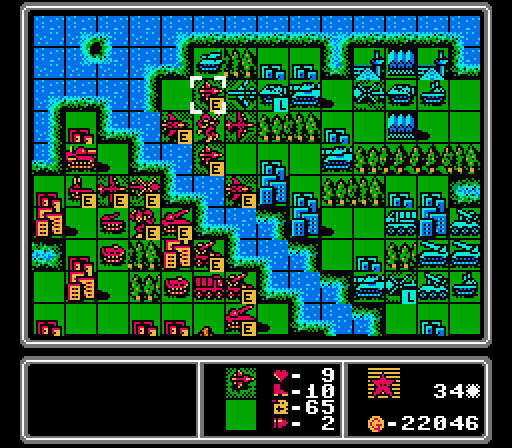
I've still got one scout at almost full strength that is able to come back and nearly destroy the bomber here. Our other air units gather around in their protective formation, as the city capture reaches 80% completion.
There's a new copter and a new AA tank but Blue can't break through our air formation this turn.
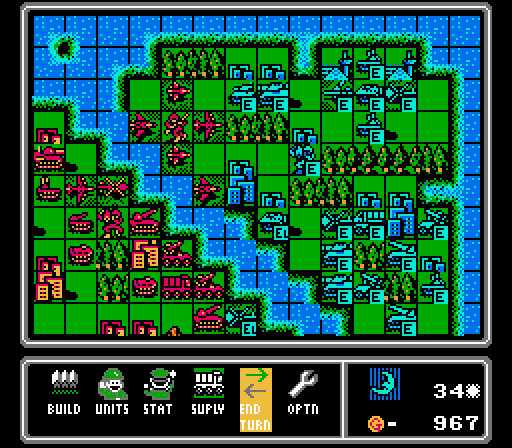
Turn 35
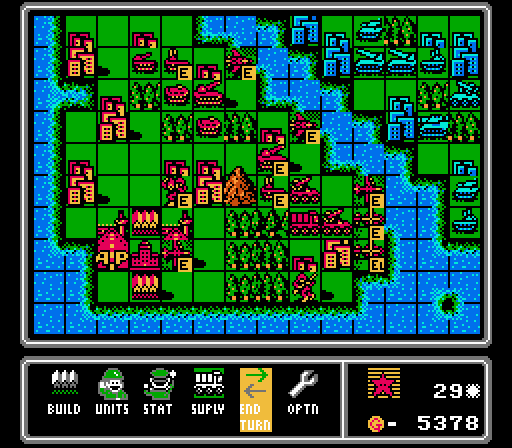
Well, that's it, we can all go home now, right? Surely the rest of the map will fall like dominoes now.
In reality, the next phase of the assault has a couple of challenges. We have to get closer to the enemy units, and further away from our own (particularly our rockets, who provide great covering fire across the river).
Our bombers are our only real offensive option in enemy territory, and they have a hard time doing enough damage to vehicles on cities to overcome both the defensive bonus and the repairs on the enemy phase.
We've got a couple of weakened planes that aren't good for much more than blocking but we'll see how this goes.
They soaked up the attacks from the two AA tanks nearby, but there's another enemy scout added into the mix as well now.
Turn 36
I probably should've retreated to consolidate our gains, but instead threw away our planes to take out a tank, weaken a scout, and weaken a copter. All to start a capture attempt that is likely doomed to failure.
We have enough funds to replace the fighter and scout that we just lost, but I've got four more planes at risk up there and our cash flow isn't really that good yet.
The AA tanks take down our fighter, and the damaged scout is able to destroy our weakened bomber. The medium tank fires on our capturing infantry, and we suddenly have an enemy mech looking to take back the city we captured already.
Turn 37
The enemy mech is brought down to two life with a few attacks. If our capturing infantry can live through the enemy phase, I actually have a shot at capturing that city, thanks to the reinforcements that just landed. That infantry lost half its life to the medium tank the first time, but maybe it'll get lucky this time?
Haha yeah no, this map hates me. This turn serves as your friendly reminder that medium tanks are as effective against infantry (and mechs) as APCs; they're just a lot more expensive.
Our mech didn't even survive one turn, and there's an AA tank squatting on the city we were just trying to take. Those are even harder to remove than tanks. The enemy indirect units are all still clustered in the lower portion of the triangle, too. We're going to need a different approach here.
Turn 38
I can't rescue our remaining infantry but I can at least get most of our planes out of the way and finish off the enemy mech.
Thus ends our second assault. Though we at least managed to keep that captured city (for now).
Turn 39
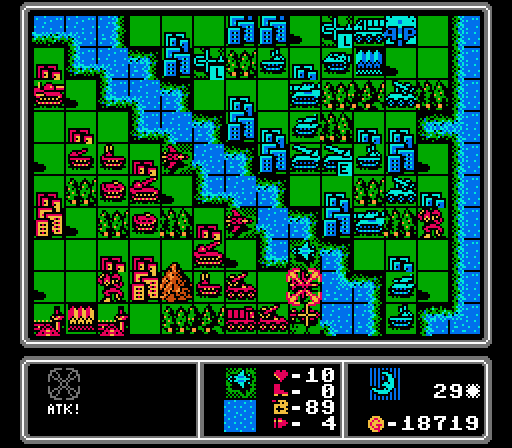
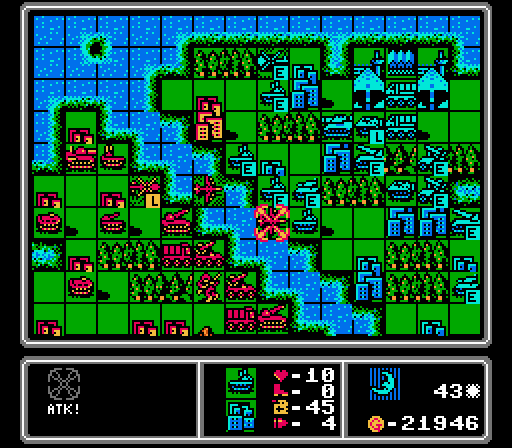
So I've come to the realization that we need to draw the enemy units in to the river to let our rockets help thin them out. Case in point, an easy six damage on this AA tank.
That lets our bombers in to finish off the AA tank and damage the medium tank. I'm hoping to draw out the other AA tank off the city so we can hurt it better next turn.
An infantry sneaks up to start capturing our hard-won city while the other enemy units retreat.
Turn 40
I once again have to send a mix of expensive air units to slow down the cheapest unit in the game. Our bombers are merged together so that we can buy a new one.
We don't face many attacks on the enemy phase, but there's a new medium tank and AA tank over there (among other things).
Turn 41
For some reason I thought it would be a good idea to have all my expensive planes stay exposed to the multiple AA tanks in the area, so that they can chase down copters and infantry. Stupid trade but I've lost my patience at this point.
Luckily the two AA tanks only combine to take out a scout, leaving the rest of our planes intact. Blue builds a new scout of their own, too.
Turn 42
I'm determined to throw good money after bad by sending a damaged fighter and scout to harass the new enemy scout. On the up side I actually managed to get our bombers out of its range for once, and there's a new wave of footsoldiers dropped off on a couple of river cities. Begin Assault #3!
The goal of the third assault is not really to take a city, though it would be nice if I lucked into that. Instead I want to draw out some of those ground units into rocket range. So far it's just that medium tank, and we lost three air units to get it. Not exactly a favorable trade but our footsoldiers are also still alive and excellent bait.
Turn 43
We successfully removed a medium tank, an infantry, and a scout. Though I left our fighter in AA missile range, oops. The enemy rockets also moved up and can fire on us, too.
Losing the infantry to the rockets and tank mean the AA tanks can move up to destroy our scout and bomber here. At least they're exposed to our own rocket fire now. So ends our third assault.
Oh good, another infantry to try and steal back our city, and another new medium tank.
Turn 44
The rockets and our remaining bomber remove one AA tank and damage another. I leave the bomber there just to draw out another AA tank - they're actually pretty closely matched on neutral ground.
I didn't really expect to lose the bomber there, but it got in a few hits of its own. That enemy infantry is halfway to taking back the city though.
Turn 45
Another AA tank destroyed. Meanwhile we send some air units to weaken the capturing infantry and delay it by a turn.
I intentionally sacrificed one of our loaded copters to hurt the capturing infantry and pull an AA tank off its city. I didn't expect the other one to then get blown up by two enemy copters that swooped in though.

You're too late fighter, I already threw away all my air units against your AA tanks.
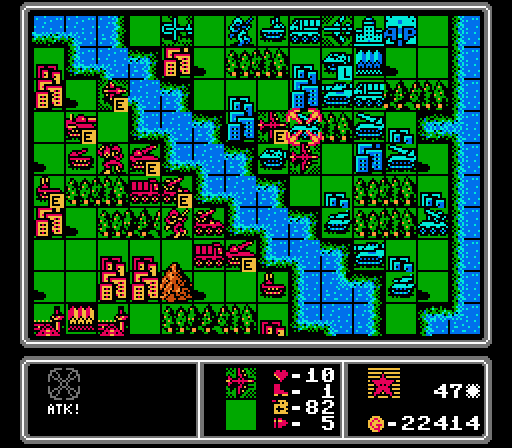
Turn 46
I moved the scout around to the other side of the city to leave room for another attacker, and then neglect to bring forward another attacker. Now the AA missile is going to get it. The AA tanks are neutralized at least - the only one left has just one life remaining.
Apparently Blue is comfortable throwing out expensive planes again. That's actually to our benefit since we have a much easier time getting rid of air units than ground units right now. For example, the enemy fighter flew ahead to attack a mech of all things, and is now vulnerable to both our AA missile and an AA tank.
Turn 47
After getting rid of the fighter and copter on our triangle, I realize that there only threats left against our bombers are the AA missiles. Both bombers combined are enough to take out one while staying out of range of the other. We're finally making some progress!
The last enemy AA tank, who is far less damaged than I thought, suicides on one of our bombers. I'll take that trade at this point. We have almost uncontested air superiority for a brief moment.

There's another new medium tank but that won't help much against bombers given free reign of the skies. That damaged infantry is back trying to capture our foothold again though.
Turn 48
The bombers can't quite finish off the other AA missile, but our scouts do take care of the infantry. I retreat our own AA missiles away from the enemy bomber. I probably should have sent the scouts after that bomber instead.
Particularly since the bomber was able to severely damage one of our rockets, who are central to our current offensive.
Another infantry is dropped off on the captured city, and a new AA missile pops out.
Turn 49
Our scouts once again soften up the infantry, our bombers go after the new AA missile, and we have a new fighter move out and cripple the enemy bomber.
There's a new AA tank in town so our bombers will have to be more careful now.
Turn 50
Our bombers have been so active that one is out of ammo and the other is about to be. Our scouts are running low as well so one finishes off the enemy infantry while the other harasses a helicopter. That AA tank can only get one of us!
If I'd just attacked the infantry from the other side, the scout wouldn't have been left in range of the now nearly-repaired AA missile. There's a lot to keep track of on this map and none of the helpful player aids of later games, but I've still made a lot of unforced errors like this one that keep slowing things down.
Turn 51
The AA tank destroyed our bomber that had run out of ammo, and our other bomber uses its last shot to not-quite-destroy the AA missile. I really should've focused on one of them instead of trying to weaken both - now they'll both get repaired. I don't think that bomber has enough fuel left to get back to one of our airports to reload and refuel, either.
Using our fighter against a copter isn't a great trade for us, but it can't be touched where it is anyway. We do get a new bomber, and merge together our scouts.
The two damaged AA missiles merged together which is a good result for us. I don't really have a good angle for another assault yet though.
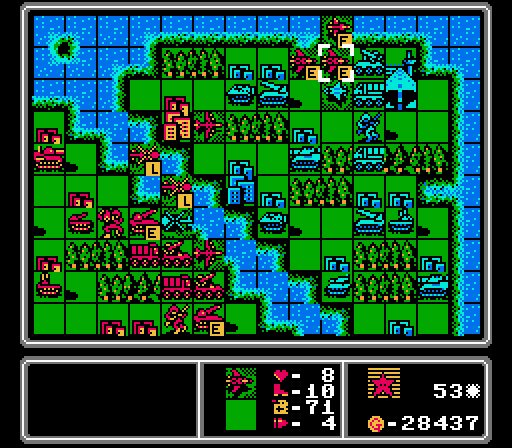
Turn 52
Time for another round of trying to bait more units into rocket range. We finished off another medium tank this turn. Off-screen we also picked up a new scout.
I let a copter sneak in to get in a hit on one of our loaded copters, and Blue built another scout, but otherwise not much else to report on the enemy phase.
Turn 53
I send a scout and a couple fighters out to take out a copter and weaken the new scout. Still not a great trade but that's really all they can do anyway.
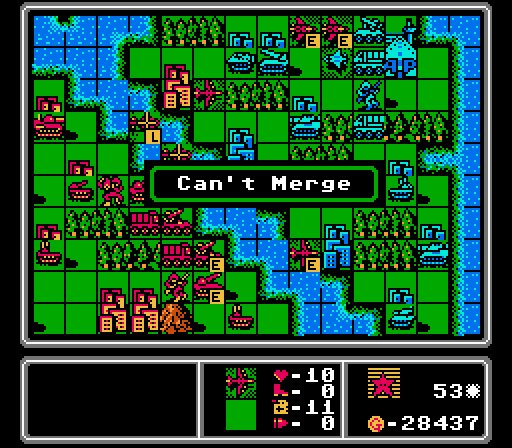
I move a fresh bomber up partly to destroy an enemy tank, but mostly to try and give our ammo-less bomber a place to merge into. However since both bombers are undamaged they can't be merged together.
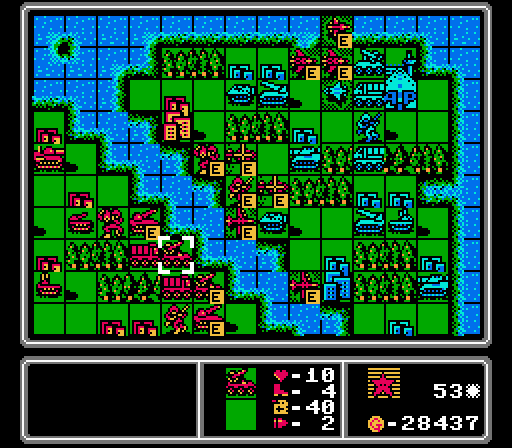
Here comes Assault #4. Both enemy rockets can cover the two middle river cities so it might not be a long assault.

The mech doesn't make it through the enemy phase, but our bomber is untouched and both copters lived. Better than I expected, really.
We've now put in another 30+ turns on this map, and while we've made some progress this time, it's still excruciatingly slow going. I needed to take another break at this point because my hard drive filled up recording this update. So I've gotten it all written up in advance here so I could clear out those videos and continue recording! Thankfully the next recording session went a bit smoother, but we'll see that next time!