Part 10: Triangle (3 of 3)
Part 10: Triangle (3 of 3)All right, let's get this shit over with.
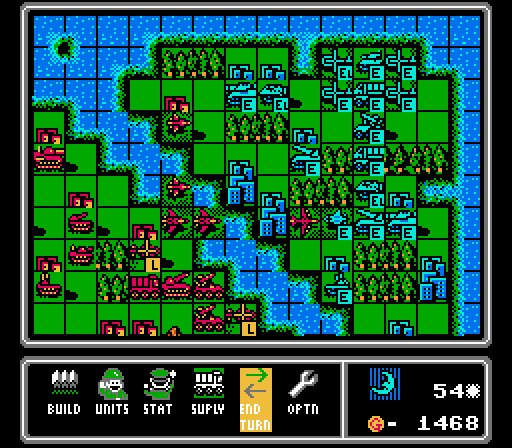
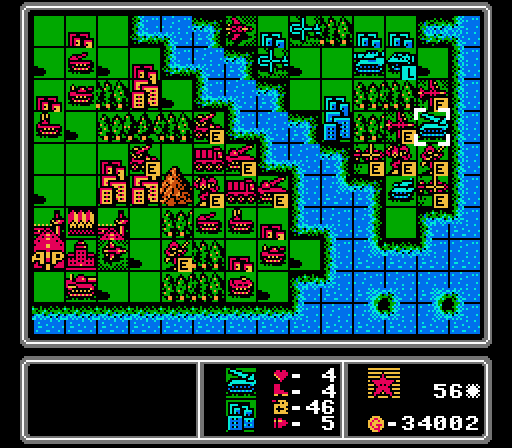
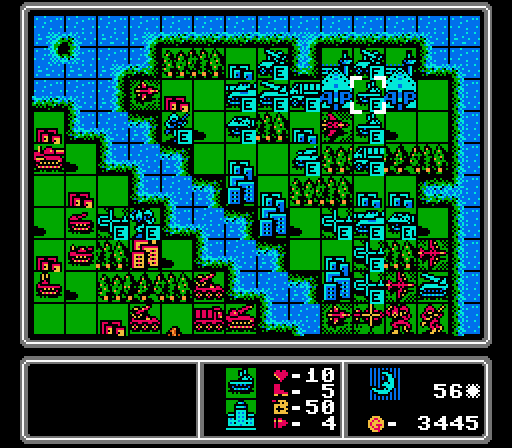
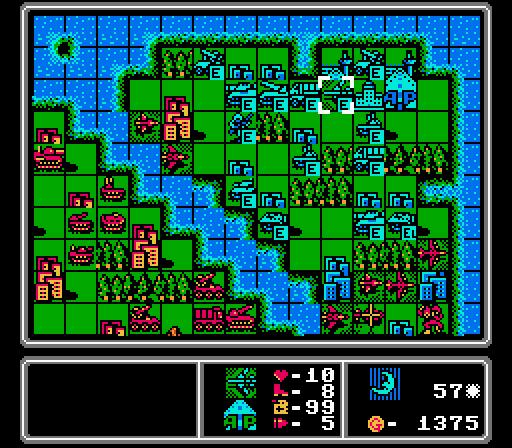
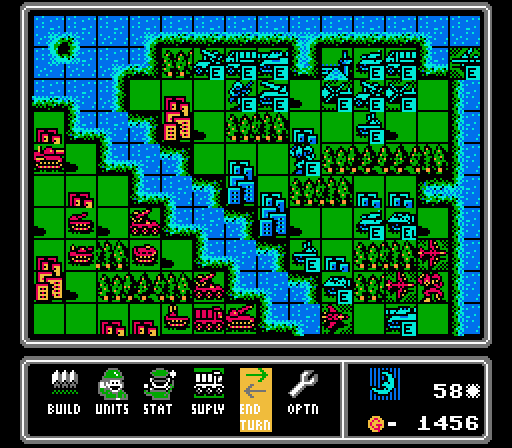
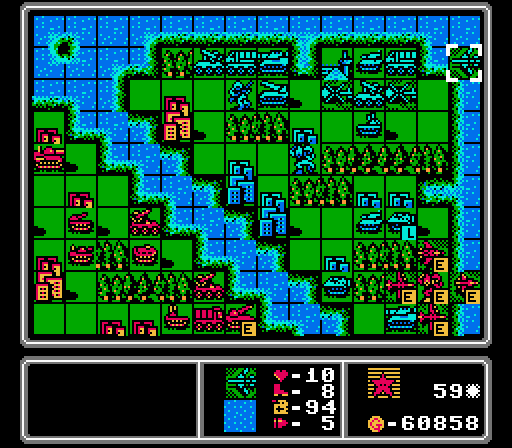
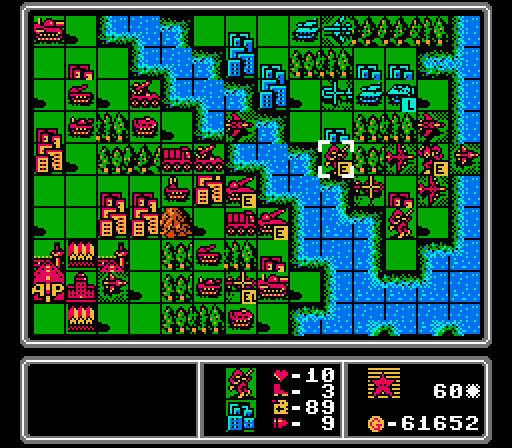
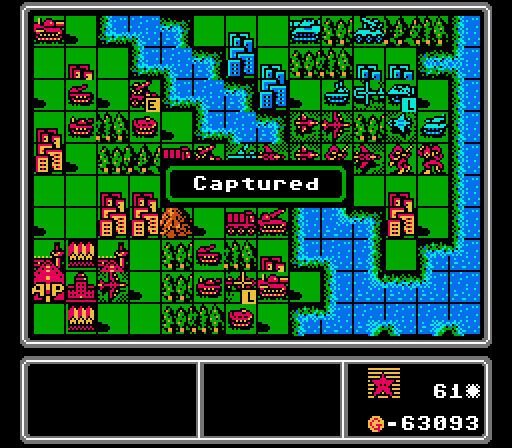
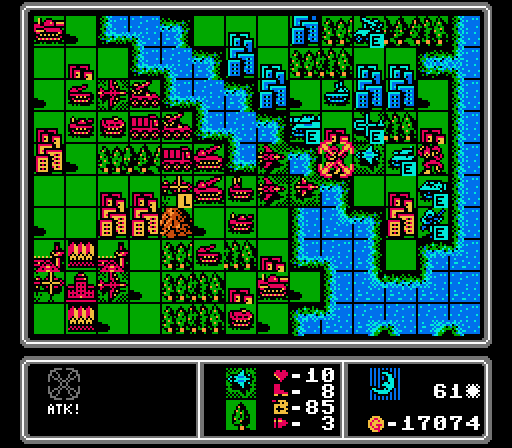
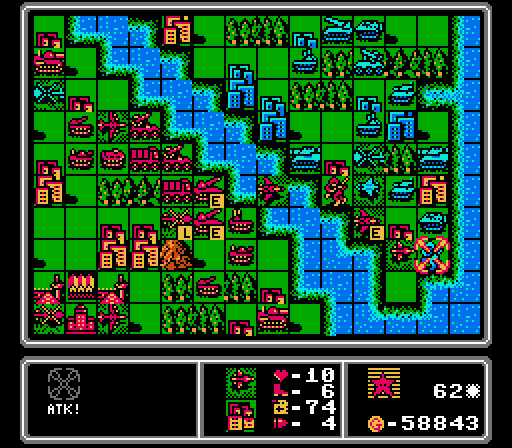
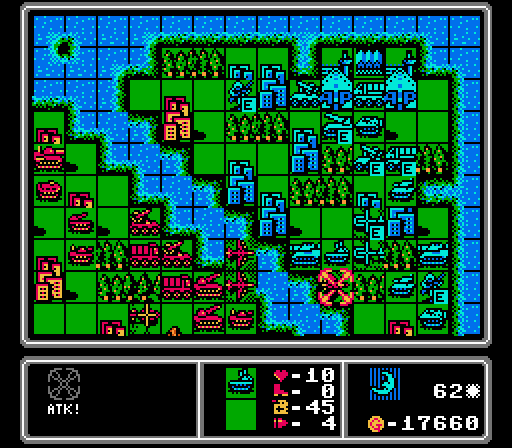
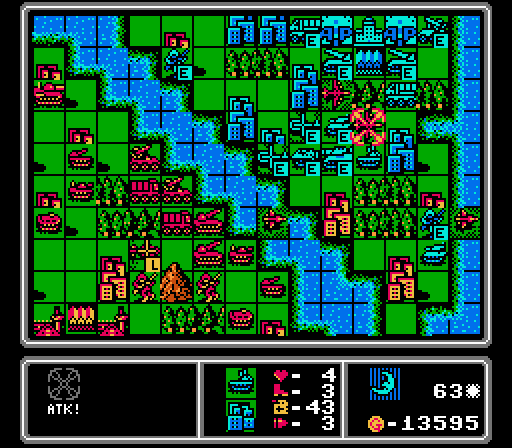
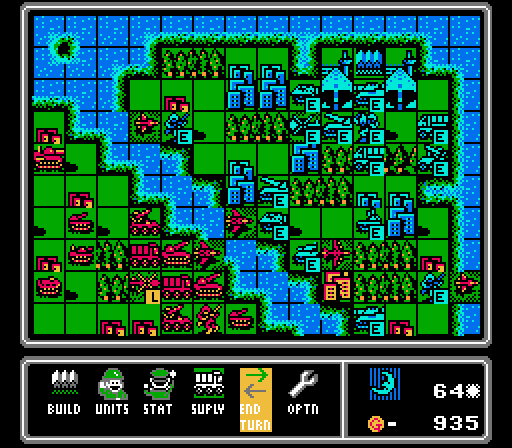
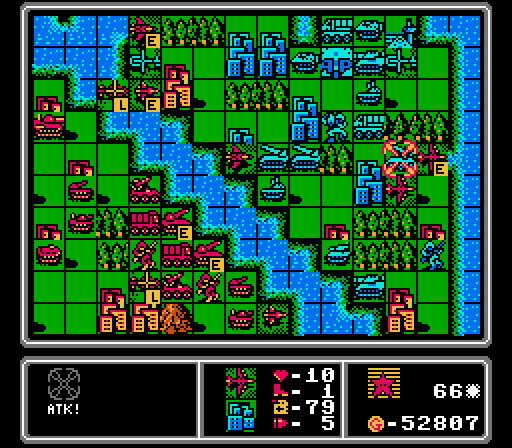
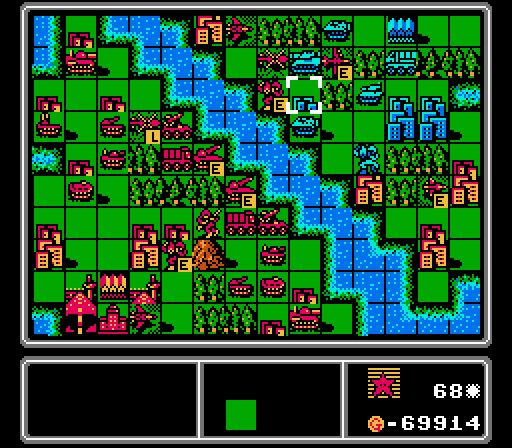
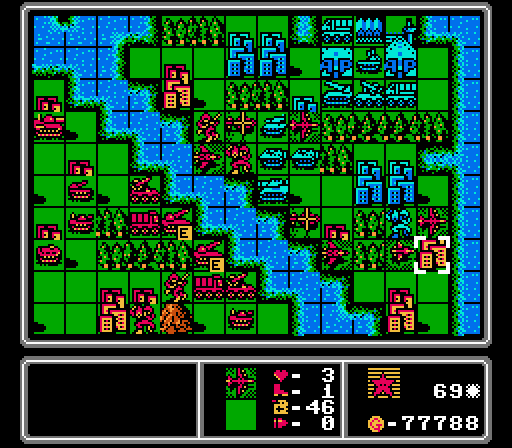
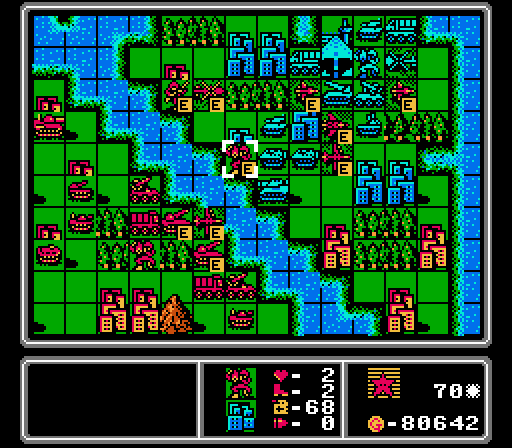
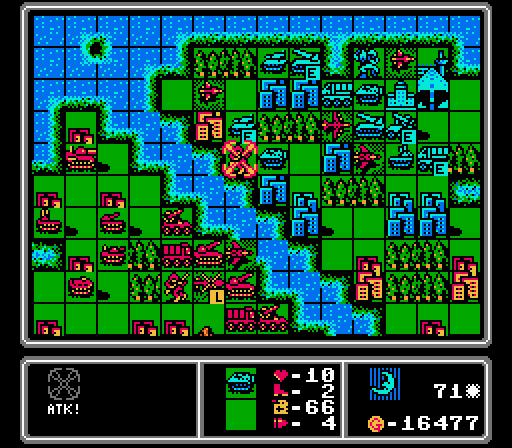
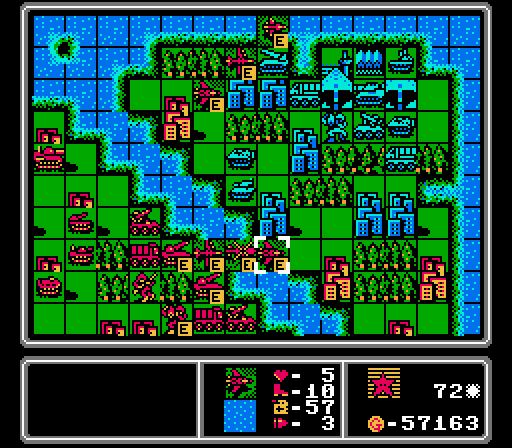
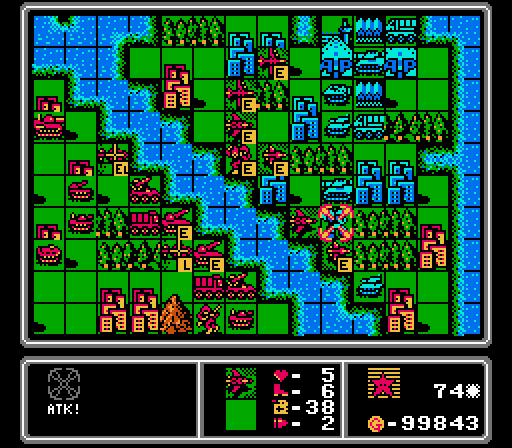
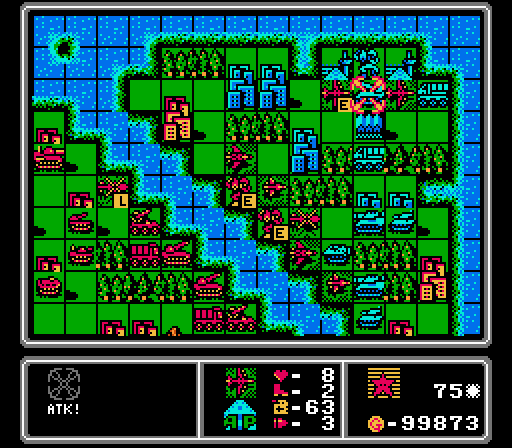
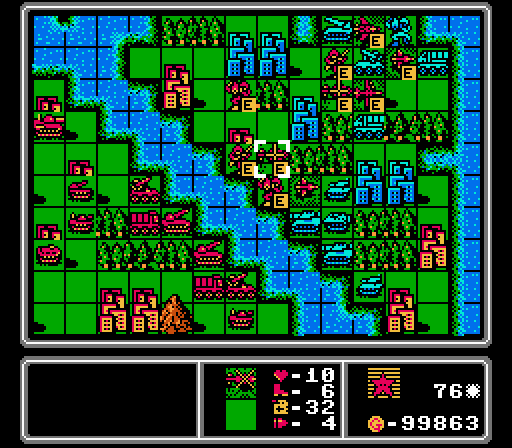
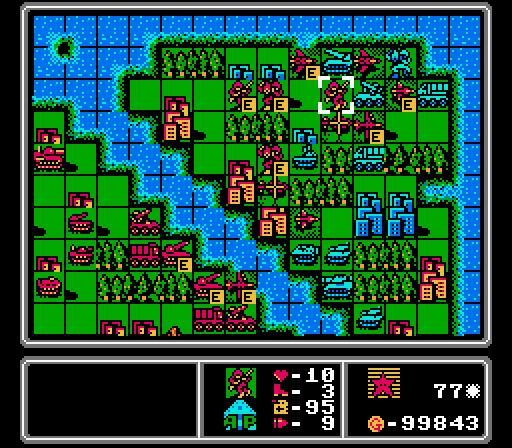
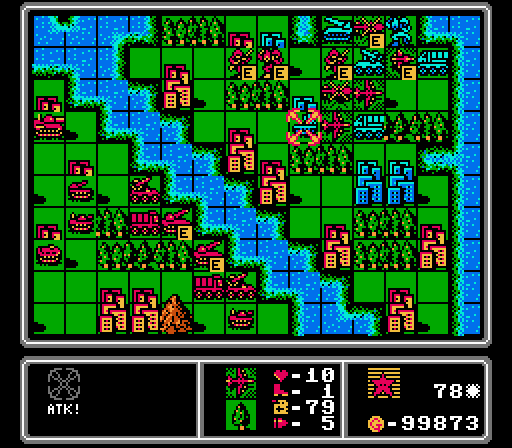
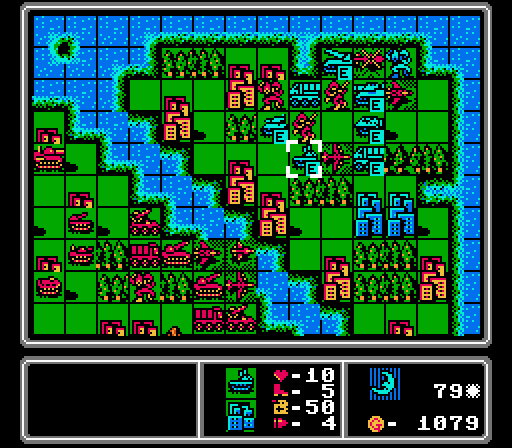
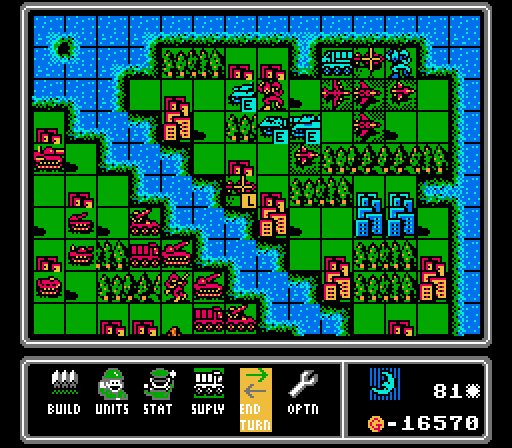
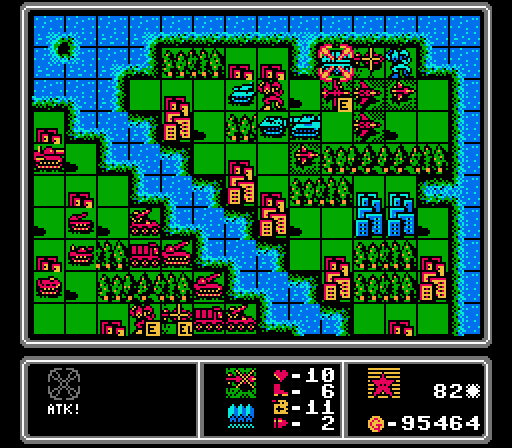
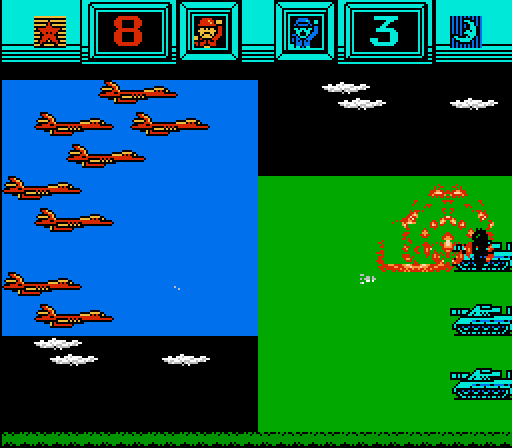
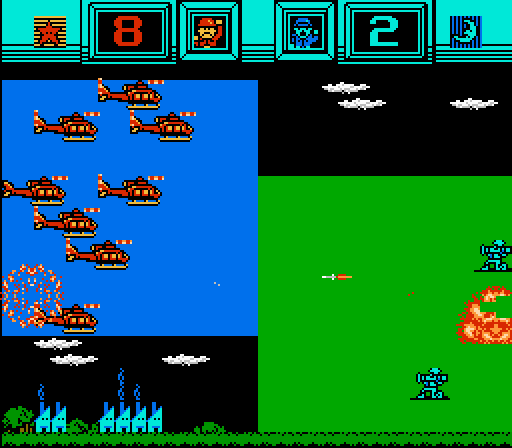
Turn 54
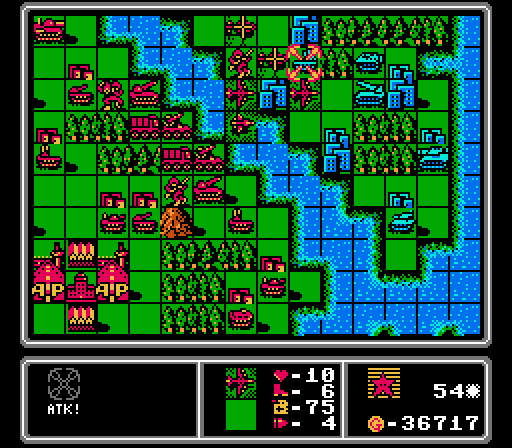
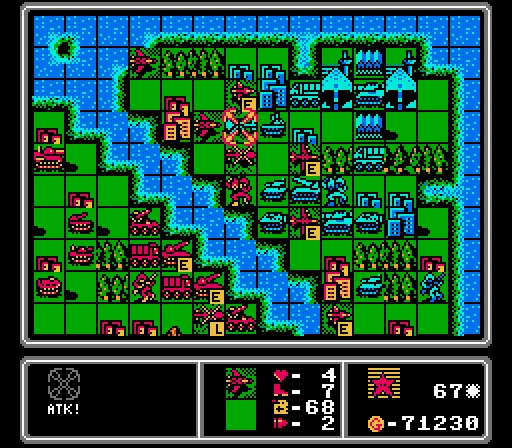
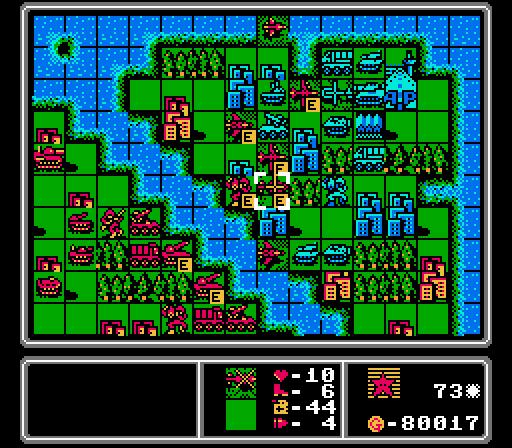
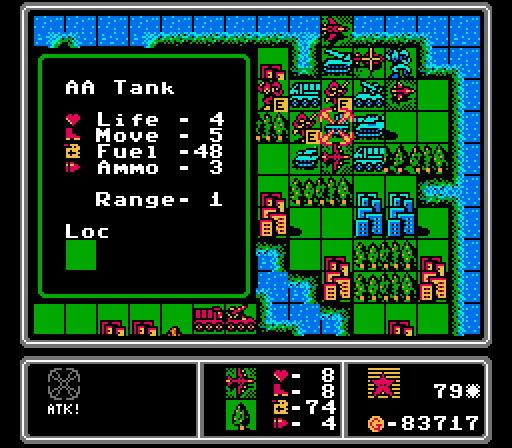
Last we left off, we'd gotten rid of most of Blue's anti-air support. Even without challenges, dealing with AA tanks in particular is difficult on this map. There aren't really any good counters to them that can actually cross the river. Your best bets are bombers, who are an even fight but 4-5 times more expensive, or mechs, who are cheap and can get in 4-5 damage on neutral terrain without taking a counterattack. Thus why the best strategy for this map in general is a flood of copters and mechs.
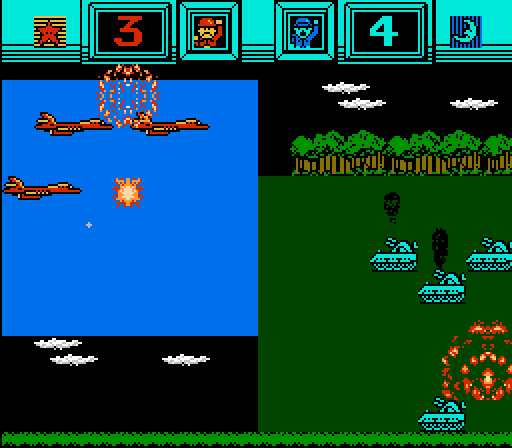
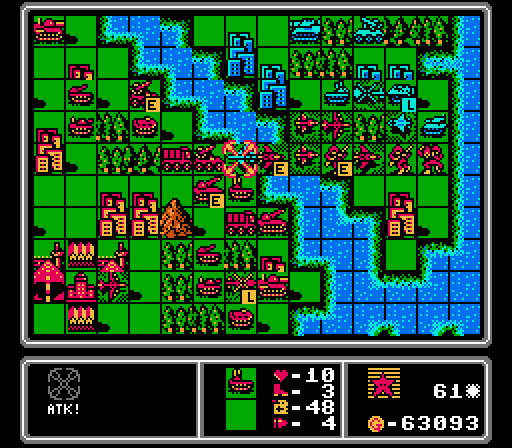
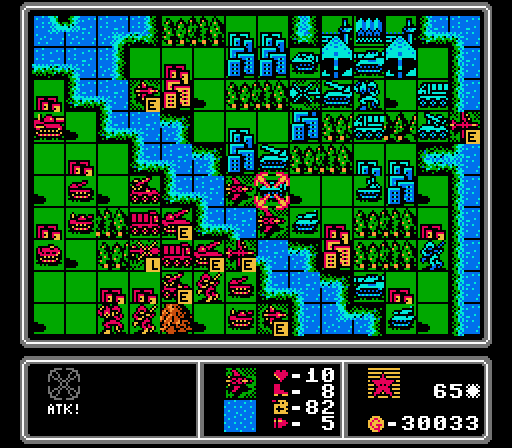
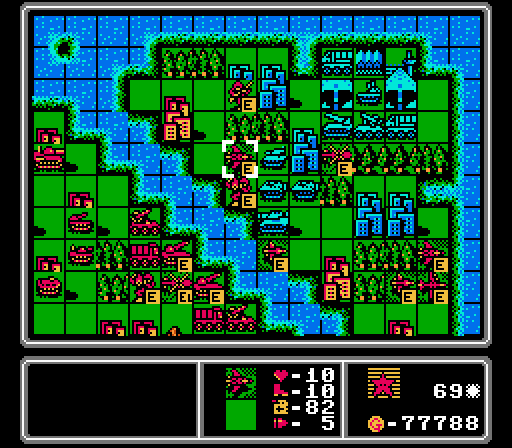
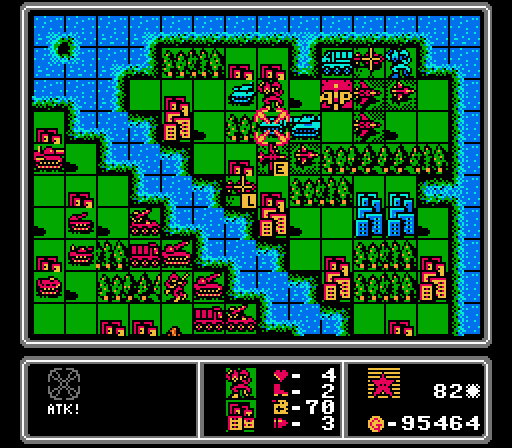
Anyway we have two full-health bombers here, but one is out of ammo. So I attack this AA tank with the fresh bomber, take a ton of damage, and then merge in the ammo-less bomber. Now I still have one fresh bomber with ammo, and the AA tank is too weak to do much. Better yet I freed up a deployment slot so I can build a new bomber right away!
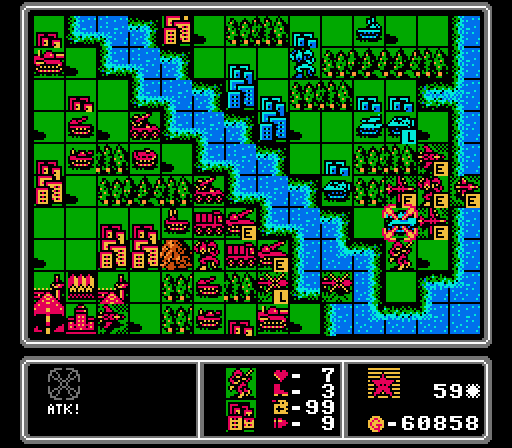
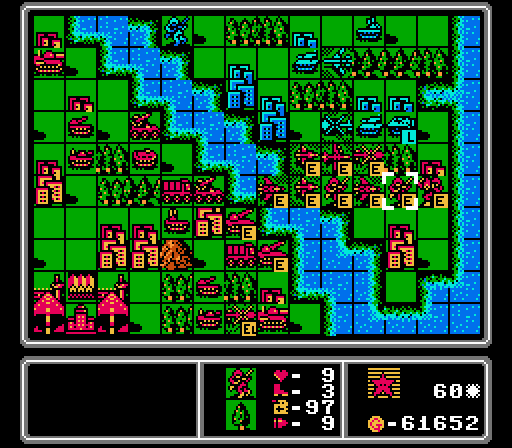
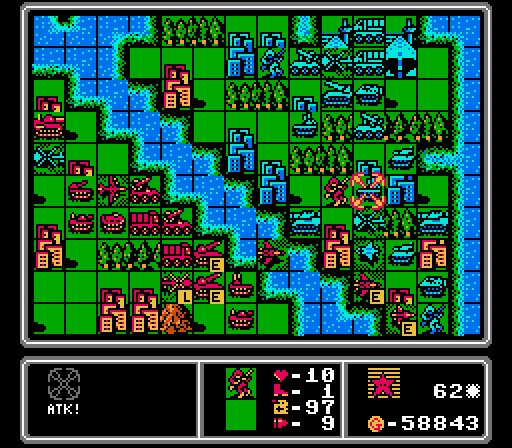
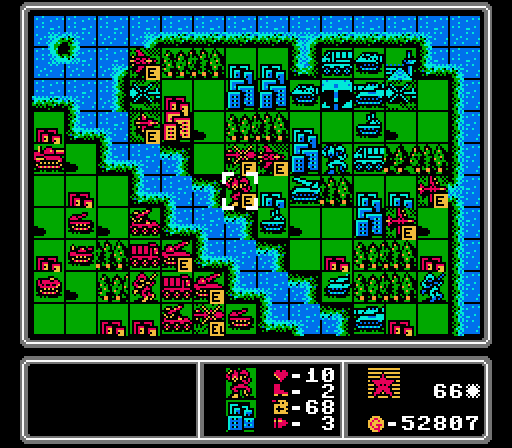
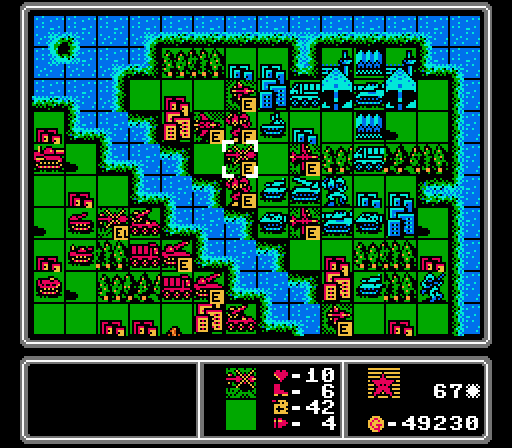
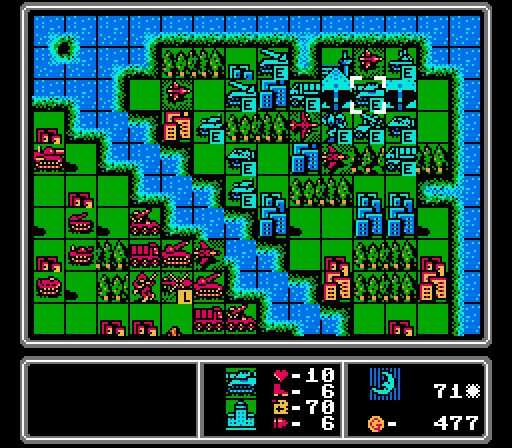
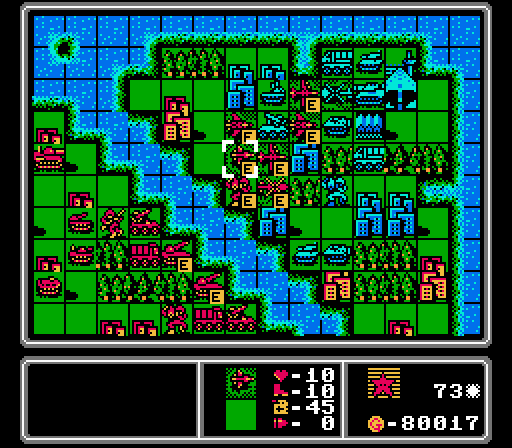
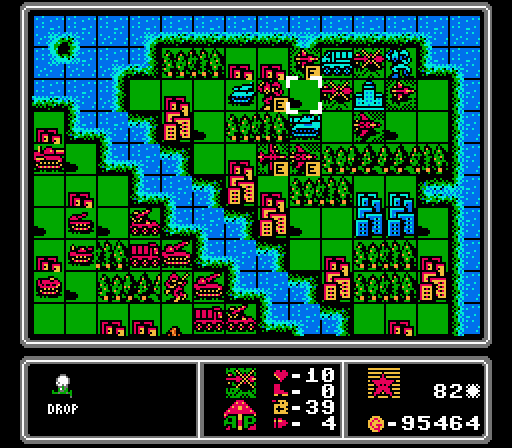
I can't attack the scout any further without getting hit by the AA missile, so everyone retreats back to the river. Unfortunately the scout is going to go after the bomber now.
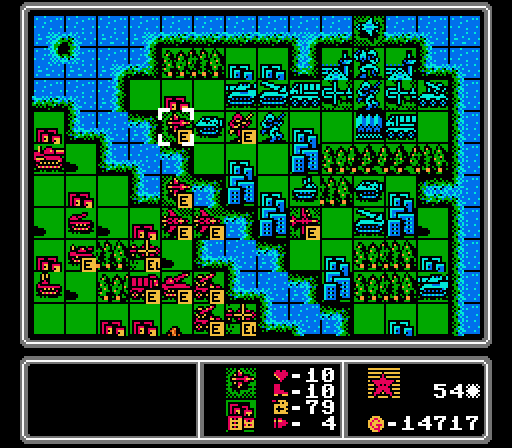
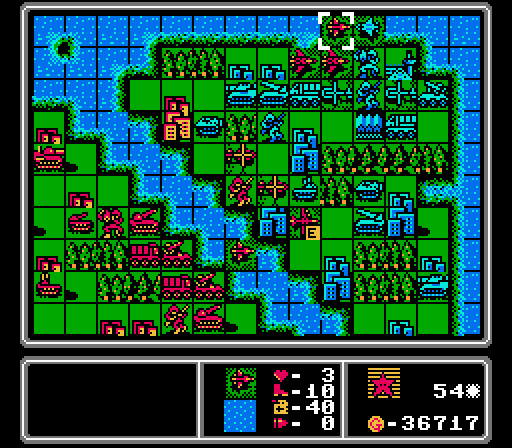
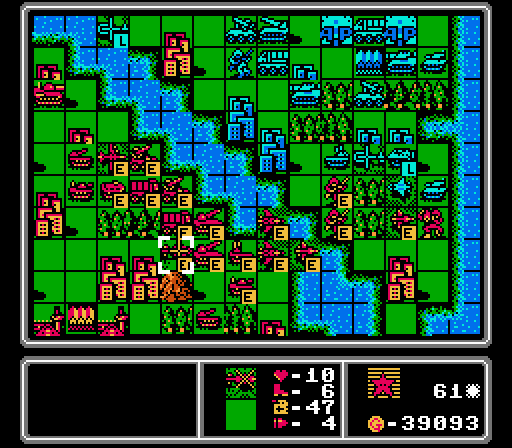
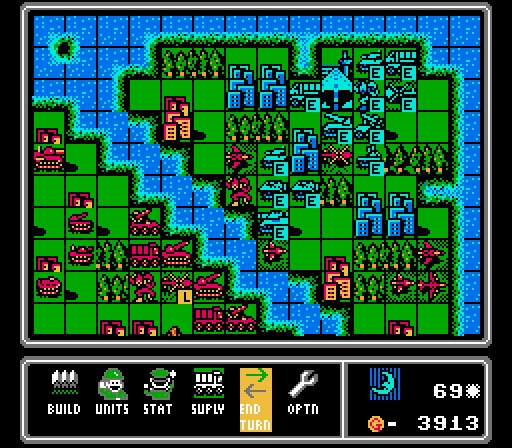
With the Blue triangle thinned out a bit, I start re-arranging our forces. In particular the rockets are moving down to cover more of the Blue cities along the river, and the two copters load up again. Assault #4 is basically already over but I sent the infantry up where it can't be hit by either rocket, to force another unit to stay up there and attack it. Oh and the scout performs my favorite move for this update - using an air unit to keep a footsoldier from being able to capture a city. The AA missile can't reach it and the AA tank and scout can't kill it. Even if they did, using those units there instead of against our bomber would be a win for us.
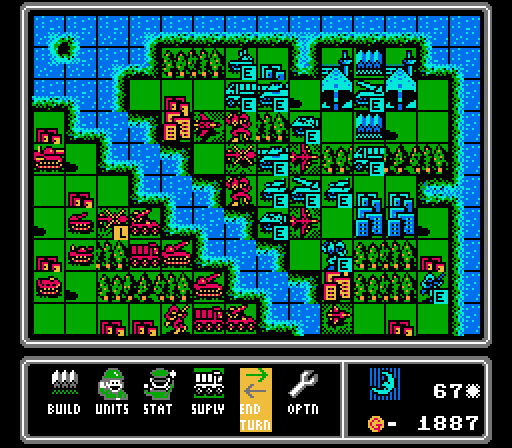
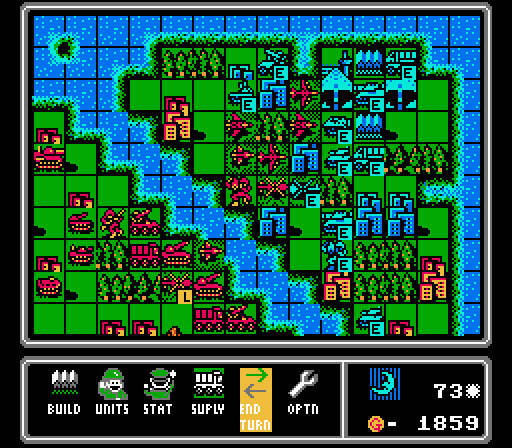
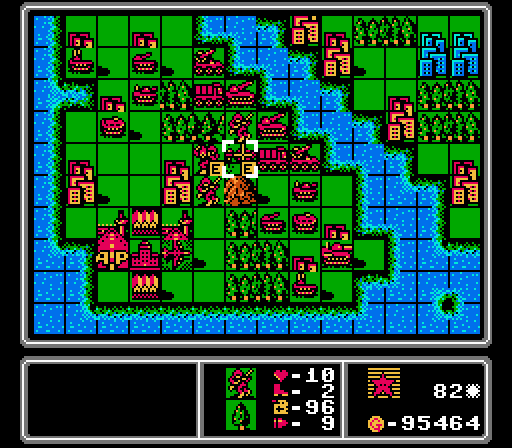
Not a ton of action on the enemy phase, but several things broke our way here. The scout moved down to hit our bomber for four damage, sure. But the AA tank retreated right into the path of our rockets instead of attacking. Our infantry was wiped out by the medium tank, who is now stuck three turns away from the bottom of the map. And the AI built a tank and two copters - no real threats.
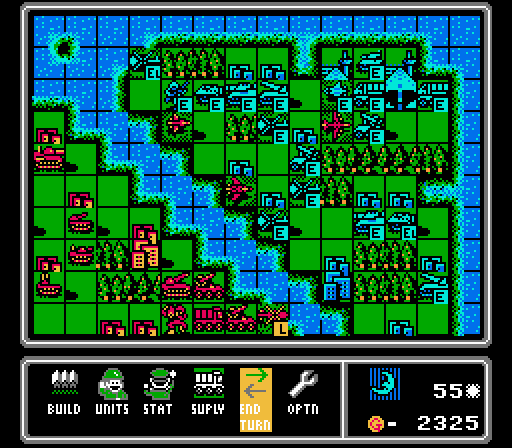
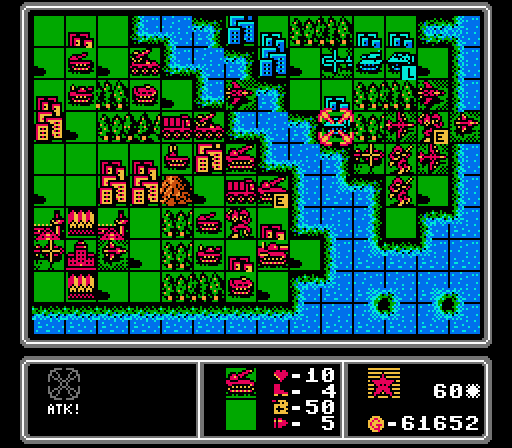
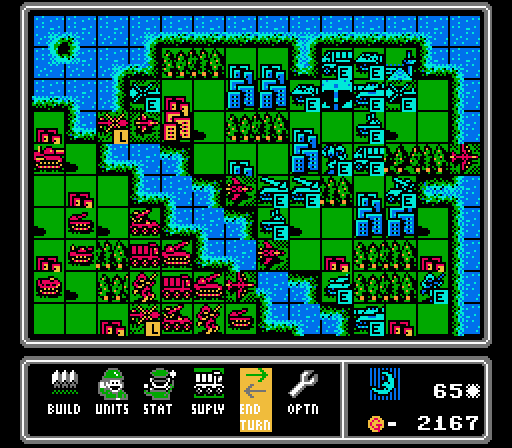
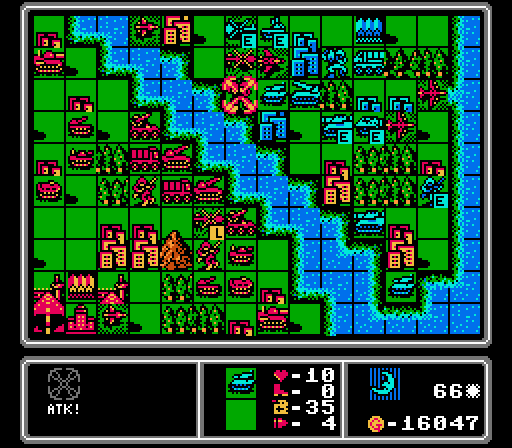
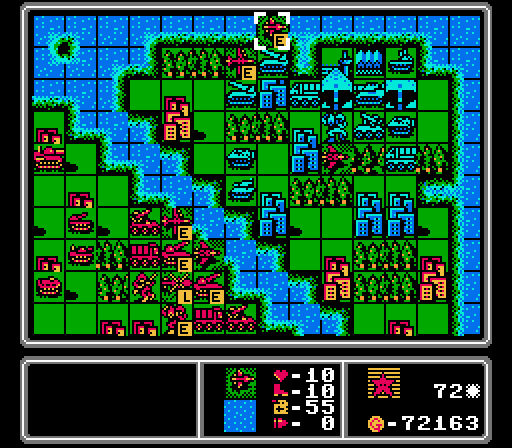
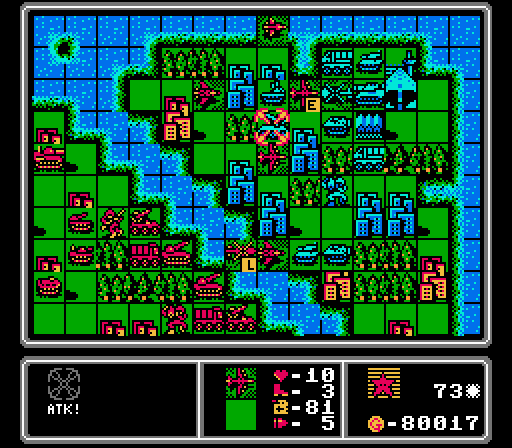
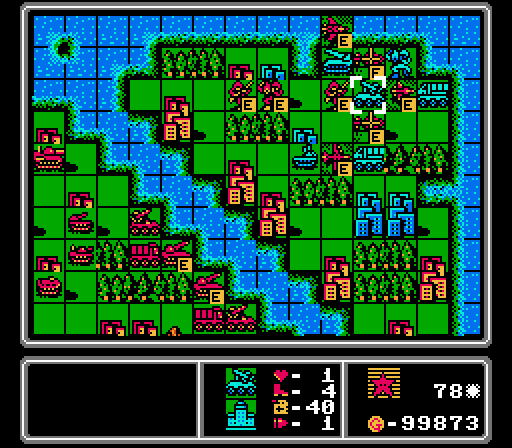
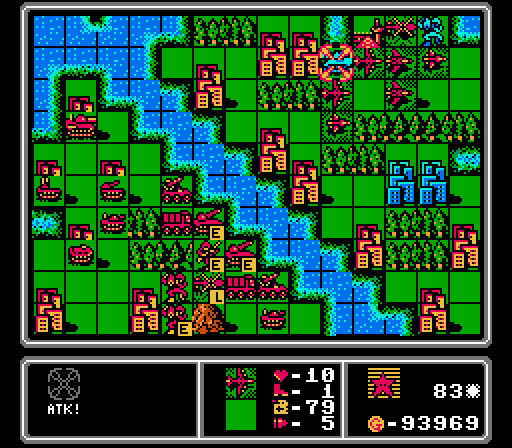
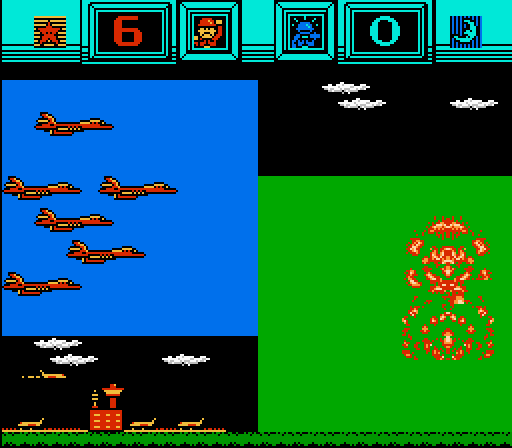
Turn 55
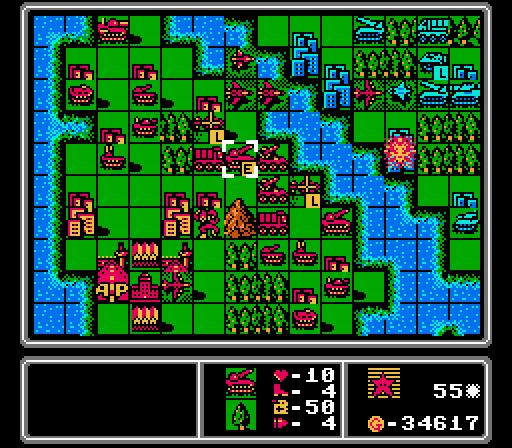
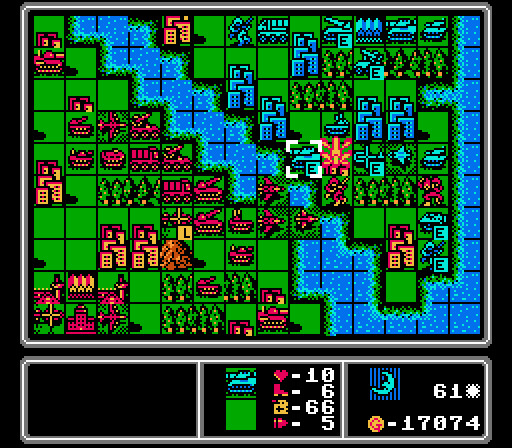
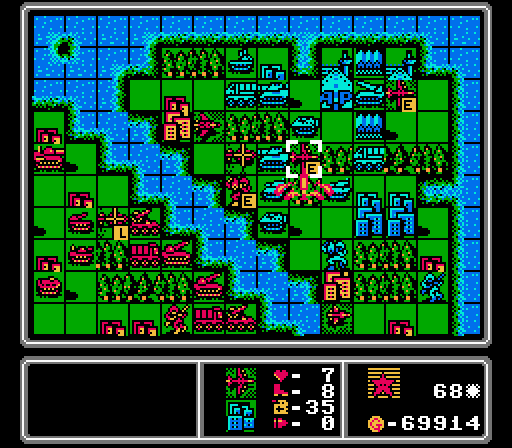
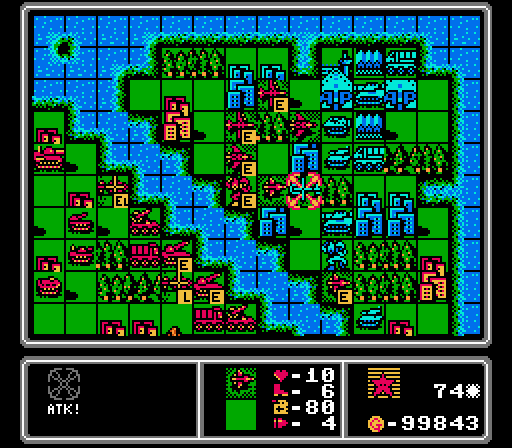
I pause the great rocket move to take out the AA tank as the obvious first action of the turn. The other rocket goes after the tank squatting on the city on the far lower-right corner.
As long as I don't do it too much in one turn, I can afford to throw away a plane to get rid of anti-air forces. In particular that fighter is going to get destroyed by the AA missile, but the scout is no longer a threat to our bombers. I had our bomber go after the AA missile, but it only did three damage and most of that will get fixed up on the enemy phase. Off-screen I built a medium tank, just so I'd have an even two copies of every unit type - much easier for me to keep track of what's missing / needs to be built each turn that way.
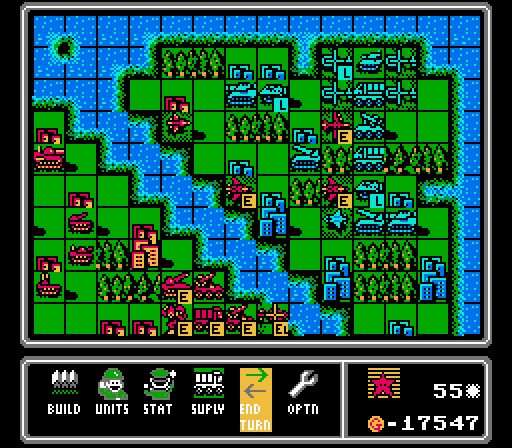
There's a new AA missile on the field now, but we actually got a couple good breaks here. The two rockets separated, and the lower one in particular is not covered by the AA missiles right now.
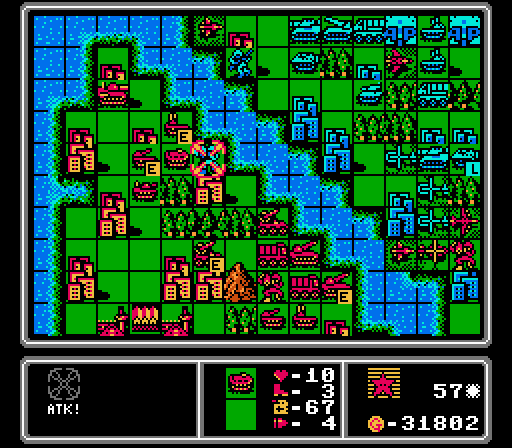
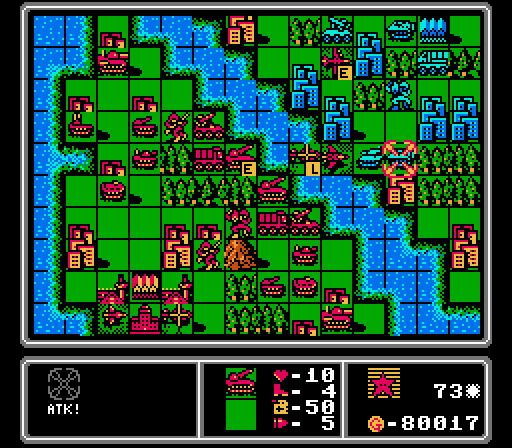
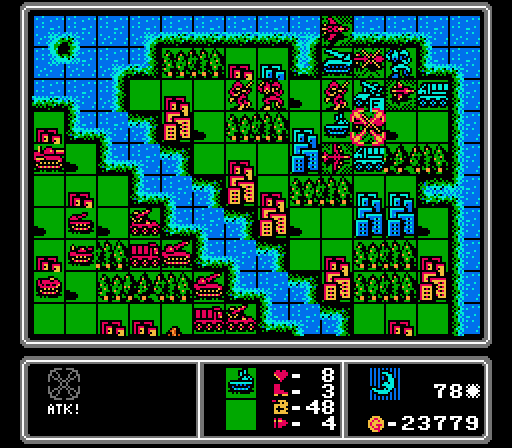
Turn 56
A lot to unpack here. The bombers took out most of the rocket's health, and our own rocket weakened the tank further. But more importantly I've got two footsoldiers down that are both inside the rocket's range, and protected by a wall of air units from anything but the tank on the city. Here we go, Assault #5!
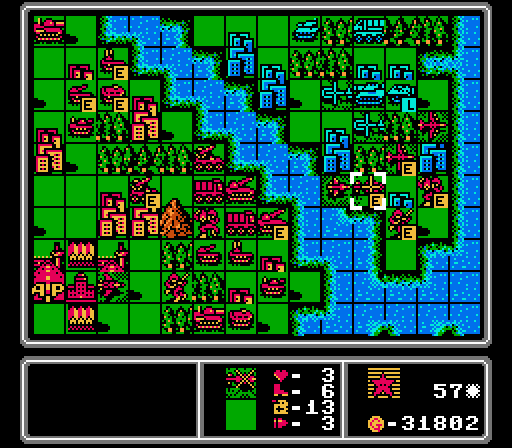
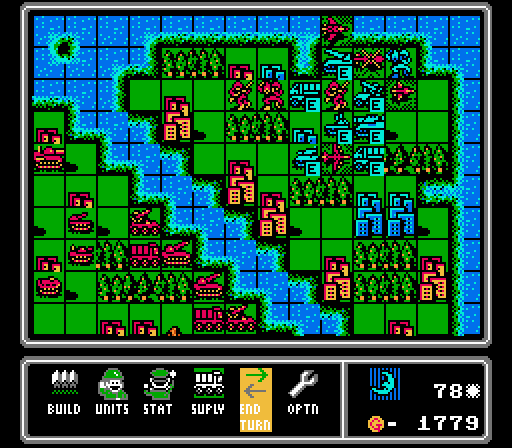
Up top, the scout moves off the city to get away from the new AA missile, but still attacks the infantry to make it harder to capture anything there. The fighter moves up to wipe out the damaged scout - it's sitting inside the range of both AA missiles, with nothing else around that can attack it. Our other scout and fighter merge together, and we buy a new fighter back at HQ.
The tank on the city attacks our mech, but can't do much to it.
The biggest problem with the assault is a few copters, though one is heavily damaged already. The two AA missiles both actually retreat, leaving us even more open with our air assault. Oh and a mech landed in our territory, but it won't survive long.
Dealing with AA tanks is the worst part of this map, and Blue just built two more of them.
Turn 57
We use a rocket to remove the tank on the lower-right. Then an AA missile and an AA tank get rid of the intruding copter, while an artillery and an APC combine to take out the mech.
The bomber and the mech take out the rocket, while the infantry starts its capture. My eyes light up as I realize the mech is now right next to a second available city that's protected behind the air wall. Our copters merge together.
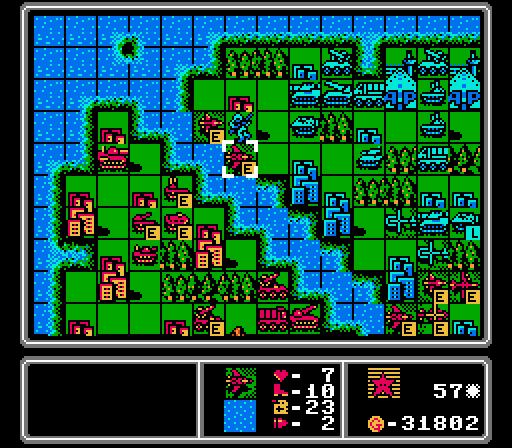
Up top, the scout and fighter go after the infantry to protect our city up there. Another scout and fighter form the rest of the air wall down at the bottom. The main goal there is to keep the enemy copters from being able to reach either the infantry or the mech.
More good news for us on the enemy phase. The copters move down off-screen but can't reach anyone, and will be easy to pick off next turn. The AA tanks don't advance close enough to reach any of our planes next turn, so we can maintain the air wall another turn. And the AI builds a bomber, which is a huge funds-soak and an easy threat for us to handle right now.
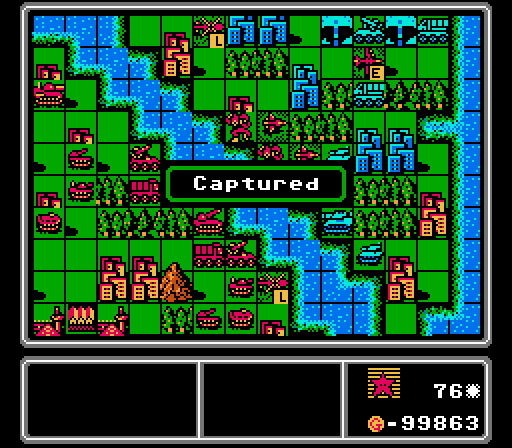
Turn 58
We finally capture another city. With a little patience we'll finally be able to crack this map open now.
The mech starts a capture, too. We also load up another infantry into a copter to help out, shoot down a copter with an AA missile, and retreat a fighter that had just eight fuel left.
I have to move some of our air wall around to deal with the other copter. That leaves an opening for the enemy medium tank, but it can't reach the capturing mech, and if it tries it'll get torn up by our rockets and bombers. Speaking of which, our rockets fire on the APC on the upper-left, dishing out eight damage.
The medium tank takes the bait, and while it hurt our infantry pretty bad, it'll heal up a lot of that next turn anyway.
One of the AA tanks moves down to take out one of our scouts, but it's also in rocket range now. The AI builds a bunch of units that don't matter - two copters, a mech, and a tank.
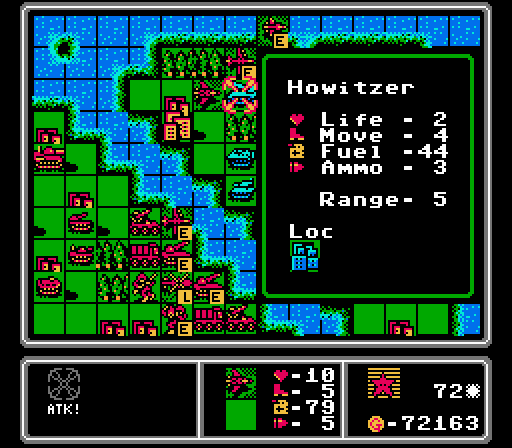
Turn 59
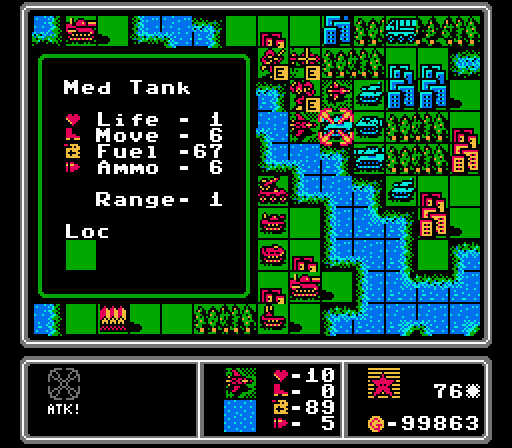
The medium tank can wait, that AA tank has got to go.
The two bombers are almost able to kill it on their own anyway.
I kind of forgot this bomber was up here. Luckily it can't touch our mech, but I think it can reach our infantry.
I do enjoy it when I can have an infantry finish off a medium tank.

There we go, another infantry dropped off and they're both protected by the air wall. We also built a new scout and a new copter, after merging our damaged copter into the unloading one.

The enemy bomber moves up and Blue builds a new scout.
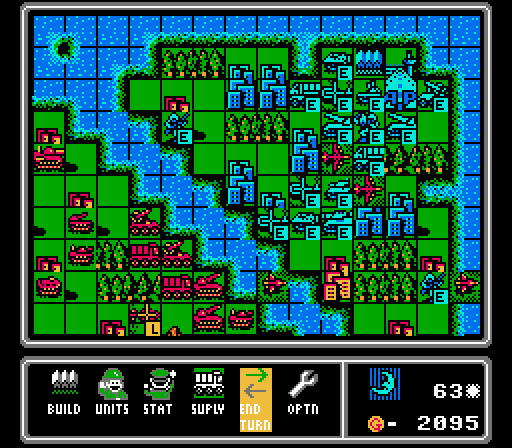
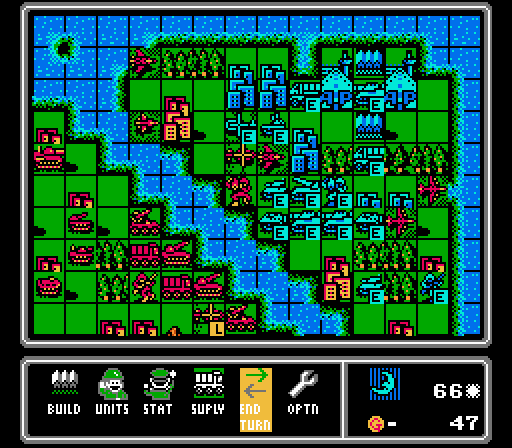
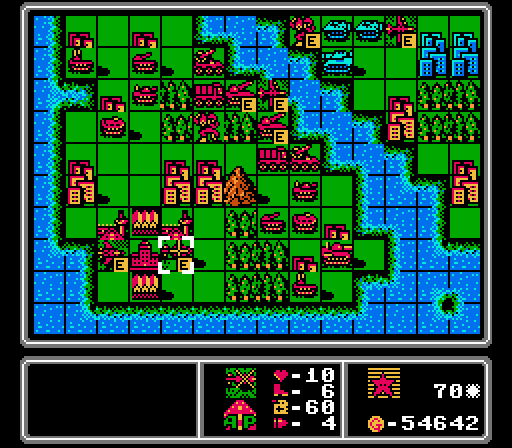
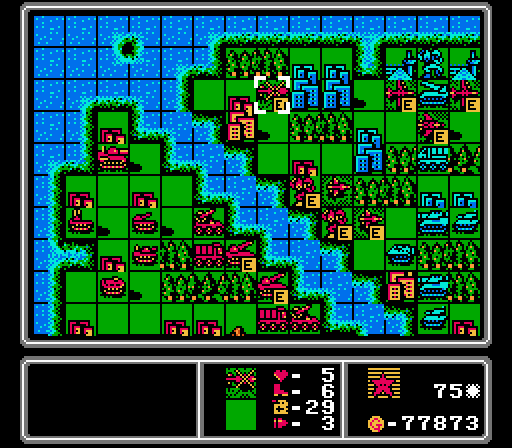
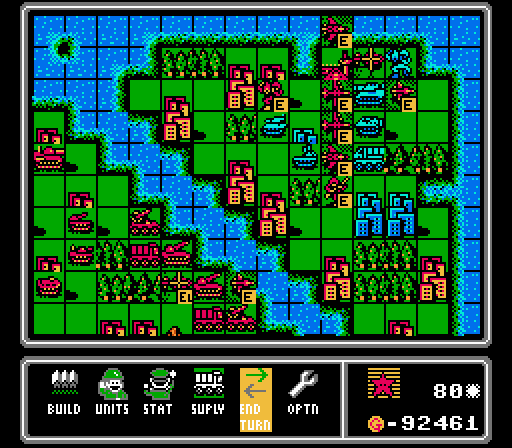
Turn 60
The mech finishes its capture. We've got three of Blue's cities now, giving us a 6000 G per turn advantage. In fact you may have noticed that I already can't spend everything we're making each turn.
The rockets remove the APC from the city. I happen to have a fresh infantry in range to start capturing it, if I can figure out how to protect it long enough.
Eh fuck it I'll figure out the details later. (I proceed to spend the next several minutes doing those chess moves where I move a piece, keep my finger on it for a minute, then move it back, trying to piece the puzzle together. Only with planes.)
I guess I went with more quantity over quality. I did take our damaged bomber, which was out of ammo, and move it into the healthier bomber so I could go buy a new one. And I moved up an infantry just to keep the other units from being able to gang up on the mech as easily. Oh and don't worry about that enemy infantry on the upper-left city, it has only three life so will take forever to complete the capture.

The scout and copter team up to take out our copter, which is really the most expendable unit from our air wall anyway. The tank hits the mech but can't do much to it, and the bomber takes a chunk out of one of our rockets.
I made sure that the only unit the AA tank could reach was the bomber, so that it'd at least take some damage from attacking us.
Another medium tank shows up. Nothing to worry about. I can't believe I'm saying that, but I'd much rather see a medium tank than the three AA tanks that the AI could've bought instead.
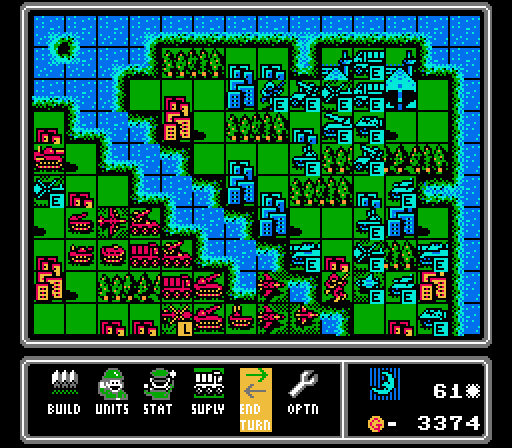
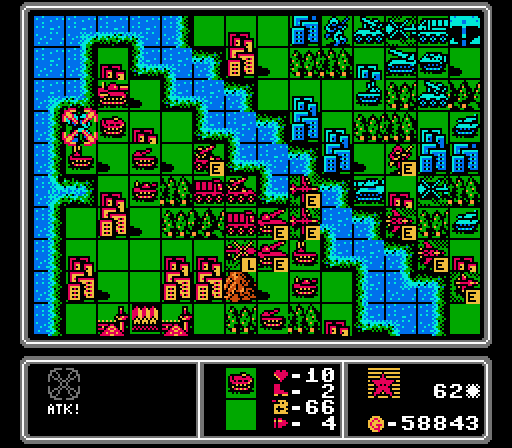
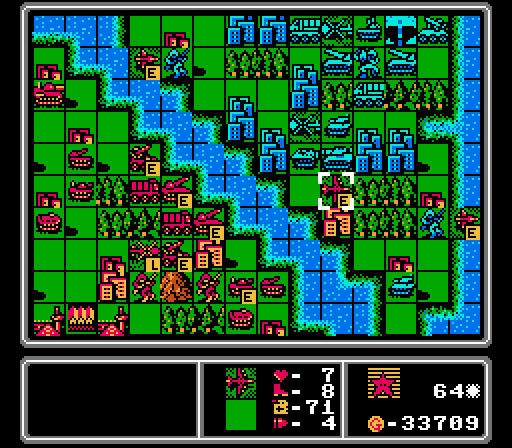
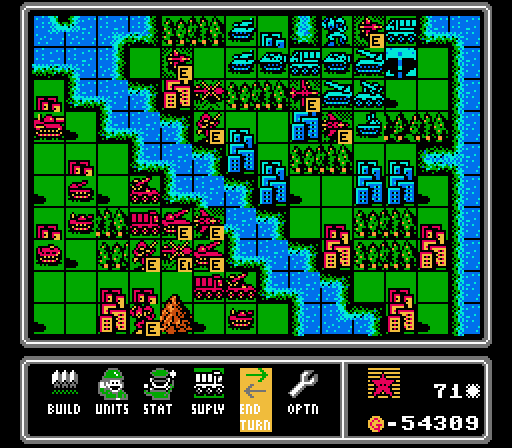
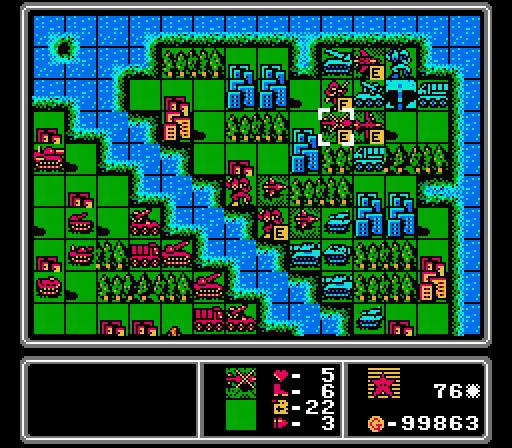
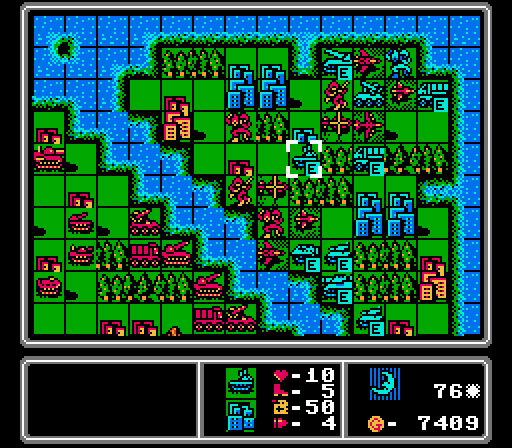
Turn 61
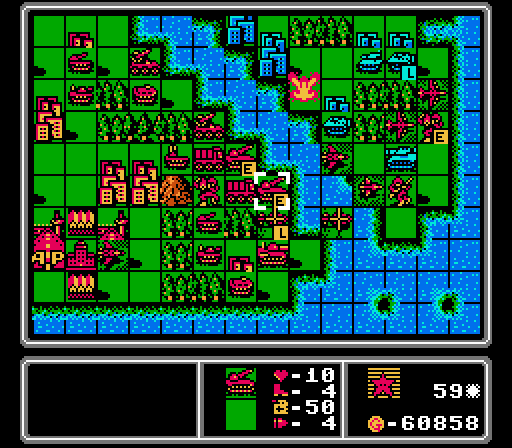
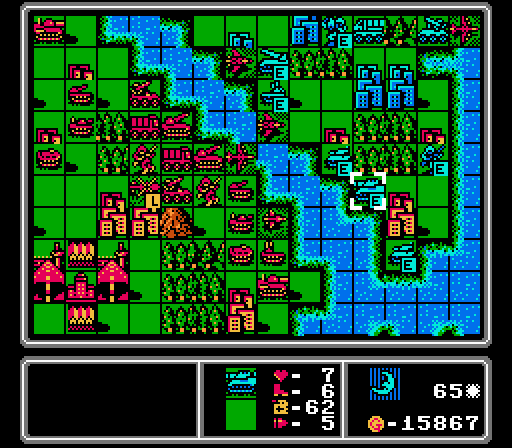
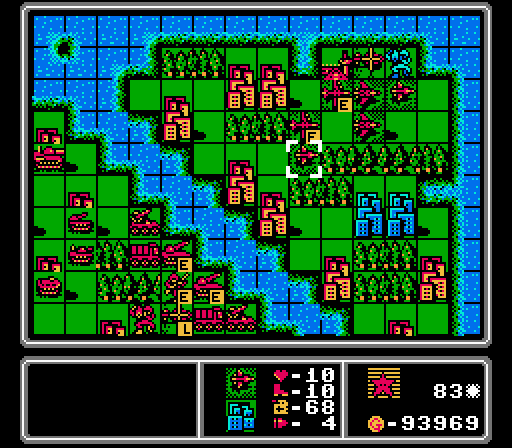
That's three cities captured by the fifth assault. An unqualified success beyond my wildest dreams.

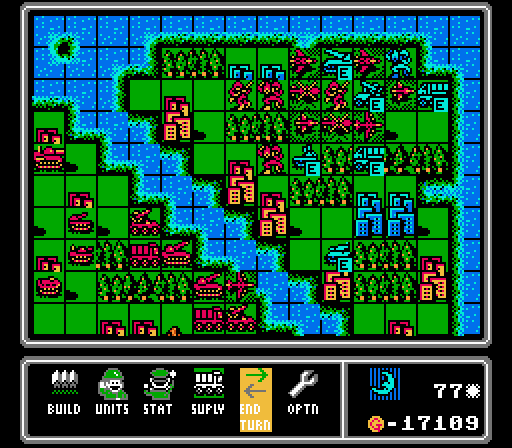
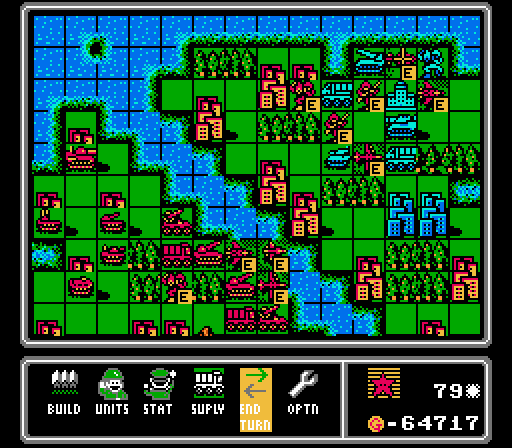
Here's where we currently stand. We're short by the copter that got blown up last turn but otherwise full up on units and with plenty of funds, so we can keep playing aggressively with our planes to start thinning out the Blue army. The goal is going to be to do more damage each turn than Blue can gain back in funds. So in addition to targeting the immediate threats, we'll be going after the most expensive units we can hit - medium tanks, rockets, AA missiles, and any air units.
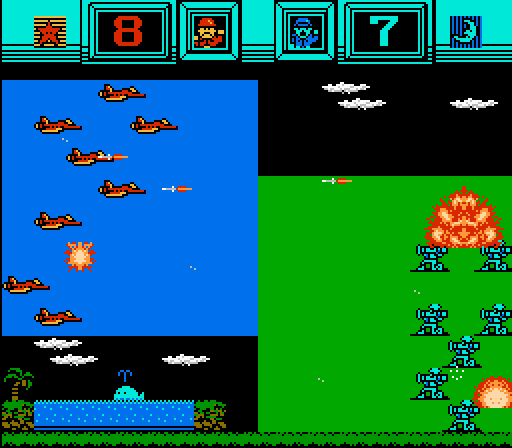
For instance, our own AA tank gets some action by finishing off the bomber (after our fighter weakened it first). That's 20000 G in damage right there.
I suicide our damaged bomber to weaken the AA tank further, than have an infantry chip it down to just one life remaining, but don't manage to finish it off (0.4 * 5500 = 2200 G damage). The AA missile fires on the loaded copter as well (0.7 * 4000 + 0.7 * 2000 = 4200 G damage). We also have another bomber near the top of the map, safely out of the enemy scout's range this time, but able to reach anything near the river next turn.
A medium tank rolls down to finish off our infantry after the copter softened it up. But our rockets will get some revenge next turn. Also I stupidly left a scout in range of an AA missile, but it was already heavily damaged anyway so now I just get to make a new one.
The tank goes after our mech again, then for some reason the scout decides to attack our infantry. We'll heal up all of that damage in just the next turn. Oh and the copter (0.1 * 4000 = 400 G damage), the tank (0.2 * 6000 = 1200 G damage) and the scout (0.1 * 15000 = 1500 G damage) were hurt by their attacks, too.
Oops, I did not see that opening for the medium tank at all. Bye mech!
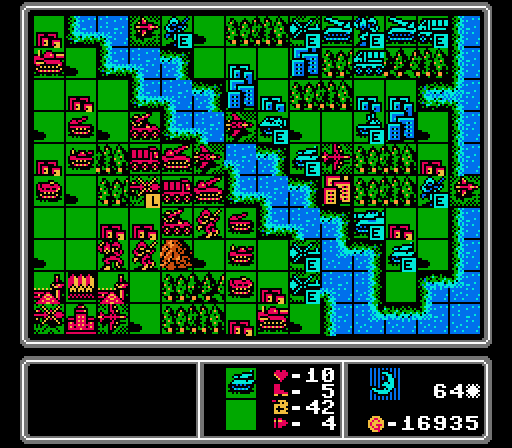
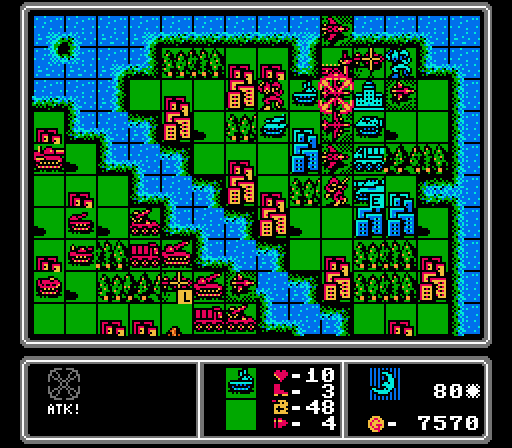
Ugh, Blue builds another AA tank, along with an APC and a copter. However we did a grand total of 29500 G in damage this turn, almost double the enemy's income.
Turn 62
Our rockets combine to get one medium tank but because one of our rockets is still damaged, it can't get the kill (0.8 * 16000 = 12800 G damage).
Our fighter hits the scout hard, and another fighter will later finish it off (15000 G damage), while our scout performs a city capture blockage while also hurting the infantry a bit (0.3 * 1000 = 300 G damage).
The infantry is pretty screwed on its own anyway, so might as well finish off this AA tank (0.1 * 5500 = 550 G damage).
On the home front, the AA missile shoots down the copter and the APC finishes off the mech (0.3 * 4000 + 0.3 * 2000 = 1800 G damage).
All that damage and we've still got two fresh bombers that didn't even get used this turn. We've still got plenty of funds to burn, too.
So, I was trying to draw out that AA tank. I did not notice that the AA missile would be able to shoot down our other fighter, though. Also that sneaky infantry at the bottom right is trying to get a different city back instead. The AA tank took a tiny bit of damage from the fighter (0.1 * 5500 = 550 G damage). Our total score for this turn? 31000 G in damage, more than double Blue's income this time.
A new rocket will make approaching the HQ tricky, but isn't a threat to our planes so I'm thrilled at the money sink.
Turn 63
I'm going to stop keeping score now, but destroying that AA missile alone almost hits our quota. We also have the scout attack the capturing infantry again, and our damaged fighter suicides on the copter. One rocket strikes the AA tank and the other finishes off the medium tank.
I'm not sure why I dropped off that mech without support, but at least we have two new fighters, even if it took most of our cash reserves.
It's a bad enemy phase this time. One bomber gets hit by the remaining AA missile as planned, while the other counter-kills the AA tank. However our mech and copter both get immediately wiped out. I'm not even counting that as an assault attempt. I've got another capture attempt on our initial foothold, too.
Another AA tank (and a copter and a mech). Just can't keep these gone. They're just too cheap for how hard they are to get rid of on this map.
Turn 64
One bomber takes a shot at the medium tank while the other merges into it. One rocket repositions while the other hits the APC. An AA missile shoots down a nearby copter. And our two scouts keep weakening the two capturing infantry.

Our fighters move up, and we replace all our lost units. We've still got a healthy income each turn but I can't keep throwing away planes all the time anymore.
I'm not sure why the enemy vehicles are hanging out near our captured cities, they can't do anything down there and we don't need to ever go back there. I guess it's better for us that they're out of the way so I shouldn't complain.
The rocket moves up into range of our rockets and the AI builds another mostly-useless medium tank. Two wins there.
Turn 65
Fighters can't do much to most vehicles, but they can still finish off heavily damaged ones like this APC. We also had one scout finish off an infantry while the other moved over to finish off a copter that the AA missile had weakened first. The other fighter also dives in to get in a couple more damage on the rocket, and try to pull out the AA tank.
Well we did draw in the AA tank at least. Also a collection of enemy vehicles continues to hang out in captured territory. That infantry is down to just one life and will never finish that capture.
Well the other rocket came out to play, but Blue builds yet another AA tank.
Turn 66
Our rockets cripple the nearby AA tank, and our bombers take out the AA missile. On the upper left, our scout and damaged fighter attack a copter but can't destroy it.
Assault #6 is a bit better coordinated. A fighter finishes off a damaged rocket, and a mech gets dropped off inside the other rocket's range. It's still vulnerable but only from one side. I do eventually remember to have our AA missile shoot down the copter on the upper-left, too.
The damaged AA tank suicided on our bomber, while the fresh one went after our fighter instead - a good trade for us. The tank does go after the mech, as expected, but only does a couple damage.
Yes, another medium tank! Still feels weird to cheer for that. We've got quite the cluster of targets in the center of the map now.
Turn 67
The bombers go after the remaining rocket, the rockets go after the APC and medium tank, and our damaged scout and fighter finish off a copter.
Our fighters merge together so I can buy a new one. Our capturing mech moves off to get some damage in on the AA tank, and we get a new mech dropped off in the same spot.
The main action on the enemy phase is the AA tank shooting down a damaged scout, and a new rocket getting built. Our new mech got attacked by the tank again, but again only for a couple damage.
Turn 68
One mech starts capturing (40% progress) and the other mech merges into it. The bombers each attack a rocket, destroying one of them.
I finally remember to get rid of the capturing infantry on the lower-right. Meanwhile one rocket finishes off a tank, and the other starts in on the APC.

The fighter hovers over the city to keep the mech away.
Another infantry is dropped off, though it's pretty vulnerable up there. We build a new scout to replace the one lost last turn, too.
The enemy phase has some action but most of it not meaningful. The medium tank attacks our infantry, the APC attacks our mech, and the AA tank attacks our bomber (taking a ton of damage in return). Oh and there's a new AA missile - mildly annoying at this point but not a big concern.
Turn 69
The rockets combine to take out one of the medium tanks.
The bomber that just got hit by the AA tank is now out of ammo, so it parks on the city for a turn. The other bomber is also out of ammo and merges. That doesn't give the merged unit any more ammo, but it does free up a slot for me to build a new bomber. (Our bombers have been running out of ammo like crazy in this update!)
Down near the bomber, we have a scout and a fighter finish off the nearby mech. Meanwhile I move the copter near our capturing mech inside the AA missile's range, then throw a fighter into that spot instead. The fighter won't get shot down in one turn, so it's a more effective (if more expensive) screen. I also send the wounded infantry up to start capturing as a distraction, trying to keep our mech alive long enough to complete its capture (70% complete now).
The distraction is successful as the rocket goes after the infantry instead of the mech.

The mech does get hit by the APC next to it, but I can still theoretically complete the capture with it (it'll just take three more turns instead of one, now).
Blue ends up the turn by building a copter, a mech, and a tank. Nothing stressful there.
Turn 70
The fighters merge together, the scouts attack the rocket and the copter, the copter drops off a new infantry, and the mech continues its capture (now 80% complete). Oh and a damaged copter suicides on the AA tank.
So we get a new fighter and a new copter.
The new infantry successfully distracts the rockets again. Even better, the infantry will heal all that damage back up next turn.

The mech doesn't make it through another turn, though it does pull the last medium tank off of its city protection. The AA missile also fired at our ammo-less bomber - I set that up on purpose so I could merge the two bombers together next turn.

Most of Blue's units retreat to the top of the map, leaving the middle wide open if I can take advantage. There's also a new rocket. Anything that's not an AA tank is fine by me here.
Turn 71
The fresh bomber goes after a rocket, then the ammo-less bomber merges into it as planned so we can build a new bomber. One scout shoots down a copter while the other harasses a mech. I try to move the infantry out of the way but it's not going to work - it's not only still in range of the rocket, but the screening copter is in range of the AA missile.
As I said, the copter goes down first and then the infantry gets ganged up on by a tank and an APC. Assault #6 wasn't very successful in terms of capturing, but we did thin out Blue's army a fair bit. No more medium tanks, and the remaining AA tank is severely damaged.
Well, for a brief moment there were no enemy medium tanks, anyway.
Turn 72
The rockets take out one of the tanks, and we get a bomber strike in on an unprotected rocket. The scout arrives to chip in on the rocket with its last shot, but it's mostly there to let our other scout (also out of ammo) merge into it so we can get a new one. It's during this merge I realize that merging doesn't actually add the remaining fuel of both planes together, it just keeps the highest value.
A fresh fighter is actually able to finish off this rocket. Using fighters and scouts against rockets isn't very efficient, but they're free shots against units that can't strike back, and there aren't any enemy air units on the map for them to target anyway.
A new scout and copter later and we're back up to full strength again. No one's in range of either the AA missile or the AA tank right now so it should be a quiet enemy phase.
The AA missile and AA tank both move up and the AI gets a new copter and tank, but that's about it.
Turn 73
Our bombers act first, finishing off the last rocket and taking off half the life of the AA missile.
The rockets are next, damaging both the tank and the APC here.
I wanted both of those units damaged instead of destroying one of them, in case whichever one was left could get to the mech we just landed. Go, Assault #7!
The fighters each get in some chip damage on the AA missile, while our ammo-less scout moves back to screen the mech.
Our copter and fighter each take a hit but our mech is untouched. Oh hey another medium tank has come out to play.
Turn 74
The bombers finish off the AA missile and AA tank, giving us momentary uncontested control of the skies. A fresh scout comes in to finish off this copter, leaving our now-capturing mech protected by another air wall.
The rockets couldn't reach anything but this mech, and this fighter didn't have anything better to do so came down to finish it off. We've reached the funds cap but the only thing we could try and merge together to replace is our fighters and scouts, and new ones aren't going to help me much right now.
The assault is augmented as a copter drops off another mech and joins the air wall.
Lots of movement but no action on the enemy phase. That new rocket and mech aren't going to help against those planes, either.
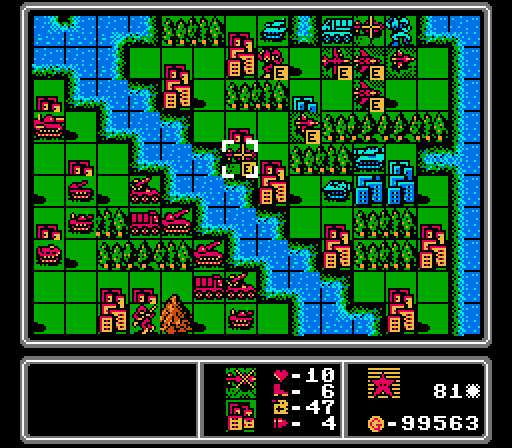
Turn 75
Another riverfront property acquired for Red Star!
The bombers go after the new rocket and also happen to be blocking the enemy airports. Blue can't afford it anyway, but they definitely won't be putting out new planes this turn.

Our rockets pitch in with an attack on an APC and on this medium tank.

Our air wall re-arranges a bit. A fighter chips in on the rocket and then gets merged with the other fighter, while the copter heads back to pick up another infantry.
Our other infantry is already in this copter. I choose not to unload it yet because I have a vague idea of clearing off the rocket and trying to grab the HQ next turn.

Unfortunately the rocket retreats and an AA missile is thrown out on top of the HQ instead. Being able to build directly from the HQ sure makes capturing it a lot harder in this game.
Turn 76
The last riverfront city is captured!
One bomber is out of ammo so it merges in with the other one. I then set the infantry down on the enemy airport, mostly just to give it something to do while I try to pry the HQ open.
The first mech moves up towards the next batch of cities, while one scout moves up to continue blocking the airport and chip away at the AA missile. Those moves open up space for another infantry to land.
Our rockets can't quite destroy this medium tank, so our fresh fighter moves in and finishes the job.
The only attack on the enemy phase was a couple of damage on the mech from the rocket, but I forgot / couldn't block the hidden base so we have to deal with one more AA tank now.
Turn 77

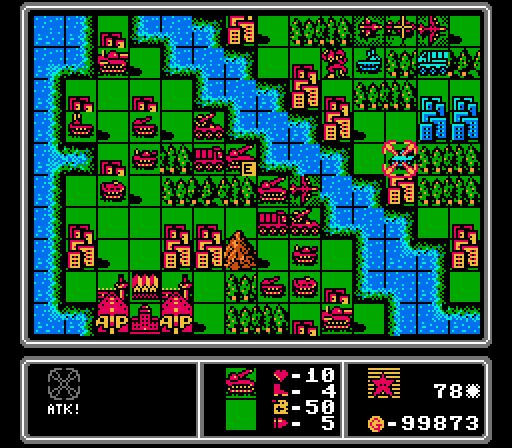
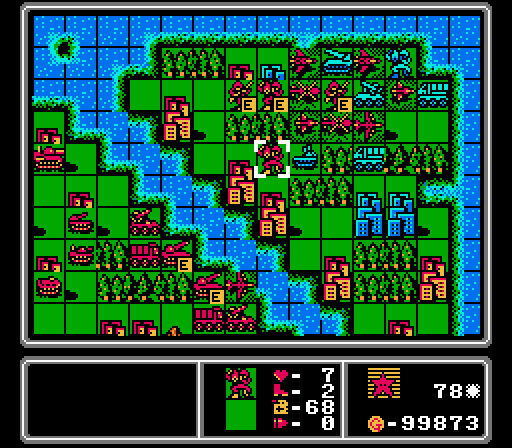
Our rockets this time strike the tank and the medium tank, damaging both but destroying neither.
This mech had nowhere else to go anyway but a couple damage on an AA tank isn't going to help much, when it'll just get fixed up on the enemy phase.
Our mech and infantry on the upper-left both start capturing. Near the HQ, the bomber does some more damage to the AA missile but I can't finish it off. The nearby infantry, with nothing better to do, starts capturing the airport:
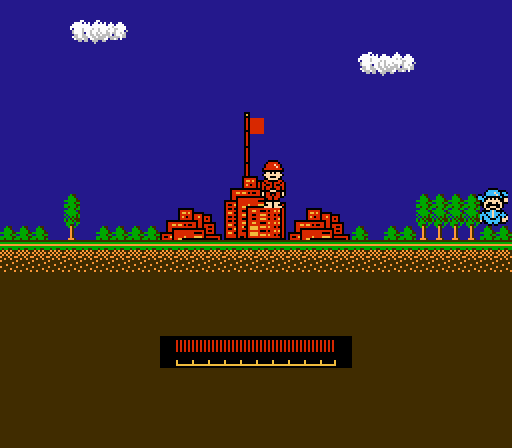
It won't really serve much of a purpose but hey it's been awhile since we've seen a new animation so why not?

The scout and fighter are exposed to the AA missile, but it won't hit as hard now that it's been beat up.
Only three damage to the fighter, which is about to merge in with the ammo-less one nearby anyway.
I did kind of forget about the AA tank, but that scout was out of ammo anyway.
The damaged medium tank goes after one of our mechs, to its detriment.

This APC meets the same fate.
All of Blue's build points are blocked up right now, a great position for us for as long as I can hold it.
Turn 78
Two enemy tanks merged together but it's the only thing our rockets can reach so it has to go.

Other than the different background, the animation for capturing an airport is the same as for capturing anything else. Our other infantry also completes its city capture. The mech got hit by the rocket so it's a little behind.
I tried to have our other mech go after the AA tank again, but apparently the suicide attacks from the medium tank and APC last turns used up all its ammo. I think I've run out of ammo more often on this map than in all my Advance Wars experience combined. Anyway the mech merges up with the capturing one instead.
Our fighters and scouts merge together again. We've got a fresh bomber here, and while going after the AA tank on a city isn't usually a good idea, our other bomber is out of ammo and can merge into this one to fix it back up.
The copters chip away at the AA missile some more but still can't quite get rid of it.
The AA missile gets a bit of damage in on our fighter, but more importantly the AA tank moves off the city and finishes off our copter.
That moves frees up two build points, but luckily Blue just builds a tank and a medium tank. More AA tanks would have really slowed things down.
Turn 79
The mech finishes its capture a turn late. Blue just has three cities plus its core buildings now.
With nothing much better to do, our two infantry chip away at the AA tank so that our bomber can finish it off.
The fighter and copter, meanwhile, are finally able to finish off the AA missile.
The HQ is clear but I don't have anyone left to move in to block it.
The medium tank moves onto the HQ and rips apart our infantry. Blue then builds an APC and
 another AA tank.
Turn 80
I've given up on the HQ capture for the moment so our infantry run away and merge together. The fighter manages to finally finish off the rocket. Our damaged bomber parks on the captured airport and finishes off a supply (that our mech had just damaged). We can't build on captured bases and airports, but we can supply on them! The other bomber hits the APC since I'm sick of attacking AA tanks on cities.
The AA tank finishes off our damaged bomber on the enemy phase anyway, but at least it takes some damage and it's in open terrain now.

Our infantry then falls to the combined attacks of the medium tank and the APC.

The tank attacks our mech again, but the fight isn't lopsided enough to overcome the mech's healing each turn. Blue could build something here, but their income is now so low that they choose to save up for another turn instead.
Turn 81
I don't intend to give them another chance. The mech and the bomber combine to take out the AA tank, and our planes helpfully squat on every other build point. With no anti-air units deployed, the enemy can't remove our planes anymore. Unfortunately we just lost our infantry so an HQ capture is out. (The copter on its way over has a mech inside.)
All the remaining enemy vehicles can do is gang up on our poor mech.
Turn 82

Proof that we can supply our planes on captured airports. This bomber has an extra two life and full fuel and ammo now.
Speaking of which, the bomber softens up the APC for the mech to finish off.
Pictured here: Me discovering that a copter can't drop a unit directly on the enemy HQ for some reason.
I also remembered that mechs can't capture HQs anyway, so I reset to the start of the turn and sent the copter back to pick up an infantry instead.
New plan for the planes - the bomber and the copter take out the supply, and all the enemy build points stay blocked. The mech is screwed but oh well.
The mech falls to the medium tank but more importantly, the enemy tank and APC both retreat straight into rocket range.
Turn 83
Truly these two rockets are the MVPs of this map.
We've got a new bomber and it can reach the medium tank.

Our "old" bomber has gotten enough repairs from the captured airport to finish it off.
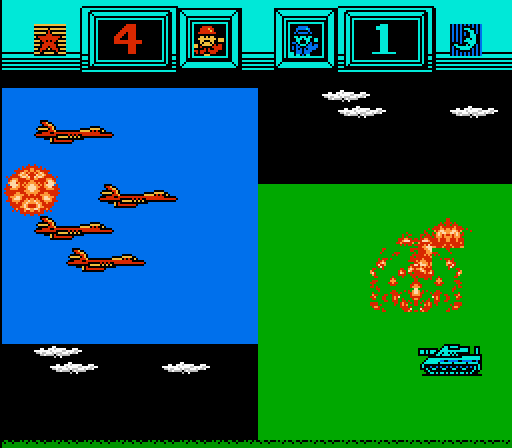
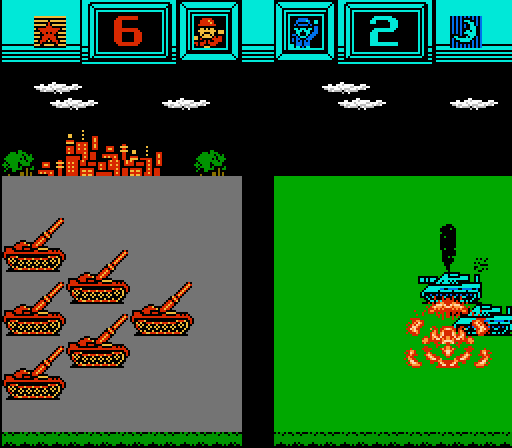
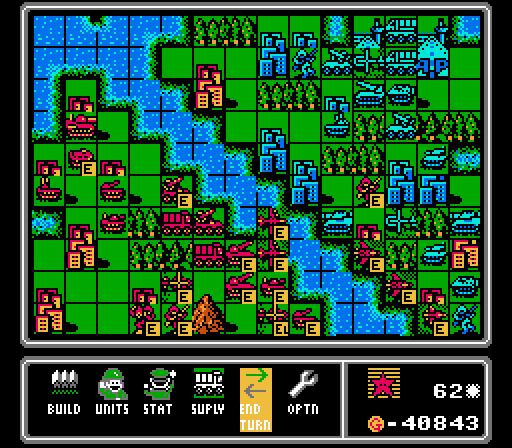
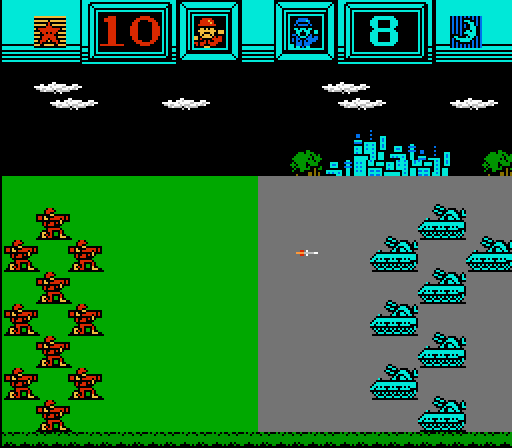
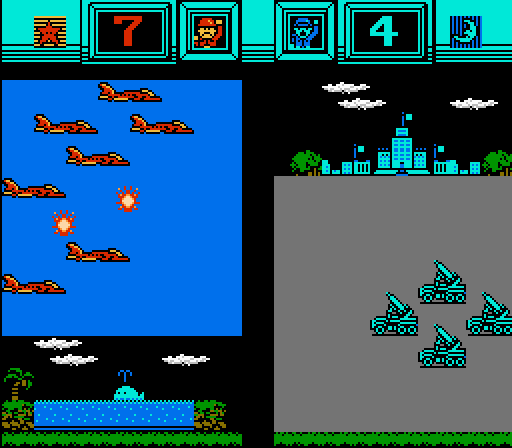
The only enemy unit left is this mech. Can the remaining air units with ammo finish the map this turn?
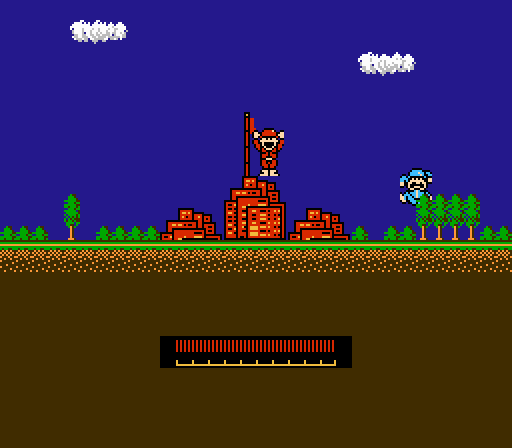
Yes.
They.
Can.
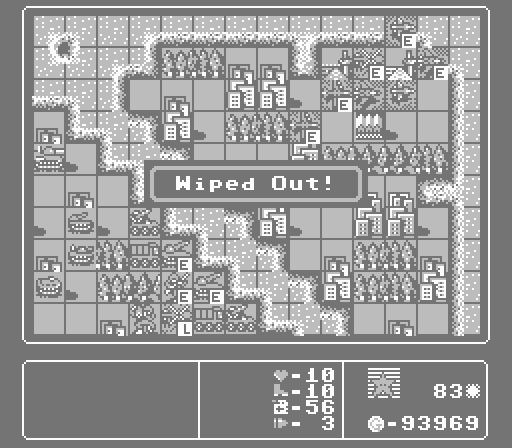
Holy shit that map was insane. And I literally picked the worst possible challenge for it. This map is meant to highlight your new units, the planes. So a challenge that limits how many you can put out is really a foolish move on my part. Next time I won't pick the challenge blindly.
Fuck yeah we did. It only took an extended trench war and filling up my hard drive three times, but we won!
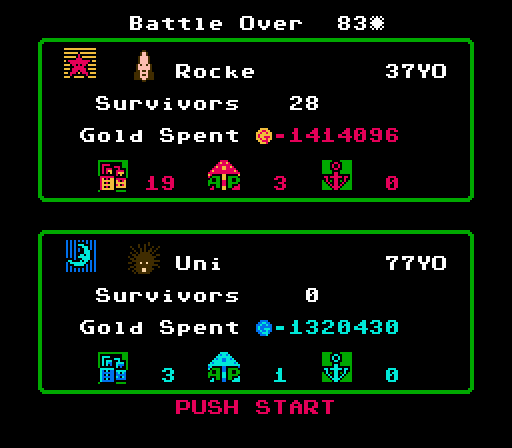
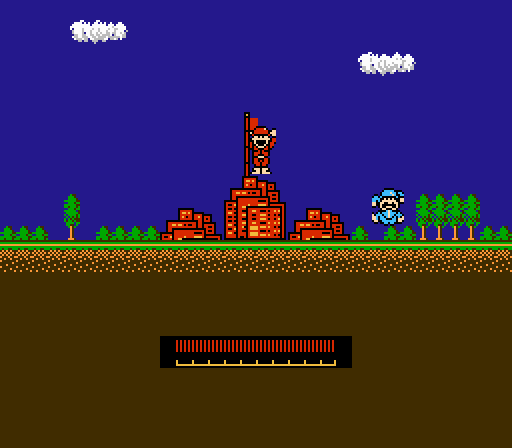
I'm sure both of these CO's mean something but I'm too sick of this map to think about it any further.
Edit:
Arbitrary Number posted:
Rocke looks like a rocket and Uni looks like a sea urchin (uni, in Japanese).
Well that's straightforward enough.
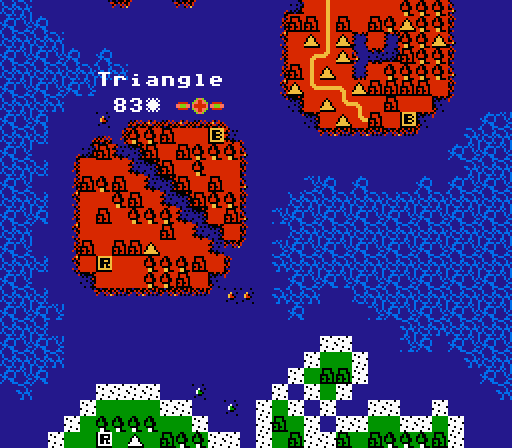
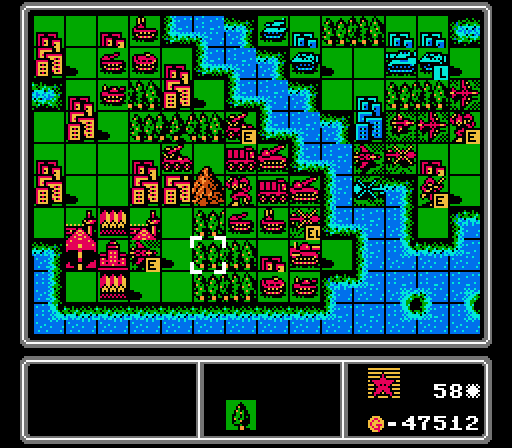
The triangle turns red for us, but a score of 83 days, what an eyesore. The average duration for this map is supposedly 19 days, so the challenge was quite the handicap if that wasn't obvious already. I apologize for dragging you all through it.
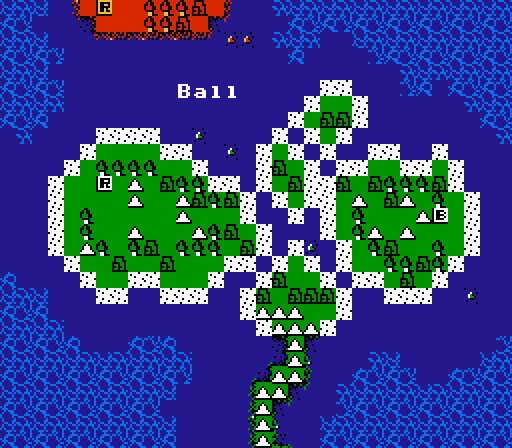
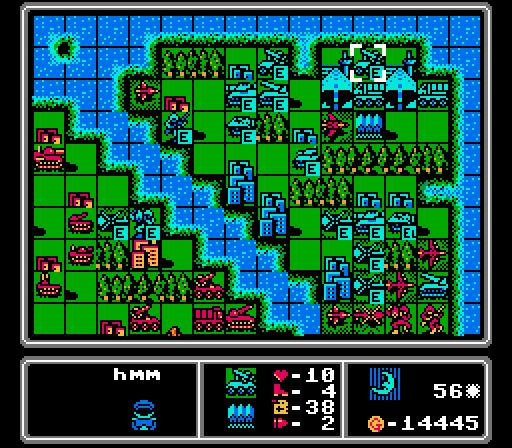
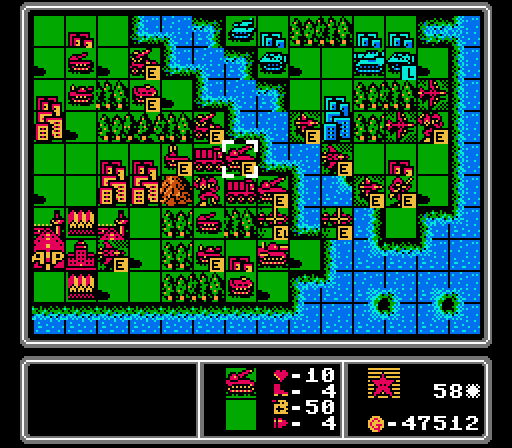
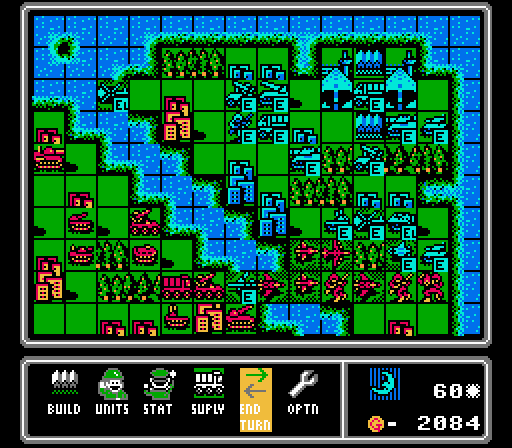
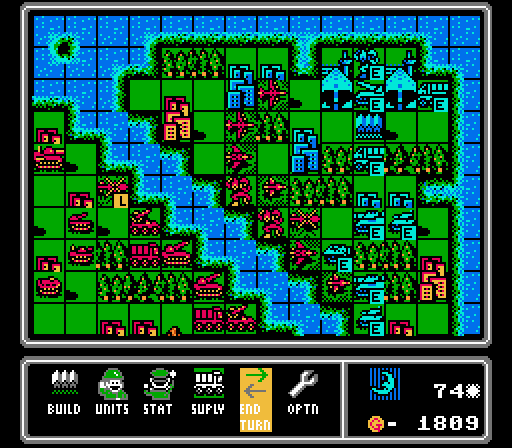
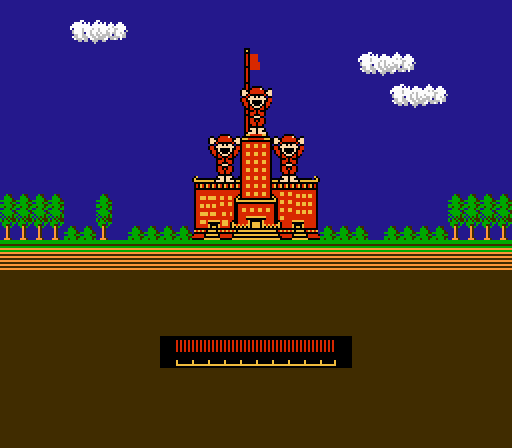
Onto the next map - Ball. This map looks a bit larger and it has a couple of islands again, but that won't be nearly the same problem as it was in Triangle. As for the challenge, I clearly can't be trusted to pick, so you get to choose from these options:
- Unlock Mode 2.0 - No building a unit until the enemy has built one of that type, including on the first turn
- Permanent Lock 2.0 - Two units are banned from use (cannot be both infantry and mech)
- Fair Play - Cannot build units unless the enemy has a larger army (except for the first turn; submitted by MagusofStars)
- Mirror Mode - Can only spend up to the enemy's starting funds and total income (submitted by Foxfire_)
- No Fly Zone - Air units cannot end the turn on the starting island (except for on airports; submitted by FoolyCharged)