Part 12: Ball (1 of 2)
Part 12: Ball (1 of 2)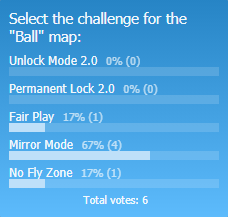
The challenge for this map is Mirror Mode. We can only spend what the opposing player will have available for funds on the same turn. No income advantage from efficient initial capturing, or from taking enemy territory.
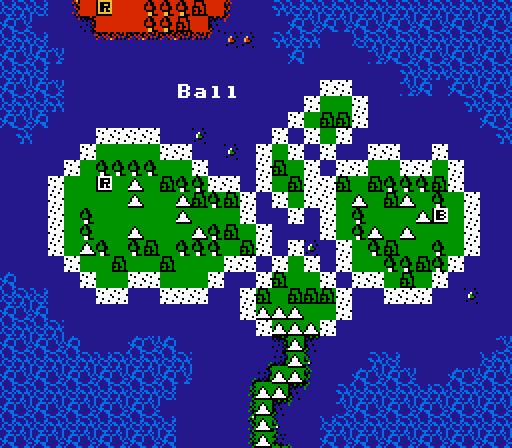
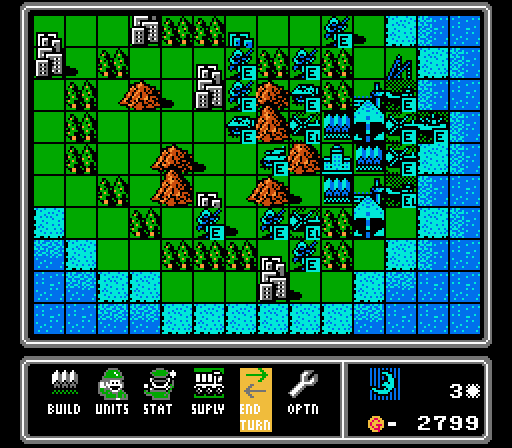
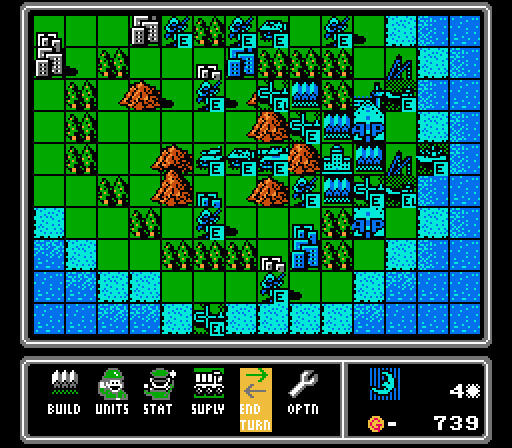
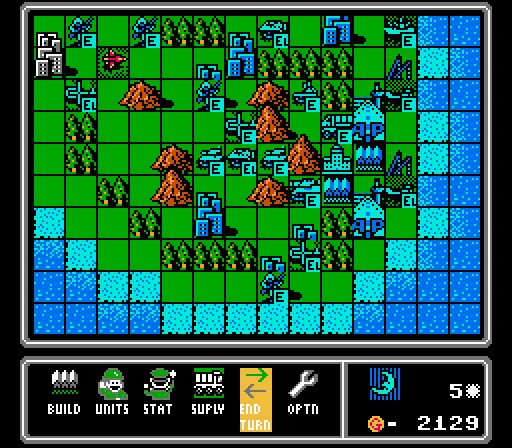
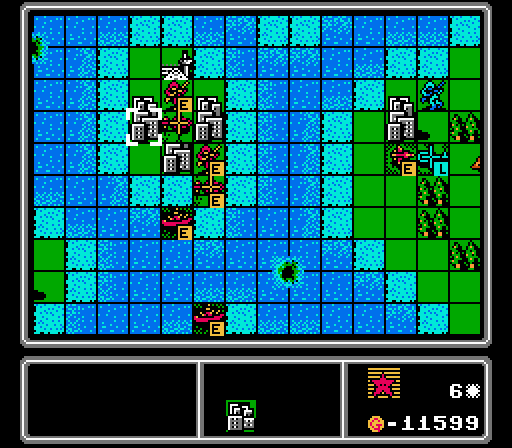
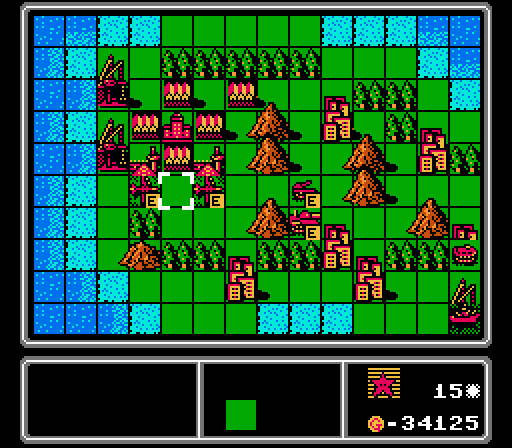
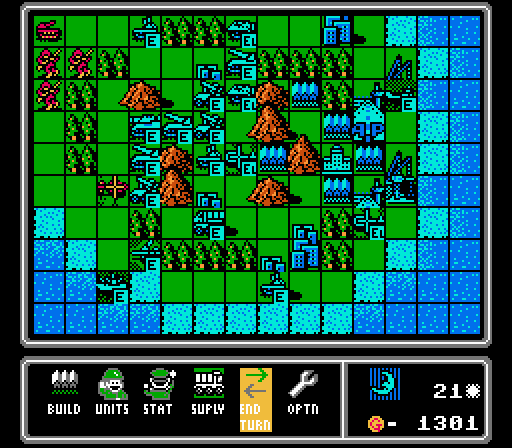
We're just four maps in, but all of the training wheels will be off with this one. Let's take a closer look:
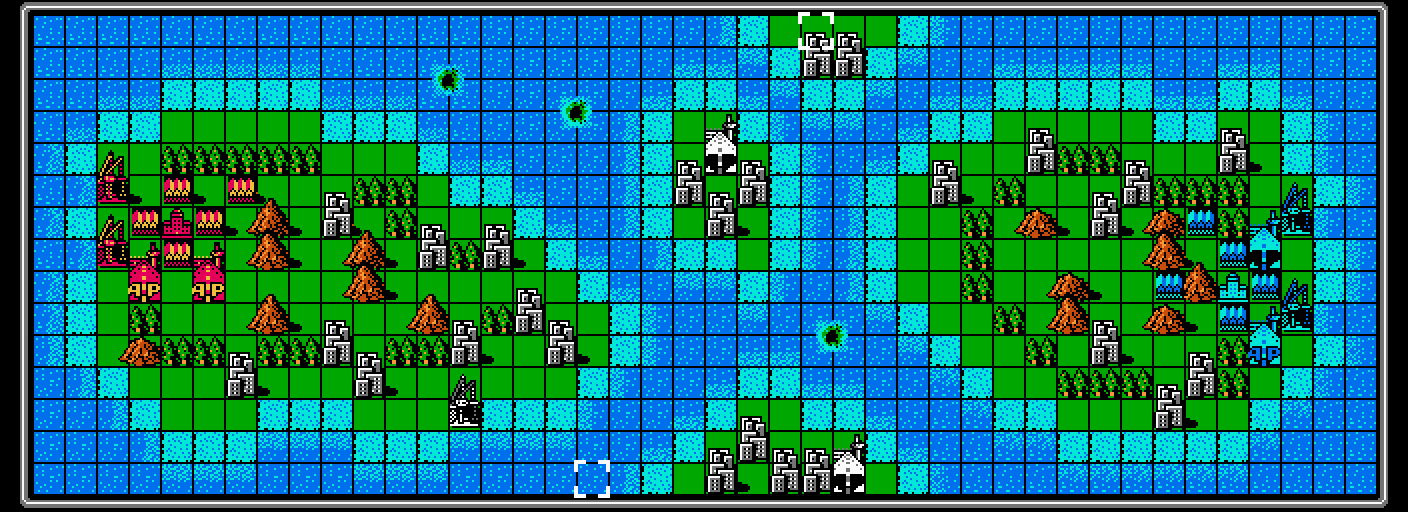
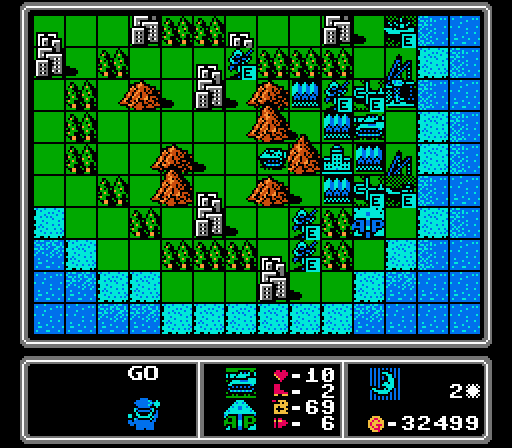
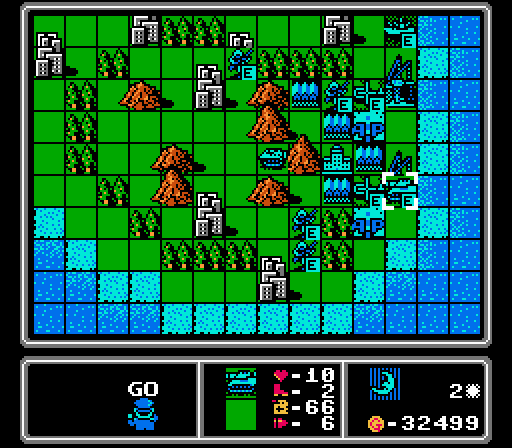
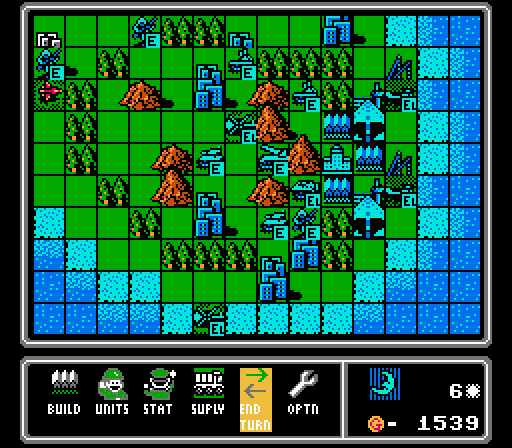
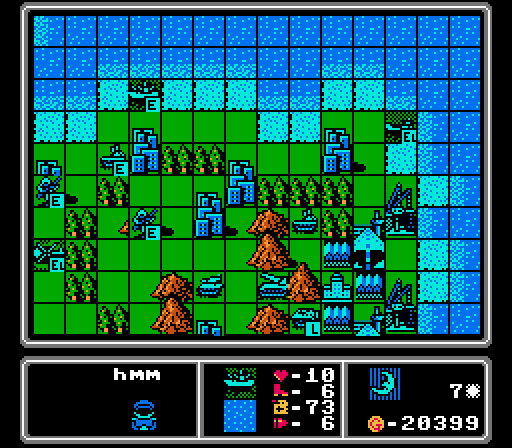
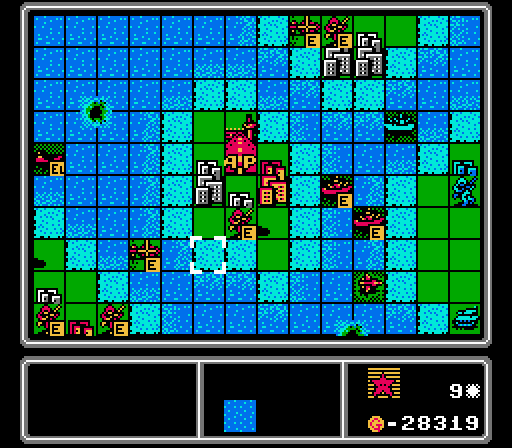
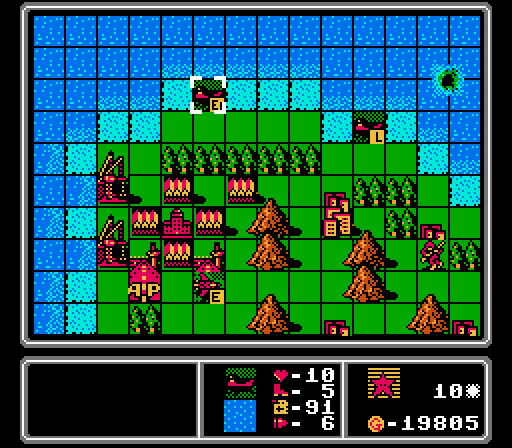
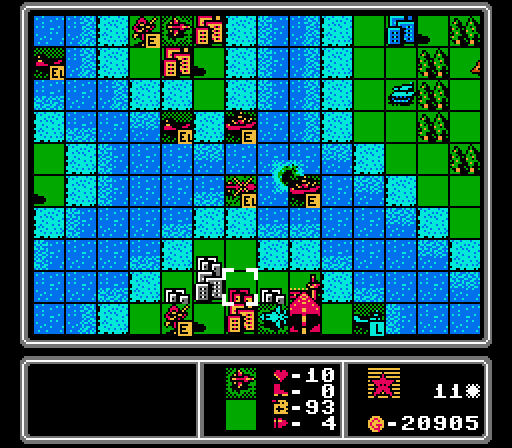
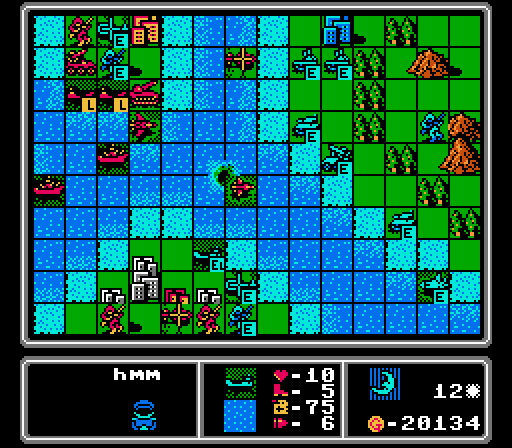
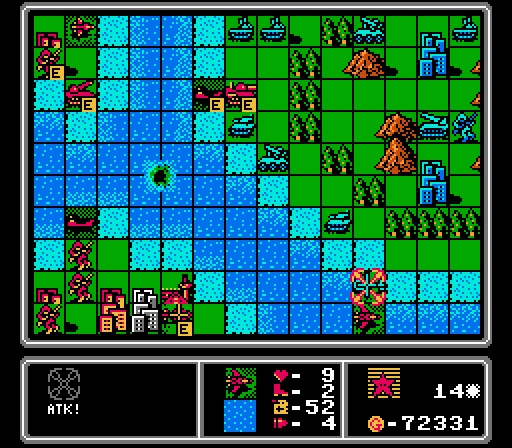
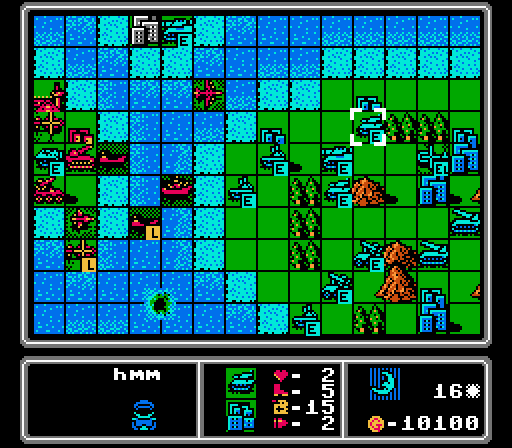
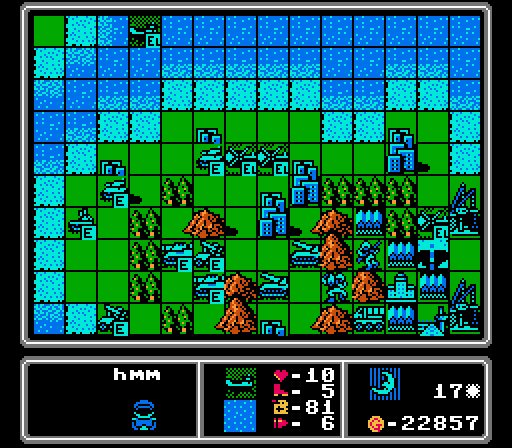
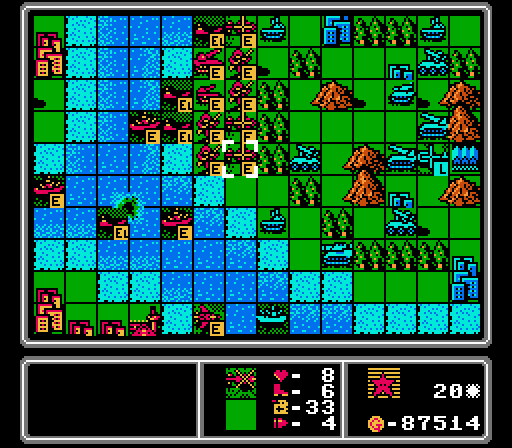
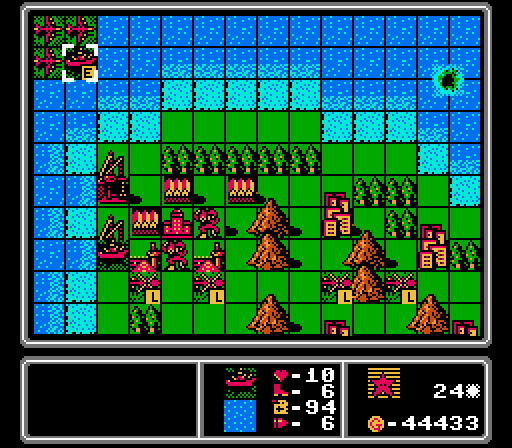
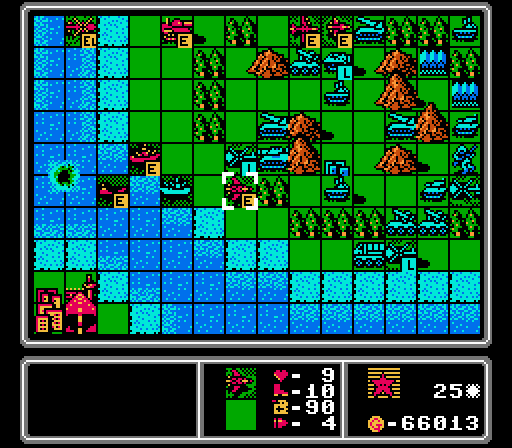
As you might've guessed from the preview, this map is our first large-sized one. It's a full three screens wide, on top of the normal 1.5 screens tall. That's a grand total of 42 tiles wide and 15 tiles tall. So even a bomber would take five turns and half of its fuel to get all the way across the map.
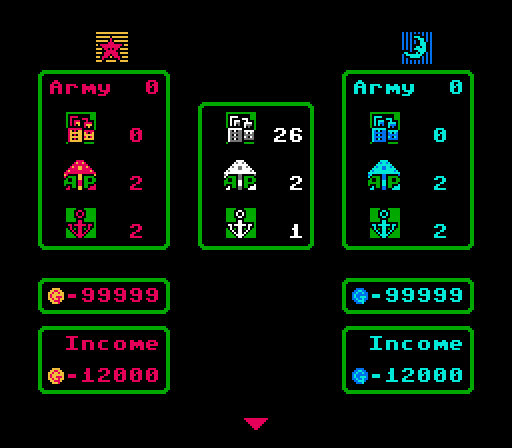
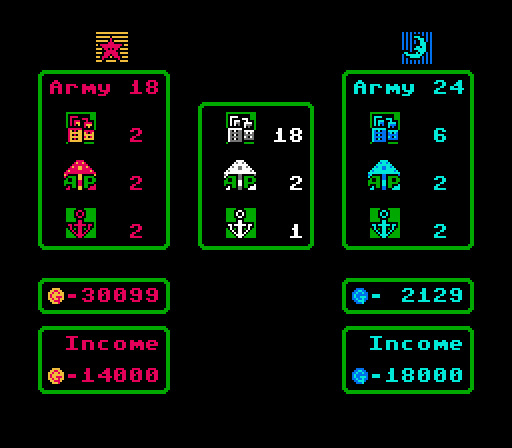
We've also got our last building type on this map - ports. As you might expect, ports can be used to build ships (naval units). I'll get into those as we build some, but two other things to note for this map. First, there are two neutral airports and a neutral port to capture in the larger-than-normal middle area of the map. Second, both sides start the map with maximum funds. There's a good reason for that; we'll see it shortly.
Turn 1
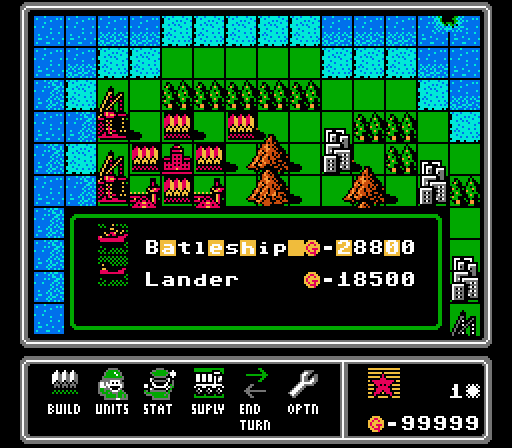
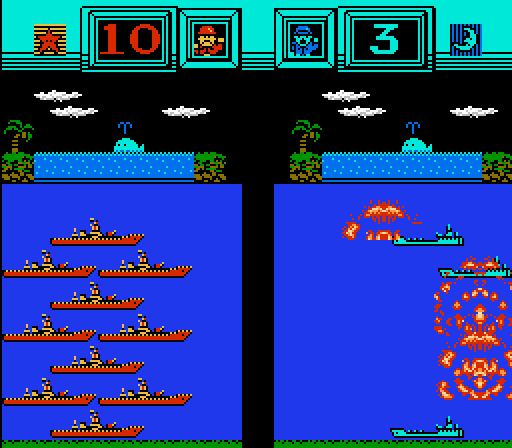
There are just two types of ships, and both are fairly expensive. The battleship is by far the most expensive unit in the game, and only the fighter and bomber are more expensive than the lander.
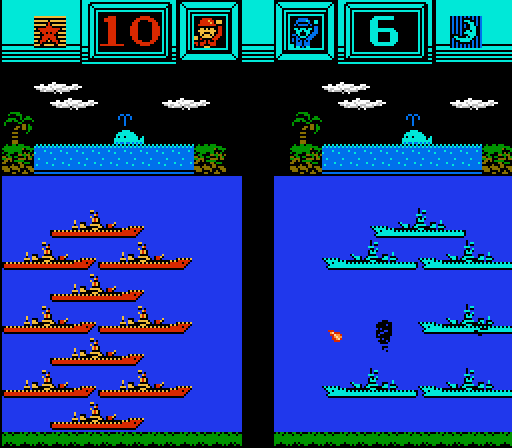
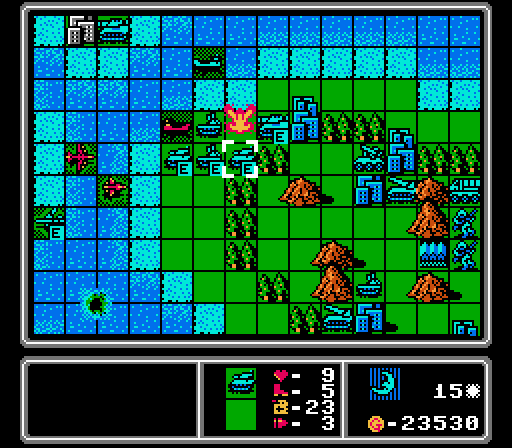
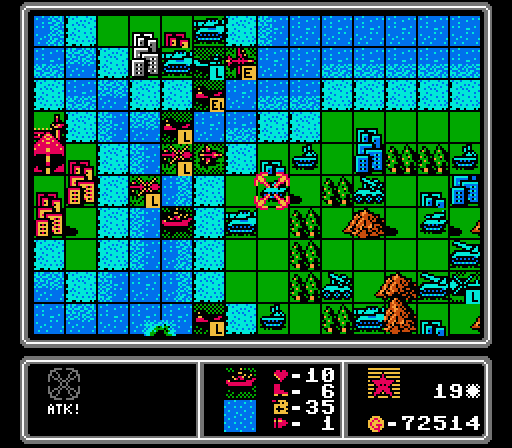
Since we're flush with cash at the start of this map, in addition to using up every ground and air build point to aid in capturing, we get ourselves not one but two battleships.
The Blue side is a little less organized on the ground front, throwing out a medium tank way earlier than necessary. There's also both a battleship and a lander at the ports.
Turn 2
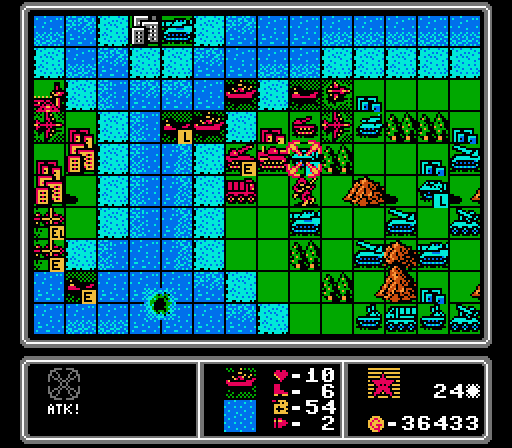
The capturing wave begins its advance.

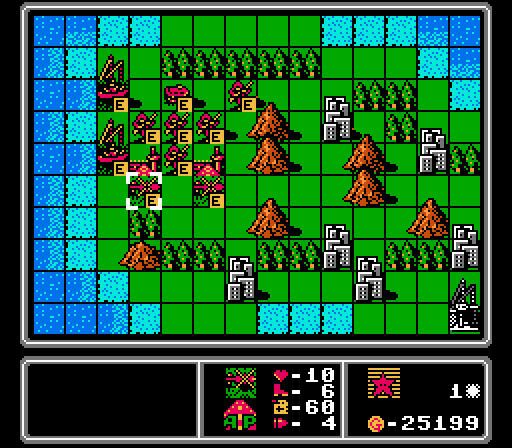
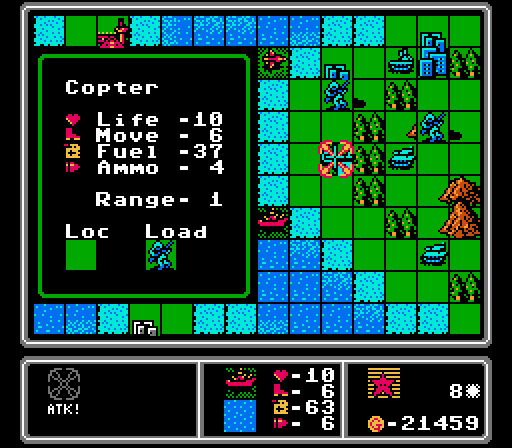
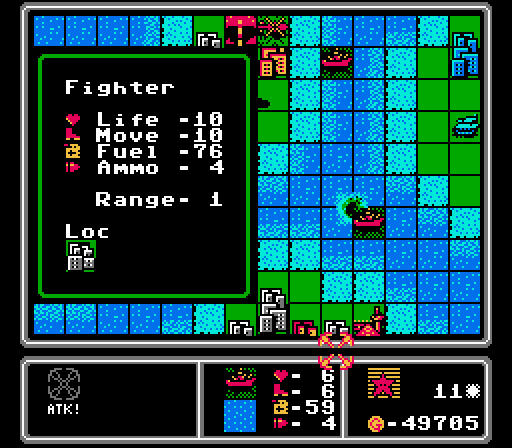
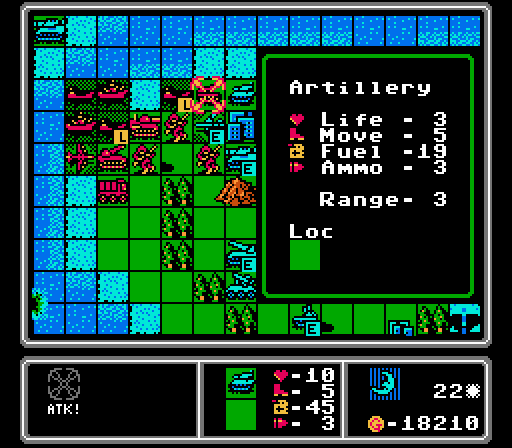
Here's the first look at the battleship. It's a ranged unit like a rocket or an AA missile, and it's got a high movement, high fuel, and high ammo load. That alone wouldn't justify the expense, but it's also a combat juggernaut. The two naval units can each fire on any other units in the game (ground, air, and naval). Battleships in particular will do at least 8 damage to all ground units on neutral terrain, and at least 6 damage to all air units. They also will take no more than 2 damage from any unit except bombers and other naval units, so they can take a few hits, too. Having two of these early on will win us the first half of the map.
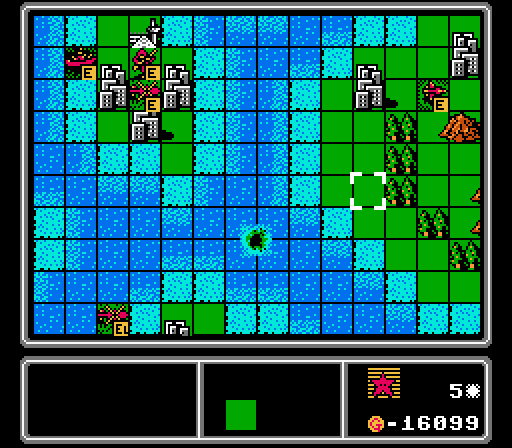
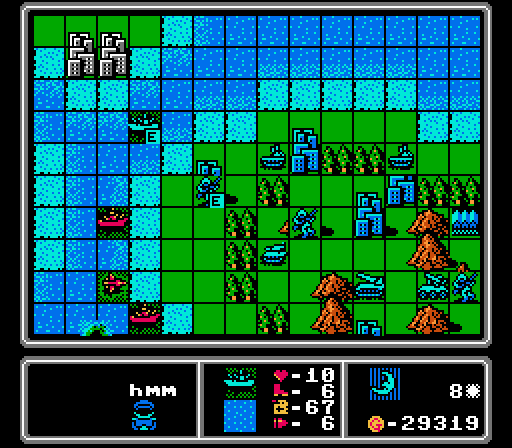
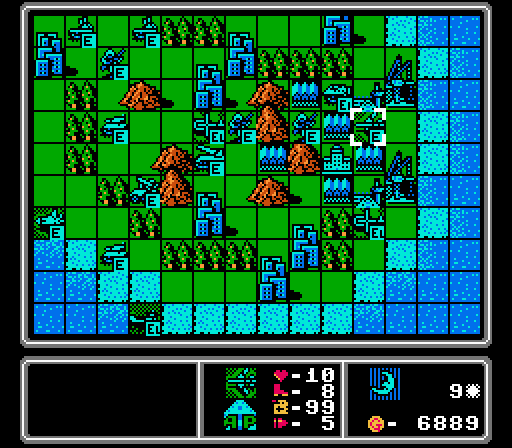
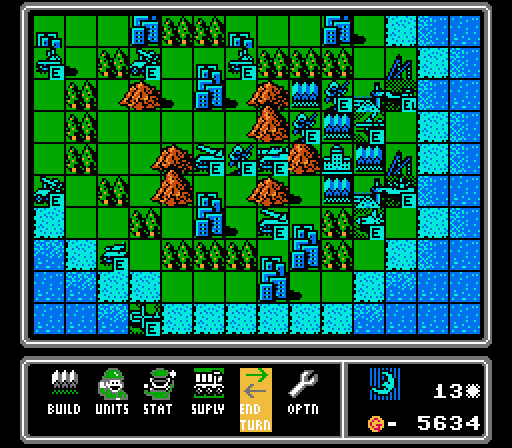
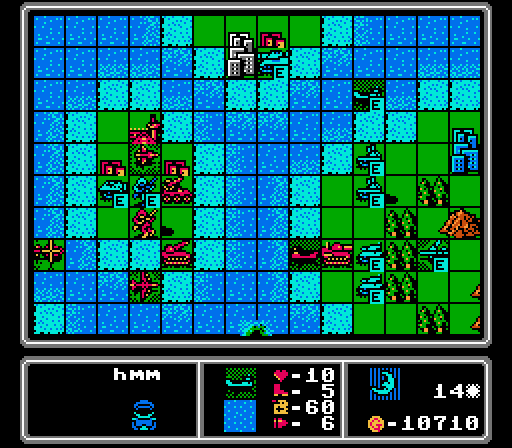
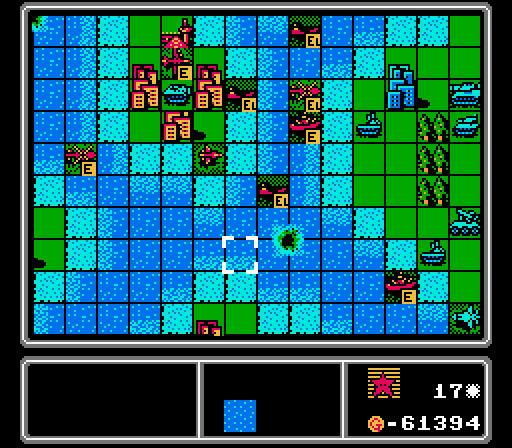
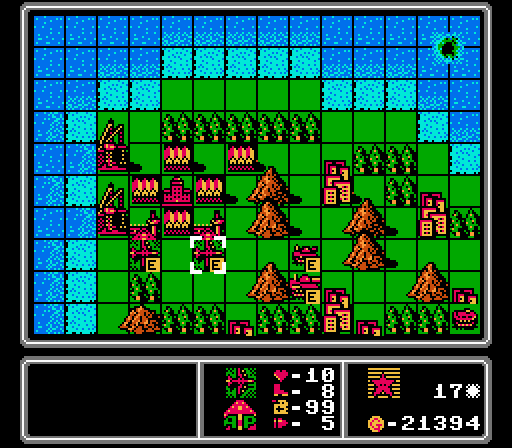
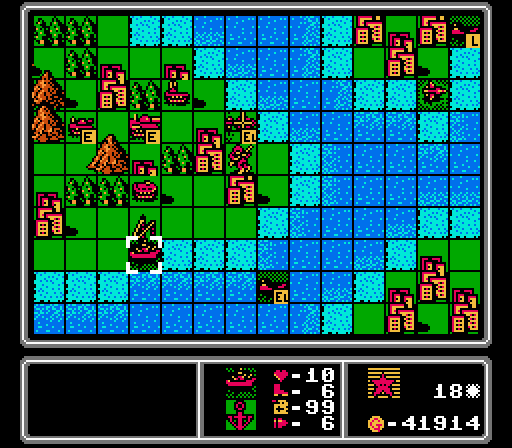
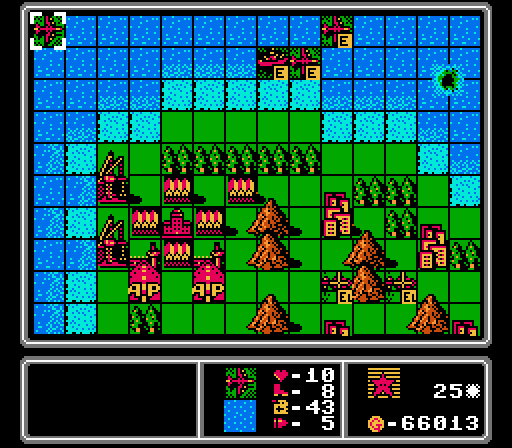
This map isn't quite balanced - the neutral cities on Blue's island are closer to the HQ, so their infantry can start capturing a couple of cities right away. The mountains there also form a better defensive wall, and the neutral islands are slightly closer to the Blue side. In exchange Red's island is the only one that has a neutral port.
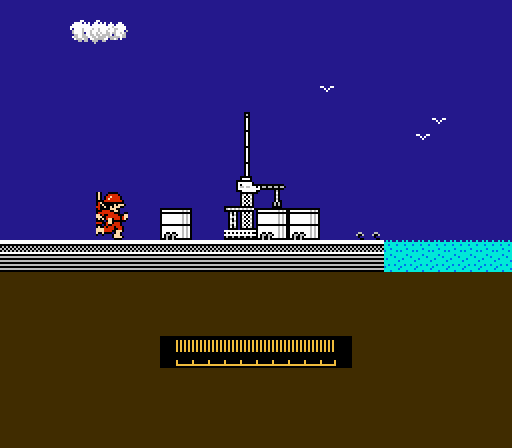
When the medium tank moves onto the lander, we get a new animation:
The same transport theme plays as for loading an APC or a copter. Sharp eyes may notice that there's more room on the lander in this animation, and that's because landers can not only carry any ground unit, they can carry two of them. (Okay, that's the same as in later games, but coming off being limited to copters for island invasions, these landers are a god-send.)
Turn 3
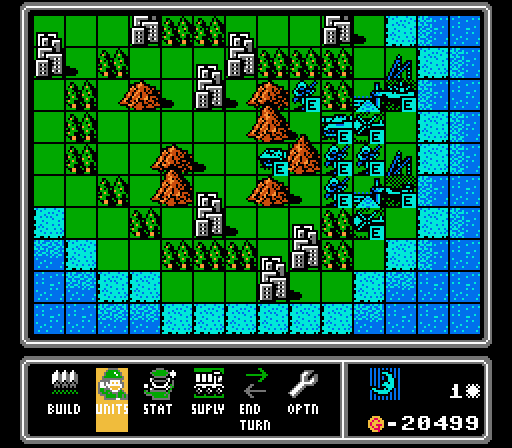
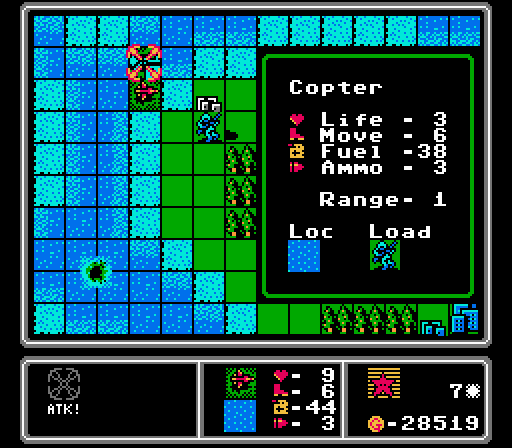
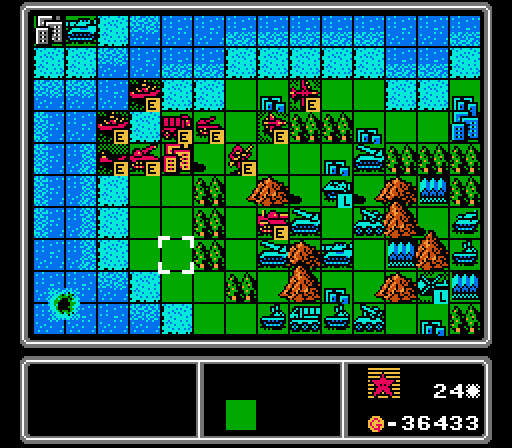
We're able to start a couple of captures of our own. The copters are headed straight for the neutral islands, with a scout as escort.
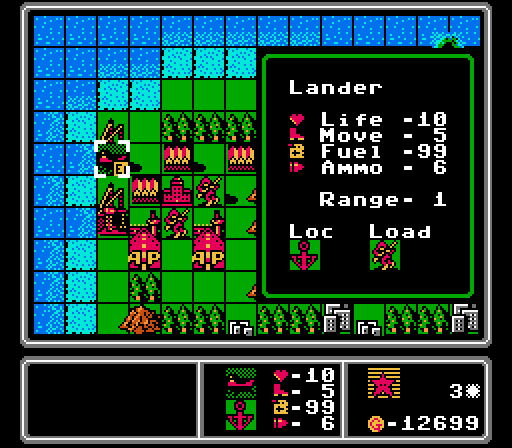
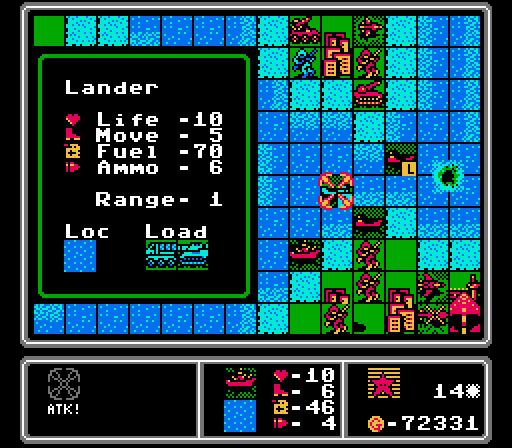
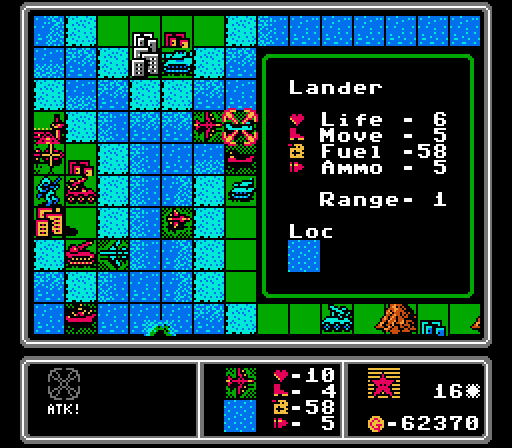
Here's a lander. Like the APC and copter, it can both carry units and hold its own in combat. It's got the same fuel and ammo as a battleship with one less movement. It can do decent damage to a battleship if it can get close without getting hit first, but its main combat purpose is to clear away any nearby aircraft. While it does less damage to air units than a battleship, the lander is more flexible since it can move and attack in the same turn. Landers are a solid sea-based bomber-deterrent, only slightly less effective than AA tanks.
I don't know if I ever showed it before, but this overview screen will also show any units loaded inside the transport unit. Handy for seeing what the enemy is bringing over to us, if I forget. (Side note: Don't ever put an infantry into a lander when you can use a much cheaper copter instead.)
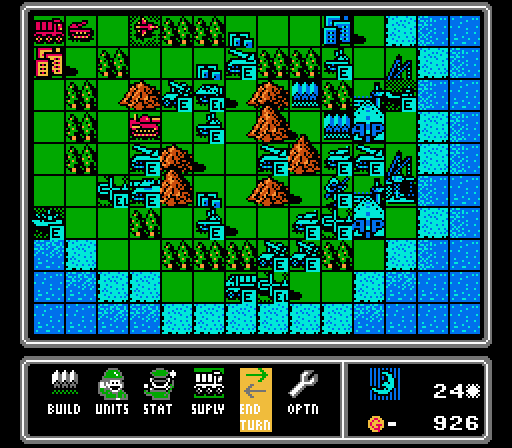
Blue completes a couple captures, starts a couple more, and generally just messes around otherwise.
Turn 4
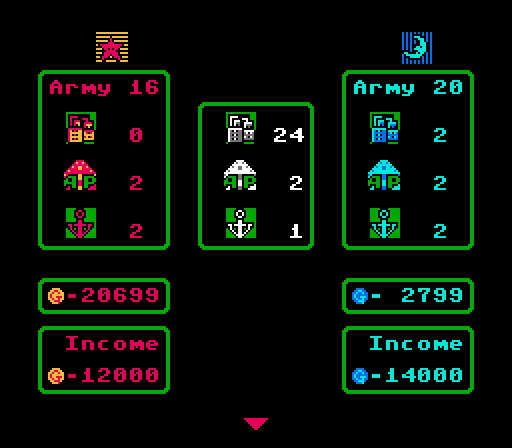
We're actually facing an income disparity here, making the challenge a moot point early on. That won't last though.
We finish two captures of our own, while our naval and air units keep heading for the center of the map.
Still just more capturing and building on Blue's end.
Turn 5
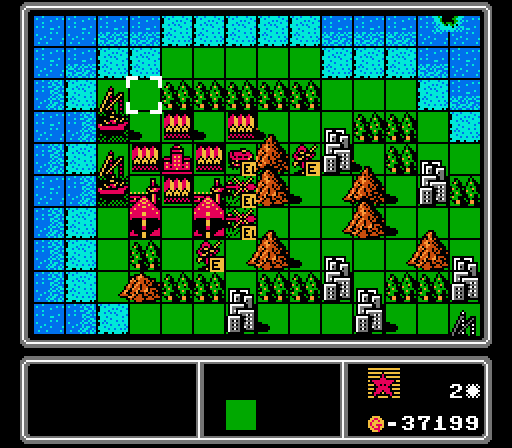
We start capturing the neutral port on our island.
Meanwhile our advance force has reached the first of the neutral islands, and our scout is out there taunting Blue's copters.
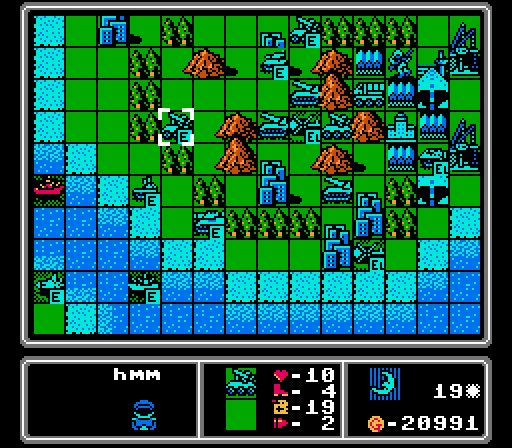
Blue has just about finished capturing everything on its island, but hasn't moved up anyone to contest our rush to the center yet.
Turn 6
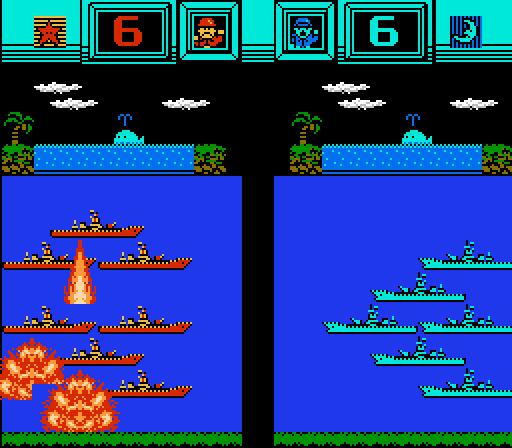
We're four cities behind now, but now that we've reached the center we'll start to catch up.
Completing the takeover of this port will help.
It's also fun to pick on loaded copters while there are no anti-air forces nearby.
We've got three infantry off to work on the central islands now (one is just off the bottom of the screen), and both of our battleships are in position to protect them.
There are a couple of enemy AA tanks and a rocket now, so Blue's island is starting to get clogged up. Off-screen the enemy battleship is slowly headed our way, and the damaged copter is making a run at us.
Turn 7
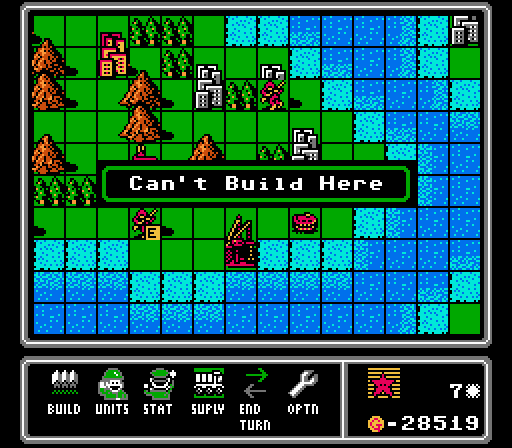
Remember that great port we captured? We can't actually build new units on it, a fact that was majorly disappointing to me since it means all new naval units have to spend at least five turns just getting from the back to the front. We can use it for repairs and supply, though.
Similarly we can't build from the central airport we just captured, but it's a good refueling station for our air units.
Our scout keeps the skies clear around our advance force.
Blue captures the last city on its starting island, and starts moving its units forward.
Turn 8

We're back at income equality here. We haven't captured nearly as many cities, but the extra port and airport are worth 2000 G of income each, as opposed to just 1000 G for cities. Another good reason to go after those first.
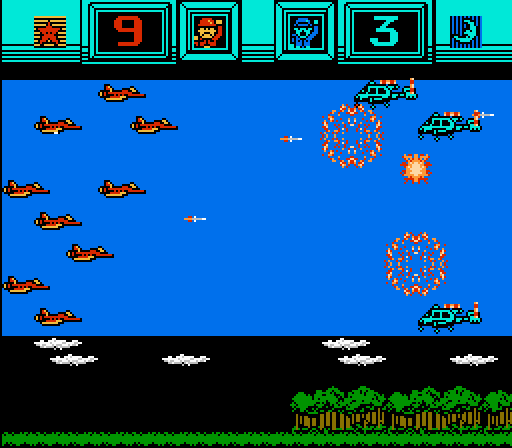
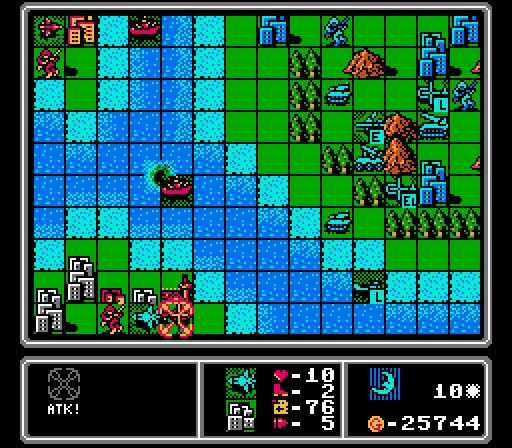
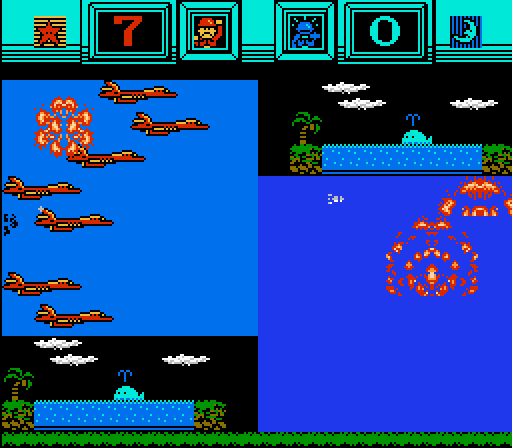
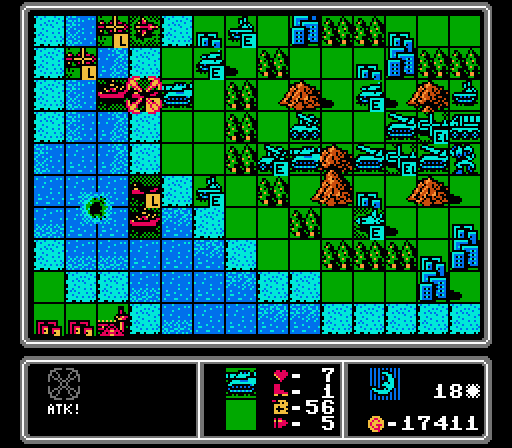
Let's see our battleship in action for the first time!
Magnificent. Battleships deal as much damage to air units as AA missiles, with a lot more ammo and mobility. We actually have both of our battleships in range so the other one finishes off this copter.
Blue moved its own battleship right into our range. First strike in a battle between ranged units is important, and we'll have it next turn.
Turn 9
The only things that battleships don't immediately wreck is other battleships.
We're still more jockeying for position than seriously engaging so far. After a couple turns of me forgetting to move them, the first of our landers is finally approaching the front.
Another example of the AI cheating. No way the 60% strength battleship should've done the same amount of damage back to us.
The enemy hasn't stopped building stuff, with a fighter approaching us and a new bomber.
Turn 10
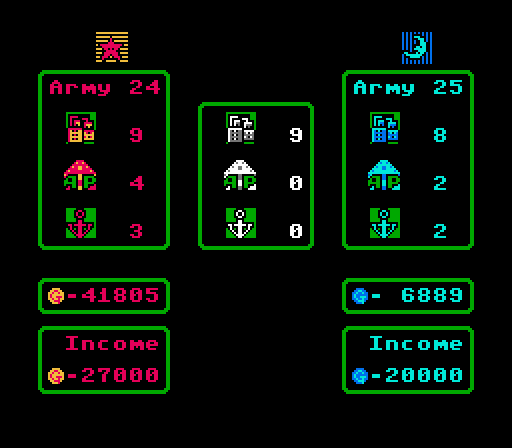
We've got a serious income advantage now, and if I play it right then Blue's income will never increase from where it is now. Starting this turn our cumulative income has surpassed the enemy's, so I'll have to start holding cash in reserve to meet the challenge and only spend what Blue's making. I won't bother you with the details.
I immediately blow most of our cash reserves on a fighter and load in more vehicles in the latest in the train of landers.
While I get in another shot on the enemy battleship with our fresh one, our damaged battleship retreats down near the fighter. That fighter can only reach our copter on the lower airport, and by attacking it, the fighter will be in range of the battleship next turn.
Like so. Wait, that bomber is gonna put the hurt on our battleship next turn, isn't it?
Turn 11
Our damaged battleship still does four damage to the fighter that's just off the screen here. It's going to take a hit from the bomber on the enemy phase, though.
That lander on the bottom can reach our damaged battleship, too. I try to arrange the rest of our units to at least be able to strike back at whatever attacks us.

The bomber strikes as expected, but the lander (carrying a medium tank) isn't willing to put its cargo at risk and sits where the battleships can't hurt it.
Turn 12
Our scout goes after the bomber, and our battleships retreat rather than expose themselves to the landers above and below. I shove a rocket and an AA missile out onto the central island for some extra protection, and discover that landers in this game can only unload one unit at a time. Our new fighter also moves up to say hello.
A couple turns ago an enemy lander dropped off a medium tank on the tiny island at the top of the map, and it's been harassing our infantry ever since. Not that I particularly mind, since that medium tank will now be trapped up there for the rest of the map.
The enemy bomber retreats, and we get a couple of infantry and an off-screen APC dropped off on the central islands. We've got plenty of firepower to handle this invasion, though.
Turn 13
The scout takes out the copter at the top of the screen, while the two enemy infantry get hit but neither are killed. Our battleships retreat further because I am more afraid of that lander than I should be. Our fighter eventually moves down to attack the other copter.
Nothing much on the enemy phase. The damaged planes get back to the airports. There are a bunch of anti-air units on the island's leading edge now.
Turn 14
Landers are one of the few units that can do appreciable damage to our battleships, but they have to get close enough first. Otherwise a first strike from the battleship renders the lander non-threatening. The rocket is able to finish off the lander, sinking it and the medium tank it was carrying.
While we finish off the infantry and copter at the bottom of the map, I optimistically drop off a medium tank on the enemy island with no support.
It survives the enemy phase pretty well, but it'll get ganged up on pretty quickly from here. I didn't even notice when playing, but the AI pulled off the Russian doll trick here. The infantry was loaded inside the APC, which was itself loaded inside the lander.
Turn 15
With everything on the lower-middle island captured now, it's time to start moving the infantry off of it. On the lower-right I've got a damaged fighter dueling with another damaged fighter while trying to stay away from the anti-air units. I've also got a new battleship finally arriving to the party. I really should have waited to drop off that medium tank until the battleships could support it.

Landers can't do a lot of damage to ground units, but AA tanks can't fight back either so might as well take the free damage and see how it looks in combat.
I still haven't forgiven AA tanks for the last map.
I was getting close to the funds cap so I get a couple bombers as throwaway funds to park in the far corners of the map to idle away.
Our medium tank gets ganged up on and destroyed here with some more "extra damage" chicanery from the hard-mode AI.
Turn 16
This lander attacked our lander on the enemy phase, and took enough damage that our bomber can now move in and finish it off without getting beat up too bad. Further down the enemy bomber went after our rocket but wasn't at full strength, so our scout is able to finish it off.
I've got a battleship near the enemy island now, and it scares away most of Blue's units.
Turn 17
The battleship takes out the damaged AA tank that was trying to get repaired on the city. Another battleship reaches the enemy island from the lower side. And our bomber retreats back to the airport and takes a bite out of the APC when it gets there. The rocket and AA missile are missing because I stuck them back onto a lander.
Nothing to see here, just two more throwaway bombers to keep my funds down.
It's kind of interesting watching the AI try to crowd its units into the few tiles that our battleships can't reach.
Turn 18
The big news on this turn is that our damaged battleship from forever ago is finally fully repaired and ready to return to the fight.
I got greedy and used a lander to chip at another AA tank, forgetting that it could be attacked on the enemy phase and risking its valuable cargo. Luckily the medium tank wasn't at full strength and only did one damage to the lander and its occupants here.
No joke, the AI dropped off another medium tank on this tiny island. That's two medium tanks that'll never leave there.
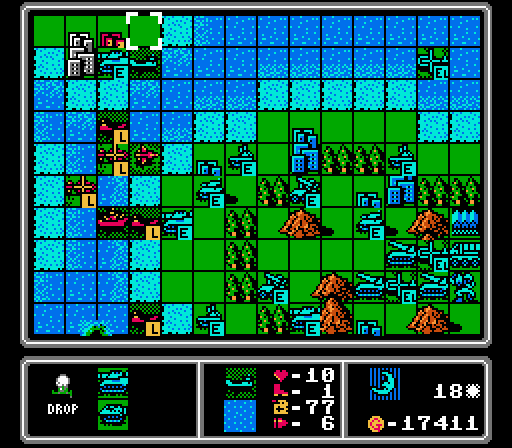
I don't think I showed off lander unloading yet, so there you go. You can see there's still an APC left in the lander, too. When you unload a lander that's carrying two units, you first pick which unit to unload, and then which tile to unload onto. That ends the lander's turn, so no going back and also unloading the second unit, even if there's a free space for it.
Turn 19
While up top I send a lander and a bomber to harass and pin the enemy lander, the battleships are able to take out both the tank targeted here and the nearby medium tank.
It's another quiet enemy phase. The fighter at the bottom was still damaged and went after our fully-repaired fighter, to its detriment. The enemy battleship creeping up on us is also only half-repaired.
Turn 20
It does my heart good to see so much damage done to an AA tank all at once.
One of our battleships ran out of ammo and had to pull back, but I'm able to land six units at once on Blue's island between all the landers and copters we have in the area.
We get a fourth battleship, and toss out two more throwaway bombers to keep our funds down below the cap.
All three of our copters get hit on the enemy phase, but somehow all of them survive. There's an enemy city sitting under one of of our infantry that we'll be able to start capturing next turn.
Turn 21
The battleships teamed up to take out the scout, the rocket went after the AA tank, and everyone else just kind of moved around to try and protect the capturing infantry. I'm not sure why I bothered to unload an unprotected AA missile, though.
We lose a copter and an infantry on the enemy phase, but otherwise see surprisingly few attacks. The AI isn't willing to put its units into the firing range of our battleships.
Turn 22
There's the first enemy city captured. We'll have even less income available to us now, thanks to the challenge.
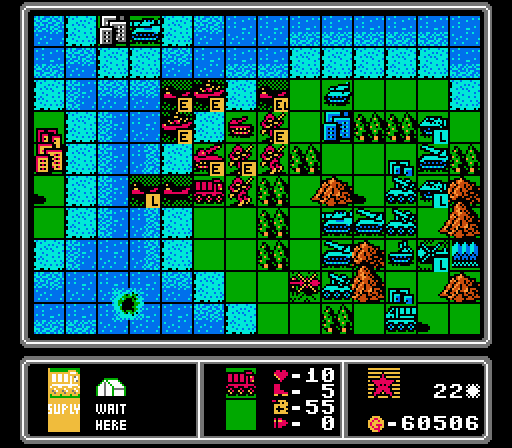
I was trying to have our supply fill up the lander here, but it didn't work. Supply units can only help out ground units. Good thing we have the captured port and airports for our other units.
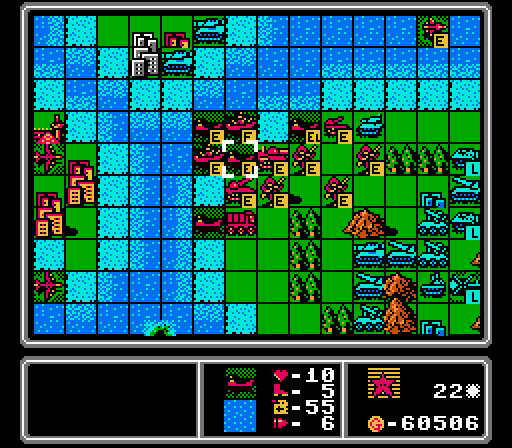
One of our infantry makes a bold play for a second enemy city, with me not realizing that it's in range of all three enemy rockets. But we do get a medium tank offloaded with much better support available this time.
We lost the infantry to the rockets as expected, and another copter to some AA missiles, but I did not see that bomber coming out of nowhere to wreck our artillery. The tank here finishes it off.
Turn 23
Our scout is still hanging around and slips in to beat up the bomber so that the battleship can finish it off. Our other battleship hits the nearby tank, while our rocket takes a bite out of the medium tank.
Our airports are currently busy quietly building up a fleet of copters to ferry over a horde of mechs, so I build two throwaway battleships this time to burn up our extra funds.
The enemy phase just has a couple more rocket strikes on our infantry.
Turn 24
I've got an identical formation of throwaway units gathering together in the lower corner.
The battleships erase the APC and the tank, then the fresh artillery finishes off the medium tank.
The three enemy rockets all covering each other is a tough formation to break, so I throw our medium tank at the center rocket to try and crack it open.
Our last infantry falls to one rocket, our medium tank loses half its Life to another rocket, and the third rocket retreats while a fourth one gets built.
Turn 25
The retreating rocket opens up the formation enough to allow a bomber in after the AA missile, and a fighter in after the copter. Our medium tank retreats to the city we captured, but I didn't realize it was still in range of the enemy battleship. Luckily it'll be able to barely survive the enemy phase, and I can set up to get rid of that battleship next turn.
So at this point, we're 25 turns in and comfortably in charge of the map. We've got a solid foothold on the enemy island, and strong units leading the charge. Winning the map eventually is a pretty sure thing now. Looking ahead though I'm pretty sure the challenge is just going to make actually completing the map a grueling grind like the last one, as our income keeps shrinking to match Blue's shrinking income, and our supply lines get longer and longer.
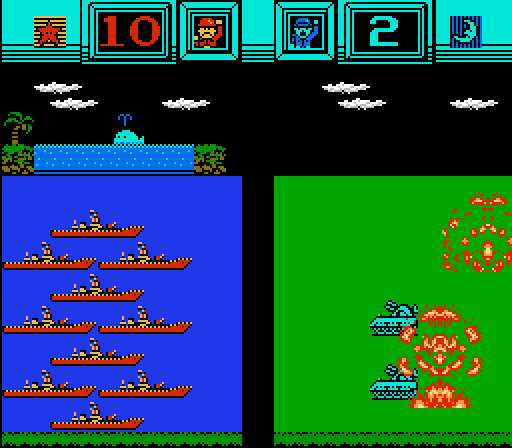
So I decide, fuck the challenge.
Release the hounds!