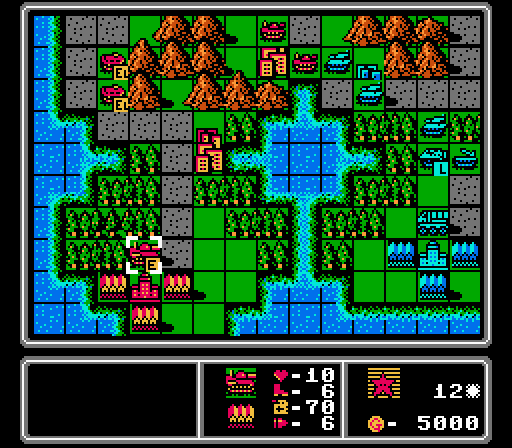
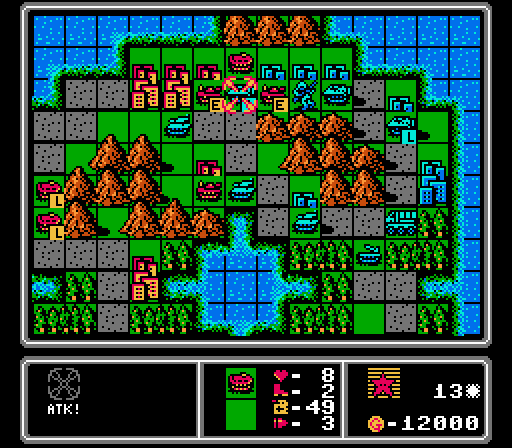
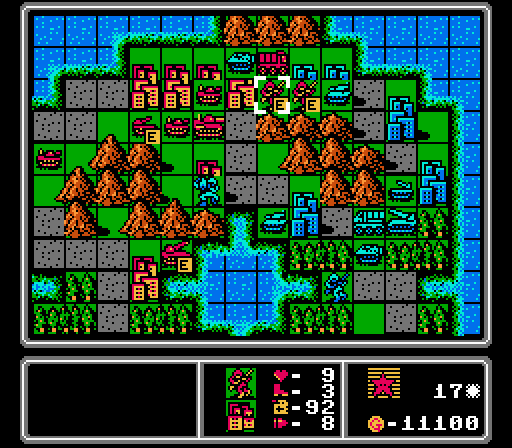
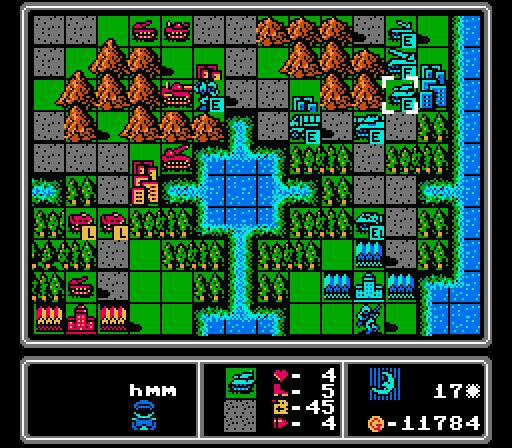
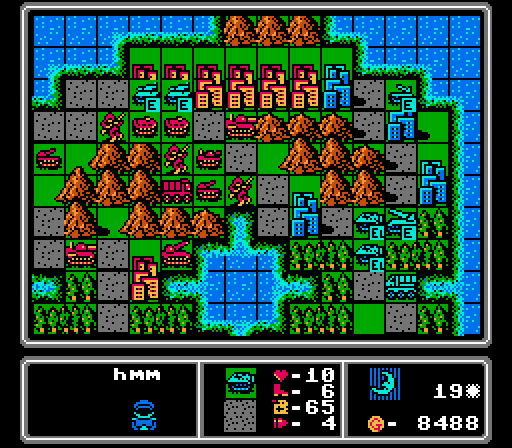
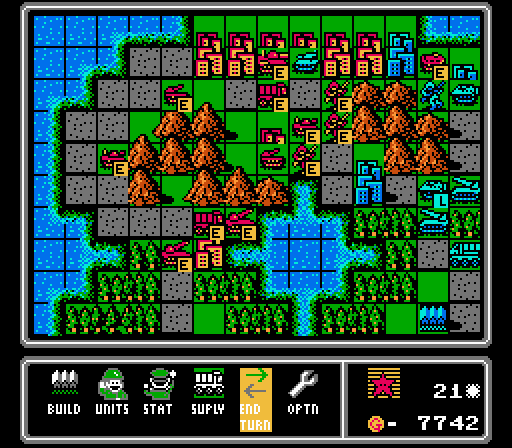
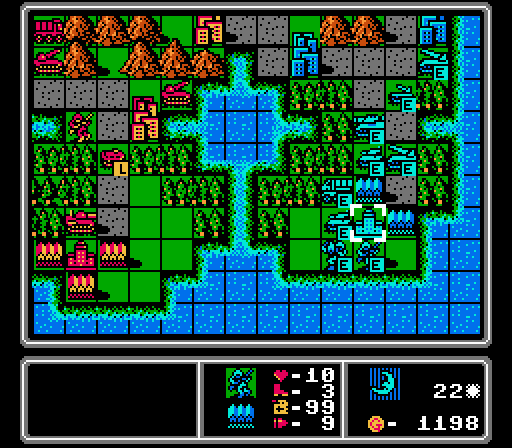
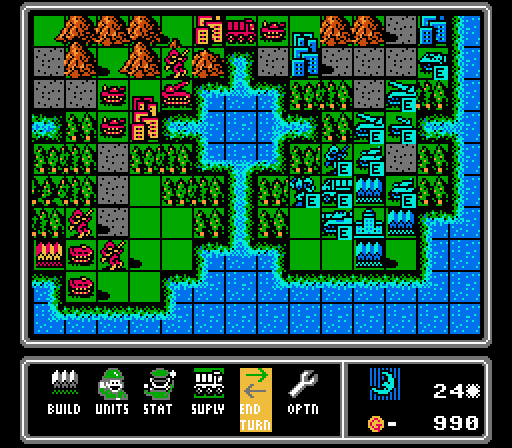
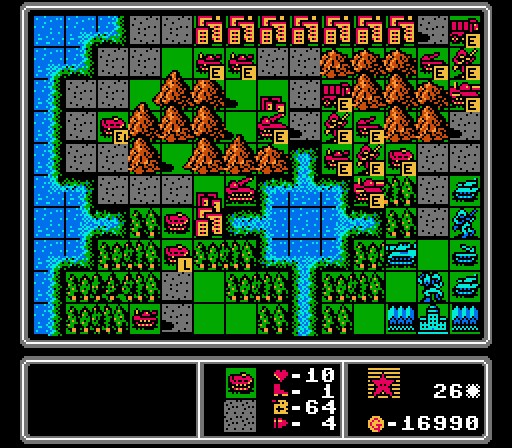
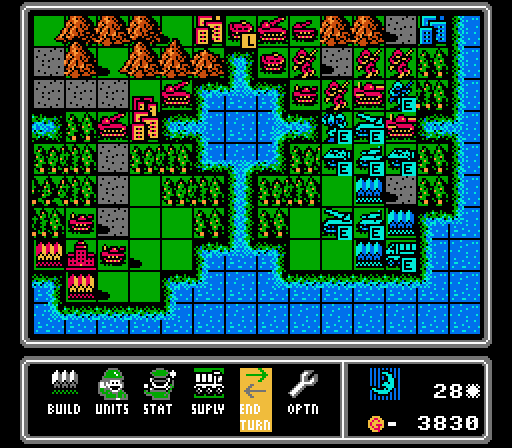
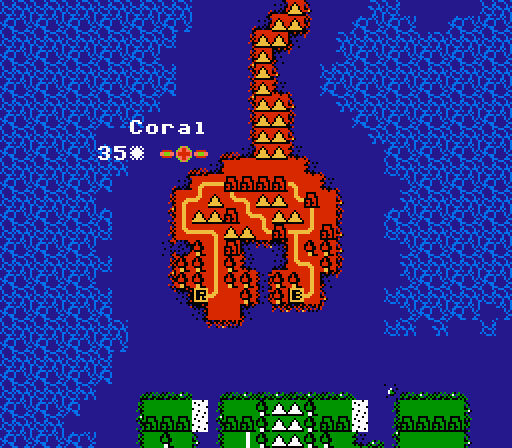
Part 16: Coral (2 of 2)
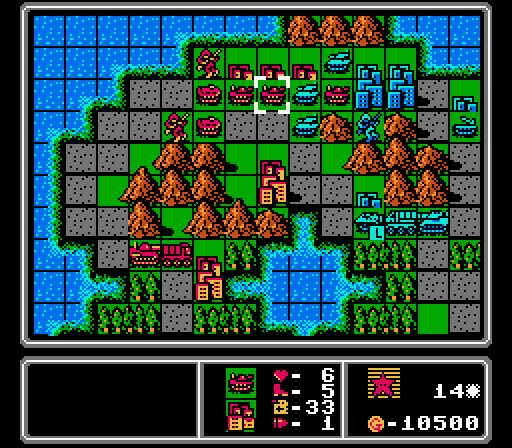
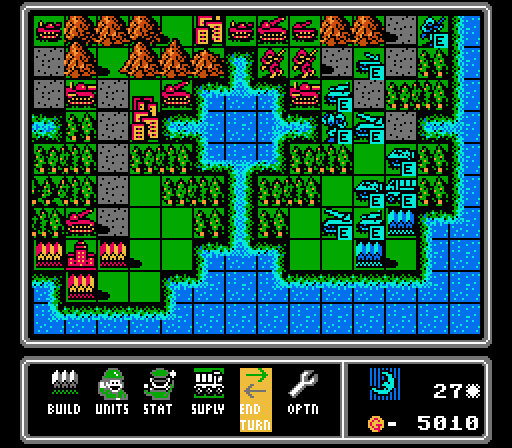
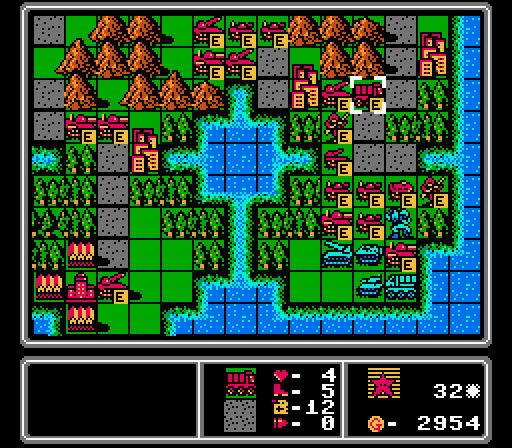
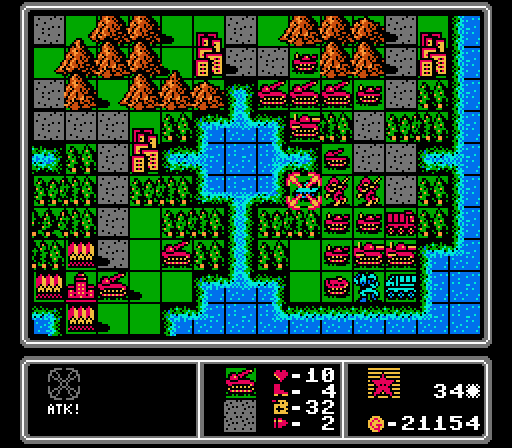
Part 16: Coral (2 of 2)Turn 11
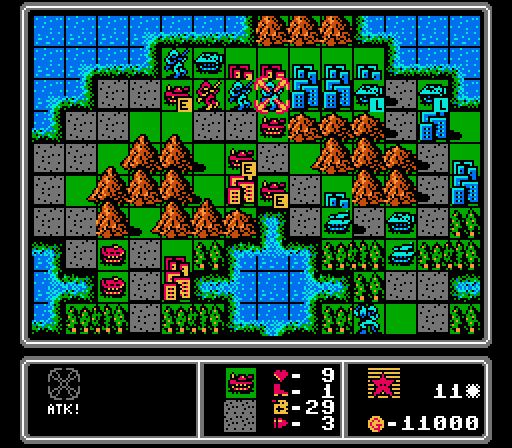
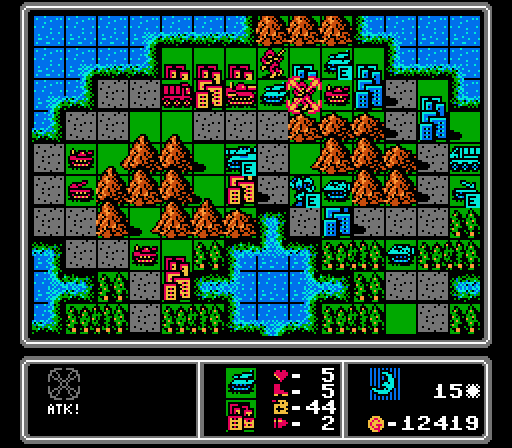
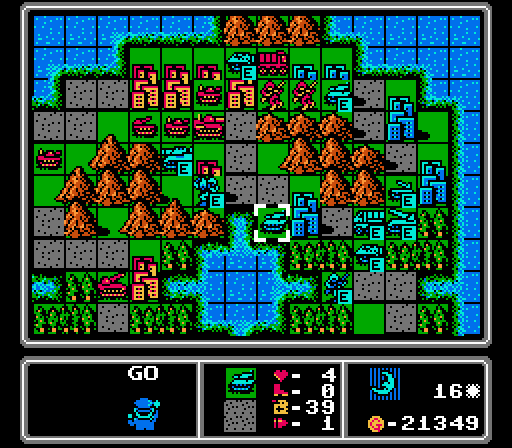
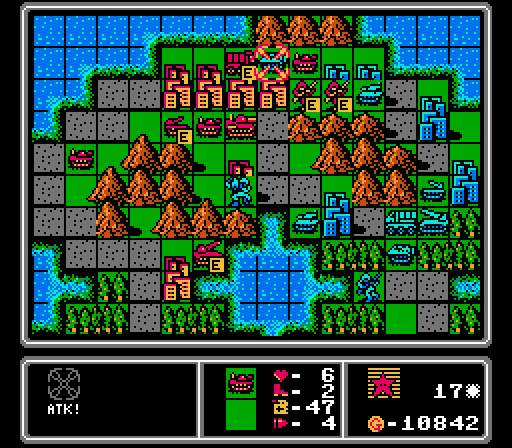
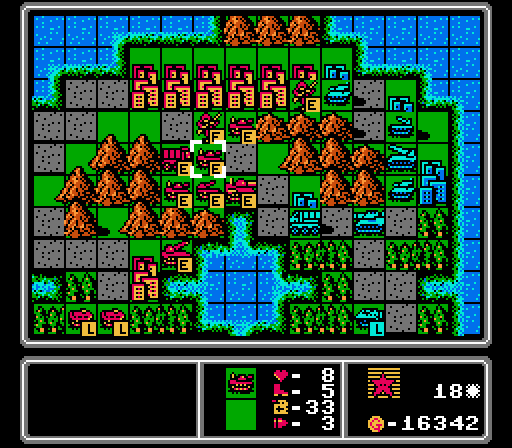
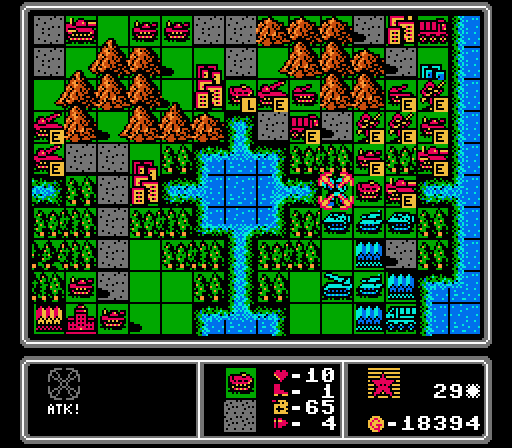
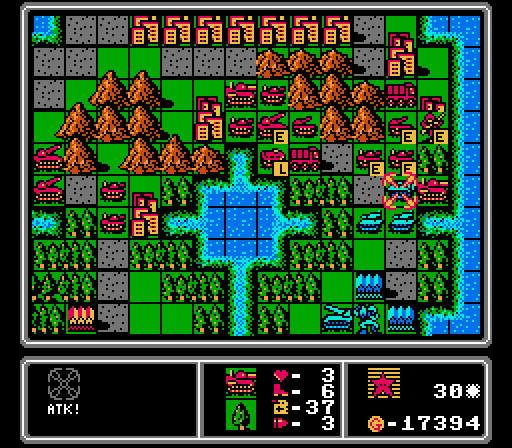
Here's how I know I should have built an extra couple of APCs way back on Turn 5. Here I have four tanks each spending their turns desperately attacking infantry. Two of our tanks are able to get rid of the one on the central city, another weakens one of the top row crew, and a fresh tank finally joins the fray by blocking the last of our open cities in the top row and shredding another infantry. Phew!
Trying to get some infantry to do some capturing eventually.

Slight trouble - two of the infantry merged together, and the freshly healed two-headed monster is going to finish that capture next turn if I can't stop it.
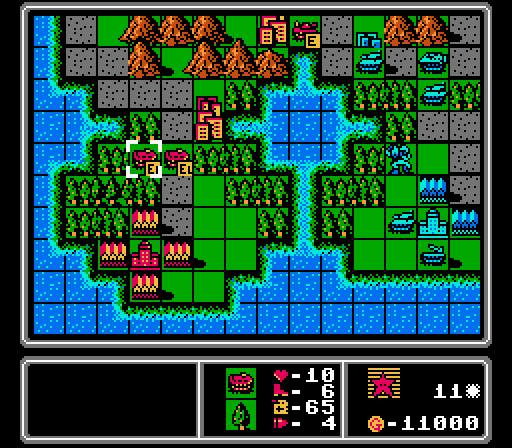
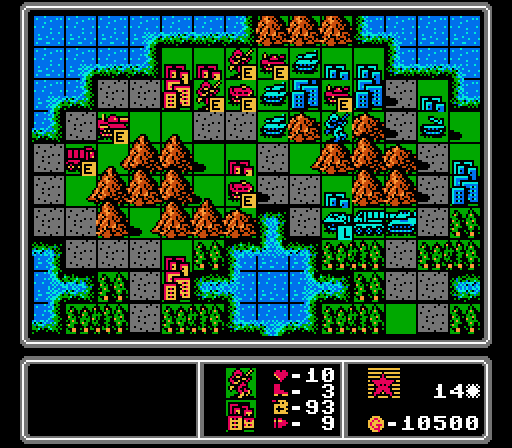
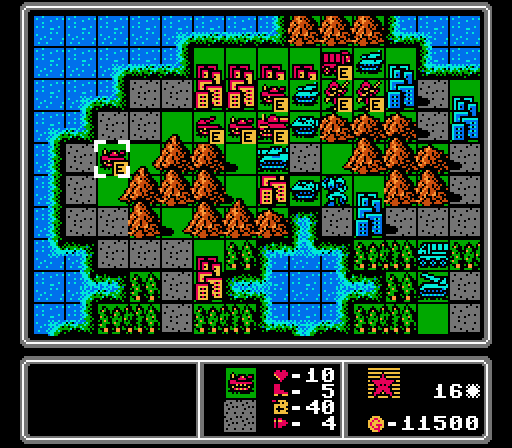
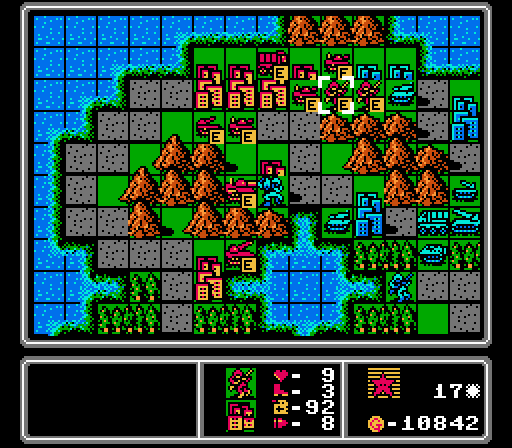
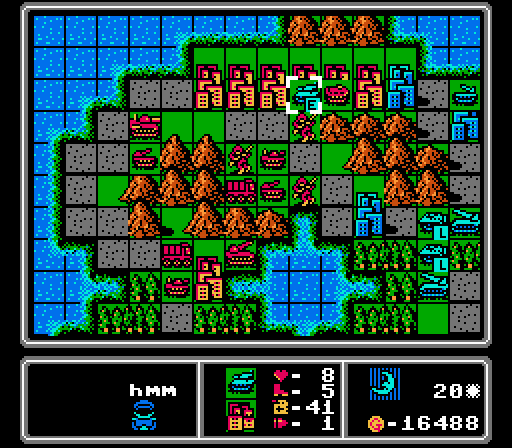
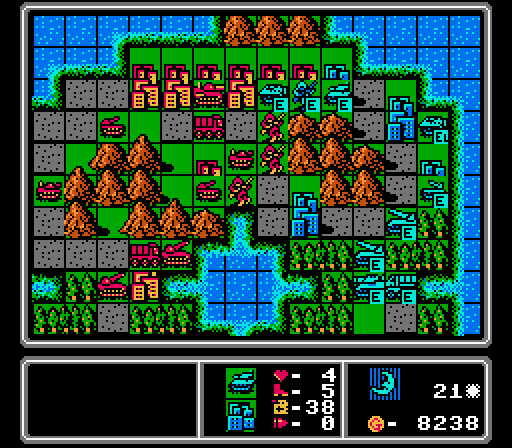
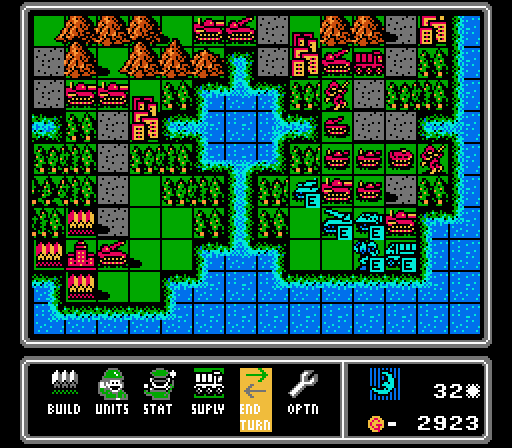
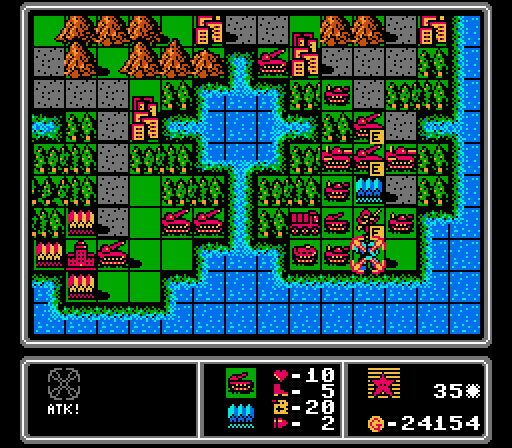
Turn 12
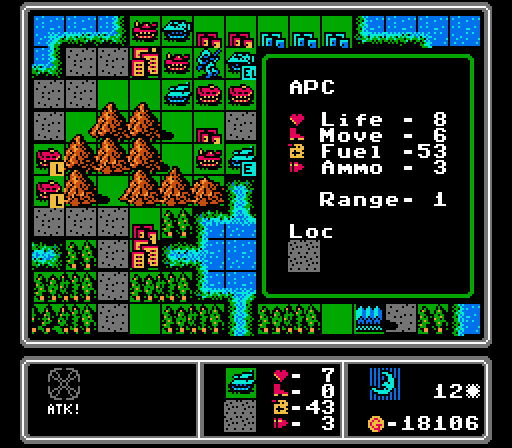
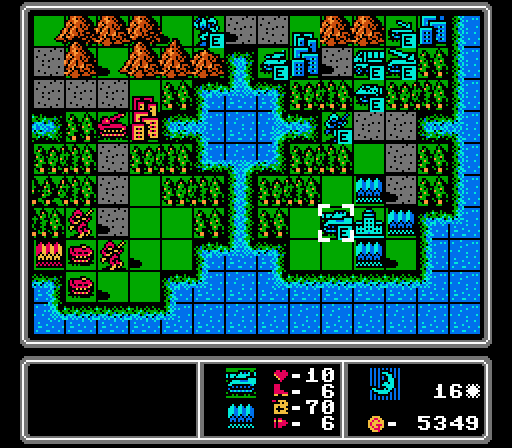
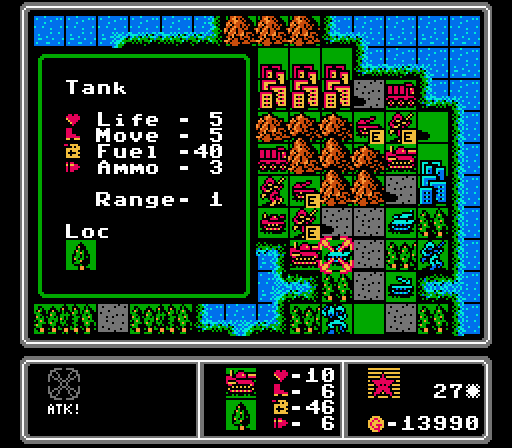
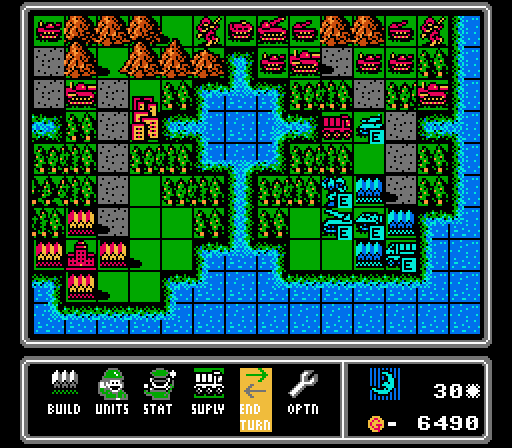
I haven't really mentioned the challenge much, but it's had an impact already since I haven't been able to keep my damaged units topped off, like this tank here. Instead they keep getting weaker and weaker with each attack, until I eventually lose them or have to merge them together. Sure, I have more funds available for building new units instead, but it really takes them forever to get to the contested area of the map.
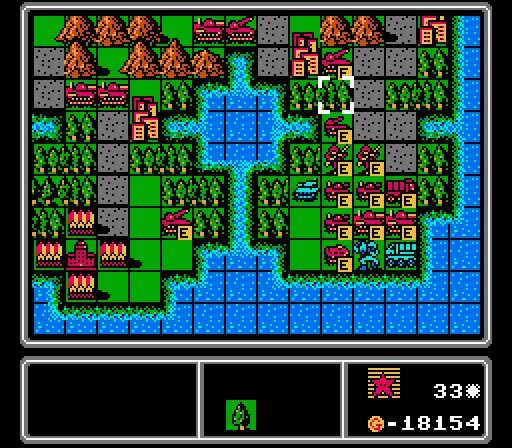
Here's why I said that infantry merge last turn was only slight trouble. Our two new APCs are finally here, and can easily eliminate the threat. There is still an infantry inside the nearby enemy APC to handle, but we've dealt with the immediate crisis now.
As a reward we splurge on a medium tank!

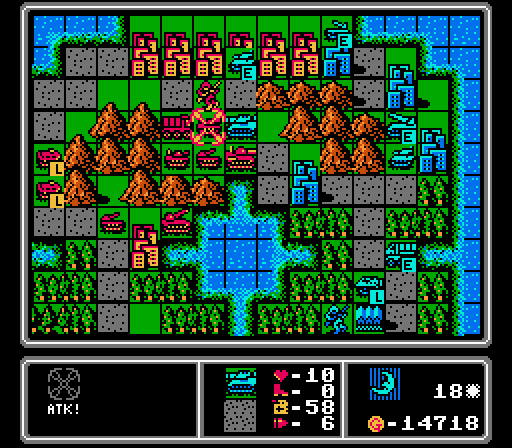
A seven-life tank against an eight-life APC. Somehow it results in a kill. Stupid cheating hard-mode AI.
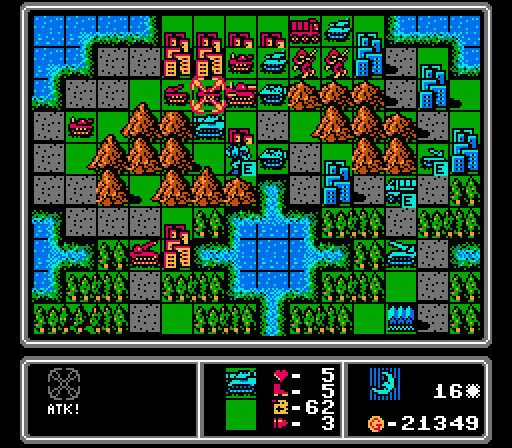
Suddenly I'm bringing a bunch of fresh APCs right into the teeth of a few tanks. Not a great matchup, and our own tanks are all beat up.
As if that situation weren't bad enough, Blue also gets a medium tank. So we won't even get an advantage there.
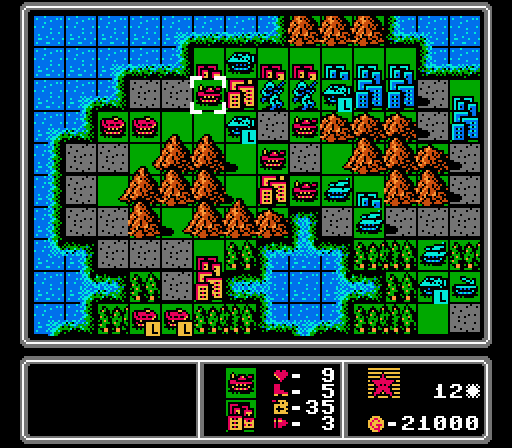
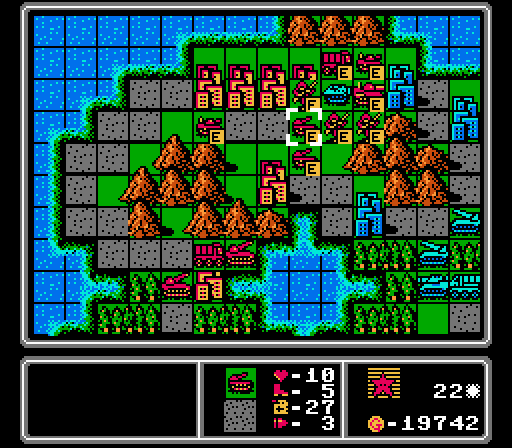
Turn 13
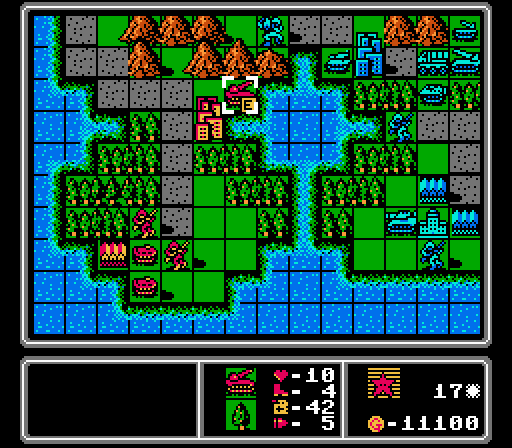
I can't really hit the enemy tanks head-on, but I can throw everything we have at this loaded APC to forestall any future capture attempts.
We unload the APCs to protect their passengers, then move our last tank up to keep the infantry protected. We actually have one of the enemy tanks fairly beat up now.
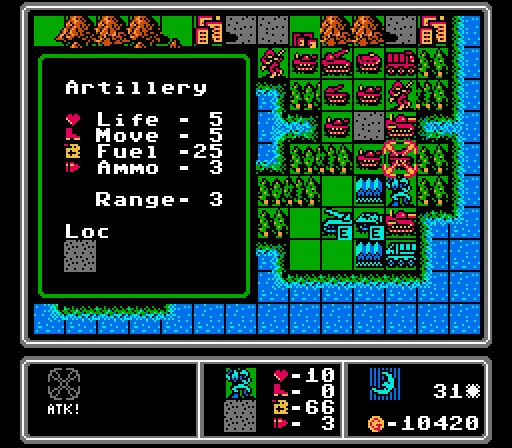
I'm a little behind, but we also get a tank and artillery. I got a supply last turn, too - one of our tanks up top has run out of ammo.
We lose an APC, but counter-kill an enemy APC, so it evens out. That medium tank is awfully close to us already, though.
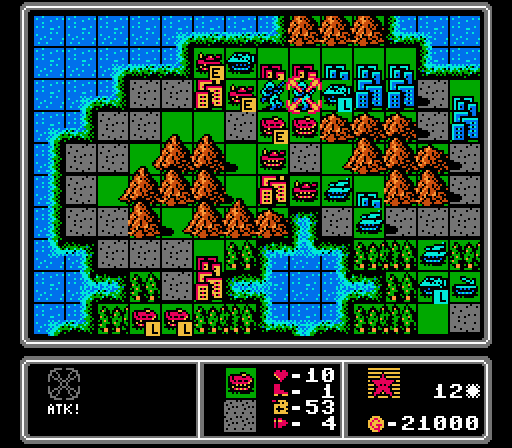
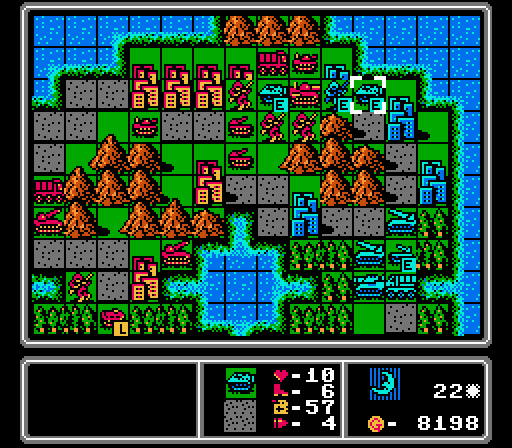
Turn 14
Our tanks are in rough shape. This one is the most well-off, but has just one shot left in it. The other two tanks have half the life and no ammo.
I end up merging a couple of the tanks together and using one infantry to try and screen the other one. I put the APCs each on a city so that when the tanks go after them, they'll at least get a defensive bonus out of it.
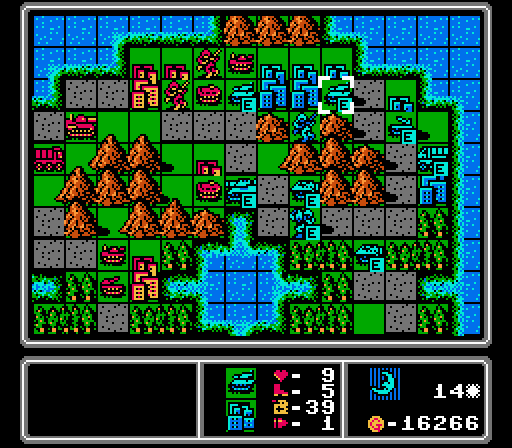
The APCs each take a hit but we only lost one of our ammo-less tanks.
Oh, great, a rocket.
Turn 15
One way to be efficient when we can't repair our units, is to have our damaged units attack other damaged units. Here we're able to take care of this infantry with an APC that couldn't really do anything else anyway.
Our medium tank is able to focus on wearing down the squatter on our city here.
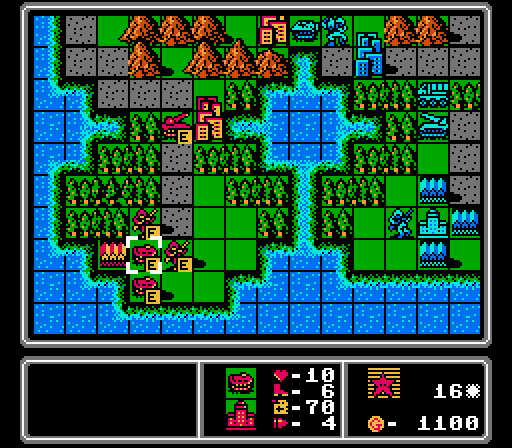
Time for a capturing gambit of our own.

I've got big plans for this rocket. It's going to be the key to winning the middle part of the map.
The AI makes some inefficient attacks here, luckily for us. A fresh tank and medium tank finish off our damaged APCs, who were no threat to anyone. Then the damaged tank takes this shot at our capturing infantry, for just one damage. If it had just moved out of the way, the enemy APC could've come in and really torn into that infantry instead.
Turn 16
We send in a second infantry to start capturing, while the supply just tries to take up space. I'm mostly just counting on the AI not being able to efficiently slow us down here. We also attacked the medium tank with our own; both are at half-life now. Our artillery is finally in range to do some damage next turn, too.
How about another infantry wave?
I totally missed that the mech was going to start capturing the central city, but the enemy medium tank moves right into artillery range and will get finished off next turn.
One tank attacks our right-most infantry for a few damage, but nothing too concerning. The other tank and the nearby APC just retreat. Probably a mix of getting away from our medium tank, and trying to draw us into rocket range.
We haven't even taken care of the first medium tank yet, but Blue already has another one.
Turn 17
From here, our rocket can cover our own central city and reach Blue's nearby city.
Our artillery finished off the enemy medium tank, but more importantly we finished taking this city from Blue!
This damaged tank was out of ammo and could've been repaired and reloaded on the city it started on. Instead I have to use the supply truck to re-arm it and attack this APC without the extra bit of firepower from the repair.
Our other tank comes in to finish off the APC, while our own medium tank, itself now heavily damaged, gets in some chip damage on the capturing mech. That buys us another turn to get rid of it.
On the enemy phase, our other capturing infantry is hit again by the nearby tank, but still has enough life left to complete the capture next turn.
Blue abandons the middle of the map thanks to our rocket coverage, and moves its ranged units to cover the last city in the top row.
Turn 18
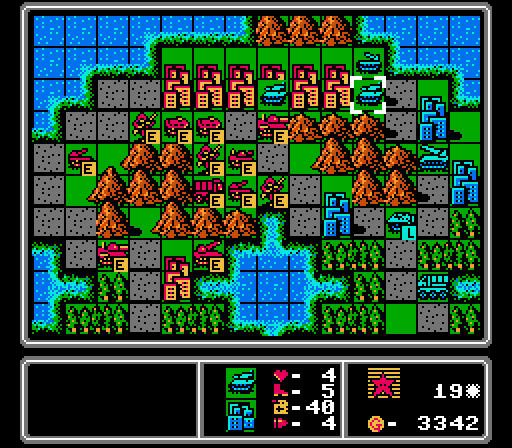
There's the second of Blue's cities taken.
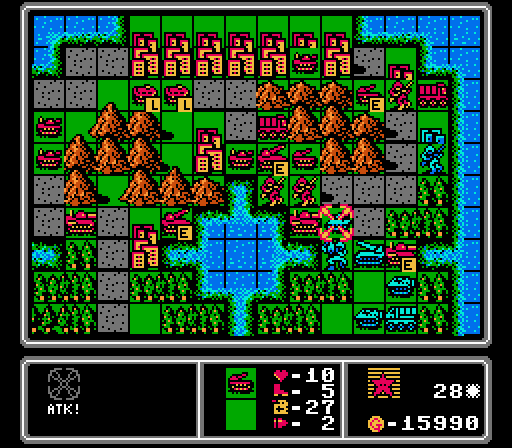
Our rocket, a damaged tank, a damaged medium tank, and a fresh tank all converge to take out the mech and protect our central city. With that action, the middle part of this battle is basically over. We have full control over the central region of the map, and have taken two of Blue's cities without losing any of our own.
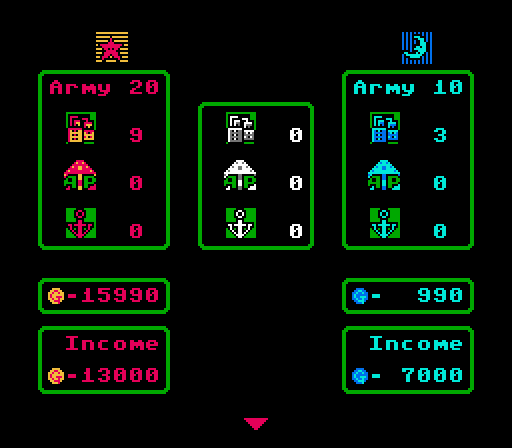
With a map this small, taking two cities already gives us a 50% income edge. It'll take some time for that edge to manifest with how long it takes to get our units around the mountains, but we should be in the clear for winning this map now.
Here's an interesting formation. I'm leaving lots of tempting targets in the open to draw out the enemy medium tank. If it takes the bait, it'll be in range of both our rocket and our artillery.
Mostly successful here. The rocket finished off one of our infantry, the tank finished off one of our tanks, and the medium tank indeed came out to attack another tank. I'm not worried about all the enemy units in the top row yet, since there are no footsoldiers nearby to try any captures.
As usual for the later stages of a map, getting to all the ranged units to neutralize them is the most challenging part, and now we have another rocket to take care of later.
Turn 19
The rocket and artillery successfully destroy the medium tank. I'm not sure what I'm doing with the rest of this formation; trying to draw in the enemy tanks while staying away from the enemy rocket I think. A couple of APCs arrive and unload their passengers, with a new artillery not far behind them.
Blue sends its tanks after the newly-arrived APCs, while its other units retreat back to protect the approach to its HQ.
Turn 20
After blowing up one tank with the rocket and merging together our two APCs, I'm able to use the menu supply option for the first time. The artillery is the only unit affected since the APC already ended its turn, and the artillery isn't damaged, so it just gets a refuel/reload.
I'd love to send a tank after that loaded APC but I don't feel like losing it to the rockets just yet. We've got the income edge and already have a good edge on army size, so it's better to be patient here and wait for a more overwhelming force.
For some reason the enemy tank ended its turn here without attacking. It only has one ammo left, so maybe it didn't want to be left defenseless next turn?

Blue gets another medium tank, putting us back to even in the heavy unit department (two rockets and a medium tank on each side).
Turn 21

Thanks to the enemy tank not attacking our APC, we can now attack the newly-unloaded infantry and take off half its life before it gets near our cities. The APC will be lost to the two rockets, but it's done its job.

Meanwhile the enemy tank uses its last round of ammo to fight back against our medium tank. Was that single point of damage worth exposing the infantry to our APC? Doesn't really make sense to me.
I kind of wish I'd been more aggressive here and sent a tank after that loaded APC while the rockets were out of position to protect it, but I guess I was more worried about screening off our artillery.
Our APC is lost to a rocket as expected. We take a hit from the APC on our infantry, and the wounded enemy infantry starts its capture attempt while the damaged enemy tank retreats for repairs. Note that the enemy ranged units are no longer positioned to protect that last enemy city in the top row.
Turn 22
Our tank finishes off the enemy infantry, freeing up a space for our medium tank to finish off the enemy tank. I surround the enemy APC so it can't move, and the artilleries can both fire on it next turn to get rid of it. The APC can only attack one of our infantry so the other one will be in position to capture that last top-row city.
Well, the plan would've worked if the AI hadn't dumped a fresh infantry onto that city to protect it.
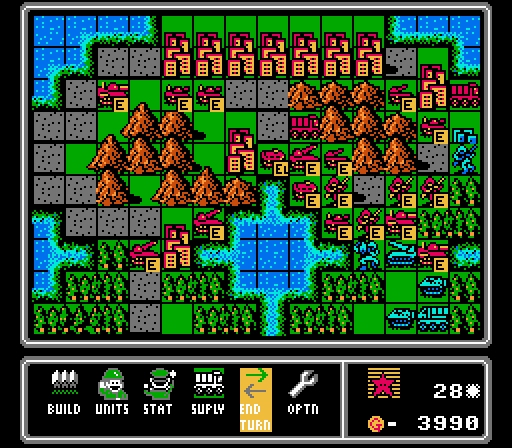
Our rocket-artillery crews are scaring Blue away from the middle of the map, which is giving us plenty of time to gain control over the rest of the upper-right region.
Turn 23
I couldn't repair our medium tank, so the enemy infantry just barely lives on here. Even if we'd been able to get rid of it, the APC sitting there would've prevented us from completing a capture. We did get rid of the other APC with our artilleries, though. And some nice reinforcements have nearly arrived.
Some breaks went our way here. The enemy medium tank took the bait and went straight into the attack zone of three of our ranged units. On the upper-right, the infantry and APC destoyed one of our infantry but made it easier for us to grab that last top-row city.
Turn 24
A rocket and artillery are enough to destroy the enemy medium tank. We also take care of the enemy infantry, and move a tank up to block off the APC so that our last full-life infantry can start a capture. Our other artillery moves in behind it to attack any enemy unit that sticks around. Down in the middle I move a tank to the edge of enemy rocket range. I've noticed that the enemy ranged units keep retreating when I get something close that can reach it on the following turn, and I want to keep driving them back.
The rockets don't actually retreat any further, but the enemy APC does. All of the remaining enemy units are now clustered together in this shot, including a new medium tank. Busting that wall of ranged units is the last real challenge of the map.
Turn 25
We've got the entire top row of cities under our control now. The rest of the turn is some positioning to strike at the enemy rockets next turn, if they're left in place, or counter with massed ranged fire against anyone who dares approach us.
We're firmly in control now.
An APC moves up to take out an infantry, but the enemy ranged units all retreat. We're clear to advance now.
Turn 26
The enemy APC is taken out by a quick rocket strike. We start two more captures, with each infantry protected by other units that are out of range of the enemy rockets and artillery. I've got good ranged coverage against any enemy units that approach either position, too.
Blue sends up a tank and medium tank to take out our screening APC, but can't touch the infantry itself. Both units will be hit hard by our ranged units next turn now.
Turn 27
First step this turn is completing both of the captures that we started, really putting a choke on the AI's income.
Our two artilleries team up to take out the enemy medium tank. I think that's the third medium tank we've been able to take out with ranged fire before it could do much damage to us. Meanwhile our rocket strikes this tank from across the lake, allowing our medium tank to finish it off.
I missed that one of the enemy rockets had moved to where it could hit our medium tank and took a rough hit for it, but we've got plenty of backup at this point.
The enemy ranged units are a bit exposed again, but they're all still covering each other. I'm going to have to sacrifice some units to make headway here.
Turn 28
Luckily Blue keeps sending its units into the firing zone. The enemy artillery falls to a rocket and an artillery, while the other rocket-artillery pair take out this tank. Down on the lower-right you can see where I sent a medium tank in to cripple one of the rockets.
With just one enemy ranged unit still functioning, we send in everyone to rush ahead. That last rocket can only hit one of us!
The rocket strikes our healthiest medium tank, the mech almost kills our infantry, and that's about it for the enemy phase.
Turn 29
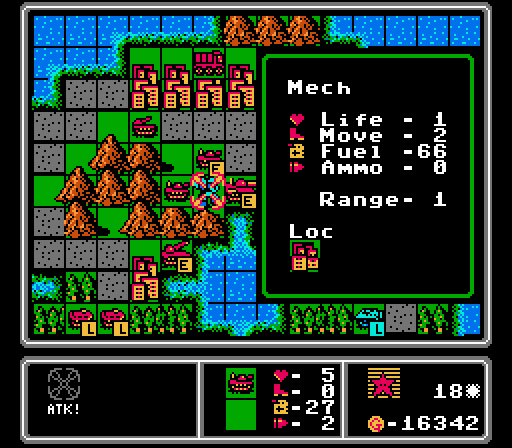
We finish off some damaged units, including this mech, and start capturing Blue's last city. I'm going to need some fresh reinforcements to break through that last line of vehicles protecting the last rocket, however.
Another example of hard-mode AI cheating. Fresh APC against fresh infantry should not be a one-shot-kill. At least we drew the enemy vehicles out.
Turn 30
A rocket and a tank combine on one APC, while another tank and our damaged medium tank finish off the other. Our artillery also gets in a hit on the nearby tank.
The only thing the enemy rocket can hit is the supply we threw out to get out of the way. The two damaged tanks merged together without attacks, the mech moves to screen the rocket, and a new APC is built. Still, we're well-positioned to advance next turn.
Turn 31
The enemy tank is now gone, and we're creeping closer to HQ. Only that rocket can really hurt us now.
Well I guess the mech can hurt us a bit, too. The enemy APC takes out our supply, letting the mech finish off one of our artillery after the rocket weakened it.
Turn 32
Clearing units off of bases is hard, but we get in a couple of good hits on the enemy rocket with our own rocket and medium tank.
The rocket wastes its turn attacking an infantry, the enemy mech suicides on the same infantry, and then the fresh tank takes a shot at our medium tank. Nothing to worry about now.
Turn 33
This time I hit the supply button to get a free reload on that rocket sitting next to the supply truck. The only unit we have sitting on a city is that rocket in the central city, which hasn't been hit all map.
The ends of these maps could probably be cleaner, but I'm dealing with a lot of damaged units that are low on ammo trying to clear off enemy units getting tough defensive bonuses. We at least take care of the last enemy rocket with a combined rocket and artillery strike. Nothing happens on the enemy phase since I have everything blocked off.
Turn 34
You'd think a win would be easy on this turn. The rockets can of course handle that tank simply enough. But I don't have enough strong and healthy units left to get rid of that mech with just two attacks.

So more of our ranged units move up to finish things off next turn. The infantry also starts an HQ capture, but the mech is going to harass it to prevent that option from happening quickly enough to matter.
Turn 35
We end the map in a fitting manner, with a barrage of rocket and artillery strikes.
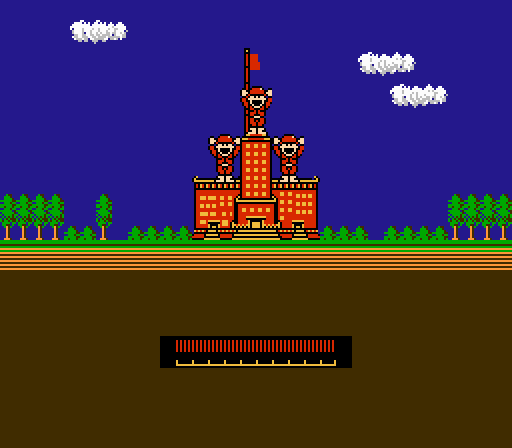
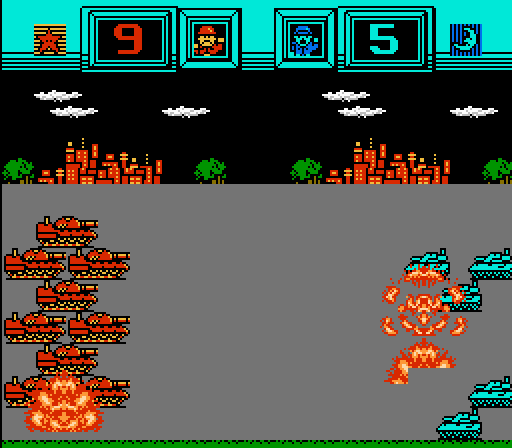
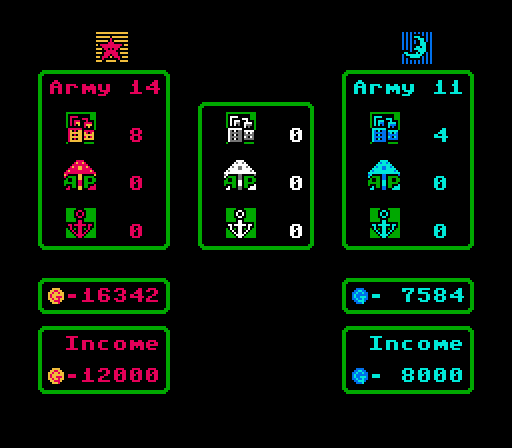
Another victory for Red Star, this time without any challenge-related drama!
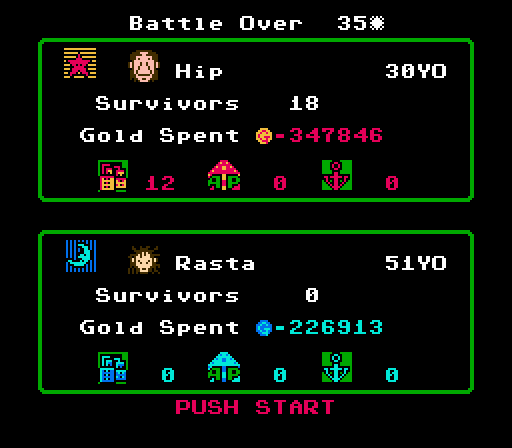
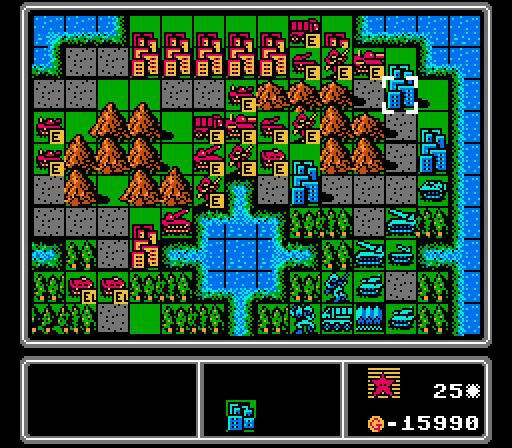
Here are the COs for this map. The only thing I could find for Rasta is a reference to a Jamaican reggae movement that took off in Japan around this time, with "Rasta" referring to one of the popular albums that came about from a collaboration between Jamaican and Japanese artists. As for Hip, there's a hip-hop icon known as the Bathing Ape (or Bape) in Japan, and this guy kind of looks like an ape, but that didn't really start until five years after this game came out, so unless the game can predict the future, I don't think that's the right reference. Could be there's some other hip-hop icon I'm not picking up; it would make sense of both of these COs were music references I suppose.
So, 35 turns for a map of this size seems like a bad score. And it kind of is, but not as much as you might think. Average is about 25 turns, because each side starts out with absolutely nothing so the map takes awhile to get going regardless. The early mistake with switching to building tanks too early probably set us back a couple turns, as did the challenge not letting us take full advantage of repairing our units in the central area. Letting our vehicles repair for a few turns instead of waiting for a new one to make its way all the way around the mountains would definitely have sped things up in the middle parts of the map.
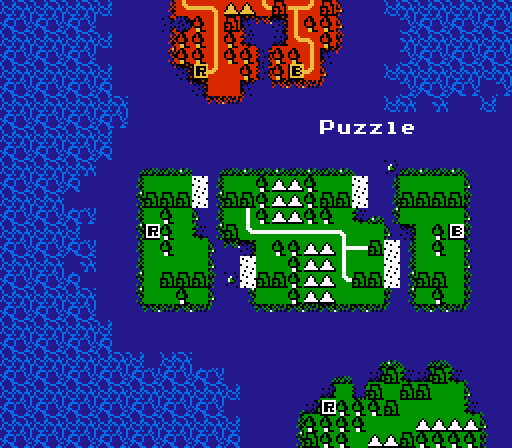
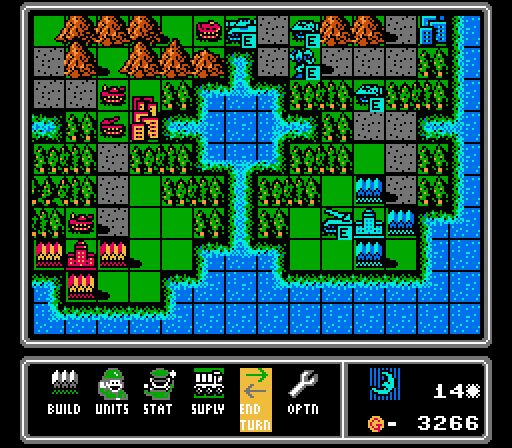
Next up is Puzzle, with a large central island holding most of the action. Seems like a good time for the No Fly Zone challenge - our air units cannot end their turn on the starting island, except for at airports. And yes, air and naval units will both be back for this map.