Part 24: Deer (1 of 2)
Part 24: Deer (1 of 2)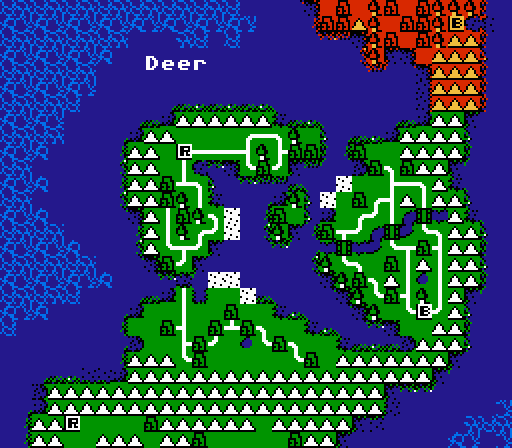
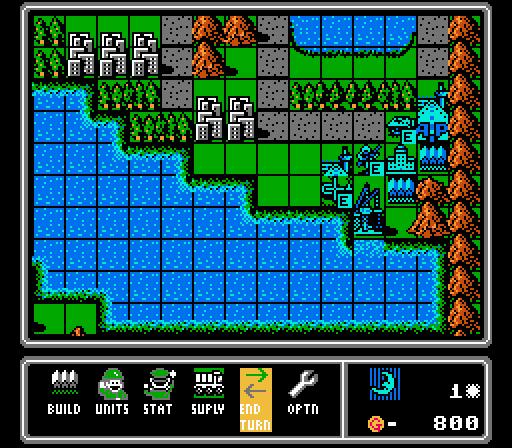
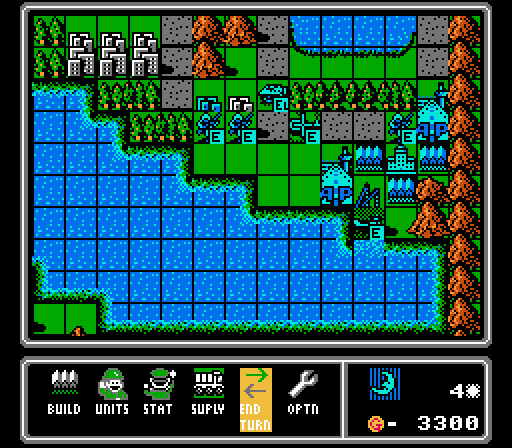
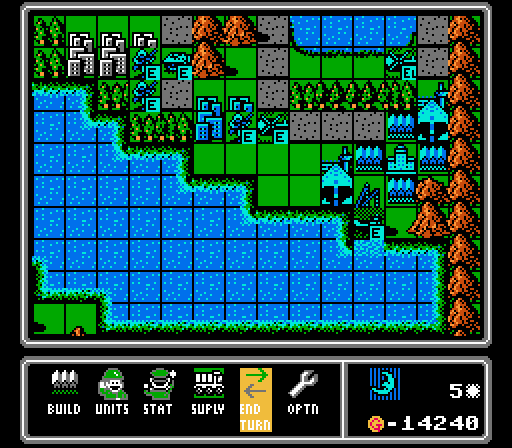
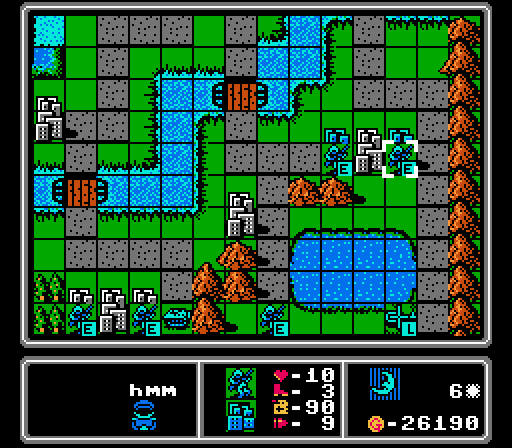
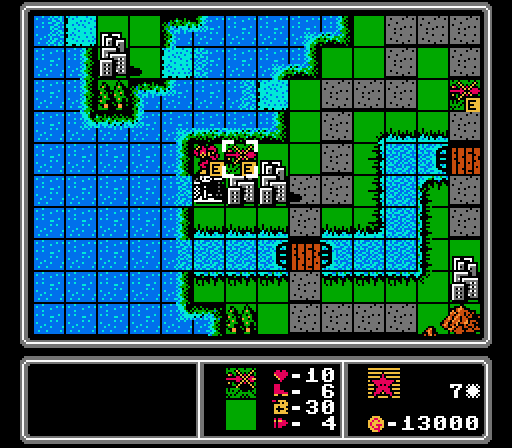
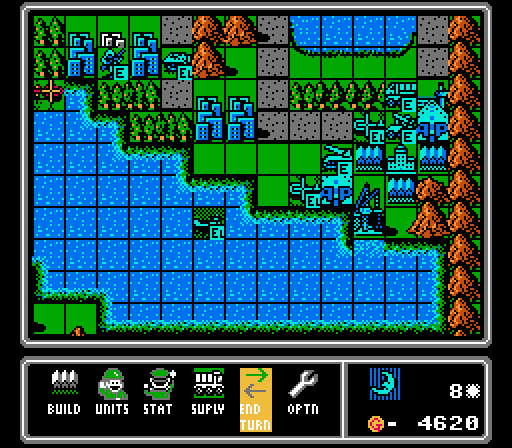
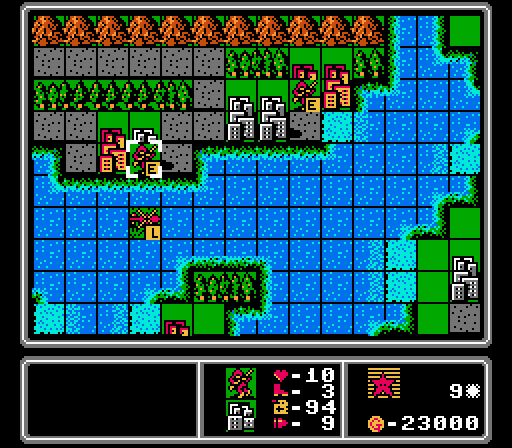
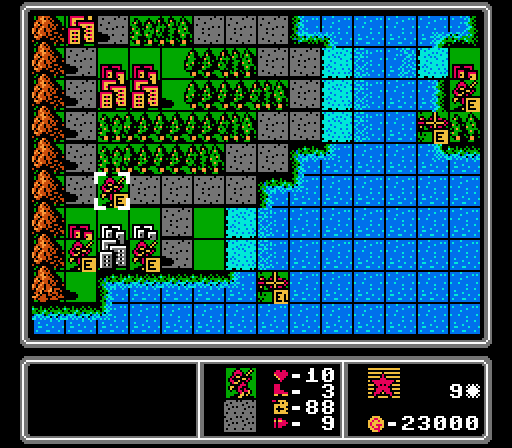
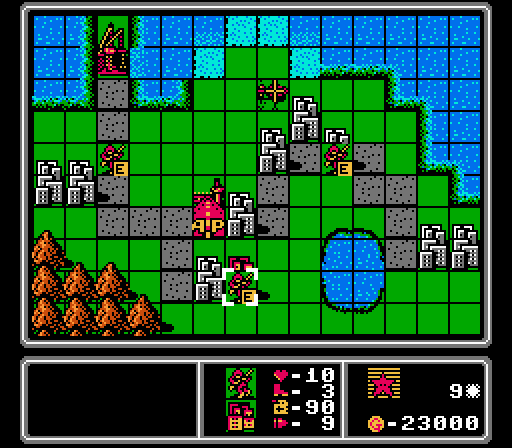
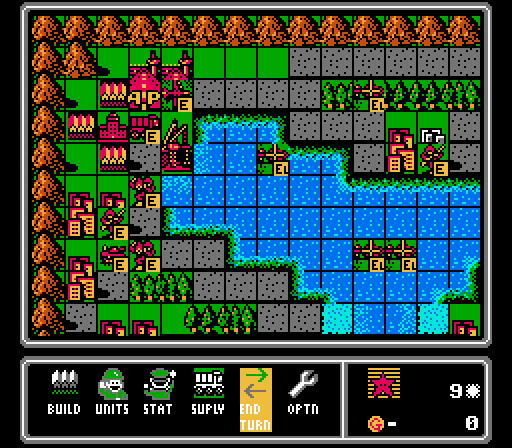
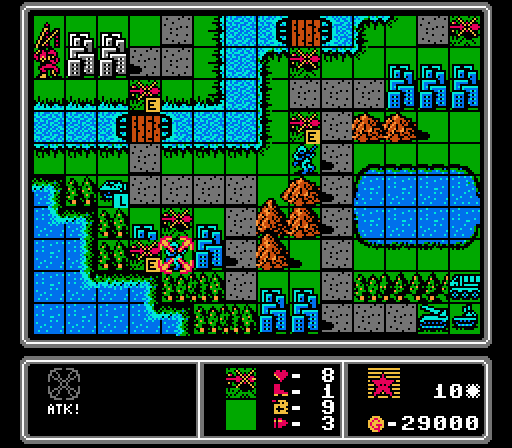
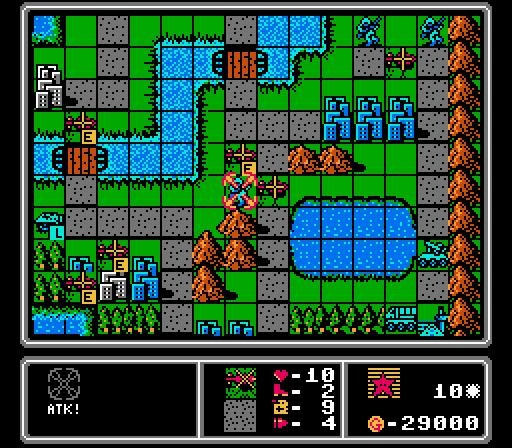
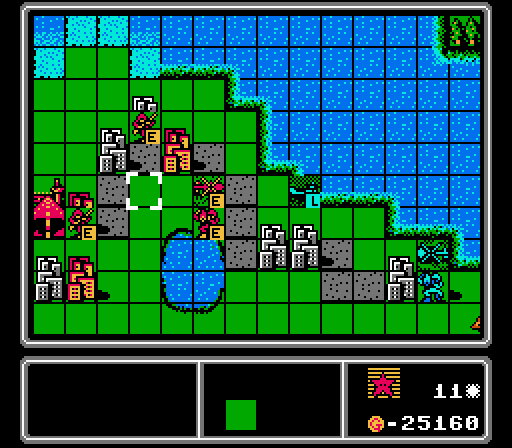
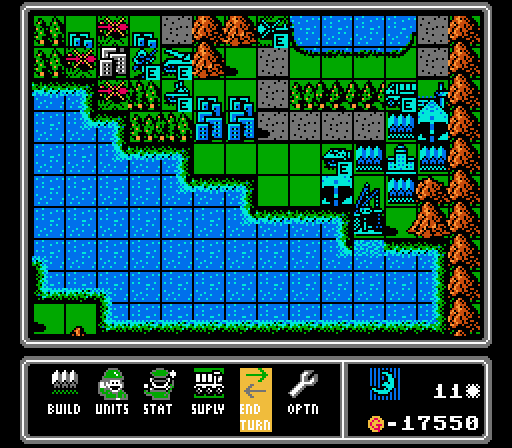
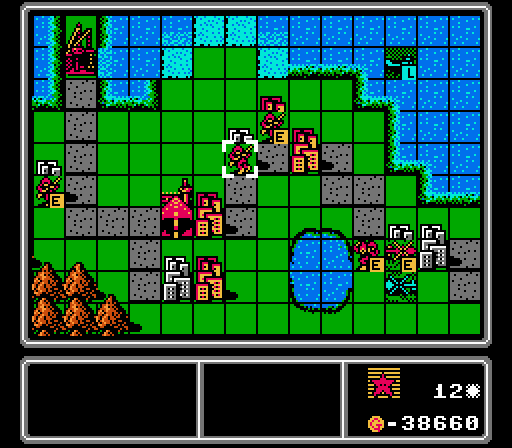
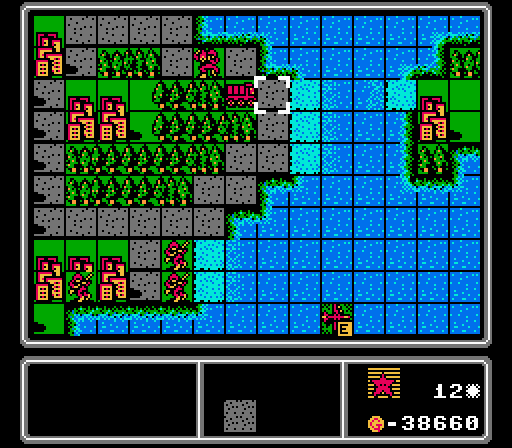
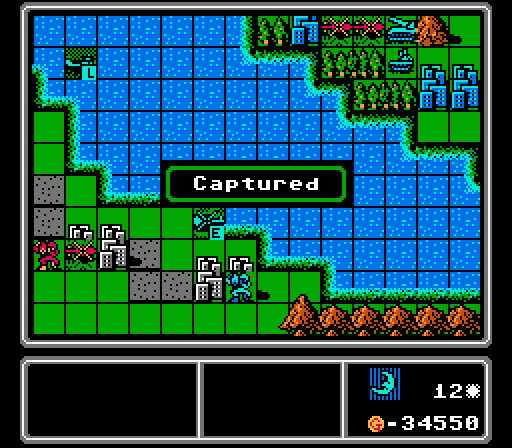
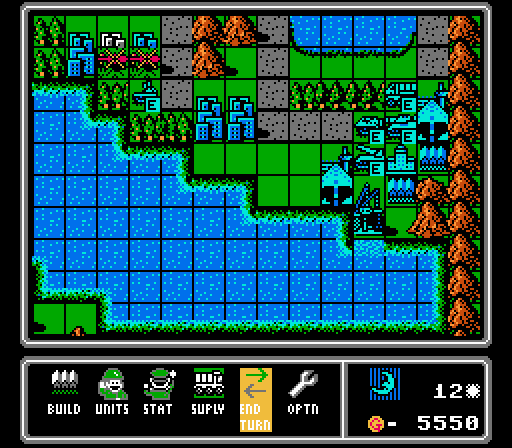
Today we're headed into the Deer map, our most complicated map to date. Let's take a closer look:
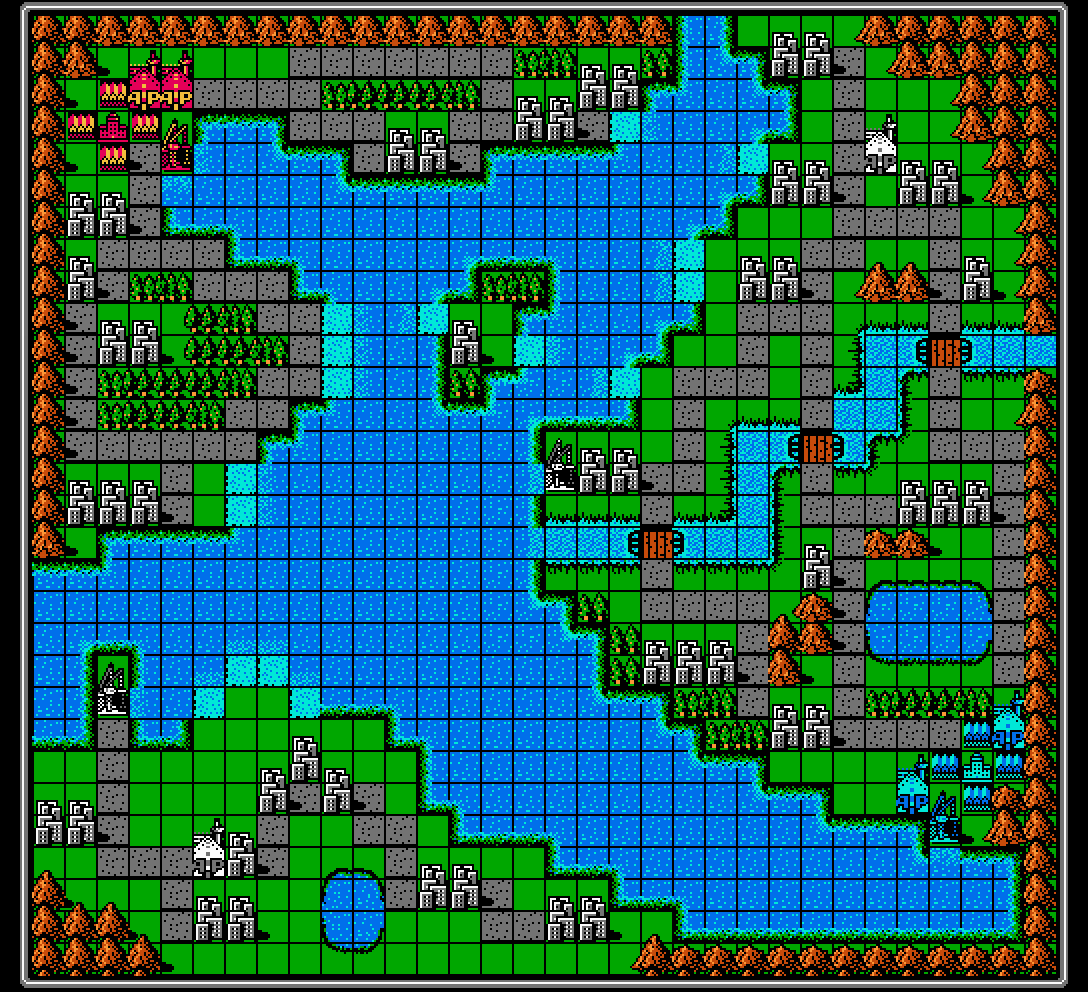
This map is huge, easily the largest we've seen so far. It's 32 tiles wide by 30 tiles high. For context, that's about 2 and 1/3 screens wide and a full three screens tall. The same width as Puzzle, but twice as tall. While these large maps can be exciting in later games, here they're mostly tedious. The HQs are a full 47 tiles apart, meaning even a bomber will take six turns to get from one to the other, and copters will use up most of their fuel en route. You don't have to suffer through it, but I spend a lot of time just slowly scrolling around looking for where units are, with no global view available.
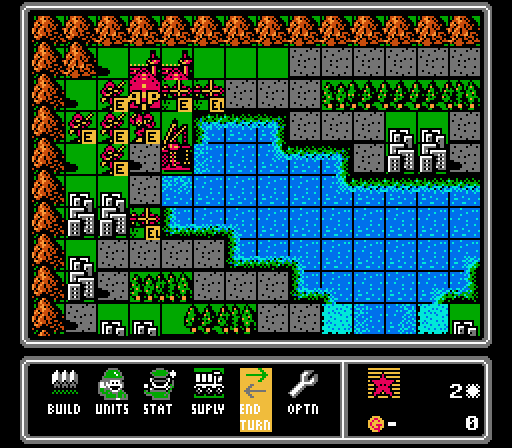
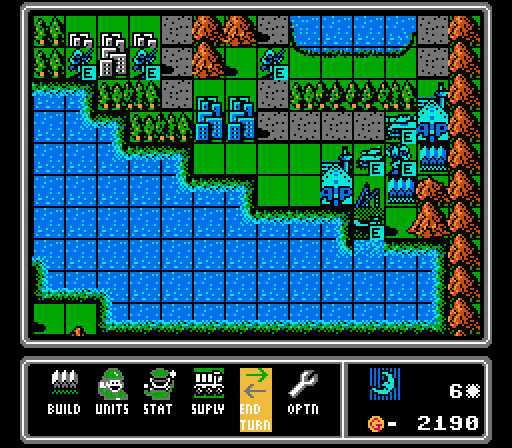
Anyway, this map is fairly even, a refreshing change from the last map. We start off with a slight disadvantage on this map, with Blue having more properties reachable by land, including an extra port and airport. We get a couple of cities reachable on the first turn and that's about it.
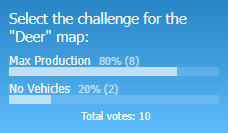
Our challenge for this map is Max Production. We need to spend as much money as we can, at least up until we hit the max number of units (48).
Turn 1
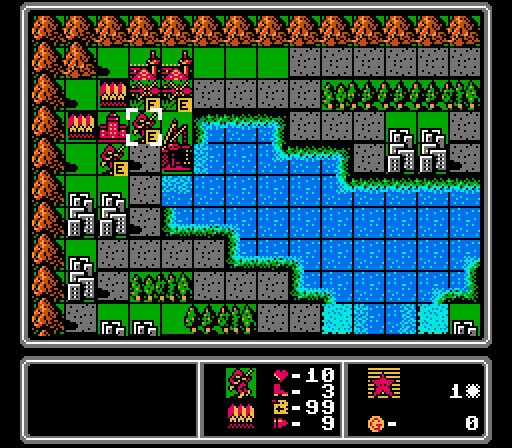
Luckily our ideal build for the first few turns is a couple of copters and a couple of infantry, which uses up all of our cash each turn.
As we've seen in prior maps, large maps with a lot of territory to grab don't really play into the AI's strengths. Building two transports to start with just one infantry isn't ideal here.
Turn 2
We load up the first two copters, who will be headed for the distant corners of the map, then build a wave of footsoldiers to start capturing the nearby cities.
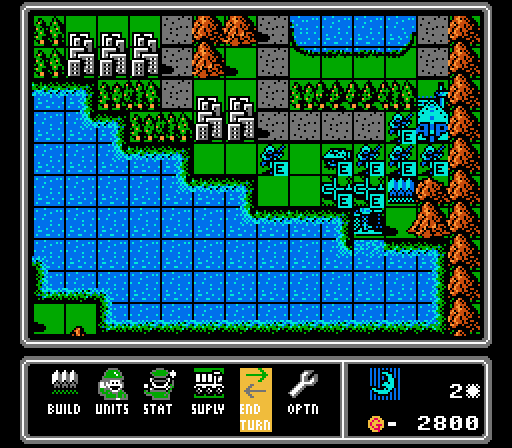
Blue doesn't even load up either of the transports it built last turn, but does get a better ratio of infantry out there this turn.
Turn 3
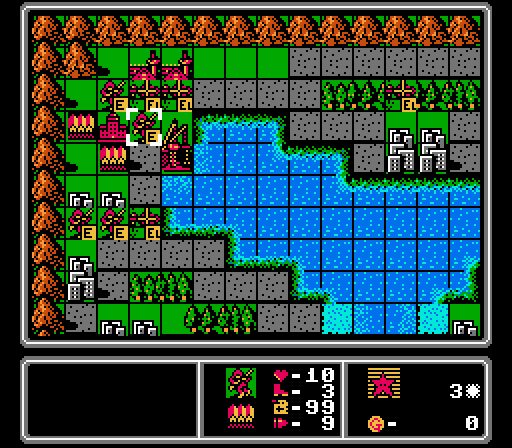
Our first wave of copters is away, and we build a couple more copters and immediately load them. A couple of infantry stay local and start capturing two cities for us.

The AI loads up an APC and a copter and starts its first capture. Oddly they don't build anything new this turn, building up funds for next turn instead.
Turn 4

We end the turn in a similar state as last turn, with a couple new copters loaded from last turn's infantry, and two new infantry waiting for their turn to load. We also finish off our first two city captures. Off-screen our initial copter wave is approaching their destinations.
Blue also gets its first city capture, and starts another one nearby. The loaded copter actually dropped off its infantry just across the lake; not a very efficient use of the transport. We also see a lander here; it will be a useful money sink for its entire existence.
Turn 5
Our first copter arrives at its destination, dropping off an infantry on the neutral island well before the AI is looking this way. Our goal is to capture all four neutral ports/airports. They're worth twice as much as cities and the ones connected to Blue's island will provide a useful staging point for later.
We have some more funds this turn so we build a couple of mechs instead of infantry, but otherwise we're continuing the copter waves here.
Blue is stepping up its own capturing efforts now. It really would've been better off building more infantry on that first turn though, the way it's going now.
The APC unloads on a city and a copter takes on a passenger. Then Blue ends its turn without building anything again.
Turn 6
The second copter reaches its destination, dropping off an infantry to capture that airport. Down on the neutral island, we start capturing the other neutral airport.
We also dropped off an infantry to get these distant cities on our island last turn, and it starts capturing now.
More mechs and copters.
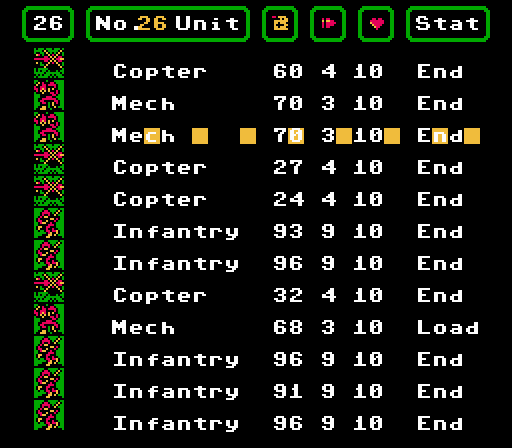
At this point I start checking the unit list every turn to see if there are any units I forgot to move. The map is just too big to scroll around and look for lost units, and we already have 26 units built, a lot to keep track of just visually.

We've got the early lead, but there are still a ton of properties to grab. We're already in great position though.
Blue finishes two captures and starts two more. They've temporarily passed us, but will it last?
Well a couple of tanks aren't going to contribute anytime soon, so more inefficient spending from the AI here.
Turn 7
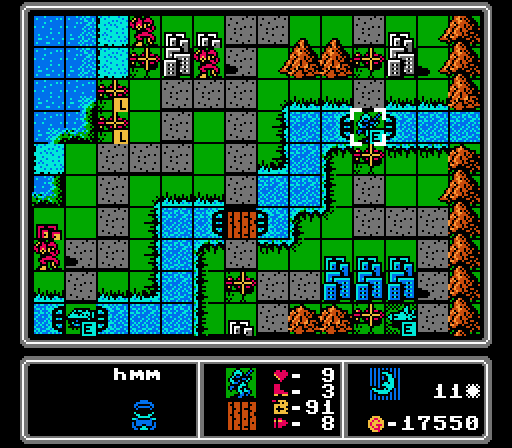
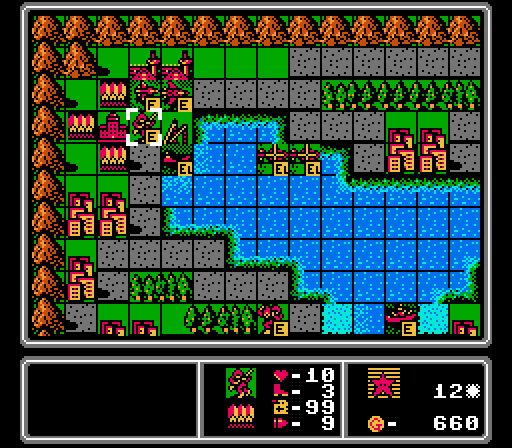
Starting the capture on the neutral airport here. On the upper-left you can see our new city at the far corner of our starting island.
We'll start in on this neutral port next turn, too.
This neutral airport is now ours, and we've started on the neutral port as well. The copters are going to go on a suicide run at the enemy island next.
An extra city captured last turn means we have to build an extra infantry this turn to use up all our cash.

Blue has some more cities but hasn't ventured beyond its starting area yet.
The tanks built last turn get onto the lander, making it a tempting target if we had anything that could attack it yet. A new rocket isn't going to come into play for awhile, either.
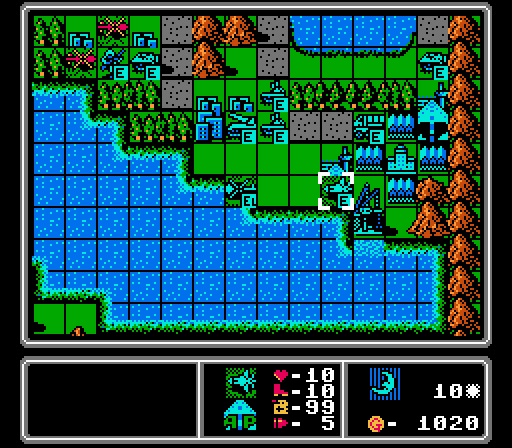
Turn 8
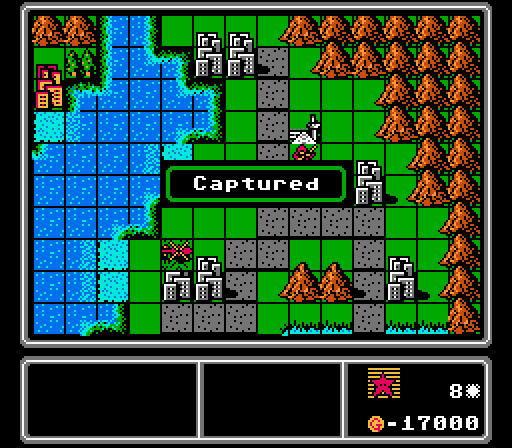
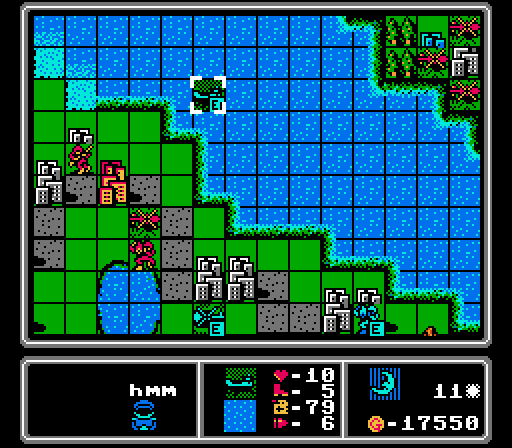
The airport here is ours now.
So is this port. That's an extra 4000 G per turn with those two.
With some extra cash on hand, our extra unit this turn is a tank.
We've suddenly jumped well ahead in the income race, and won't be looking back.
Blue's started to take the last two cities on its island, but you can see we have our first wave of unloaded helicopters about to arrive to cause some trouble.
The lander is on its way to somewhere, and two loaded copters are right behind it. There's a new AA missile but it's too far away to matter for our upcoming copter attacks.
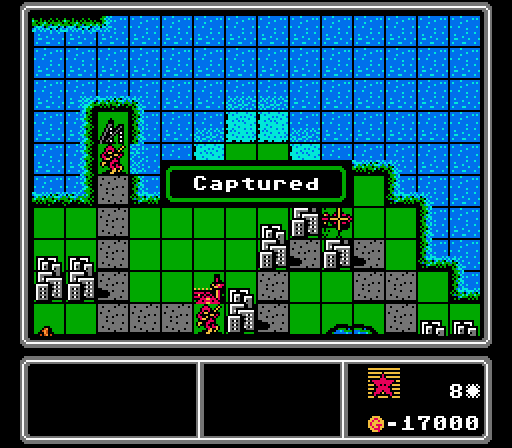
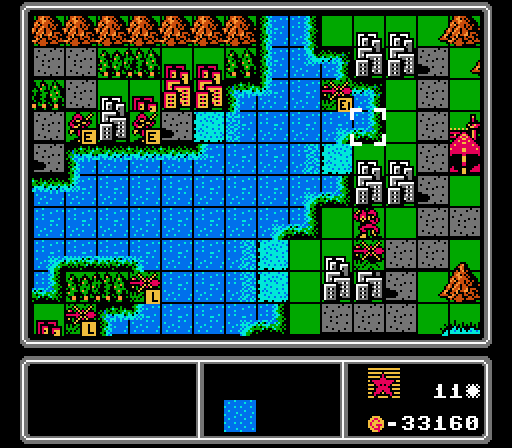
Turn 9
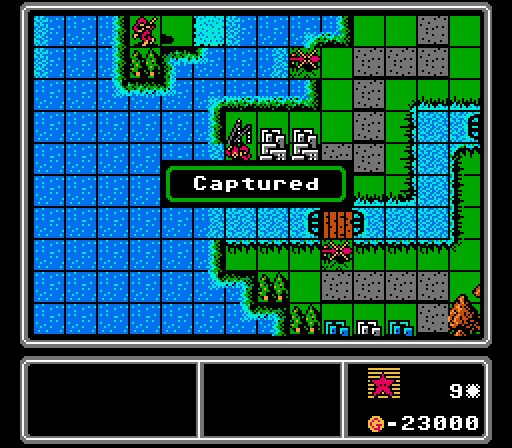
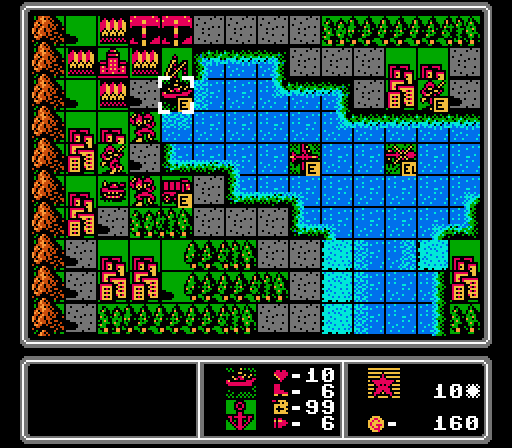
And there's the second neutral port. That's all four of our targets acquired before Blue has even left their starting area.
It's the ninth turn and we finally have our first shots fired of the map.

The rest of the copters arrive, interrupting two of Blue's captures.
We're still making progress on capturing cities all over the map. We took that single city on that central island this turn, too.
Only a couple of cities left to grab on this end of our starting island.
With the port and airport under control, we start taking the cities on the neutral island.
We've got enough income now to grab a bomber, and one is needed to take care of that incoming lander anyway. With the leftover funds we get a supply truck that'll never get used.
Blue's infantry units make a break for the river, but I don't really want to let anyone across before we've secured the territory on the other side.
Our new bomber prompts Blue to build a couple of AA tanks. The lander and one of the loaded copters each advance, but the other loaded copter rests on the airport to refuel first.
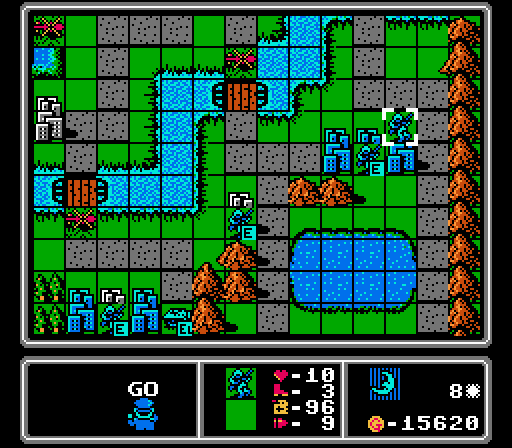
Turn 10
The very first copter we built is finally out of fuel. At least it got in one attack first.

Trying to step up our takeover of the upper-right area, with another mech dropped off to help with the capturing.
Four more low-fuel copter attacks finish off a pair of capturing infantry, delaying Blue even further.
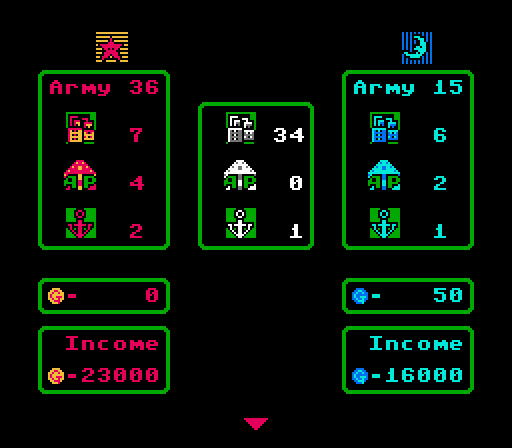
We have just enough cash for a battleship, which is a great way to meet the challenge this turn.
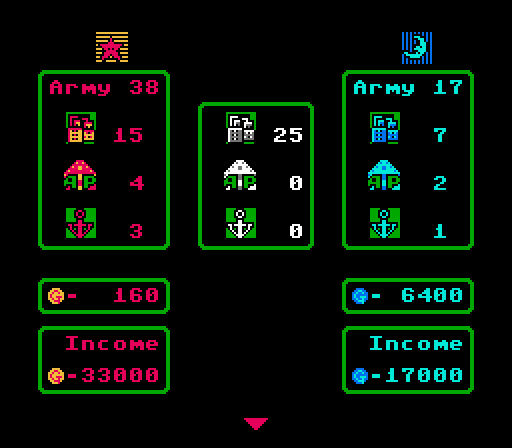
We've captured 19 properties to Blue's seven, giving us an almost 2:1 income advantage already.
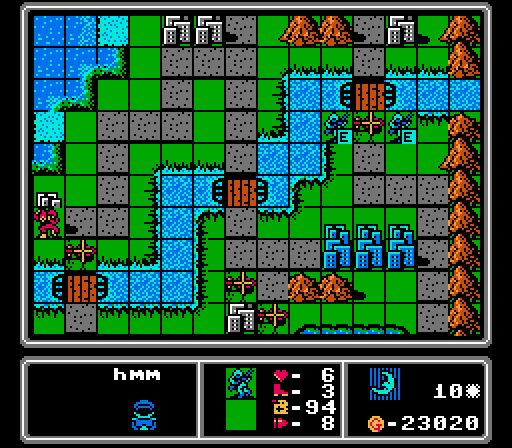
Our copters are blocking the bridges as I briefly forget that infantry can cross rivers anyway.
Well that fighter's going to be a problem. We only have a bomber and a bunch of copters, they'll all get chewed up.
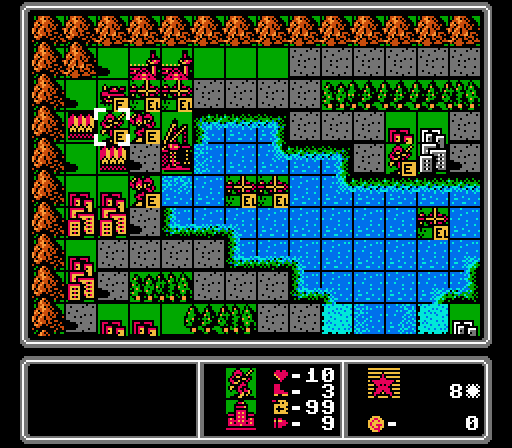
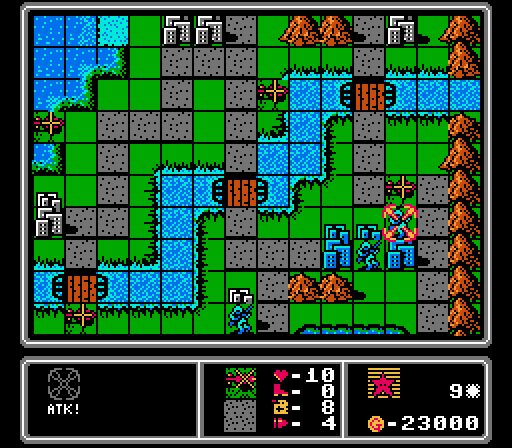
Turn 11
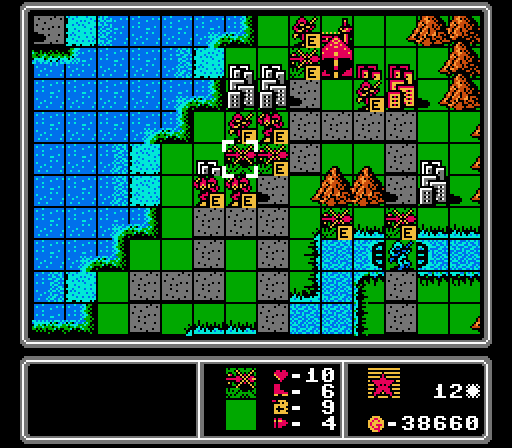
Still trying to take as much as we can before Blue breaks out.
We're up to six copters in Blue's territory, harassing units and basically just acting as a giant distraction. They almost kill that infantry and get in a couple of damage on the AA missile.
I forgot to show it last turn, but Blue managed to land a mech on the neutral island. So we've lost containment a bit, but we still have the numbers advantage here.
Kind of an odd build this turn, with a couple more copters and a lander for getting more troops over to Blue's island.
The two infantry up here merged together but snuck right by the copter. Down in Blue's territory, the fighter and the AA missile each shoot at a copter but can't quite bring either one down.
Luckily that lander can only land further up the coast, or that lower island would be in trouble.
Blue elects not to build anything again. We'll see what they splurge on next turn.
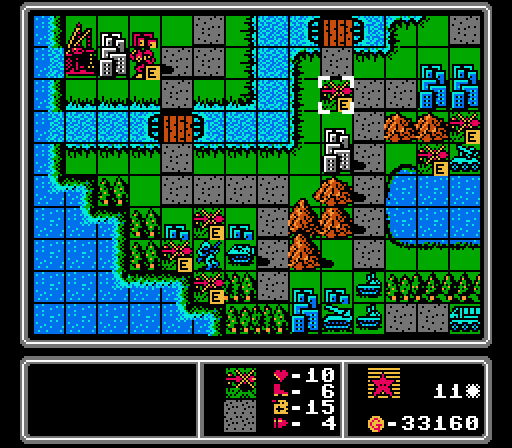
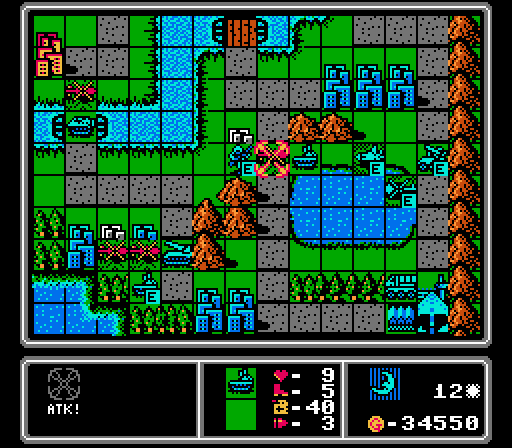
Turn 12
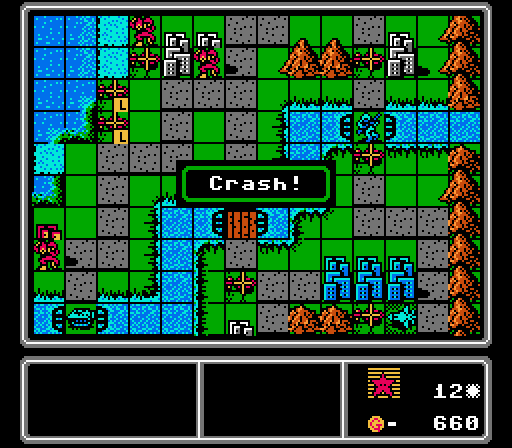
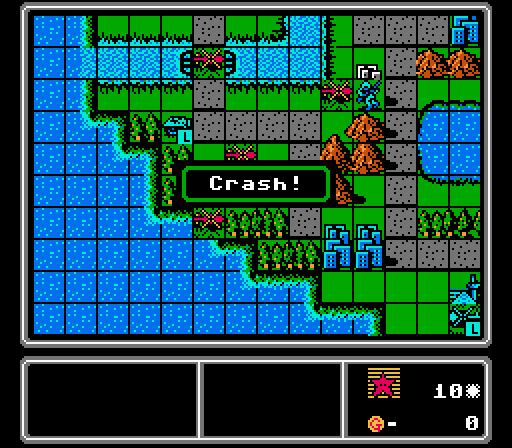
The copter that failed to block off the infantry runs out of fuel and dives into the river in shame.
We're starting to get the upper-right part of the map under control now.
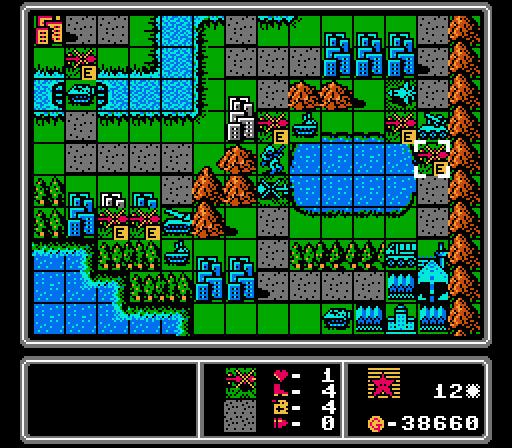
The copters continue their harassment campaign, killing off an infantry and preventing the APC from crossing over to get our capturing mech.
We weaken the copter here before it can go after our footsoldiers, and keep on capturing stuff.
We're starting to build up a number of trapped units on our island. We're actually getting enough cash each turn now that it's tricky to use our build points to spend exactly the right amount.
The tanks load up in the lander, and we get a fighter and a scout to eventually take over the air battle. With the leftover cash, another trapped infantry is recruited.
Our copters soak up a few attacks and keep Blue distracted near their island.
However, Blue successfully grabs its first city outside its starting area.
Then the AI blows its funds on a medium tank and a rocket. The action's starting to heat up, and we've got a decisive income advantage, but will we be able to project that power all the way across this extra-large map?
To Be Continued...