Part 25: Deer (2 of 2)
Part 25: Deer (2 of 2)Turn 13
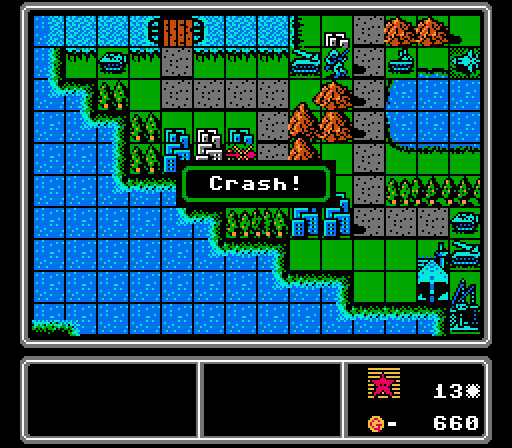
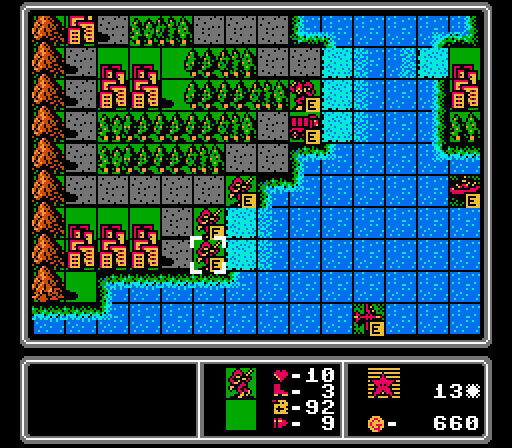
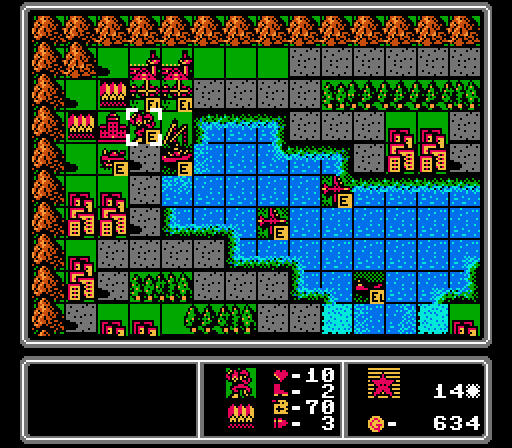
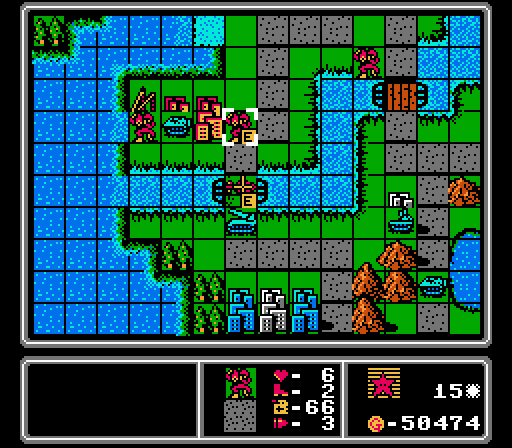
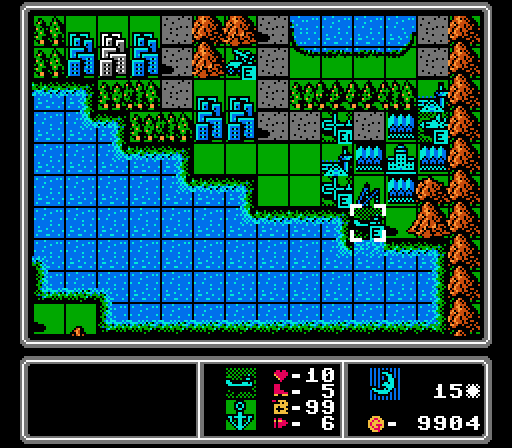
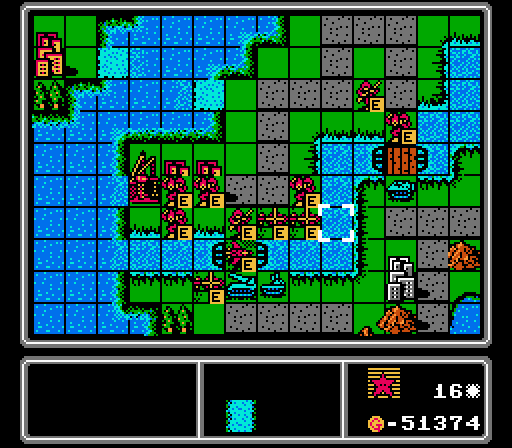
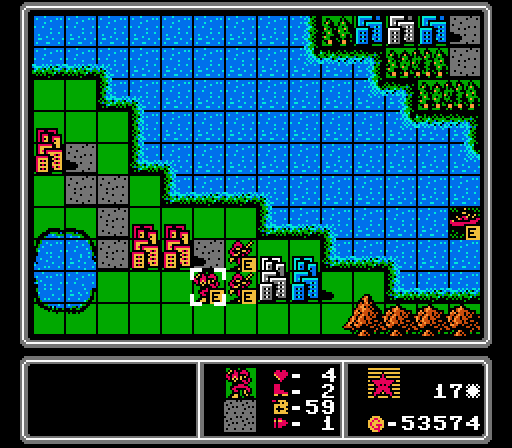
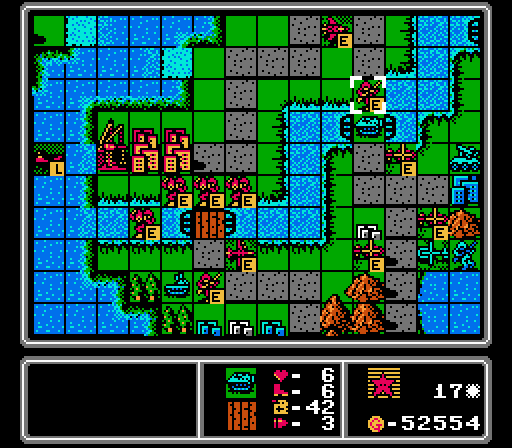
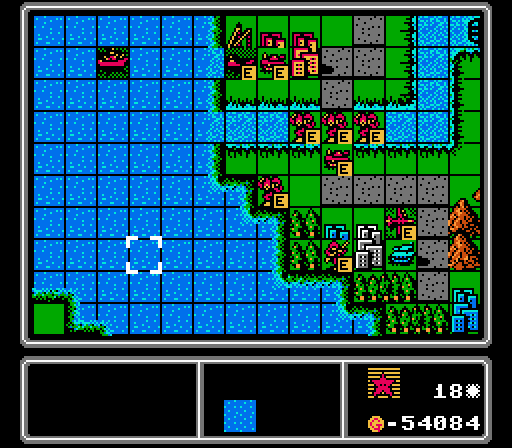
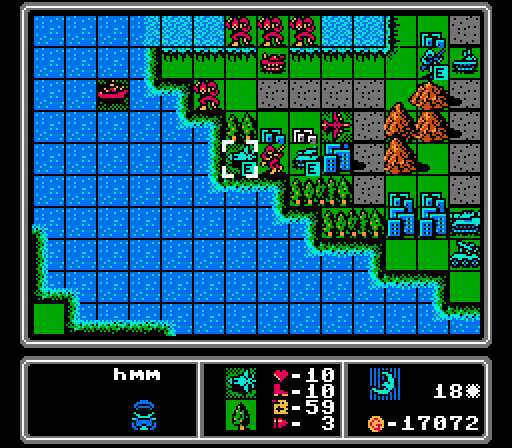
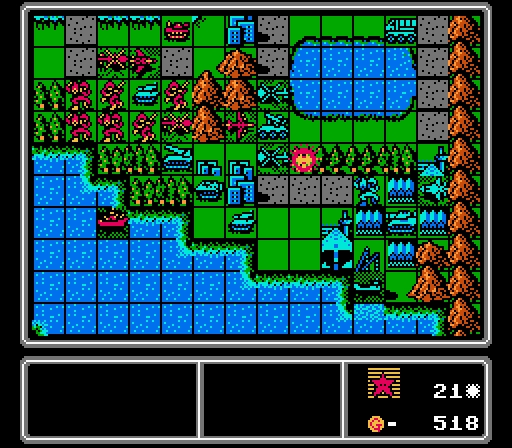
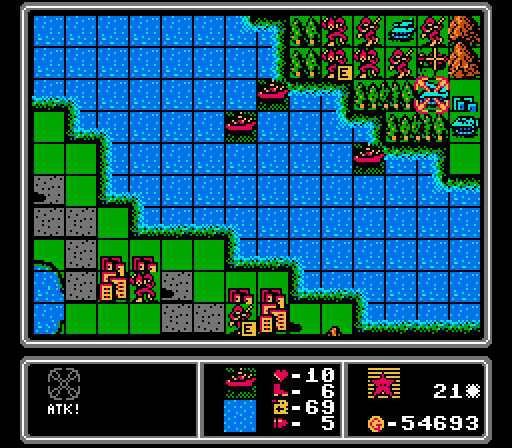
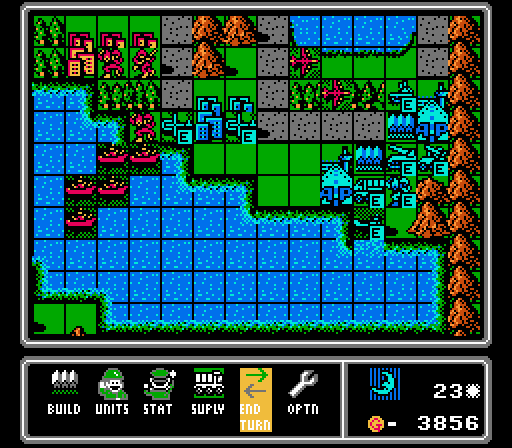
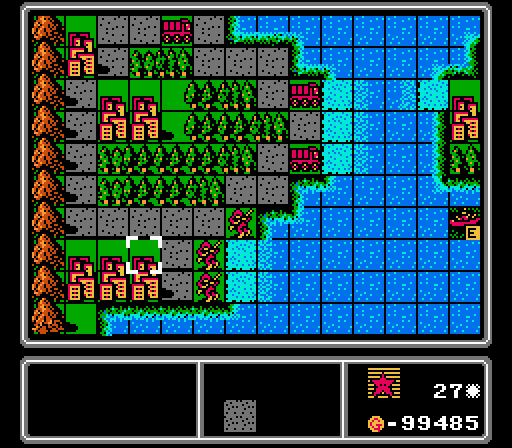
When last we left off, Blue had just taken its first city in neutral territory and fought off most of our copters. Now, three more of our copters have crashed, running out of fuel.
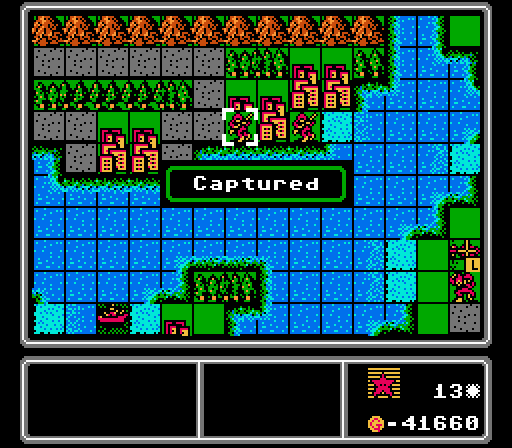
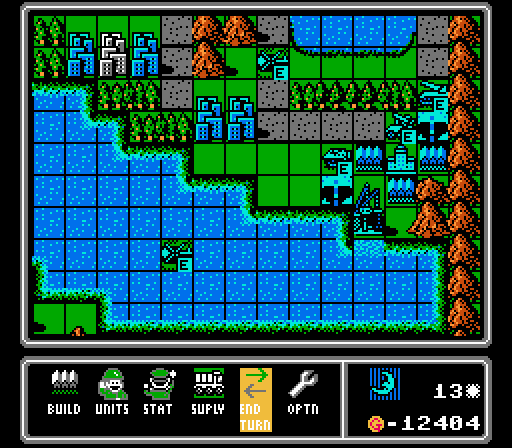
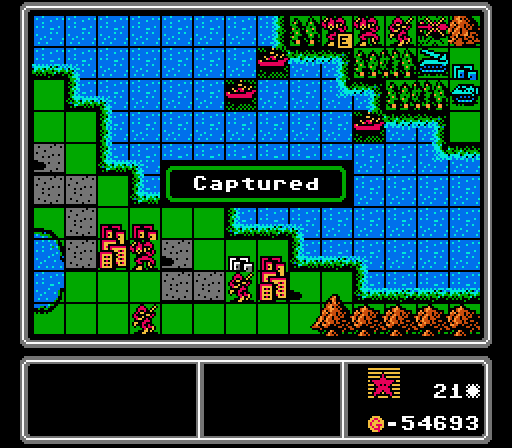
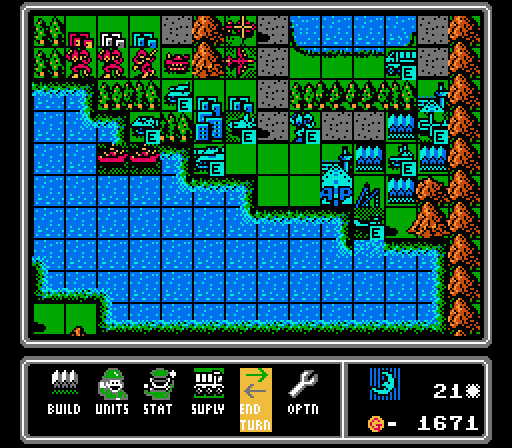
On a positive note, we've finally captured the last city in our starting area.
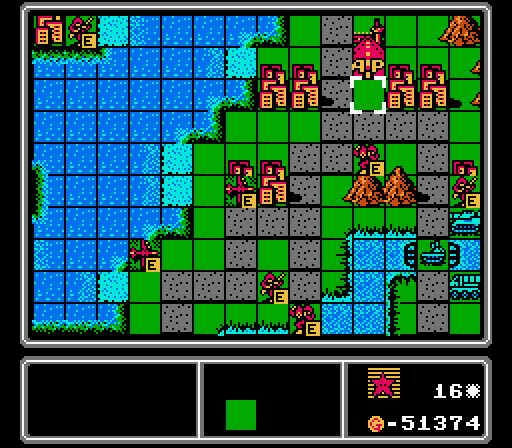
A new wave of copters is already on the way.
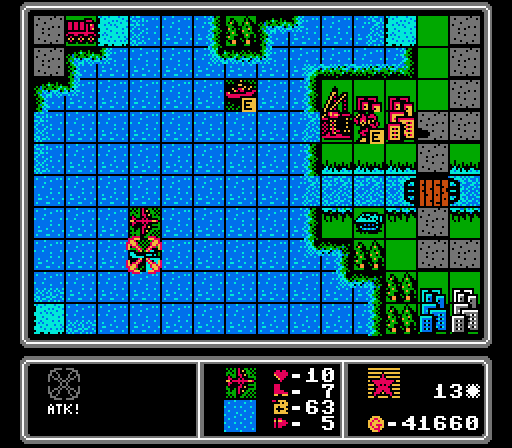
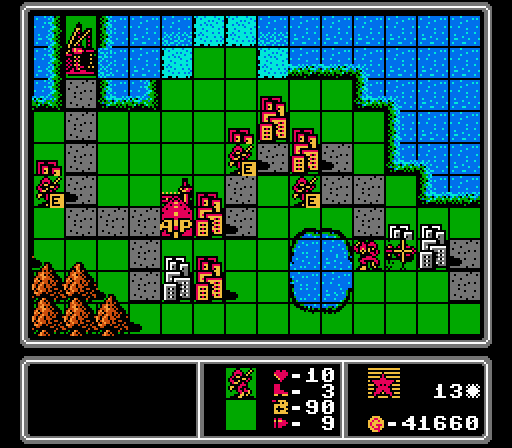
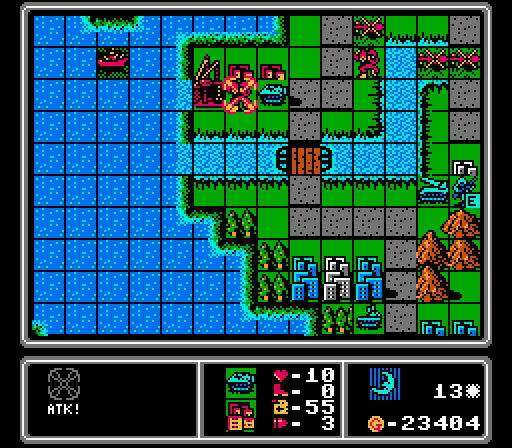
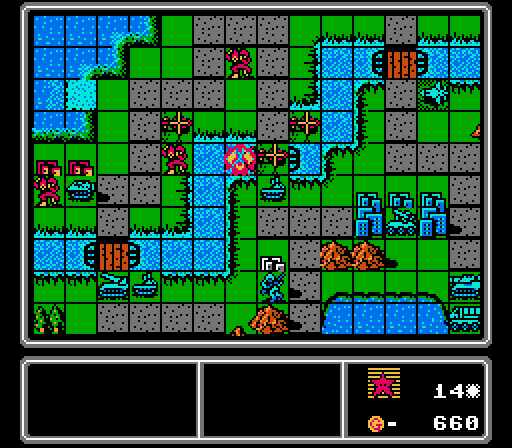
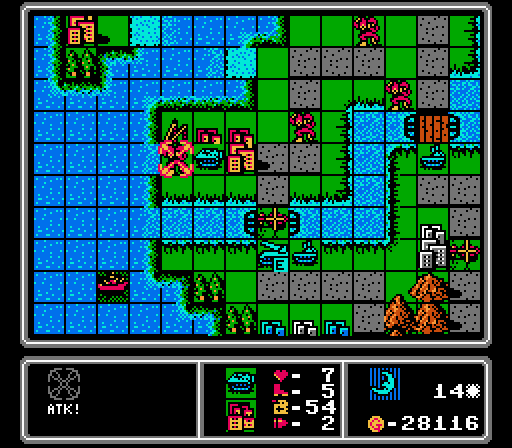
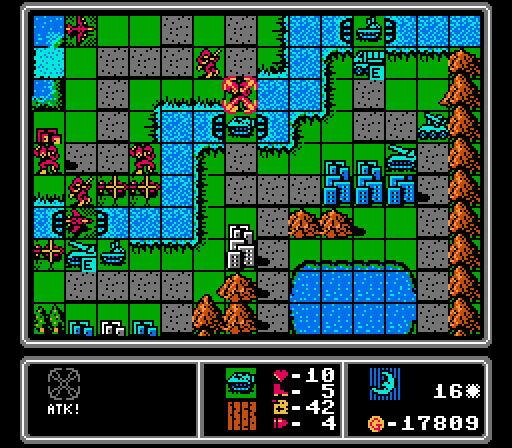
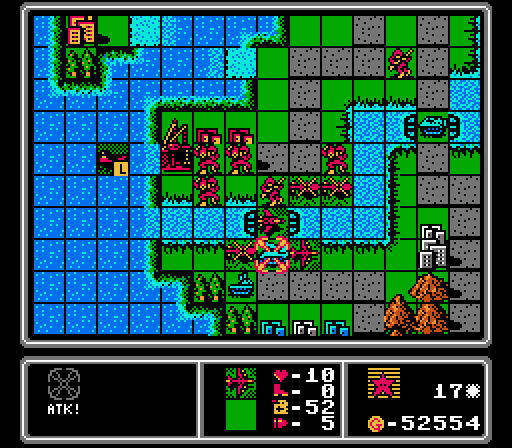
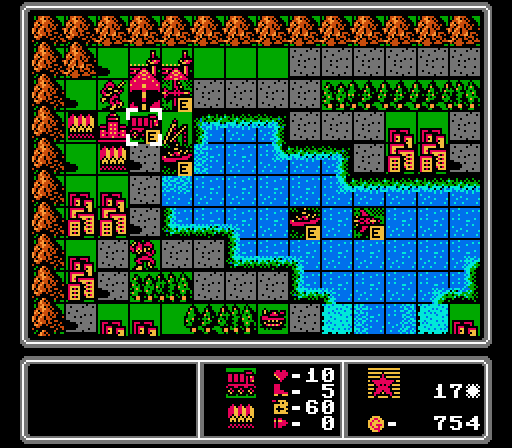
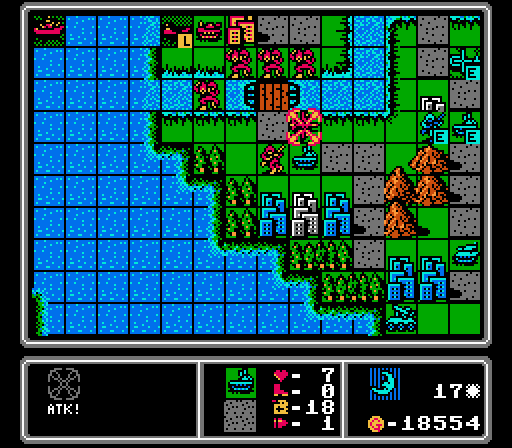
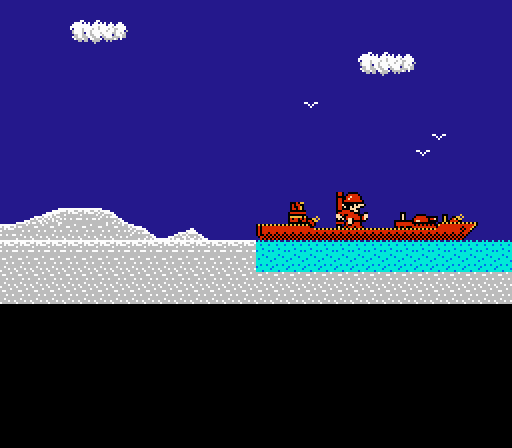
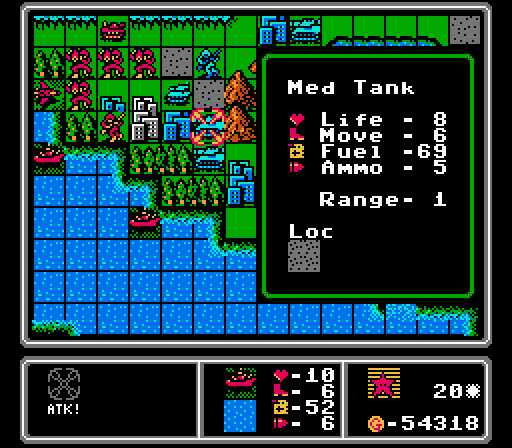
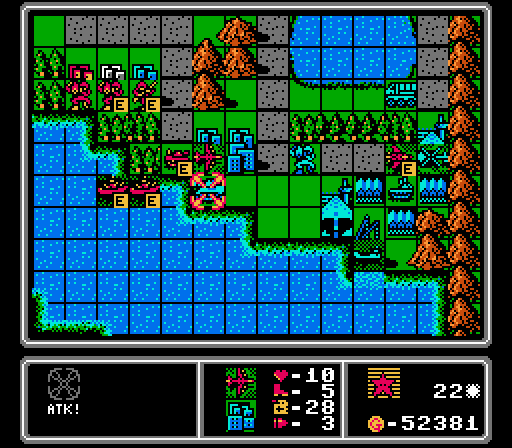
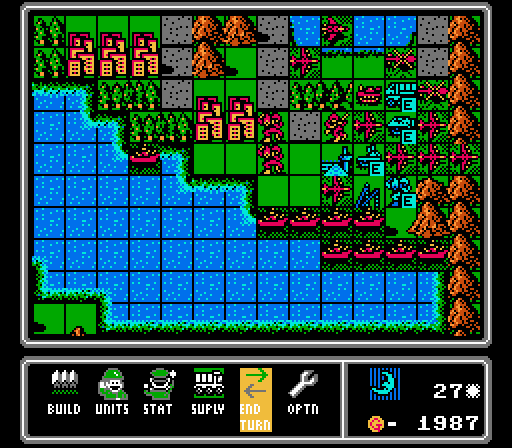
This lander is carrying a tank and a medium tank and they're all about to have a very bad day.
Nice to have some heavy hitters finally seeing some action.
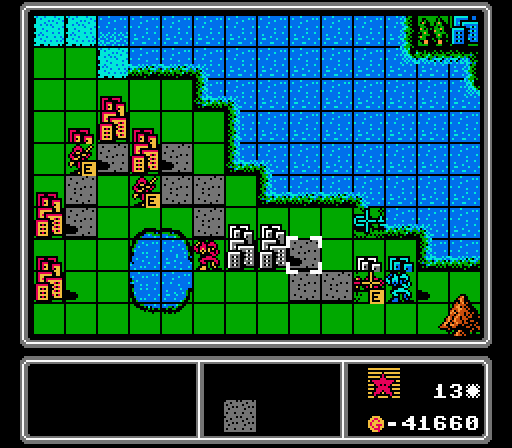
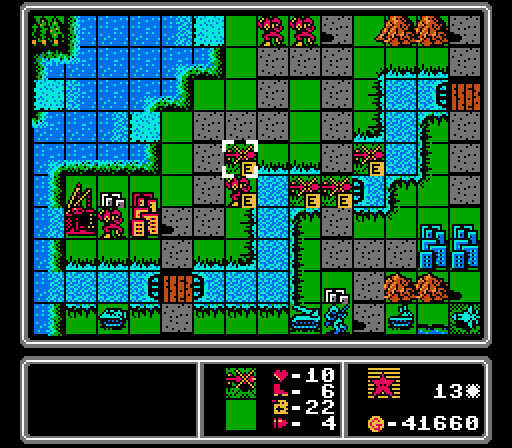
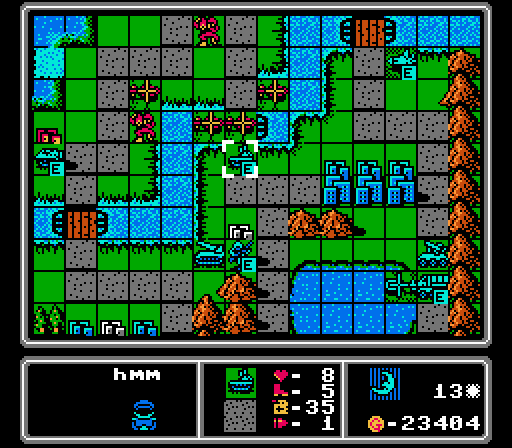
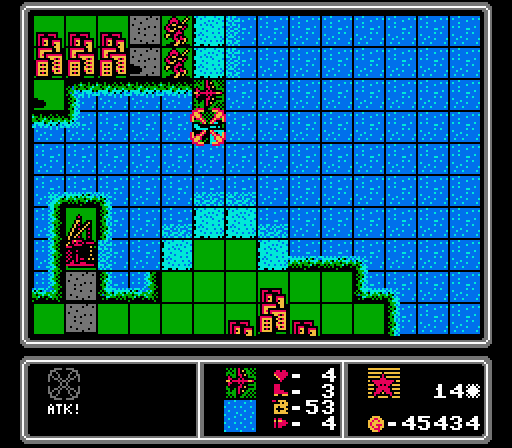
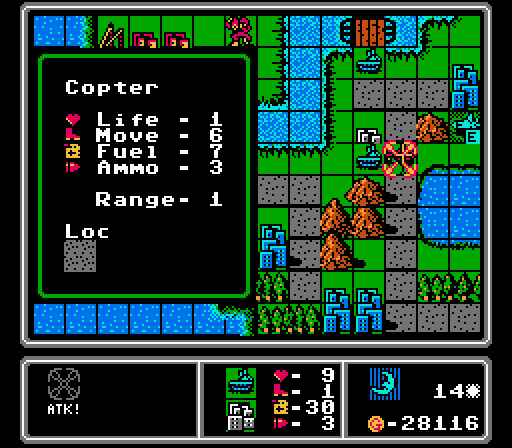
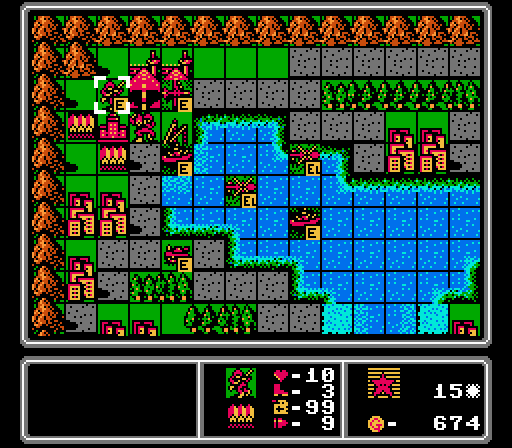
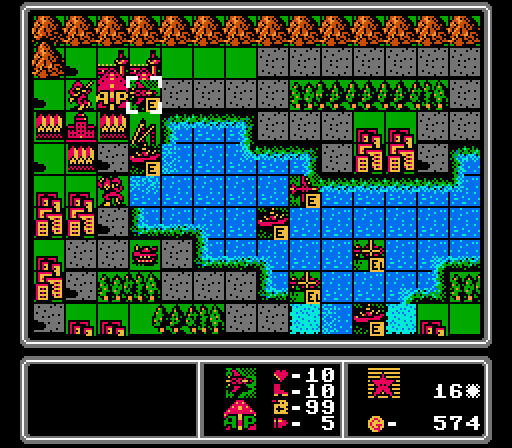
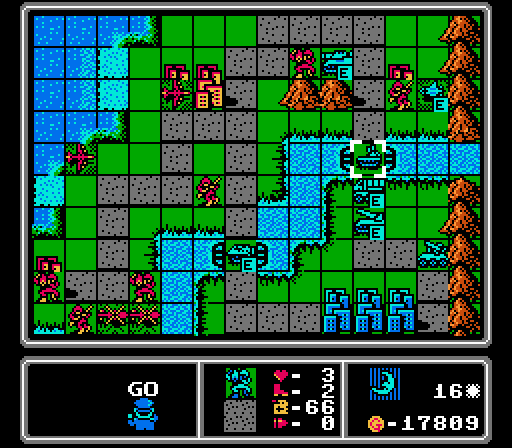
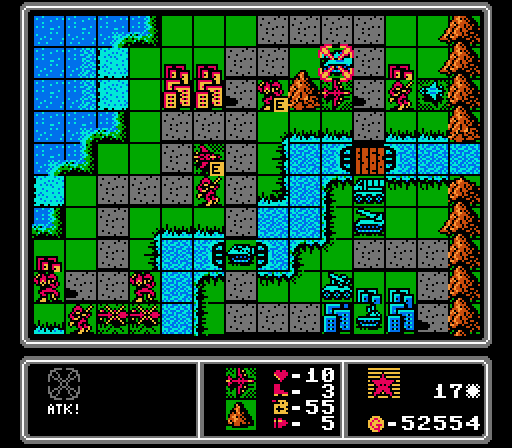
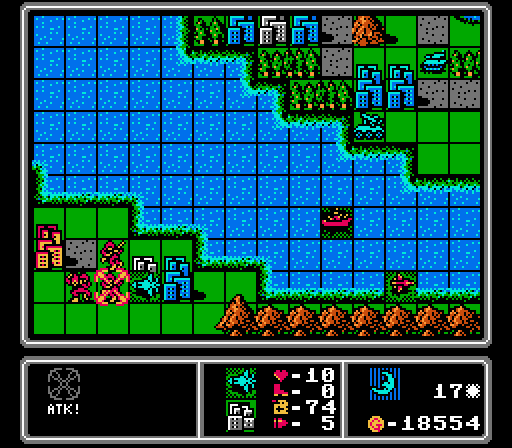
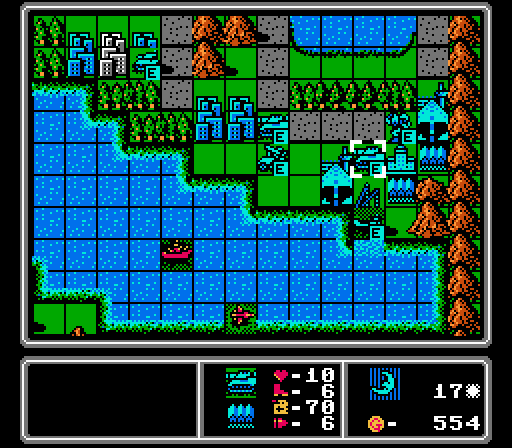
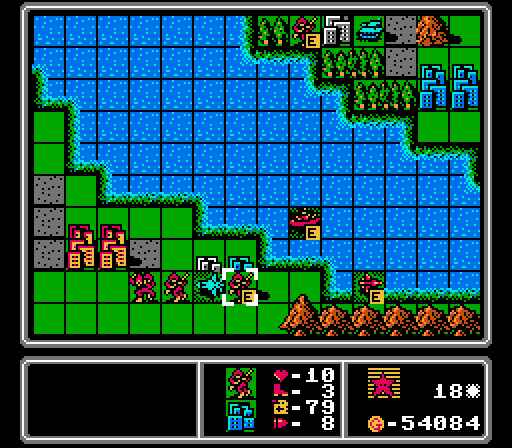
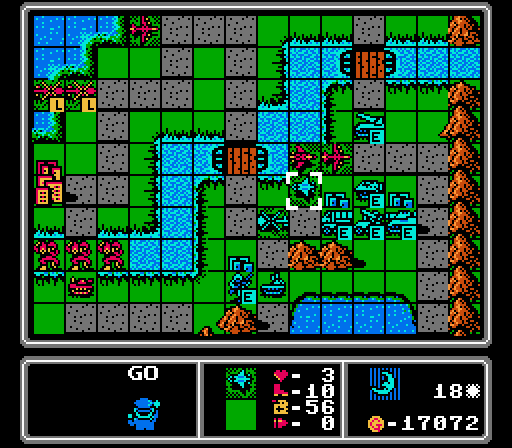
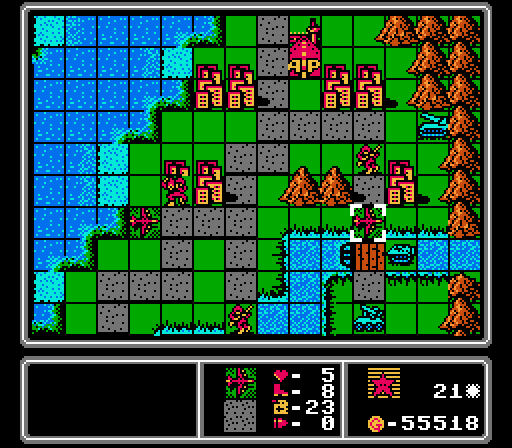
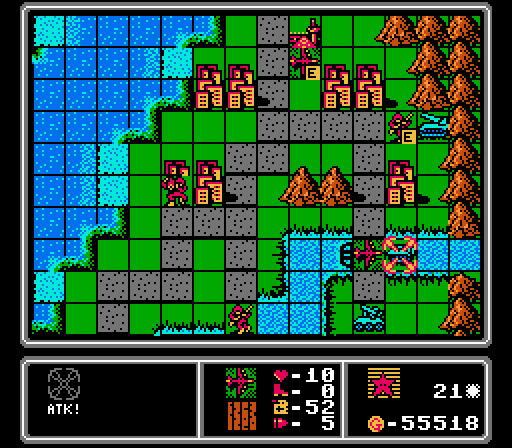
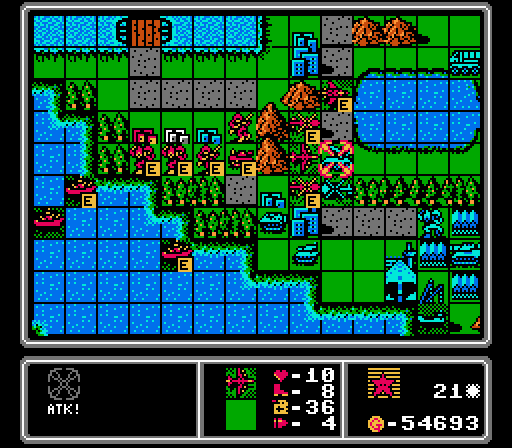
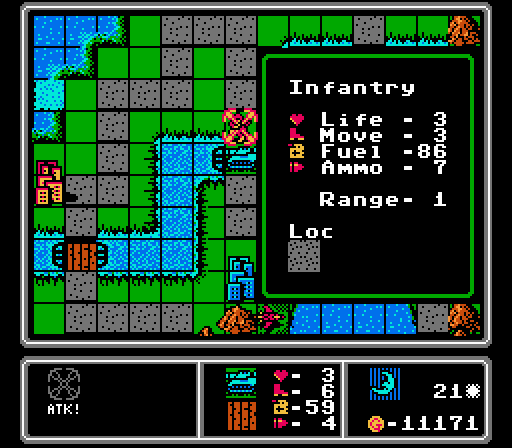
We're still trying to wrap up the lower island here. We've driven off the copter but need to keep that mech from going anywhere. Parking that copter on the city right next to him will keep him frozen.
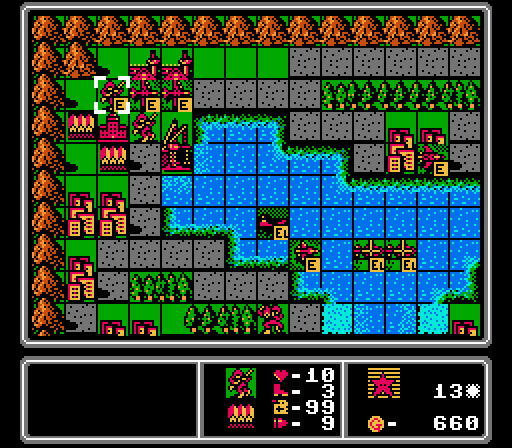
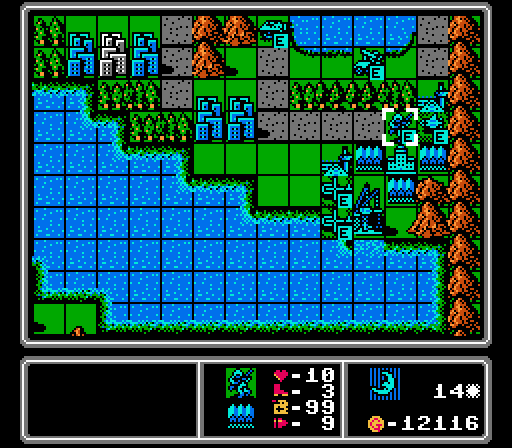
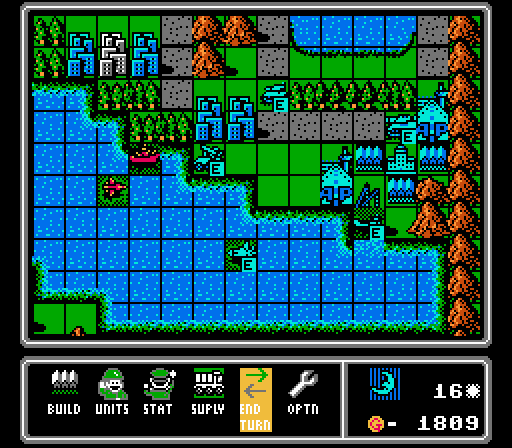
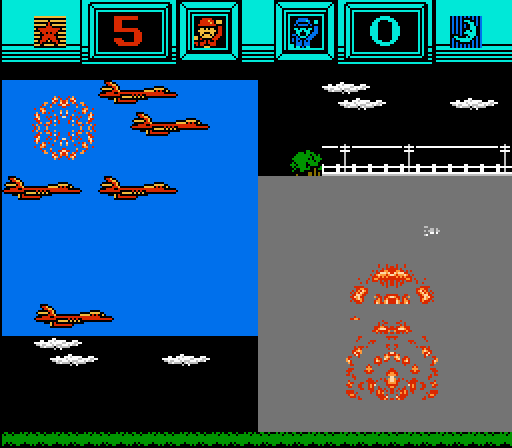
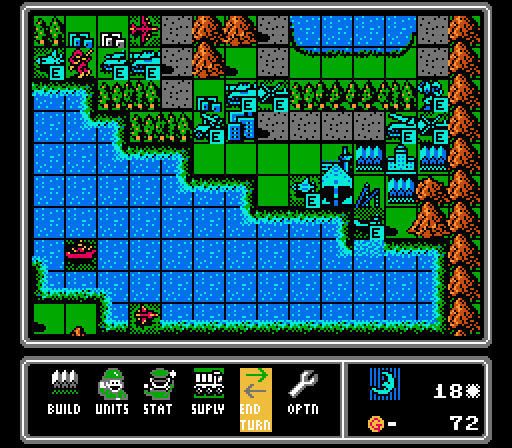
We've got enough income now to get ourselves two bombers this turn, plus an infantry to use up the spare change.
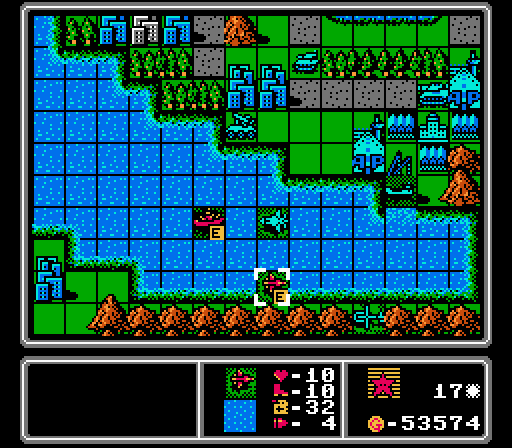
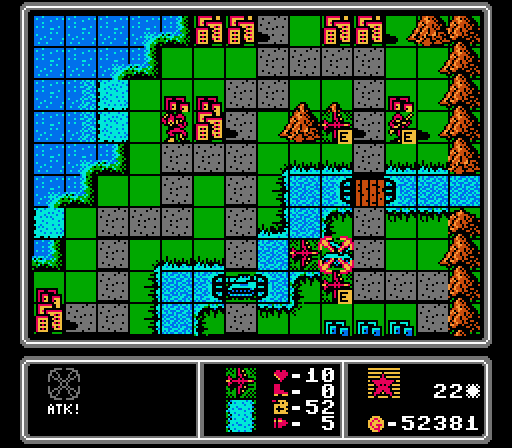
Another shot of our stranded units.
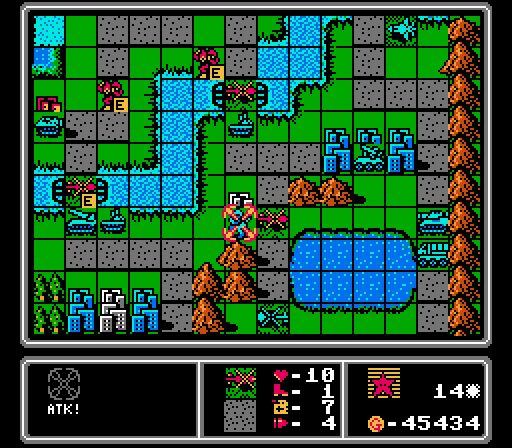
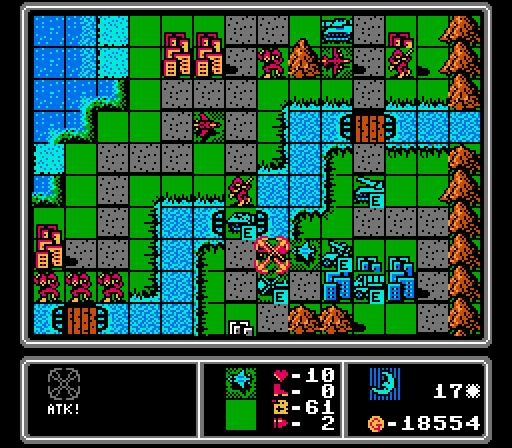
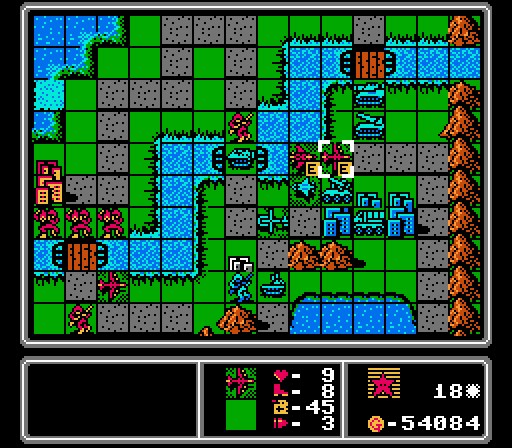
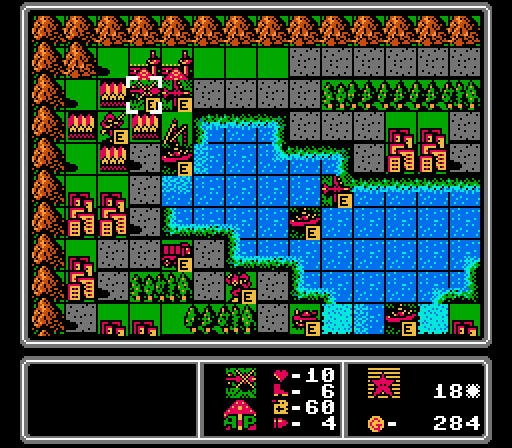
This mech has finished its capturing missions, so it's okay to let the APC across now.
Our copters are still an effective distraction. We lost one to the figher and the AA tank hit another.
Just a new AA missile.
Turn 14
This copter didn't quite make it to the front before it ran out of fuel.
Our bomber keeps harassing the lander.
We bring another copter down to finish off this capturing infantry, while others continue to block the bridges.
This time we get a battleship and two copters (immediately loaded with nearby infantry), and burn the rest of our funds on a tank and a mech.
I pulled this mech back to get out of rocket range, but it turns out ports don't actually repair ground units so it's going to eventually lose to that APC. And of course I had moved a different mech back into rocket range anyway.
We lose a few more copters in enemy territory. Keeping Blue distracted while our heavy hitters slowly make their way over.
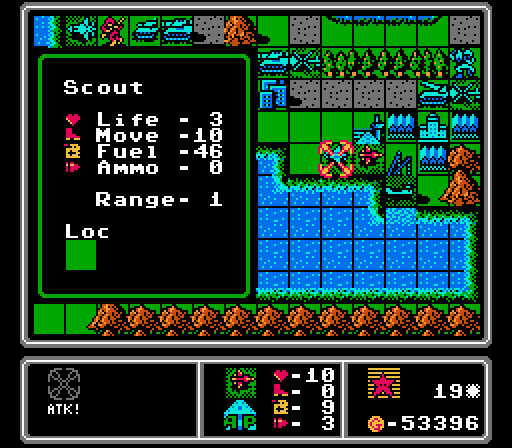
Blue gets a scout this time, to more efficiently play with our copters.
Turn 15

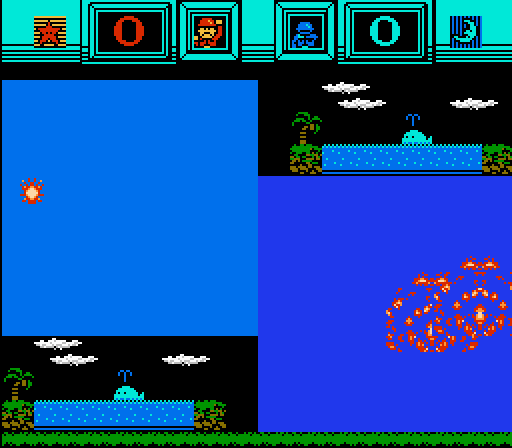
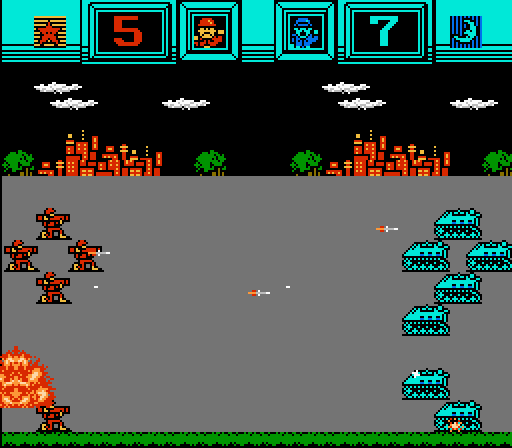
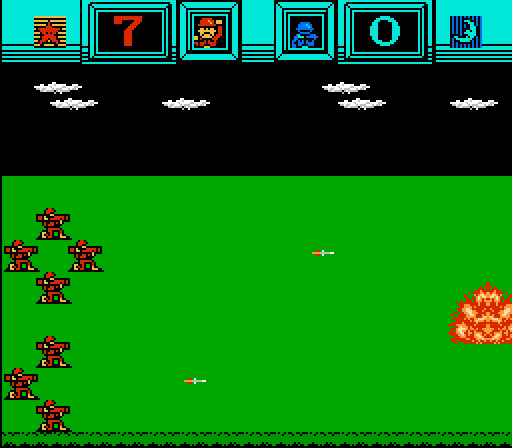
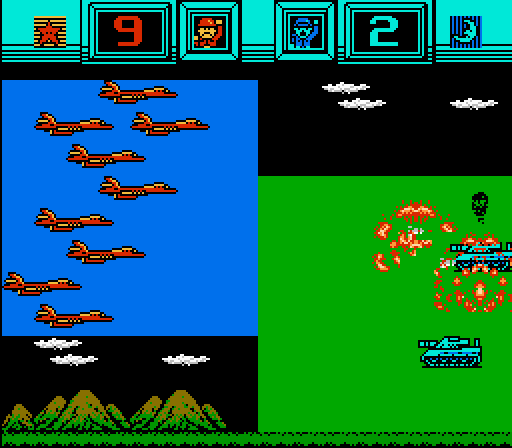
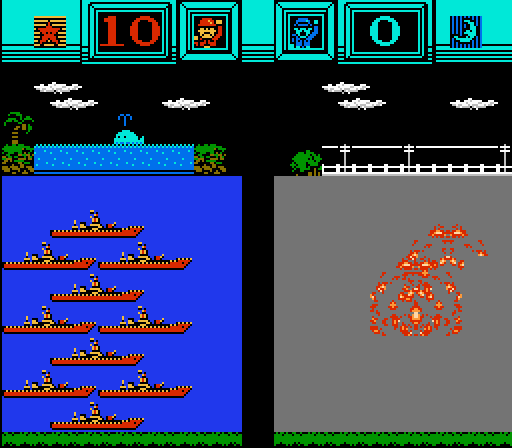
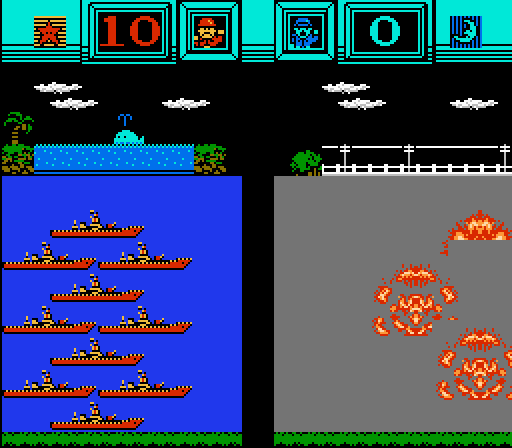
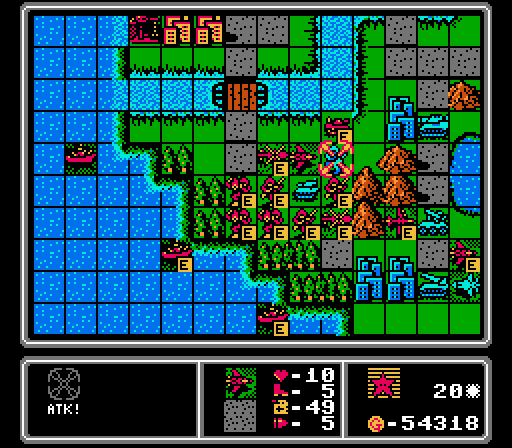
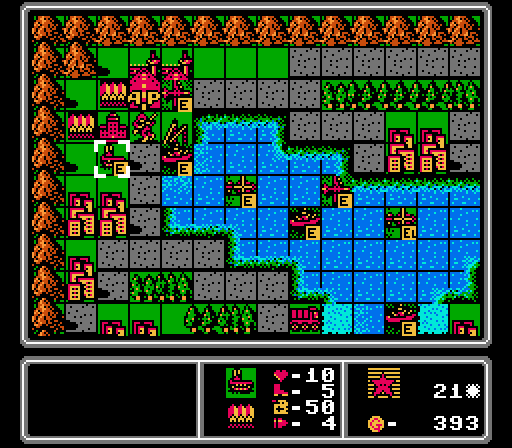
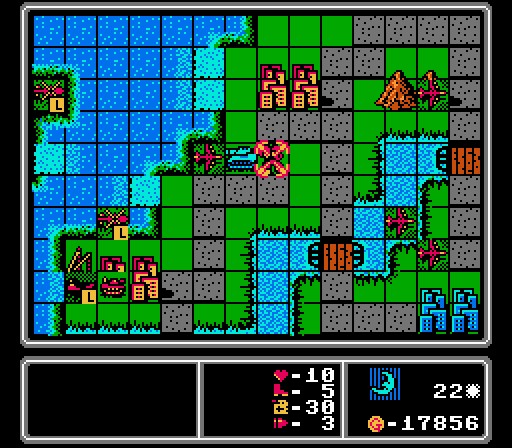
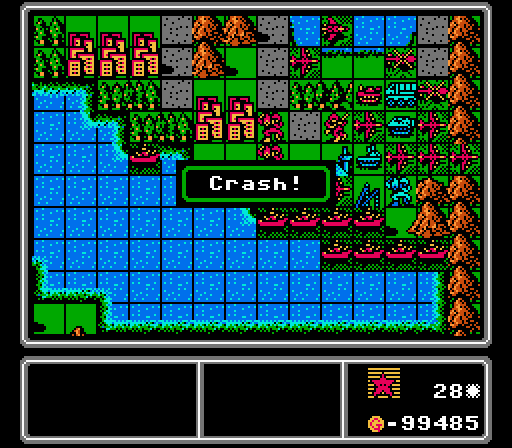
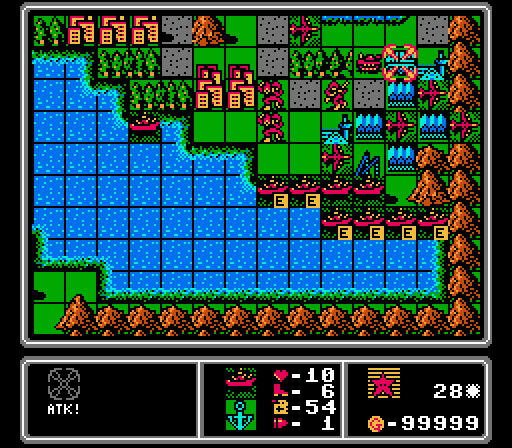
Showing off this fun bug one more time. These two units destroy each other in the same battle...
The game glitches out and puts the defending unit back on the map, but with the barest sliver of health. The infantry is able to finish off the lander here, sinking it and the tank and medium tank that it was carrying (over 40,000 G destroyed here). Sure, it cost us a 20,000 G bomber, but we have plenty to throw away now.
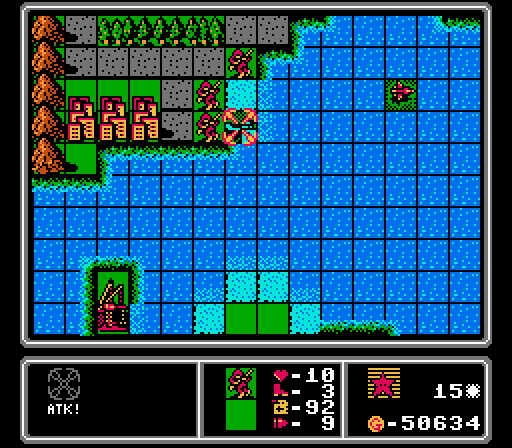
Just grabbing the last couple of cities from the upper-right area.
It's really tough to rush a rocket with these slow mechs. So the copter keeps chipping away at it instead. Our first battleship is finally in the area, continuing to move towards Blue's HQ.
We now have enough income each turn to get both a battleship and a bomber. With enough left over for an infantry!
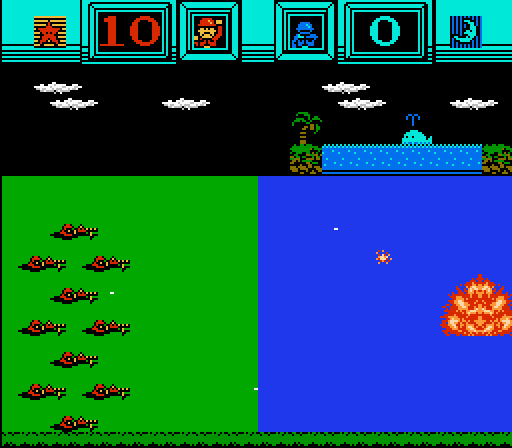
Not much interesting on the enemy phase. This mech finally came off the city to hit our mech. It's out in the open now so we can easily take care of it.
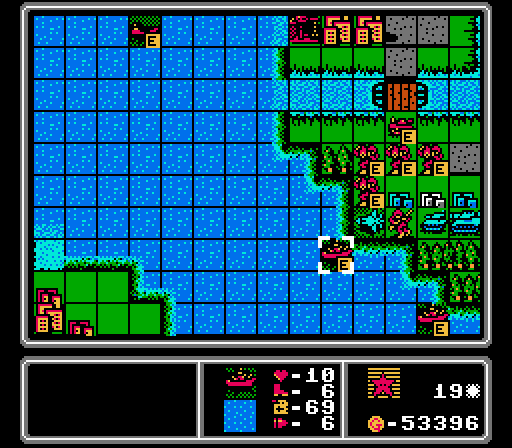
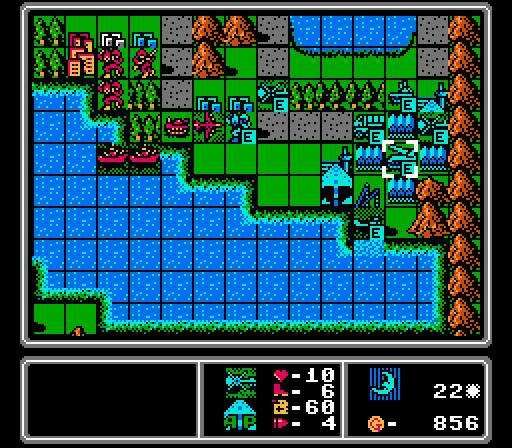
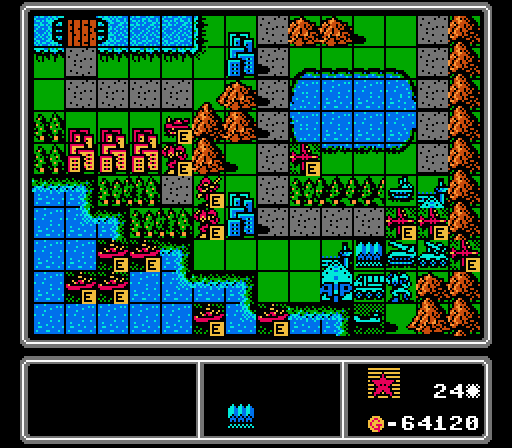
The enemy scout came out and took out another copter. This fighter is retreating back to the airport for more ammo. You can see in this shot how spread out all of Blue's units are - their starting island is large and has some good chokepoints for ground assaults, but too much open water and mountains for keeping air units out.
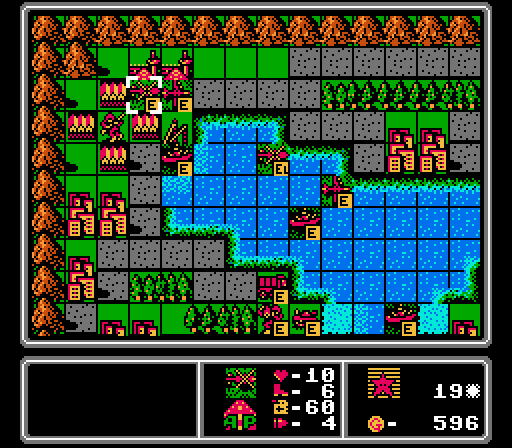
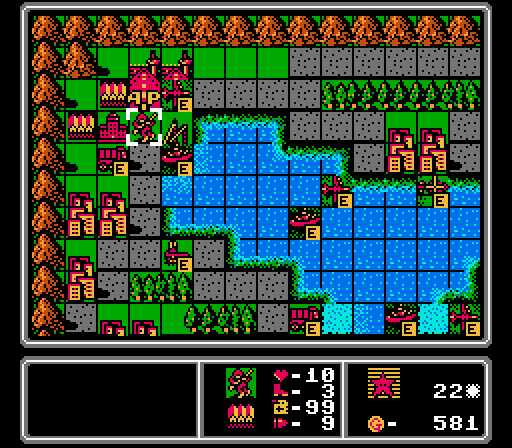
Blue blows another chunk of funds on a lander. This one will never even leave the port area.
Turn 16
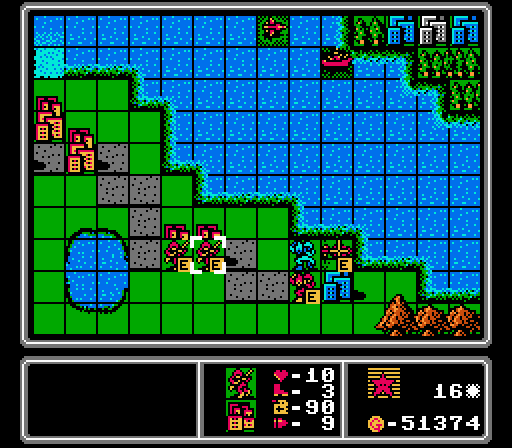
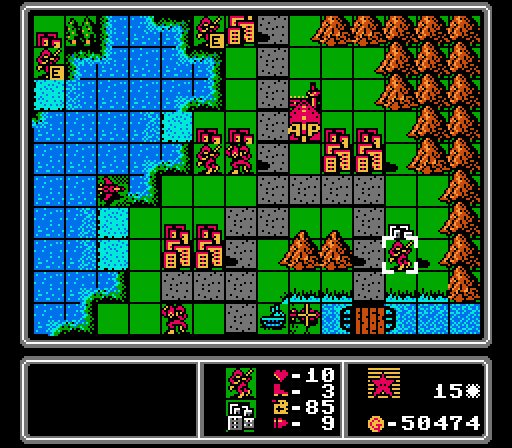
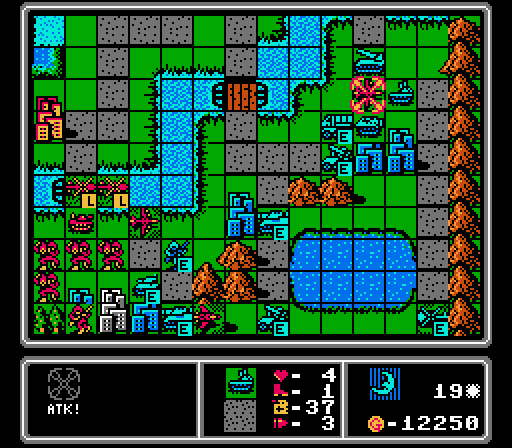
Our copter and mech can't finish off the other mech, but there are only three cities left to capture on this island now.
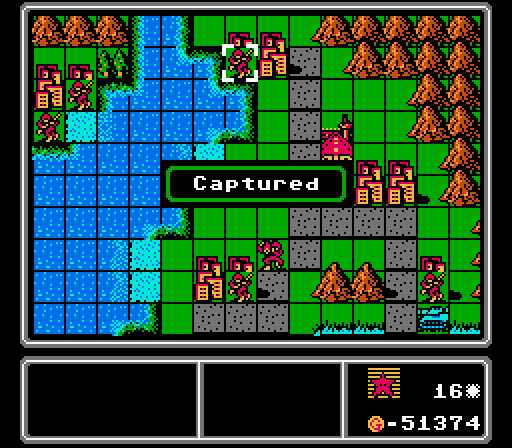
The last city in the upper-right region is under our control now as well.
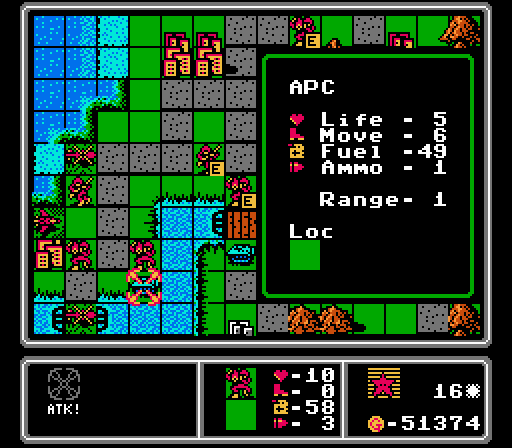
A mech against an APC isn't normally a good matchup for us, but in this case the APC is weak enough that our mech gets the kill without taking too much damage.
I'm not real sure what I'm doing here. The copter and fighter chip away at the rocket for a couple more damage but I still can't get a mech close enough to actually hit it yet.
A medium tank has broken through and an AA tank is right behind it, but we have a couple of bombers ready to take control soon.
I'm trying to minimize the units built at this point so we build a battleship and a fighter to hit the exact amount we need to spend.
We lose another bridge as this APC one-shots our mech. We're spending like crazy but it just takes forever to get our units to the river here.
The medium tank advances and hits our mech, and an enemy scout moves up to harass our infantry and scare away our bombers. I'd forgotten that the highlighted AA tank was damaged and it retreats back to a city for repairs.
Just another medium tank. We have plenty of forces en route that can handle it. Eventually...
Turn 17

Another copter lost in the struggle. I think I might set a record for running air units out of fuel in this map.
I'm trying to dance around the enemy units here. I needed the scout away from the AA missile. If the enemy fighter goes after the scout, I can hit it with our battleship. If the scout is left open, it can go after the enemy copter. And the battleship can hit the AA missile if it stays in range, too.
These are the last two cities outside of Blue's island that we don't already own, and now that the enemy mech is gone they'll be ours in a few more turns.
A bomber finally arrives on the scene and wipes out this rocket, clearing the chokepoint.
Our other bomber neutralizes the medium tank. It's in range of the enemy scout, but I moved our fighter up to cover it.
We start to break through the left side of the island. The current round of copters moves over to make trouble at the next bridge. The highlighted infantry is plugging up the bridge - the APC will tear him to bits, but won't kill it and nothing else can get through. That lander on the far left finally reaches the port and drops off a tank.
It's another bomber and battleship pair this turn, with a supply using up the extra funds.
Well, that was unexpected. The enemy fighter avoided our trap and went after one of our infantry. That'll delay our capturing efforts down there.
We lose a couple more copters, with the scout coming down to finish off this one. However it's still in range of our fighter, and not in a position where the AA missile can cover it, either.
This AA tank suicides on our bomber, but does a fair bit of damage on its way out.
Another medium tank appears, as Blue moves some reinforcements over to our break-in area.
Turn 18
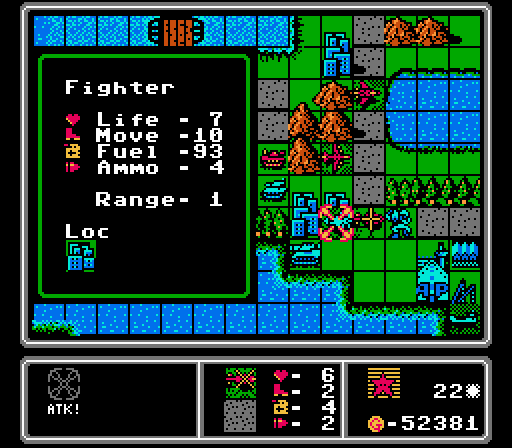
We start off the turn in style, with the fighter going after the scout and the bomber hitting the AA missile. It's nice to finally be able to strike real blows here.
Starting to attack the cities on Blue's starting island now.
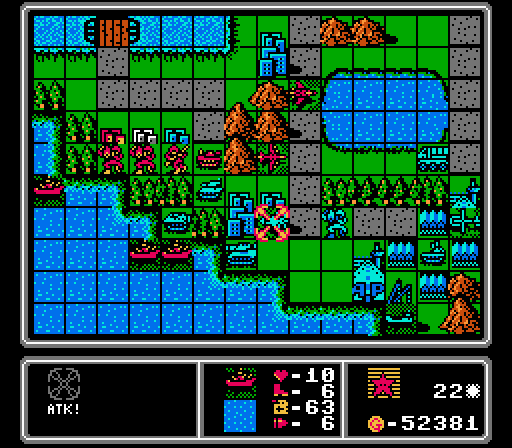
Blue's foothold on our second island has lasted long enough, let's kick them out. Note how our battleship is positioned to cover both the capturing infantry and the scout, in case the fighter goes after either one.
Another round of reinforcments - a battleship, a bomber, a copter, and an infantry. The nearby infantry immediately jumps into the copter.
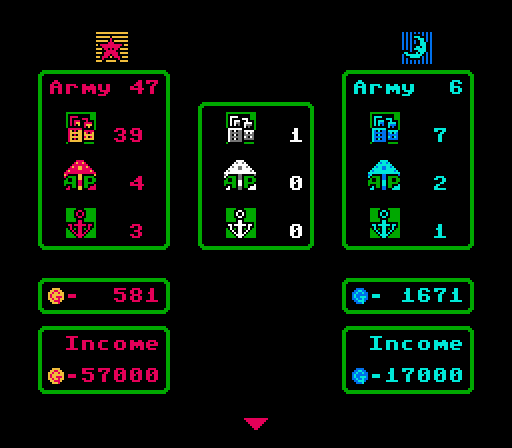
We've tripled our enemy's income now. It's just a matter of getting all these expensive units we've been building all the way across the map.
I know I keep under-estimating the range of a fighter, but I really did not expect it to make it all the way back to all but kill this infantry.
The scout, copter, and AA tank are all damaged and all retreat, leaving our air units untouched this turn.
Just another rocket and copter here.
Turn 19
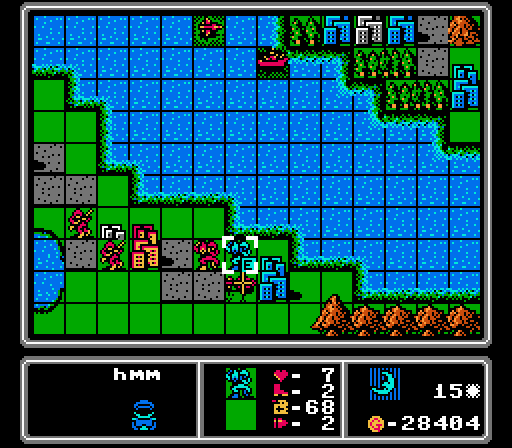
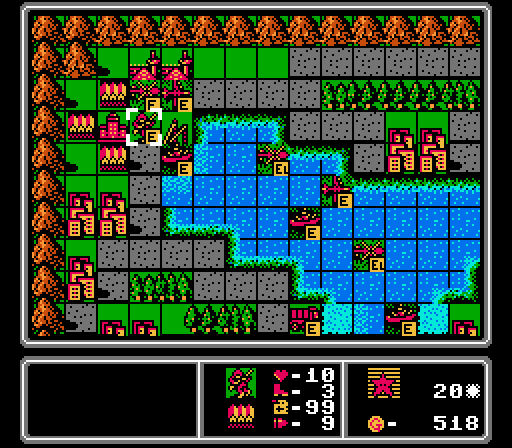
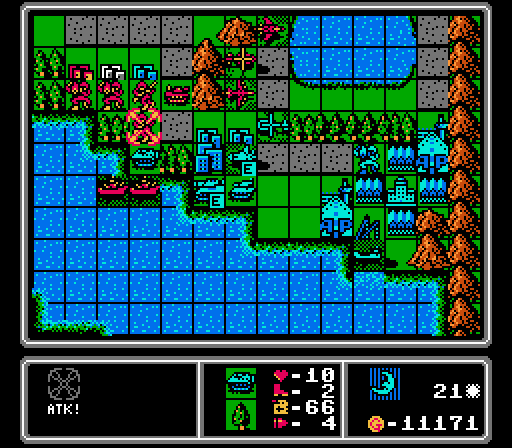
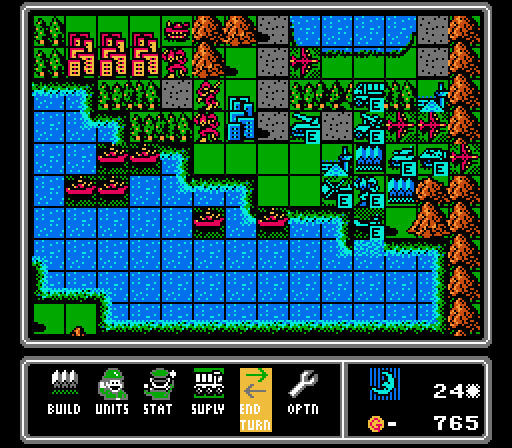
We kick Blue out of the lower-left island.
Our scout is in position to finish off the enemy scout that had retreated. It's getting pretty low on fuel so I don't really care that the lander will attack it on the enemy phase.
I'm determined to get our battleships some action next turn. They're in great position to cover our footsoldiers as they try to capture those cities.
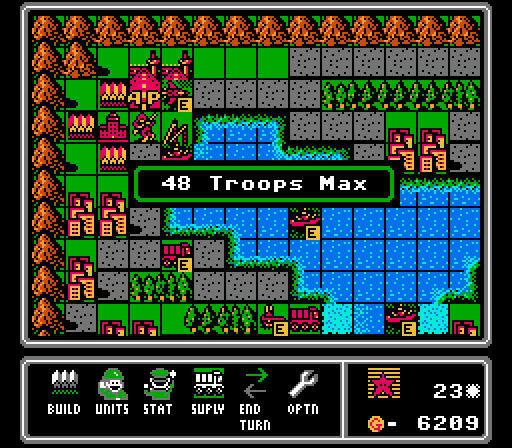
Still spending all our cash every turn. We've hit the unit cap now.
This AA tank kills itself on our bomber, the second time that's happened in three turns. Down on the lower left, we lose a tank but there are plenty of targets left in range of our battleships.
Turn 20
Our lander made it back to pick up a couple of the stranded units on our starting island.
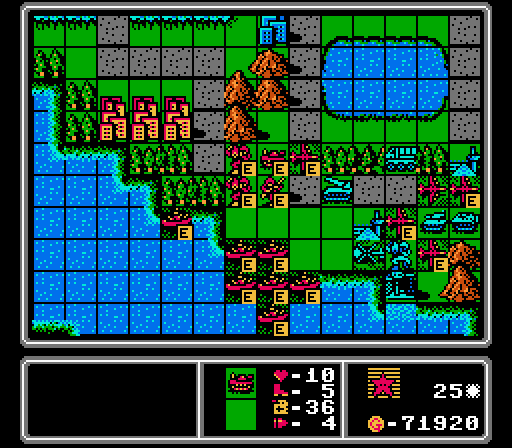
One medium tank is summarily destroyed by a battleship.

Two shots, two kills. Against fairly healthy medium tanks. Beautiful.

We've got one bomber left on the upper-right trying to clean up an attempted breakout.
With the medium tanks gone, everyone else swarms ahead, with two more copters unloading their passengers. Nearby a bomber neutralizes an AA missle and one of our fighters squares off with the enemy fighter while the other finishes off an infantry. I ended up suiciding our damaged scout and mech and merging in a damaged bomber to free up space to build more units this turn.
We get the usual set.
No significant attacks or movements from the enemy forces this turn. Just a new medium tank built.
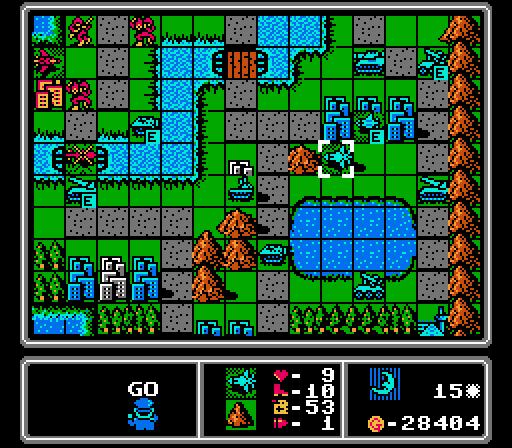
Well, not exactly significant, but this movement is at least unusual. I had no idea APCs could cross rivers in this game. Doing so seem to use up all of their movement, but an interesting wrinkle to keep in mind for later maps.
Turn 21
Lost a fighter to a fuel crash this time, but it did its job forcing the enemy fighter to retreat already.
This bomber is damaged, out of ammo, and low on fuel so it goes back to the nearby airport.
The rocket is heavily damaged so I send in an infantry to try and finish it off, but fall short. A fresh bomber arrives to destroy this APC however.
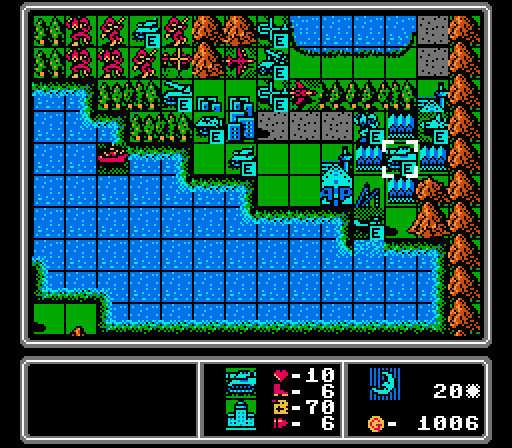
We've got the last city on the lower-left island, and have also captured the first of Blue's cities on their starting island.
Our lead battleships are continuing their destructive wave, dealing eight damage to this rocket and also finishing off the nearby tank.
We have a tank move down to finish off the rocket, and our air units hit two copters (destroying one) and finish off this AA missile. Two more city captures are ongoing, with the injured footsoldiers merging together to speed things up there. Blue has lost a lot of ground all of the sudden; it's really just a matter of wrapping up now.
Our extra unit for the challenge is an AA tank this time; I had a weird amount left over and was too close to the unit cap to do a copter+infantry combo.
The enemy fighter finished off one of our copters that was about to crash anyway, and this APC takes out an injured infantry that I only moved forward to screen our capturing troops.
This infantry finally loses its battle with the damaged medium tank, but I have a couple bombers nearby that can take over next turn.
The AA builds an AA tank and a copter, two of the most annoying units for my bomber-heavy army to remove.
Turn 22
This copter is just about out of fuel and while it could do some damage to the mech, I opt to have it destroy itself against the fighter so I can build more this turn.
The battleship waves are starting to build on each other now. Here they finish off the fighter and tank, and dish out heavy damage to the medium tank and APC (there's one more battleship just off-screen).
The tank finishes off the APC, and this bomber finishes off the medium tank. Our fighter doesn't have a lot else to do so goes after the new copter.
The bombers continue to clean up this area of the map, finish off the damaged rocket that had crossed the bridge a few turns back, then teaming up to take out this AA missile.
This turn is the last time I'll show the reinforcements, since I don't think they'll be relevant afterwards. We'll likely finish off this map before they can advance far enough to contribute. The extra unit is just a supply; we spent some of our funds repairing a bomber earlier.
There are only six enemy units left but as usual our opponent has enough income to make things drag out at the end here. The drama is all gone at this point so I'll just summarize the subsequent turns.
This loose medium tank was already heavily damaged, and it kills itself on our mech.
Our fighter is shot down by the AA tank, and Blue builds another copter and a rocket.
Turn 23
We finish off two city captures, the bomber hits the AA tank, the battleships take out the mech that was in range, and our tank just runs straight into rocket range because it's damaged and out of ammo and I want to just get rid of it.
I know I said I wouldn't show reinforcement again, but because we're up against the unit cap I had to modify the challenge slightly. I built the two most expensive units I could and still couldn't spend all our money, but I'm still maxing out the production we're allowed to have within the game's constraints. That workaround will continue for the rest of the map.
The rocket blew up our throwaway tank and the AA tank finished off one of our bombers, but that's about it. There's a new AA missile and a mech.
Turn 24
Our fleet of battleships shot down the two copters and are preparing to go after the lander. The bombers went after the AA missile and rocket but couldn't finish off either one. Stupid defensive bonuses.
The AA tank destroyed itself on a bomber and the AA missile and rocket helpfully moved away from the defensive bonuses, allowing the AI to build a tank and an APC in those spaces instead. There's also a new copter.
Turn 25
The AA missile and lander are both gone but the bombers are having trouble clearing out the enemy vehicles sitting on the HQ and bases. They've taken enough counterattack damage now that they just don't have the firepower to punch through. It'll be up to the battleships to move in and finish things off here.
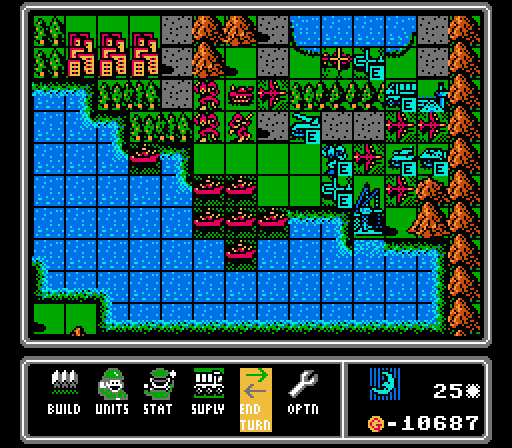
Just a new copter here, since I have the vehicles trapped and we're blocking every other build point.
Turn 26
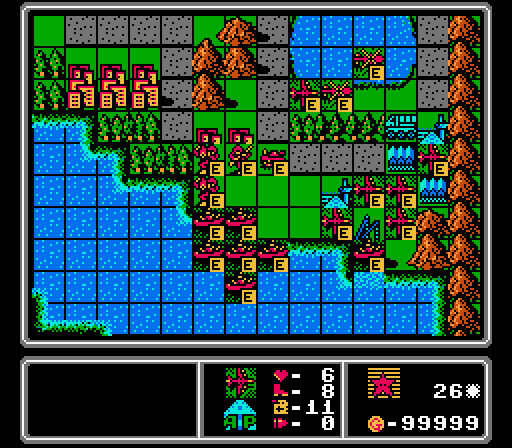
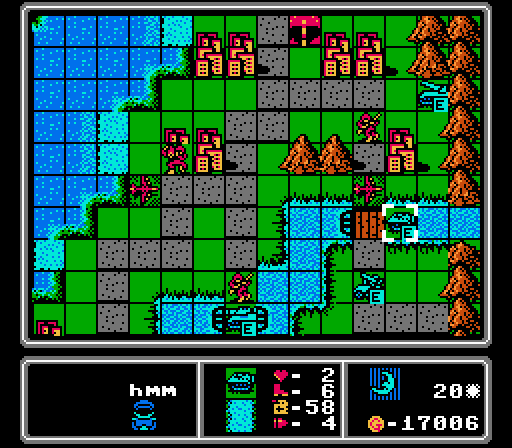
There seems to be a common theme in this LP where the end of the map drag on because I can't get enough units together to finish off one last supply truck.
Because I couldn't finish off the map this turn and also couldn't block all of the build points, we have to take care of a medium tank and a tank next turn. And most of the battleships can't reach anything so won't be of any help.
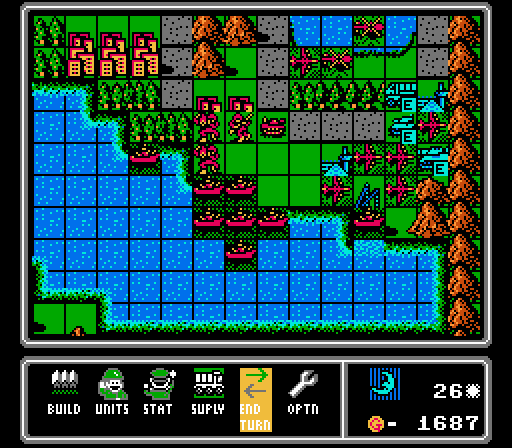
Turn 27
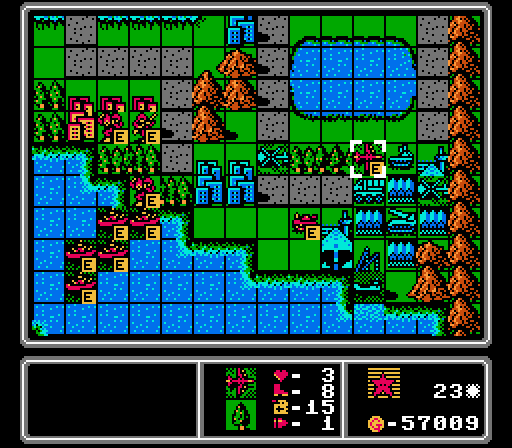
Once again we have only the enemy supply remaining. That one bomber that hasn't moved yet has only four life and can't get the kill, so I leave it blocking the airport. At least the massive fleet of battleships is finally in position to wreck everything next turn.
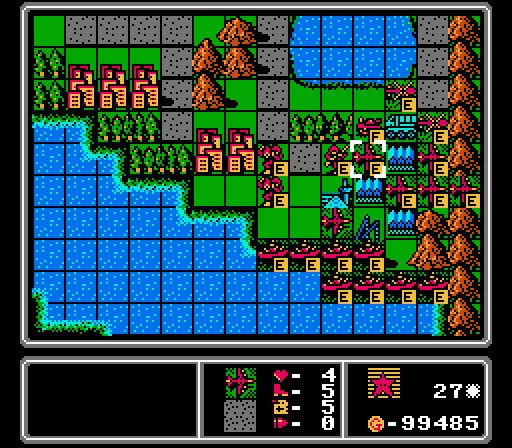
One final shot of all the units left behind on our starting island. I actually did get in one more lander run to pick up an AA tank and a mech, but they never reached the front lines. There are four more footsoldiers trapped elsewhere on the map that were just never worth picking up.
Blue opts for quantity over quality which is probably the easiest way to keep dragging this map out further, since those are three more units getting full defensive bonuses and requiring at least six attacks to remove.
Turn 28
Two bombers and two copters are out of fuel, but I won't need them.

It turns out seven battleships all firing at once are enough to wreck even units sitting on bases.
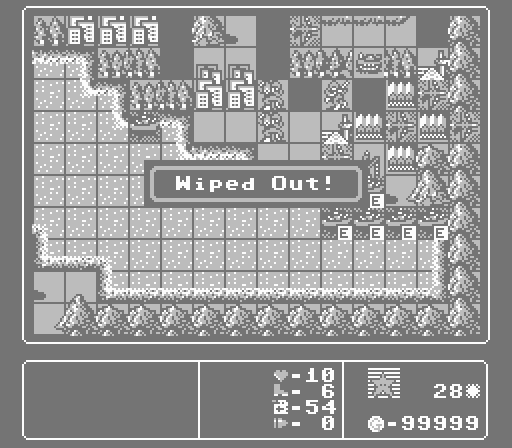
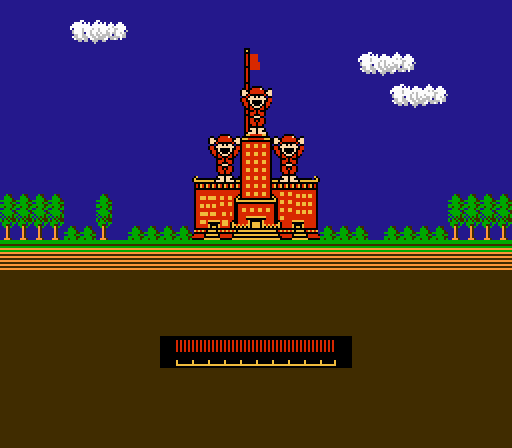
And we're finally done.
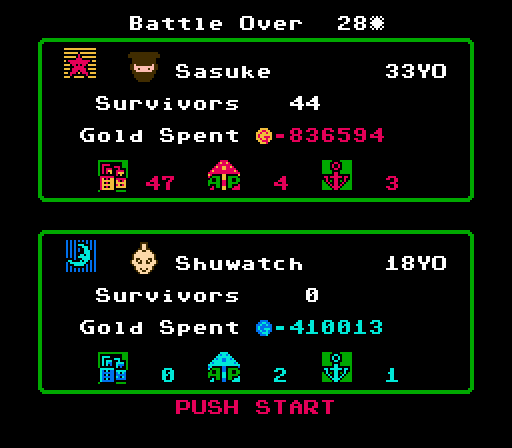
We ran into game limitations at the end but still spent a ton of money. We ended up capturing all of Blue's cities before the map finally ended, too.
Finishing in 28 turns is actually pretty good. The average is supposed to be 33 turns. Our initial strategy of going for the neutral ports and airports first gave us a quick income advantage that inevitably led to an avalanche of battleships and bombers wiping out the enemy. This map really highlights one of the drawbacks of this game - being unable to build from the captured ports and airports slows down the end of the map considerably, and does nothing to really change the outcome. Good thing they changed that in later games.
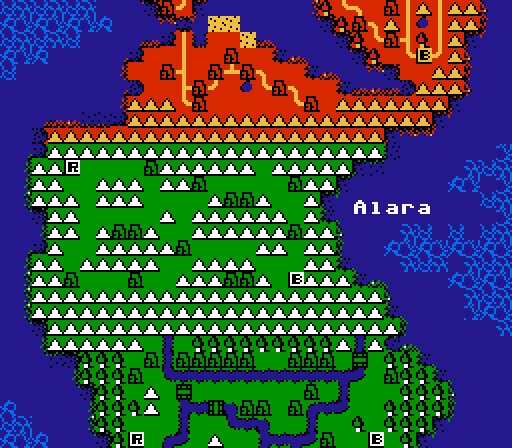
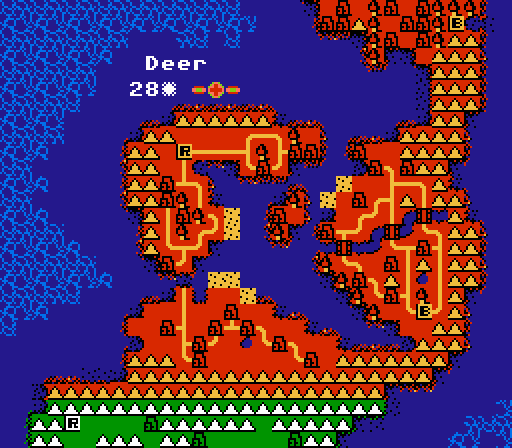
We appear to be headed for another ground battle next time, with a ton of narrow mountain passes. Not sure what Alara refers to - the most common search result appears to be as an acronym related to radiation exposure, "As Low As Reasonably Achievable". There's also a minor reference to a plane of existence in Magic: The Gathering. Not sure how either one would really fit in here, but we'll see the map in action next time! In the meantime, make your pick for the challenge for next map:
- Unlock Mode 2.0 - No building a unit until the enemy has built one of that type, including on the first turn
- Ride or Die 2.0 - Damaged units must advance towards an enemy unit and attack if possible
Vote in the linked poll here.