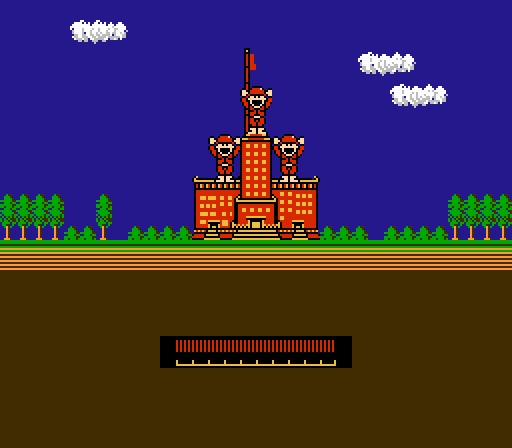
Part 27: Alara
Part 27: Alara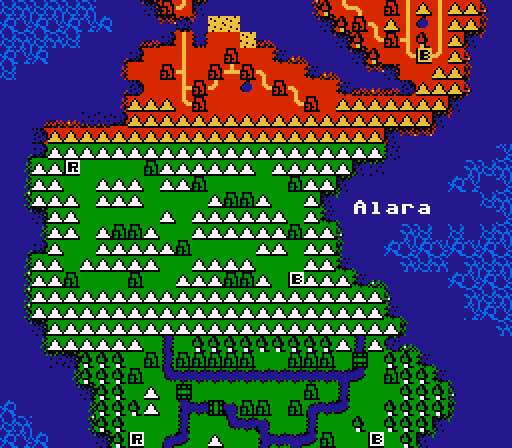
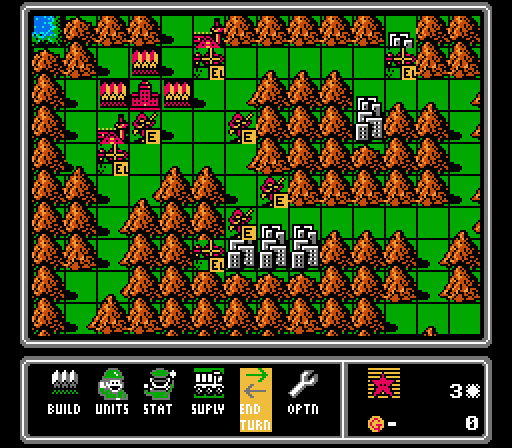
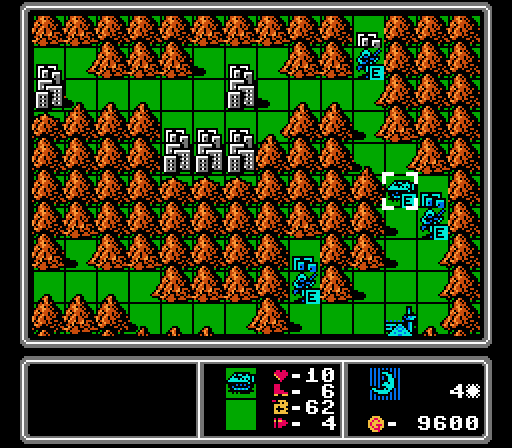
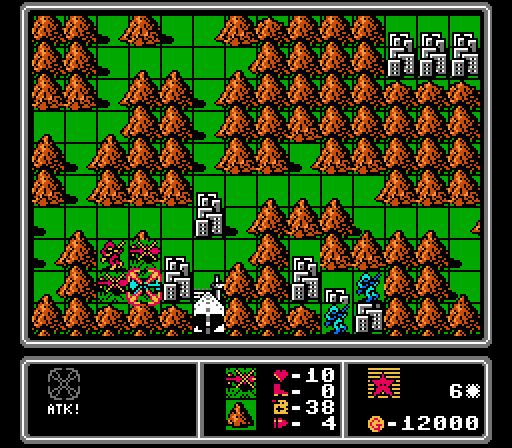
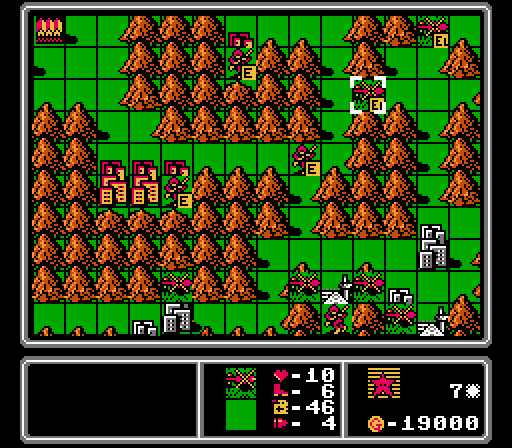
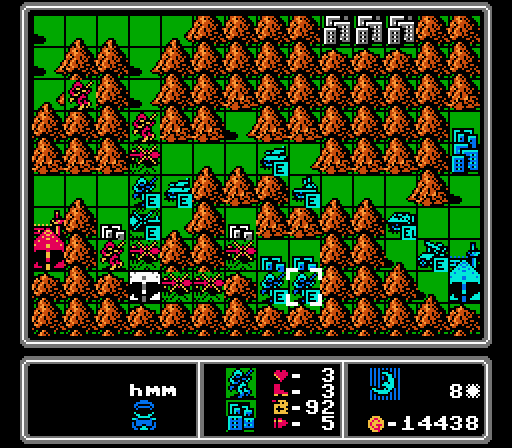
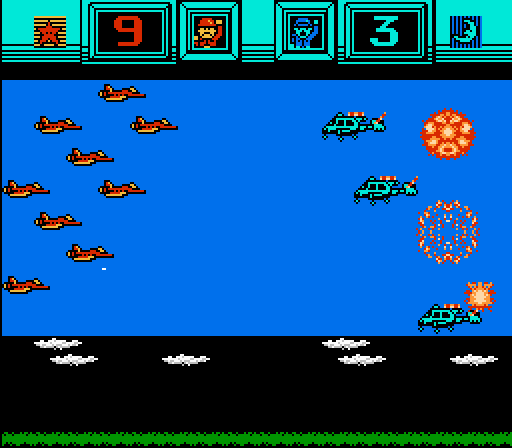
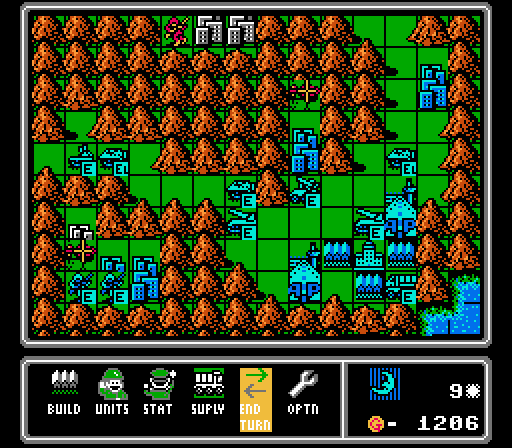
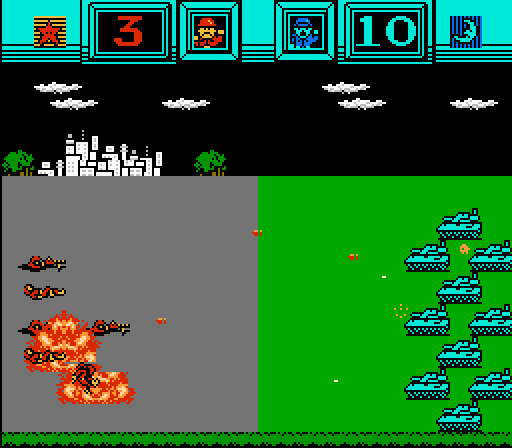
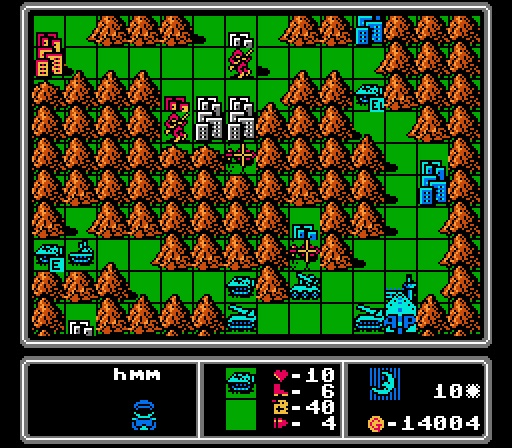
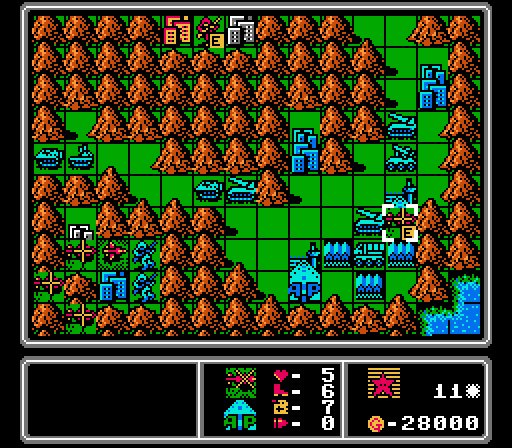
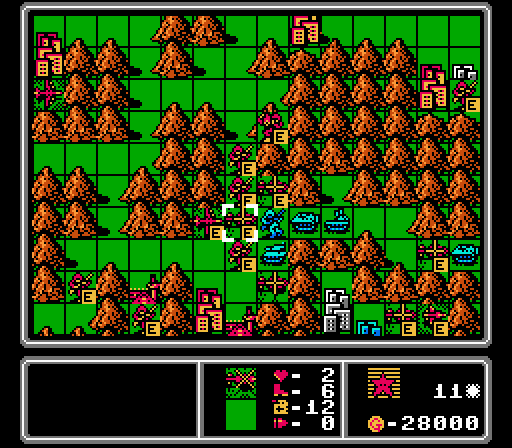
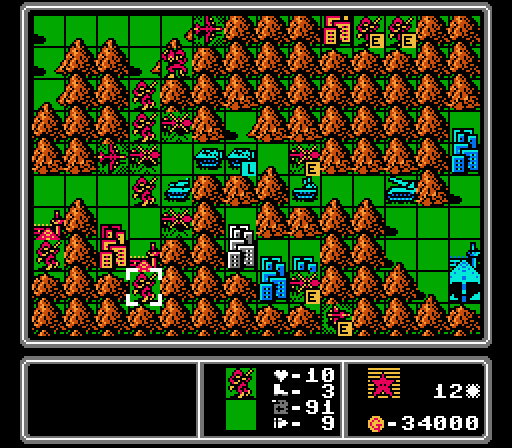
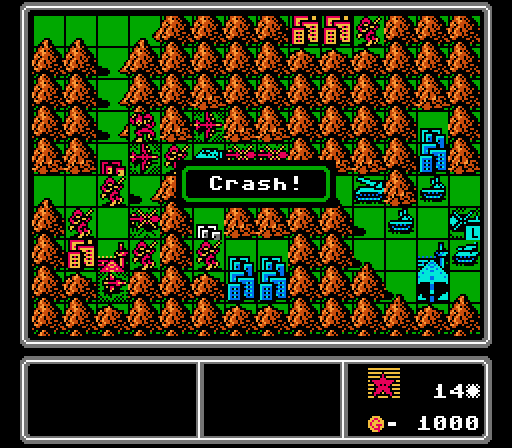
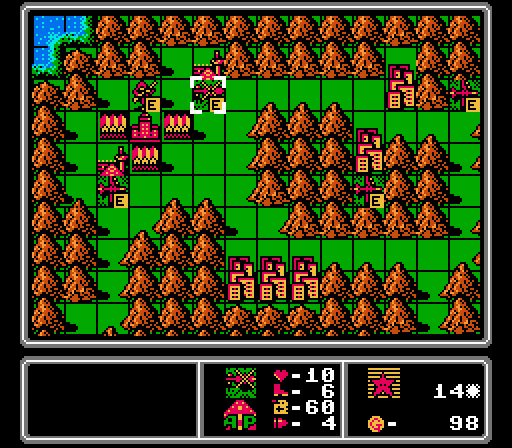
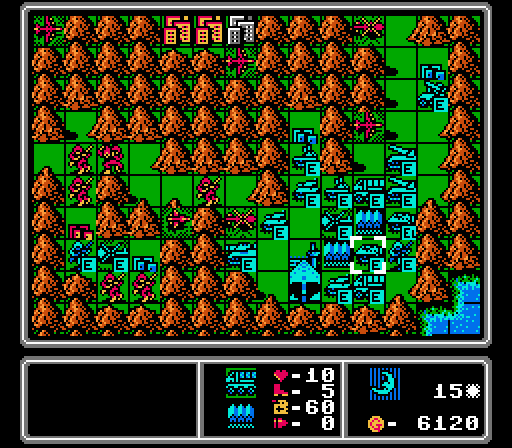
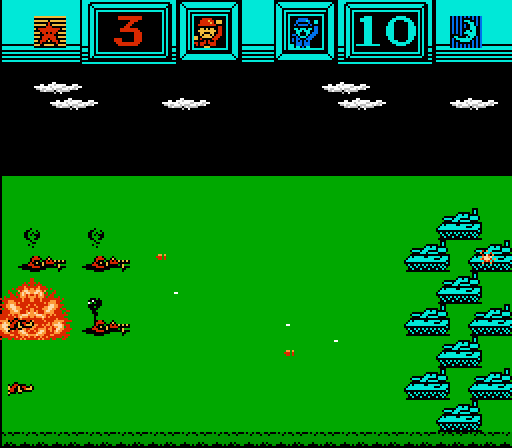
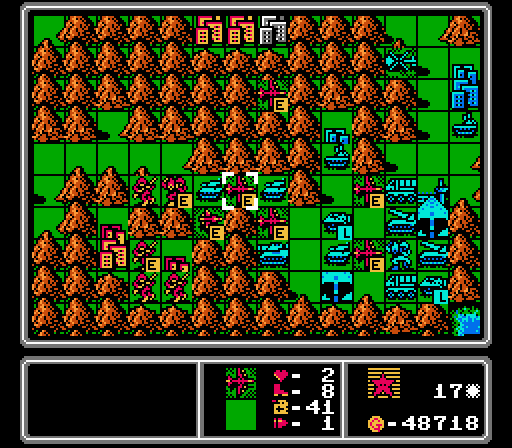
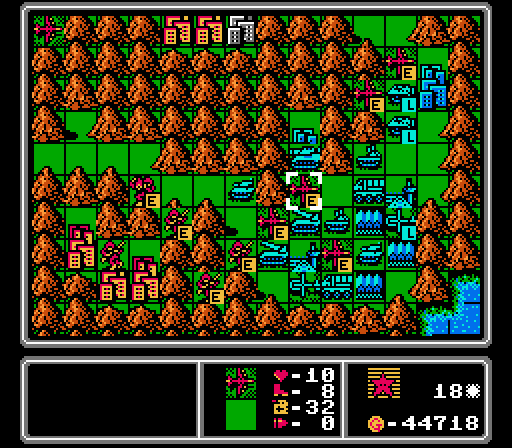
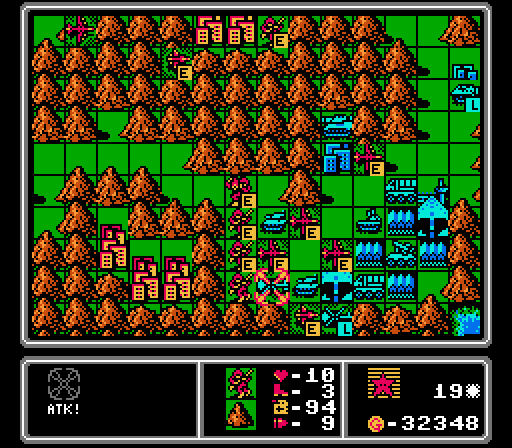
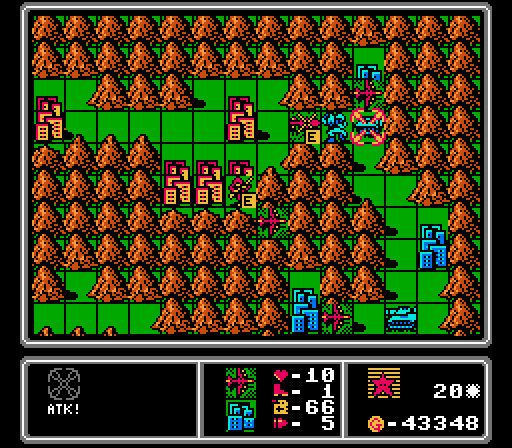
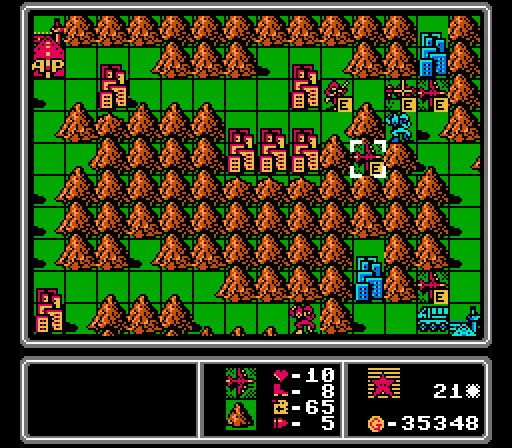
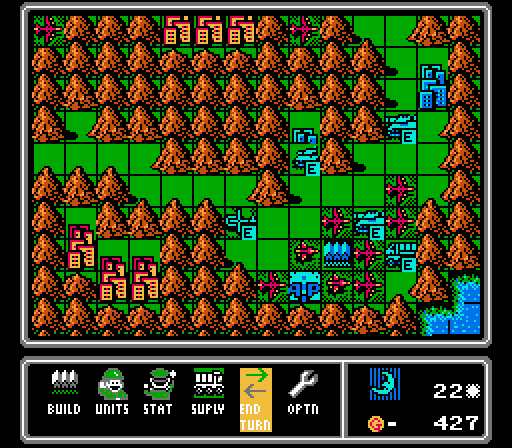
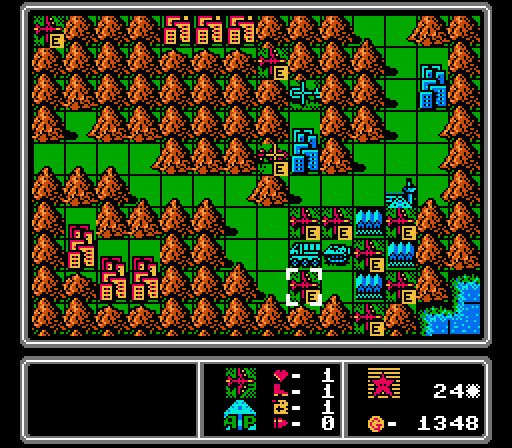
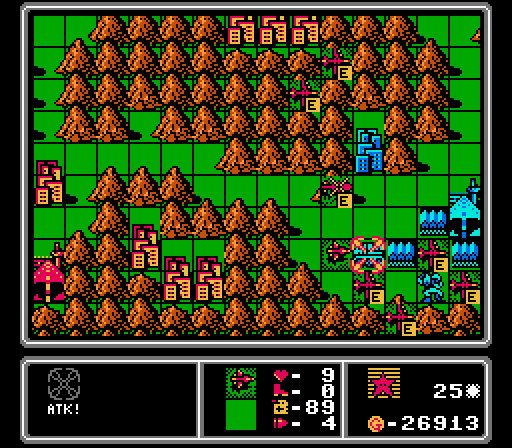
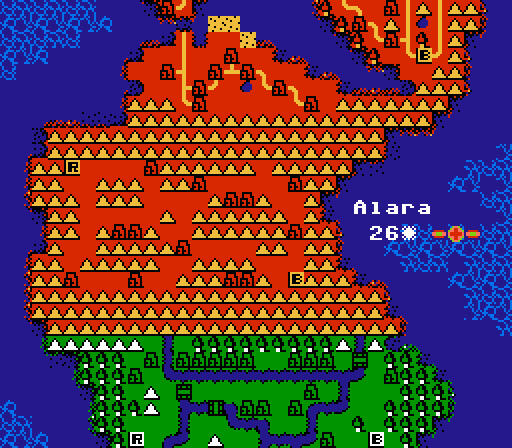
It's time for the Alara map. Lots of mountains and narrow passes, time for a grueling ground campaign.

Never mind, we have airports. This map is going to be easy. To spice things up, our challenge is Ride or Die 2.0, where every unit has to move closer to an enemy unit each turn and attack if possible. I'll also throw in No Vehicles because we're going to be doing this map with just footsoldiers and aircraft.
Turn 1

Typical start, a bunch of infantry. I could've thrown in an APC into the mix instead but I'd already decided to avoid using ground vehicles at this point.
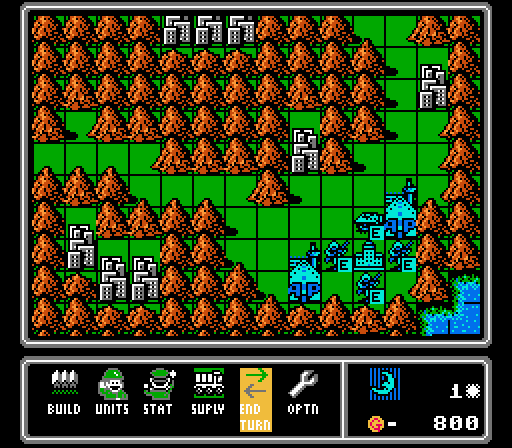
The AI puts out what is probably a more optimal first-turn deployment.
Turn 2
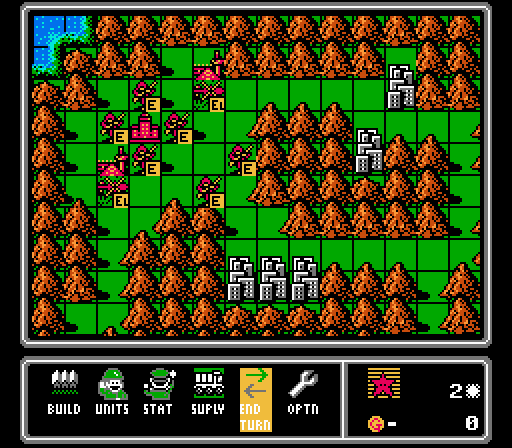
We'll be copter-heavy again this map. Two get loaded up to head for the neutral airports, while the other infantry are off towards the nearby neutral cities.
Blue also puts out a copter and loads up its APC.
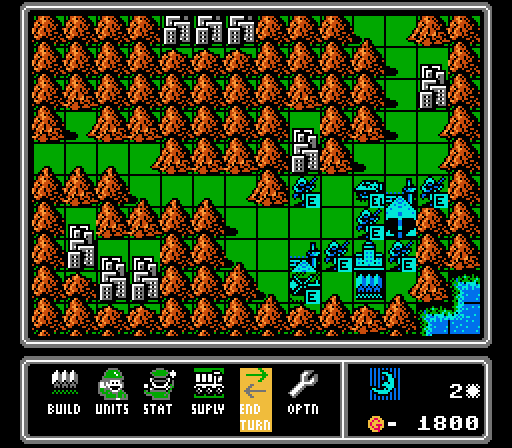
Turn 3
Two more copters that immediately get loaded up.
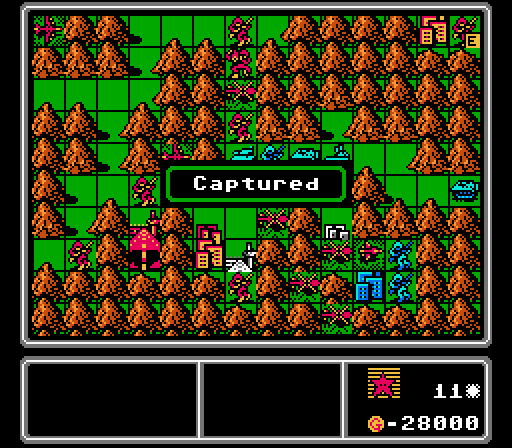
Blue has an early advantage, able to reach two cities and start capturing this turn. They also build another copter and APC.
Turn 4
Our first copter reaches its destination, dropping off an infantry at this airport. I won't really use them much for supplying, but they're worth double the income of cities so worth capturing first anyway.
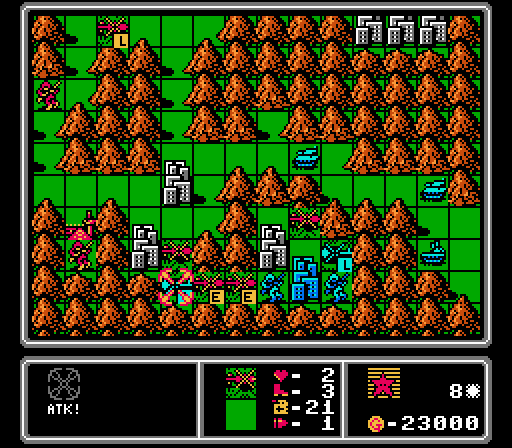
We only have cash for one copter this turn, but we start capturing two cities ourselves.
Two captures for Blue, with a third in progress up in the corner. The APC luckily doesn't advance any farther; it will cause problems for our infantry until we can get some bombers up and running.
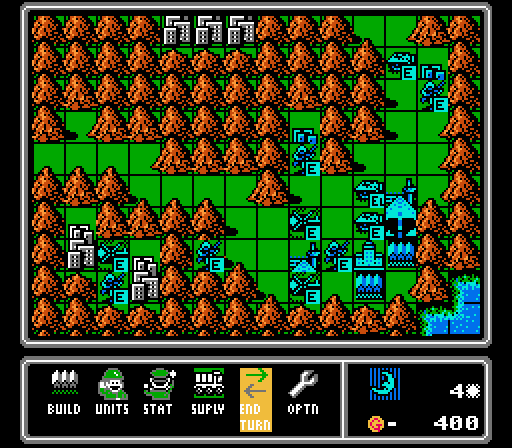
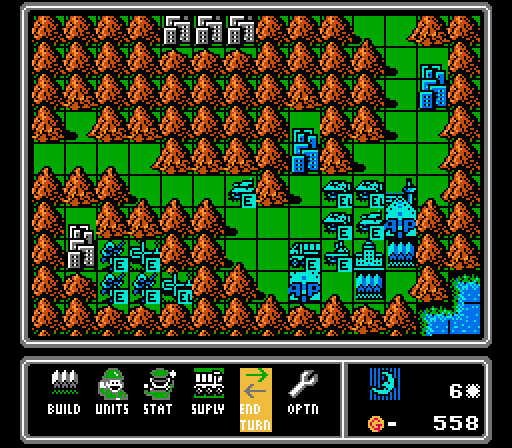
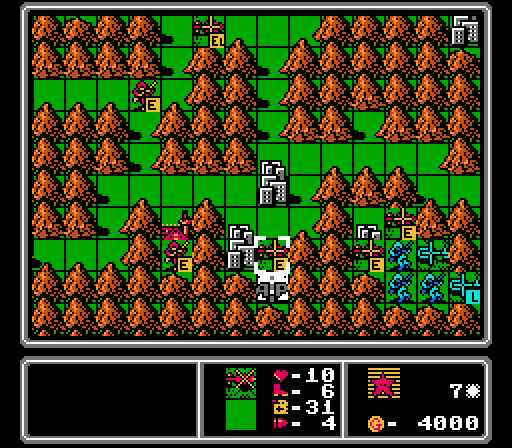
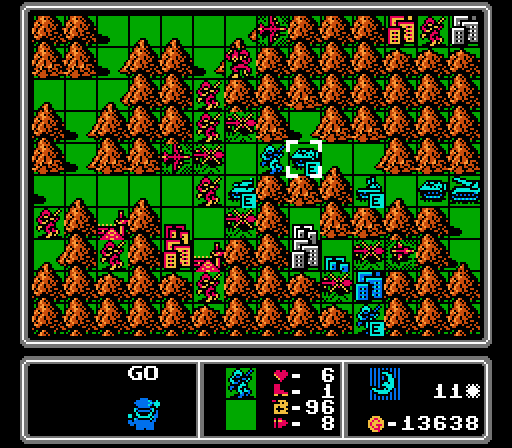
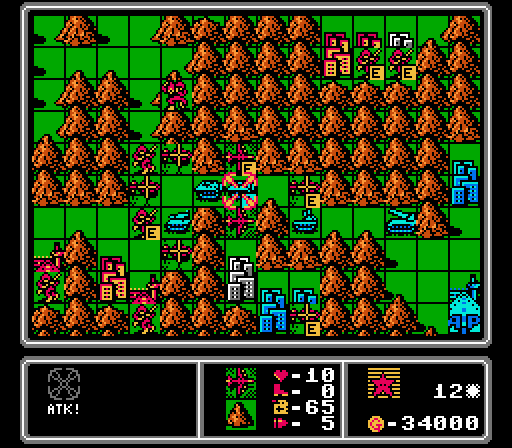
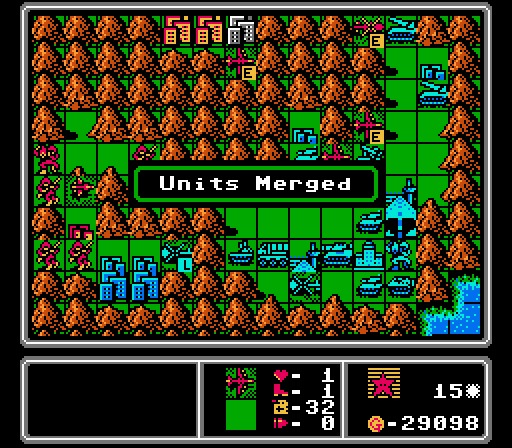
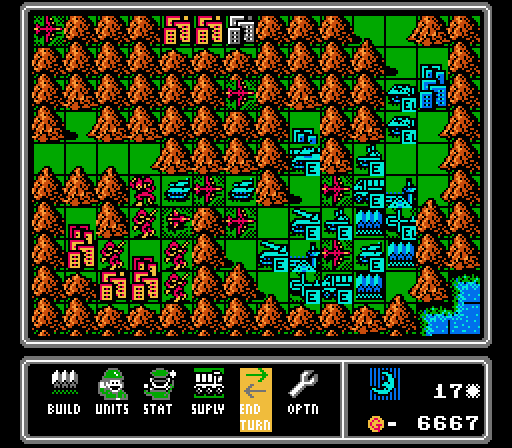
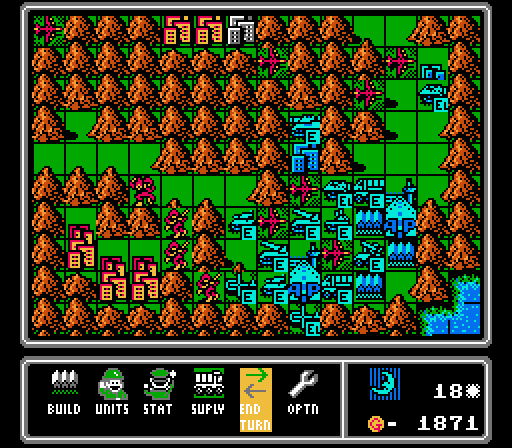
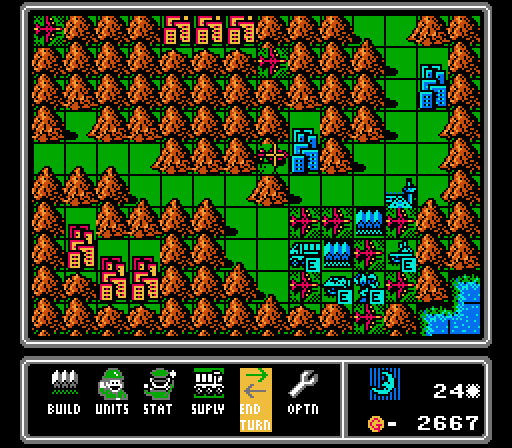
The start of this map is really just building as many infantry, APCs, and copters as possible. Copters are actually more efficient - they're 5% cheaper, have the same movement, and aren't hindered by mountains. Though you do have to watch their fuel so they have trouble making multiple trips.
Turn 5
We land at another neutral airport, but you can see there's an enemy copter nearby that will complicate our capturing efforts.
Two more copters built. I could build another set of infantry but I'm going to start saving up for more expensive planes now that we're getting some more income.
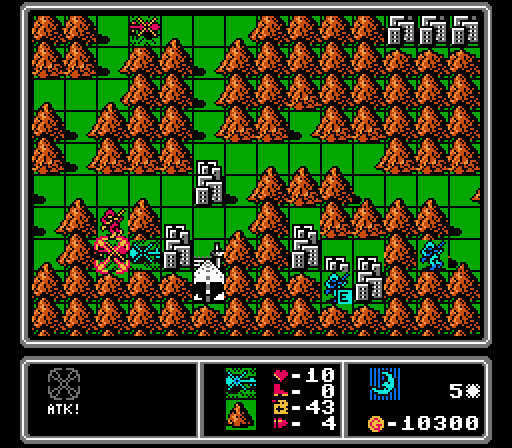
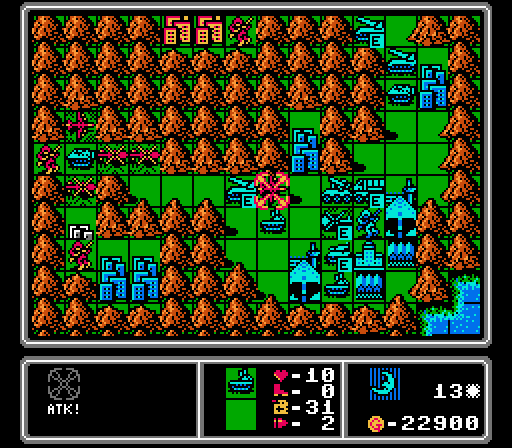
We get a copter clash, with hard mode giving the AI the edge in the neutral battle again.
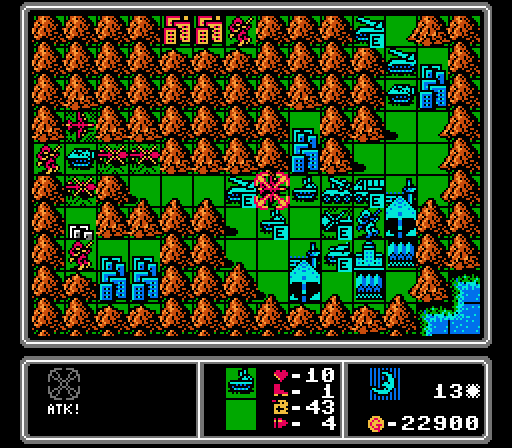
A tank and a supply for Blue. A supply is a weird choice this early on.
Turn 6
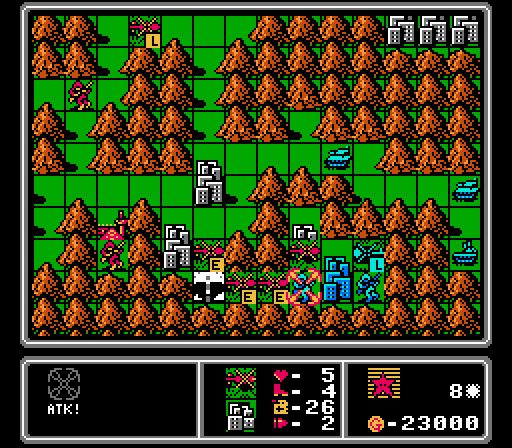
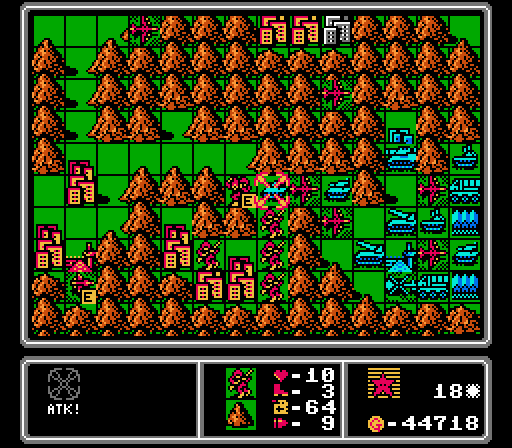
The challenge forces our copters to keep advancing after dropping off their passengers, and this time we have to attack this infantry on an already-captured city. Most of the damage will be healed up on the enemy phase, but at least we have the passage blocked so that the enemy APCs can't get through.
Another fresh copter moves down to help take out this enemy copter, so that our infantry can capture the airport in peace.
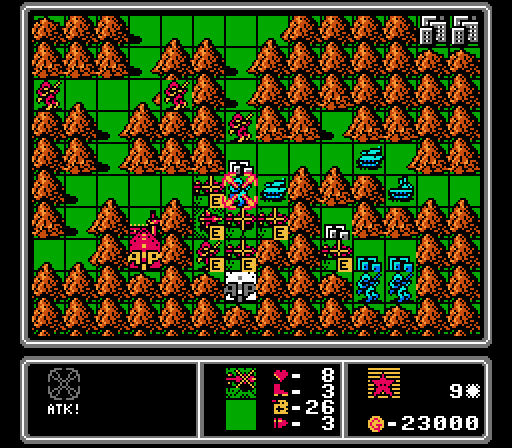
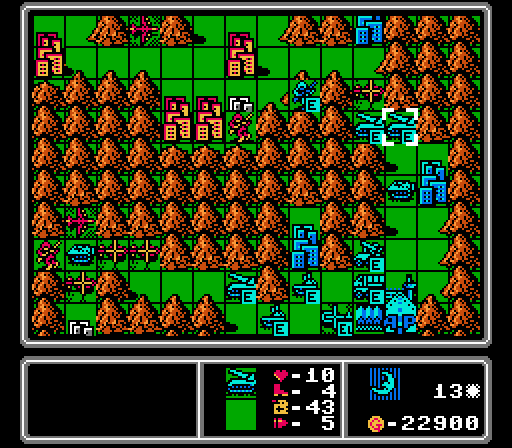
I decide I need one more copter and build a mech to throw in it. They'll try to grab some of the cities in the upper-right corner before the enemy APCs break through. (That was the intent; they end up getting caught up in the action in the middle later.)
We have more copters approaching through the lower passes, with some vehicles on their way as well. And there's an AA tank now, the bane of my existence for this map.
Turn 7

Our copter continues to harass this infantry. No one else is nearby now; the APCs all retreated last turn.
We now have all the cities near our HQ, and two of the neutral airports. The stranded infantry will slowly move through the passes to the front lines.
The last neutral airport will be more difficult to grab. Our nearby copters are forced by the challenge to advance and attack the infantry. We have more copters coming up to reinforce them, and one of them blocks off the airport so that the enemy copter can't unload directly on it.

We have enough cash now for some serious planes, and start off with a scout to counter the enemy copters.
One enemy copter loads up an infantry, while the other goes after our fresh copter near the airport. That exchange is a good trade for us, because we also hurt the infantry inside the enemy copter.
Blue's tanks continue to advance, and they also build an AA missile. I'm less worried about that unit because our planes will have much better mobility than the ground vehicles on this map.
Turn 8

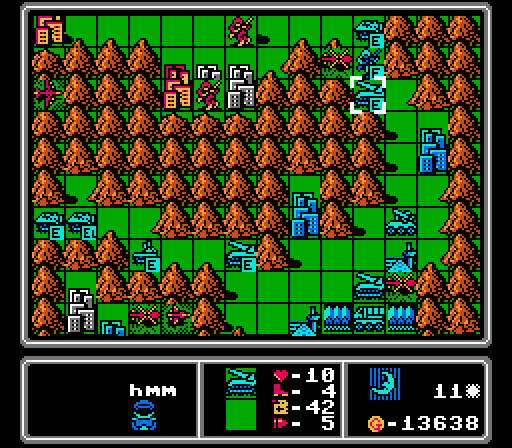
We've already got a healthy income advantage, with almost enough cash flow to get a bomber every turn.
All our copters down here have to keep attacking, even though the first two copters are pretty damaged at this point. We're still able to eliminate one enemy copter, while harassing an infantry and blocking off the last neutral city in this little pocket.
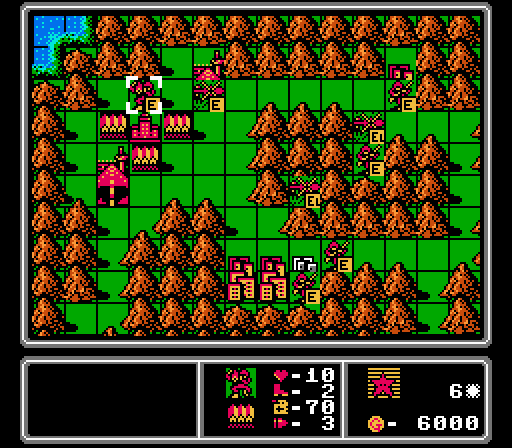
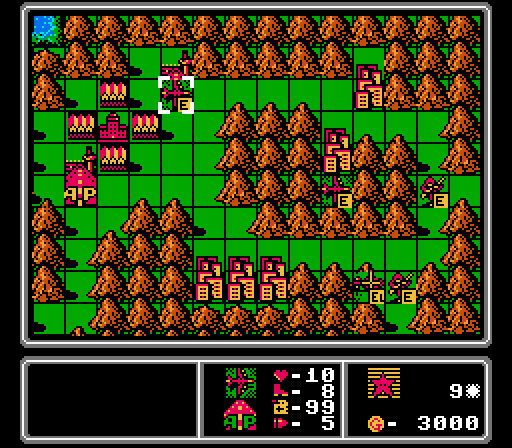
Starting to make some progress in the upper-right corner, which Blue has all but abandoned to us.
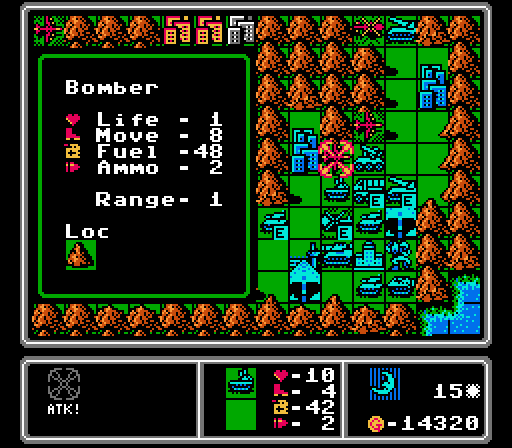
Time for a bomber to clear out the enemy vehicles.
We're starting to get tangled up around the last airport.
I wasn't worried about this new rocket but it ends up being pretty annoying later.
Turn 9
A fresh copter moves in to finish off the enemy infantry as we start capturing the last block of cities.
The scout arrives on the scene, heavily damaging this copter.
Our copters finish it off, then start in on the infantry that's parked on a city here.
Let's keep the bomber train rolling.
Our infantry got in range and had to attack, leaving it exposed to this tank on the enemy phase.
Another rocket for Blue. We're gonna need a lot of bombers.
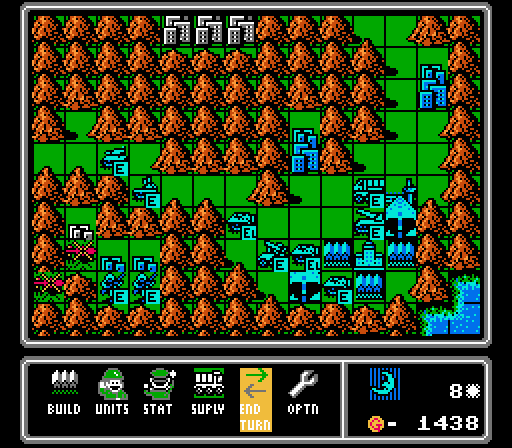
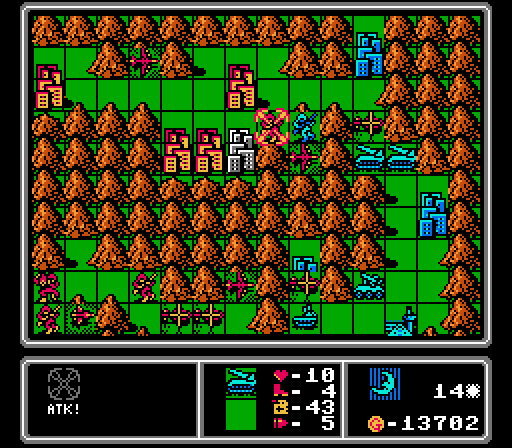
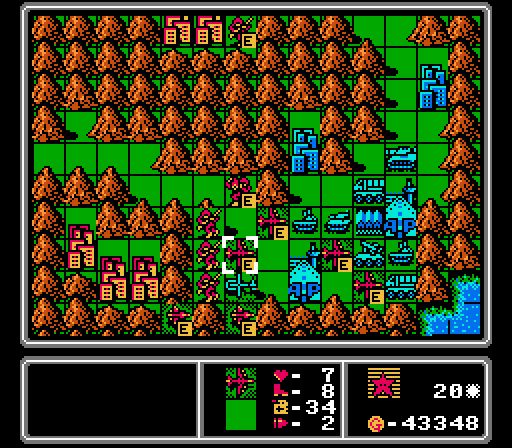
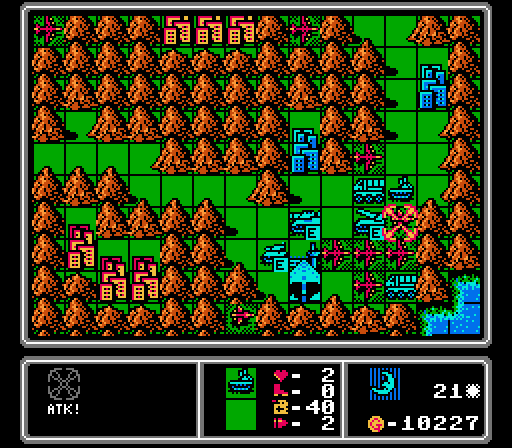
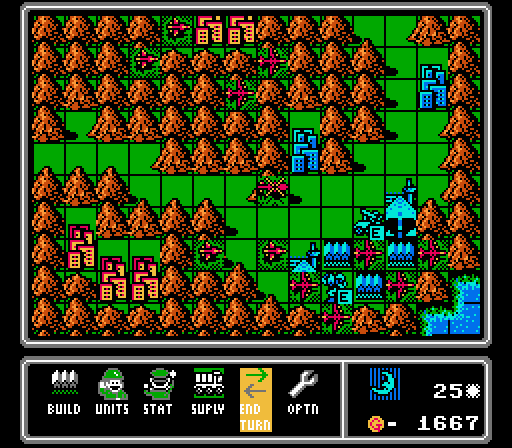
Turn 10

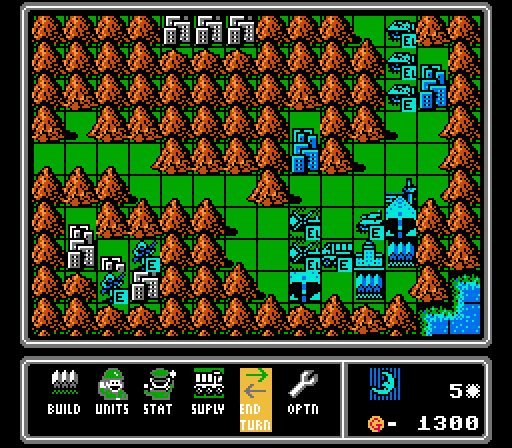
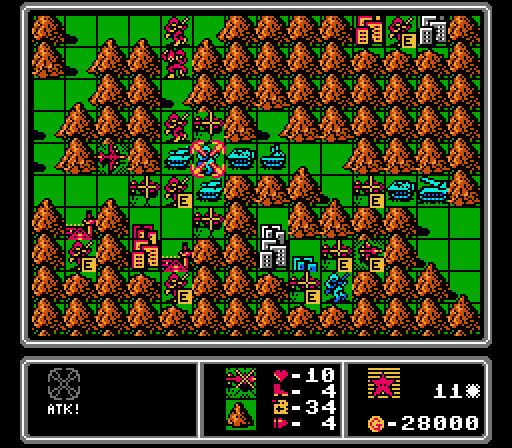
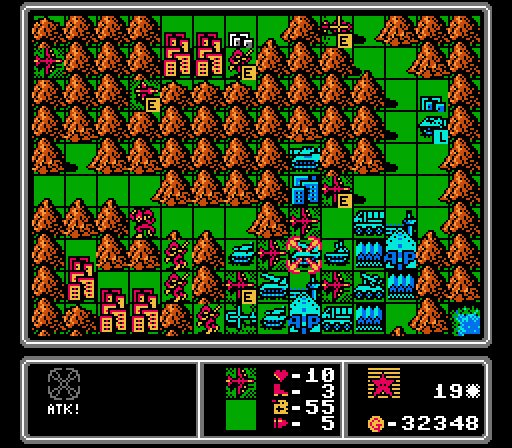
We've captured more than twice as many properties and the map is starting to snowball already, but we still have a tangle in the center of the map to unravel. I could stop here for a break, but let's keep pushing.

Copters and a scout against tanks really just makes for a giant traffic jam with no one really able to damage each other.
Going after infantry is about the best our air units can do right now. One of our copters has attacked so often that it's out of ammo.
The challenge costs us an infantry here - it has to attack and the tank is more than capable of killing it.
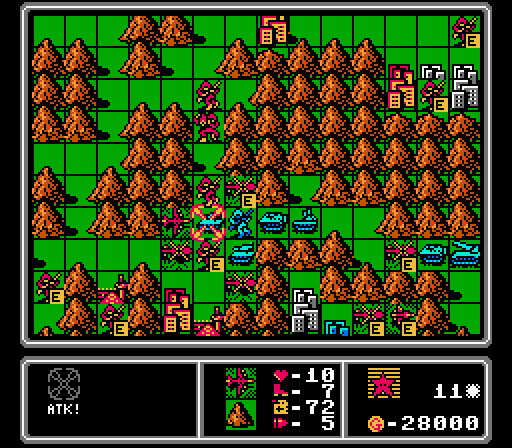
Both tanks go after our capturing infantry, but it's able to hang on for another turn.
A loaded APC sneaks up the upper pass, where our copters aren't in position to cut it off.
The problem with these rockets is that they're going to be positioned to fire on any infantry we have capturing nearby cities. Not a big hindrance at this stage, but still annoying.
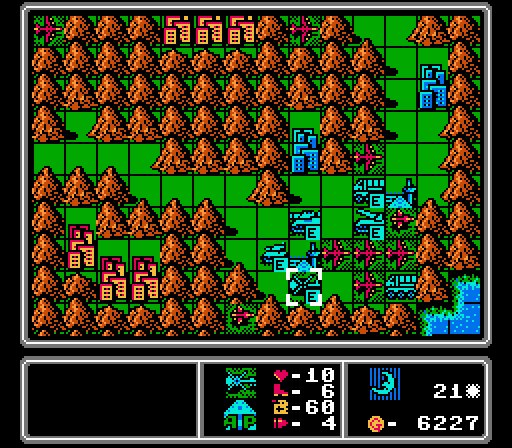
Turn 11
We've got a couple more cities up here, and the copter gets some chip damage in on the loaded APC.
The first copter we built on this map is out of ammo and almost out of fuel, so just sits on the enemy airport to be annoying.
Blue stopped building copters and the other enemy units were easy to screen off, so we are able to capture the last neutral airport with relative ease.
Our air units continue to harass the enemy infantry, not having any other worthwhile targets.
Our first bomber finally reaches us, all but destroying this tank. The nearby infantry will finish it off.
More copters with low health, ammo, and fuel clog up the middle.
On the enemy phase, the tank goes after our capturing infantry again, the AA tank moves back to finish off our ammo-less copter, and the infantry gets back in the APC for some reason.
On the upper-right, the APC unloads the infantry well away from the neutral cities, failing to keep up the pressure on us. That rocket is now in range to harass our infantry though.
Another AA tank, great.
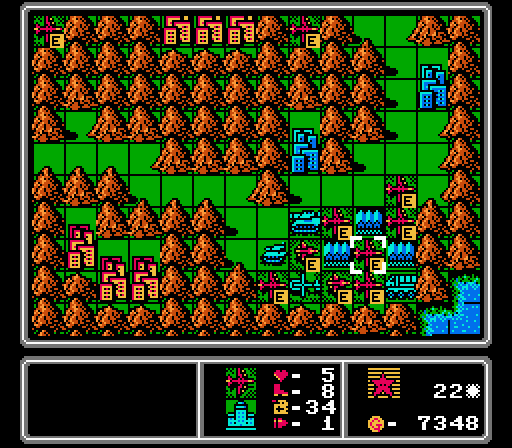
Turn 12

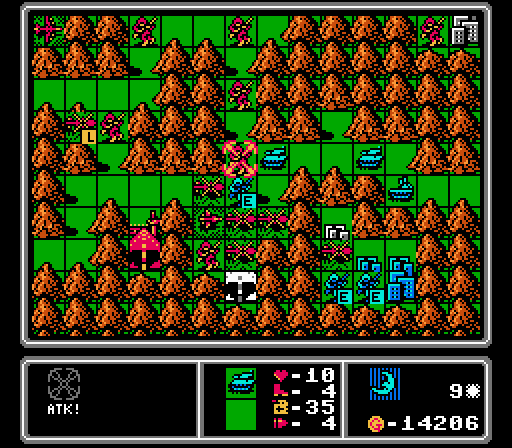
I hadn't noticed the rocket trap yet. The highlighted infantry is going to get hit by two of them. I did stick the copter in the pass to keep it clear of vehicles, but the enemy infantry can go right over the mountains instead.
The enemy infantry in the three-city pocket here are gone so we can move our own infantry in now. We have another ammo-less copter blocking the AA tank from moving up any further.
We've got two bombers in the mix now, and they team up to take out this loaded APC. The APCs are actually a bigger threat to our infantry than the tanks, and the fact that we also got rid of an infantry at the same time is just a bonus.
Starting to get control of this area now.
Here's where I get surprised by our infantry in the upper-right section being in range of two rockets.
Our non-standard army makeup seems to be confusing the AI. The AA tank shoots down the empty copter and the tank goes after our infantry again, but that's about it down here.
Just a new copter here.
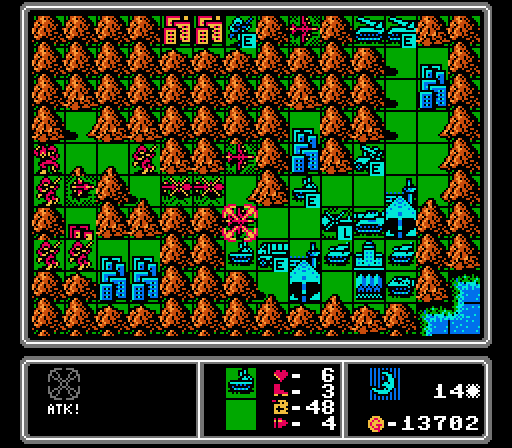
Turn 13
I'm still trying to capture that last city in the upper-right section, so we send a bomber in to try and limit the rocket damage.
I wanted to send the scout after the new copter, but it's out of ammo, so it heads back to the airport to re-arm. The only situation in which the challenge will allow retreat is to get more ammo to fight with I guess.
One bomber finishes off the tank, while another gets started on this APC. We finish capturing the central city and get started on the three-city pocket along the bottom of the map.
We have a fresh infantry that's in range of the APC so we're forced to attack. Luckily the APC got damaged enough by the bomber that it's an even fight. A lot of my movements on this map are geared towards making sure that units aren't forced to make sub-optimal attacks, but sometimes we get boxed into one anyway.
We've got enough cash saved up for two bombers this turn.
The AA tanks here take out one of our bombers, but we have plenty more on the way.
There are three rockets in range of our capturing infantry now, we're going to have to pull back until some bombers can get over there.
I get real excited when the AI builds a medium tank. That's a lot of funds not going to AA tanks.
Turn 14
We actually ran one of the copters all the way out of fuel here.
The re-armed scout can't reach the enemy copter, but it can finish off this APC.
Our capturing infantry can't actually retreat due to the challenge, it's forced to attack this infantry. I sent the bomber in to get in some damage first though.
Slight mis-play again with the challenge here. This bomber is forced to move in to attack this rocket, even though it'll be in range of the AA missile. One less rocket around at least.
Our extra funds this turn go to another copter and infantry to try and get the rest of the upper-right section under control.
We need the new infantry because our old one is finally wiped out by these rockets.
Each bomber takes a hit but both survive. We do lose a copter to an AA tank, though.
A copter, a mech, and a tank are built.
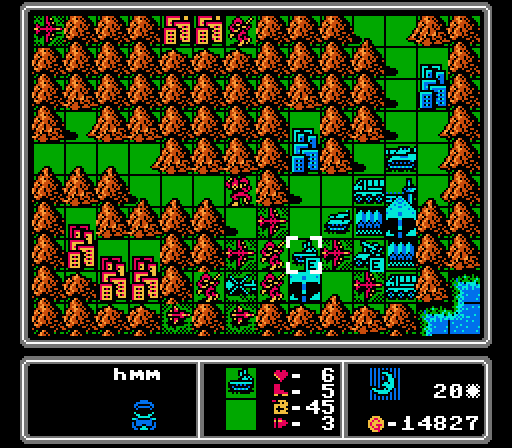
Turn 15
A new bomber flies in to take out the infantry along the top of the map. The others gang up on the AA missile. One of our damaged bombers was out of ammo so just merges in with the other.
Approaching from the other side, the scout fires on the loaded copter to great effect. You can see we're starting to capture another couple of cities down here, too.
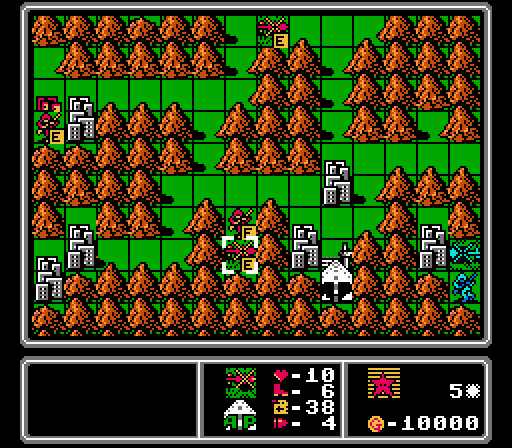
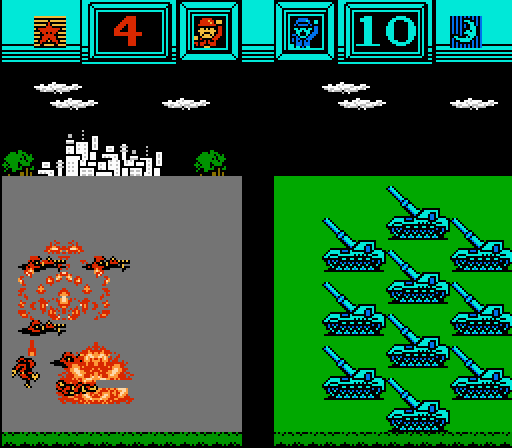
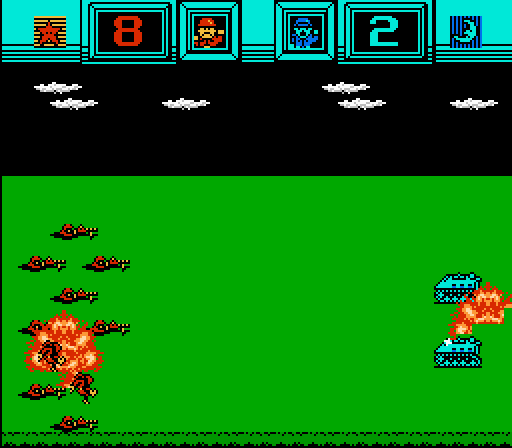
The enemy supply drops off some more missiles. There's actually a unique animation for it:

Normally there's a crate of ammo, but this time you just see a missile tossed over.
Anyway, the enemy copter finishes off our copter, which opens up space for this AA tank to finish off a bomber.
Building an APC, an infantry, and another supply is an interesting choice. I'm sure that supply will frustrate my efforts at finishing off this map later.
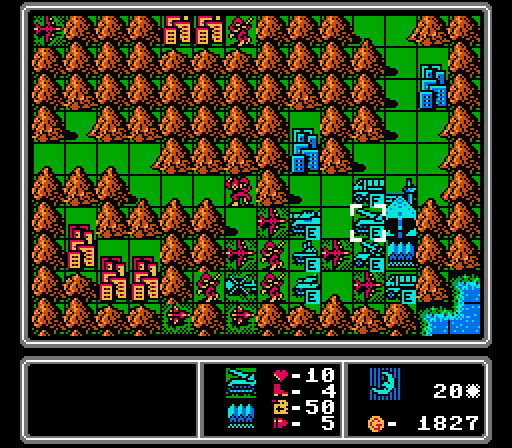
Turn 16
Another copter finally ran out of fuel.

We get rid of this AA missile first, so the rest of our bombers can approach safely.
The scout finishes off this copter, leaving behind just a weakened infantry.
We once again have an infantry reach the front lines with no choice but to charge head-on into a tank, not even doing any damage.
We're really just mopping up now, but it'll still take awhile to dislodge all the beefy vehicles from the bases and HQ.
The enemy phase saw us lose an infantry and a copter, and a bomber took a hit from an AA tank, but that's about it. The AI builds yet another rocket, plus a mech.
Turn 17
Our scout can't reach a soft target so has to go after this tank. Somehow the scout takes three damage; I guess that's normal but I wasn't expecting it.
The nearby mech also has to hit the tank; it actually does a little damage at least.
We've got bombers running amok at Blue's HQ now, finishing off a rocket and damaging a few tanks.

I'm worried about more copters showing up, so instead of a second bomber we get another scout.
The enemy phase is pretty light. We take another hit from an AA tank, and a couple of loaded APCs are making a run at the upper pass again. The AI builds another copter, so good thing we got that new scout.
Turn 18
We start off with a mech and an infantry finishing off this damaged tank.
Our bombers block off the APCs and hit the nearby rockets.
The enemy copters, rockets, and tanks all get distracted by our infantry. I guess we aren't likely to get an HQ capture here. Blue gets another AA missile that will have to go.
Turn 19
An APC goes down to a bomber, while the others continue to work over the rockets.
We have to send an infantry against a tank again, but at least this time we get to attack from the mountain.
Another infantry attacks a copter from a mountiain, a surprisingly even battle.
I kind of forgot to keep our bombers out of missile range, but I'm not sure it would've been possible anyway.
An APC sneaks up and drops off a mech, but we have plenty of firepower in the area this time.
Ugh, another AA tank.
Turn 20
The last neutral city is finally captured, as a copter and bomber deal with the interlopers.
Our bombers are starting to run out of ammo, but they're able to take out a tank and damage the AA missile. The second scout arrives and finishes off a copter.
The AA tank comes off the base to target a bomber; that's a good trade for us. Throwing bombers at AA tanks that have high defensive bonuses isn't fun.
The AI builds a rocket, which is notably not an AA tank.
Turn 21
The APC is already gone, and the enemy mech won't last much longer.

I thought this mech was going to have to attack the medium tank, but it's out of ammo. Our planes move in to block the enemy build points, clearing out the AA missile in the process.
On the enemy phase our footsoldiers are wiped out, but this AA tank suicides on our scout of all things.
The only thing Blue can build is a copter, with every other build point blocked.
Turn 22
The bombers remove the rocket and a supply, while the scouts can't quite finish off the new copter. The lone mech in the upper pass is killed off as well.
I had to leave the bases free, and luckily the AI just threw out a medium tank.
Turn 23
Our scouts are both out of ammo. It's going to take a couple turns for them to re-arm and get back out to finish off the copter.
The bomber squad is able to take out both medium tanks and the tank, leaving just the supply and the copter.
We're going to be slowed down by chasing down that last copter anyway, so a new AA tank doesn't even phase me.
Turn 24
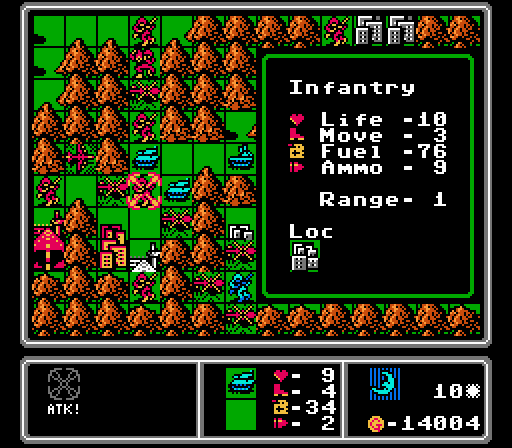
We get rid of the AA tank but not much else. Look at how far down we've run this bomber - no ammo, one fuel, one life.
Yeah that's another AA tank.
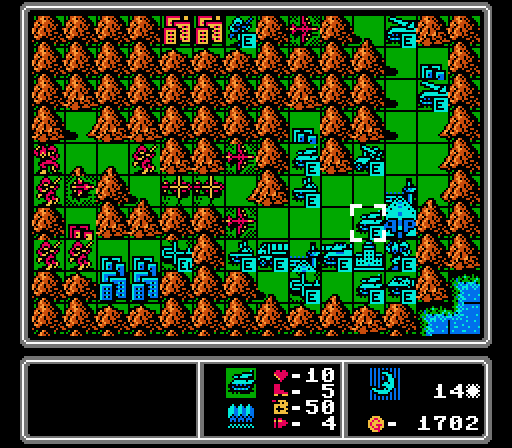
Turn 25
The enemy copter made its way up to our infantry, who had just finished capturing this city. The infantry is able to heal up and hit back, downing the copter.
The enemy units are soaking up so many hits on the bases that we're running out of ammo faster than we can get reinforcements in to finish the job.
Our re-armed scouts no longer have a target with the copter down, but this one is able to finish off the supply. We're at the end of the map and there's just a mech left this time.
Thankfully, the AI just puts out an AA missile. We're actually better able to handle fewer more expensive targets at this point, due to how much ammo we're using up.
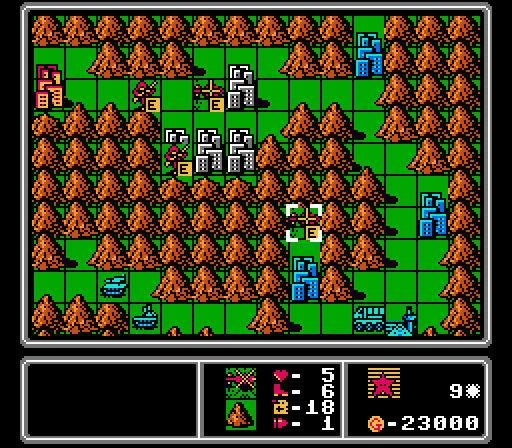
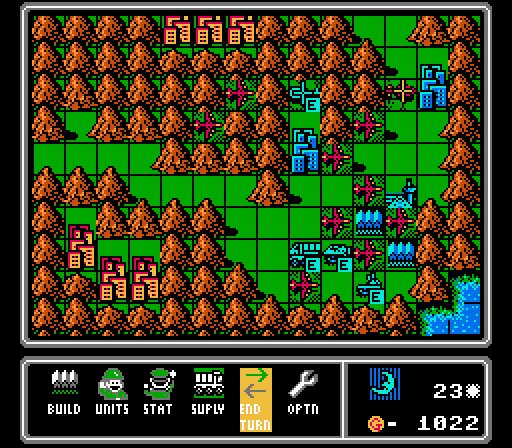
Turn 26
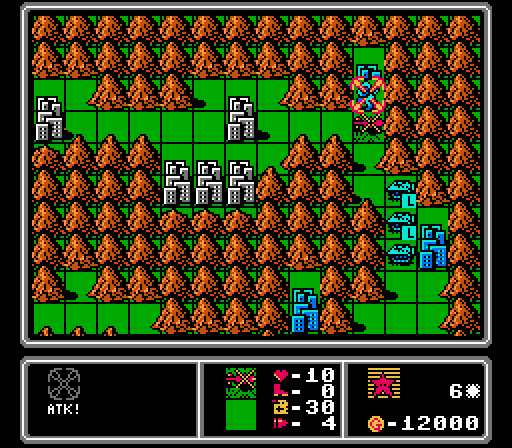
Three bombers take out the AA missile, while two scouts and another bomber are able to finish off the mech, mercifully ending the map.
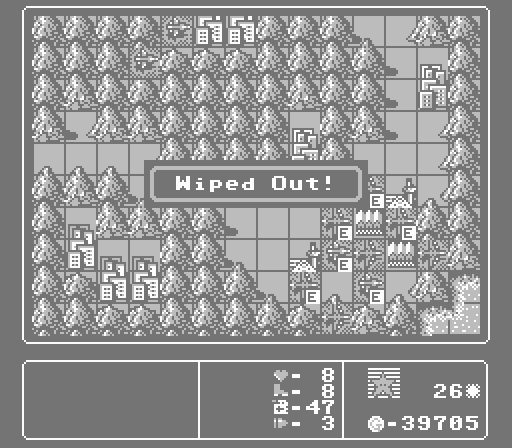
Hurrah!
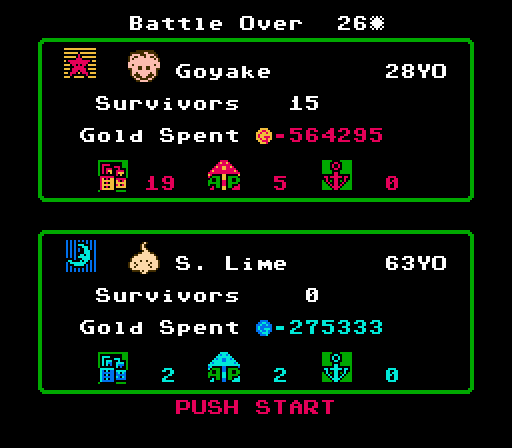
Not sure what Goyake is, but the enemy CO was apparently a slime.
Finishing in 26 turns is a bit worse than average, but we definitely had some issues with the challenge forcing sub-optimal moves at times. Still, the outcome was never really in doubt.
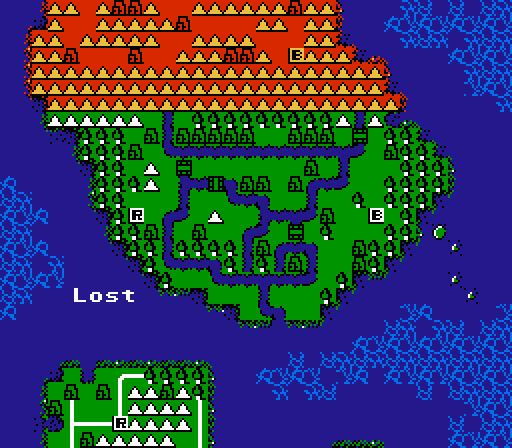
Next up we have Lost. It's not immediately clear, but the rivers actually don't include a ground path from one HQ to the other. So ground vehicles will be at a disadvantage once again. I'll throw out two challenge options again, this time a pair that are diametrically opposed to each other:
- Fair Play - Cannot build units unless outnumbered by the enemy, excluding the first turn (suggested by MagusofStars). Challenge is completed upon reaching the enemy HQ.
- Max Production 2.0 - Build as many units as possible while spending as much as possible. Damaged units must be merged if possible when at half life or below.
Vote for the challenge in the linked poll here.