Part 30: Lost (2 of 2)
Part 30: Lost (2 of 2)Turn 13
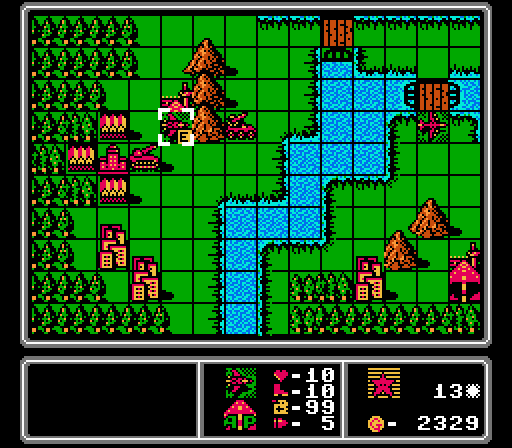
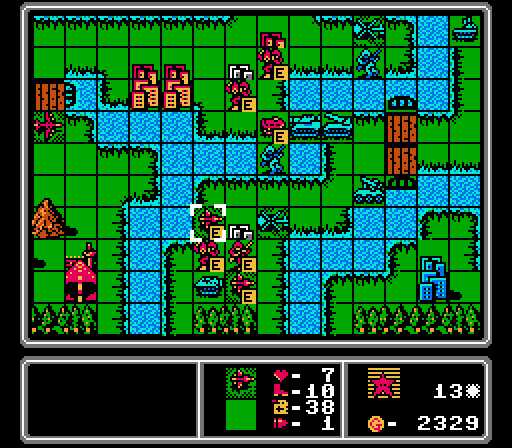
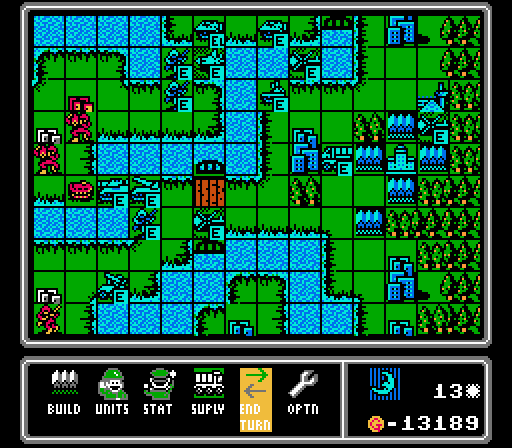
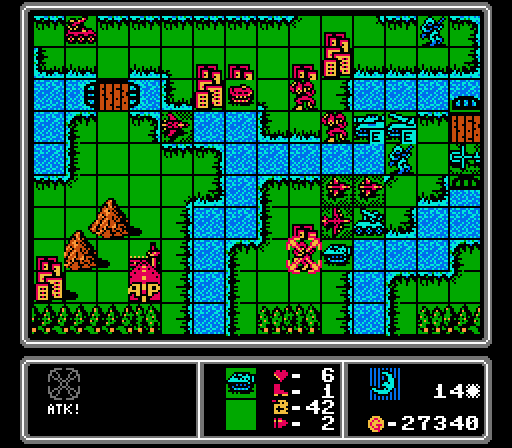
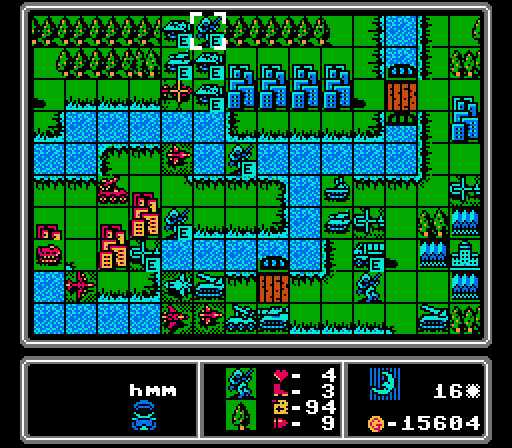
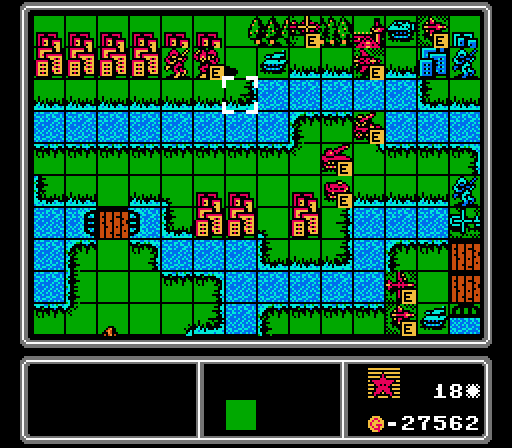
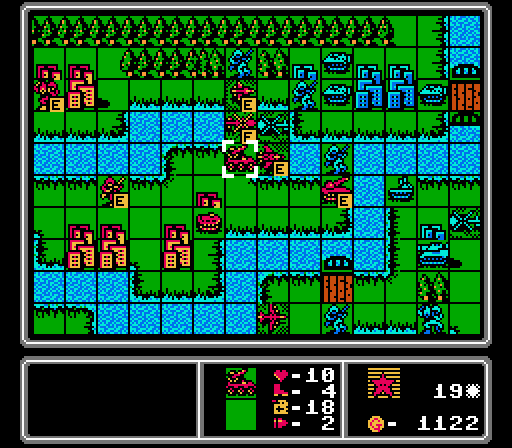
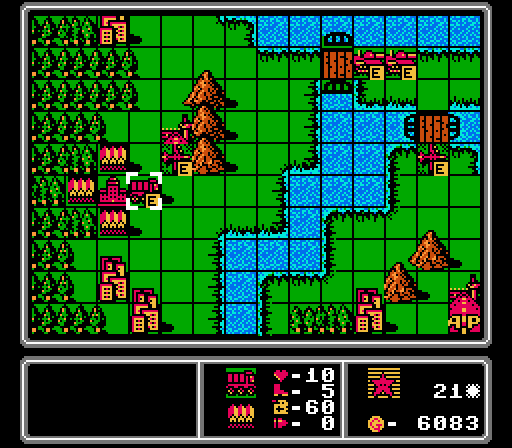
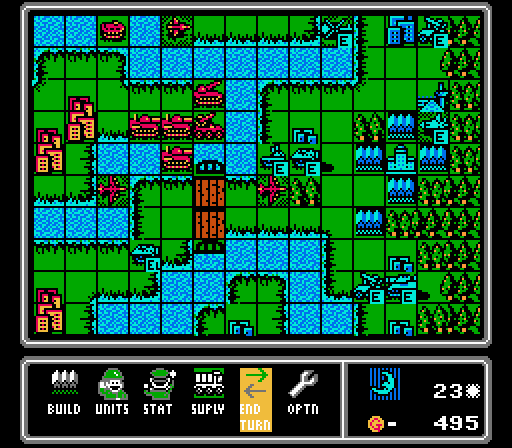
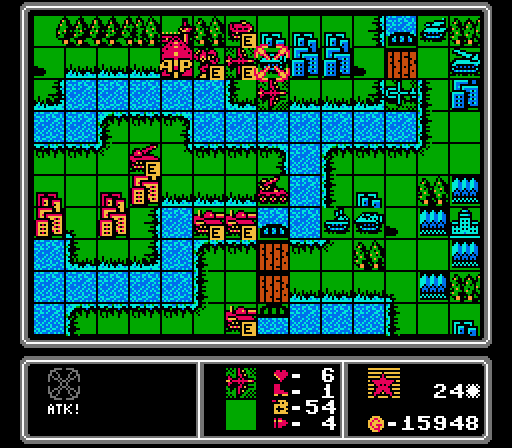
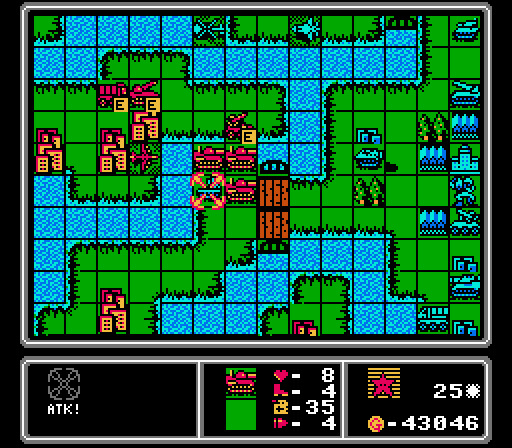
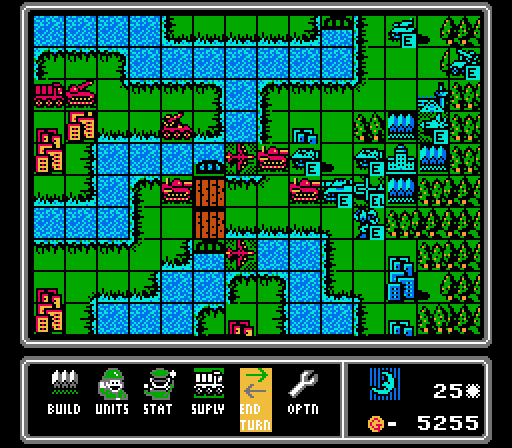
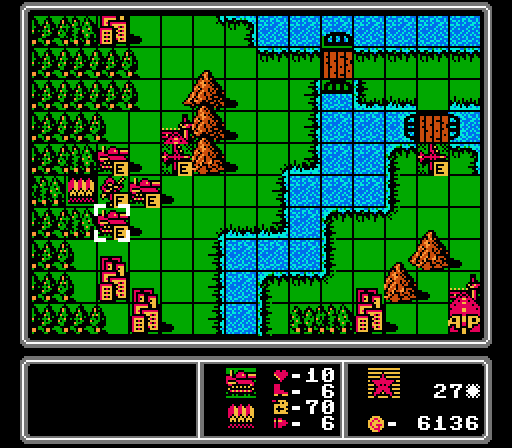
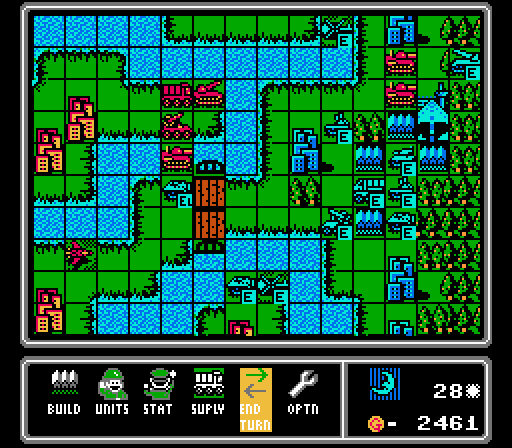
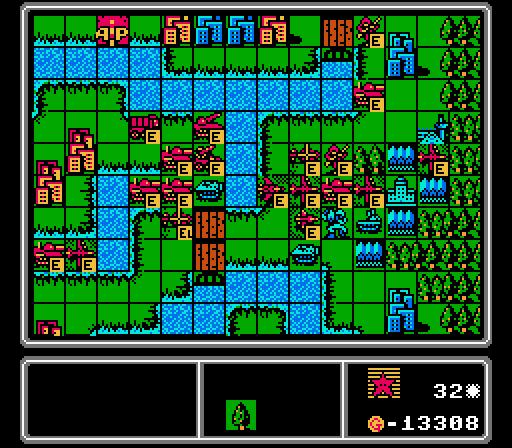
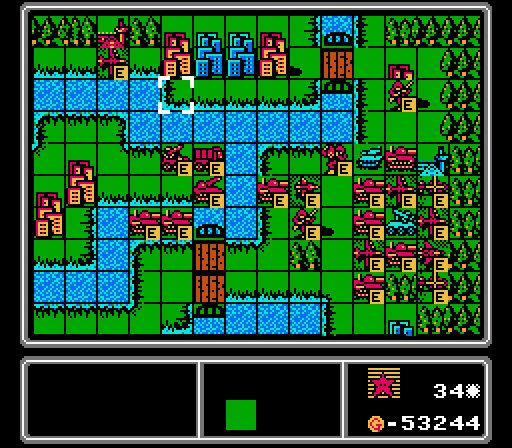
Okay, we last left off with an enemy medium tank crossing the river to invade our island and an enemy fighter about to tear up our air units. So the first course of action here is to get a fighter of our own.
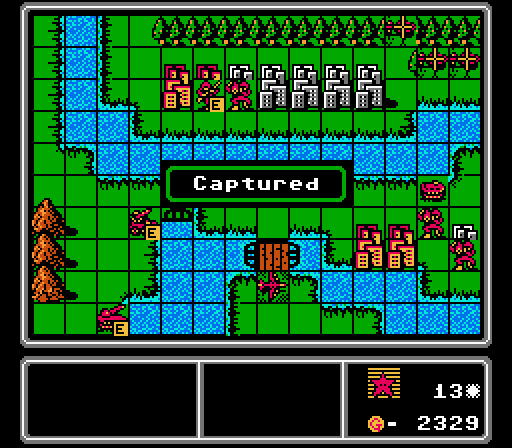
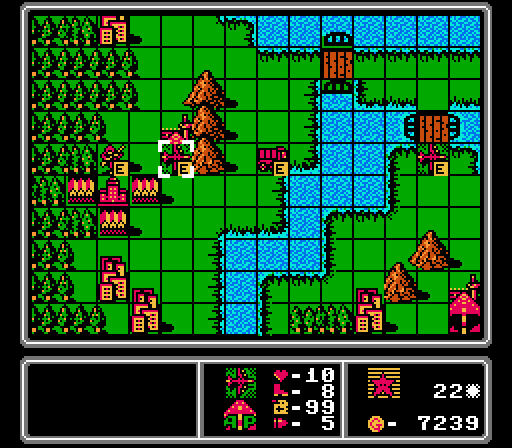
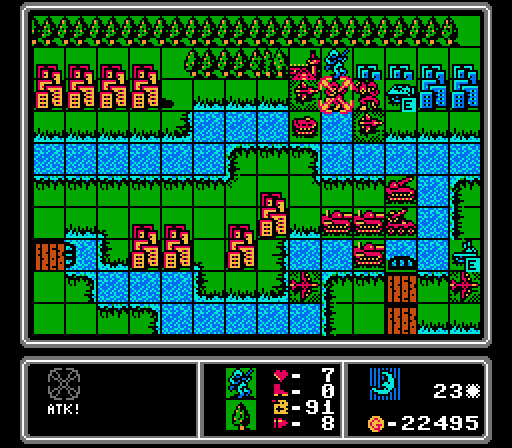
We've been quietly working on capturing this cluster of seven cities, and get two more of them this turn.
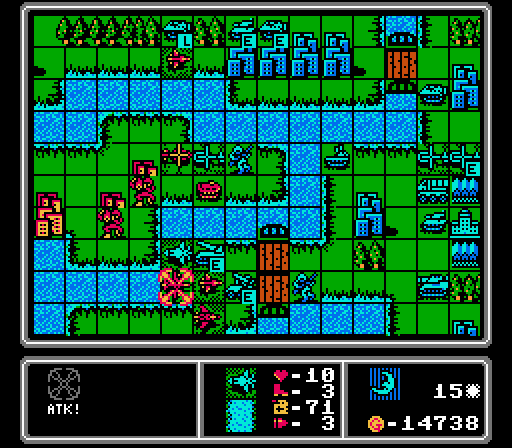
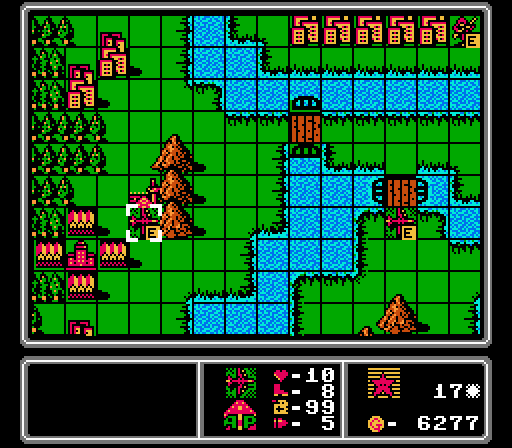
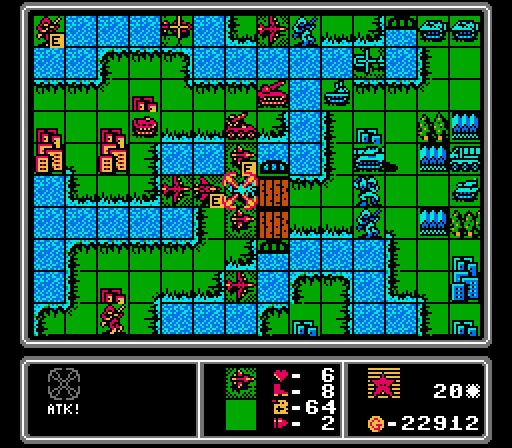
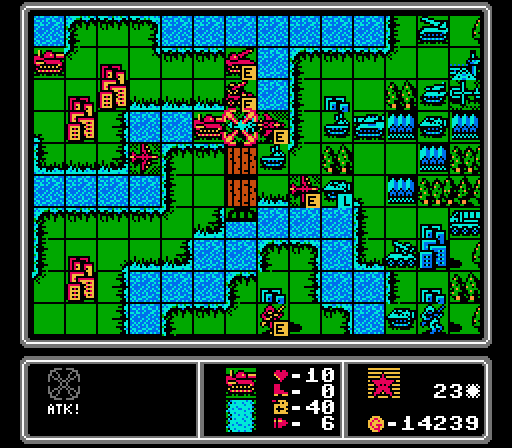
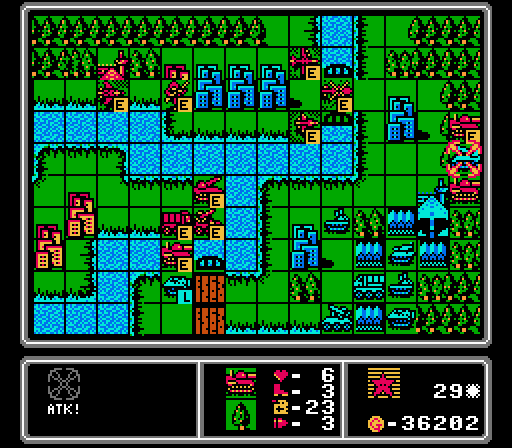
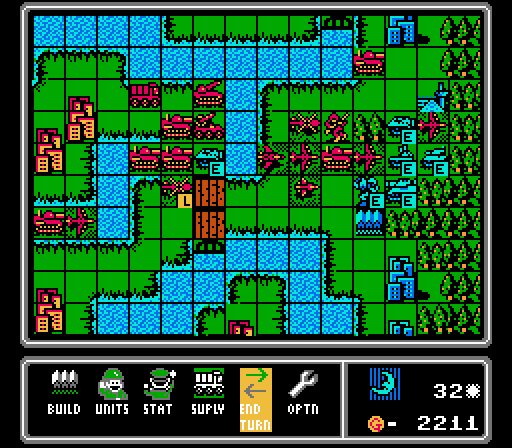
Our copters keep forcing the enemy tank back. One of the copters blocks the river to keep more infantry from crossing. Meanwhile our APCs are causing some trouble but not really able to do a whole lot.

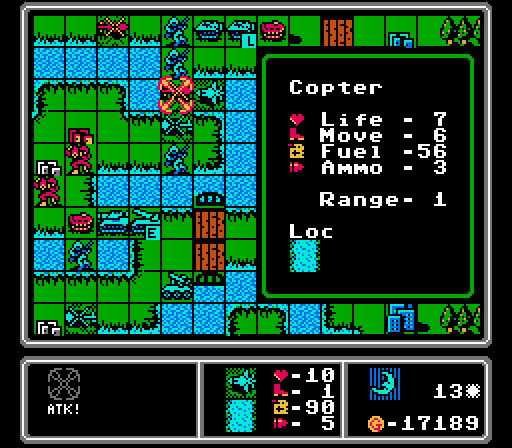
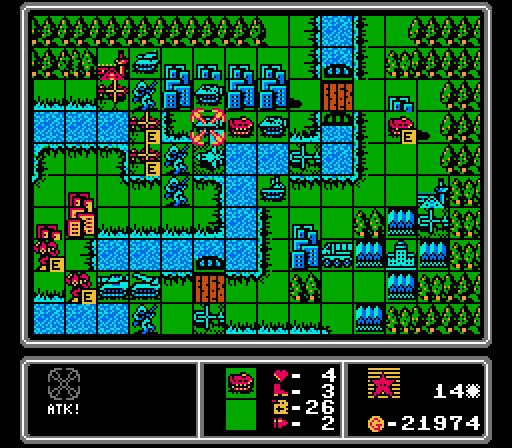
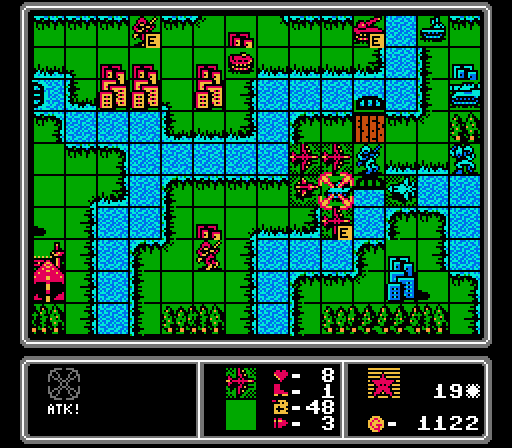
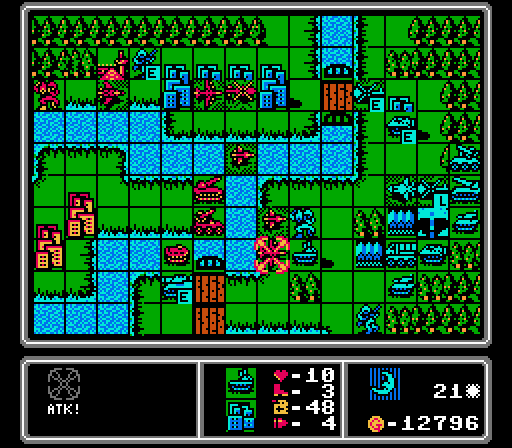
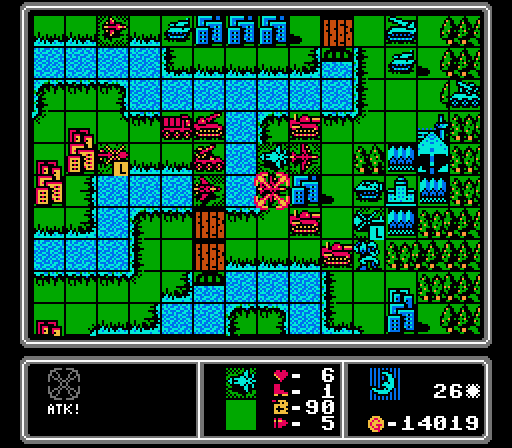
This attack has the triple benefit of shredding the enemy infantry, keeping the enemy medium tank from crossing for another turn, and showing off what an attack screen on a river looks like.
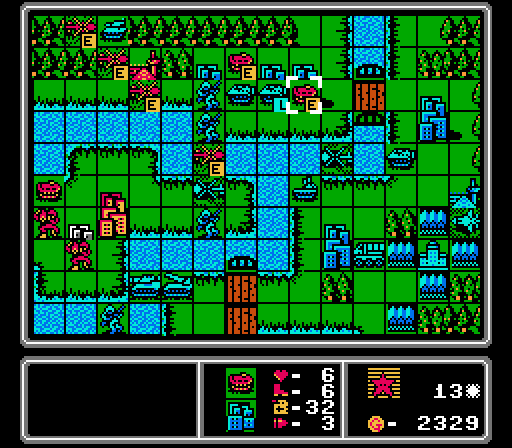
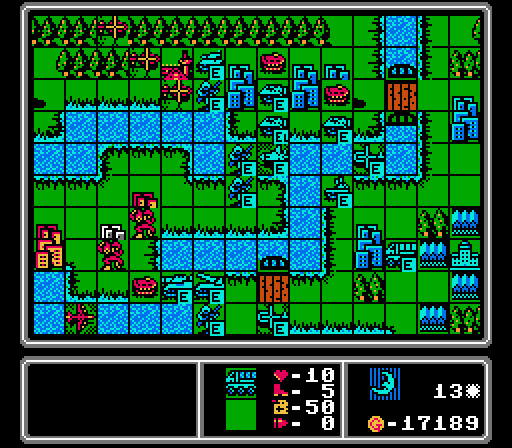
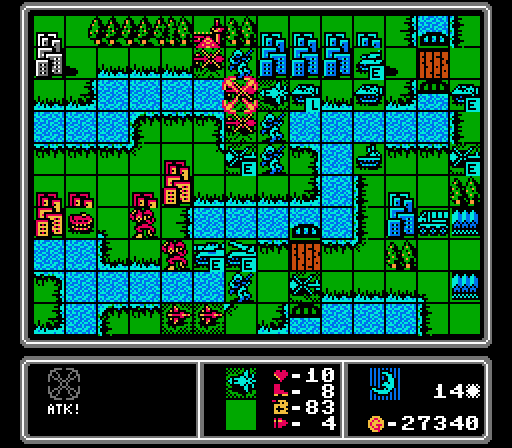
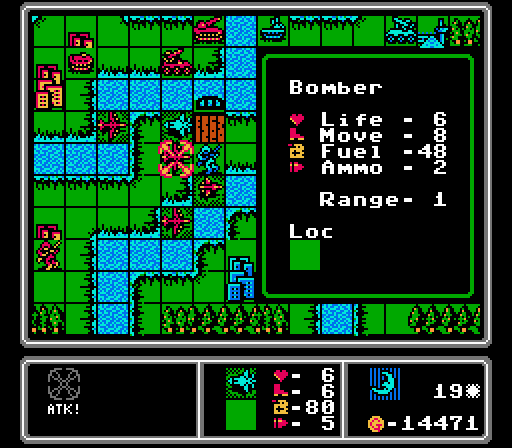
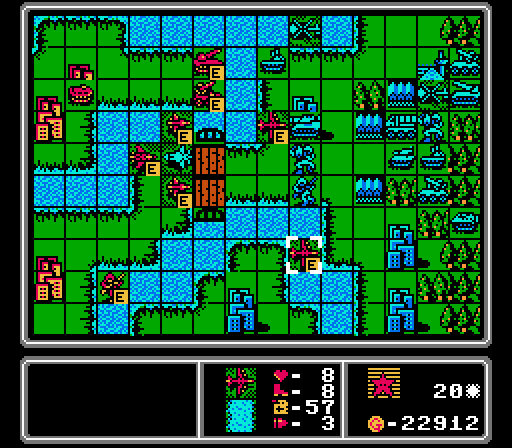
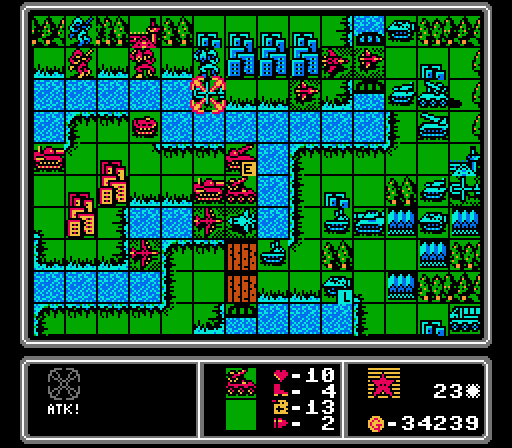
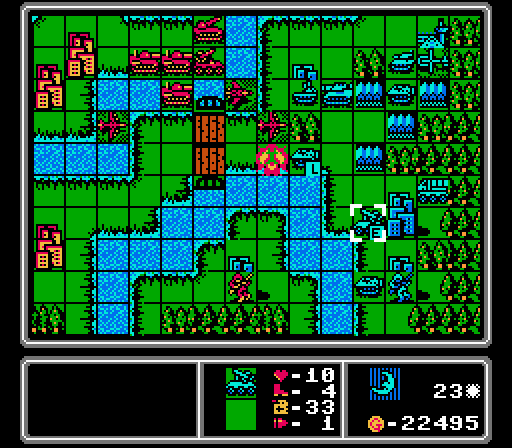
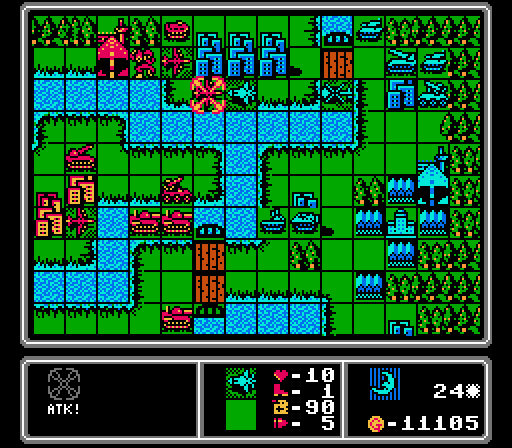
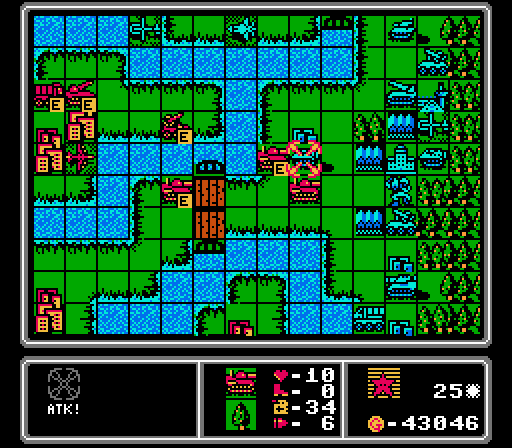
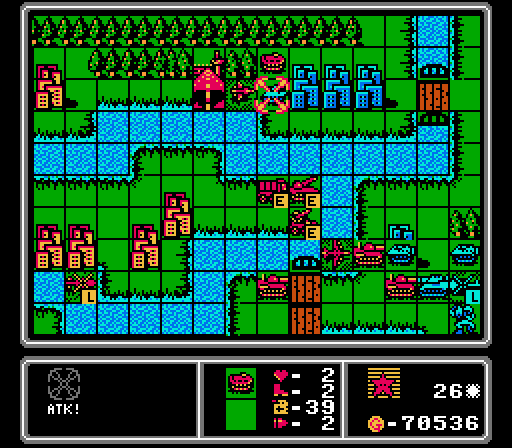
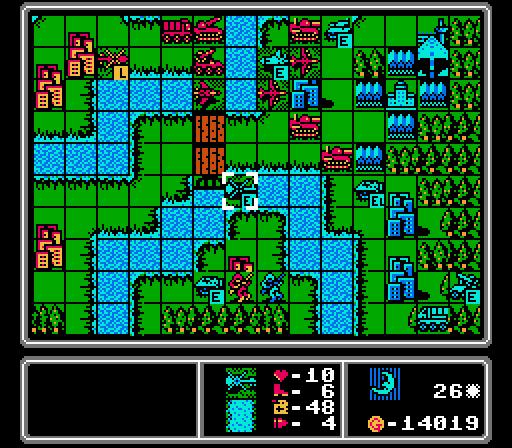
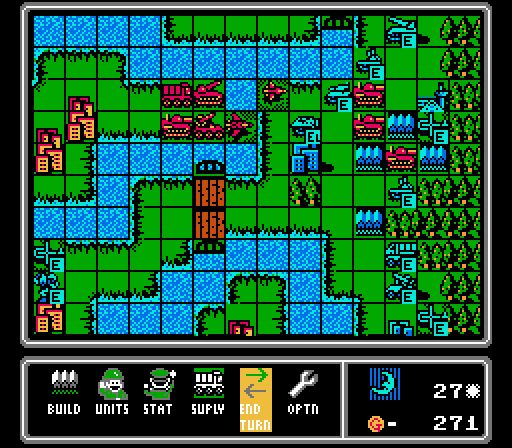
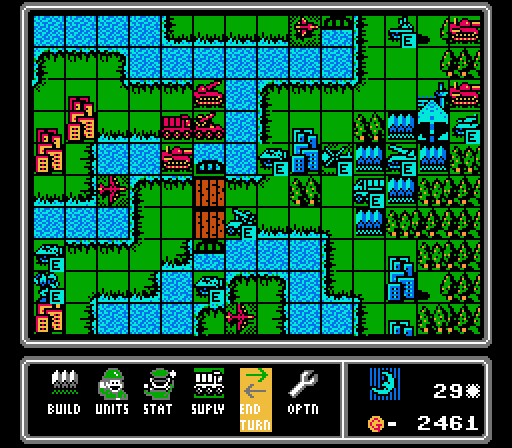
On the lower island, one of our scouts finishes off the enemy infantry, while the other teams up with the mech to keep the enemy APC from getting to our capturing infantry. You can also see our bomber about to be able to help us out, but I can't get too close or it'll just get shot down by the enemy fighter.
The enemy fighter is able to rather easily shoot down one of our copters instead.
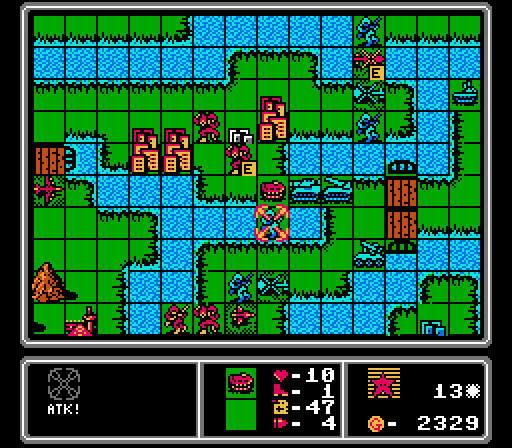
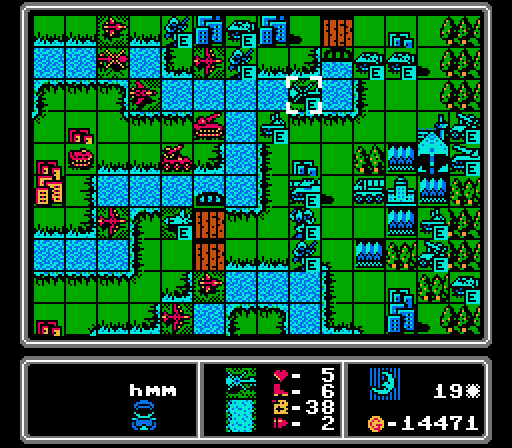
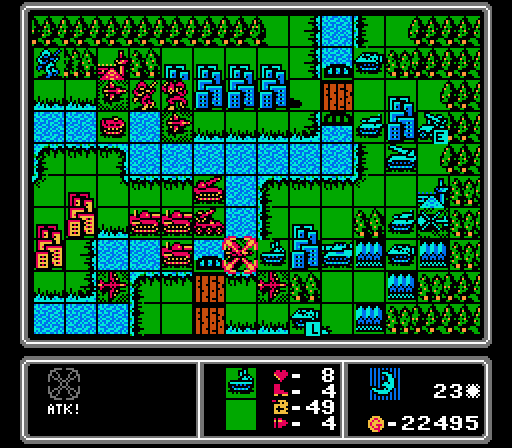
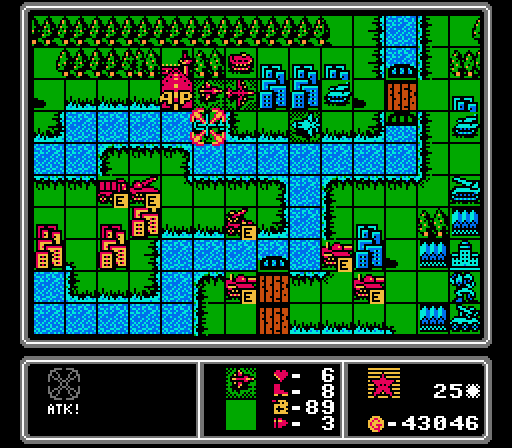
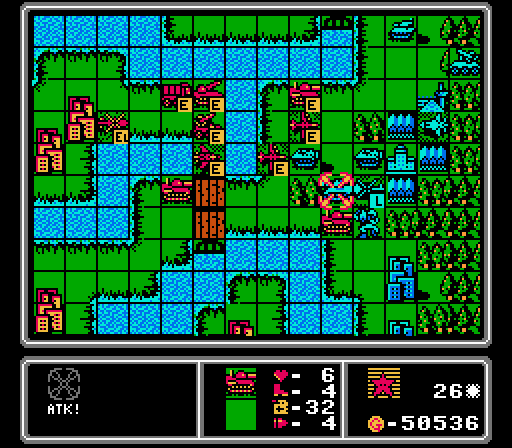
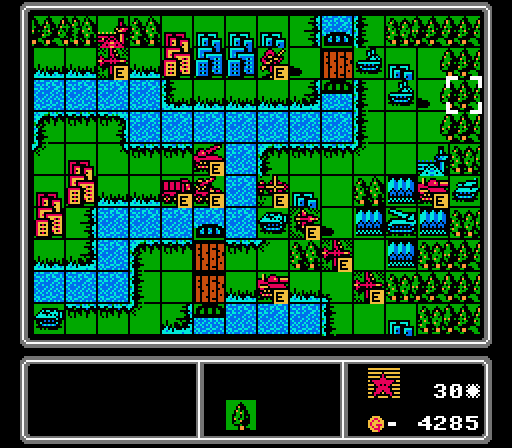
The enemy tank keeps getting pushed back, while the other enemy units keep pushing across the river.
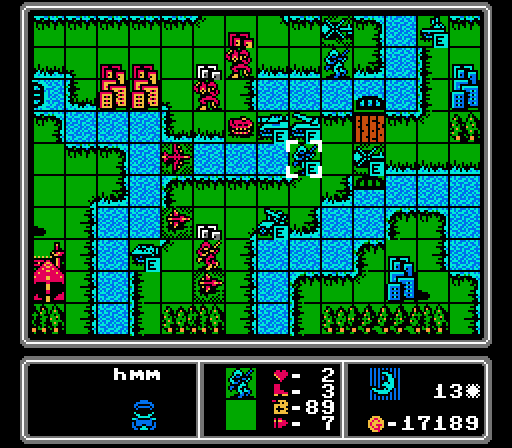
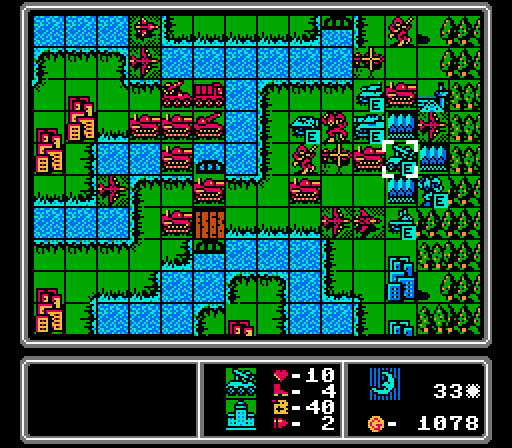
Down on the lower front, the medium tank hits the APC but can't quite destroy it. Our capturing mech takes another hit from the rocket, while down at the bottom the enemy APC takes out our mech as most of the other units retreat. The AA missile is now positioned to protect the medium tank and rocket from our bomber.
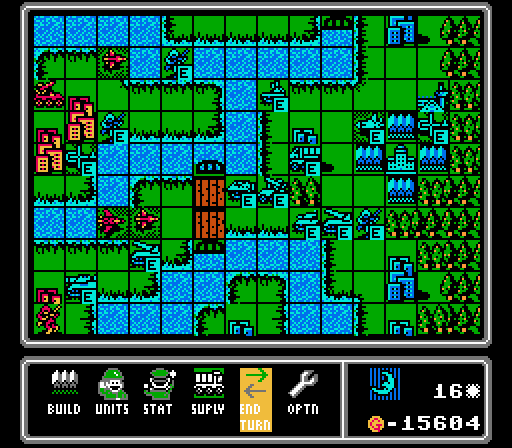
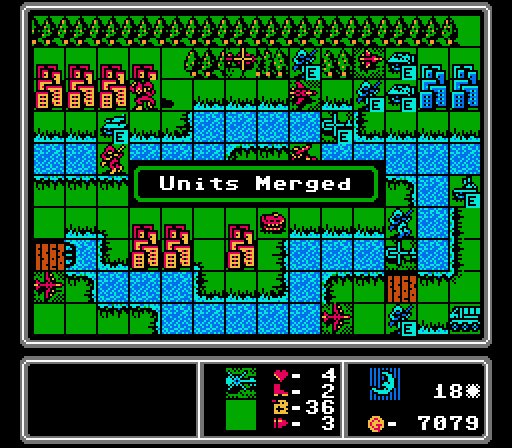
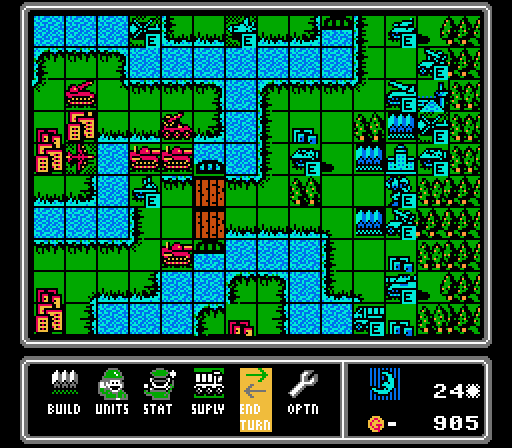
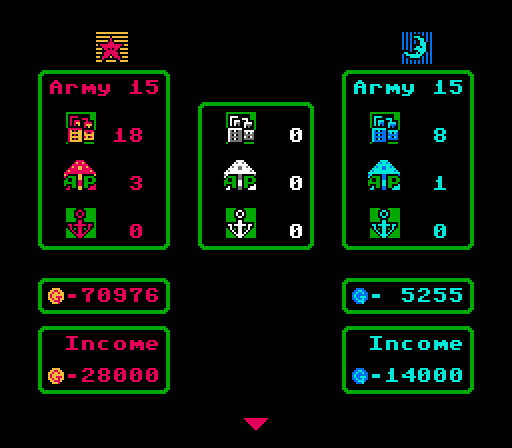
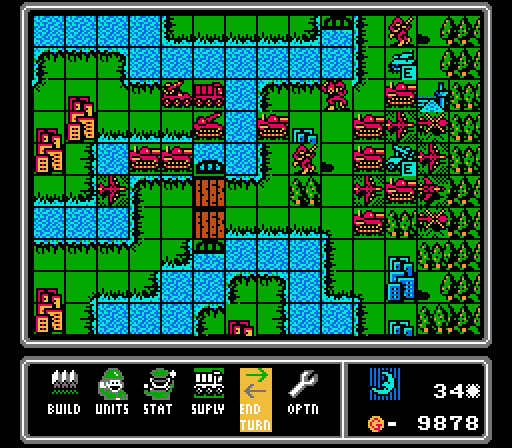
Blue gets a new copter, but also merges two other copters together, so no net gain. We did lose a couple units in combat lately though, so we can replace those. As a reminder, our challenge for this map only allows us to build units if the enemy currently has more units in the field than we do, though the challenge ends once we reach the enemy HQ.
Turn 14
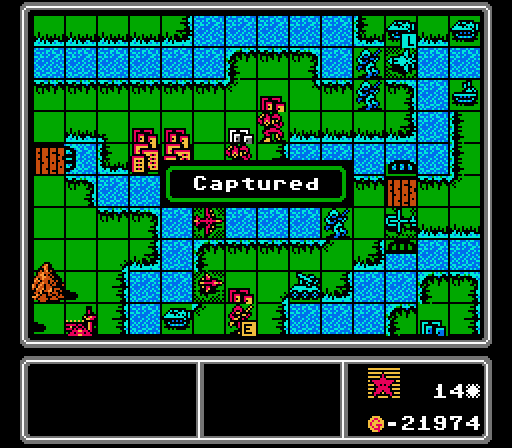
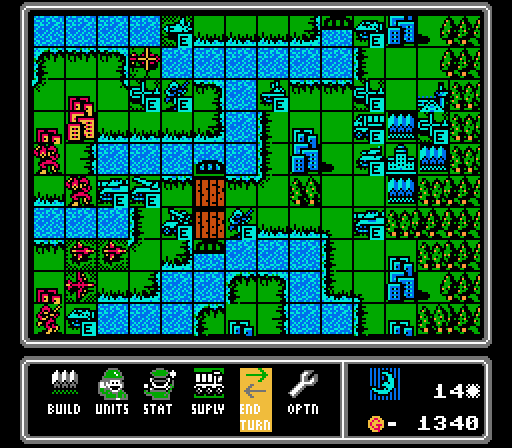
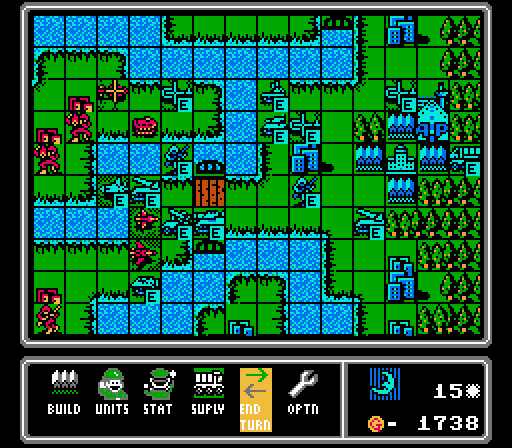
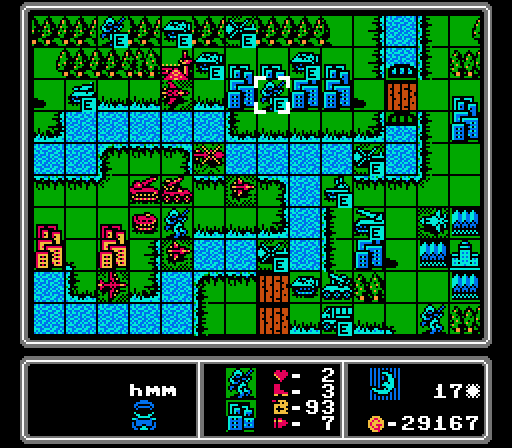
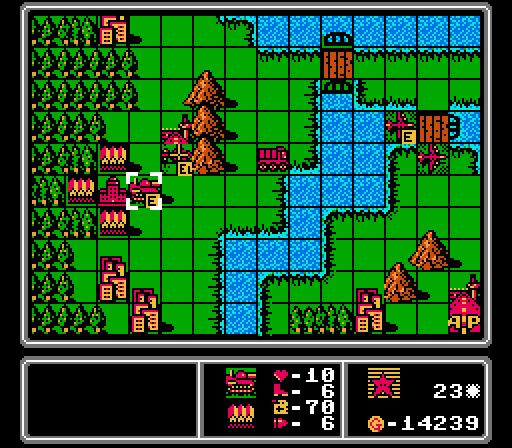
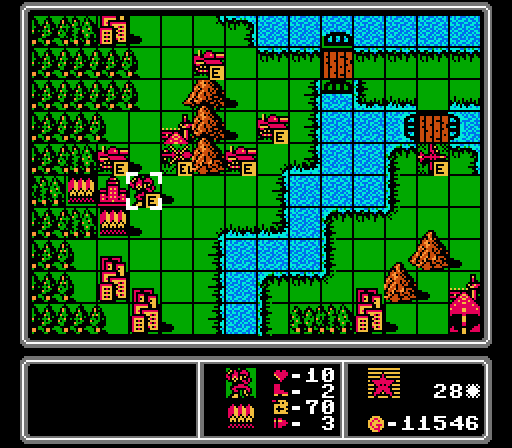
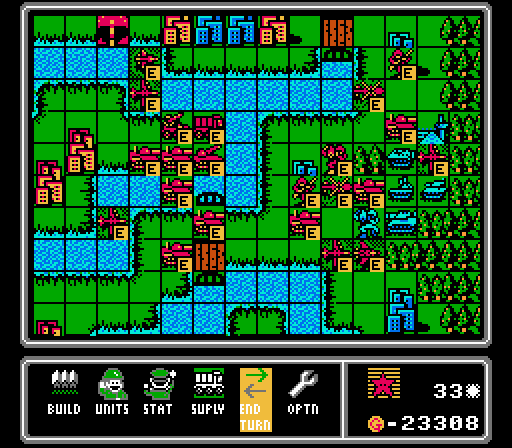
We start off with two more city captures. The only remaining neutral cities are part of the seven-city cluster on the upper island, and we're well on our way to grabbing those as well.
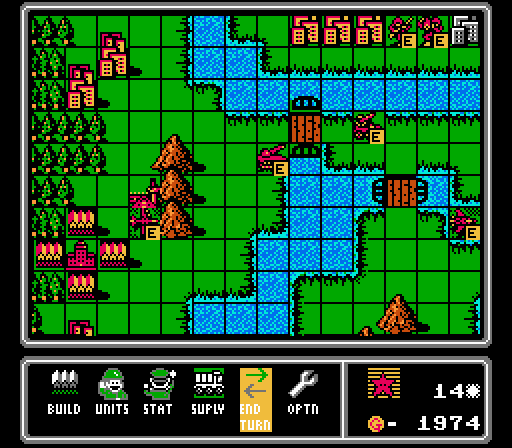
Our copters weaken the nearby infantry. I sent one damaged APC deep into enemy territory as a distraction, with the other blowing itself up on a loaded APC. My goal here was to make sure no full-life infantry were around to get in a quick capture on us. Down on the central island, a mech takes up position blocking the medium tank.
Time for another bomber.
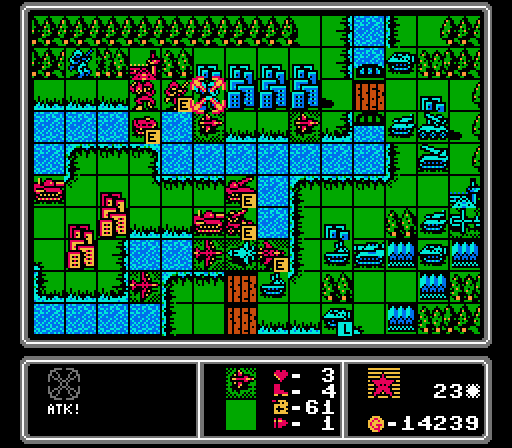
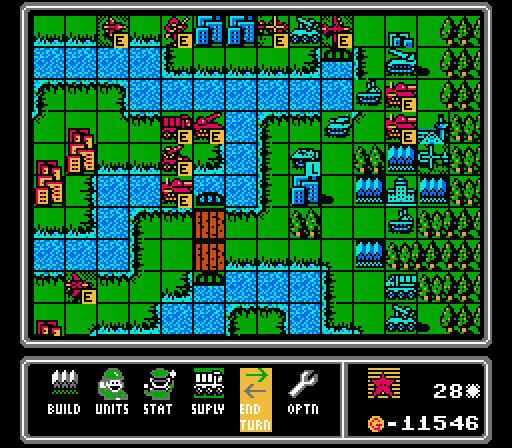
Our mechs and infantry each take an attack, but all three survive another turn.
We do lose another copter to the enemy fighter, however.
Three new enemy units - a copter, a tank, and a medium tank.
Turn 15
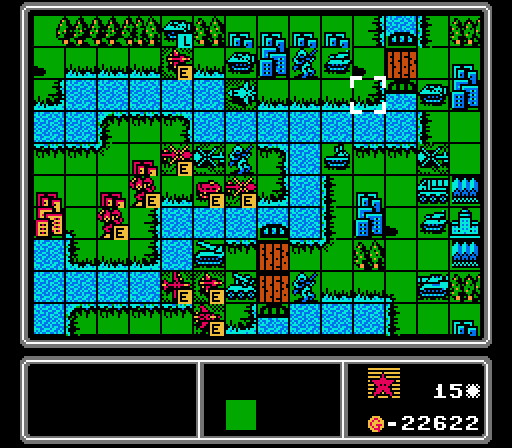
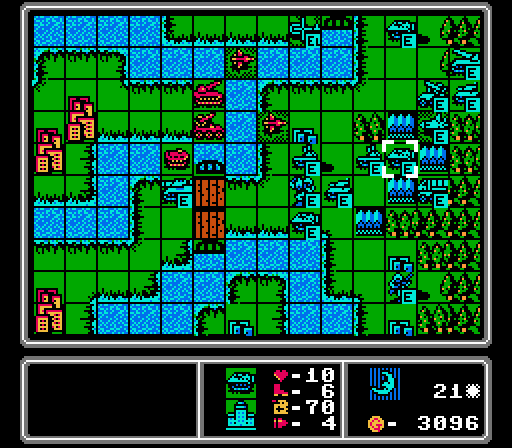
Our bomber finishes off the medium tank, our remaining copters get in some shots on an enemy copter and infantry, and we send a scout up to the captured airport for refueling. I was trying to protect our bomber from the enemy fighter, but the enemy AA missile messed up my positioning.

I briefly debate about getting a second fighter to really control the skies, but settle on an extra bomber instead.
I totally missed that one of our copters was in missile range and it goes down. The enemy fighter then handily shoots down our bomber. Rough turn.
The middle is getting quite congested now, with a new medium tank arriving on the scene. Blue also builds a second rocket, keeping up the pressure on us.
Turn 16

I don't have to worry too much about the challenge at the moment; we're heavily outnumbered now. In fact, maybe I should start fully destroying some enemy units to make some room.
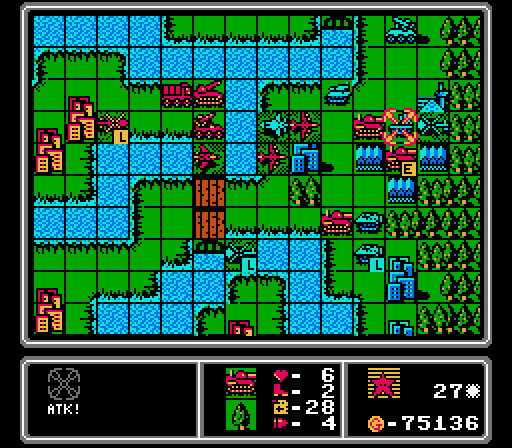
Anyway, our fighter attacks the enemy fighter, and one of our mechs joins in for some chip damage. Our scout then hits the AA missile for a lack of other worthy targets.
With the enemy fighter somewhat neutralized, let's keep going with the bombers.
The upper island is getting away from me again. Also an enemy copter flew down to the central island and wiped out our mech.
Some of the damaged enemy units retreat, giving us some breathing room. Blue doesn't build anything, saving up funds for next turn, but we're still well behind on unit count anyway.
Turn 17
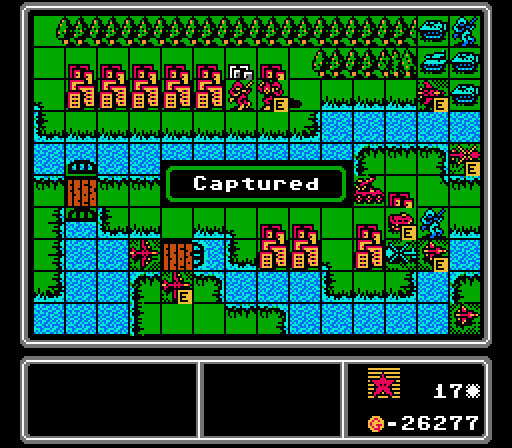
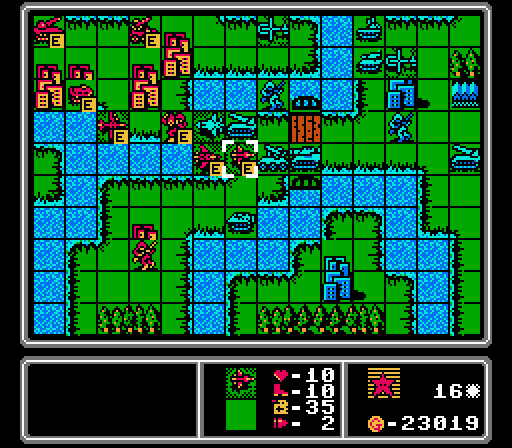
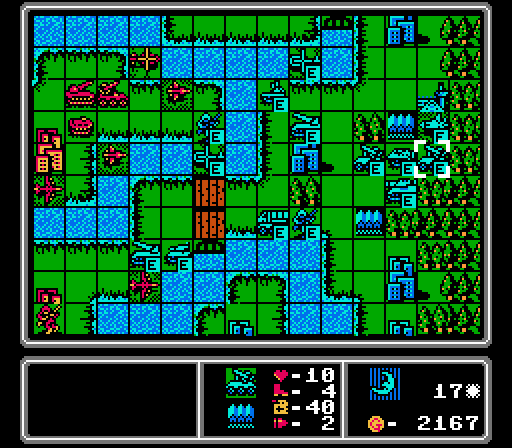
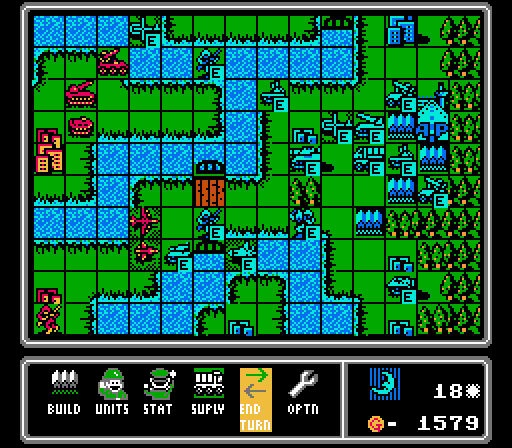
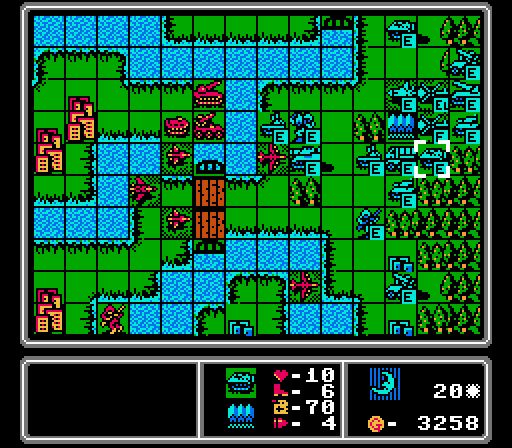
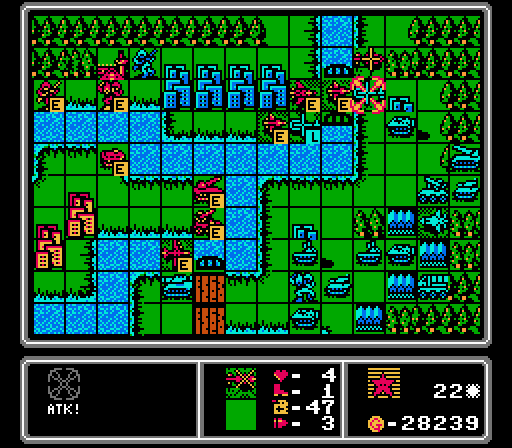
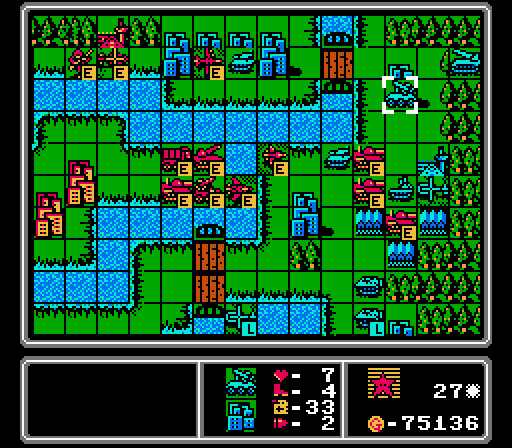
The last neutral city is captured. Elsewhere in this image, we have a copter attack an infantry, a scout attack a copter, and an APC attack an infantry. Then our fighter heads for the captured airport for repairs.
The enemy medium tank is headed for our exposed infantry on the lower island, but we have enough bombers in the area to handle it. One of those bombers hit the nearby rocket as well.
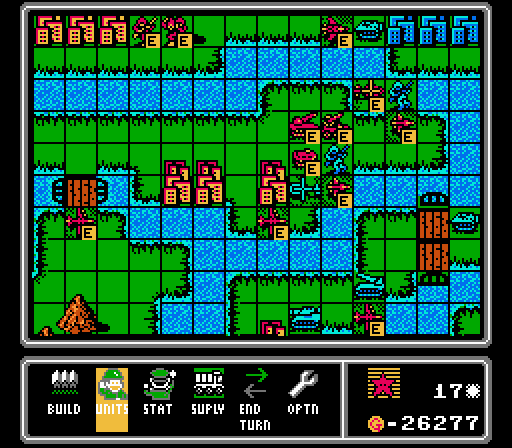
More bombers!
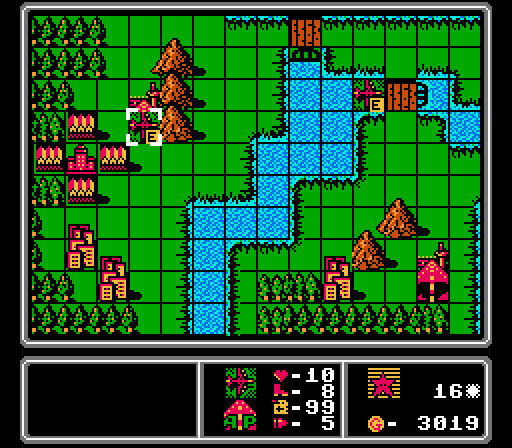
The tank has made it through the woods on the upper island, but we've already finished capturing everything so it's too late.
As the enemy fighter blocks the airport, Blue puts out a medium tank and an AA missile with its extra funds this turn.
Turn 18
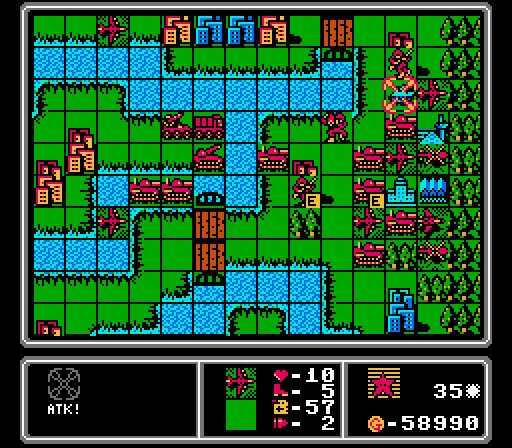
The bombers finally make a difference, taking out a rocket and a medium tank here.
Our rocket also finally takes its first shot, weakening the enemy tank. Elsewhere on the upper island, a scout attacks a copter and a copter attacks an infantry.

We've got a solid bomber crew now, so I get a medium tank this turn, now that I know they can cross rivers so aren't totally useless on this map.
The enemy tank gets to our infantry before it can escape across the river, and the enemy copters merge together, but not much else happens this turn.
There's a new AA tank, but more importantly the enemy fighter is back in the fray after just one turn of repairs.
Turn 19
Sometimes I'll build units at the start of the turn, in case we kill some enemy units and leave ourselves no longer outnumbered and unable to build. Anyway I think a new pair of medium tanks will do just nicely here.
Our mech finishes off the intruding tank, and our fighter hits the enemy copter and tries to get close enough to reach the enemy fighter next turn.
I figure the enemy fighter can only attack once, and recklessly move in our bombers to also finish off this tank.
Annoyingly the enemy fighter destroys our damaged bomber in one shot here.
Blue merges together several units and overall retreats, leaving the central island clear of enemy units.

The AI then builds three more cheaper units - a copter, a mech, and a tank. Win for us.
Turn 20
I was sick of this enemy fighter at this point so ganged up on it with our fighter and then two scouts, but still couldn't finish it off.

Our rocket and a bomber finish off an enemy APC, while a copter keeps the airport protected.
I get a little over-excited and move two of our bombers up, one of which is now exposed to an enemy AA tank. Off-screen, we purchase another bomber for reinforcements.
Blue's rocket and AA missiles retreat from our bombers, then the AI builds another tank and APC.
Turn 21
The upper island is looking a lot better after a bomber finishes off an APC and a copter finishes off an infantry. Our fighter retreats for repairs again, trying to stay ahead of the enemy fighter. The enemy AA tank did attack our bomber last turn, but that left it exposed to our rocket, which gets the kill here.
I finally realized that our rocket and AA missile have no way to supply so push out a supply truck in addition to another bomber.
I thought our bomber would be safe here, but the medium tank moved out of the way and attacked our APC. That left this city open for the AA tank to shoot down our bomber.
An APC, and another AA tank. Luckily I'm not dependent solely on bombers to deal with the AA tanks on this map.
Turn 22
Our scouts, fighter, and copter go after the two enemy copters on the upper-right; unfortunately our copter is actually destroyed in the attack. Down by the central island, we bomb the medium tank.
In addition to a bomber, we build an infantry. I'll try and get it into a copter or an APC next turn.

That's a lot of units building up on the upper-right. Also the enemy fighter came back out to play; I think we'll finally be able to finish it off this time. Blue doesn't build anything this turn.
Turn 23
Our rocket and AA missile strike out at an AA tank and a copter, respectively, with the copter going down.
We build a copter for the infantry from last turn, and get another medium tank.
Our infantry just barely couldn't kill this enemy mech so I move in a damaged scout to finish it off. That leave the enemy city free for our own mech to move in and start capturing it.
Likewise our fighter just barely couldn't destroy this enemy fighter, so as our medium tank starts crossing the river it also finishes off the fighter.

It's been awhile since I've been able to rely on a cluster of medium tanks for controlling a map. We'll get these across the river soon.
Our damaged bomber falls to an AA missile, but that'll just help us build another one later.
We also lose our damaged fighter to an AA tank. Again, not much of a loss here, and the AA tank stayed in rocket range for next turn.
I expected to lose that infantry, but I did not see that the enemy APC could reach all the way out and severely injure our capturing mech.
Blue builds another fighter and I suddenly have no easy counter for it. The enemy HQ is wide-open for a change; I could end the challenge here by sacrificing a bomber but I decide it's not really time for that yet.
Turn 24

We can't build anything this turn, unless we lose a unit first. You can see we're starting to build up more and more cash reserves as the challenge really becomes limiting now.
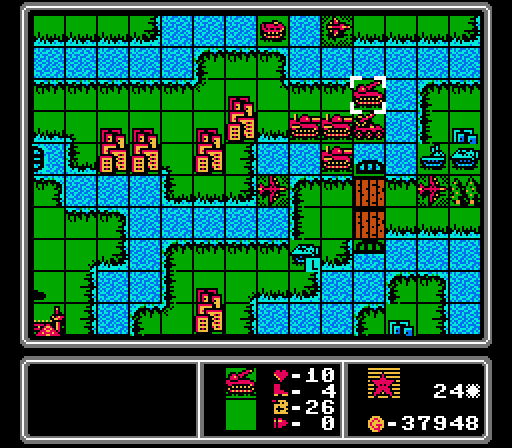
Remember how I thought our rocket could finish off that AA tank this turn? Well, it's out of ammo, so nix that plan. Instead it retreats so our supply truck can reach it next turn.
We finally have a medium tank loose on the enemy island, and it immediately wipes out this loaded APC before it can cause any trouble.
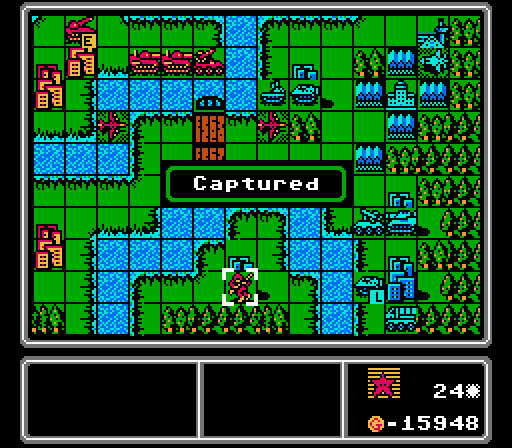
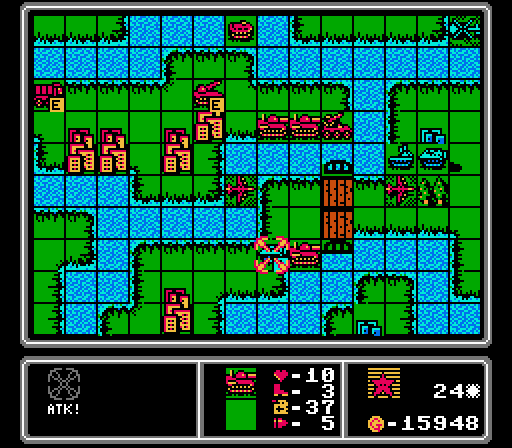
We quietly capture the city on the lower island, now giving us a 2:1 income advantage.
At the upper island, our APC, scout, and mech take out the enemy infantry, making room for two bombers to get rid of the APC. Then I merge in the other scout to give us some room to build.
The new enemy fighter goes after a damaged bomber. I had moved our AA missile back a space to ensure it could cover the bombers from every direction.
Losing our mech to this copter is disappointing but it would've taken that mech forever to do any captures now anyway. There's a fresh infantry headed in via copter soon.
The rest of the turn is just shuffling units around, with an AA tank blocking off one of our medium tanks, and a regular tank squatting on the upper island and getting in the way. Blue builds three new cheap units, easing up some of the challenge pressure for us.
Turn 25
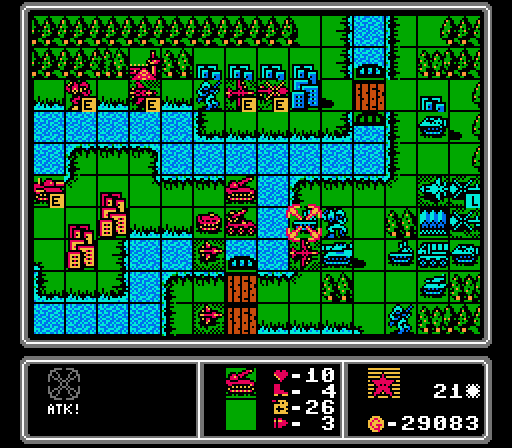
First step is supplying the rocket so it can shoot again. The rocket and the medium tank then take out the AA tank, clearing the way for our other medium tanks to cross.
The medium tanks proceed to take out this APC, reaching striking distance of the HQ.
At the upper island, the AA missile hits the enemy fighter, while our scout takes down the copter.

This enemy medium tank was still damaged from earlier, but the chip damage on our medium tanks is going to add up quickly here.
The enemy indirect fire units keep running out of medium tank/bomber range, leaving the middle of the map pretty open for us. The AI builds another mech and APC, just stuff to get in the way really.
Turn 26
We still can't build anything, unless we throw away a damaged unit first. So we suicide our APC on this full-life tank and then build a bomber; a pretty nice trade for us. Also in this image: Our rocket and AA missile have now both been re-supplied and are ready to get back in the action next turn.
A couple bombers go after a fresh APC, while our medium tank finishes off the enemy medium tank. Another medium tank later moves in to finish off the APC.
The enemy fighter comes back out to hit one of our bombers but doesn't quite bring it down.
More trash to deal with around the lower islands. Our infantry is almost gone but the enemy infantry is also hurt and won't get off a quick capture. Up at the top of the screen you can see where a tank tangled with our medium tank.

Blue puts out three more new units - a copter, an APC, and an AA tank. The HQ is wide open, and that AA tank makes for a tempting target for our medium tanks...
Turn 27
Two medium tanks go after the new AA tank. We've officially reached the enemy HQ and the challenge is mercifully over. We're pretty clearly in control now so I'll skim over the highlights from here...
Our fighter and scout team up to take out the enemy fighter. Our AA missile takes a shot at the loaded copter, neutralizing that threat. And our rocket and bomber go after the tank on the upper island, trying to clear it for the newly-landed infantry.
If the challenge were still in effect, I could've manipulated the action enough to build the bomber and two of the medium tanks anyway. Really all the extra troops from here on out are just speeding up the final wrap-up, since it'll take awhile to get them all the way to the enemy HQ area.
The AI gets another copter and AA tank, and hits our medium tank with its tank. That's really it.
Turn 28
Do you like waves of medium tanks?
Anyway, what happened this turn. We started capturing the rest of the upper island, finishing off the tank that was there with our rocket and then starting on the AA missile. The medium tanks hit the AA tank and then merged together, but they won't be able to do much more without support.
Blue sacrificed a damaged tank on our medium tank, and the damaged AA tank on our bomber, then built a new tank and AA tank. Yay.
Turn 29
The upper island is clear now. Our medium tanks teamed up to take out the rocket. Our rocket hit the AA tank, and at the river the loaded APC successfully blocked our medium tank but took a hit for the trouble.
Some troop movements, including an AA tank hitting our copter on the upper bridge, and a new rocket.
Turn 30
Our air units move towards the enemy HQ now that the AA tanks have been drawn away, with the scout finishing off a copter on the way down. The capturing infantry on the upper island is free to continue its work (the AA tanks can't attack it). The rocket and nearby medium tank took out the remaining AA missile. And yes I brought in two bombers to take out a supply. If you're wondering why I hit the supply, you obviously don't remember how many times I was sitting around at the end of the map unable to muster enough attacks to finish off the last enemy unit (inevitably a supply truck).
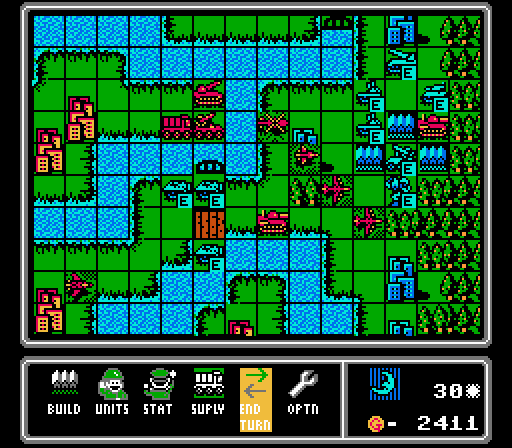
Just a new AA missile here. Blue is down to nine units remaining, even after finishing its turn.
Turn 31
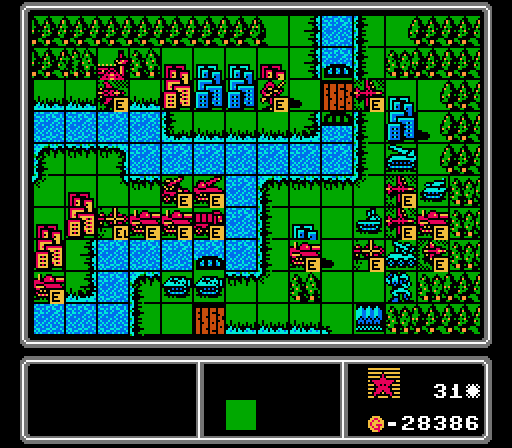
The bombers hit the rocket and AA missile, and our other air units are blocking bases and trying to distract the AA tank. Our medium tank sitting on the enemy airport is out of ammo and just trying to keep the AI from building any more copters (the one cheap unit we can't easily deal with right now).
The biggest action here was the AA tank shooting down our copter. Blue didn't build anything this turn, so I really need to make sure the airport stays blocked next turn.
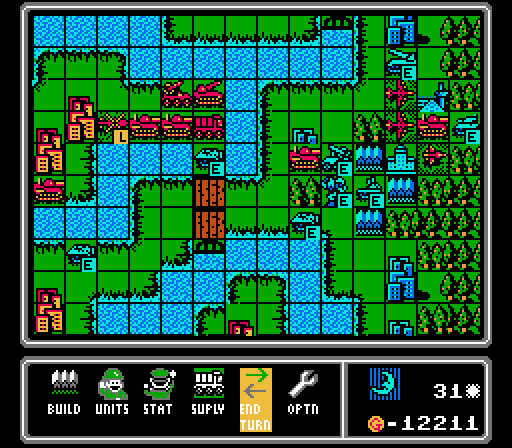
Turn 32
We're only just now getting the extra units from completing the challenge into the action, and you can see we already really had the map won, it was just a matter of how much cleanup time would be needed.
A medium tank took out the enemy rocket, and a couple of bombers took care of the AA missile. Another bomber finished off a tank. Our new medium tanks are finally crossing the river and will help finish off this map - there are just four enemy units left at the moment. This turn would've been a good one to block all the enemy build points, but I didn't actually have enough units nearby to pull it off. We do have a couple infantry positioned for capturing. Will we finally get an HQ capture victory?
The enemy AA tank parked itself on the HQ and hit one of our bombers hard, and then the AI built a tank and a medium tank. So probably no HQ capture this time.
Turn 33
We took out an APC and hit a couple other units, but this turn was mostly just positioning. I tried to protect the capturing infantry but, well, you'll see...
The enemy medium tank hit our mech hard, and the enemy APC was able to circle around and poke at our capturing infantry for a couple of damage points. A new AA missile isn't much to worry about at least.
Turn 34
Not much longer now. Our rocket and a bomber took out the enemy medium tank. Our own medium tanks took out the APC and the AA tank. And our copter moved in to finish off the mech. Just two enemy units left, and every build point is blocked.
I left our damaged scout in range of the AA missile, and the enemy tank took a shot at our infantry, but that's it.
Turn 35
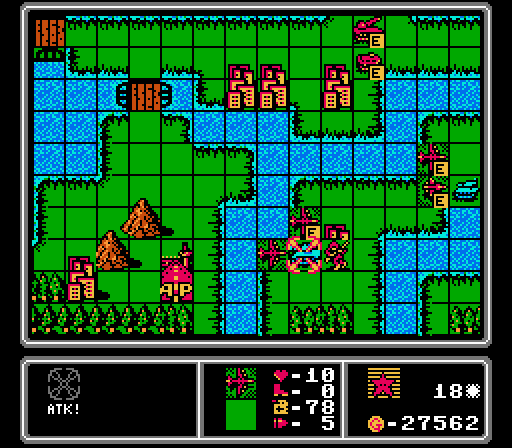
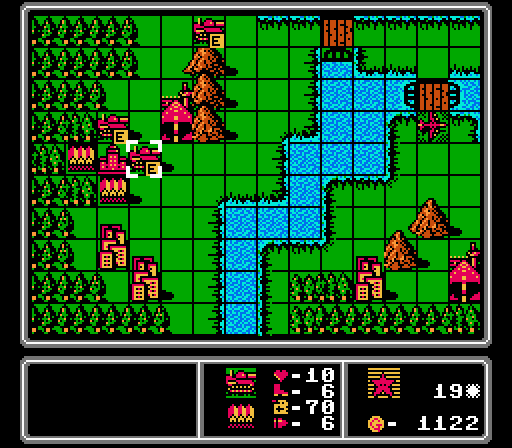
A medium tank finishes off the AA missile, and a bomber finishes off the tank, and we're done.
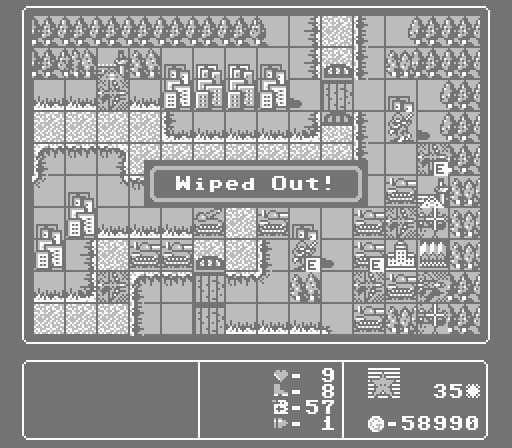
No HQ capture victory, though we came a lot closer this time. It's just really hard to keep the HQ area clear without almost accidentally wiping out every unit along the way. Maybe next time.
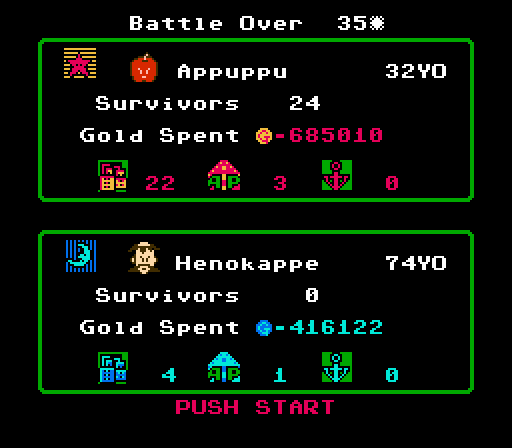
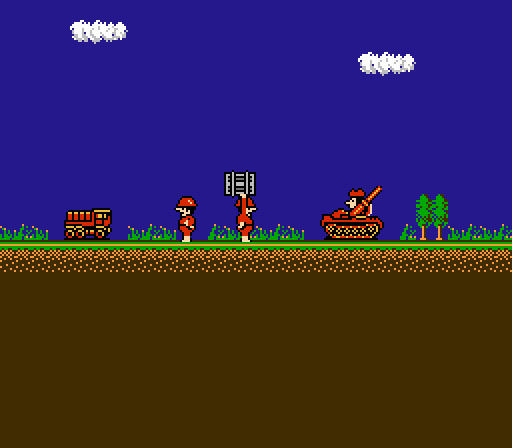
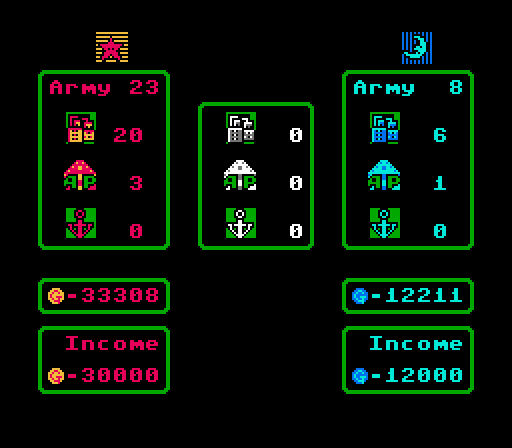
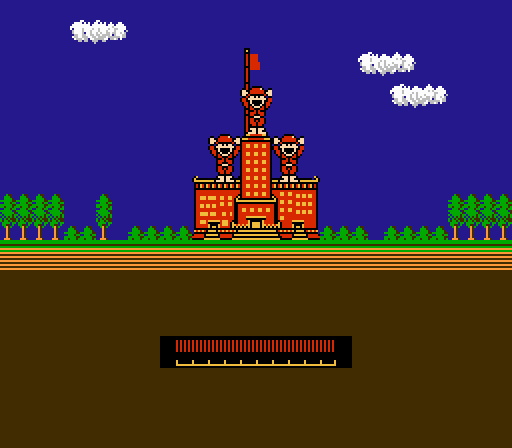
Our CO was...an apple? And I've got nothing on the enemy CO - the only search result is literally just a list of the COs in this game.
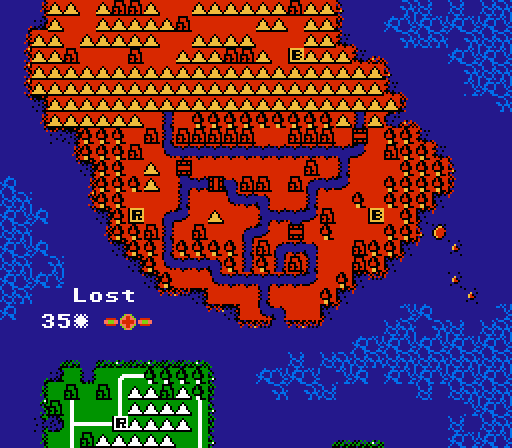
We've finished taking over the large continent. Needing 35 turns for this map is not a good score (average is 30) but the challenge really slowed down our initial efforts which in turn slowed down the usual snowball effect. But we got there eventually.
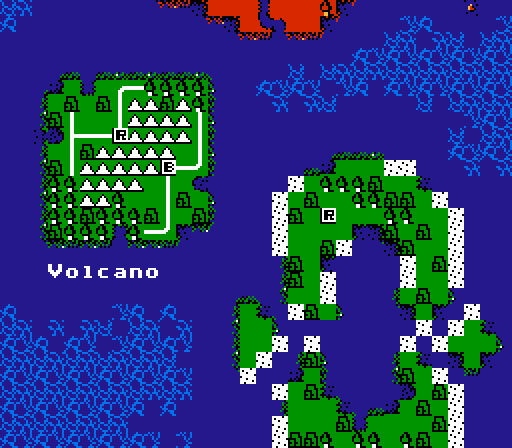
A handful of islands remain to us. Next up is Volcano - the HQs are close together, with a large mountain range in between. Should be fun!
Here are a couple challenge options, bringing back a couple of classics:
- Unlock Mode 2.0 - No building a unit until the enemy has built one of that type, including first turn
- Permanent Lock 2.0 - Vote for two units to be banned from the next map (cannot be both infantry and mech)
Vote in the linked poll here!