Part 32: Volcano
Part 32: Volcano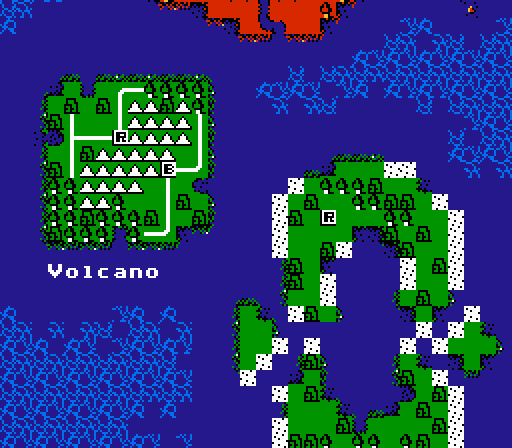
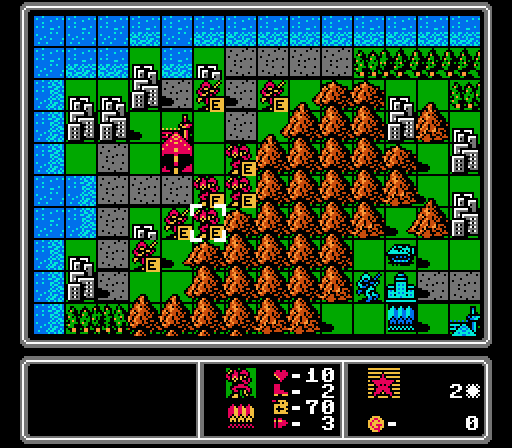
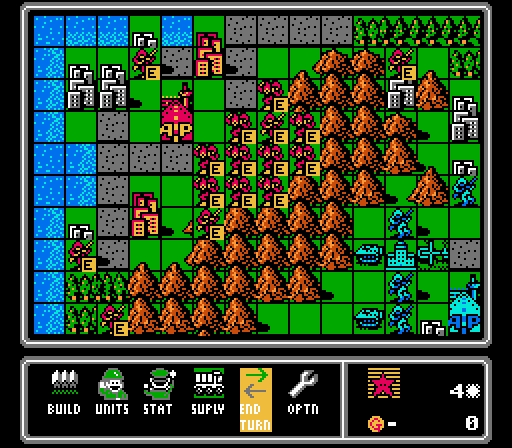
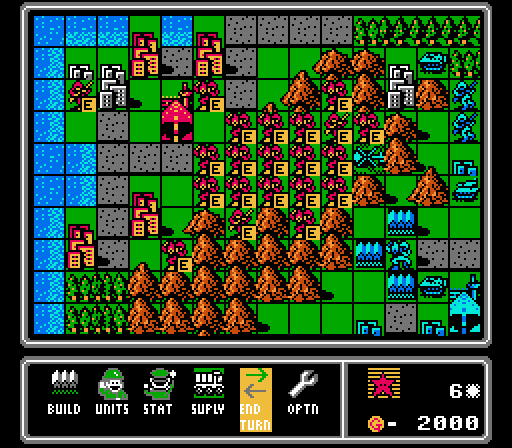
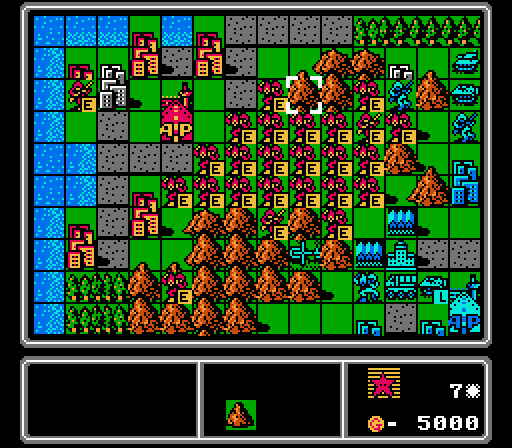
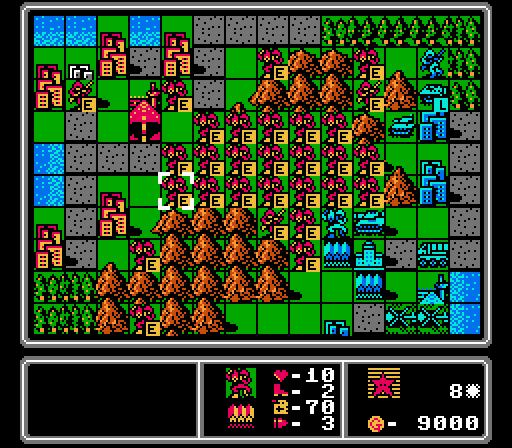
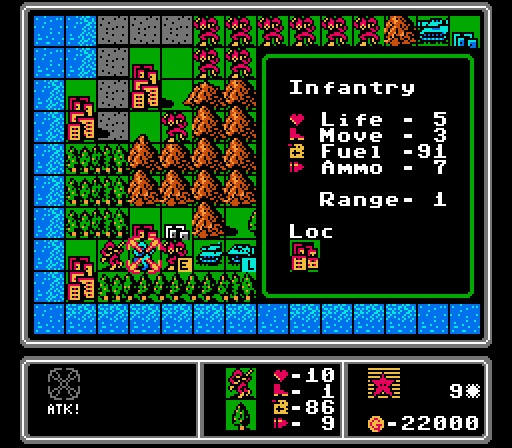
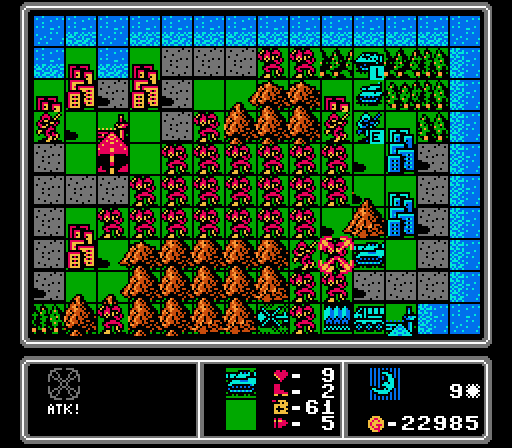
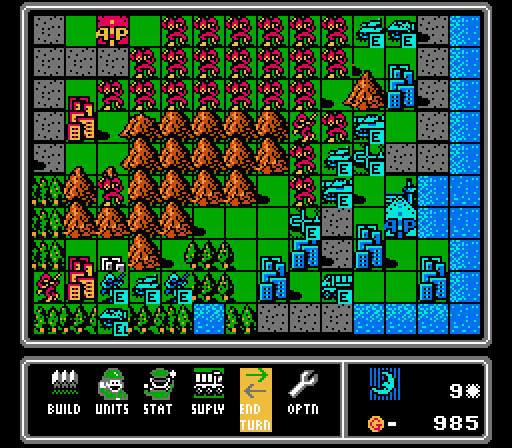
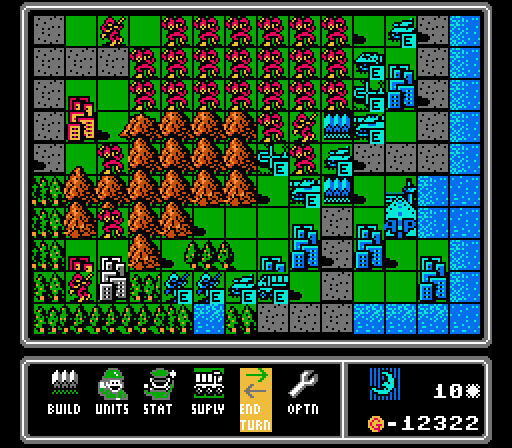
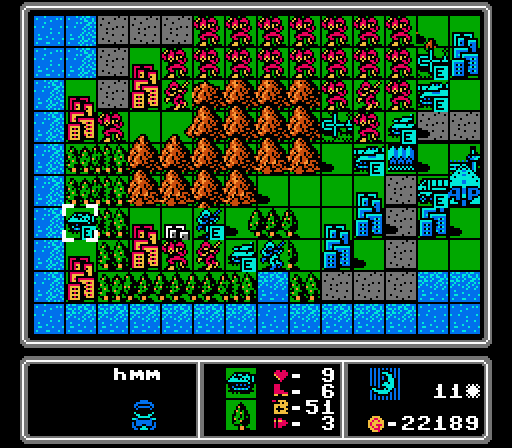
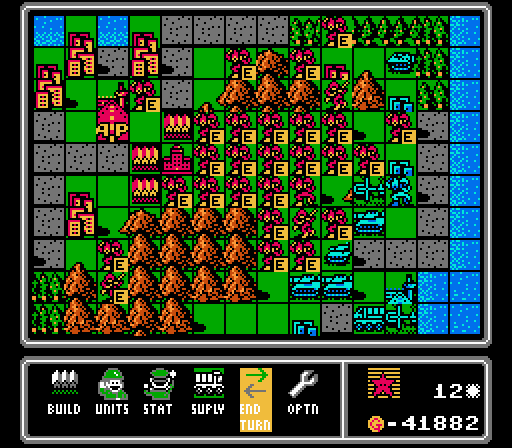
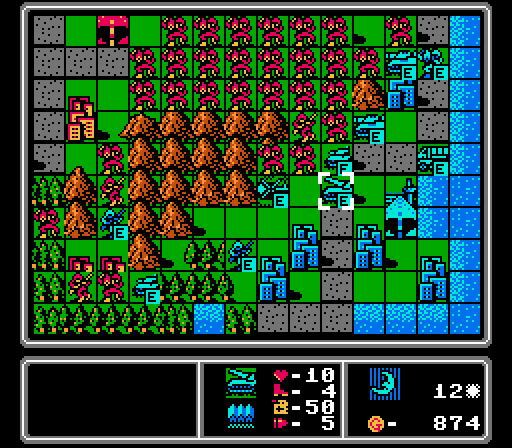
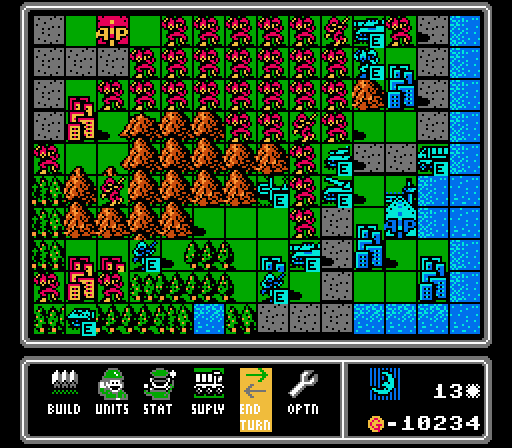
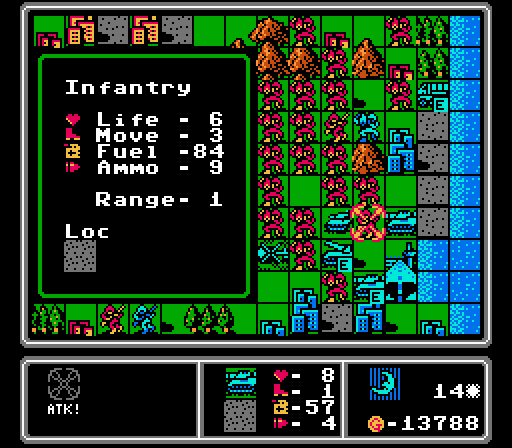
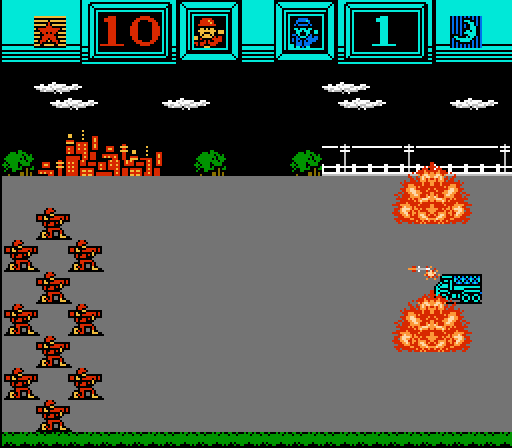
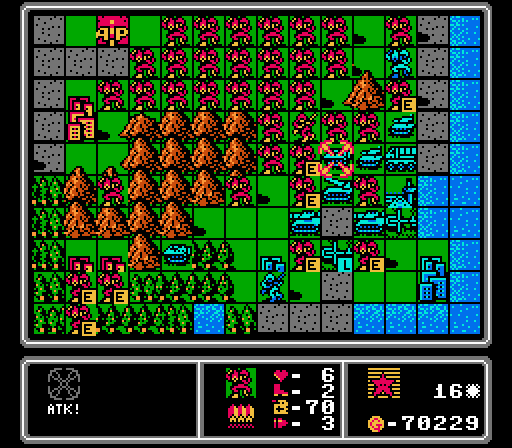
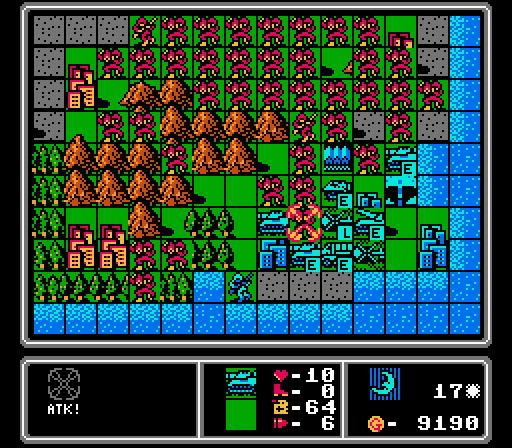
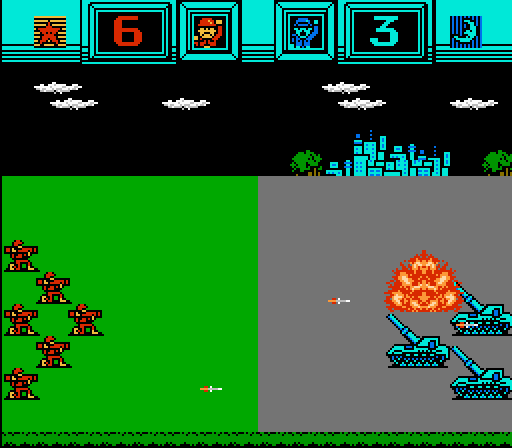
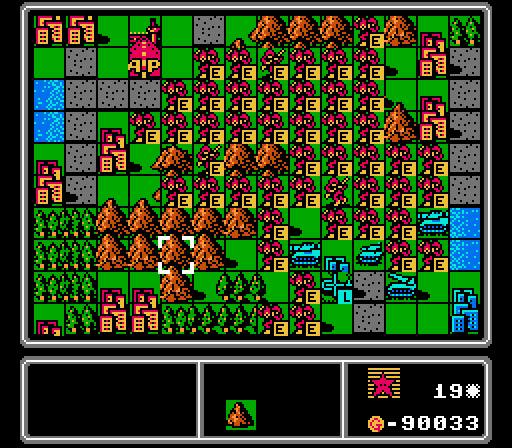
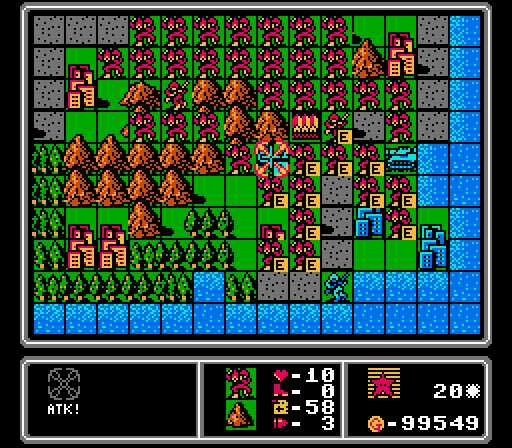
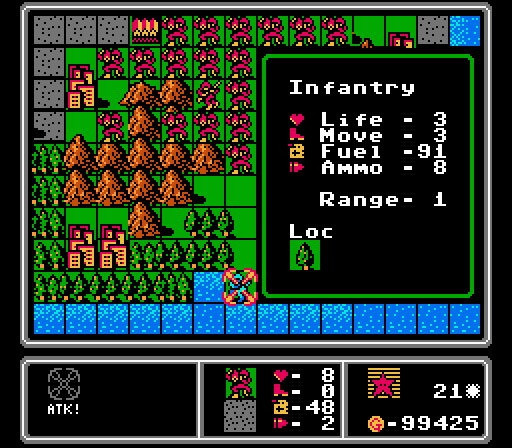
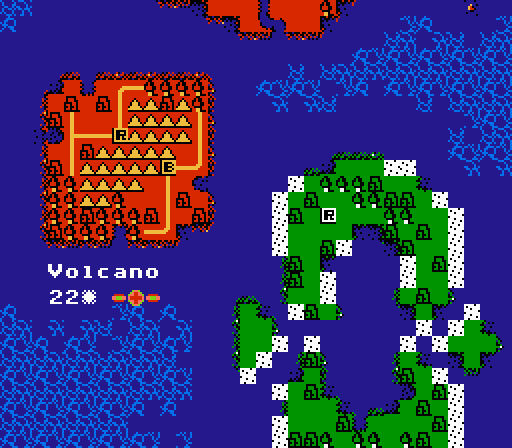
I'm not sure which of these mountains is supposed to be the volcano, but either way we're about to dive in.
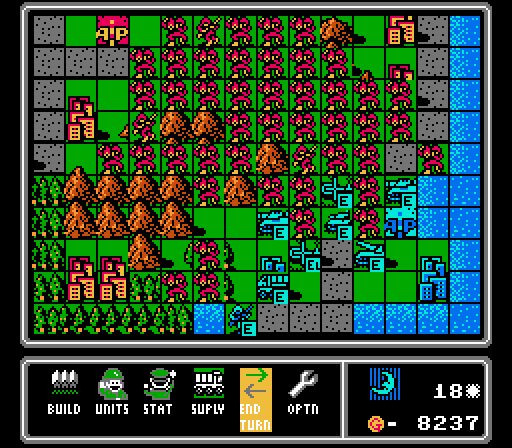
This map is laid out pretty evenly, with Blue getting a slight advantage with three cities in capturing distance on the first turn, each of which are one turn away from another city to capture. Blue has a cheat though - one of the neutral cities closest to the HQ is actually a base that can be used to build units.
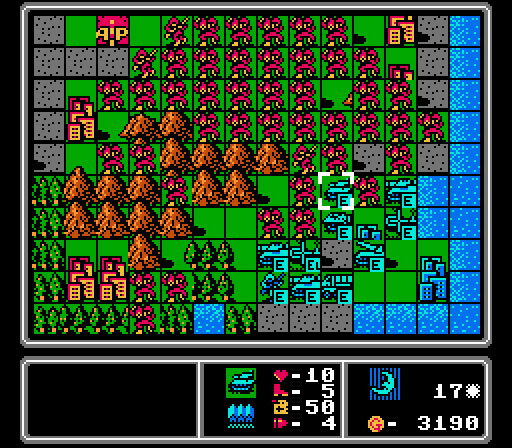
Turn 1
Pretty simple start with four infantry. Our challenge for this map is Permanent Lock 2.0, and the thread voted to forbid us from using any copters or bombers. So no copter waves carrying infantry to every corner of the map. The neutral cities are close enough to us that building an APC isn't really worth the extra funds, either.
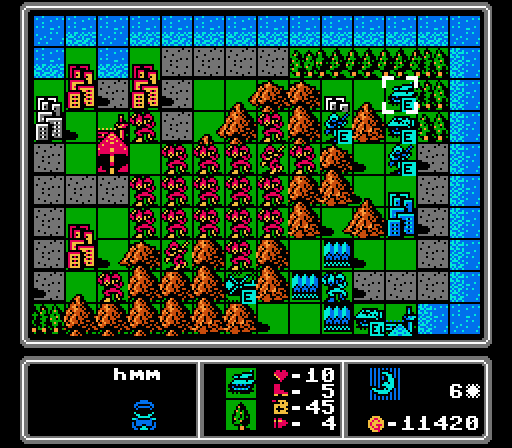
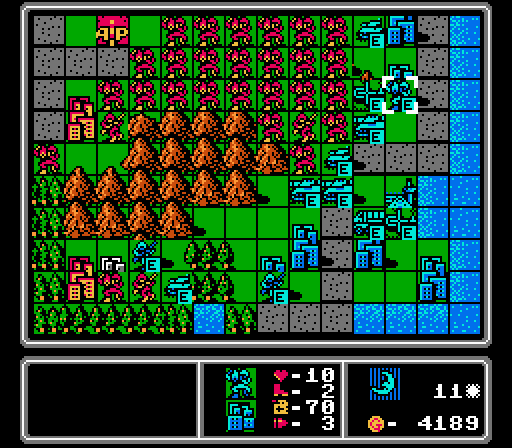
Blue goes a different direction with an infantry and an APC, negating the starting advantage they had with the city layout.
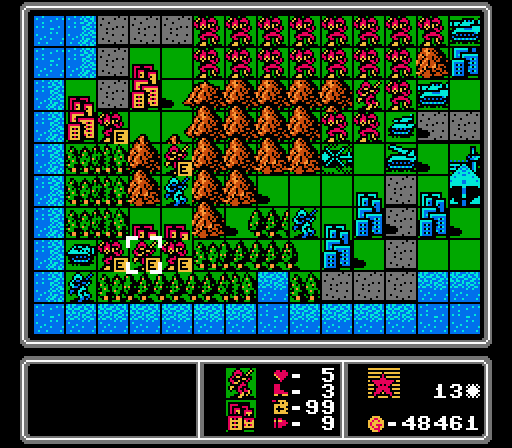
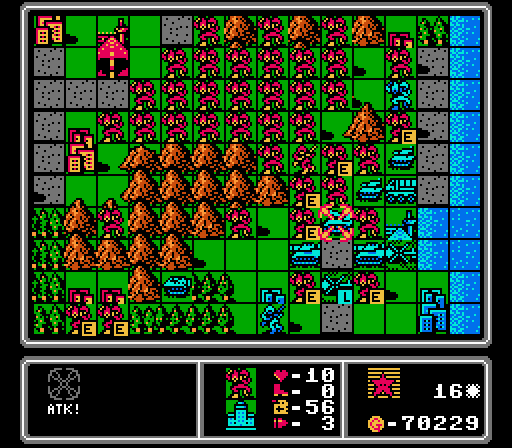
Turn 2
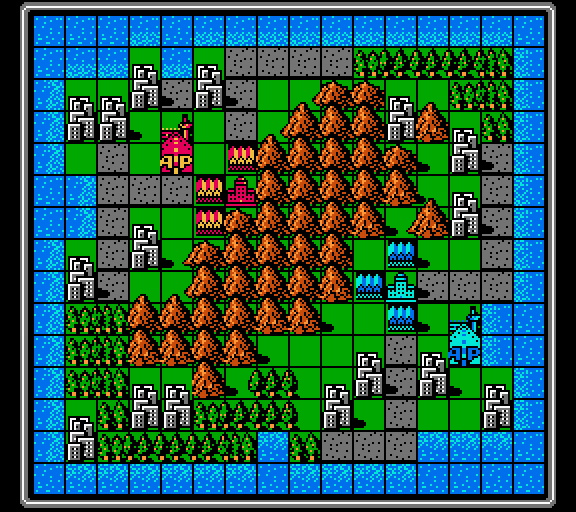
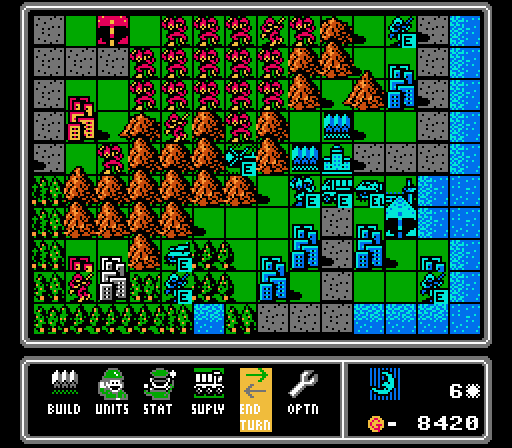
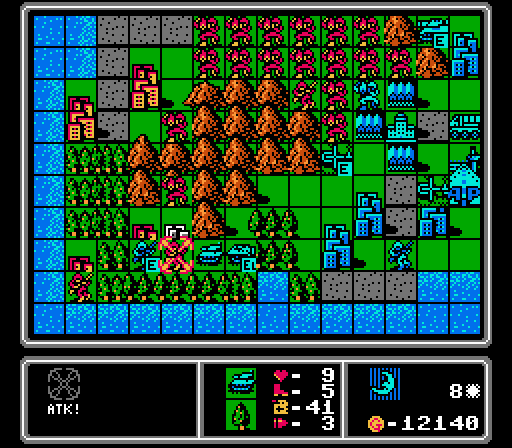
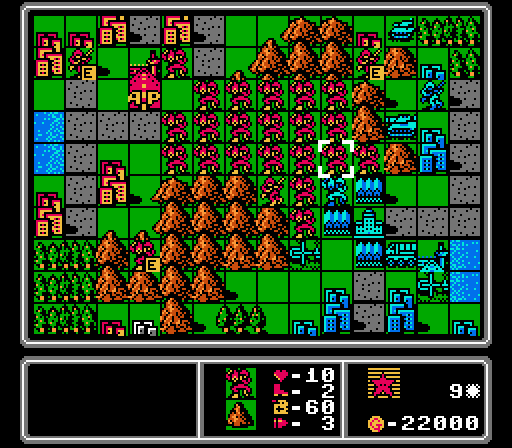
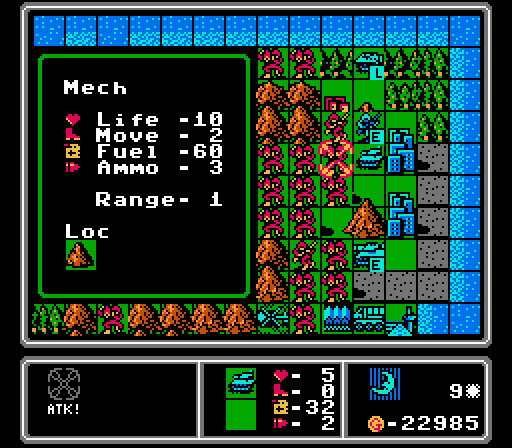
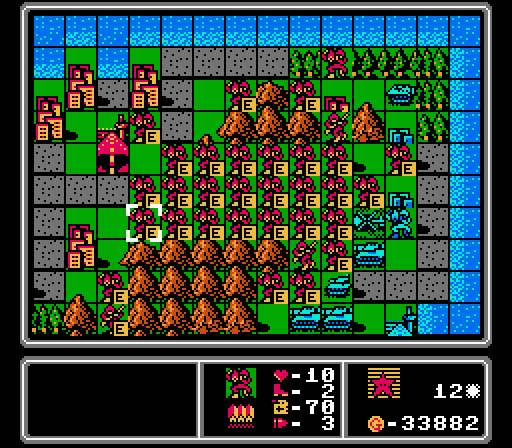
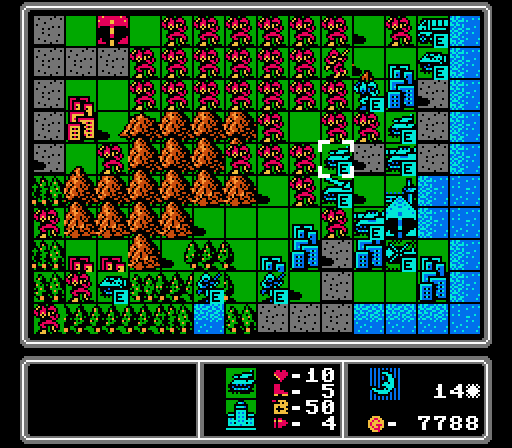
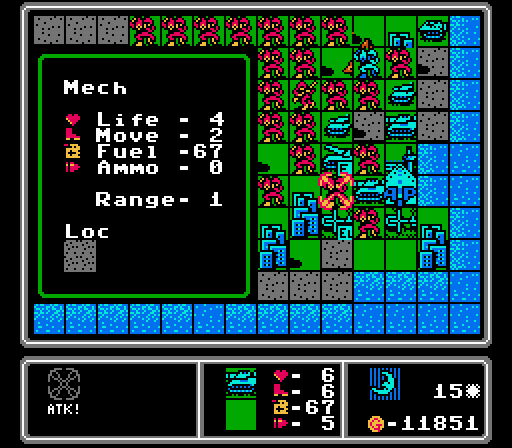
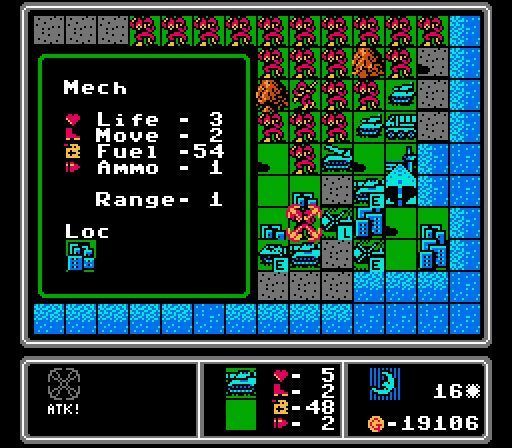
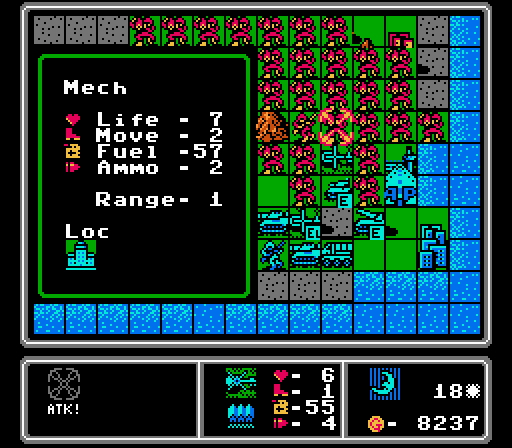
Mechs can be difficult to use properly in this game, since they're normally better off holding defensive positions and the player is usually moving forward offensively instead. But this map happens to have a huge mountain range with massive defensive bonuses that mechs can cross...
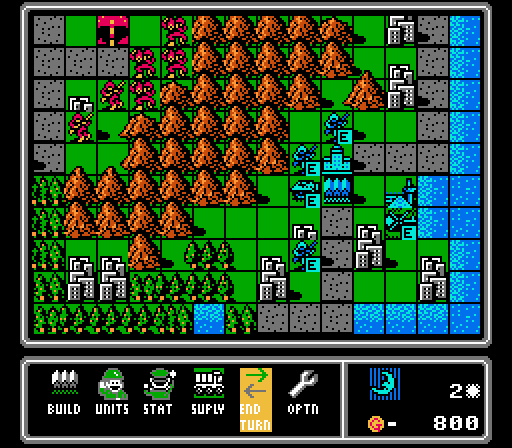
Two more infantry and a copter for the AI. The APC doesn't even get loaded. What was the point?
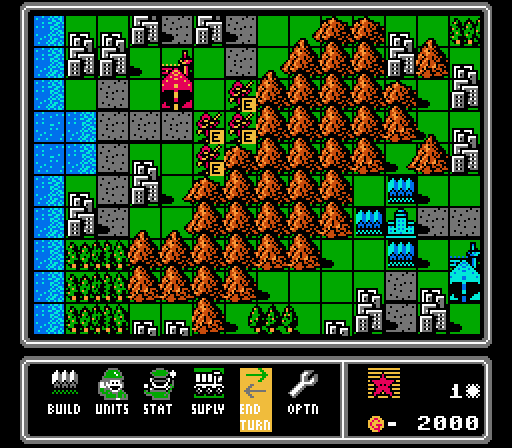
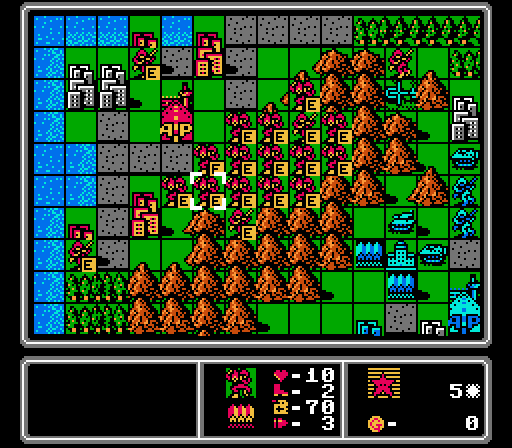
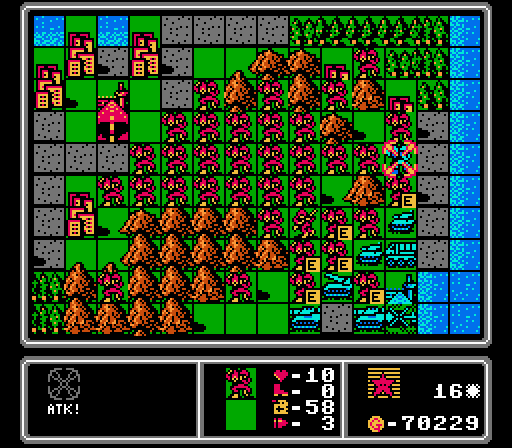
Turn 3
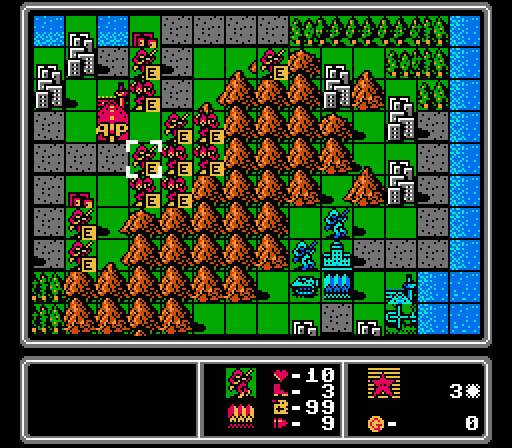
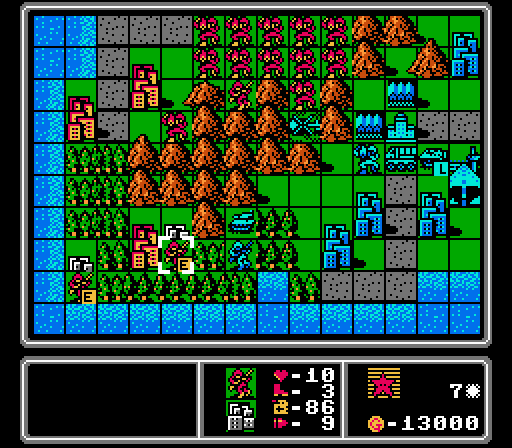
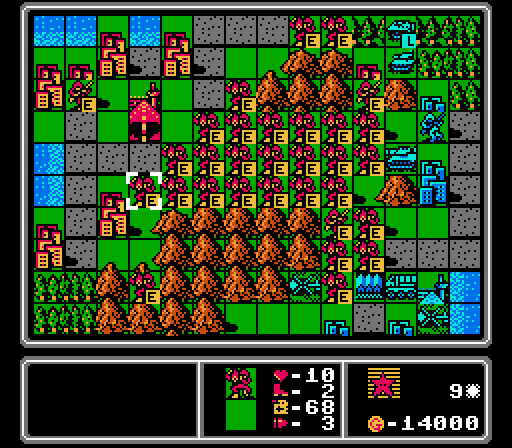
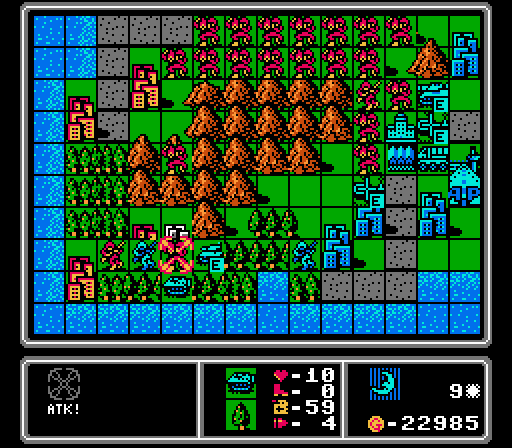
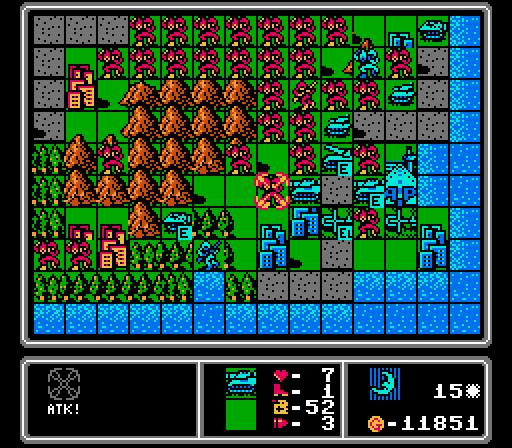
We get our first couple of cities, as the mechs start their long march.
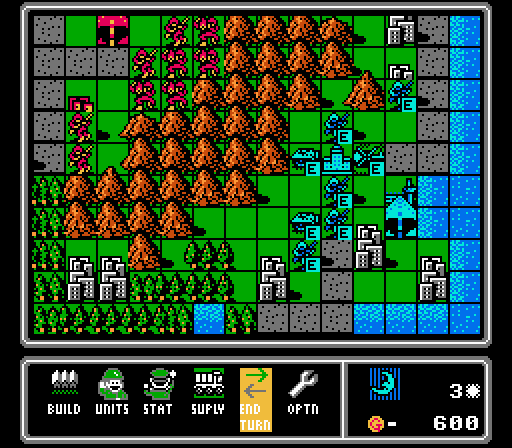
Blue gets another couple of infantry and another APC, despite never having loaded the first one. Though I guess with what we've built so far, an APC counter makes some sense.
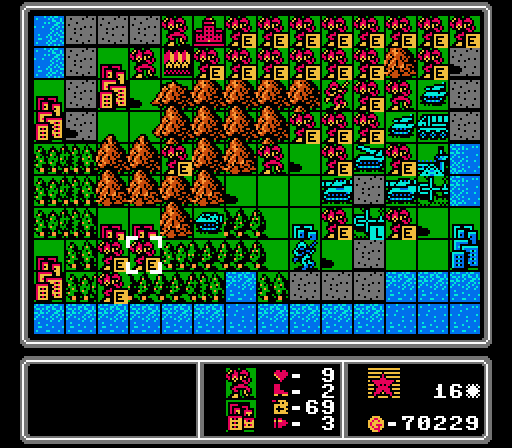
Turn 4
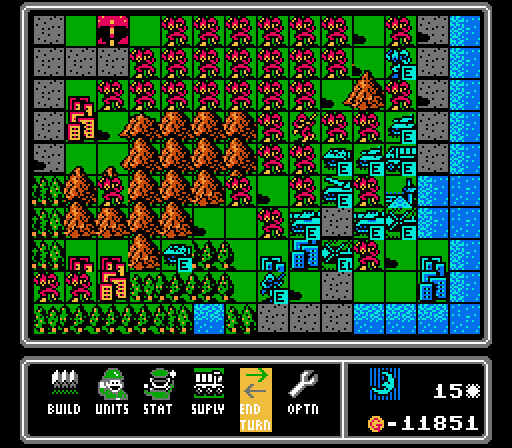
The only limitation of this strategy is the number of build points. But four new mechs every turn can go a long way...eventually.
I raced this infantry up to this city but the copter beat me there. Ah well.

A new tank here. The AI still hasn't loaded either APC.
Turn 5
Finished another couple city captures. More importantly: More mechs!
Blue finished off one of our infantry with an APC and then sent the copter after one of the mech brotherhood before building a tank (on the upper-right city!) and a mech of their own.
Turn 6
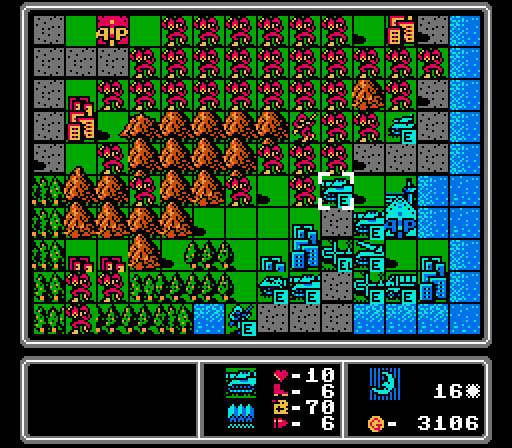
The mechs continue to advance. I consider having them attack the copter, but leave it alone for now. Advancing is more important than attrition at the moment, and mechs have very limited ammo.

The enemy copter goes after a different mech this time, and is now heavily damaged. Mechs normally lose out to copters, but the defensive bonus from the mountains evens things out.
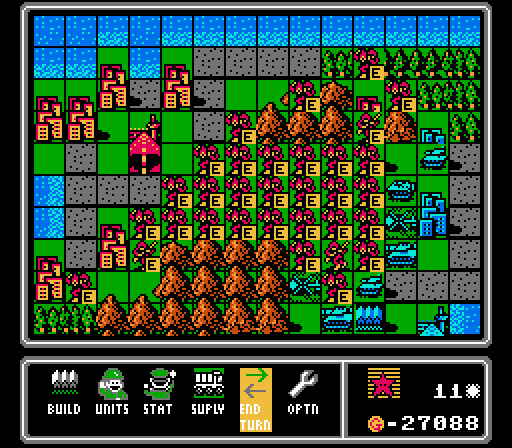
There are three spots to watch on this map now. The two passes around the mountains in the corners of the map, and the direct route over the mountains that only a crazy person would use. We're obviously pretty lacking in troops for the passes at the moment. Blue finally loads up one of its APCs, and then builds a supply that'll never be useful.
Turn 7
I think we are going to narrowly win the capture race, but I'm leaving it close.
The mechs make their first attacks, as I decide that keeping the enemy infantry from an easy capture is worth spending some ammo.
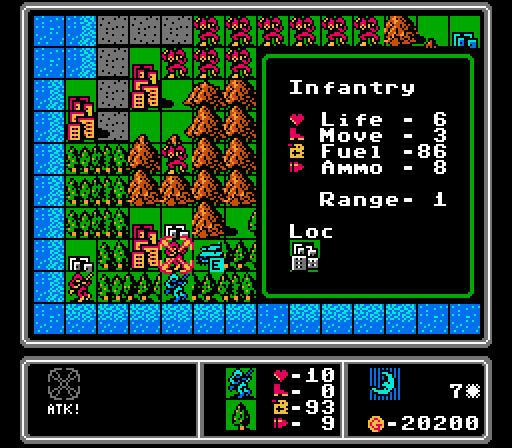
We're not going to quite get all three of the cities in the lower pass right away, ending up one turn short.
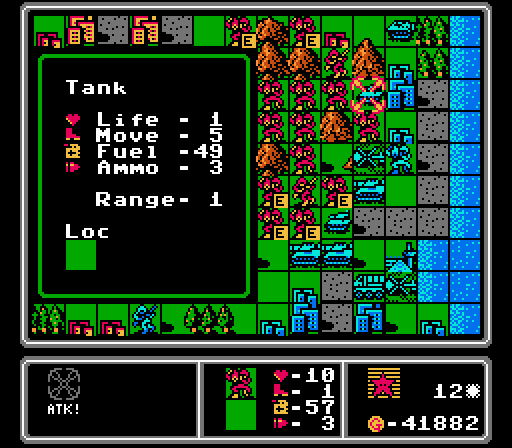
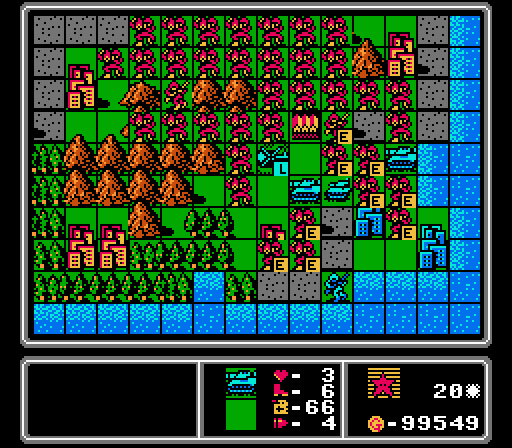
At the upper pass, the enemy infantry was hurt badly enough to actually abandon a capture attempt. Our mech army took a couple hits from the enemy tank and mech but we shook them off.
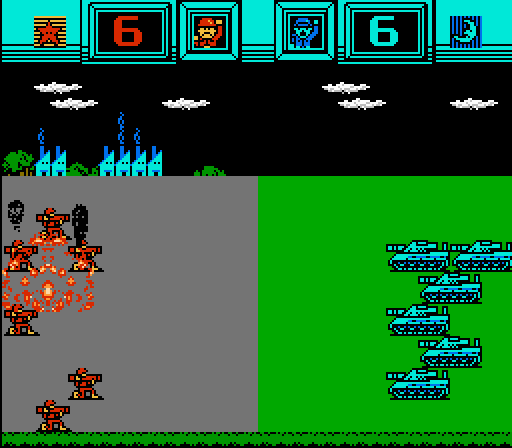
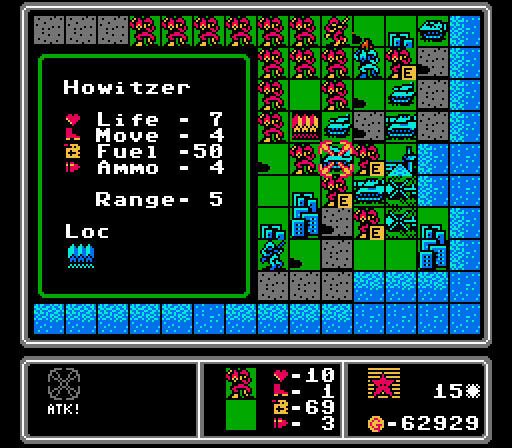
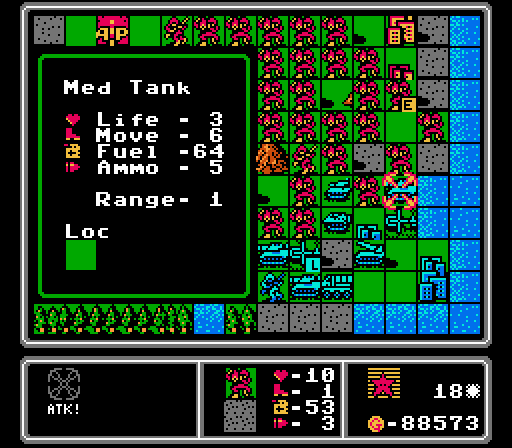
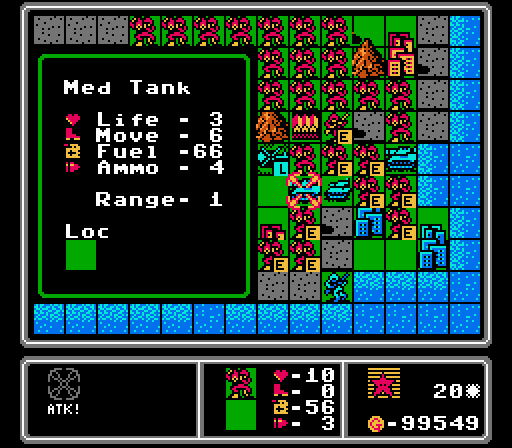
A medium tank is a hard counter to a mech, able to almost one-shot it and taking very little damage in return. An APC would be more cost-efficient, but would also take more damage.
Turn 8

We've got a decent chunk of change now. What should we get to counter that medium tank. Bombers are out, and we can't afford one yet anyway. Our own medium tank?

A rocket, or a couple of artillery?
Nah. How about four more mechs? It's been a long time since I posted it, but four mechs are actually a somewhat even match for a medium tank - if they can be positioned properly. Four full-strength mech attacks will take out a medium tank, and cost half as much. The medium tank obviously has the movement advantage and will all but kill the first mech in one shot, but will get progressively weaker with each subsequent mech attack. The key is controlling the range. Like, with a bunch of mountains that the medium tank can't access.
The lower pass is looking a bit shaky right now, as we lose an infantry here to the enemy tank. But help is on the way!
The upper pass is in somewhat better shape, just because the mech horde is close by for support. You can see here where the medium tank circled all the way around to finish off one of our injured mechs. Oh, it will pay for that...
Turn 9
Anyway, we've got two more cities, including all the ones in our starting area, one in the upper pass, and two in the lower pass. We're starting to build up more funds than I can spend on just mechs each turn.
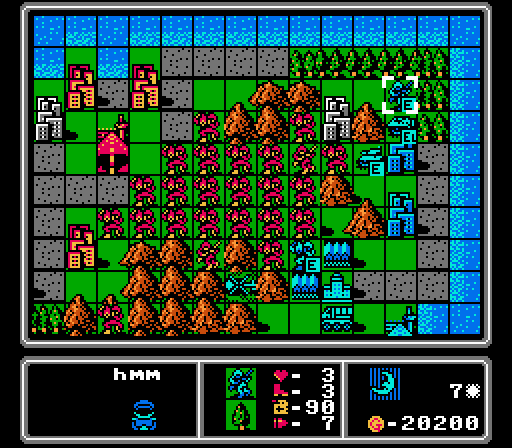
This enemy infantry decided to try and take one of our cities, but our own mech and infantry aren't about to let that happen. (No kill here, though.)
Blue neglected to build anything last turn, and the new medium tank is far away. Right as our mechs are in range...
For a couple of base captures! I would've started capturing the HQ as well, but, well, mechs can't do that in this game. And that position would get eaten up by the medium tank anyway. This first attempt at base capturing might not be successful, but there are plenty more mechs behind these ones.
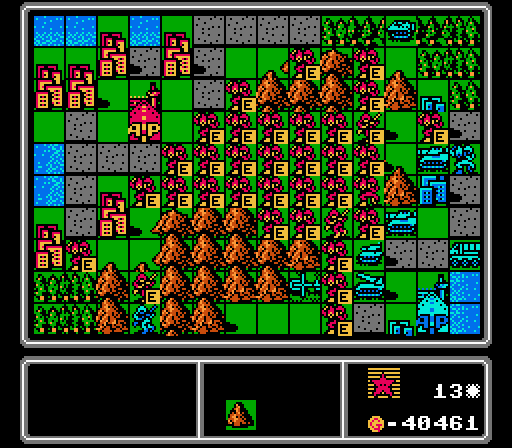
Well we've won the capturing race and there are somewhere around thirty mechs making their way over the mountains to cause havoc at the Blue HQ. I could start spending some of these funds on some heavier vehicles, or even some air support (I'm still allowed scouts and fighters, after all). But I'm going to go ahead and declare an additional hidden challenge attempt: No Vehicles 2.0 - win the map with only infantry and mechs!
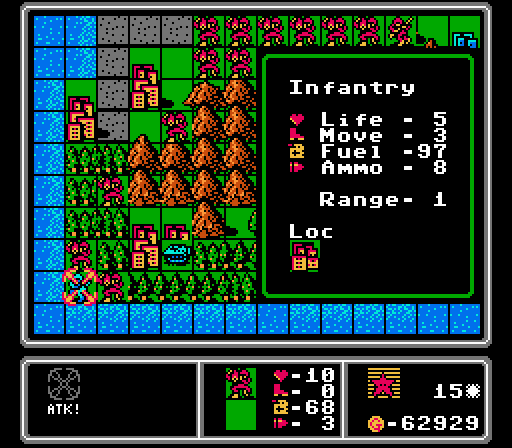
The multiplayer strategies in the early Advance Wars games often devolve into sending waves of infantry and/or mechs at the opposing player. They're cost-efficient and can capture property for healing and resupply as they go. In this game the strategy isn't as effective, except this map happens to have a huge amount of defensive cover between the two HQs. Even the enemy bases provide a huge defensive bonus, so this medium tank is far less effective against our capturing mech.

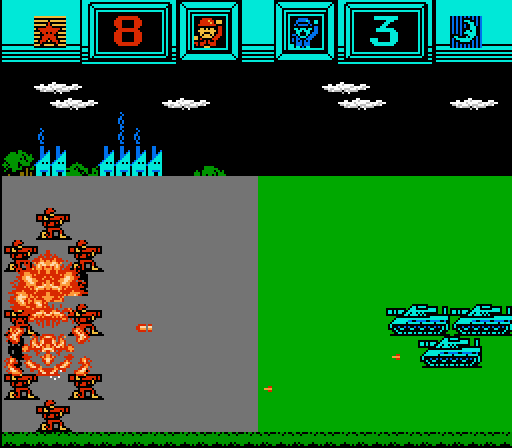
I've complained a lot in prior maps on how hard it is to keep up an attacking force when even attacks that are in your favor on paper result in chip damage that keeps adding up. Now that mechanic is finally in my favor, as this enemy tank attacks its third mech and can't make much headway on it.
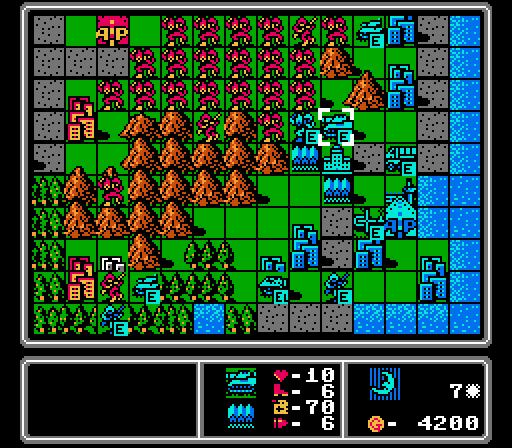
It's not all good news - we did lose the mech that was on the HQ to a copter, and another mech in the lower pass to this APC. But overall we're still producing more mechs each turn than we're losing.
The hardest part of this strategy is dealing with the AI building heavy units on its HQ right as you're going for it. I have an infantry ready to pounce, but can't get it an opening. The extra medium tank is no picnic, either.
Turn 10
Now, you should notice that the mechs I had capturing bases both survived the turn. And I have plenty of mechs following up behind them to merge in and reinforce them, keeping the capturing attempt alive. For this particular base, the mech just needs to live with 4 life remaining to finish the capture next turn.
The upper pass is looking a little better now - we have the city there, and two mechs in the forest guarding the pass. Our base captures are still ongoing but we've been pushed back a bit at the HQ for now.
Our strategy was not really to capture both bases at once here, but to divide attention so that one capture would be successful. Here a medium tank goes after each capturing mech, but the regular tank at the HQ can only attack and finish off one of them.
Annoyingly the copters also got in some damage so we can't finish the other capture either. However the AI didn't build anything so the upper base is still free for another capture attempt next turn.
Turn 11
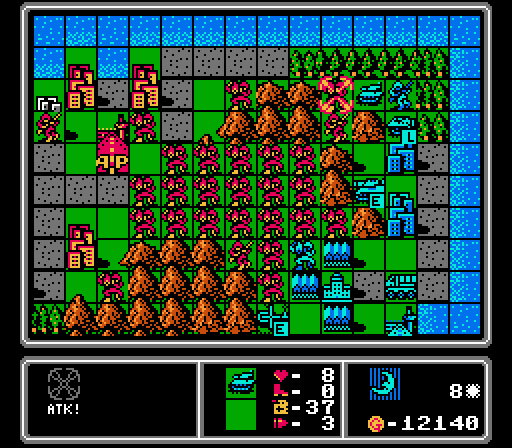
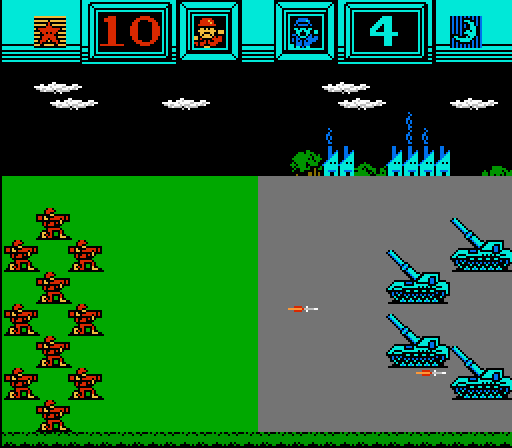
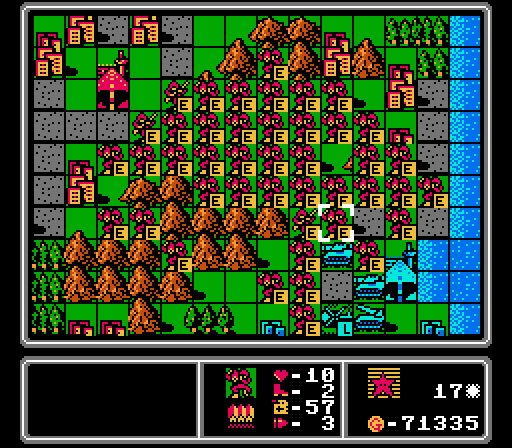
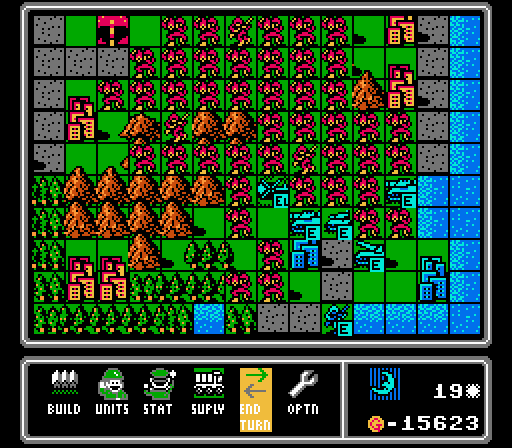
It's hard to break through when the enemy is able to form up a line of units like this shot, since the mechs can really only deal damage when multiple of them are able to attack at once. But we're still playing defensively right now, sticking to the mountains and bases and forcing the AI to take damage with counterattacks.
For instance, these medium tanks are far less effective now that they've been weakened by multiple mech strikes. Our captures are much more likely to succeed now.
The lower pass is still being contended. I have a mech capturing the last city with an infantry screening it, keeping the enemy units out of reach for just the one more turn needed to complete the capture. The loaded APC is trying to sneak through the forest but I already have it covered.
The AI is clearly feeling the hurt on is medium tanks so throws out another one, in addition to this mech.
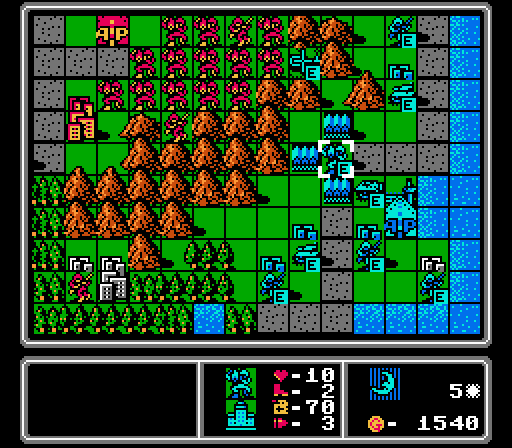
Turn 12

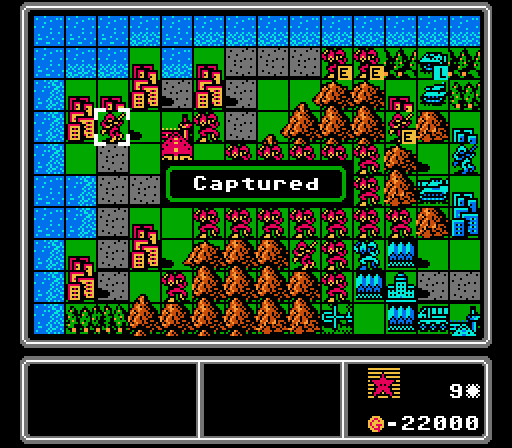
The last neutral city is captured, and the lower pass is ours for the moment. We don't really need the funds, but denying them to the enemy is still useful.
By the way, those medium tanks were too damaged to hurt our capturing mechs enough this turn, so we successfully steal one of the bases. Too bad that we can't build from them, and there is no income from them. But, critically, we can repair and supply at them!
Now that we have a forward supply point, we can start using ammo to finish off the scattered units that have been damaged by their own attacks. Starting with this tank.
I'm not really trying to capture Blue's city in the upper-right so much as provide another distraction. However can you see something I forgot?
Yeah I forgot to actually build the mechs this turn, and had to reset to the start of the turn and replay it. Anyway, everything played out the same except I filled in the open space next to the enemy copter this time. Somehow I forget to build like four different times on the map; apparently I get impatient to end the turn after painstakingly moving 30 mechs one space at a time.
We're still trying to capture another of the bases, and our mechs are heroically holding off the medium tanks.
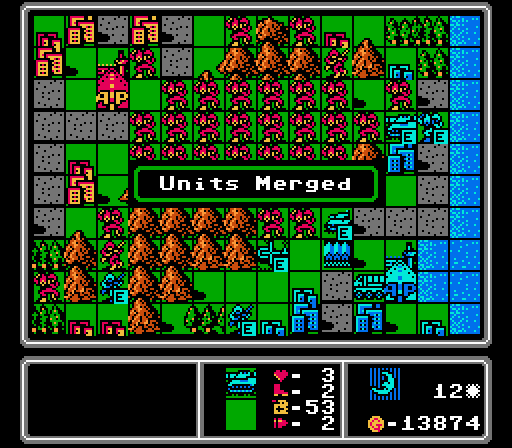
So much so that Blue merged two of its damaged medium tanks together - as good as a kill in my book. The two copters also merged.
Blue builds a rocket this time, probably the best move it has made all map. We can't counter-attack it, it can strike our waiting and vulnerable infantry, and it blocks the base from us.
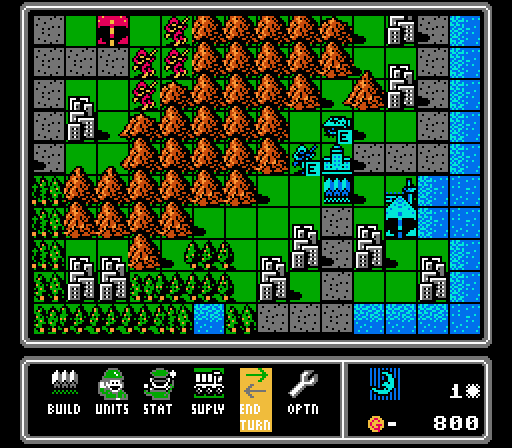
Turn 13
At the lower pass, the mech finished off its capture last turn and then held off the enemy tank. Then this turn it healed up the damage and finished off the tank by itself. Mechs on cities can be pretty tough to dislodge. We just need to keep that enemy infantry from taking our city in the corner.

The second base capture is slowly marching along. I'll need this mech to have 6 life after the enemy phase to complete the capture next turn.
I take a shot at the rocket, mostly just to force Blue to spend some funds repairing it. Dislodging it will require a coordinated effort. The upper pass is looking better, with just a damaged APC in the way. We still have a Blue city getting captured as well.
I was worried about this situation happening - the rocket went straight after the infantry, so I won't be able to pounce with a quick capture if the HQ opens up.
For some reason, the AI doesn't really go after the mech that's capturing the upper base, instead spreading out its attacks on various other mechs. We did lose an infantry at the lower pass, however.
Turn 14
We start off by taking the first of Blue's cities, momentum firmly on our side now.
A second base is now ours as well.

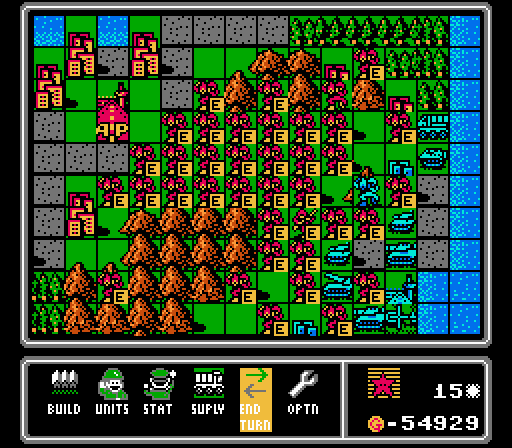
Actually getting rid of the rocket is going to be difficult from the position we're in. The mechs are going to have to leave the mountains, and flood into the valley! Something to note here - between us chipping away at Blue's units, and making it difficult for Blue to have space to build more, the AI only has 12 units deployed right now, and most have a lot of damage already.
I don't know why I thought moving this infantry here was a good idea. Probably to get it inside the rocket's range. But the medium tank absolutely obliterates it anyway.
The enemy tank moves off the HQ to attack a different mech, and the AI follows that up by building...another tank. Could have been worse; Blue actually had the cash to afford another rocket.
Turn 15
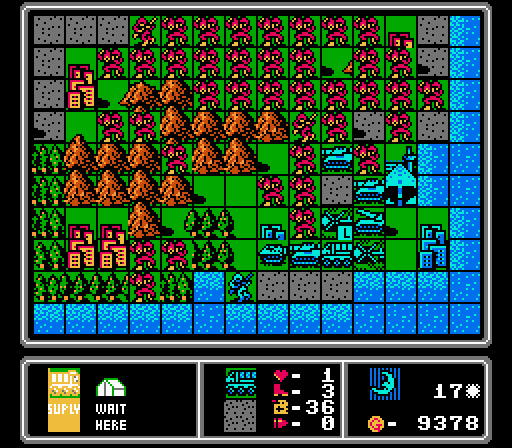
The lower pass is free of enemy infantry again. Just an APC in the way in each pass now.
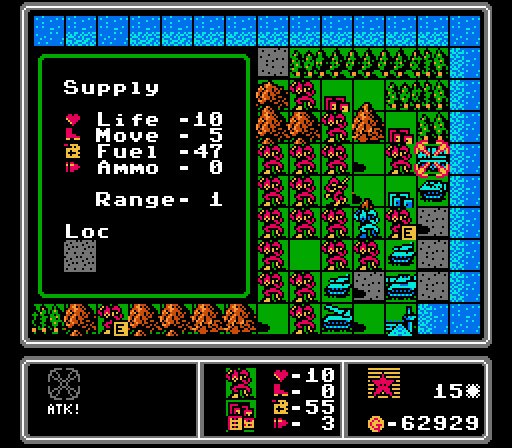
Mechs are unusually effective against supply trucks, and I will never not enjoy beating them up.
We're also able to partially surround the rocket and get in some good damage this turn.
I may have advanced too quickly; there are some gaps in the formation here. I guess we'll see how it goes.
That damned rocket is still harassing whatever infantry I get close.
One mech falls to a copter and a medium tank, but as this was the lead mech I'm not concerned about it. Plenty more waiting to take its spot.
More concerning is this medium tank not just attacking us here, but blocking us from getting beneath the rocket next turn for another attack.
Blue didn't build anything, but did move its tank off the HQ and replaced it with a damaged APC. That move is a huge benefit to us, since we can remove a damaged APC much more easily than a full-strength tank. Blue also didn't build anything again.
Turn 16
We finished off the damaged APC, and immediately move a fresh mech onto the HQ to block it and take a shot at the rocket. Unfortunately we can't quite finish it off. Being able to both clear a build point and move a fresh unit onto it in the same turn is key to advancing this map, and we're going to lose that chance on that lower base when the rocket retreats.
That damaged APC, by the way, came from the upper pass, which has been completely abandoned to us now. For good measure we clear out this mech as well.
The lower pass is clear, too, with the APC also retreating here. In my head I thought I was still struggling with the map at this point, but it's pretty clear from the picture that we're starting to overwhelm the other side now.
I had a few mechs isolated well below the base, mostly as a distraction since they were all severely injured anyway. And sure enough the AI spends a few attacks clearing them out.
As previously mentioned, the enemy rocket retreats and in its spot, Blue pops out a medium tank. Thanks! At least the regular tanks merged, opening up more space for us to advance.
Turn 17

This capture has some understated importance - it's "just" a city to us, the last of Blue's cities in the upper pass area, but it's also Blue's hidden extra base. One less build point for the enemy.

A mech swarm takes out the merged tank. Almost like two kills at once that way!
I can't do much directly about the new medium tank right now, so I just rush everyone forward. I have one infantry left and it needs to heal up on the captured base. Unfortunately the bases are all in rocket range. I decide to risk it but also build a couple more infantry as backups.
Oh hey the supply truck did actually get to do something. That medium tank only had one shot left.
The enemy units scatter some attacks on our mechs, with the fresh medium tank moving out to finish off this one. The enemy rocket also shot at our mech on the HQ instead of the infantry; good luck for us. Blue doesn't have a lot of funds this turn - we've been steadily taking cities, and it spent a good chunk repairing the rocket. So what will it throw out at us on its last base?
Yeah, that checks out.
Turn 18
Here's an easy trade, finishing off a medium tank for some chip damage on one of our many mechs.

We need to keep this rocket from getting fully repaired, so hit it with the only mech in range for a bit more damage.

We swarmed the new tank, and also finshed off the APC just below it. I couldn't quite cut off the tank's retreat though.
However, we luck out on the enemy phase. The damaged tank retreats, but an equally-damaged copter moves into that spot instead. The copter not only blocks the build point, but it can't be repaired on the base and gets no defensive bonuses from it. Best-case scenario for us really.
The airport is still clear but Blue declines to build another copter. The medium tanks are still causing trouble but they're limited in number and getting weaker with every attack.
Turn 19
We quickly finish off the copter and move in a fresh mech to start taking the last base.
I've got an infantry waiting to take the HQ, but it's still healing up on the captured base. If it moved for the HQ now, the rocket would eat it up and actually delay the HQ capture more than just waiting a turn now.
Blue scatters some attacks but doesn't get a single kill. I just notice here that Blue is down to only seven units left, including an infantry inside the copter. All of the enemy build points are blocked.
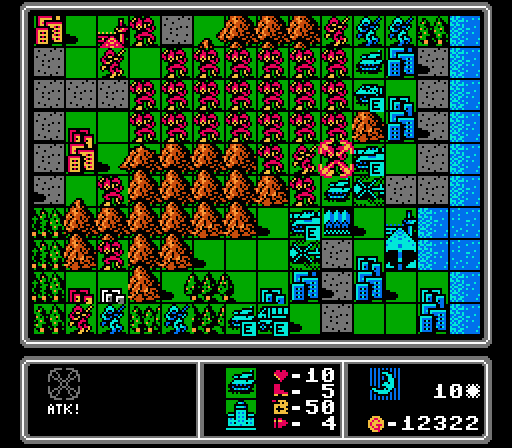
Turn 20
I missed some footage at the start of the turn, but we finished off the rocket and then moved in the infantry to start taking the HQ. The infantry will take 3 turns to capture since it wasn't quite fully healed.
Mechs killing medium tanks, still fun.
The tank and copter both fall as well.
Suddenly we're close to almost accidentally winning via rout again, despite my best efforts to actually capture the HQ this time.
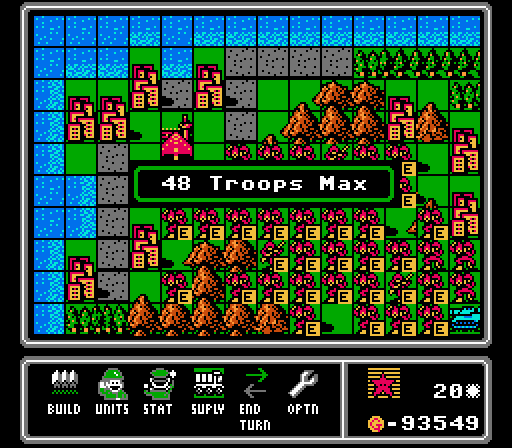
We also hit the unit cap this turn; I suppose we have enough mechs now.
The last enemy medium tank is trapped and unable to reach our infantry, but still insists on attacking us and wearing itself down.
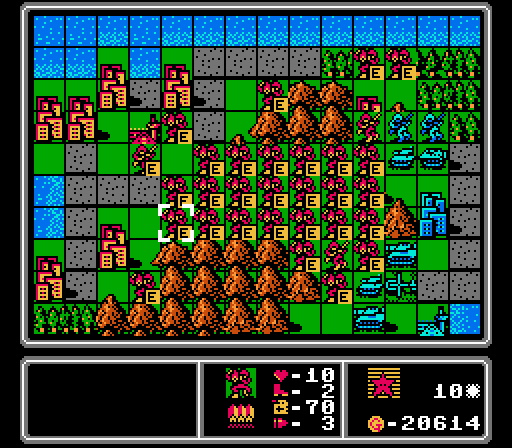
Turn 21
The enemy infantry is next to perish. I have more than enough mechs to swarm and finish off the last medium tank as well, but where's the fun in that?
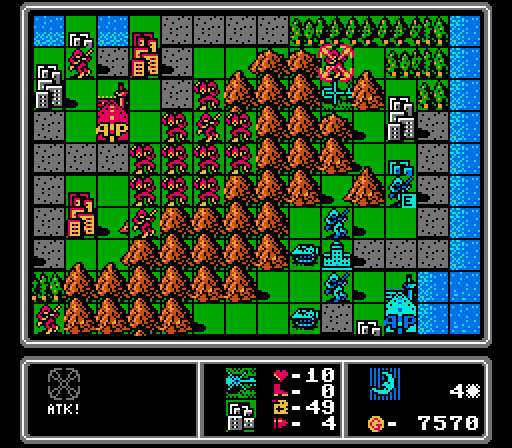
Turn 22
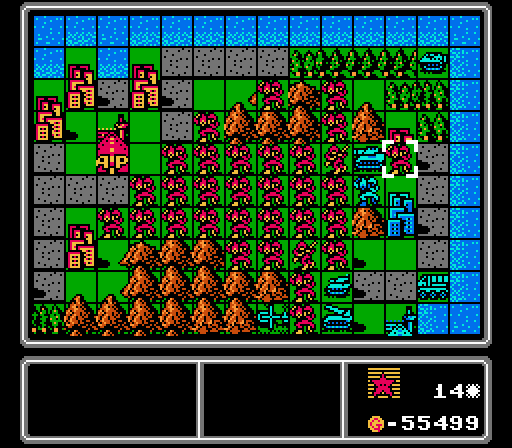
It's worth waiting one extra turn to finally win by HQ capture.
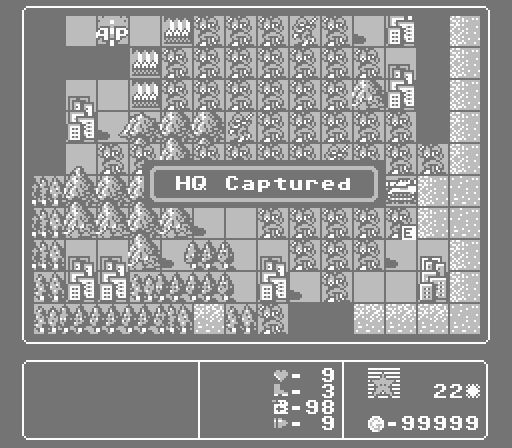
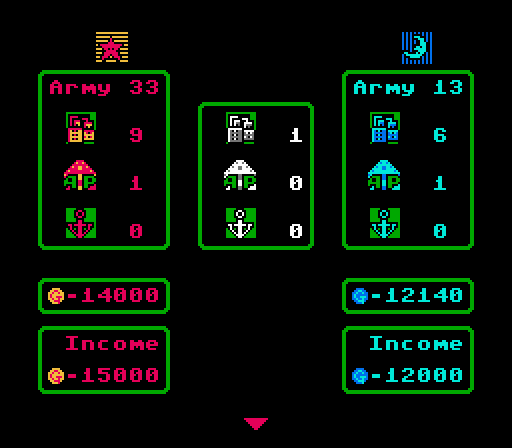
Well, there you have it. We won the map with 8 infantry and 72 mechs (of which 11 mechs were lost in action, and another 16 lost to merges). Blue only built 23 total units (including four medium tanks and one rocket), thanks to us also winning the capture race and limiting their income.
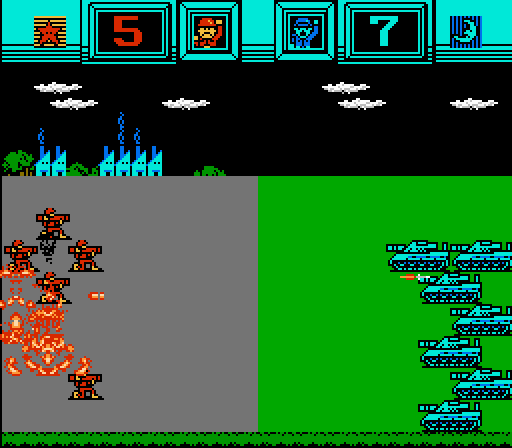
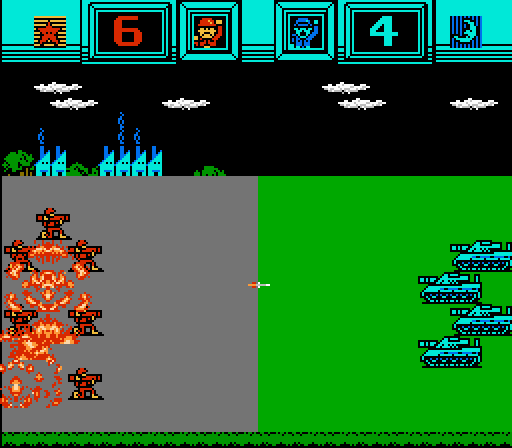
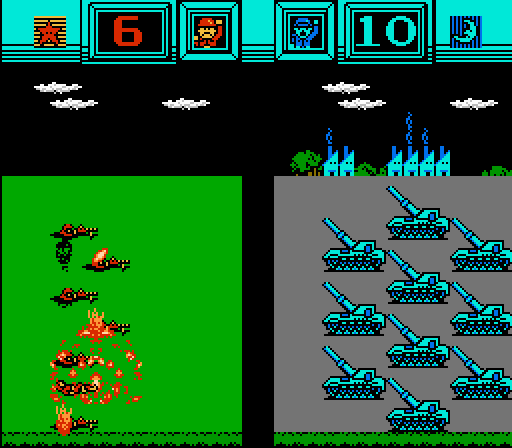
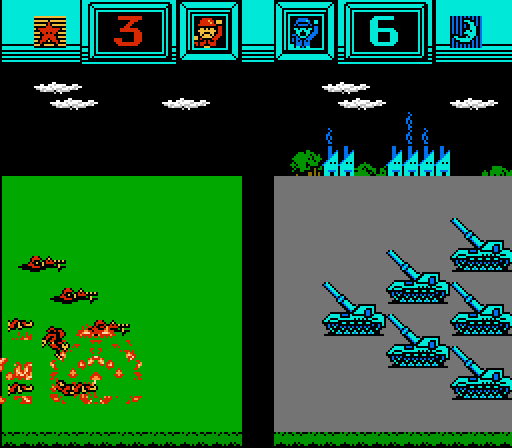
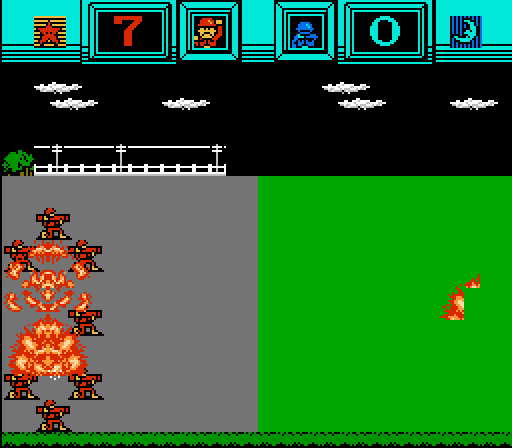
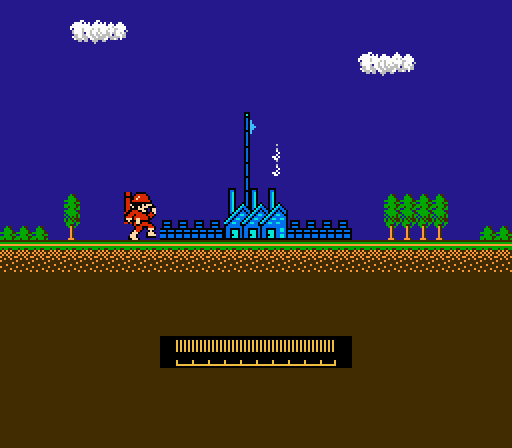
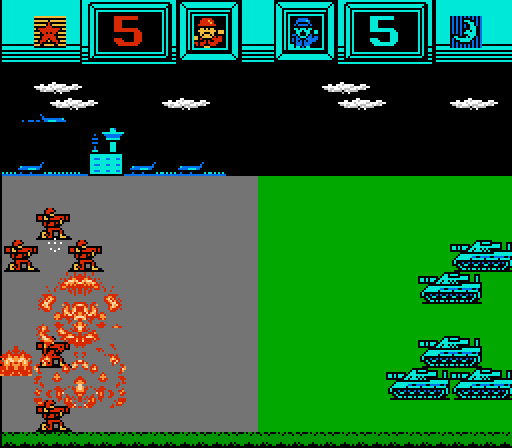
We'll celebrate this achievement with another victory animation.
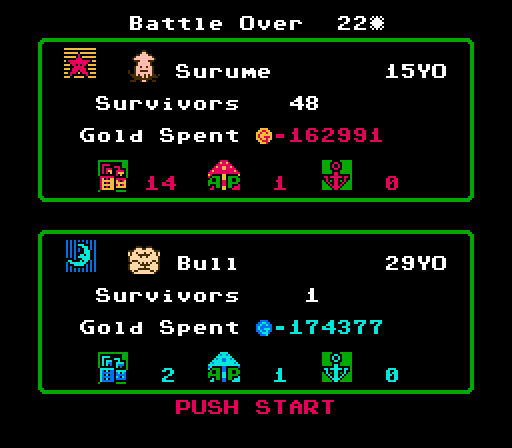
Hey, we actually won a map where the AI out-spent us. I think that's a first. Maybe there's something to this all-mechs strategy. Our CO was Surume the squid, defeating a bull. These early-era COs sure are strange.
Winning in 22 turns isn't really a good score (average is 18 turns) but given the challenges, it's pretty understandable. Not sure I could've really cut it down much given the constraints. Maybe managed the infantry a little better to sneak in a capture sooner? Really though we got a little lucky with some of the AI unit movements.
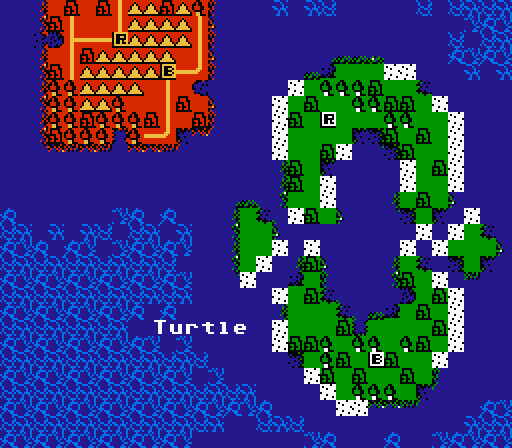
Next time we're back to naval warfare with the Turtle islands. This map is going to be a slog as it is but I've come up with three minor challenge options:
- Ground Invasion - Only ground units can attack enemy units on the enemy's starting island
- Naval Barrage - Only naval units can attack enemy units on the enemy's starting island
- Door Knob - Everyone gets a turn! All unit types that can attack must get at least one kill during the map
Vote in the linked poll here.