Part 34: Turtle (1 of 2)
Part 34: Turtle (1 of 2)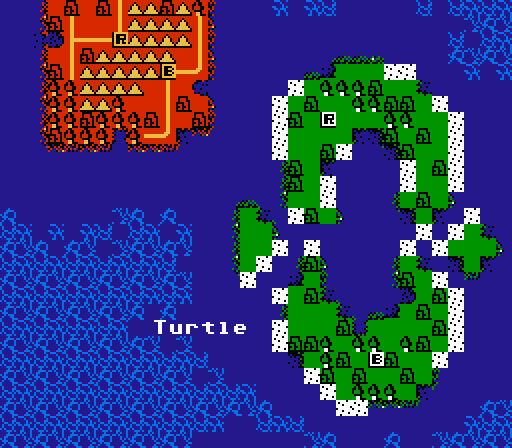
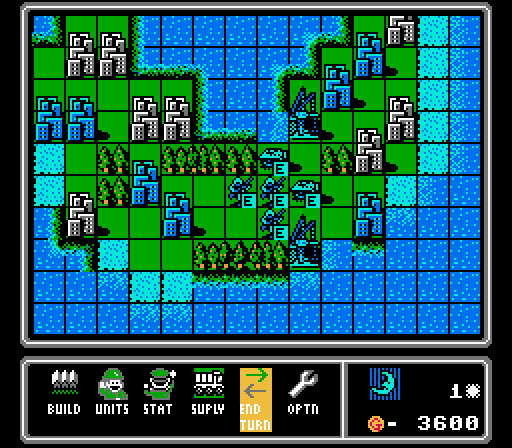
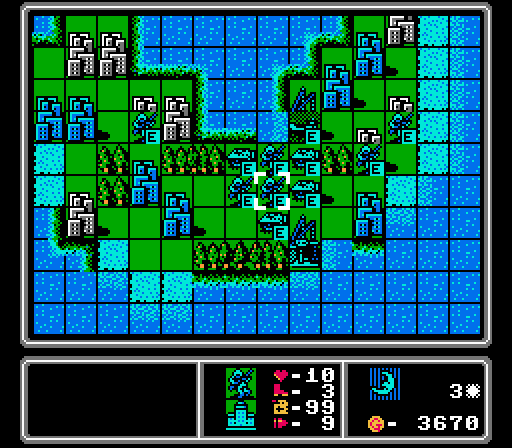
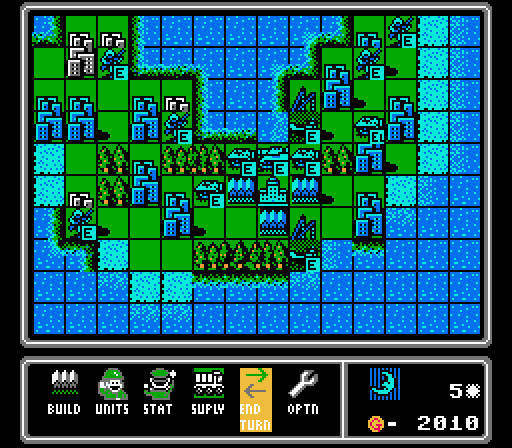
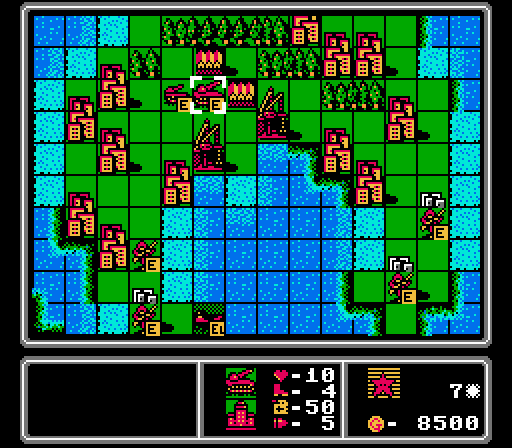
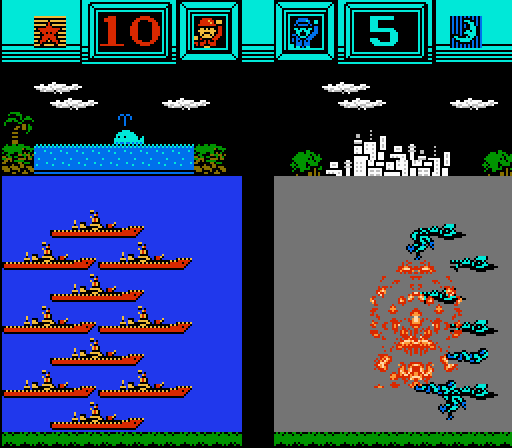
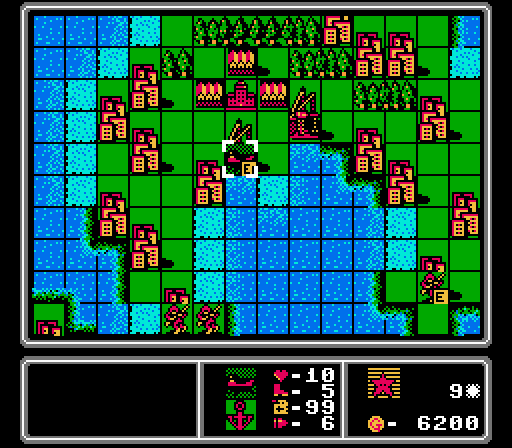
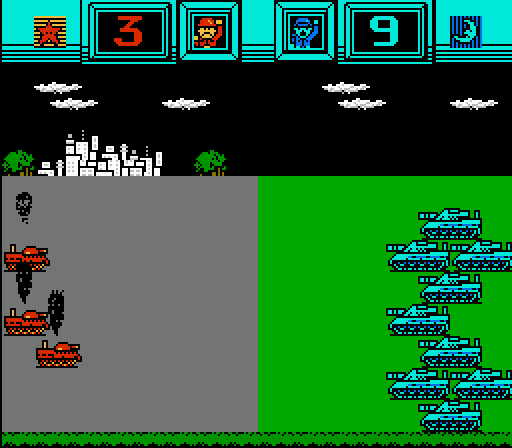
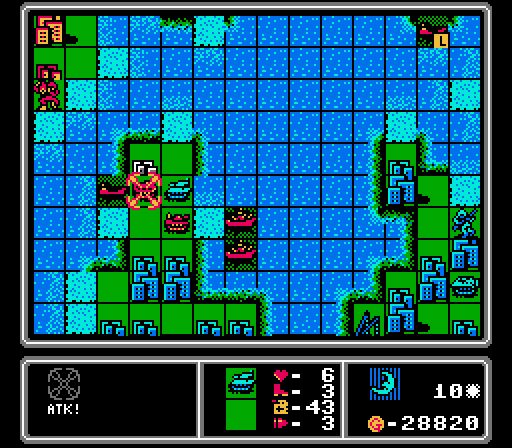
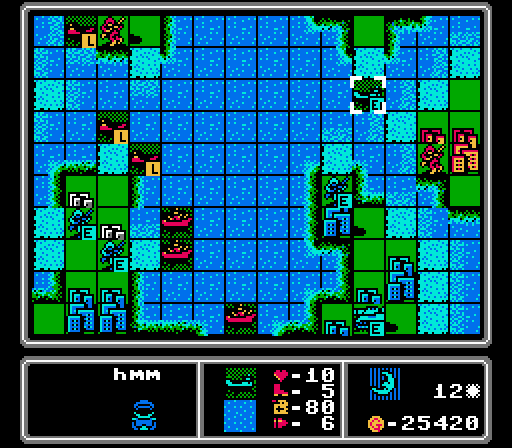
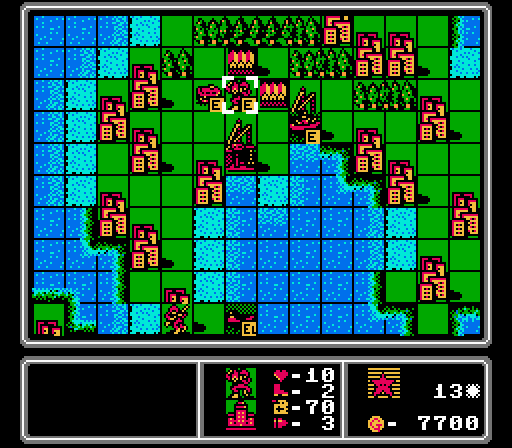
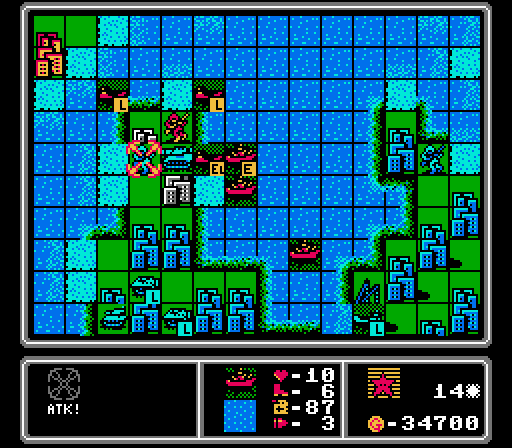
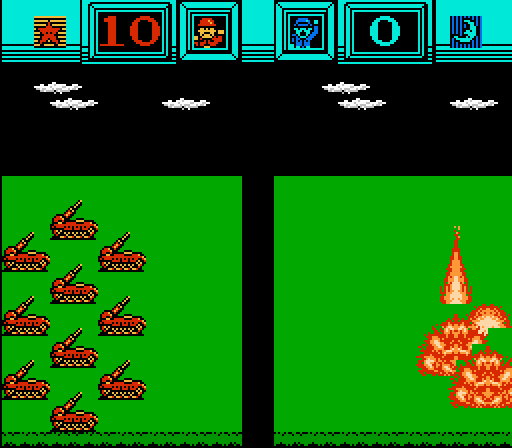
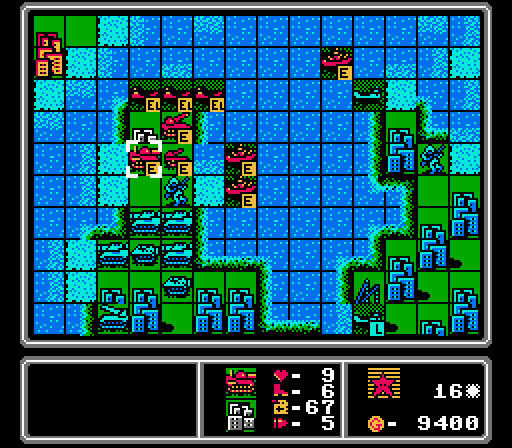
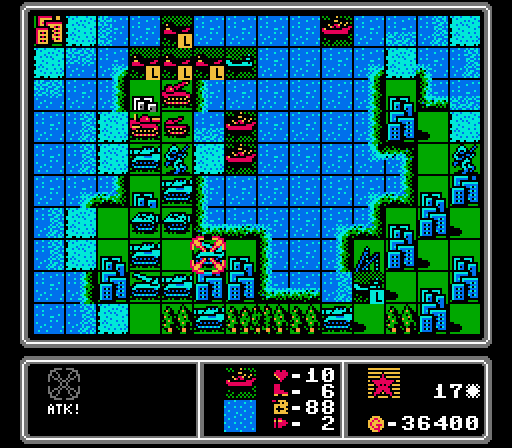
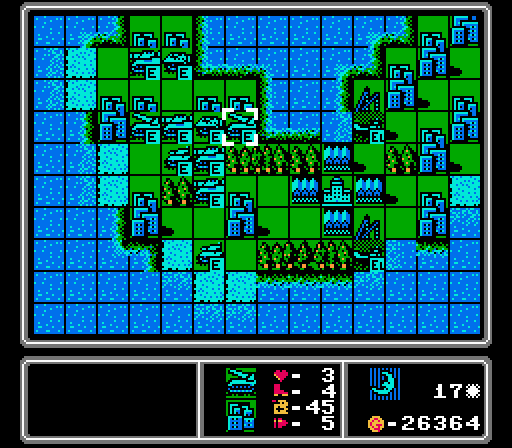
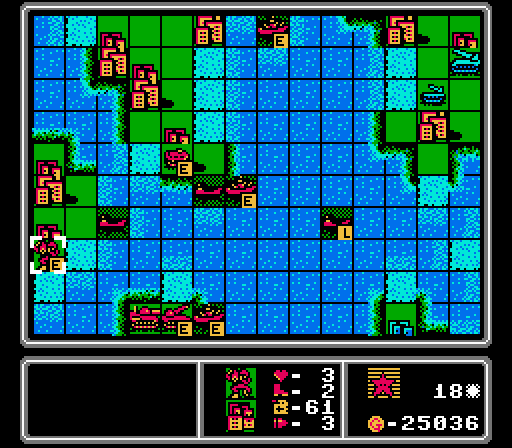
Time for the Turtle map. Welcome to defensive slog hell.
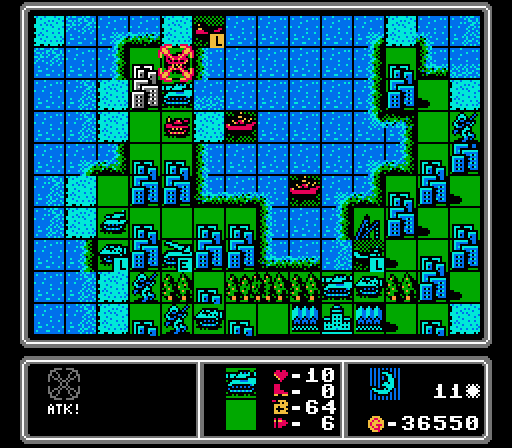
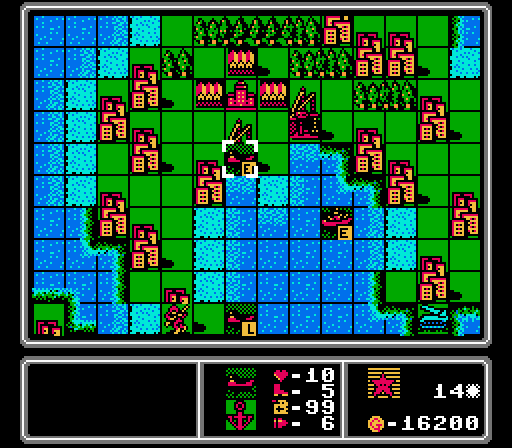
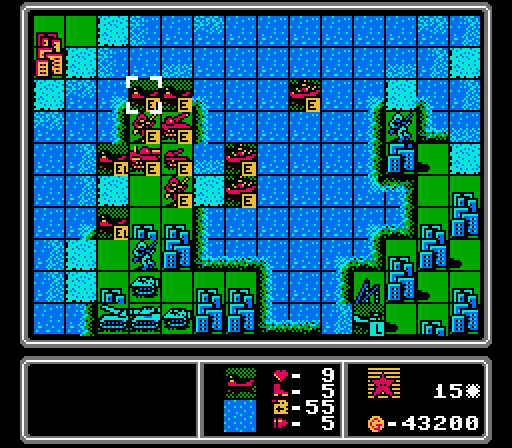
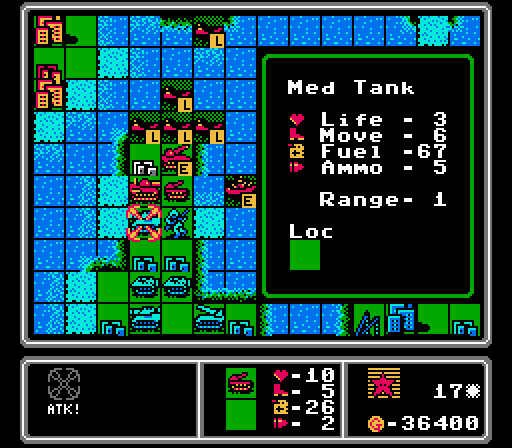
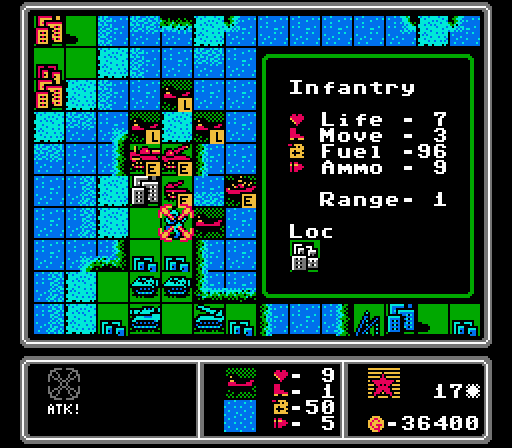
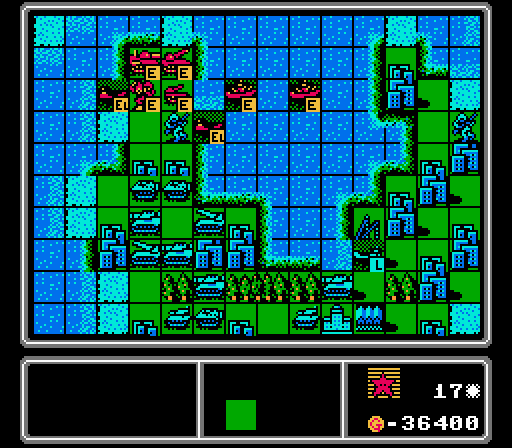
Couple things with this map. Note that there are no airports - this is the first naval map we've had without air support. So we're going to have a lot of landers carrying ground troops, supported by battleships as we can afford them. Blue starts with one extra city, and also has three more cities on its starting island. In exchange one of their ports is on the back side of their island.
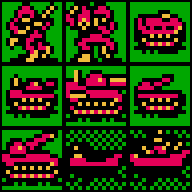
There are a ton of cities overall, so Blue is going to be pouring out medium tanks and rockets everywhere as it turtles up when we approach. Our challenge for this map is Door Knob (Everyone Gets a Turn!), so all of our unit types that are able to attack will have to get at least one kill this map. To that end, I've made this handy checklist:
Any bets on which unit type will be the first to get a kill? How about the last?
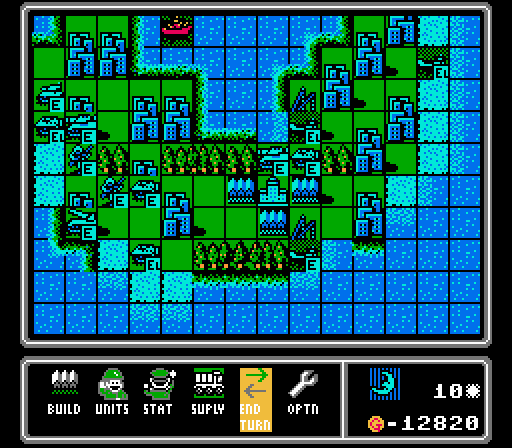
Turn 1
Pretty standard start here.
The AI opts for a couple APCs. I didn't bother; our starting island isn't that large that they'd really help.
Turn 2
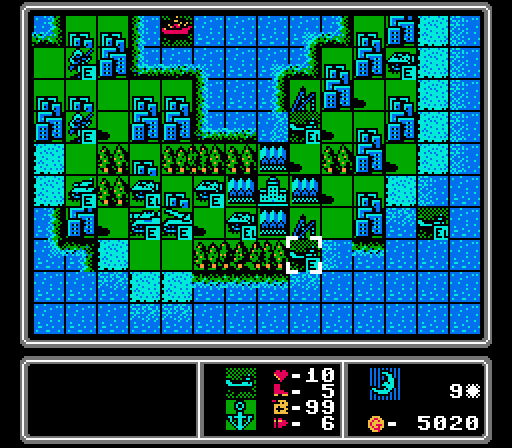
Instead we get a lander, to try and take those small central islands. We'll need all four cities on those islands just to have a slight income edge on this map.
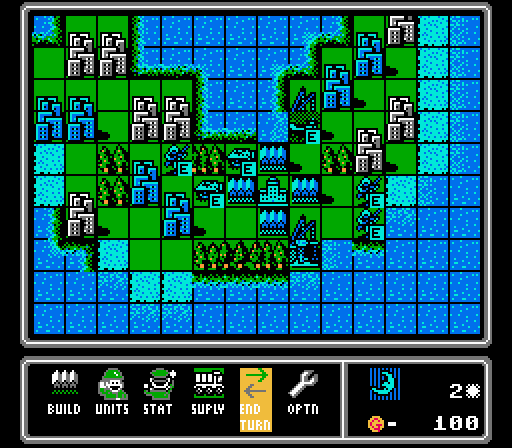
Blue doesn't even put anyone into its APCs, and also puts out a lander.
Turn 3
I don't build anything this turn. In a practice run I started putting out ground vehicles to send over, but this time I'm saving up for a battleship first.
Two more APCs for Blue, and nothing loaded into any of the transports. Good thing; they could've really messed me up if they sent infantry out for one of the central islands now.
Turn 4
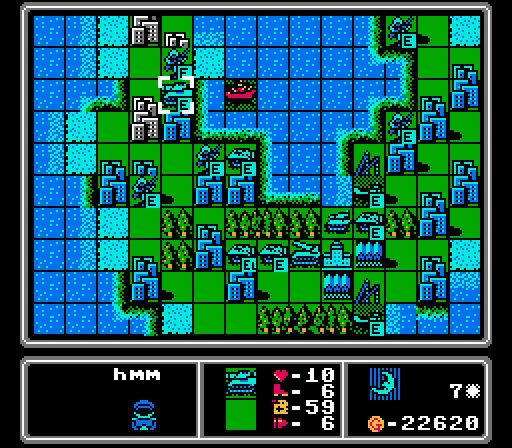
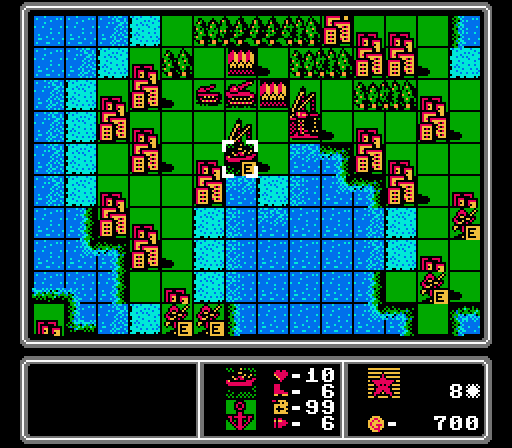
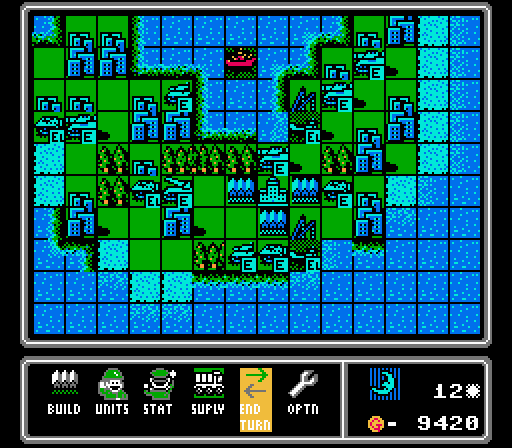
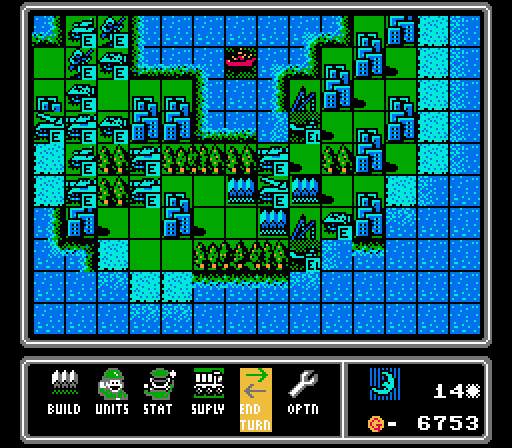
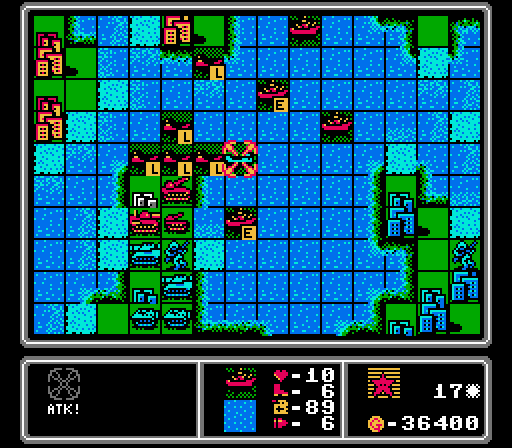
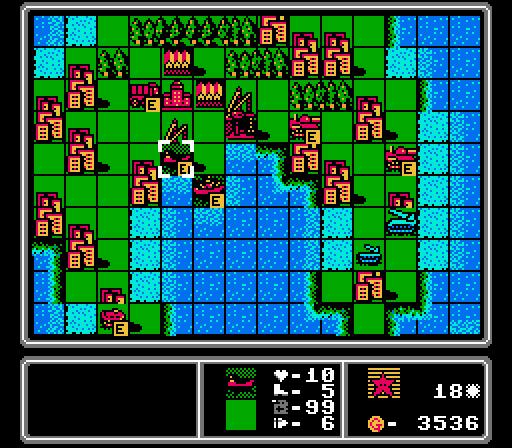
Notice how whenever we have a naval map, we start with a bunch of cities so we get a good income going right away. Battleships are expensive but so worth it.
Blue builds another lander. How long will this one just sit there?
Turn 5
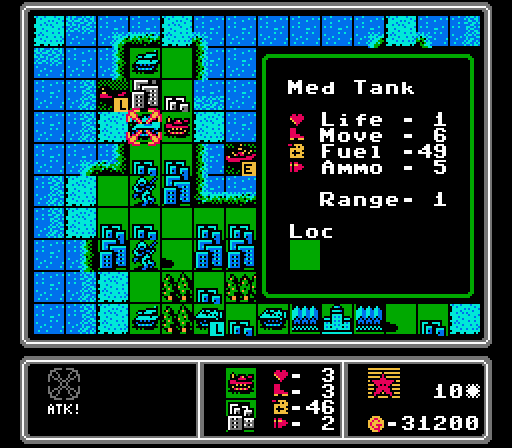
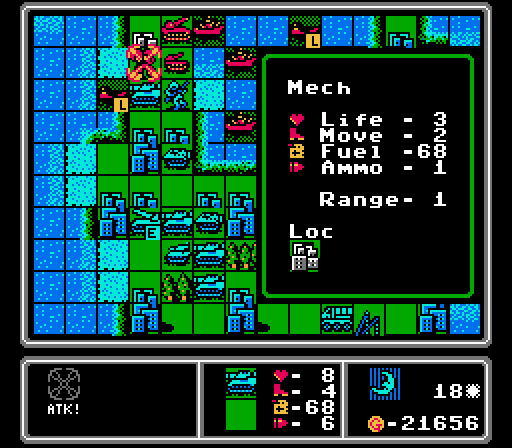
Okay, now we start building some vehicles to send over. We get a mech onto one of the central islands, too.
Oh good, we're already at the point where the AI is going to start spamming medium tanks.
Turn 6
We build another lander and load up the tank and APC inside.
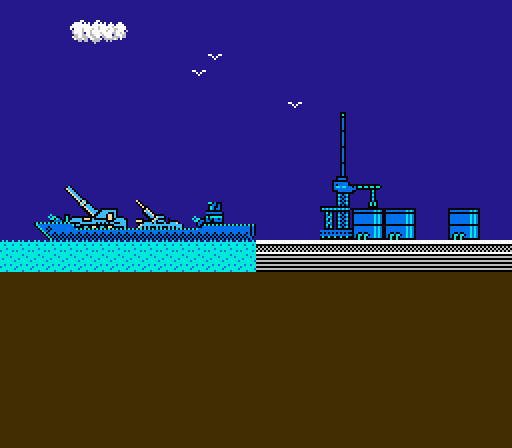
Our first battleship is now ready to cause some trouble. Mostly slowing down Blue's captures.
The enemy medium tank sits right outside battleship range, as Blue puts out a rocket this time.
Turn 7
This map is just such a slow start. Our battleship doesn't have anything to hit that's worth spending ammo on, so we just put out the next round of vehicles to put in a lander later.
The medium tank parks in the battleship's blind spot. Later the enemy rocket loads into the back-side lander.
Turn 8
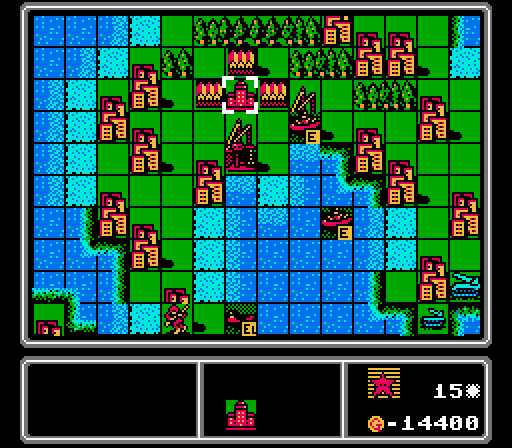
That's the last city on our starting island.
Battleships against infantry isn't very efficient, but we want to delay Blue getting these last couple cities as long as possible. And I was sick of not attacking anything.
We're going to need another battleship pretty quickly at the rate that Blue is putting out the heavy vehicles, so I take that option instead of loading up another lander.
This lander is ready to cause trouble now.
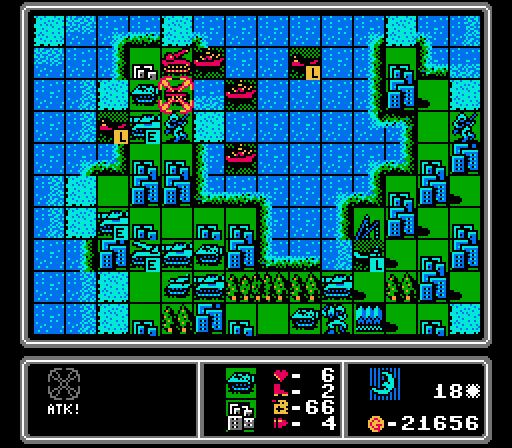
Some turns Blue puts out both a medium tank and a rocket. We're going to need more battleships.
Turn 9
We start off by building a lander and loading up the waiting artillery and rocket.
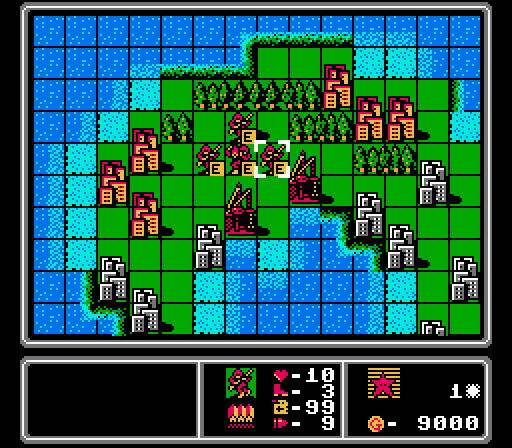
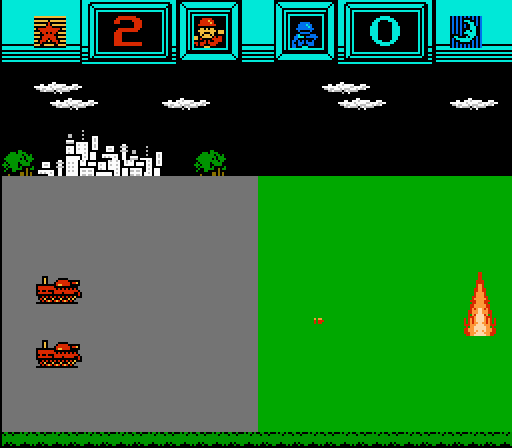
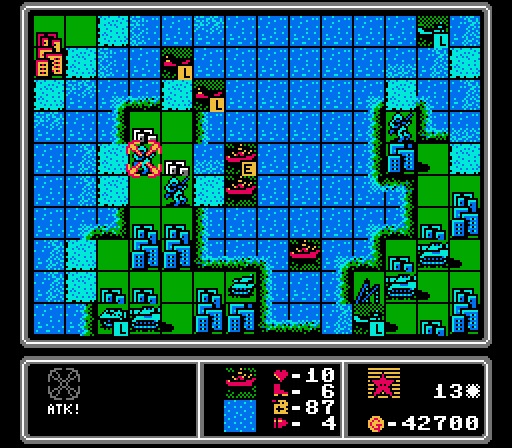
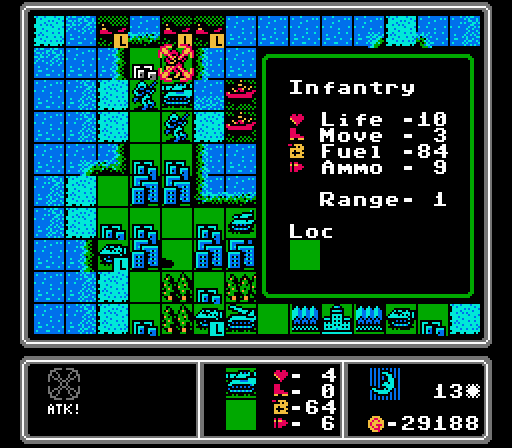
The battleship then finishes off the capturing infantry, scoring the first kill of the map.

No bonus points if you guessed that one, the battleship would've been a heavy favorite for first kill. One down, eight to go.
We also start our ground invasion. Though there are enough enemy units around here that I'm not real confident in this round.
Sure enough the tank is immediately hammered.
Blue built another lander. I didn't notice right away that the other lander had moved away, and this was a new one.
Turn 10
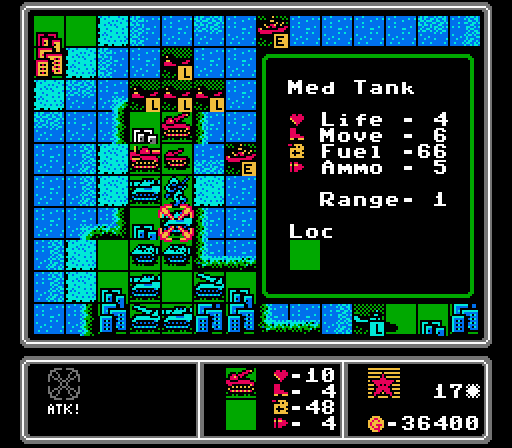
While our tank is doomed, our battleship weakens the medium tank enough that the tank can still finish it off.

Two down!

We unload the APC, because why not at this point. Another battleship arrives to support, and we build a third back at our island.
The damaged tank hits our APC, but that's about it.
Everyone else is wary of our battleships.
Turn 11
We wipe out the nearby tank but don't have anything else to hit, so one battleship repositions to threaten the port and HQ area.
Another wave forming.
Good thing because our first wave is wiped out here.
There's just too much money available in this map. Blue puts out a tank, a medium tank, and a rocket all at once here.
Turn 12
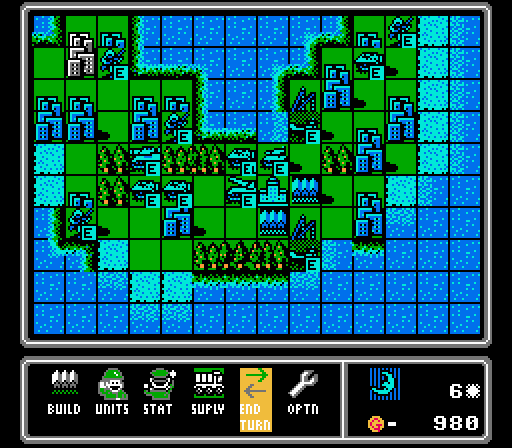
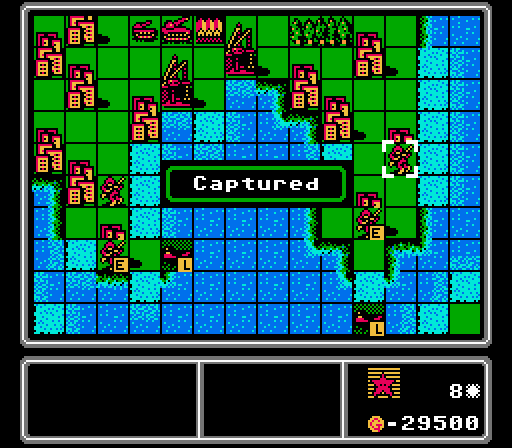
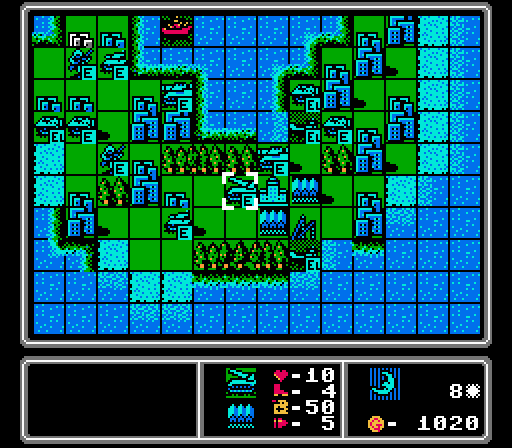
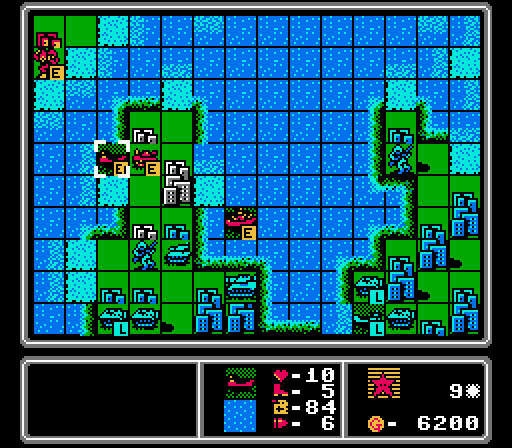
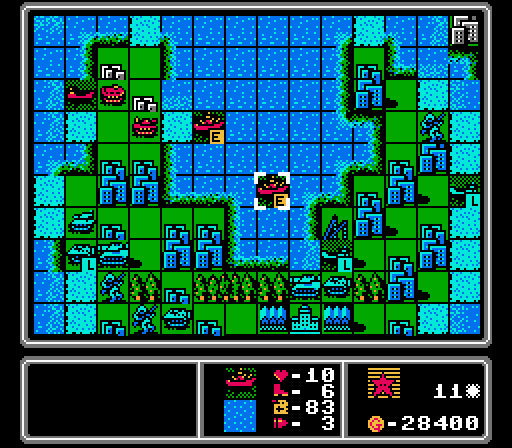
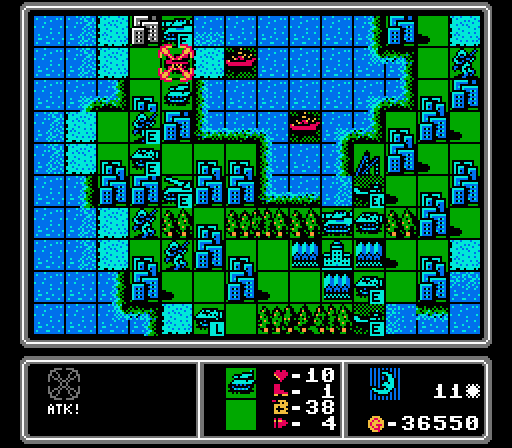
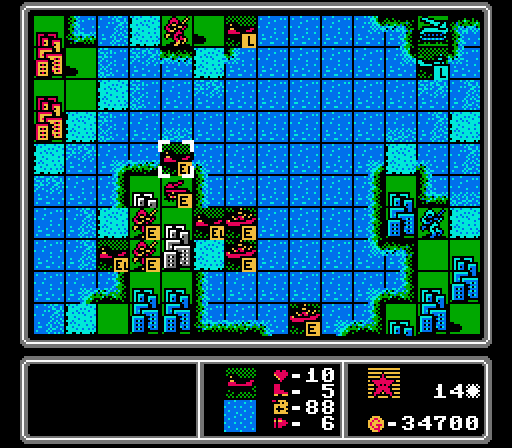
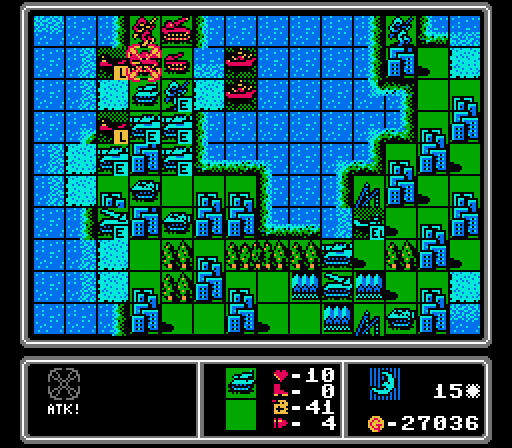
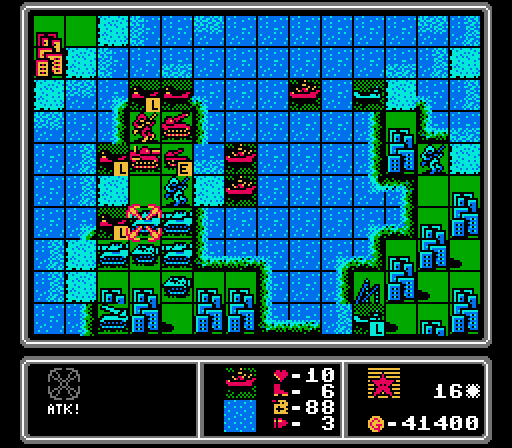
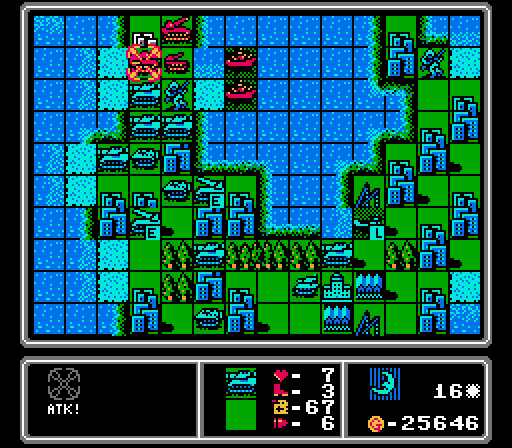
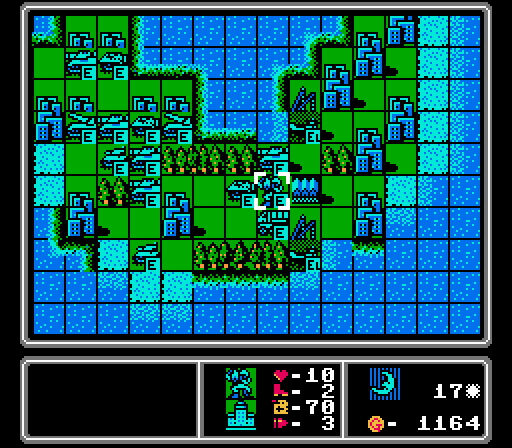
That's the last city on the central islands under our control now. We've won the capture race but having 19 cities to Blue's 16 (plus the HQ and 2 ports on each side) isn't much of an edge.

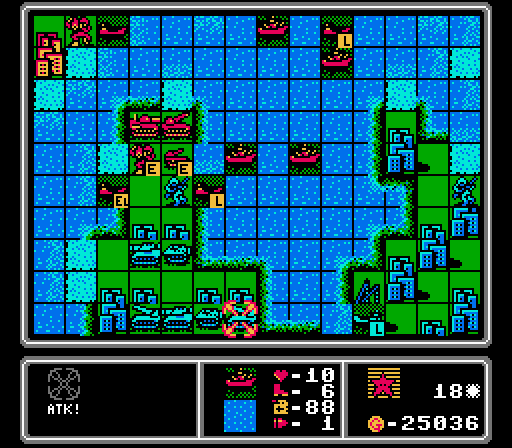
One battleship hits the medium tank for 8 damage, and the other hits a loaded APC to try to keep those last two cities free. A third battleship arrives on the scene, just as we have two landers carrying troops that don't really have a clear beachhead anymore.
Blue starts capturing the last two cities on its island, but everyone else gets away from the battleships. Pictured here is the point where I realized there was a loose lander carrying a rocket and artillery. There's not much damage they can do on their own but I'd still not rather have them running amok on our island.
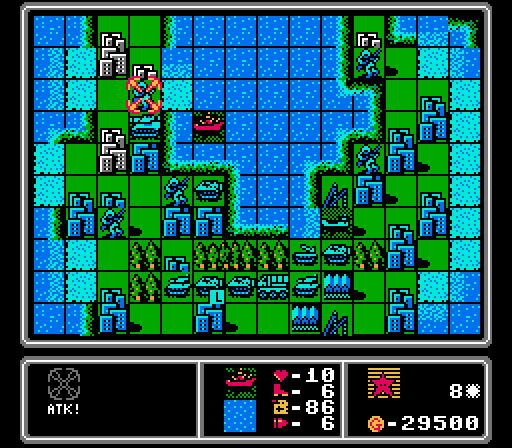
Look at all those medium tanks! We're going to need some more heavy-hitters, pronto.
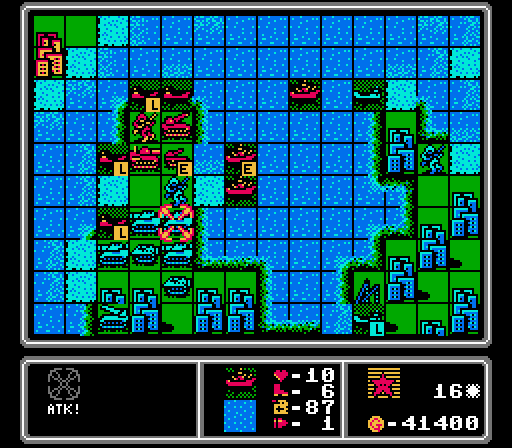
Turn 13
The battleships each fire on a capturing infantry, taking both down to half-life.
The other battleship hit the nearby tank. I'm not sure what to unload here with the enemy medium tank still nearby, but figure an infantry is at least easy to replace.
Battleship number four, and some more fodder.

Apparently this medium tank already got hit by a battleship earlier, so our infantry didn't fare too badly.
Oops, we let the enemy onto our island. Luckily they're even worse at maintaining invasions than I am.
Another medium tank, and another rocket.
Turn 14
The lander hits the medium tank but can't finish it off. The battleships here each finish off a capturing infantry.
This is not how I expected the infantry to get its kill, but here we are.

I expected the infantry to be one of the last ones to get a kill, honestly.
The area is momentarily clear, so let's drop off a couple more units.
I set the battleship to chase the rocket down for now, while more ground troops load into another lander.
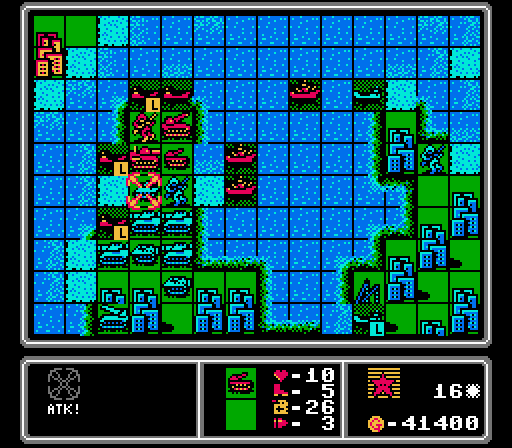
Our infantry took a hit from a tank, and the rocket on the enemy HQ scratched our battleship. Just look at this horde on the left side now. That's five medium tanks out there!
Turn 15
I don't usually like to attack with loaded landers but this opportunity to finish off the damaged tank was too good to pass up.

It can be tough to get a kill from a lander on this map, since they're not really effective against anything but air units, but that's another one checked off.
In the meantime, the battleships finished off an APC and weakened an infantry. Our first battleship is out of ammo and has to retreat. We also finished off one infantry with one of our own, and unloaded a couple more units from landers. We have the makings of a proper beachhead now.
The enemy rocket and artillery are both unloaded now. I'm wasting battleships trying to go after them but will switch it up soon.
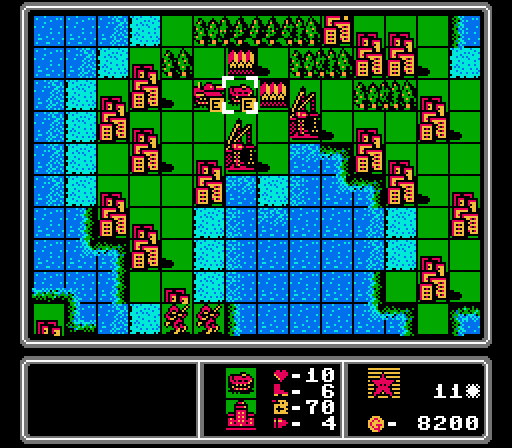
Let's see, what happened here. A rocket and two medium tanks went after one of our landers for a total of 7 damage. Another medium tank killed our infantry, freeing up the city for a capturing attempt by Blue again. And then this tank decided to hit our medium tank for some chip damage.

Well it's a target-rich environment for our battleships at least.
Turn 16
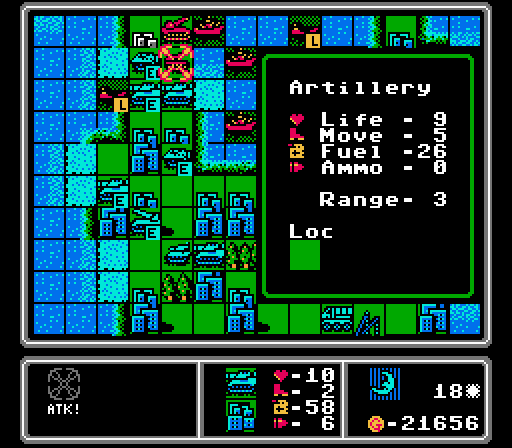
First our artillery finishes off this enemy tank.

More than halfway done with the challenge!
Our battleships each chew up a medium tank. I wish I had more in the area instead of chasing the rocket on our starting island.
These two are going to hunt down the interlopers on our island.
Our rocket hits the APC, and our infantry heads back into a lander.
Still too many enemy medium tanks running around.
I kind of forgot about this enemy lander that had gotten loose. We only have an APC in our lander but still not ideal.

Just keep 'em coming.
Turn 17
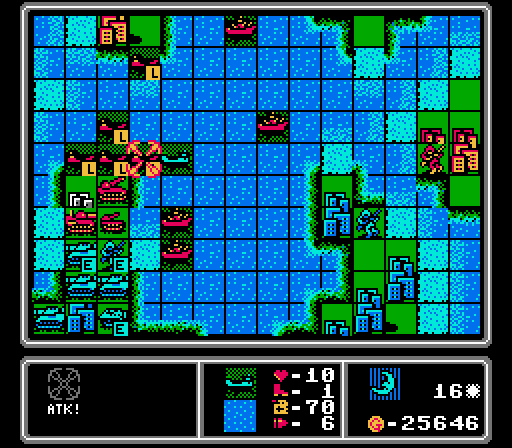
One of our battleships hits the enemy rocket that wandered into range. The other is out of ammo and has to retreat. I don't have anyone else that can hit that capturing infantry, so Blue is finally going to get that city.
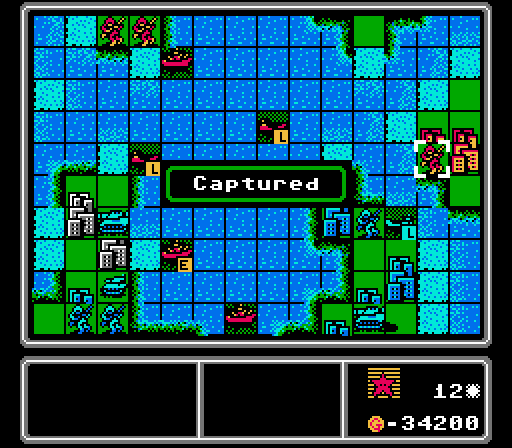
I do have a battleship that was en route and is able to finish off this enemy lander, at least.
First kill for the rocket, finishing off a medium tank.

Hey we've got three in a row now.
The artillery manages to finish off another medium tank.
Here was my last-ditch effort to delay that capturing infantry, but we didn't even do any damage.
I unloaded the mech onto this city even though it's in rocket range. We should be okay there for one turn.
We're definitely going to need more medium tanks. Our first battleship has finally made it back to a port for re-supply, too.

The mech shakes off a hit from a rocket and then survives an attack from an APC.
Blue is staying cautious with us, not wanting to approach our battleship and rocket combo.
It's really hard to deal with a new medium tank every single freaking turn though.
Turn 18

One useful property of a lander's weak offense is to soften up units for this challenge. In this case, the APC is brought down to the point where even our injured mech can get the kill.

Okay who thought we'd have infantry, mech, and lander before medium tank?
Our third battleship's final shot goes towards finishing off this rocket. Just before, the artillery hit the APC and the rocket hit the medium tank. They'll repair most of that damage though.
We had a couple units take damage from inside their landers, so I sent them back for repairs.
While the first pair of medium tanks continue to stalk the enemy invaders, we build a lander to hold the second pair. Then I build a supply because I belatedly realized that our artillery and rocket can't actually fire forever with no captured cities.
I kind of thought this medium tank would hit the APC a lot harder than it did, but between the city bonus and the hard mode bonus it really doesn't work out.

And now this still-fresh rocket is able to destroy our unprotected medium tank. Oy.
Yeah this mech was pretty doomed as well.
Lucky for us, the AI sends in a damaged APC to hit our artillery instead of a brand new medium tank. Still I think we're about out of luck on this invasion attempt.
Oh never mind. The enemy infantry moves into the APC, and frees up space for that medium tank to come in and wreck our artillery anyway. It was already out of ammo so wasn't really of much use anymore, but now all we have left on the ground is a vulnerable rocket.
Yeah that's another medium tank. Well our second invasion is pretty much dead now. We've accomplished my primary goals though: Keep at least one city out of Blue's hands, complete most of the challenge checklist, maximize total damage to keep Blue from building up a navy, and...well I'll explain the last part next time!
To Be Continued...