Part 37: Squash (1 of 2)
Part 37: Squash (1 of 2)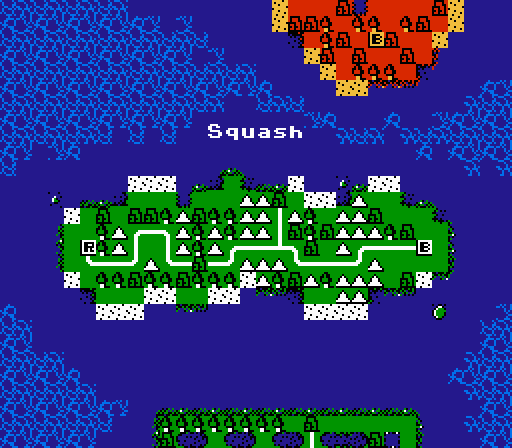
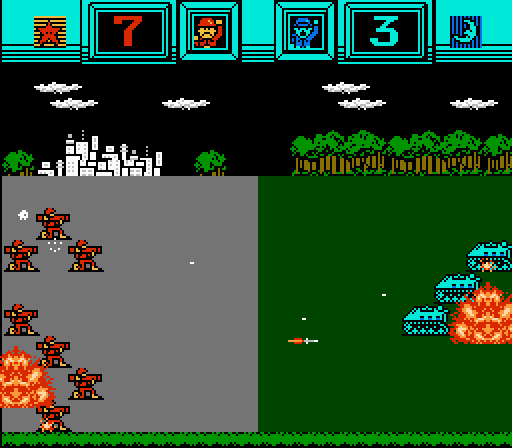
We've finished taking over Blue's main continent, time to finish off the outlying islands. Starting with this vegetable.
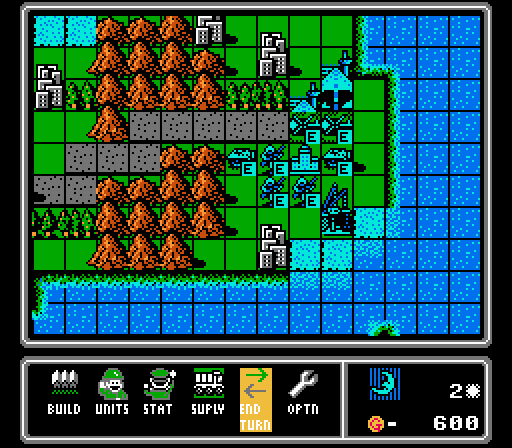
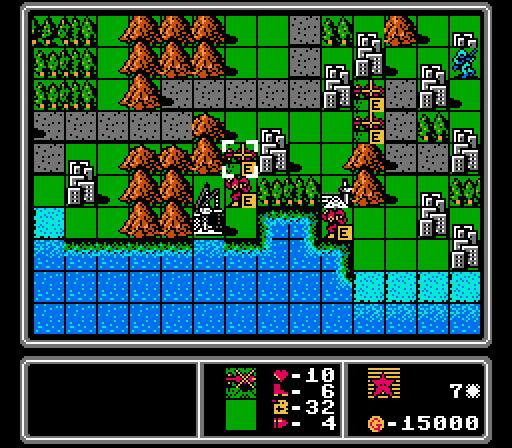
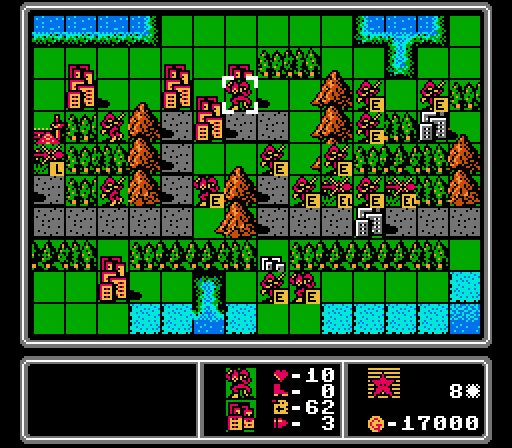
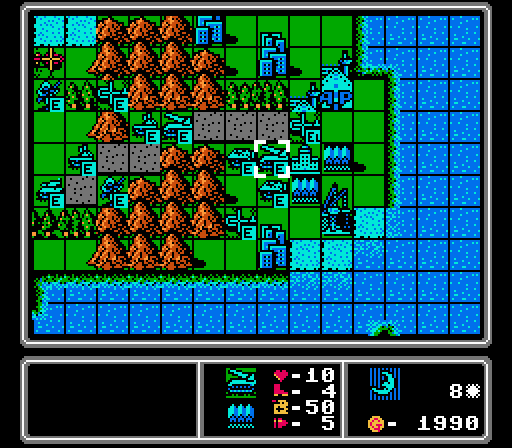
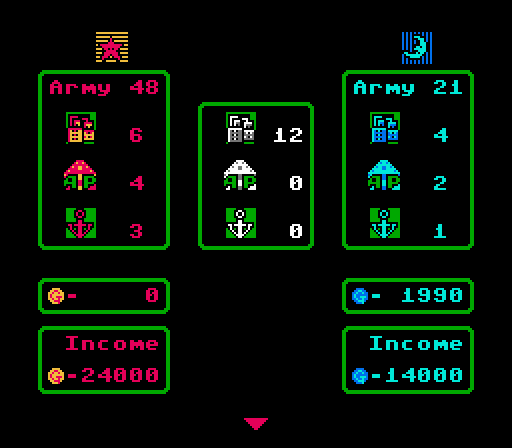
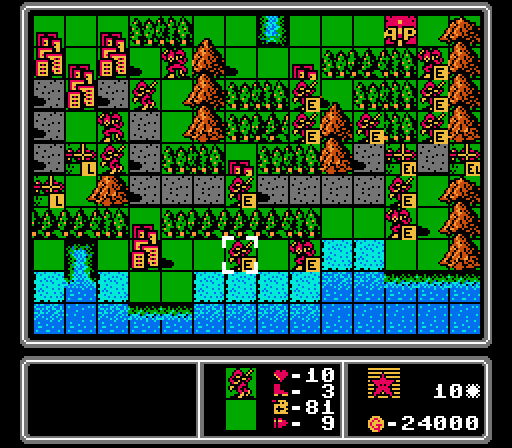
We have a very long map here, with an even longer road connecting the two HQs while winding around and through several mountain ranges. Blue has more cities both nearby and on its half of the island in general. Blue's starting area also has a lot of mountains that are better-positioned for defense, but we can turn that chokepoint to our advantage with some careful planning.
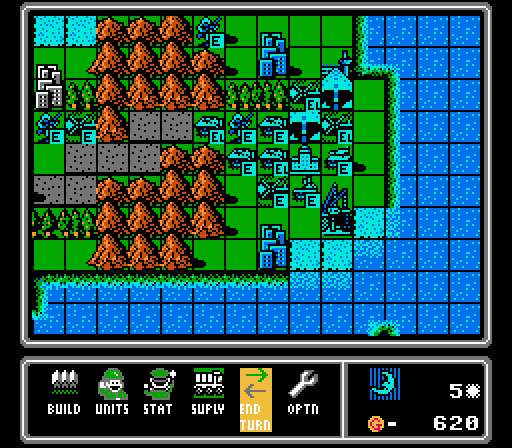
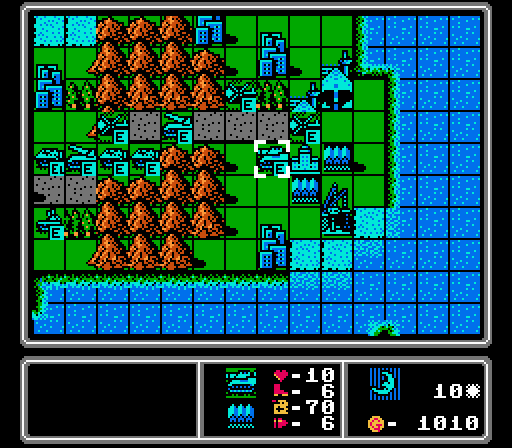
Turn 1
Of course, our challenge negates a lot of planning. We're dealing with Max Production 2.0, where we have to first maximize the number of units produced, and then the amount of funds spent each turn. In order to avoid manipulating the challenge conditions later in the map, we have to merge or suicide units that are low on life to free up space against the unit cap. On the first turn, we have 10000 G and can build four units lots of different ways, but this particular configuration is the only way to build five units this turn. Lucky for us this setup works well enough for the initial capturing rush.

The AI is free to build whatever it pleases and chooses to put out two transport units with only one footsoldier to put in them.
Turn 2
We're stuck building the same set of units as last time, but load up both copters. We'll be making a run at the neutral airports to try and grab them before Blue can get over there. Rushing those is the only way to secure an income advantage in this map, with the cities heaviliy tilted in Blue's favor.
More of Blue doing Blue things.
Turn 3

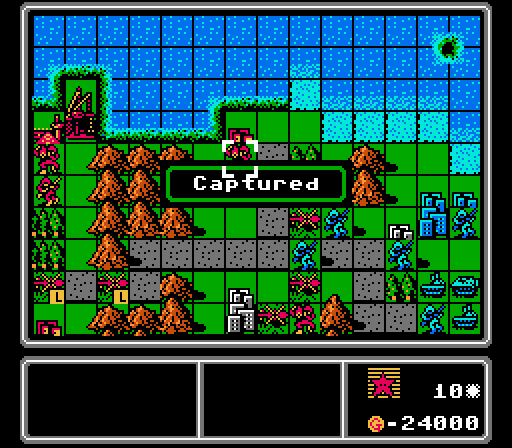
It doesn't look very different each time, but I do like to show off the first capture of the map.
Anyway we build the same set again, with the first couple copters on their way forward.
I'm sure Blue has a strategy here. I think all the copters are to counter our copters, and the APCs are for our footsoldiers. Not that they'll actually cross paths anytime soon.
Turn 4
The copters continue to advance, with one nearing its destination. The other has another couple of turns to go still.
Because we captured a city last turn, our income went up a bit, so we change out one of the infantry for a mech.
Blue is still clustered around the HQ but will start spreading out soon.
Turn 5
Our first copter unloads, with another right behind it.
Look, just be glad you don't have to sit and watch me figure out all the math behind what to build each turn. This time I figured out I could get a second copter instead of a bunch of mechs, and still end up with five new units.
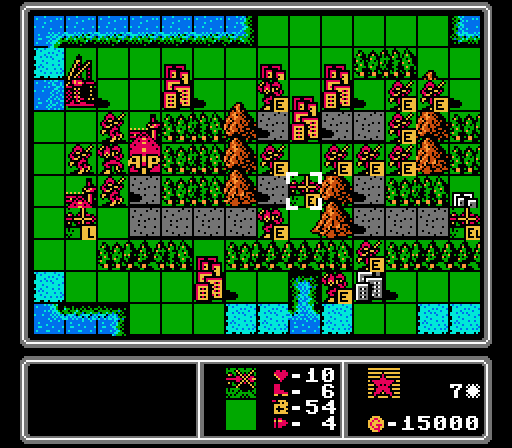
Blue finally crosses the mountains, and also starts building some heavier units, throwing out a tank and an AA tank.
Turn 6
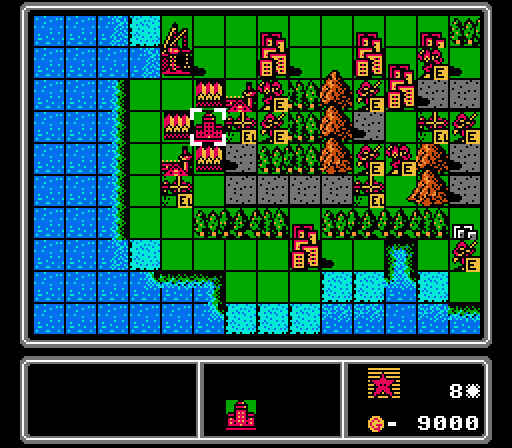
Our second copter arrives at the other neutral airport, though we're uncomfortably close to the lead elements of Blue's army now.
Our income is now high enough for six units a turn, churning out another pair of copters and four footsoldiers. We captured two cities last turn to get this much income, and got two more cities this turn.

The enemy is really crossing the mountains in earnest now. There's another tank and AA tank, too.
Turn 7
The first neutral port is ours! Time to turn this income race on its head and put out some heavier units of our own.
The copters that have already dropped off their passengers will now perform their usual duty of slowing down Blue's captures by any means possible.
There are more copters right behind them, and waves of infantry headed over on foot and taking any city they find along the way.
I think next turn we'll finally be able to build something other than infantry, mechs, and copters.
Copter fight! We're still slightly losing every neutral battle. Thanks hard mode.
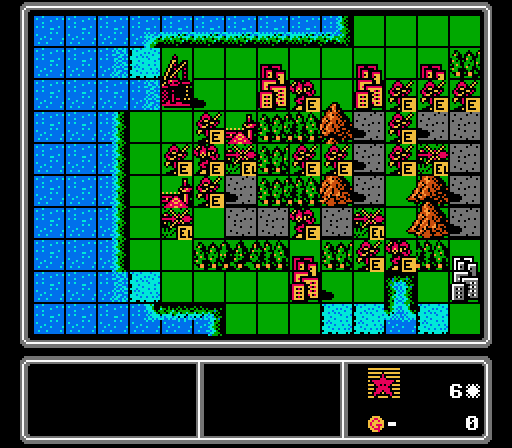
Lots of enemy infantry running around in contested territory all of the sudden. Blue follows up by building a rocket.
Turn 8
Now we have one of the central airports.
One copter goes after an infantry that just got dropped off and is unprotected. The other two stall pending captures by a turn with some chip damage on the cities.
More slow progress from the oncoming horde. Not quite as bad as the red mech wave from a couple maps ago though.
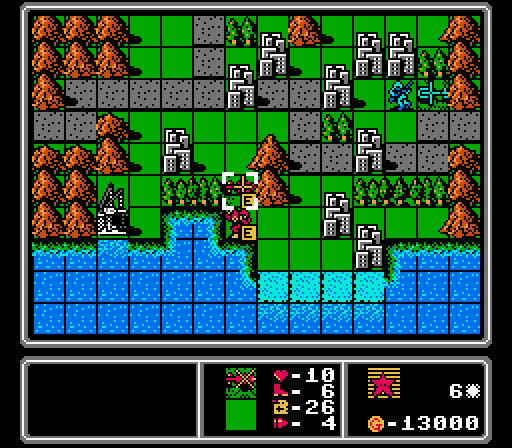
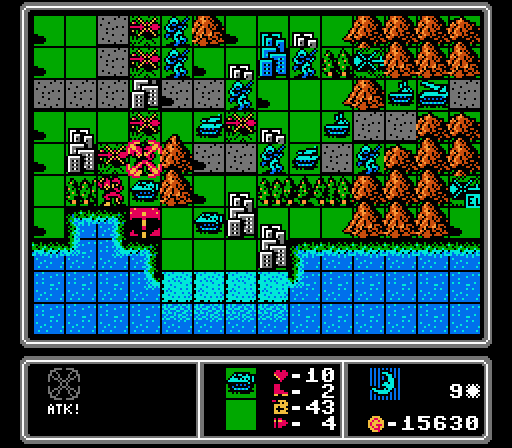
I need a new plan for meeting the challenge this turn. We still have to build six units, so a couple of copters is a given. But I can't spend all our cash with four mechs, so I need a different combination. Any guesses?
The correct answer is: A tank and three infantry. A supply and three mechs also would have worked, but then I would have a supply for no reason. That tank might actually come in handy with all those enemy APCs about. Depending on how long it takes to get over there.
Short-term I'm not going to be able to stand up to this rush, but I just have to distract and stall long enough to get some better units deployed.
Blue still slinging rockets.
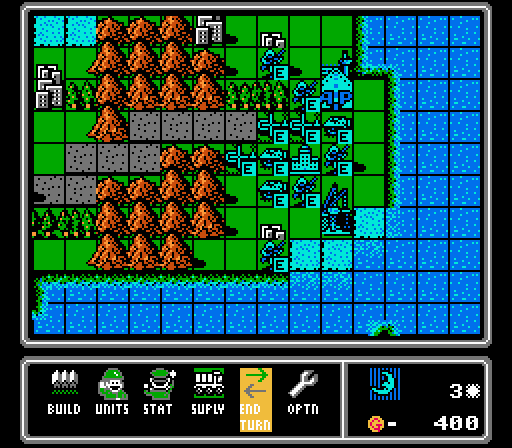
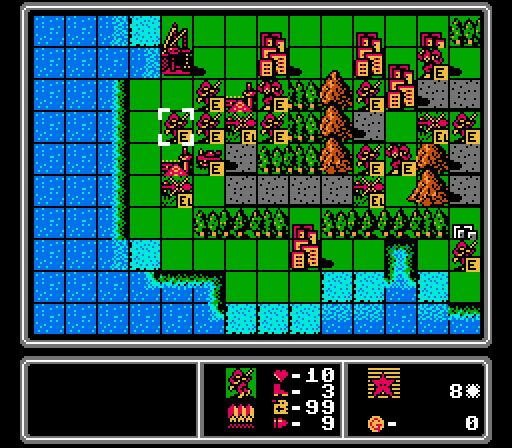
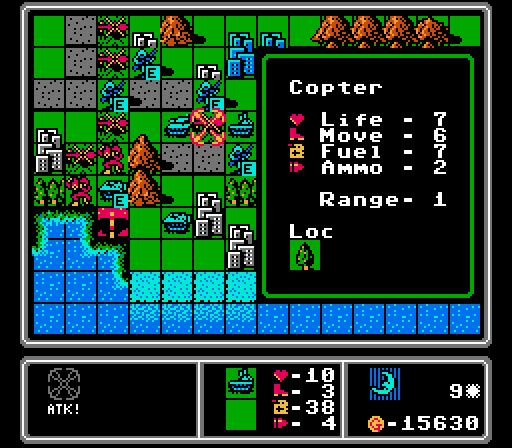
Turn 9
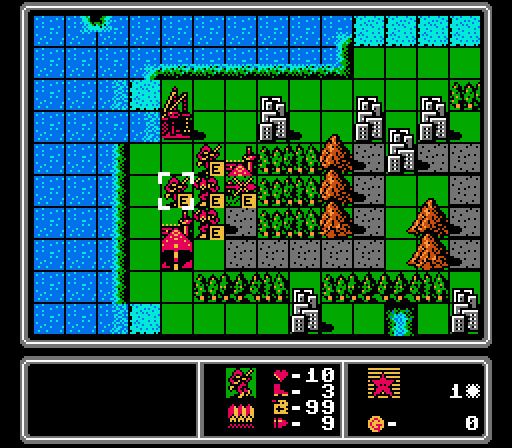
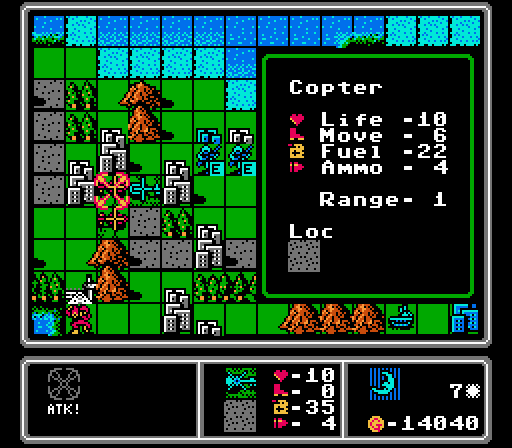
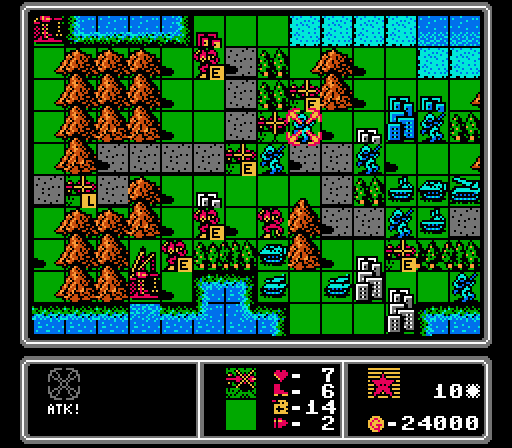
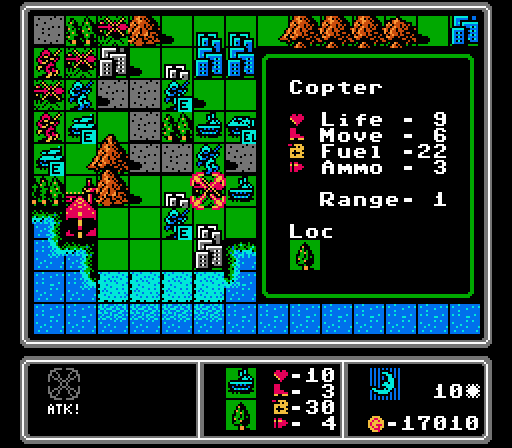
We have a decent number of copters up here now, but they can't really do a whole lot on their own, especially with a couple of AA tanks coming up. Most of them go after various infantry units. The one selected here is below half-life, which means we have to get rid of it this turn for the challenge. In this case it suicides on an infantry. I'll explain why this rule is part of the challenge in a bit.
Starting to capture the few cities in the center of the map.
We get another tank on top of the usual suspects.
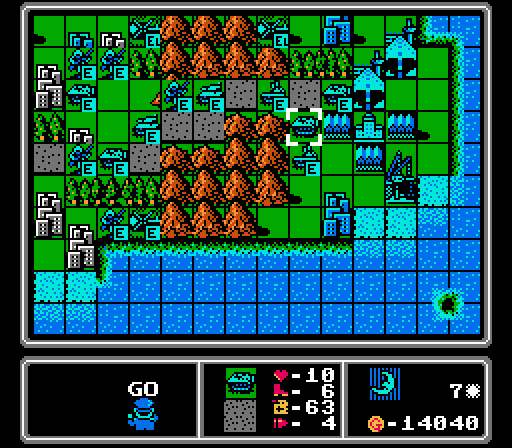
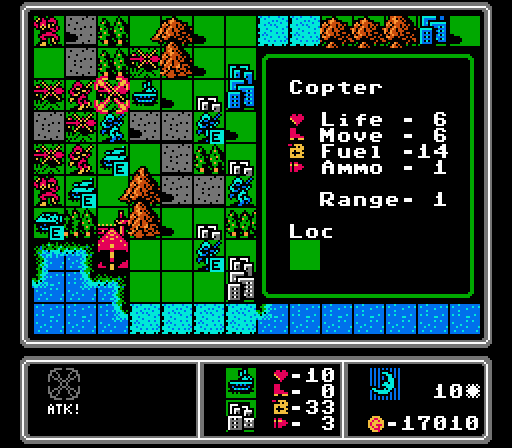
We're actually at the unit cap now. If we hadn't gotten rid of that damaged copter, we would have only been able to build five units this turn. Since the challenge is to build as many units as possible, and then spend as much money as possible, we would have been able to get better units that way. Thus the challenge forbidding us from getting around it by taking up space against the unit cap with damaged units.
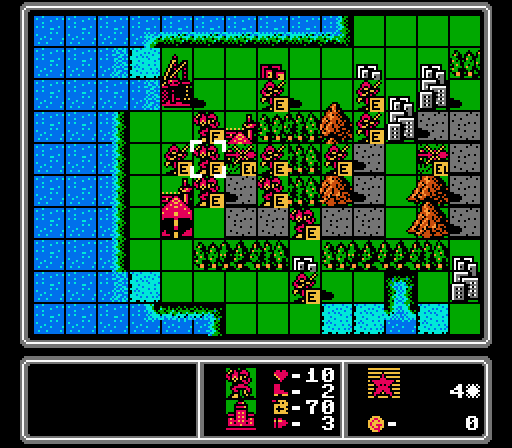
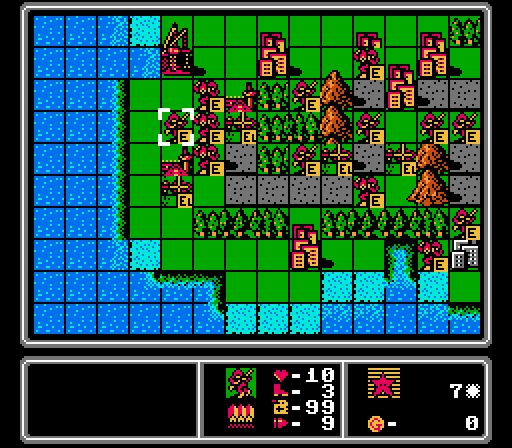
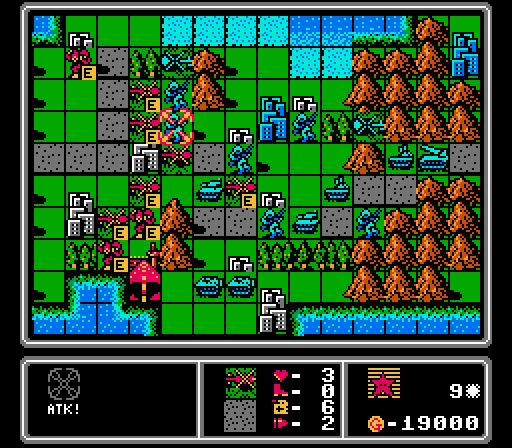
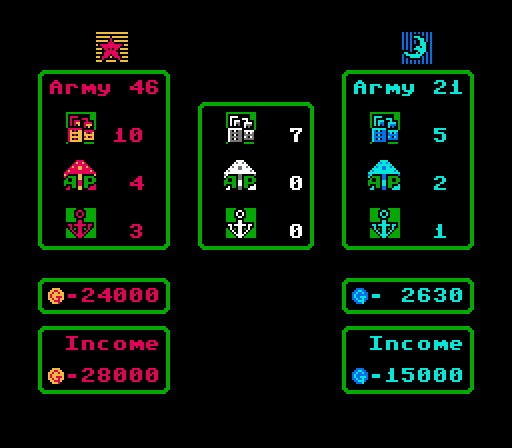
You can see we're doing pretty well in the income race already, too. We have all four neutral ports/airports captured now, and a slight edge in cities as well.

Blue is starting to hit our front-line footsoldiers now, as an APC shreds this mech. You'll notice I put mostly mechs in the first waves of copters, so at least they'd get in some counterattack damage as they fell.
We also lose a copter to an AA tank; the start of a trend.
Ugh three rockets in a row.
Turn 10
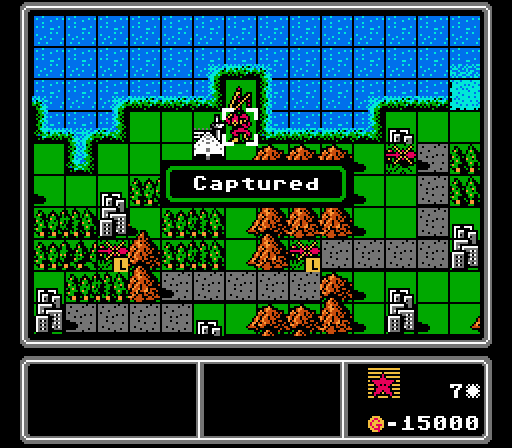
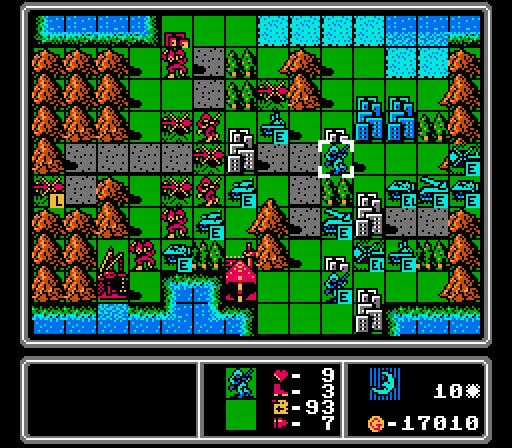
First we finish capturing the three cities in the central region of the map, and one here on the right side, guaranteeing us the income edge even if we completely blow it on the rest of the cities.
The copters once again go after the capturing infantry, killing one and bringing two others to the brink of death.
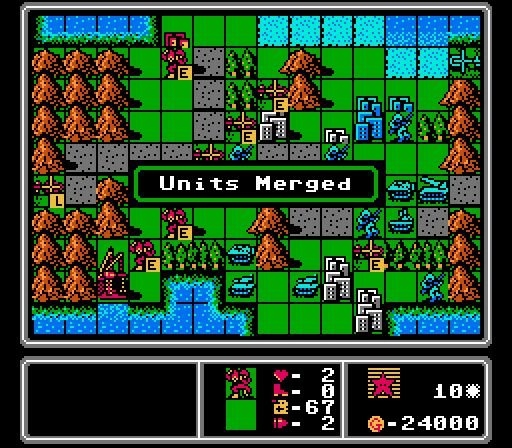
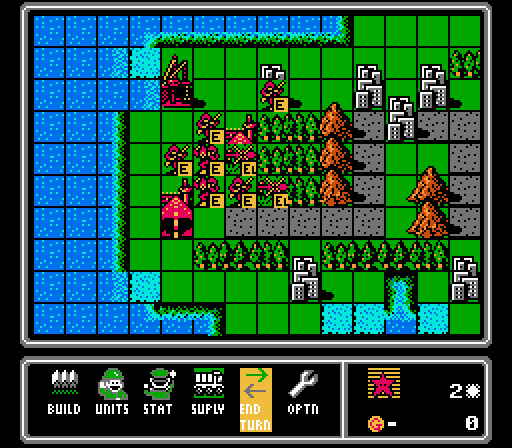
The injured mech from last turn merges into a fresh one, per the challenge rules. We're a little exposed to the enemy vehicles in that lower pass, though.
Two more copters come in but they're carrying just infantry. I'm hoping some enemy units will go after the toothless infantry instead of our capturing mech.
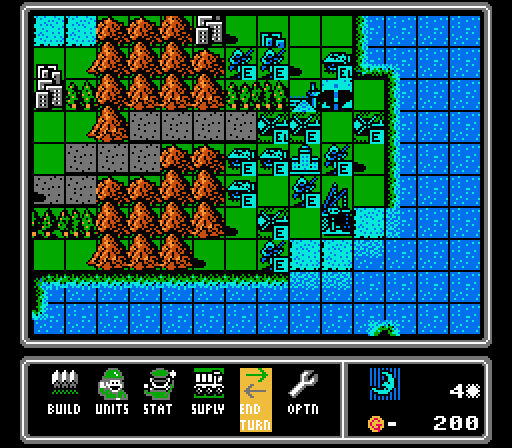
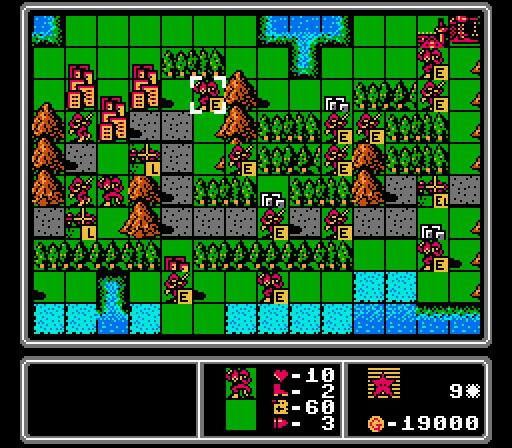
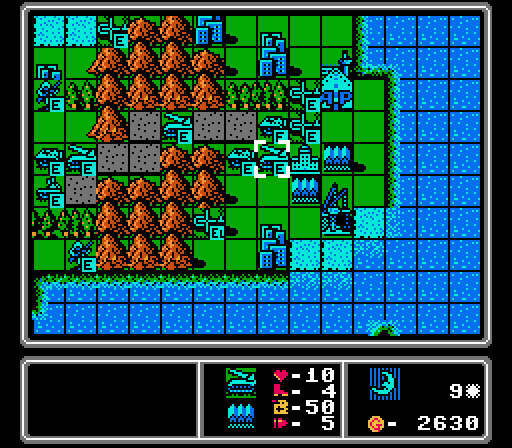
Our ground army is almost to the central mountains, many turns later.
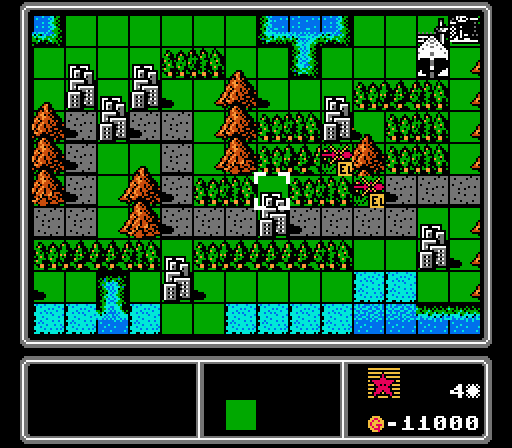
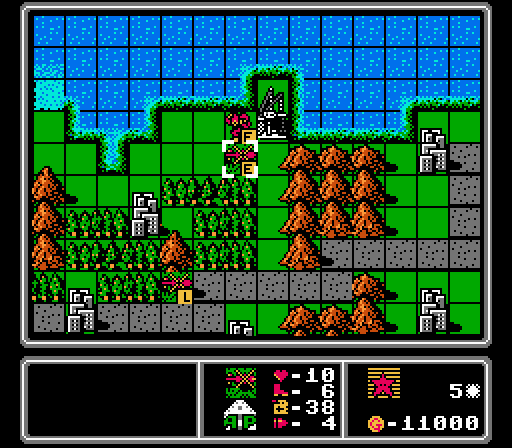
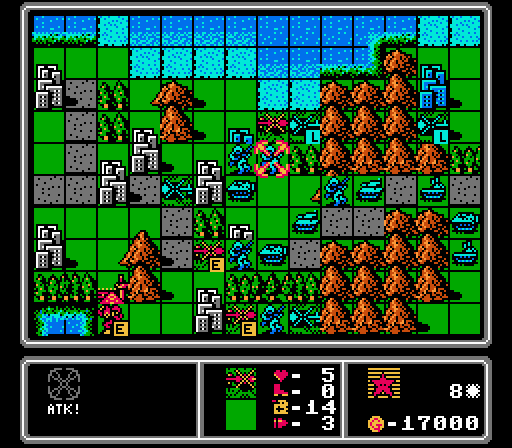
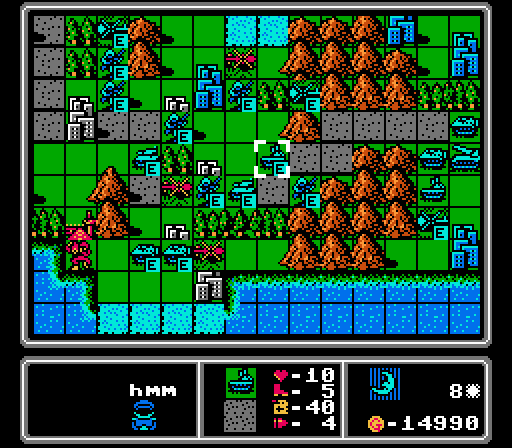
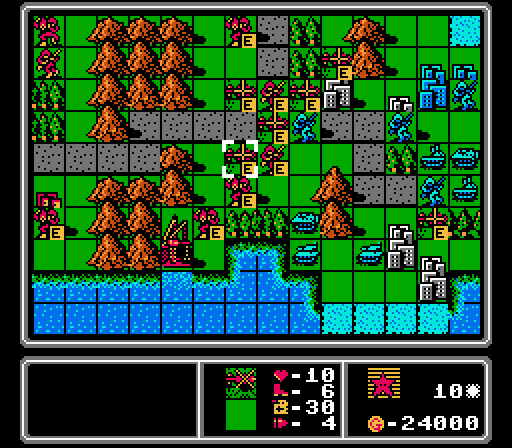
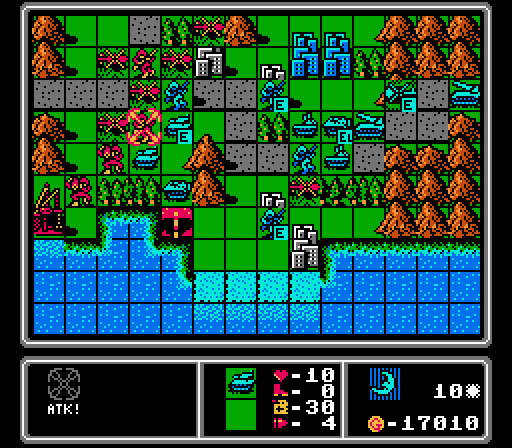
Here is where the challenge completely changes. After just barely hitting the unit cap last turn, we lost a copter and had to merge in a mech. So we only have room to build two units this turn. Maxing out our expenditures with two units gets us much more useful troops than doing so spread over six units.
I should have gotten a bomer and a copter, but I panicked on the math and put out a figher and a mech instead. The fighter will still be useful just because it will terrify all the enemy copters into retreating with its mere presence.
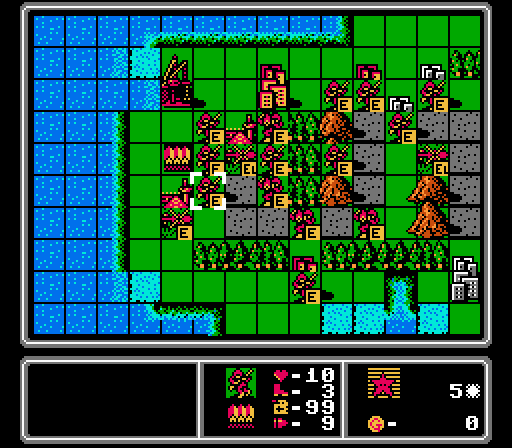
As I hoped, the enemy tanks go after the infantry here.
Our capturing mech is hit by the damaged APC, but fares much better this turn than last.
We also lose two more copters to AA tanks. More hard mode cheating here - a fresh AA tank is only supposed to do 7.5 damage to a copter, but we lost one that was at 9-life.
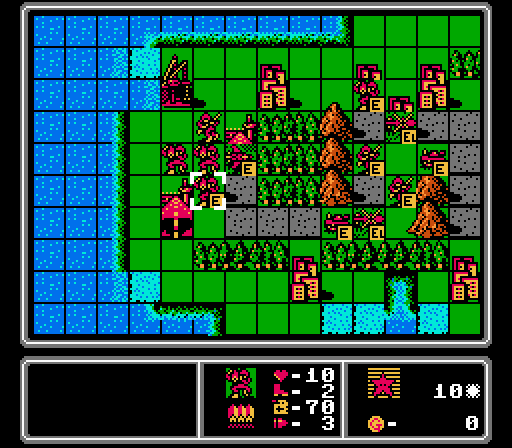
The enemy rockets advance, making it difficult for us to approach any further with mere footsoldiers. Three enemy infantry merged together and will likely finish capturing the highlighted city next turn, if I can't throw enough copters at it. But two other capture attempts were abandoned to achieve that merge, so we already achieved our delaying goal.
Ah crap, a medium tank. There goes the neighborhood.
To Be Continued...