Part 38: Squash (2 of 2)
Part 38: Squash (2 of 2)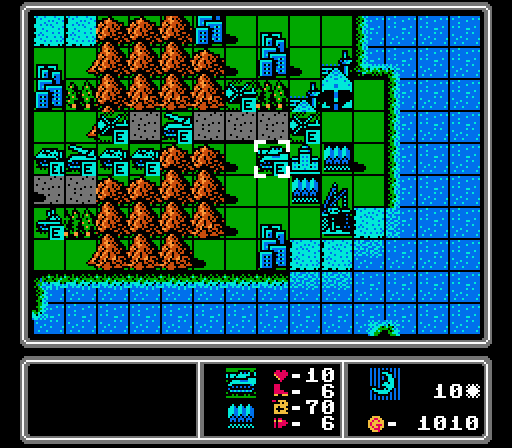
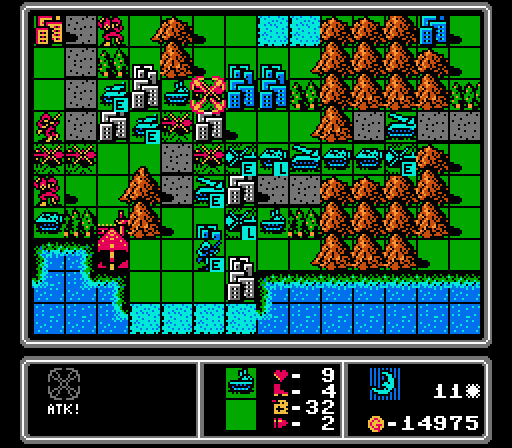
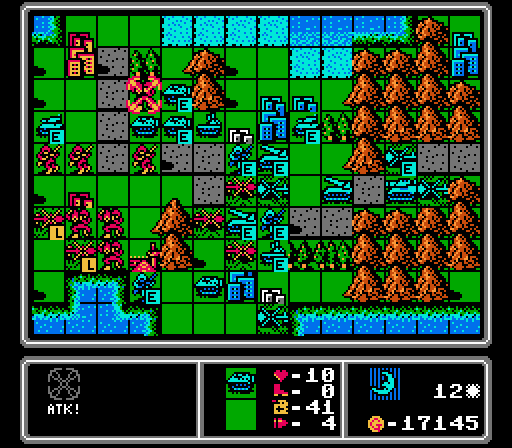
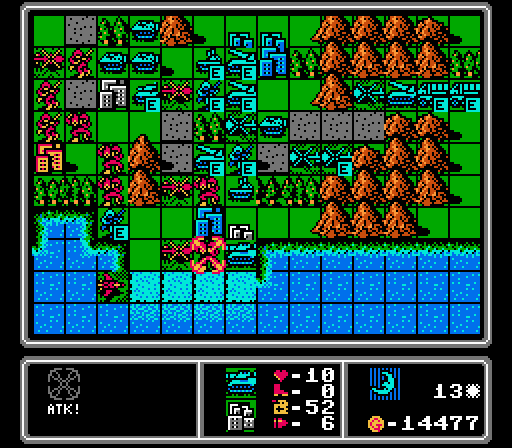
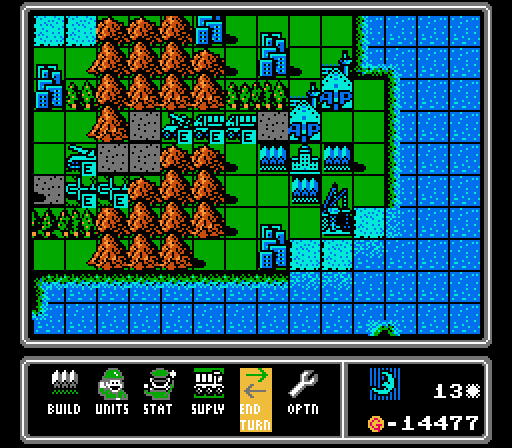
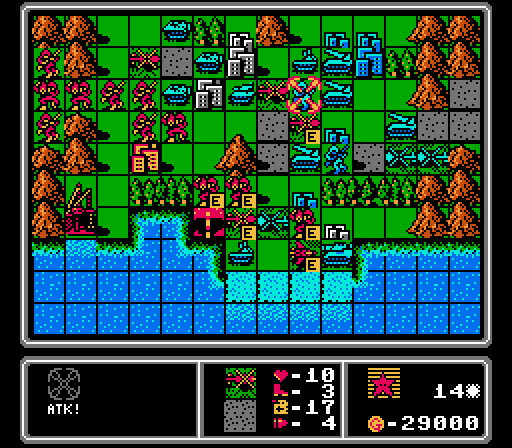
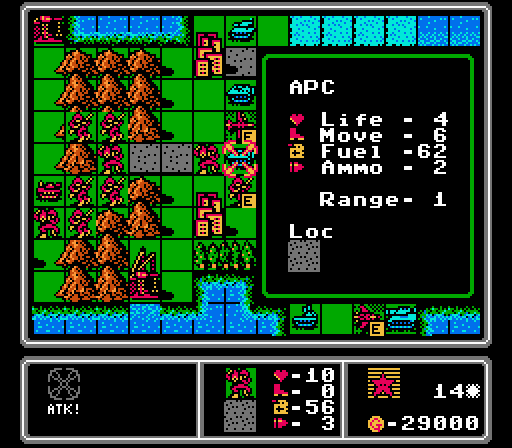
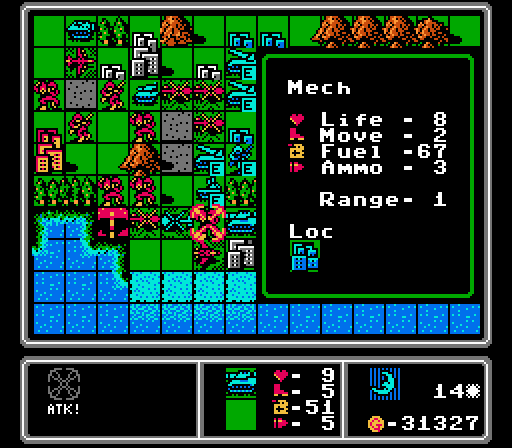
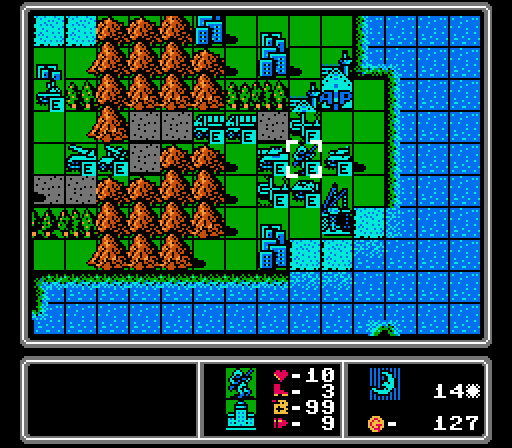
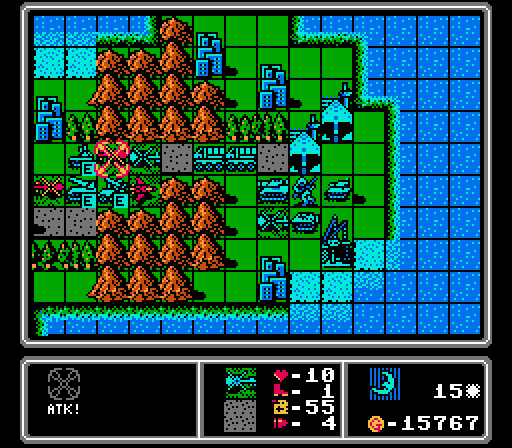
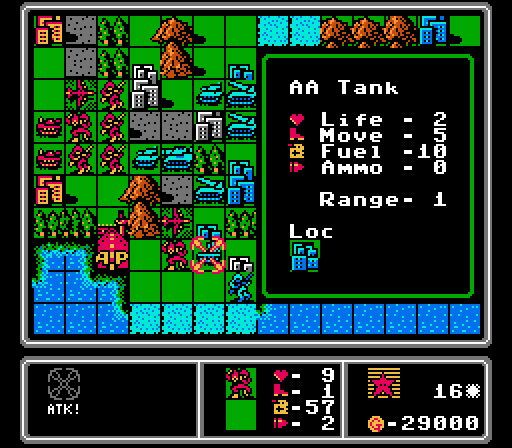
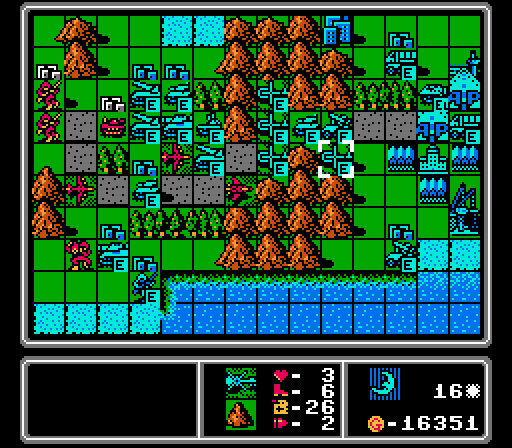
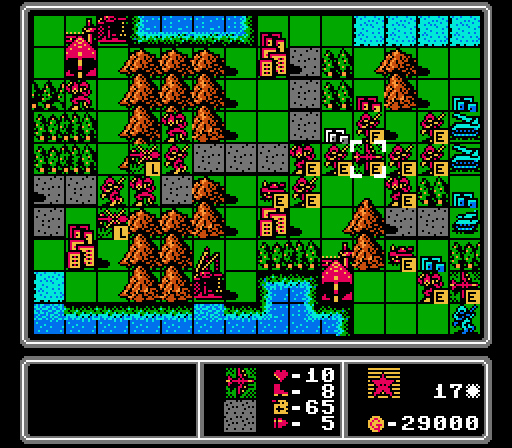
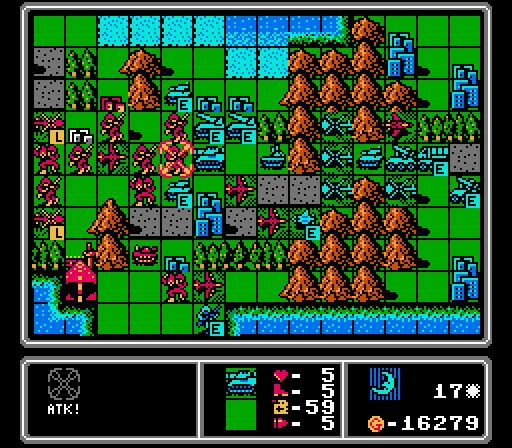
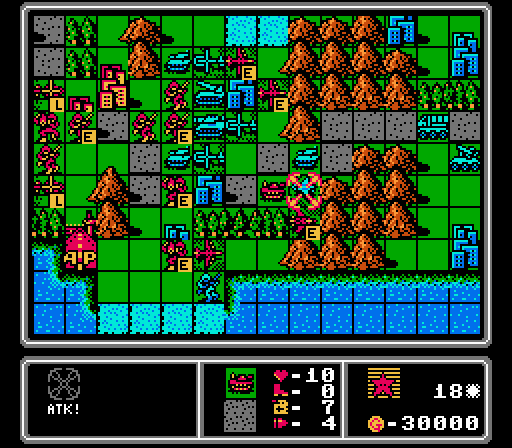
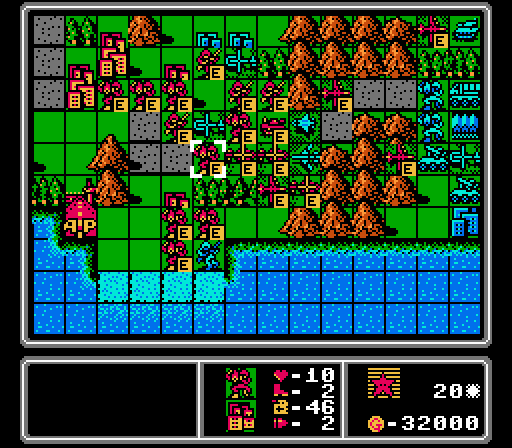
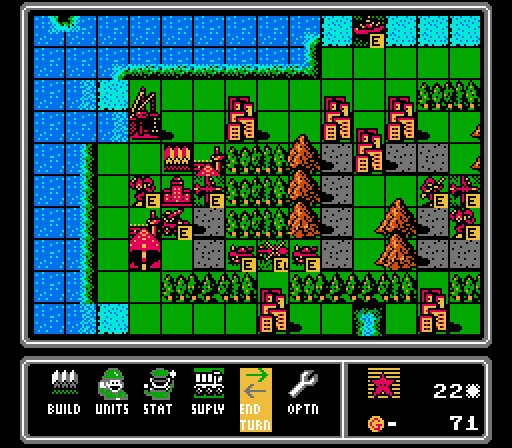
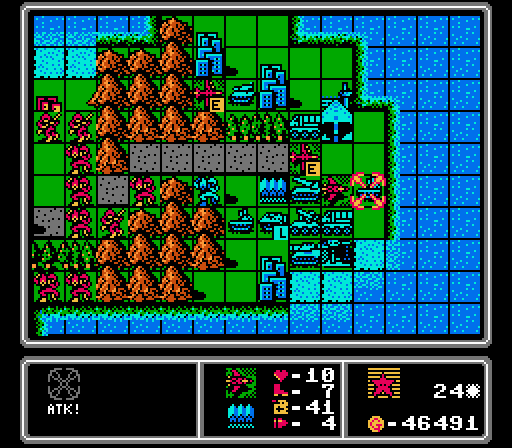
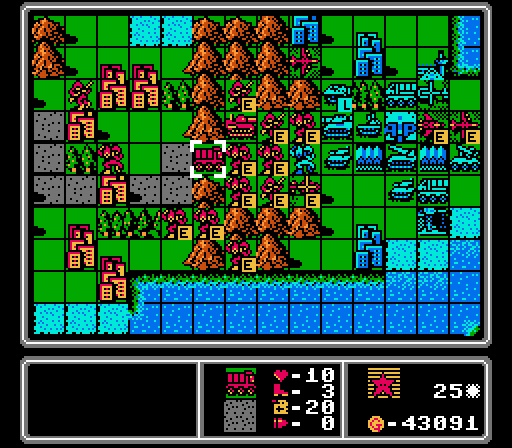
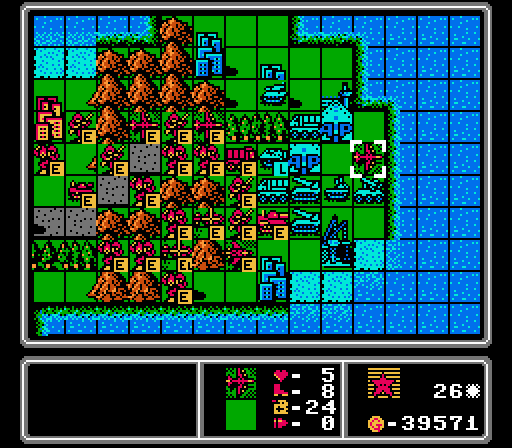
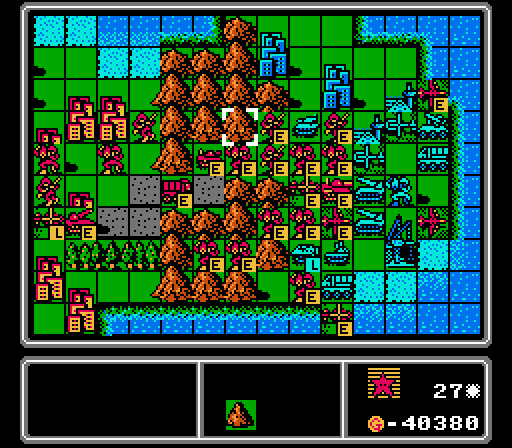
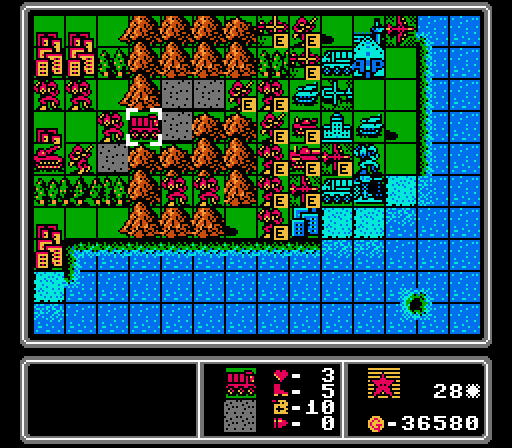
That medium tank is going to roll right through us if we don't do something about it. Let's see what can get together.
Turn 11
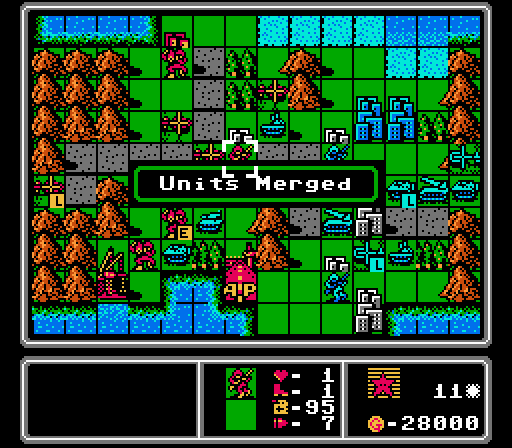
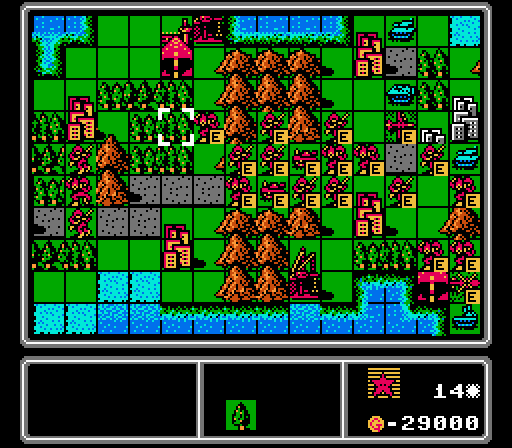
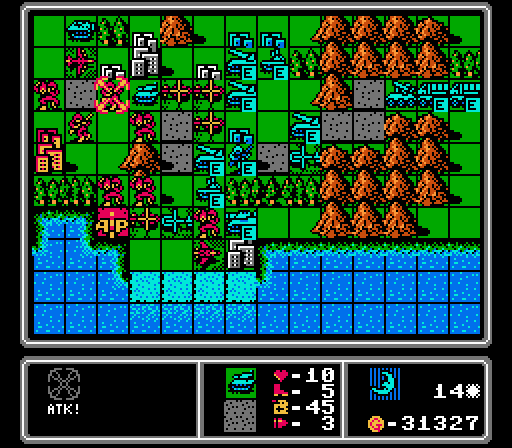
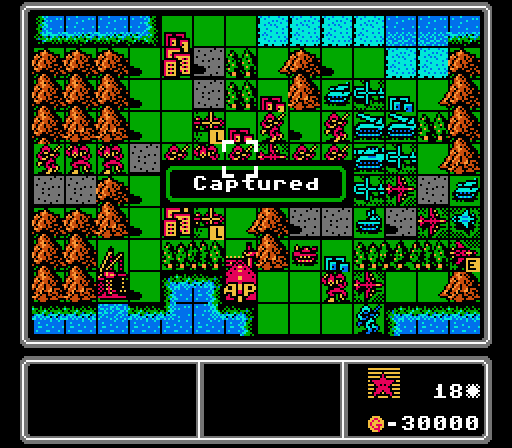
I have an infantry start capturing a city here and merge the mostly-dead infantry into it for the challenge.
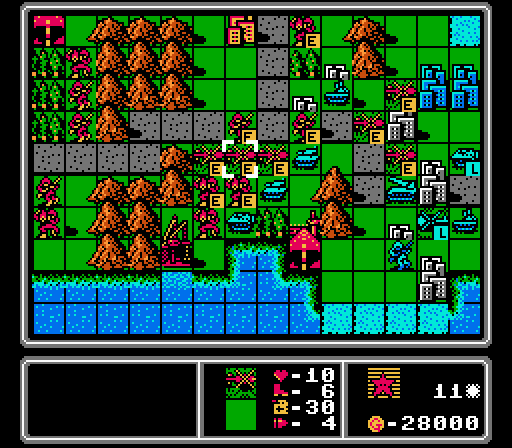
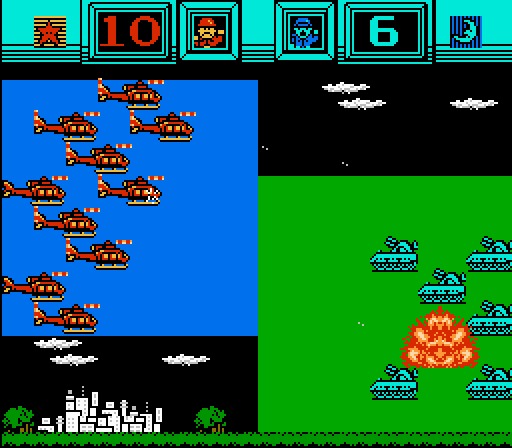
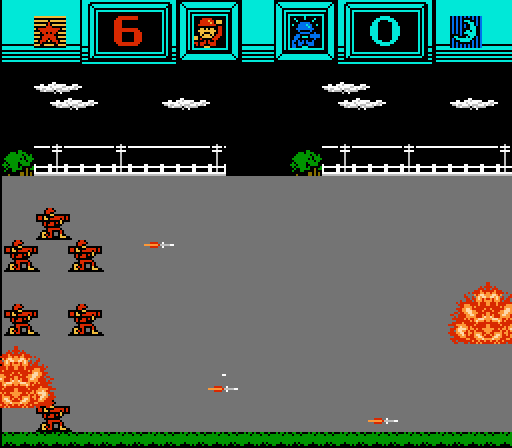
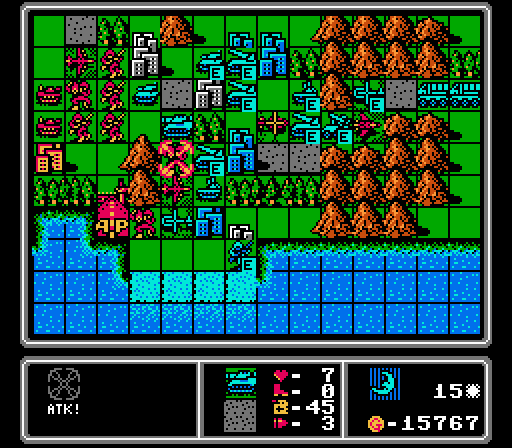
Three copters team up to take out one of Blue's capturing infantry, though we won't be able to do anything about the other one. Two more copters arrive and drop off fresh footsoldiers.
This time we have to build three units, but we have enough funds to get a bomber anyway.

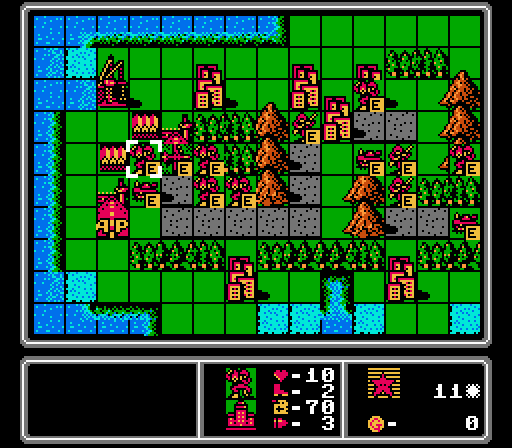
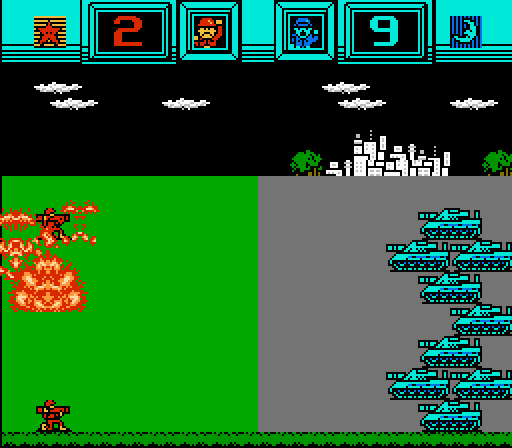
Our capturing infantry doesn't make it, falling to the rocket and the two tanks, but it does successfully distract the enemy from our capturing mech!
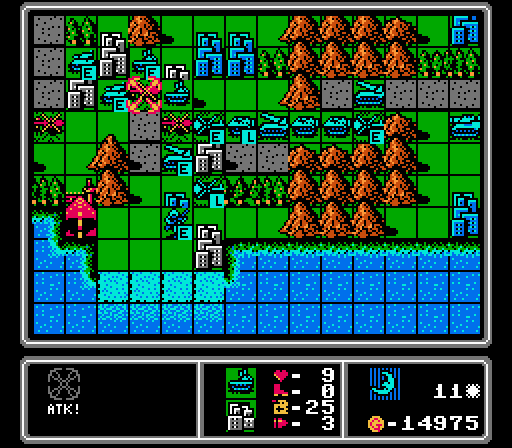
We once again lose two copters to AA tanks, with a third copter taking a hit from an enemy copter.

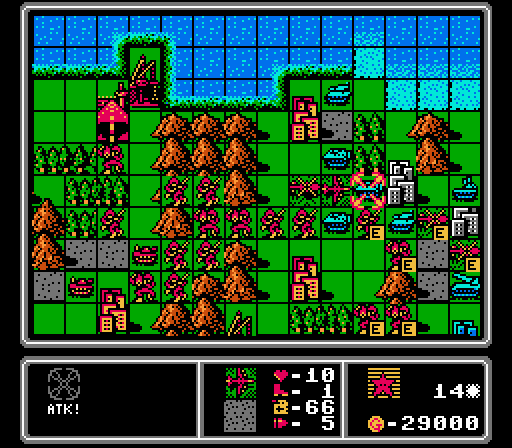
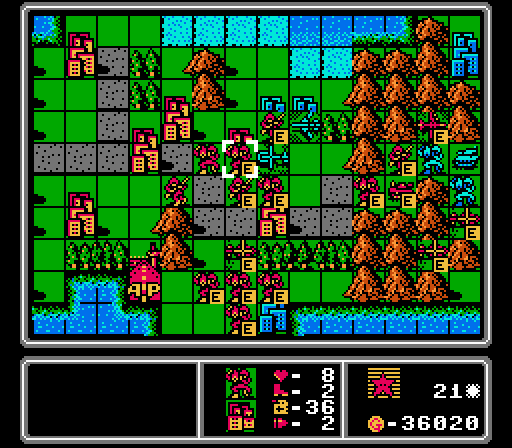
Blue has three rockets guarding the contested zone now. We won't be able to capture anything nearby until we deal with those. That medium tank will arrive soon as well.
I think the mountains have made the AI very rocket-happy on this map.
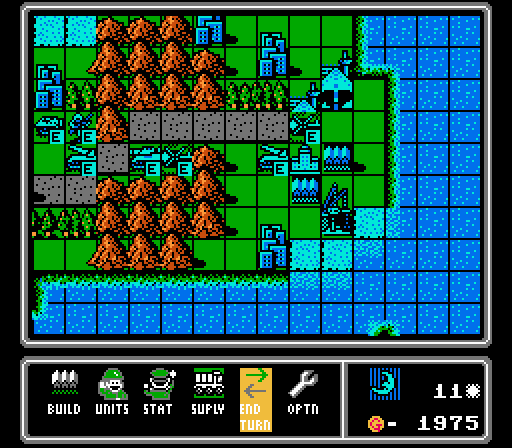
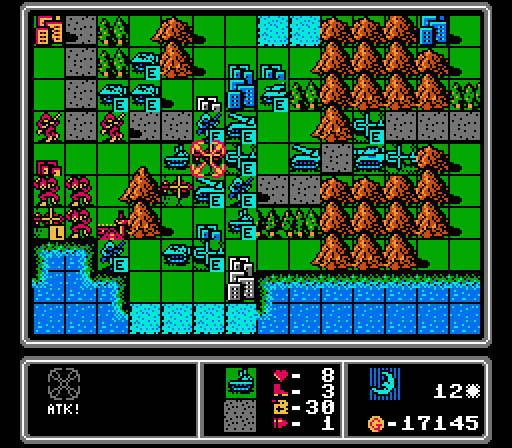
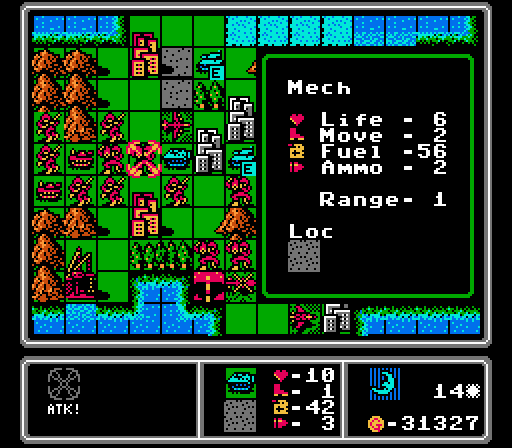
Turn 12
Our copters aren't much use against the heavy machinery in play now, and the only infantry they could reach was protected by a city. So this turn they gang up on a rocket and combine for just a single point of damage.

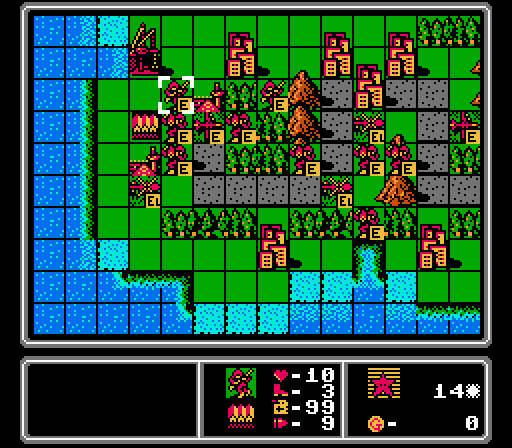
The first of the footsoldiers that didn't get an airlift are getting through the central pass now. We do finish a city capture with a mech in the lower area, and start another distraction capture with an infantry in the middle.

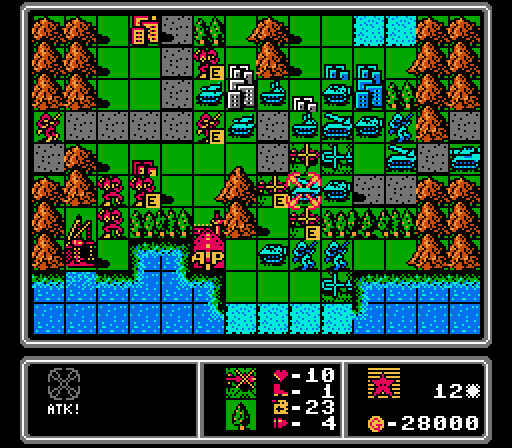
We're building four units with 28,000 G this turn. First priority of course is another bomber, with a copter and two mechs filling out the rest.
The enemy phase is a busy one. Two APCs take out this mech. Two rockets target our capturing infantry. A tank moves all the way up to the mountains to pick on an infantry. And three enemy infantry start captures, including one on our airport that I totally didn't see coming.
We also lose a couple copters to the enemy copters and AA tanks.
An AA missile will be annoying with all the bombers we have on the way. Building two supply trucks is an odd choice, but the AI does have a lot of rockets firing on us now.
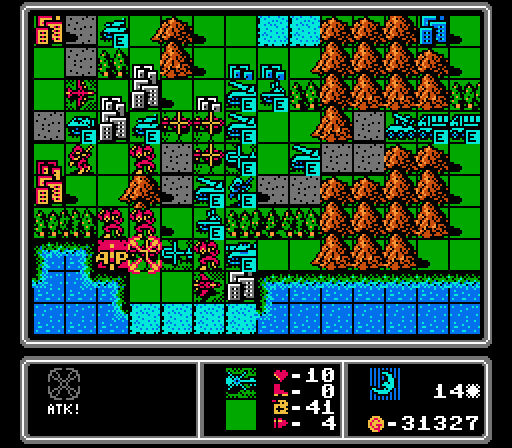
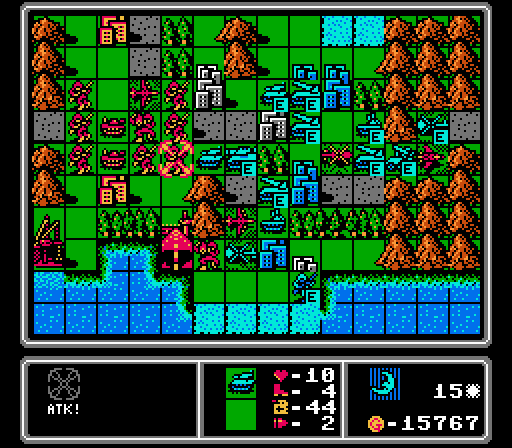
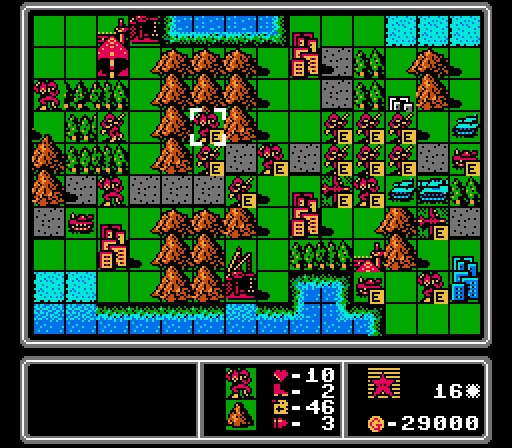
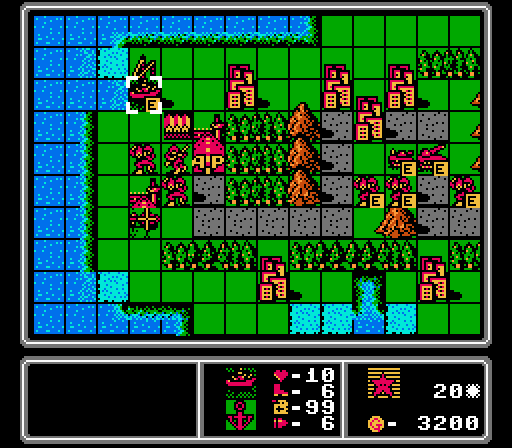
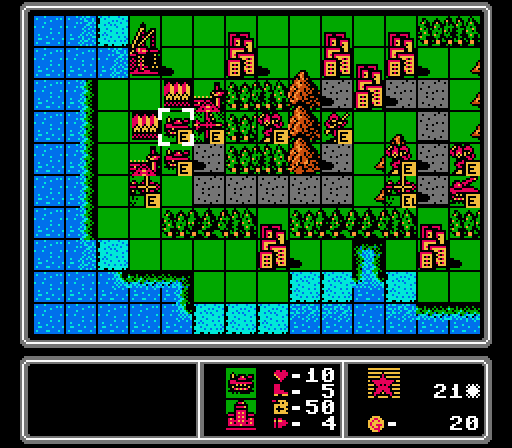
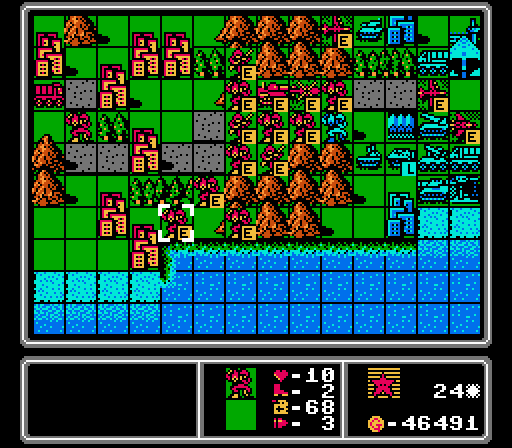
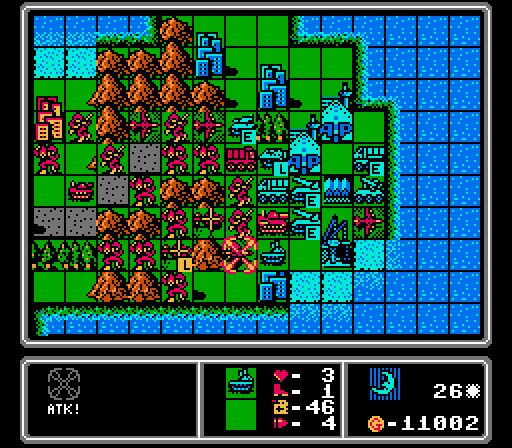
Turn 13
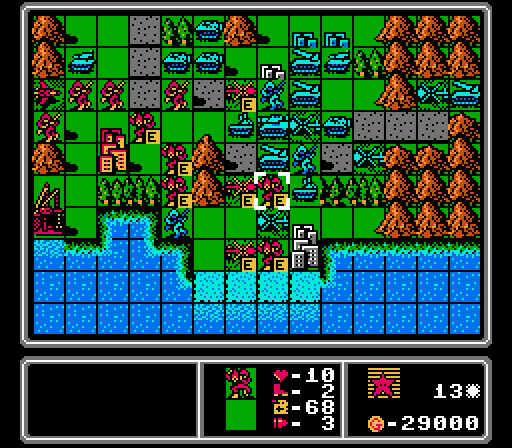
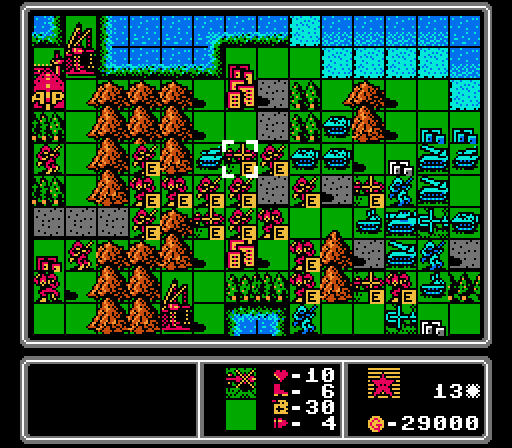
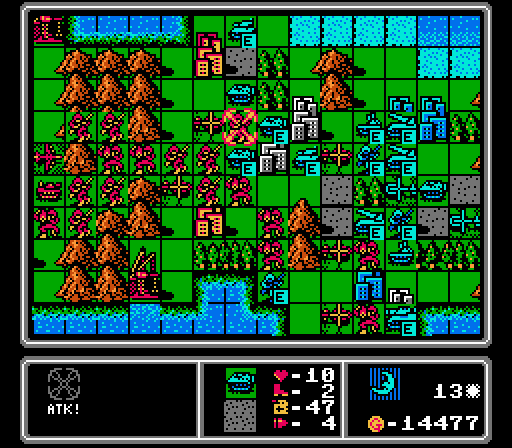
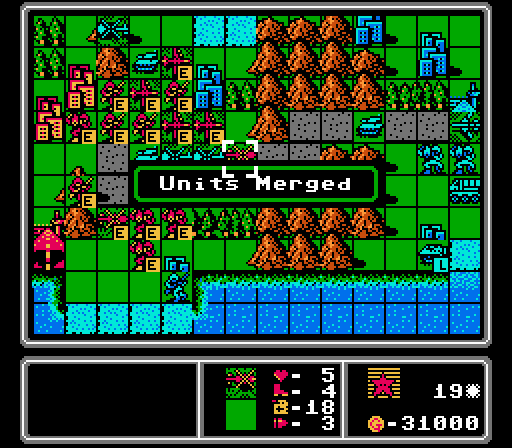
I don't remember if I'm trying to stealth-capture a city or blow up some rockets and AA tanks with these mechs, but they get dropped off right in the middle of the chaos. A mech and a copter also get in shots on two of the capturing infantry, but the third will be able to complete its capture uncontested.
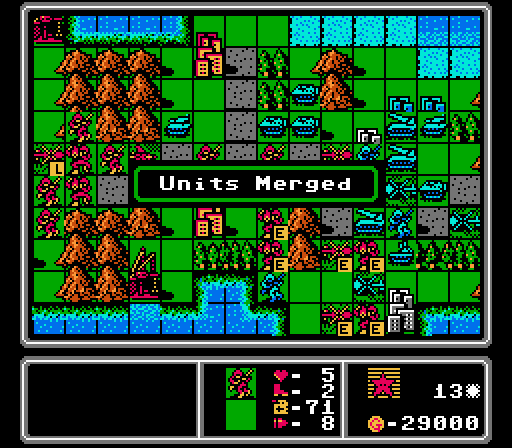
Four infantry merge back into two, including the one that is still capturing in the center.
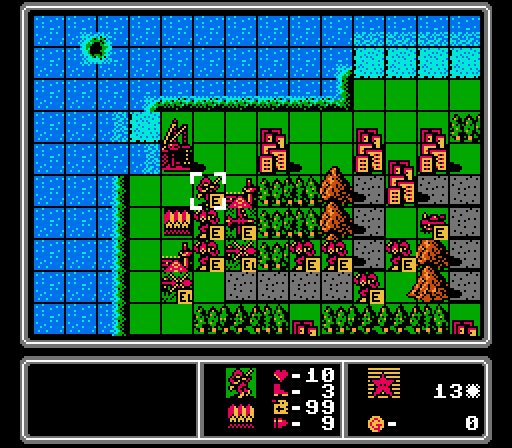
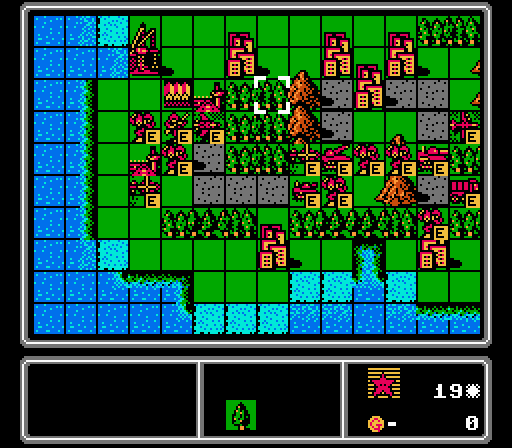
More footsoldiers pour through the pass, with another two infantry dropped off by copters. This phase of the map is starting to look like the mech flood in Volcano, just overwhelming the enemy with raw numbers and sneaking in captures along the way.
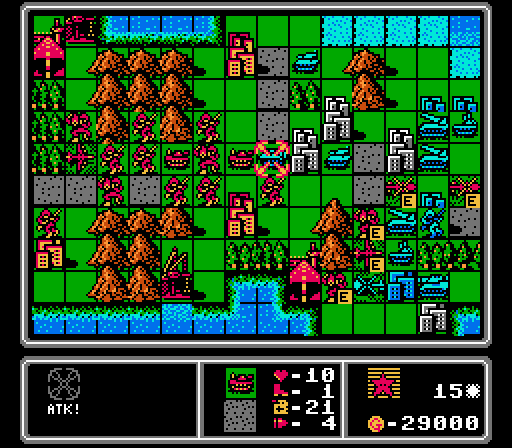
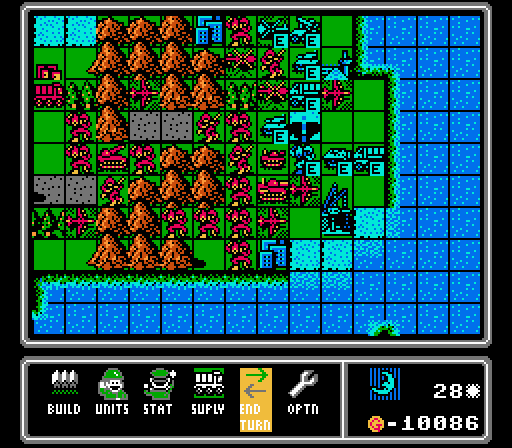
Between the losses and the merging, we have to build five units this turn with 29,000 G, so end up with a similar configuration as last turn.
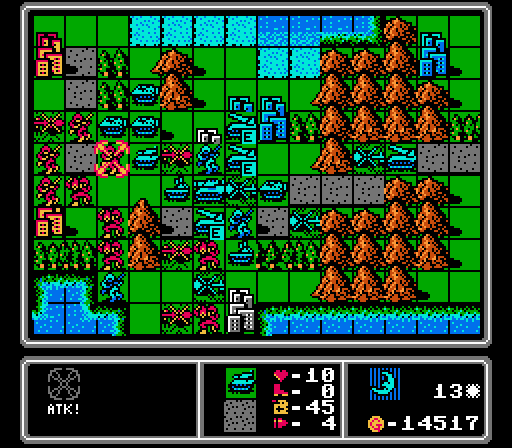
The capturing infantry in the middle continues to be a distraction but eventually falls to three rockets and a tank.
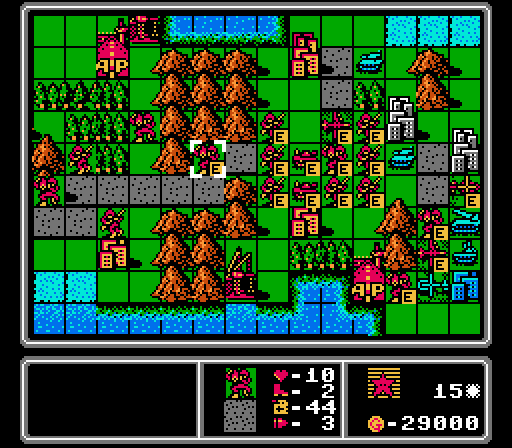
The enemy infantry continue their captures (completing one). One of the AA tanks is straight out of ammo and retreats. The first enemy medium tank arrives and wrecks our mech here.
Three APCs are loose at the front and kill off one infantry while severly injuring another.
A copter and an AA tank take out another of our copters. That AA tank is now also out of ammo, so our fighter and bomber can run free next turn.
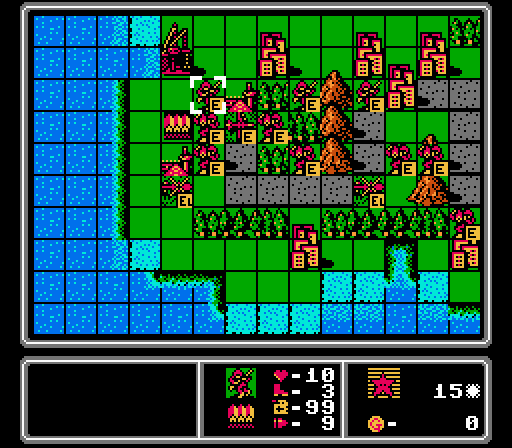
Reinforcements continue to advance, but Blue chooses to build nothing at all this turn, saving up for next turn instead.
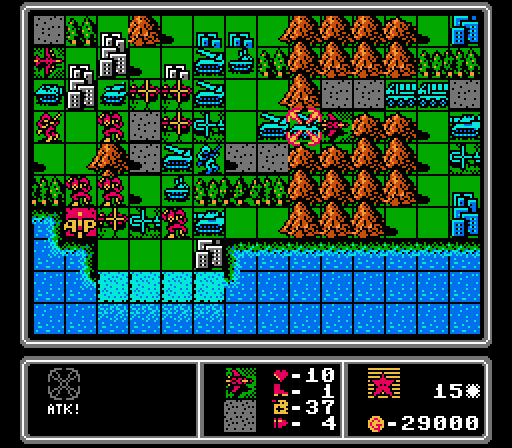
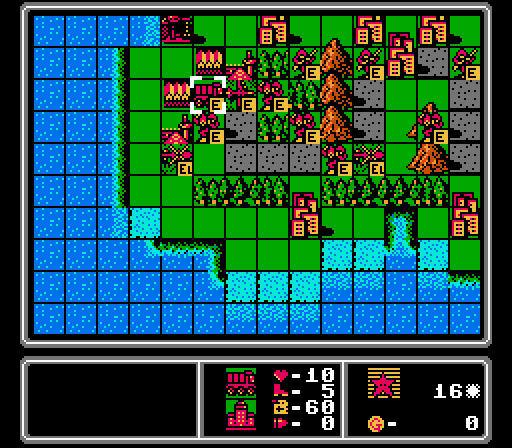
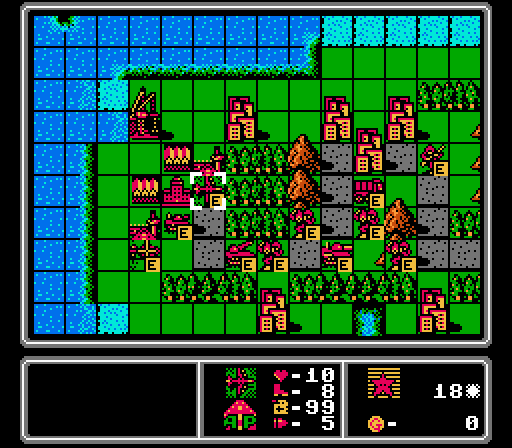
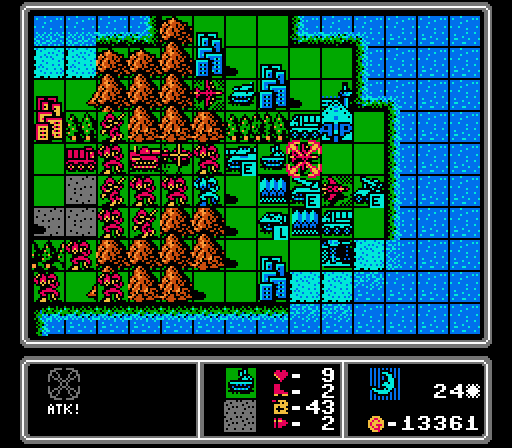
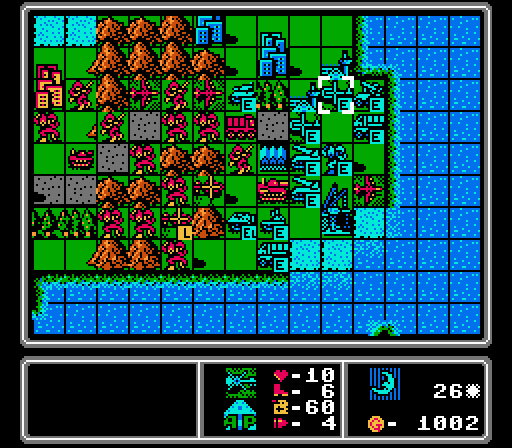
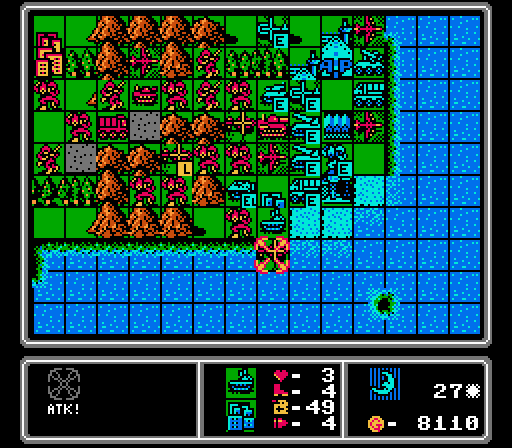
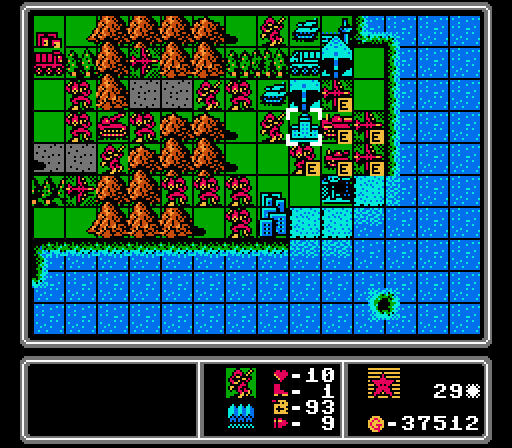
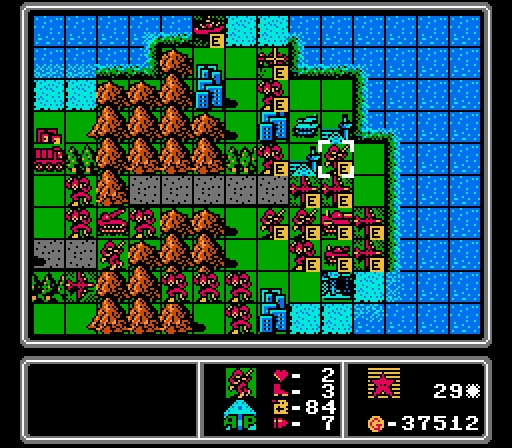
Turn 14
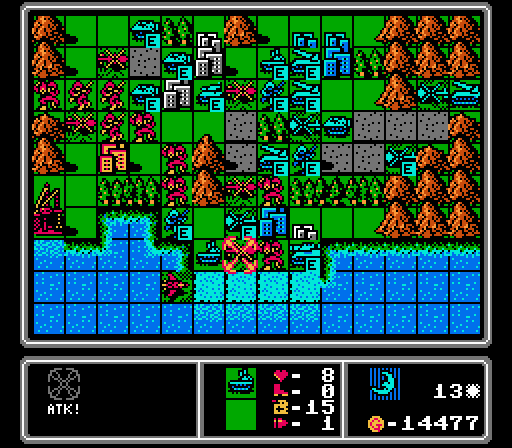
First step this turn is throwing away this mech which is too damaged to leave around and can't reach anyone for merging. This APC had retreated back to this city for repairs so it's not a totally one-sided affair.
The damage from our mech is enough for the fighter to move in and finish off the APC. Not a normal use for a fighter, granted, but I was more interested in freeing up the city.
That way our other mech is able to start capturing it. This capture will draw away some of the attention from the middle of the map.
Our copters continue their missions of wiping out enemy infantry, killing off two here, including the one that was going for our airport.
Our first bomber finally arrives, wiping out the a nearby APC. With all the footsoldiers we have in the area, the enemy APCs are a priority for removal.
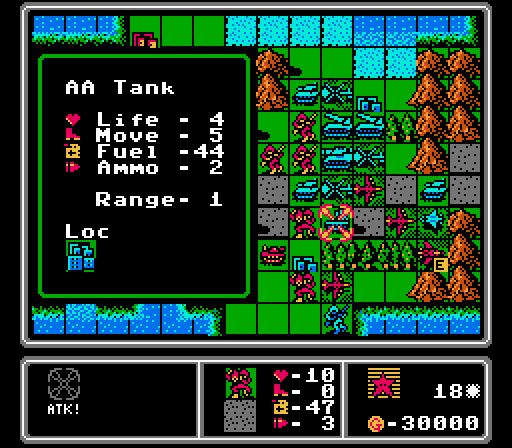
Here's something you don't see every day - a copter attacking an AA tank. Here we're taking advantage of the fact that the AA tank is out of ammo, to get in some free damage.
A mech against an APC isn't usually a great matchup for us, either, but here I'll glady take the damage to finish off another APC.
More reinforcements making their way through the mountains, including a couple of tanks.
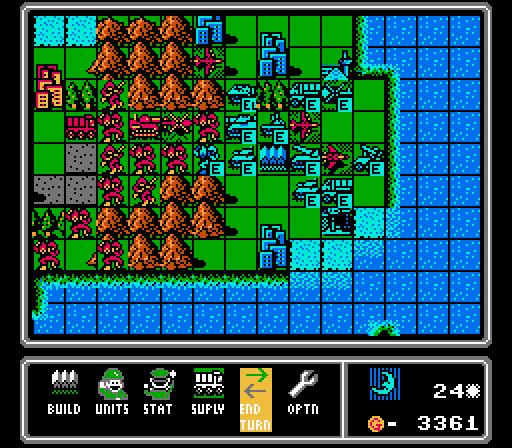
We need to build five units again to get back to the cap, and have the same 29,000 G to spend, so put out the same set of units.

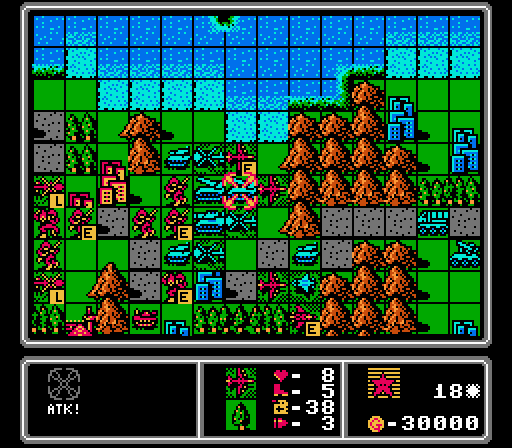
Our capturing mech survives both a rocket barrage and a shot from the medium tank. Actually we hurt the medium tank a good bit, too.
We do lose our capturing infantry anyway, to two rockets and this tank. But notice how two cheap footsoldiers sitting on cities soaked up the attacks of five heavy vehicles? That defense frees up the rest of our army to keep advancing.
We also lose a mech to the last APC in the area.
Our copters take hits from the enemy copters, but with the AA tanks temporarily out of action, for once we don't lose a copter on the enemy phase.
Blue goes on a spending spree this turn, with a bunch more vehicles, a new copter, and a new infantry.
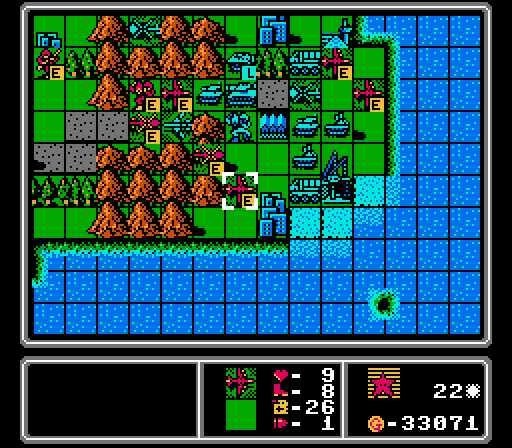
Turn 15
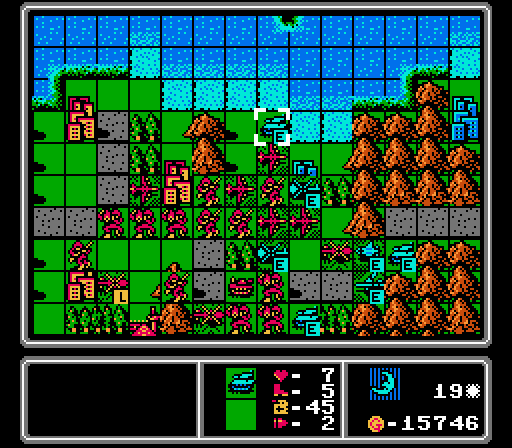
A fighter doesn't hit for much damage on this AA missile, but it does block up the pass and prevent any enemy vehicle reinforcements from getting through.
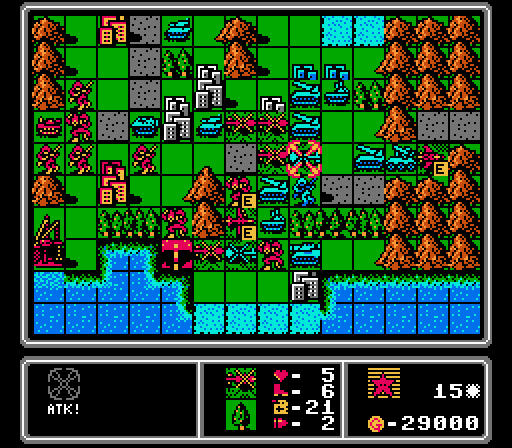
We're finally starting to get in some offense. The bomber hits the empty AA tank, the mech picks away at the rocket, and our damaged copter finishes off an even-more-damaged enemy copter.
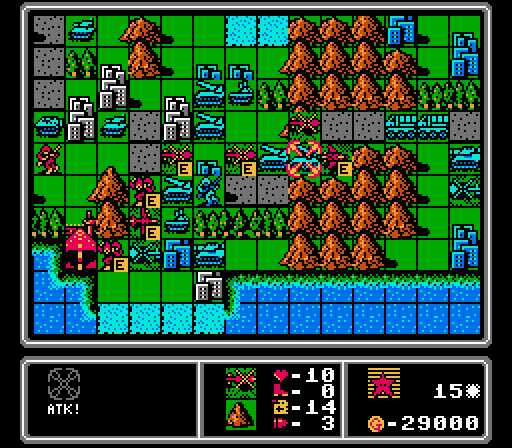
We had to throw away a damaged mech and merge in one copter, but this full-strength copter is able to reach the AA missile for some extra damage.
We're finally able to start working some matchups in our favor, with this tank wiping out the last enemy APC in the area.
Another infantry parks on the central city, as more reinforcements line up behind it.
Same build again, replacing five units with the same income.
We lose one copter to an AA missile and another to a re-armed AA tank and a fresh enemy copter.
This mech falls to a pair of rockets and a finishing strike from the medium tank.
Oddly this tank is more interested in hitting an unprotected infantry, than finishing off our capturing infantry that ate another two rocket strikes.
Another AA missile is built, while the new medium tank gets stuck in the mountain pass.
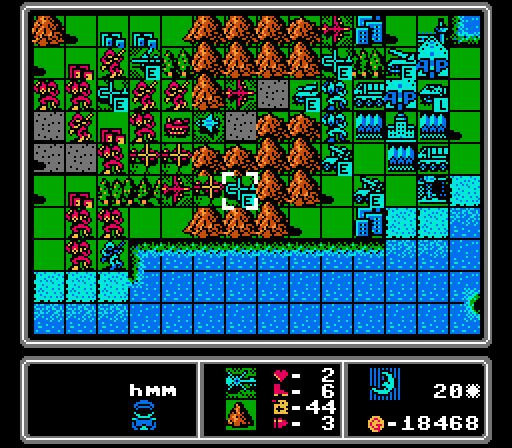
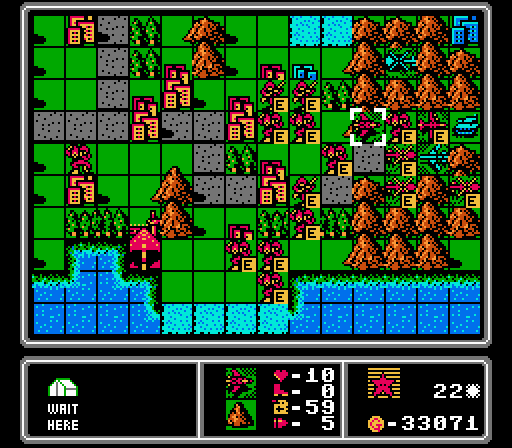
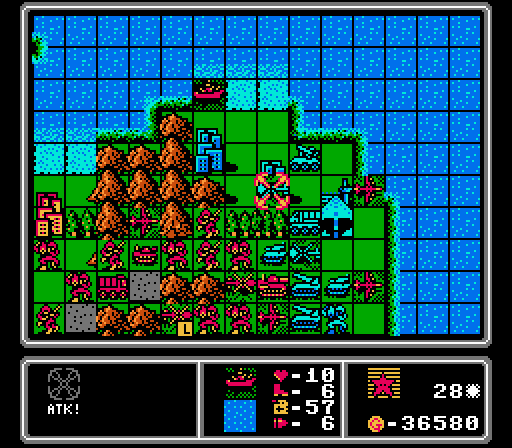
Turn 16
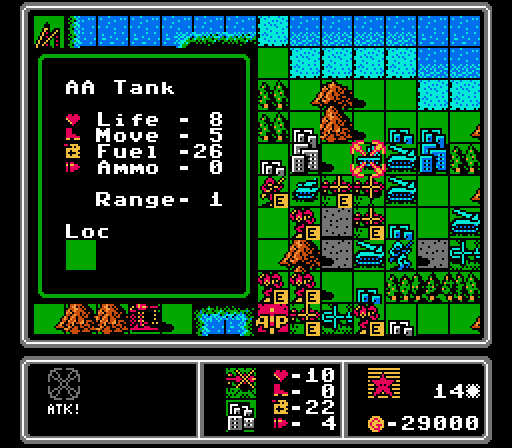
This AA tank thought it could retreat for some repairs and fresh ammo, but I still had one mech left nearby to finish it off.
More chipping away at the AA missile. I had to un-block the pass to stay away from the second AA missile that just got built.
I probably should've hit the AA tank to protect our fighter, but I'm really sick of all these rockets.
The center is clear enough for a second infantry to start capturing - I'm hopeful that at least one will sneak through. In the meantime a second bomber arrives with a bang, blowing up this rocket.
We're taking heavy losses, but starting to actually push the enemy back now.
This turn we only need to replace four units, so a supply truck rolls out to use up all of the funds we have.
Two rockets hit one of our capturing infantry again, but the other one is left alone as the tanks choose to retreat instead. Even with one medium tank taking a shot at our mech here, and Blue's last infantry in the area completing another capture, we're well set up for next turn now.
We do lose a copter to an AA tank here, but I'd rather lose the copter than have our fighter take a hit.
A new enemy medium tank makes it through the pass, but we have multiple bombers in the area to deal with it now. The enemy AA missile is actually damaged enough that it runs away from our bomber, while the second AA missile moves down to a defensive position instead of advancing.
Blue builds its first serious air unit, putting out a scout. That unit is a threat to our bombers, but we have a fighter nearby already to contain it.
Turn 17
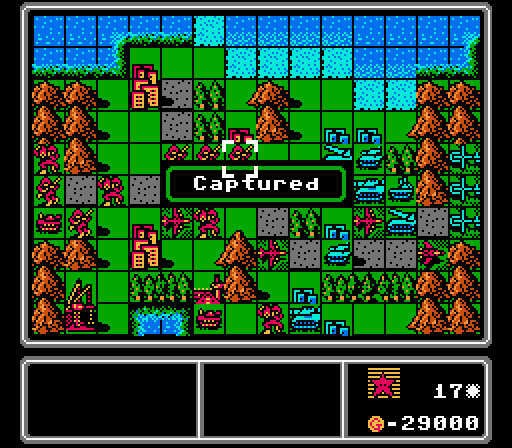
We finally had enough going on that Blue wasn't able to hit both of our capturing infantry, and finish off this city capture now. The other infantry is literally a single point away from completing its capture, and we should be able to protect it this turn.
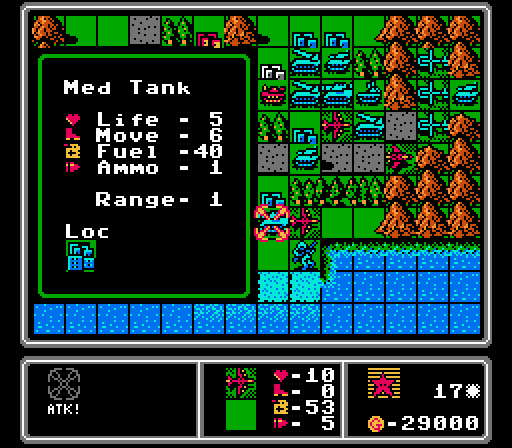
This medium tank took enough damage from our mechs that a bomber is able to fly in and finish it off, even with the city protecting it.
Another bomber finishes off a rocket, opening up space for our lead tank to get a hit in on the remaining enemy AA tank.
A third bomber is able to put the hurt on another medium tank before it can get to us.
A fourth bomber has arrived for some action next turn, as everyone else moves ahead. We actually start capturing one of Blue's cities with one of the lead infantry.
Here's a math puzzle for you. How can we build two units to get back to the cap, while spending all 29,000 G?
We can't get any more planes, but we get two useful units at least. It might take them awhile to get all the way to Blue's territory, though.
I did not do a good job of protecting our bombers from the enemy scout, and basically lose one on the enemy phase.
We also lose our front-line tank to one rocket, while the other rocket retreats for more ammo. The enemy tanks and medium tank attack our nearby infantry, but can't finish off either one. Neither get close to the capturing infantry on the left, either.
The AA missiles continue to sit back, wary of our bombers. Our fighter is free to go after that scout now, though. Blue built just a mech and a tank this turn, nothing to worry about.
Turn 18
I thought this battle would go better for us, but forgot about the hard mode penalty again. This scout is out of action for the moment at least.
We take another city on Blue's side, slowly building up more income.
A mech reaches the hiding AA tank and finishes it off. With the AA missiles sitting back, our bombers can really let loose without fear now.
Two bombers finish off this rocket, with the damaged bomber then merging into them. Our second tank advances on this scout for some extra damage; not much but every bit helps against air units.

We've got a couple more captures in work, a pair of mechs getting dropped off by copters, and a bomber blocking the pass. We basically have Blue's army encircled now.
We need to build three units this time, so have some more flexibility in how to spend all our funds.
The enemy medium tank retreats to a city, and everyone else takes potshots at our footsoldiers and copters, but aren't able to kill anything.
Blue puts out a bomber, which will be annoying but can't do much on its own. The enemy airports are each protected by both AA missiles, so I can't move our fighter in for a pre-emptive strike.
Turn 19
Uh, oops. There goes our fighter, and our only defense against that bomber.
On the bright side, we're able to sneak in another city capture here.
We spend three bomber attacks to take out the last enemy rocket, with a fourth bomber finishing off the medium tank. Just like that, all of Blue's heavy vehicles are gone.
Even with a lot of units merging together (a copter, a tank, a mech, and an infantry), we still have three more city captures ongoing with very few enemy units remaining to disrupt them.
With five units to build this turn, we put out a new fighter to deal with the enemy bomber, then a copter to keep ferrying our footsoldiers ahead and new footsoldiers to fill up the rest of the slots.
The only enemy attacks are the damaged scout hitting one of our copters, and an enemy copter hitting one of our capturing infantry.

A new rocket won't be much trouble at this point. Those AA missiles are close enough to protect the enemy bomber, but I don't have anything that can hit it yet anyway.
Turn 20

We start off by finishing two more city captures, really ramping up the pressure on Blue.
Suddenly I have a lot of bombers without a lot of targets. Two tanks are polished off, and one bomber flies all the way in to hit this AA missile with its last shot. Since it's out of ammo now, I don't even really care that the other AA missile will shoot it down next turn.
It's just a matter of time now.

We took so few hits last turn that we only have room to build one unit, and more funds than we can spend. So for the first time we'll actually end a turn with money still in the bank.
Still the challenge rules say we have to spend as much as possible, so we build the most expensive unit out there - a battleship.
Not much happened on the enemy phase. A bomber and a copter hit our capturing infantry but couldn't kill it, and I have plenty more in the area. Another copter hit our copter. And the AA missile shot down our dry bomber.
Just a medium tank.
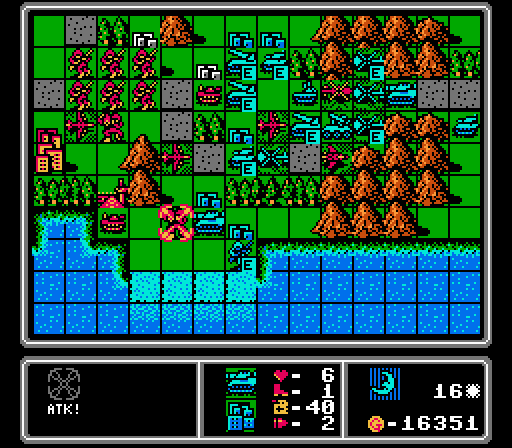
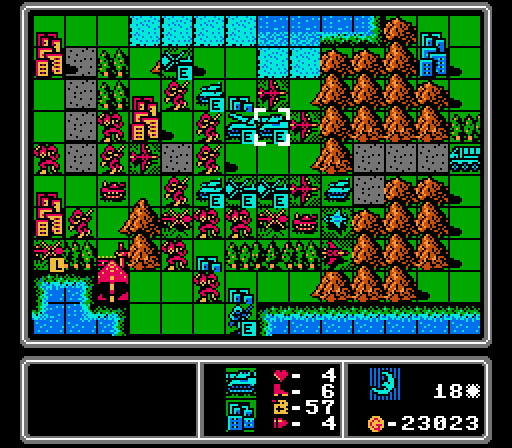
Turn 21
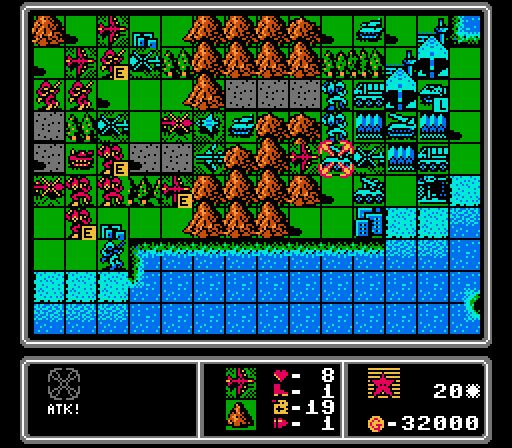
Our copters finish off an AA missile and a copter, and our mech wave takes out the enemy infantry on the lower city and damages the last copter in the area. Near the enemy HQ, our bombers hit the other AA missile, a mech, and a rocket.
More reinforcments. Couldn't quite get back to zero funds left, since the battleship we got last turn doesn't cost a nice round figure, but close enough.

The only excitement on the enemy phase was Blue's bomber hitting our tank. We have the last pass well and truly jammed up now. Those new AA tanks are going to be a pain, however.
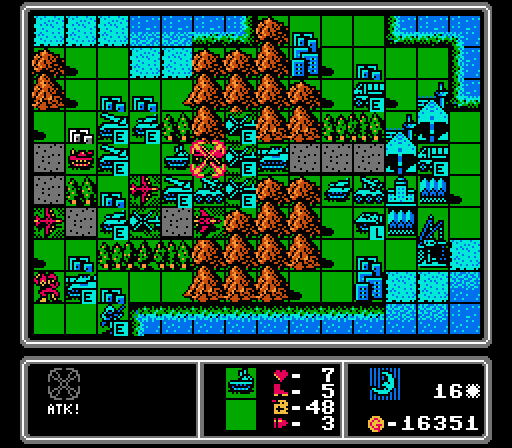
Turn 22
Our bombers finish off the rocket and the AA missile and get in the first strike on a tank, and a copter actually gets the kill in on the damaged scout. Per the challenge rules we throw away our damaged tank and mech on the enemy bomber, using up its ammo and actually getting in some chip damage.
Our fighter has joined the party now. You can see we completely control the central area as well.
Okay, an AA missile probably isn't going to help us much, but really no ground unit I build now is going to make a difference anyway.
The AA tanks shoot down a copter and a bomber, and the AI puts out another rocket.
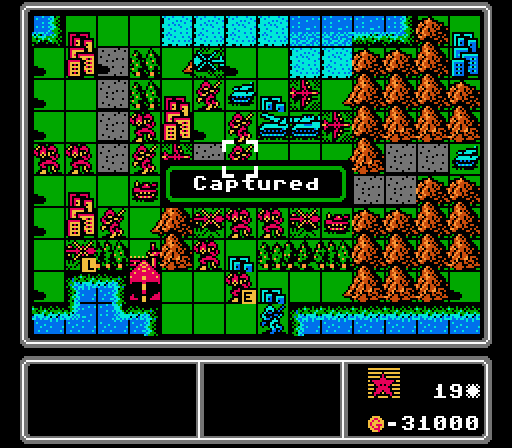
Turn 23
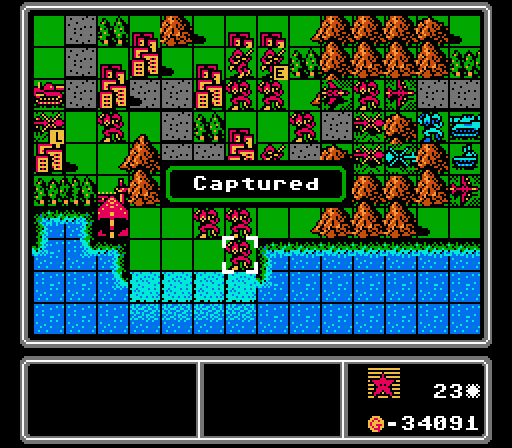
We complete two more city captures, finishing our takeover of the central region.

One copter finishes off another, freeing up space for our fighter to take out the enemy bomber, as our bombers then go after an AA tank, the medium tank, and the rocket. I think we're still going to need some more firepower up here to finish this thing off, however; those mechs aren't going to cut it.

We lose a copter to an AA tank, but this mech also takes out an attacking copter before falling to hits from the rocket and mech. Blue also builds an AA missile.
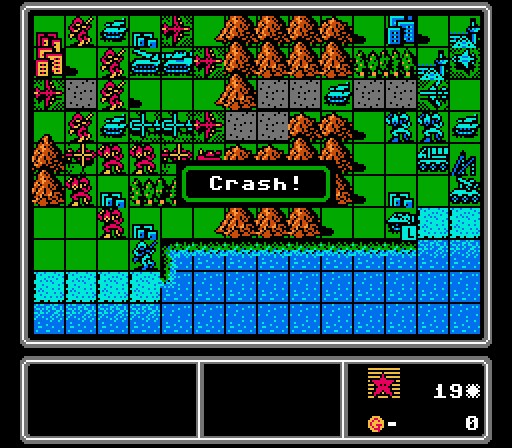
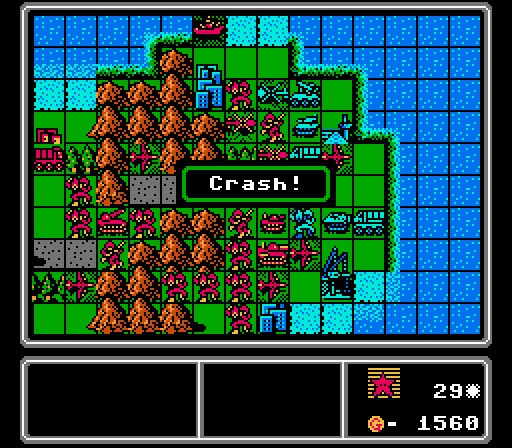
Turn 24
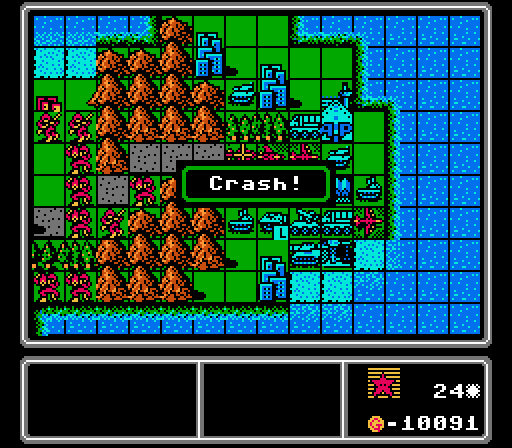
This crash was just a damaged copter, nothing important.
The bombers go after the tanks, killing one. Our fighter, with not much else to do, finishes off this AA tank.
We need to wait for some more reinforcements to really make progress towards finishing this map, but at least that medium tank we built seven turns ago is finally in position to strike. Just have to avoid that rocket.
The rocket fires on our mech in the mountains, while the enemy medium tank, already weakened, hits the fresh mech we put down from a copter ride. The enemy AA tank then clashes with our bomber here.
Blue is using the mountain pass to its defensive advantage now, clogging up the area with vehicles that are protected by a rocket. The AI then puts out a copter and a tank to keep up the clutter.
Turn 25
One bomber chips away at the AA missile, while the other is out of ammo. Meanwhile, the fighter hits the new copter, and the mechs can't break through the pass. I don't want to bring the medium tank up yet, because it'll just be rocket fodder right now.
Not much of interest on the enemy phase. The medium tank finished off our mech, letting a tank through to hit our infantry. The AA missile shot down our toothless bomber, the rocket scratched another mech, and the damaged AA tank barely hit our fighter. Blue does build another rocket; we really need to get through the pass and take care of them.
Turn 26
First we take out the copter with our own copter and some help from our fighter. The enemy copters are still the most annoying units right now, since our ground units and bombers can't really do much to them.
A fresh bomber removes the tank from the pass, freeing up space for a mostly-healthy mech to finish off the medium tank.

Now our medium tank is free to approach the rockets, and Blue doesn't have anything left that can really stop it. We're all but finished here.
We ran another bomber out of ammo, but we're basically through the pass now. The enemy mech fell to our footsoldiers as they passed by.
The rockets hit our approaching infantry, while the tank hits our decoy supply. The only real damage was this AA tank finally finishing off our fighter.
The APC also finished off one of our infantry, which is mildly irritating. More importantly Blue built a mech and not one but two copters, right after we lost our fighter. Annoying!
Turn 27
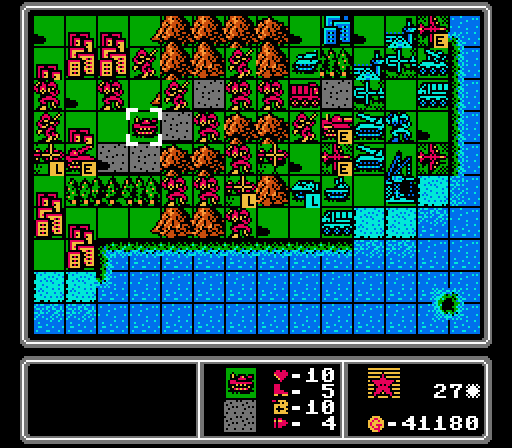
Here's a weird problem. The HQs are so far away that our vehicles are close to running out of fuel by the time they make it all the way out here. Some like the rocket would actually run out if they didn't stop on a city along the way. Here I send the supply truck back to refuel the tank; the supply is also almost out of fuel!
Anyway our heavy hitters strike the rockets and the AA missile, while everyone else just kind of gets in the way. Blue is going to spend most of its funds repairing those rockets, which I would appreciate much more than building more of them.
Our footsoldiers feel the heat and we lose an infantry and a mech to various attacks, while this copter is finished off by the AA tank. Luckily Blue only has enough cash for a tank this turn.
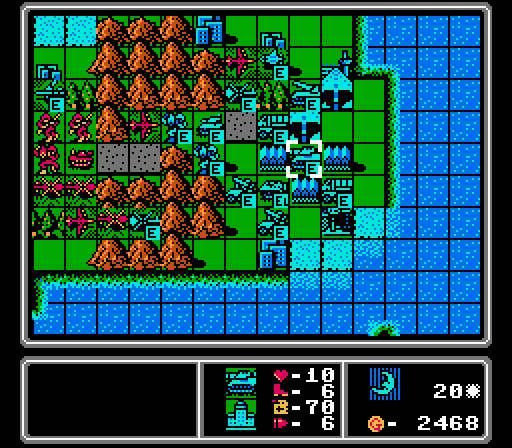
Turn 28
Hey that battleship we built eight turns ago is finally here and able to help with this nasty copter problem!
More bombers have quietly arrived on the scene, and between them and the vehicles and mechs already here, we take out both rockets, the APC, and a copter. The highlighted supply is about to head back to a city to refuel.
Only our footsoldiers are attacked again, and we don't even lose anyone. Blue puts out a mech and an APC to guard its HQ though.
Turn 29
Just another copter, nothing important.
The battleship and copter take out an enemy copter, a bomber finishes off a supply, two bombers and the tank wreck the new APC, and the medium tank and mech kill the new mech. Freeing up the HQ space for this nicely-protected full-health infantry...
We also conveniently take out another supply and a tank with a newly-arrived bomber and a mech. We now have all of Blue's build points blocked, and just a tank remaining. That rocket we built twelve turns ago is finally here just in time to not have anything to do!
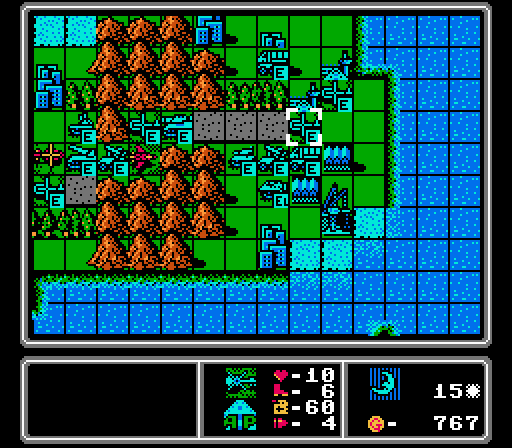
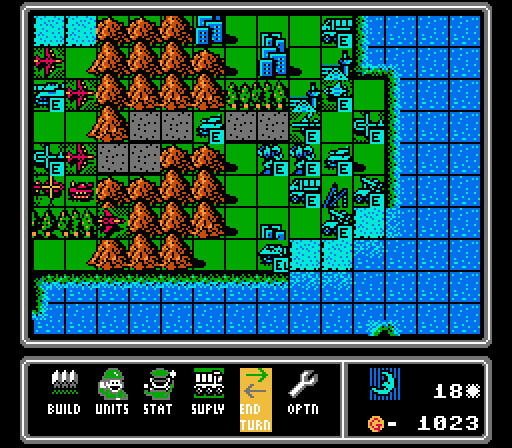
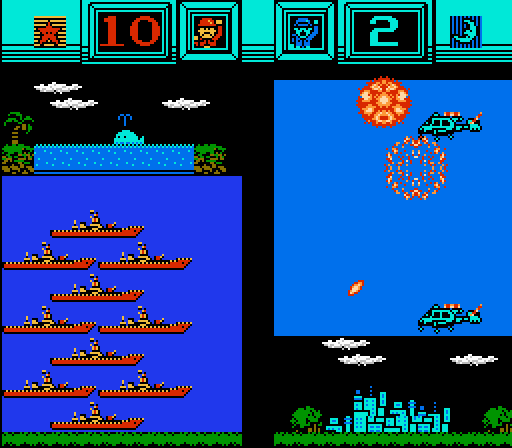
Turn 30
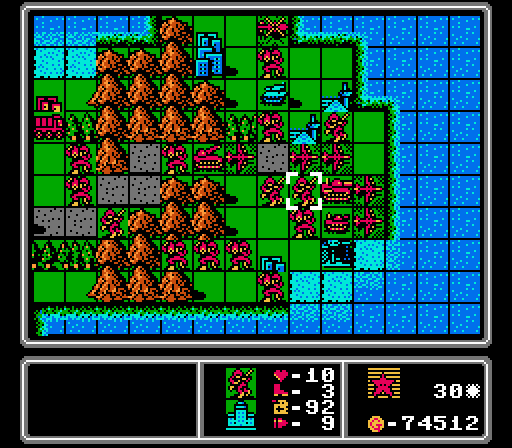
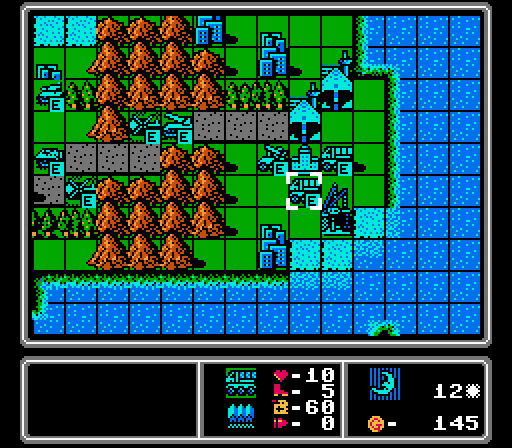
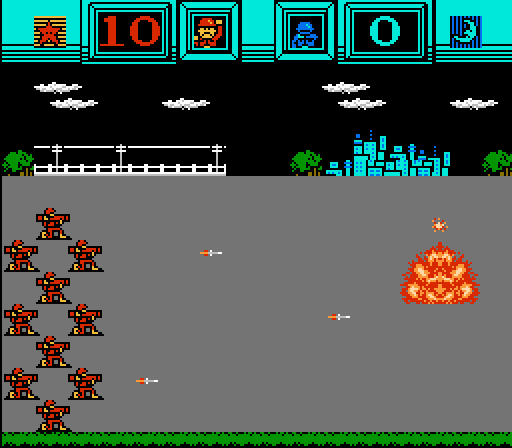
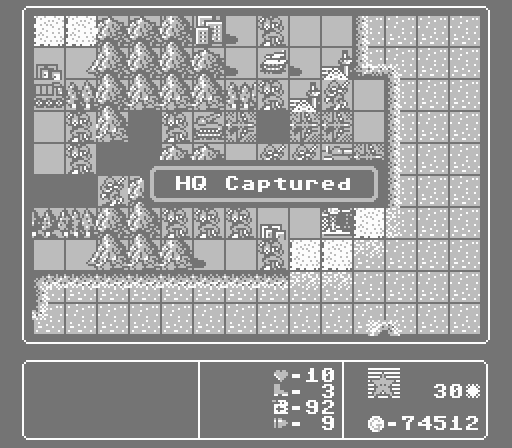
It would be easy to end this map in a rout, but for once we can legitimately win with an HQ capture at the same speed!
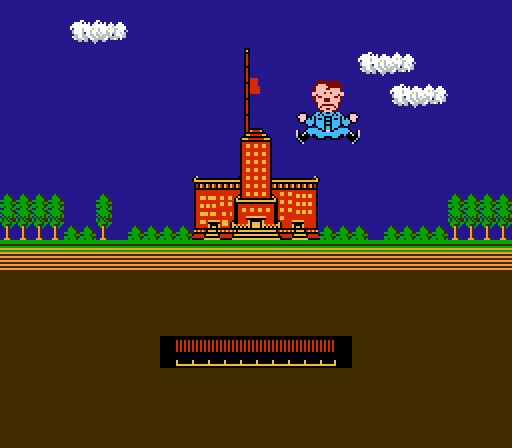
That's an oddly Hitler-looking CO for one of these games.
Victory!
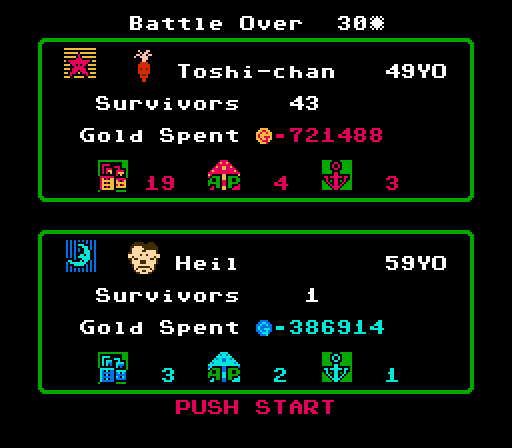
Oh, okay. The enemy CO really was Hitler, I mean "Heil". And our CO was some kind of vegetable, though not the same one the map is named after. From what I can tell "Toshi" is a common Japanese name that has nothing to do with vegetables.
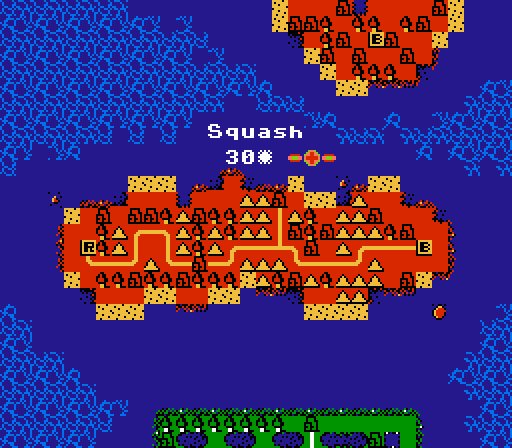
We finished in 30 turns, a bit worse than average but we definitely got slowed down by the challenge forcing us to build so many slow footsoldiers and vehicles on this incredibly wide map.
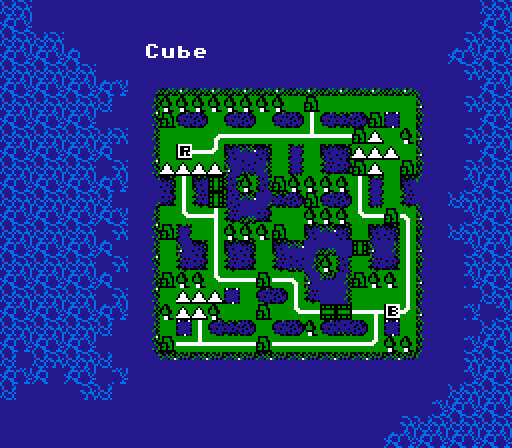
Next up is Cube, a map that at has an interesting layout, with a variety of ground paths and HQs that aren't a hundred miles apart. Our challenge for the next map will be Door Knob 2.0, where every unit type has to get at least two kills. For this map I'm also going to run a little side contest. For those patient enough to wait around and make it through this whole LP that want to participate, reply or private message with a number between 1 and 75 (inclusive) and I'll set it all up.