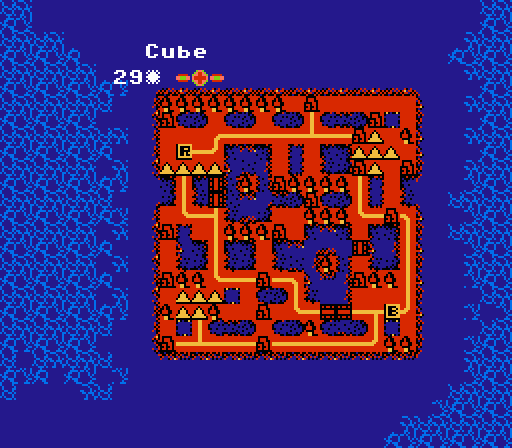
Part 42: Cube (2 of 2)
Part 42: Cube (2 of 2)The Wars World Bingo contest is concluded! See the end of the post for the full list of called squares and the winner, or continue reading to play along!
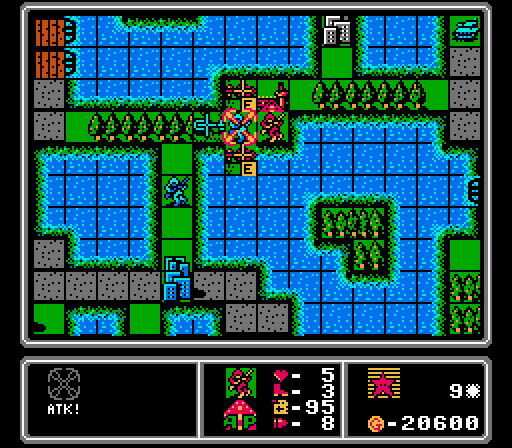
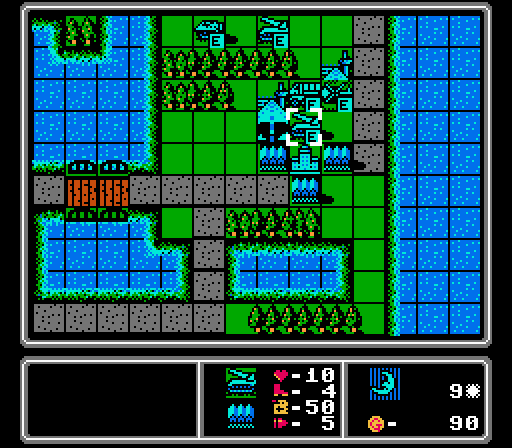
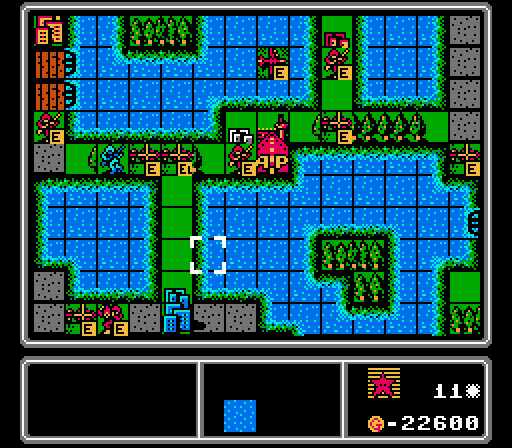
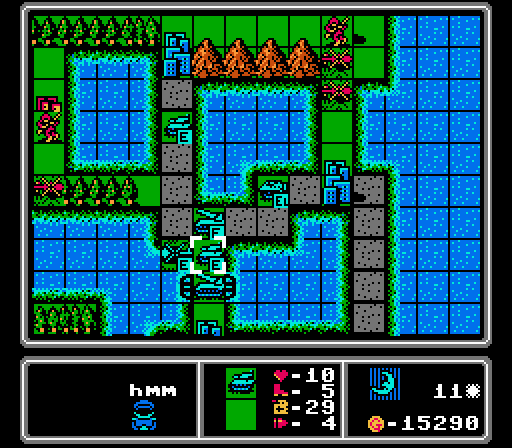
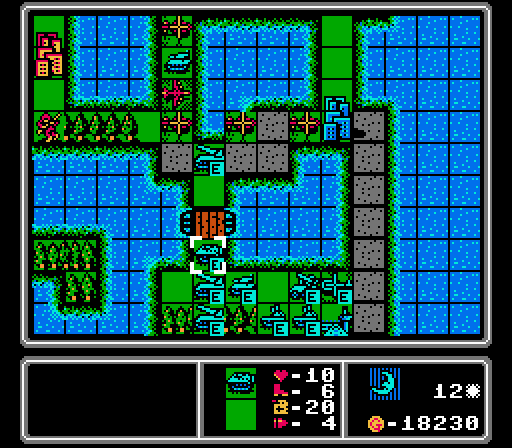
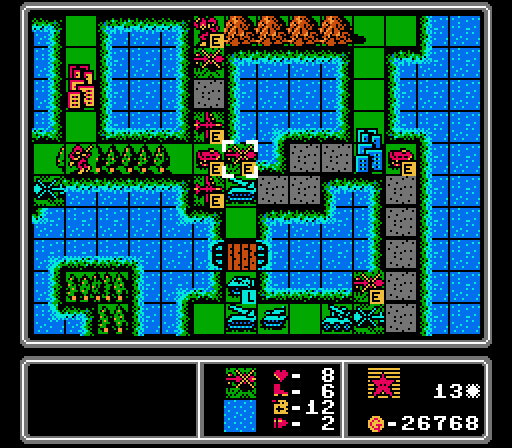
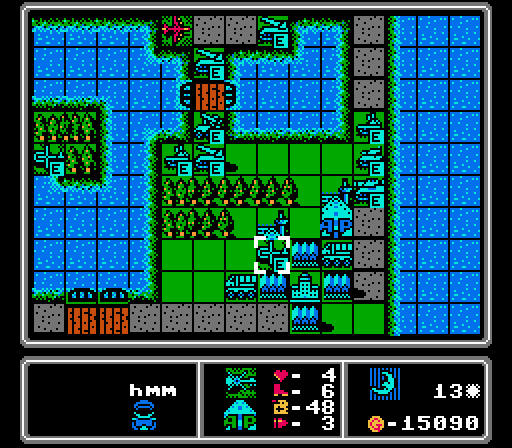
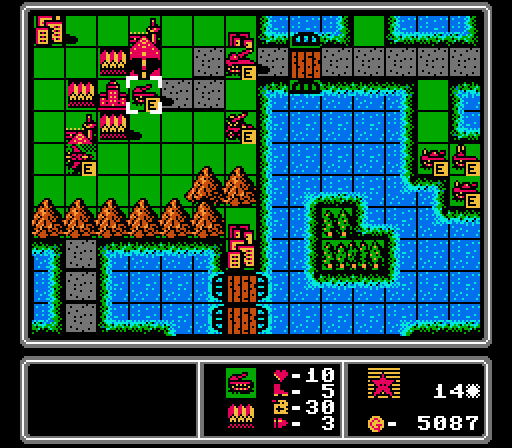
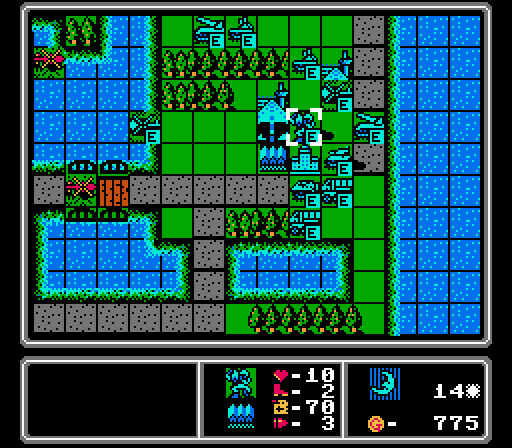
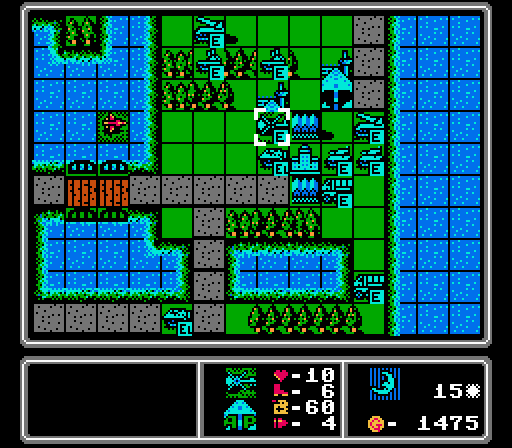
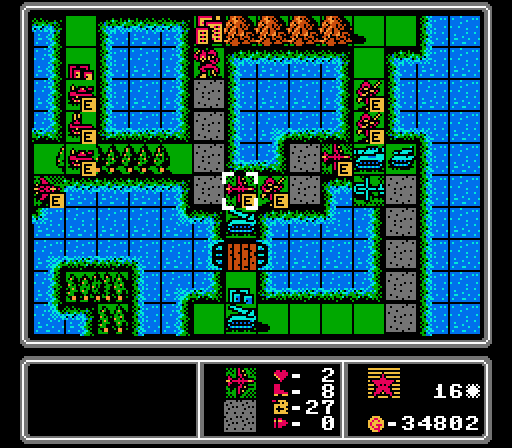
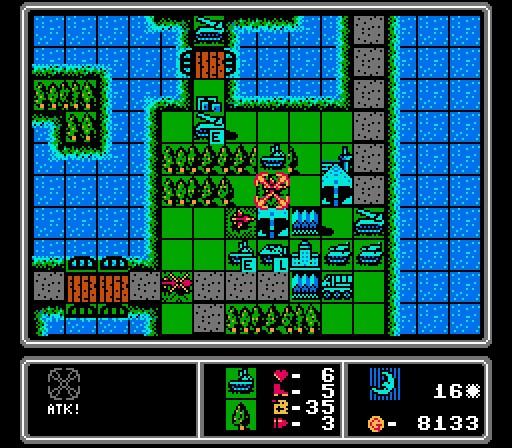
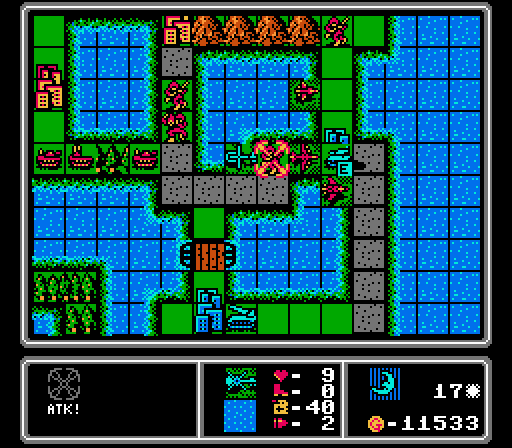
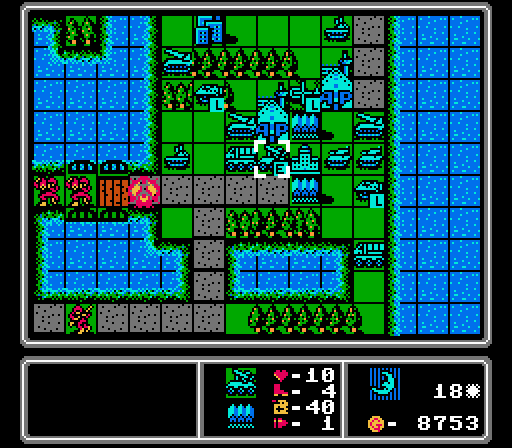
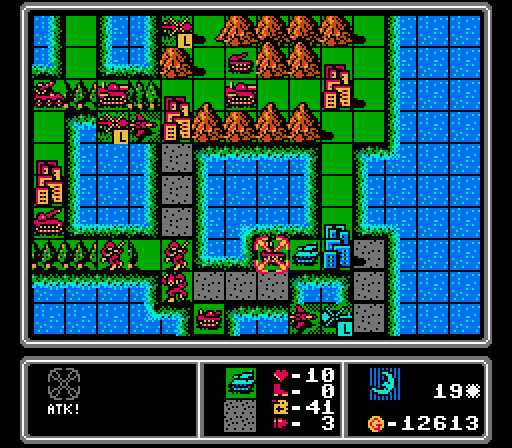
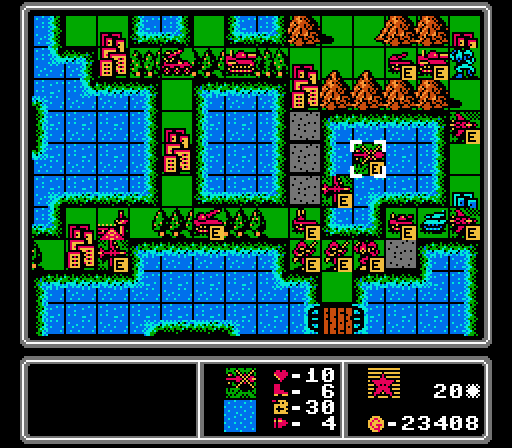
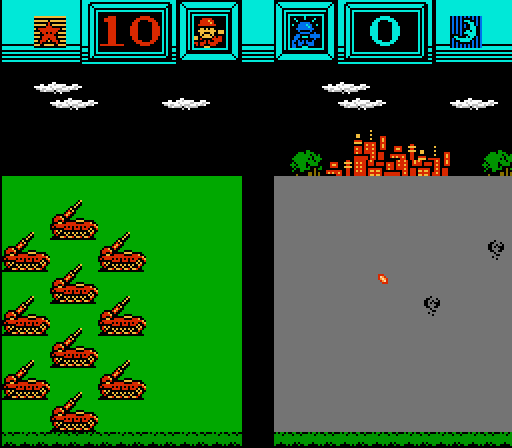
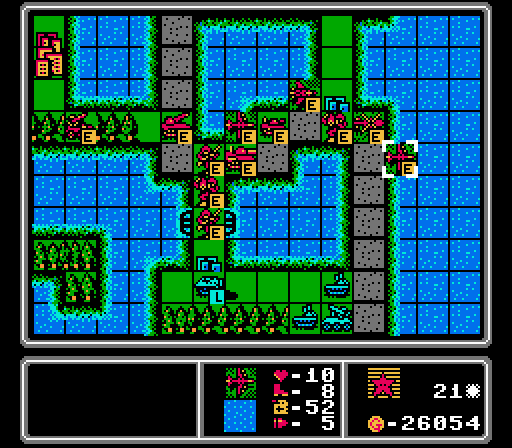
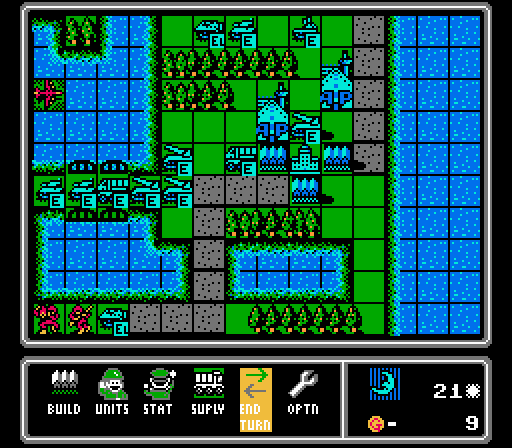
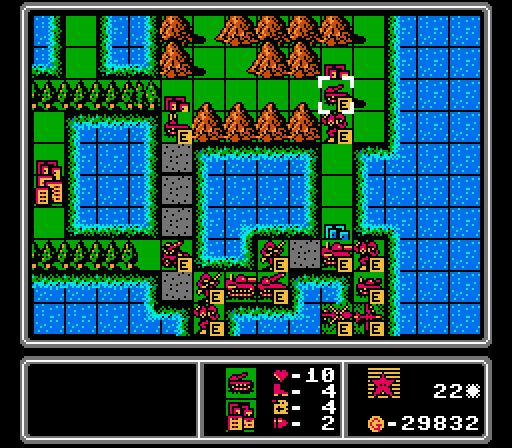
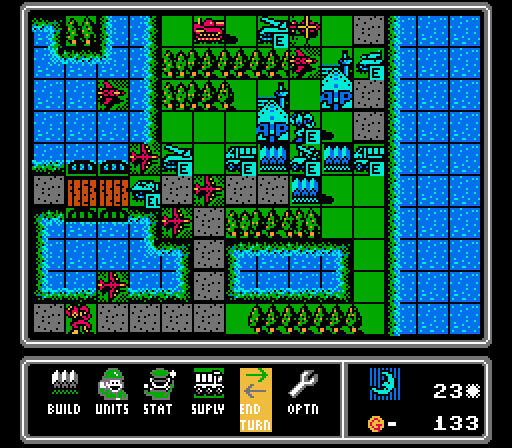
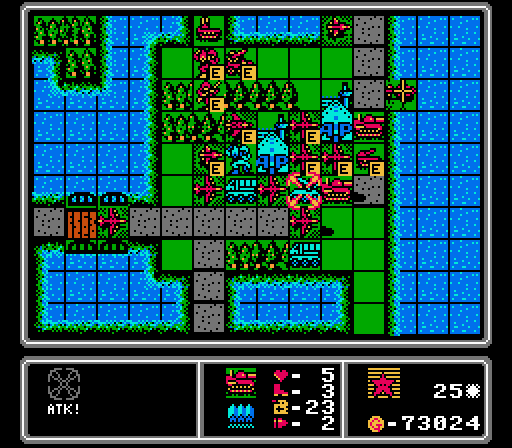
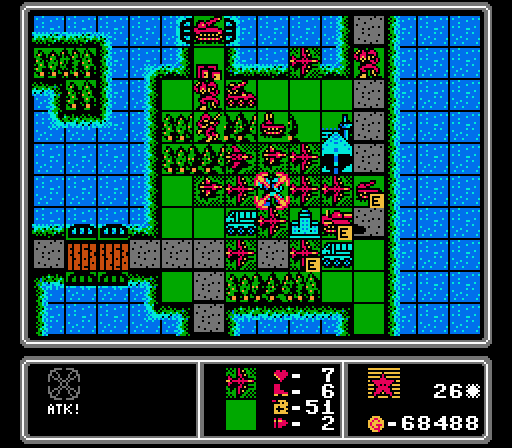
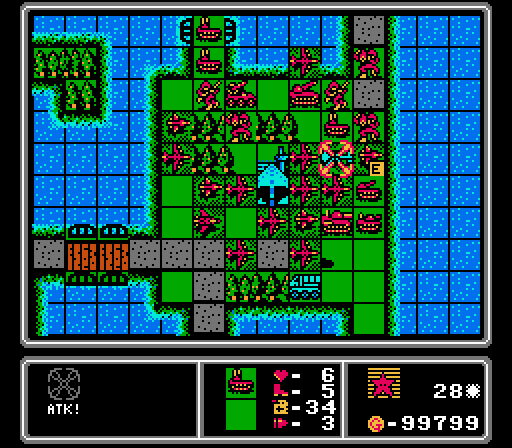
Turn 8
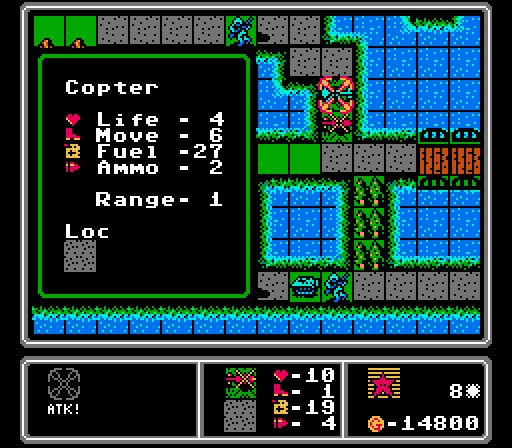
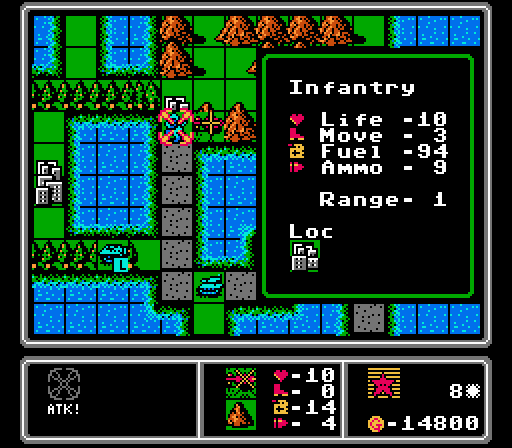
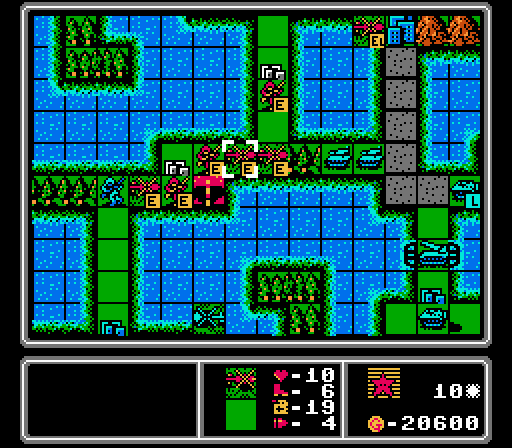
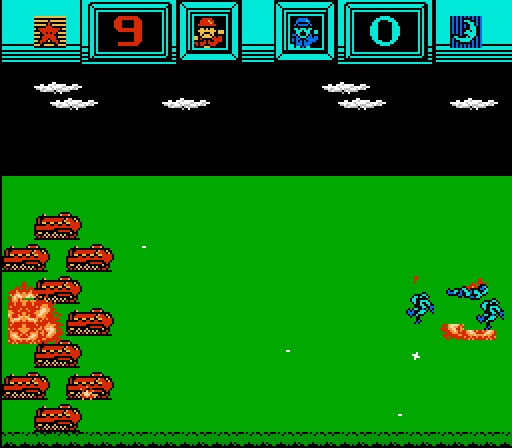
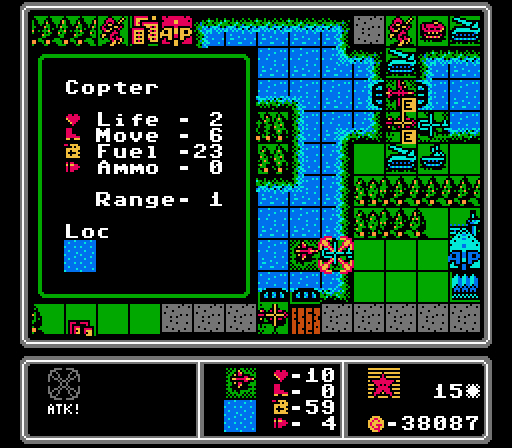
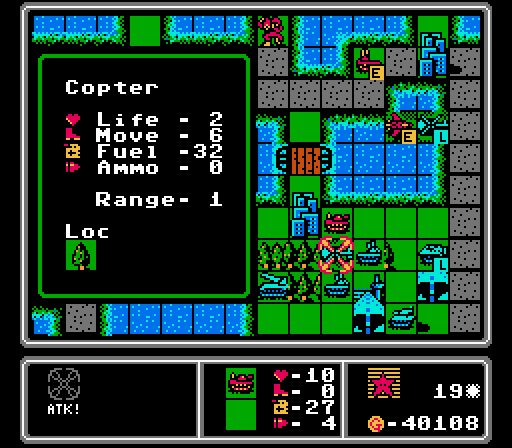
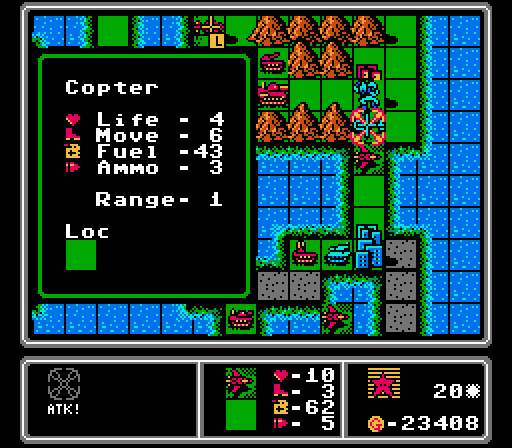
That enemy copter that tried to run away ended up right in range of one of our other copters, leading to the first kill of the map! That'd be square Copter-3 for those playing along.
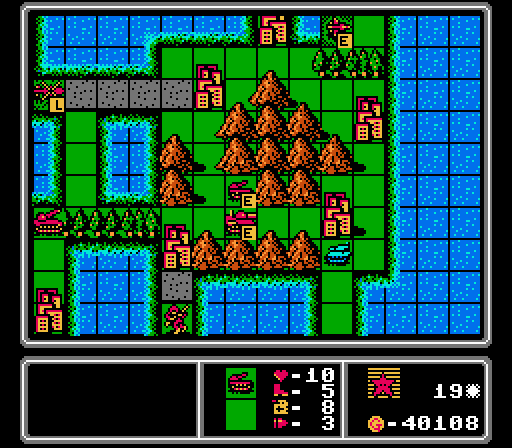
Meanwhile we capture the two remaining neutral airports, plus another city. We've got a solid income advantage now, but there are still 15 cities left to take.
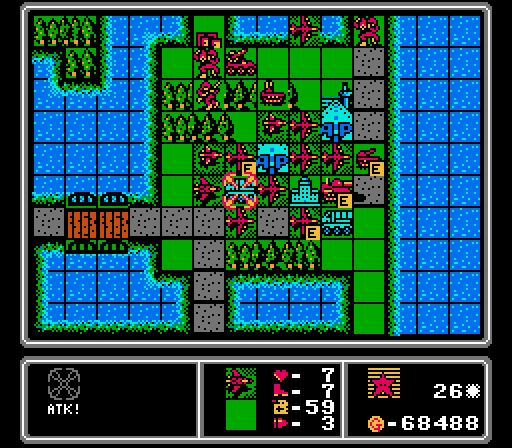
This copter is just trying to slow down the enemy captures in the upper-right corner.
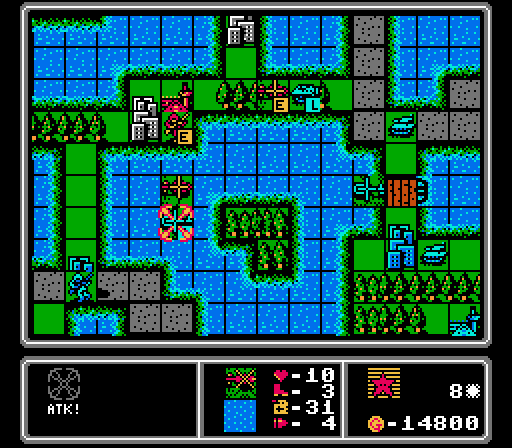
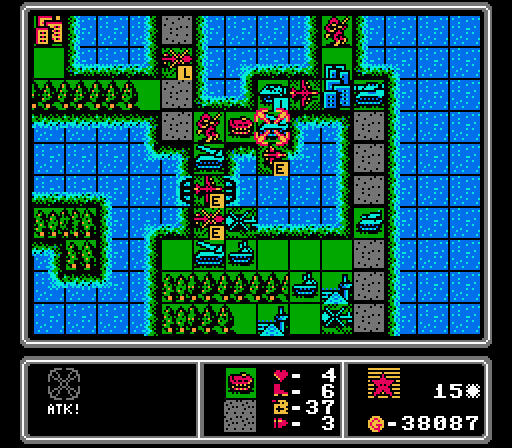
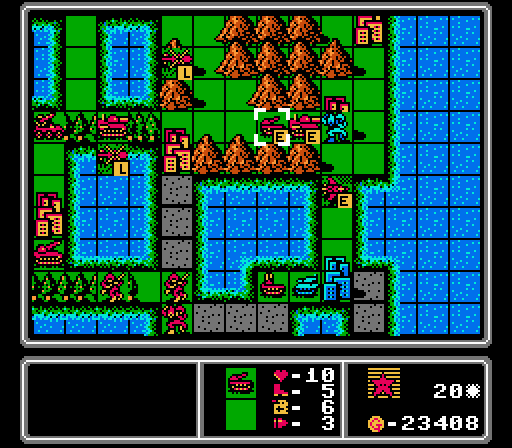
In the center area, a damaged copter blocks off an enemy APC while a fresh copter gets in a hit on an enemy copter that's carrying an infantry.
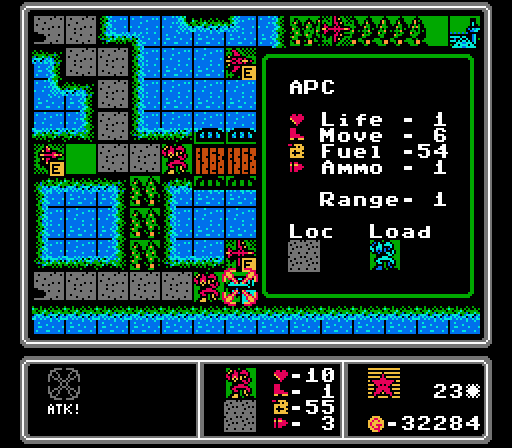
The mechs load up into new copters, and we put out another APC to deal with the encroaching infantry.
The enemy phase has a lot of capturing and infantry movements. The most notable is the copter we just hit dropping off its infantry right next to us at the central airport.

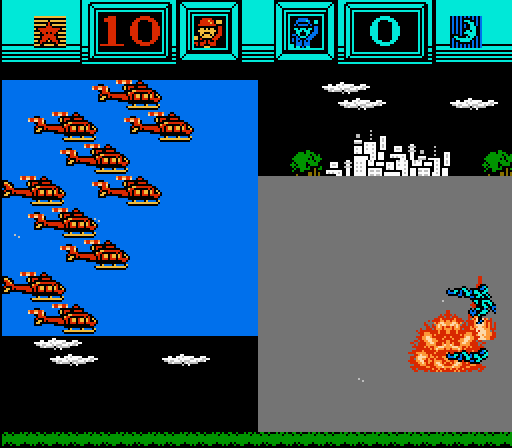
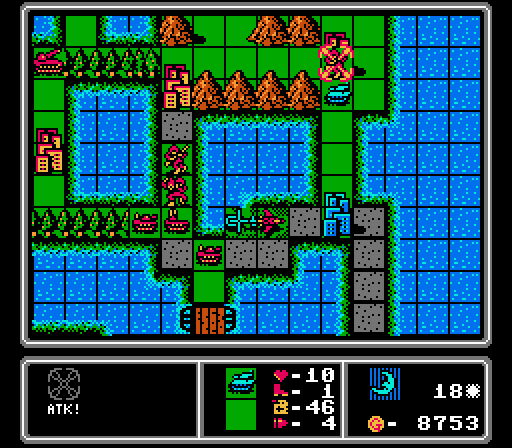
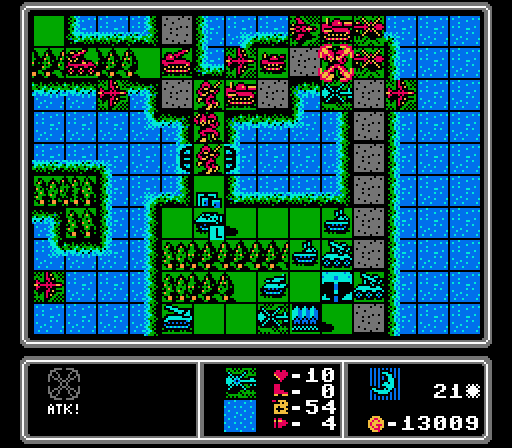
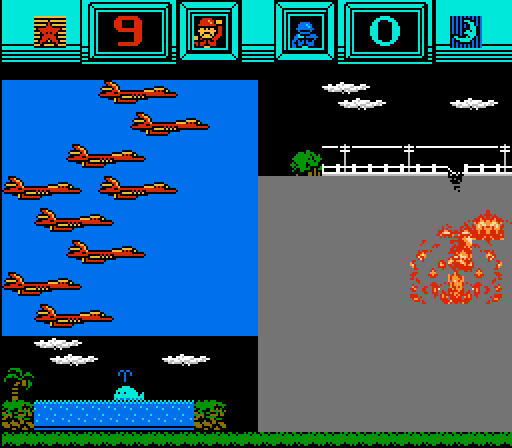
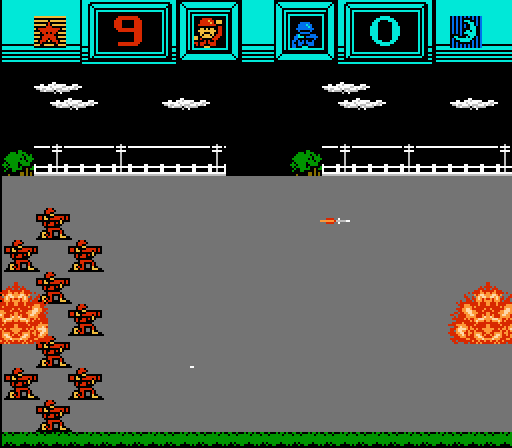
A new rocket for Blue, as the previously-built vehicles keep advancing.
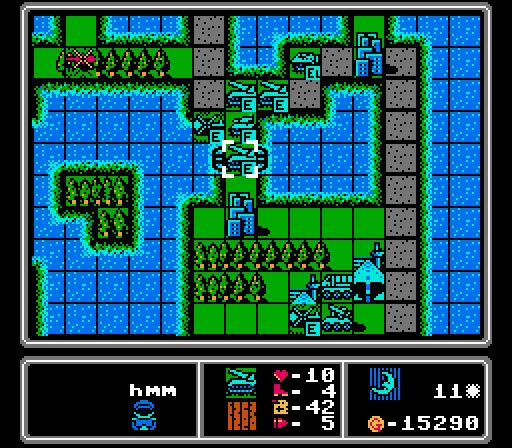
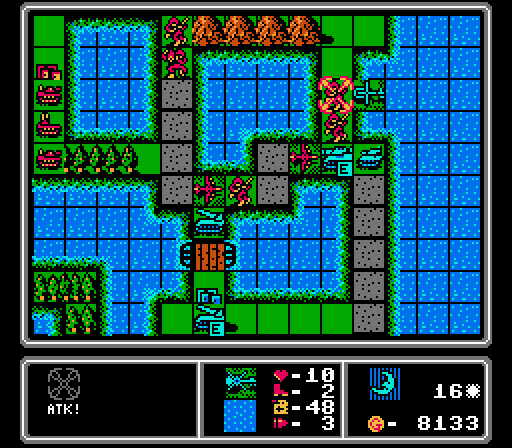
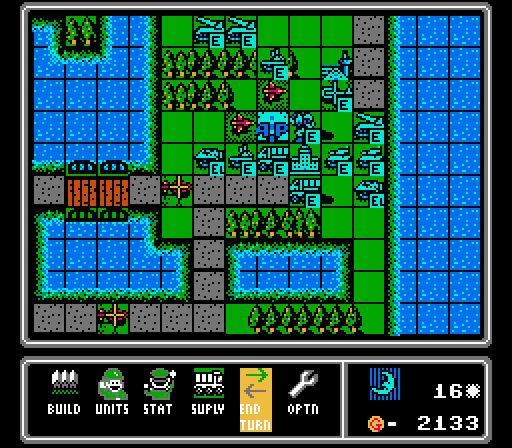
Turn 9
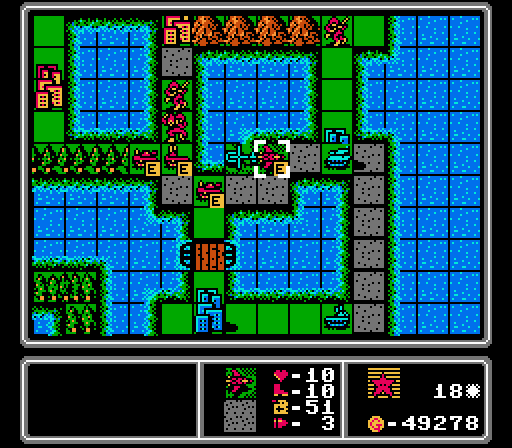
Our two weakened copters sting the enemy infantry here enough for our own injured infantry to grab the kill. Square Infantry-4!

Blue is actually somewhat over-extended here. They've got unsupported infantry that we can try and remove with the copters, and follow up with taking the nearby cities.

Not a kill here, obviously, and that infantry will still finish its capture this turn, but the copter does block the pass so the enemy APC and tank can't get through.
We had enough cash lying around for a bomber so I couldn't resist. In retrospect I might've been better off getting the expensive slow vehicles out first, since they'll take forever to get anywhere.
Those tanks are now within reach of the central airport and the infantry we have nearby. And the enemy rockets aren't far behind them.
Third straight rocket.
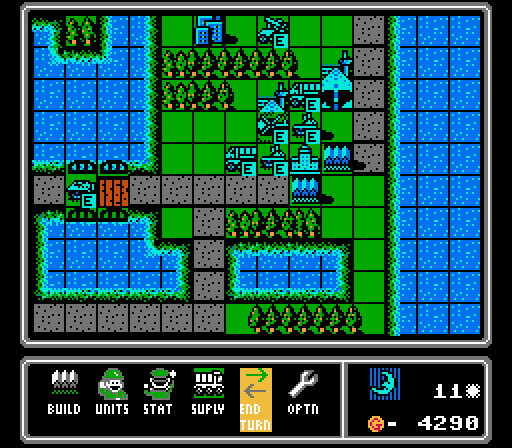
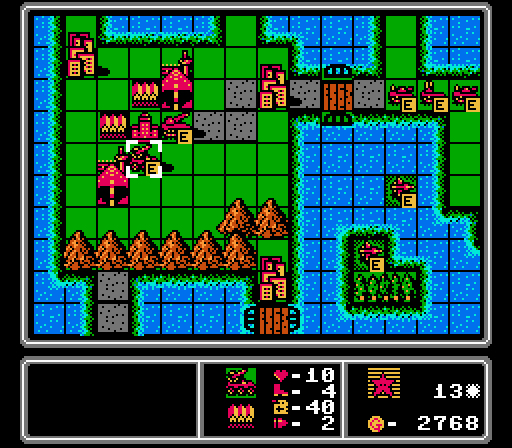
Turn 10
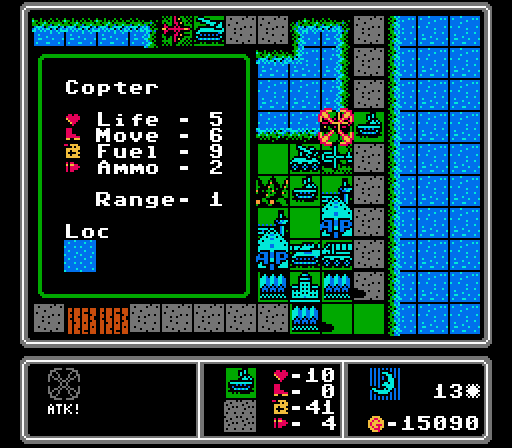
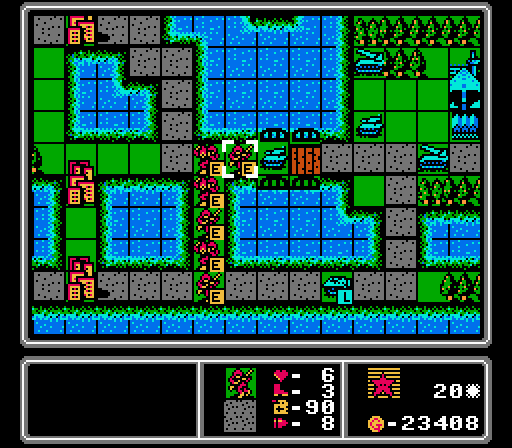
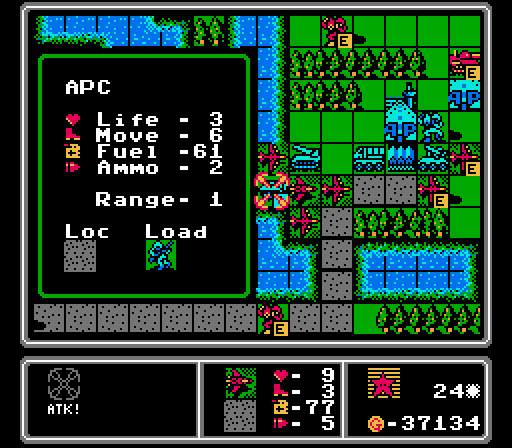
Our first APC is finally in range to strike next turn. Meanwhile our copters keep trying to keep the enemy infantry busy.
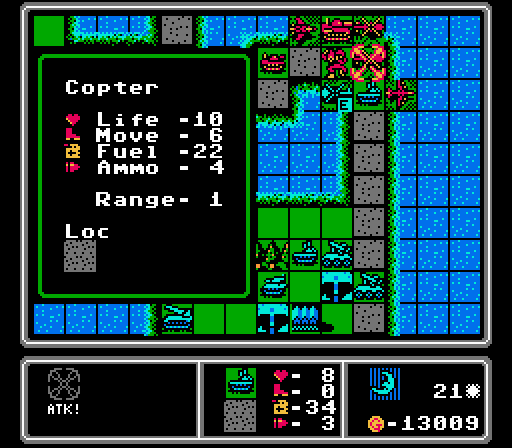
Our copter here is actually carrying an infantry so I wouldn't normally get into a fight with it, but I take a chance here and we're able to finish off this infantry without taking any damage. Anyone have square Copter-5?
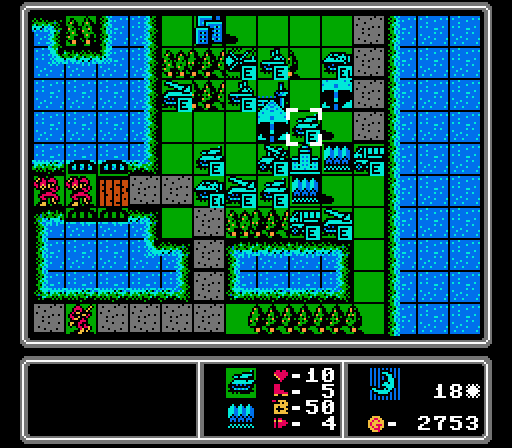
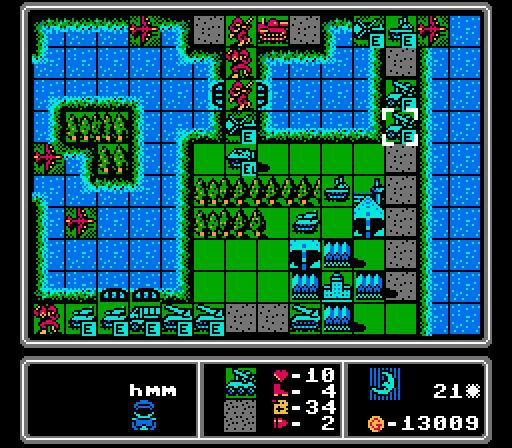
We have two damaged copters trying to block off the central airport, while another copter drops in a fresh infantry to help take the nearby city.
I couldn't resist a second bomber here.
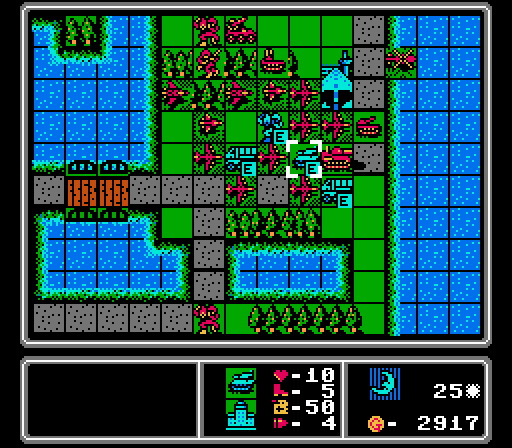
An interesting effect from blocking off certain paths - the AI will often waste time backtracking to go around the blockade rather than waiting for it to get busted. So all the vehicles that Blue has been building lately are still clustered near its HQ.

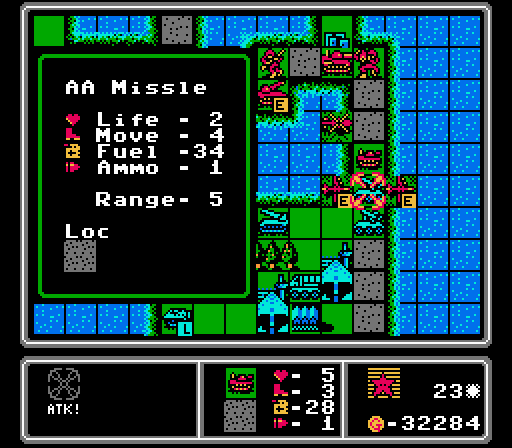
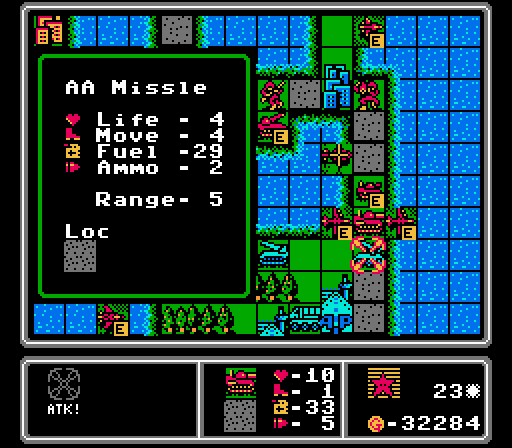
The AI adjusts to our bombers by putting out an AA missile. Way better than a couple of AA tanks.
Turn 11
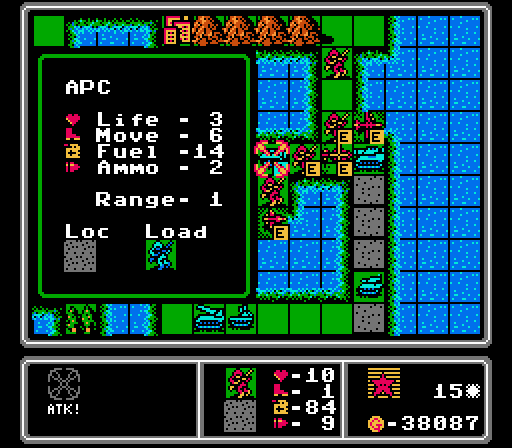
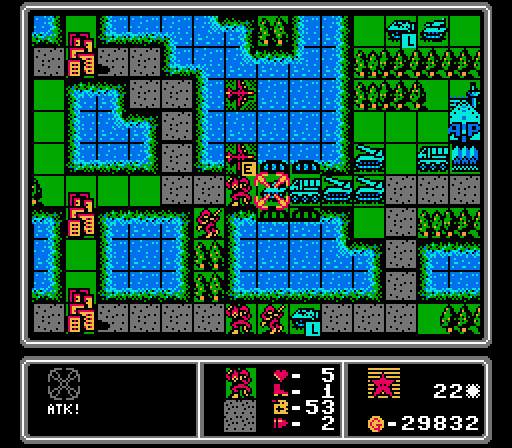
We get in a few more city captures, but more importantly our APC is able to get in on the action by finishing off this infantry. So mark off square APC-1 if you have it!
Continuing the copter blockade while dropping off another infantry to take over these cities from Blue.
Another loaded copter takes the opportunity to finish off a capturing infantry on its way by. So we get two squares this turn - mark off Copter-1!
We're getting the central area under control now. Just a loose infantry to take care of here.
Now we're starting to get out more ground vehicles. Can't have copters and bombers hogging all the kills, after all.
Unfortunately the copter blockade doesn't work as well when you use damaged copters and there are enemy copters around.
The enemy vehicles don't seem to know what to do with their new-found freedom though, only one tank moves past the blockade point.
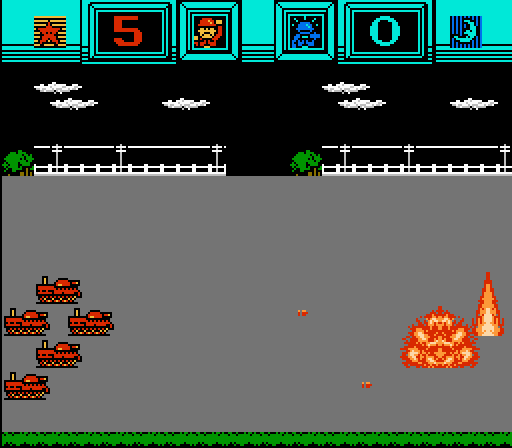
This triple rocket cluster would be a problem if I didn't have a couple of bombers on the way already.
I'll just have to avoid the AA missile from last turn and the two newly-built AA tanks here.
Turn 12
The nearby copters are weak and low on fuel so I had to resort to blocking this APC with an infantry; not ideal but it happens to work out in this case, as the APC retreats.
By the central airport, we're able to finish off the last unit in the area with an infantry kill. That's square Infantry-2 for those keeping score.
Our bomber hits the lead tank while our copters continue their blockade efforts.
We've got the income for a couple of scouts this turn so that's what we get.
The AI can't attack anything and wants to get away from our bomber but doesn't really manage it. Still, we've got the enemy pinned even deeper in their own territory now, and an enemy rocket that's exposed.
Slightly more troublesome than a rocket, but better than enemy planes coming out.
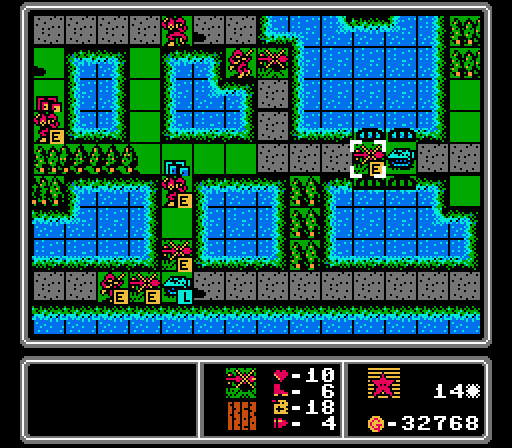
Turn 13

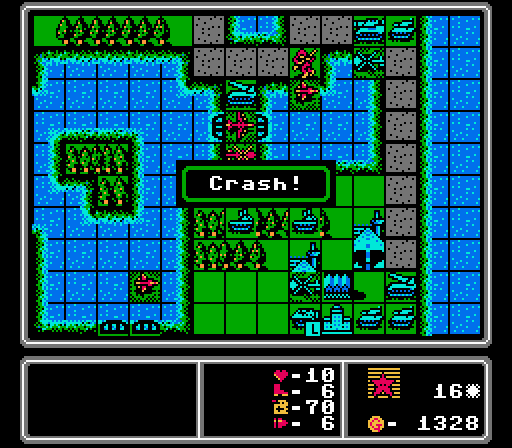
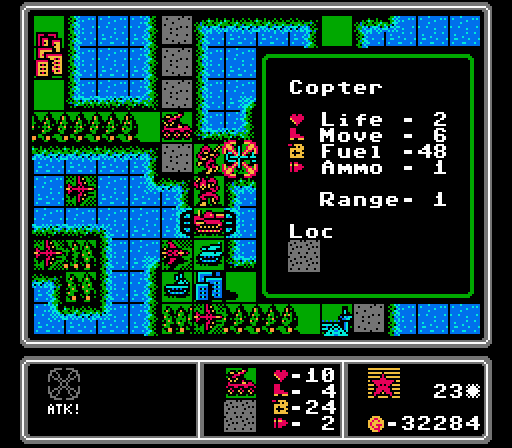
One of our copters runs out of fuel after dancing around the last few turns.
We're positioned to take another few cities on the lower paths, with a couple of APCs both screened away.
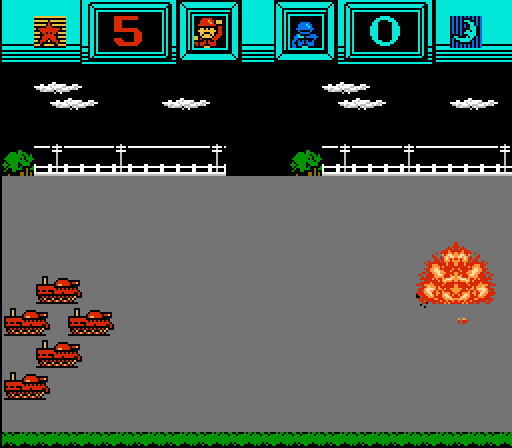
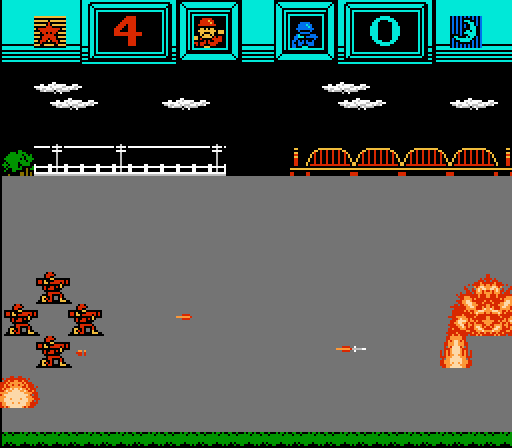
Our first bomber hits the exposed rocket but the second can only reach this tank. It does grab the kill for square Bomber-3.
Continuing to advance and make room for our footsoldiers to keep taking cities.
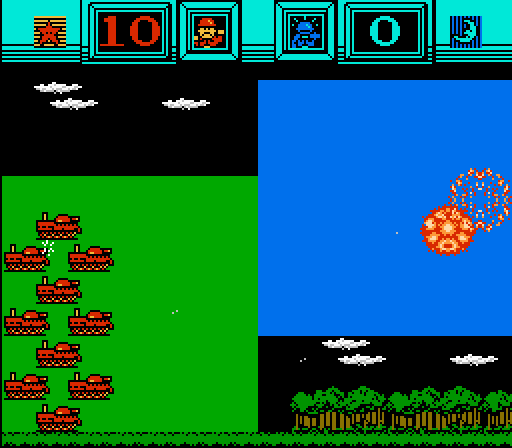
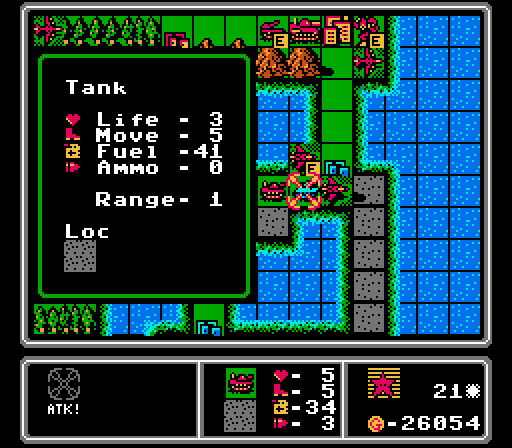
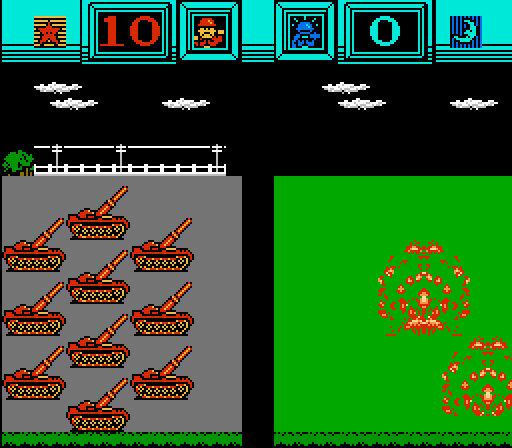
Right about now it occurs to me that we're firmly in control of the map, somewhat close to winning it outright even, and we haven't even built some of our unit types, let alone gotten two kills with them. So I finally put out one of each of our slowest vehicles.
No squares for enemy kills, but the copter I sent into harms way (since it was low on fuel) falls to the AA tank.
Otherwise Blue mainly shuffles around its units ineffectively, and then puts out a fourth rocket.
Turn 14
Our copters continue to herd the APCs away while we take more cities.
I get a little over-aggressive with our APCs here, trying too hard to get them a second kill. Instead they're exposed to rocket and tank fire. Our bombers hit the AA missile and the loaded APC, but again no kills.
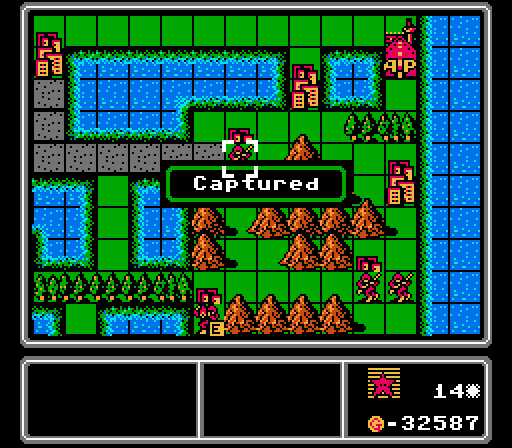
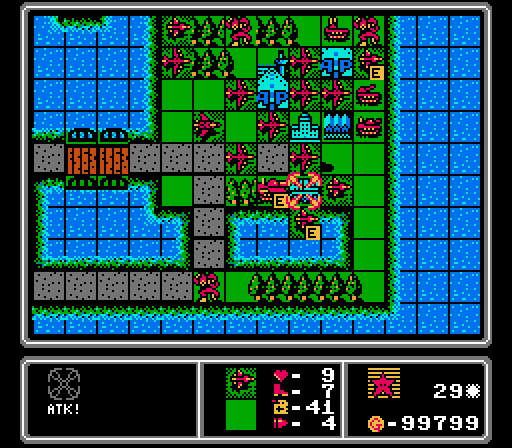
Just showing the capture of the last neutral city, and our total control over the upper-right island. We've taken two of Blue's cities from this island already, too.
Tossing out more units that need kills here. It's a long slow road for those ground vehicles.
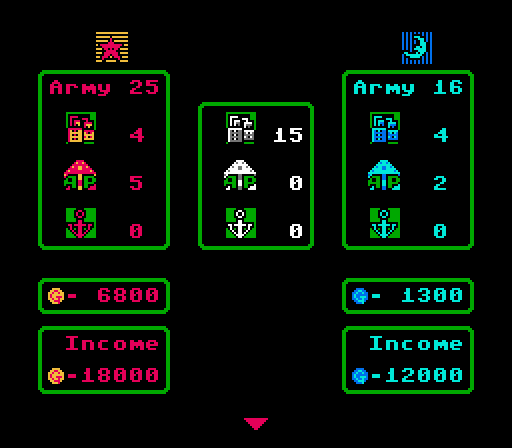
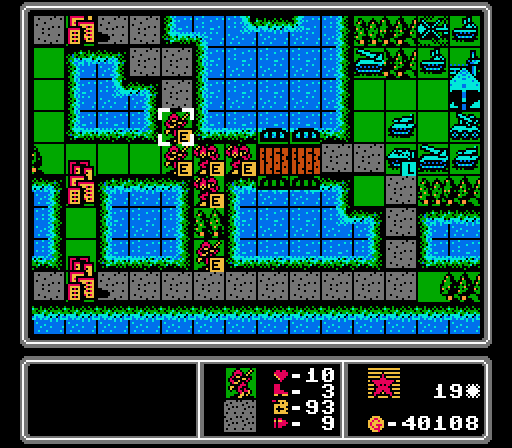
The capturing race is complete, and we easily won here, not only taking all three airports and most of the neutral cities, but even grabbing some of the cities that Blue initially took. If I just threw out bombers non-stop we'd probably be done with this map in just a few more turns.
One APC takes a hit from the rocket as expected, and the other is destroyed by this tank after the AA tank retreats. We also had a couple of copters take hits from another copter and the AA missile, but both survived.
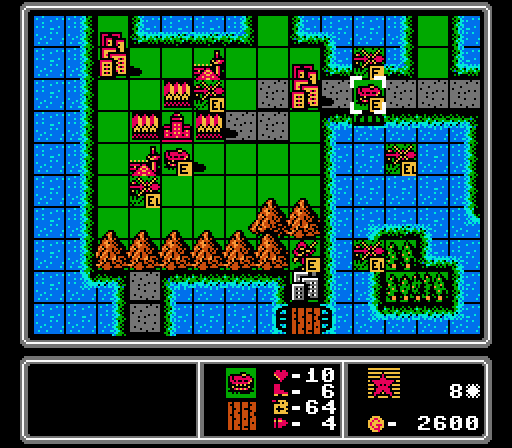
That medium tank will complicate my efforts to take more of Blue's cities here.
Blue doesn't have a lot of income left so throws out a few cheaper units this turn.
Turn 15
Two more copters run out of fuel. I'm going to be running low on them soon since we haven't been building any more lately.
Another bomber kill here, finishing off the AA missile. That's square Bomber-5 for you.

A wounded copter is easy prey for the newly-arrived scout, also giving us square Scout-5.
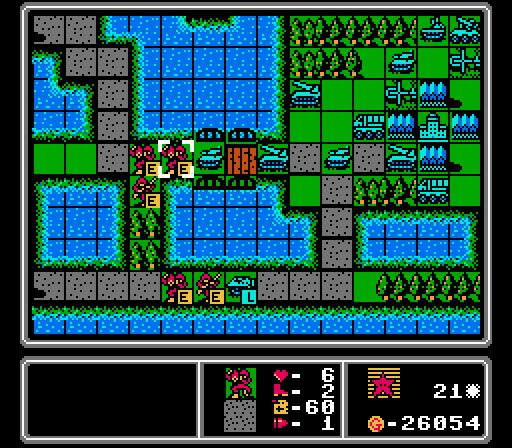
Getting a second scout kill this turn would be a waste, so instead the other scout chips in on this rocket so that the APC can finish it off. So we also get square APC-5 this turn!
But wait, we're not done! This enemy APC got damaged by a bomber strike last turn, and I have a surplus of infantry in the area, so two of them are able to team up to take out both the APC and the infantry it was carrying. Mark off square Infantry-5 as well!
Still herding this enemy APC away while we take over the rest of the lower edge.
Our first medium tanks, plus a couple of mechs since they don't have any kills yet.
Blue gets in a few kills as well, finishing off an infantry and an APC with rockets and then destroying one of our copters with a copter. The medium tank then parks on this city to hit our infantry. It'll be tough to dislodge with what we have in the area right now, but it'll also soak up the enemy funds getting repaired every turn, so it's not all bad.
The AI puts out another tank and copter to harass us.
Turn 16
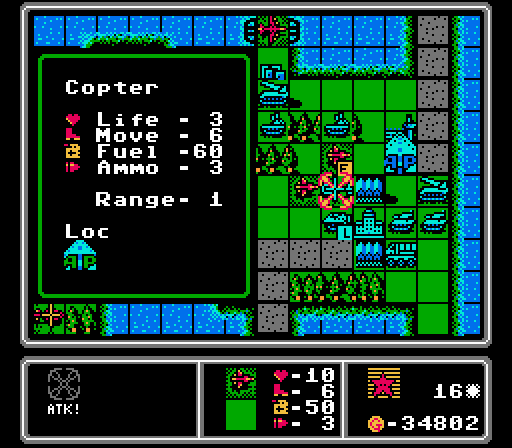
Another pair of copters run dry and crash. That's five total now. I guess the free space on the board is for copters killing themselves.
I only need one more kill from the scouts for the challenge, so they go straight after the newly-built copter, even though they'll be exposed to the AA tanks. Anyway, we get square Scout-1 as a result.
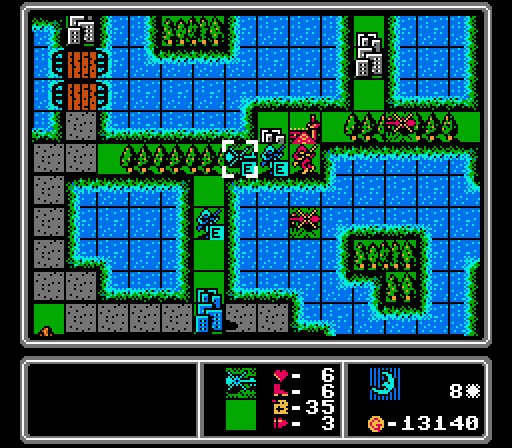
We're suddenly rather short-handed in this area. The bombers take up screening duties but one of them is down to 20% life and no ammo. If it survives the turn I'll probably send it back to the central airport to rearm and repair. You can see in the upper-left corner that our second round of ground vehicles have almost (finally) arrived.
We've gotten all the cities on the lower edge now, and the copters keep driving back the APC. We'll have a footsoldier clog on these bridges soon, since vehicles can't get down there.
We build a couple of copters to carry the new mechs, and then I forget to build anything else. I'm not sure if I was saving up for something or what here.
I thought I had plenty of infantry here, but one gets hit by a rocket, another is almost killed by the medium tank, and the third loses half its life to a copter here.
Both of our scouts get hit by an AA tank, but both survive.
Blue continues to cluster around its HQ and then builds another copter and a mech.
Turn 17
Both copters here are almost out of fuel, but they've done their job in pushing the APC back and covering for our footsoldier advance.
The bomber can't quite finish off this medium tank, but it does get in enough damage for an unconventional fighter kill here. Go mark off square Fighter-2 if you have it!
I'm actually baiting the rockets to advance here, since there aren't any other vehicles around to support them. We'll see how it goes.
I think I have the ground vehicles covered for the challenge at this point, so put out a couple more planes to help with battlefield control.
The enemy tank and copter each finish off an infantry, but luckily there are no other enemy units around to take advantage of the break in our lines.
The rockets don't take the bait, choosing to hang back and wait for us to approach, along with almost everything else. The only other attack here was an AA tank hitting our low-fuel copter. The AI wraps up the turn by deploying a new AA missile.
Turn 18
Copter crash #6, the lower one this time.
A quiet turn as our vehicles carefully approach. Our fighter attacks the enemy copter but can't finish it off.
I tried to have the other copter bait the AA tank into mech range, but forgot about the AA missile.
We lose another infantry here. There's a loose tank in our territory now, but I've got some vehicles on the way that are dying to get in some kills.
Blue continues to consolidate its units into a tough knot around its HQ, and puts out another tank.
Turn 19
Our footsoldiers on the lower bridges have lost their screens, so I sit them out of rocket range to see what comes out.
While our scouts retreat for repairs, I set up a trap here for the enemy tank.
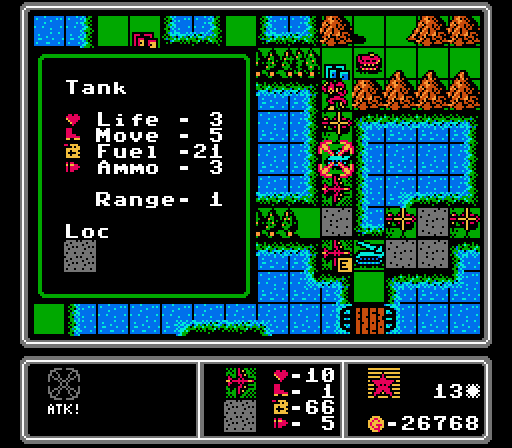
I'll probably lose this tank to rocket fire later, but I wanted to take the opportunity to get in a kill on this damaged copter. So you can mark off square Tank-4 now.
Yup there goes the tank.
Oh shit I didn't see this opening at all. Our AA tank gets wrecked. That's the only one I've built and it hasn't gotten any kills yet, so this hit is a real setback.
Another tank comes out to challenge our footsoldiers.

I hit this copter with a fighter earlier on this turn, and it still tosses its passenger down right in front of our medium tank. Okay then.
Blue's got enough money to throw out another AA missile, and I see a loaded APC trying to sneak by on that lower bridge, too.
Turn 20
A second figher arrives on the scene and takes the opening to finish off this copter for the second fighter kill and square Fighter-5.
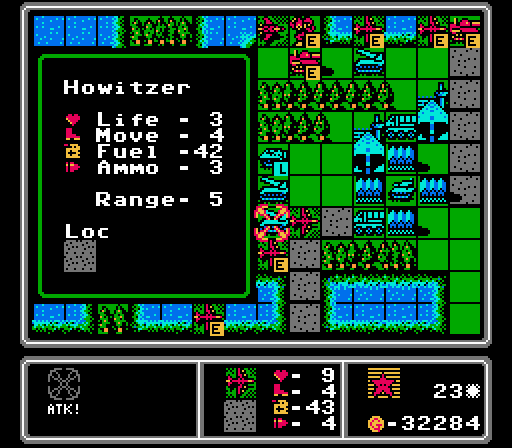
Apologies if you wanted a medium tank kill here, but those are easy to come by and I'd rather set up an artillery kill on this mech if possible.
I already have enough infantry kills for the challenge, so they sit out front to protect the mechs for now.
The enemy tank is pinned as our AA tank retreats for repairs.
Just building some more anti-air units to try and finish off the challenge.
Blue is pushing harder on the lower bridges now, sending in another tank and rocket support before building a pair of copters.
Turn 21
The artillery gets the kill here, though it needed some help from our mech first. Anyway you can mark off square Artillery-1 now.
Our fighters don't have much to do, so soften up this tank to get our second tank kill, and square Tank-1.
Our footsoldiers are stuck, I'm going to need to send them some support or we'll have a breakout here soon.
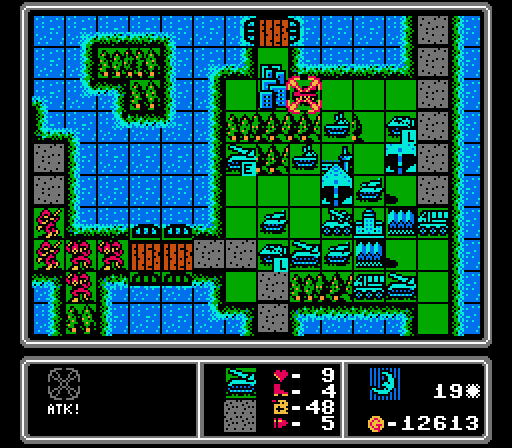
With the rockets all focused on the lower bridges, we get some more vehicles onto these bridges.
I can't catch a break with this city as the enemy copter hits our mech before it can even start a capture.


The rocket and tank finish off one mech, opening up space for another tank to cross the bridge and fire on another mech.
A fresh copter draws out an AA tank, which I guess is good news?
The AI has all its anti-air units focused on the upper bridges, and all its anti-ground units focused on the lower bridges. Good time to switch things up.
Yet another rocket.
Turn 22

Some fresh bombers have arrived, and immediately take out one of the tanks. That's square Bomber-2 for you. (I think that's the first square I've called that's not on anyone's boards, actually.)
The open space lets us advance a mech to finish off the other tank, giving us square Mech-2 as well.
There's a second mech kill here after a bomber softens up the AA tank, which helps my challenge but doesn't help anyone's cards.
We do set up a copter kill for our medium tank, however. So there's another square after all but it's square Medium Tank-2.
This artillery has spent the whole map just trying to the other side of the map and has almost run out of fuel. It'll get a resupply from the city next turn. Maybe I should have built a supply truck.
The rockets and APCs finish off a couple more infantry on the lower bridges, but with the bombers here we'll have the situation under control soon.
We take a couple more hits on the upper bridges but nothing too threatening. A copter was shot at by an AA missile, a fighter was hit by an AA tank, an infantry was fired upon by a damaged copter, and a tank challenged our medium tank. Blue then builds a new tank.
Turn 23
The enemy copter wandered right into range of our AA missile, finally on the scene. That'd be square AA Missile-3 if you have it.

This enemy tank also put itself right into rocket range, and the damage it took from attacking our medium tank last turn is enough for the rocket to get the kill here, and square Rocket-3.
Our medium tank, meanwhile, is able to break into Blue's home island, park itself on a city, and finish off this AA tank. So we get another square, this time Medium Tank-3.
After some setup from the nearby bomber, our mech on this lowest bridge is able to finish off the APC and its passenger. That's square Mech-3 for you.
More bomber prep lets our tank advance and take out this AA missile, also netting us square Tank-3.
It's not a new square, but our other medium tank is able to roll forward and destroy the second AA missile here.
Likewise we already had this square from ten turns ago, but I'll show you the bomber blowing up this rocket anyway. That's actually the seventh kill this turn!
Blue merges together a couple of rockets, fires on our medium tank with another damaged rocket, kills off our mech with a loaded APC, and builds a new AA missile.
Turn 24

That damaged rocket falls prey to our own rocket, giving us square Rocket-4.
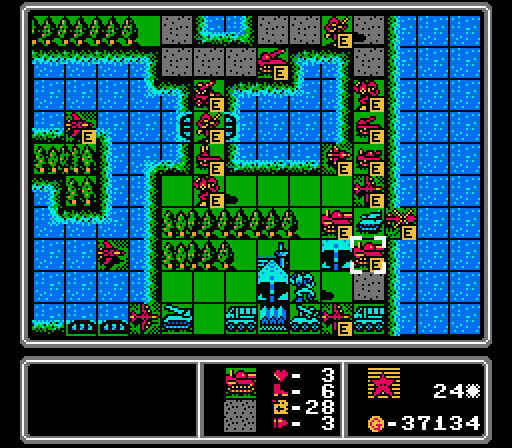
We're advancing down both of these upper bridges now, storming Blue's HQ area.
After some more bomber prep, a fighter finishes off this loaded APC. That's square Fighter-4 for you.
More bombers buzzing around end up with a kill on this rocket and square Bomber-4.
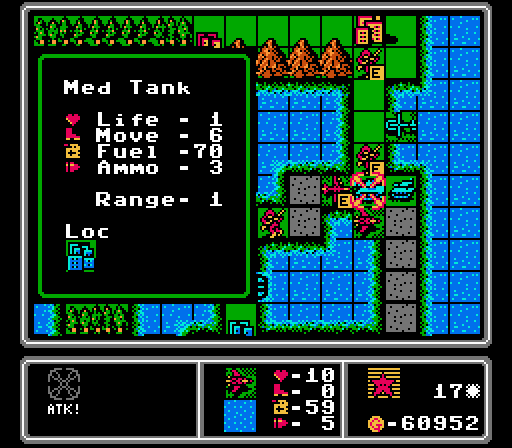
This trapped tank kills itself on our medium tank, but that's good enough for square Medium Tank-4. I think that's our first square from the enemy phase.
I've got enough bombers around to finish off the map, but for the challenge we still need to get two AA Tank kills, an AA missile kill, and an artillery kill. I'm going to need to encourage the AI to build more copters I think.
Turn 25
With five enemy units left and a bunch of our bombers hanging around, it'd be pretty trivial to finish the map now. But we have more to do for the challenge. I'll be brief from here though.
This tank could cause problems for our anti-air units as they approach, so I use the bombers to eliminate it. No new square for that kill, however.
Similarly, the AA missile could hit all our air units that are mostly busy blockading ground units and deploy points, so it also has to go. We do get a new square this time, Medium Tank-5.
The AI put out a new tank but left its airports unused. We'll still make use of it.
Turn 26
Lost another copter and a fighter this time.
The new tank is the perfect target for our artillery (after a bomber and a medium tank damage it first). That's another repeat square, but we needed that second artillery kill for the challenge.
We also clean up some of Blue's other units, getting bomber and fighter kills in for squares Bomber-1 and Fighter-1.
I need the AI to build copters to finish off the challenge, so I blocked every other build point except the airports. For some reason Blue only built one copter, but I can work with that. Also note how I left a supply truck alive on the outskirts of the island - it's actually useful to have it as the last unit here, since it can't attack so can't inadvertently destroy itself on the enemy phase.
Turn 27
The AA tank finally gets in on the action, finish off a copter after the scout damaged it first. We haven't hit the fourth column much, but this square is AA Tank-2.
Turn 28
Next turn is a repeat - the AI built just one copter, and we take it out with the same AA tank, for square AA Tank-3 this time.
Turn 29

Finally, we have the AA missile shoot down the lone copter that was built last turn, finishing off the challenge and getting us square AA Missile-4.
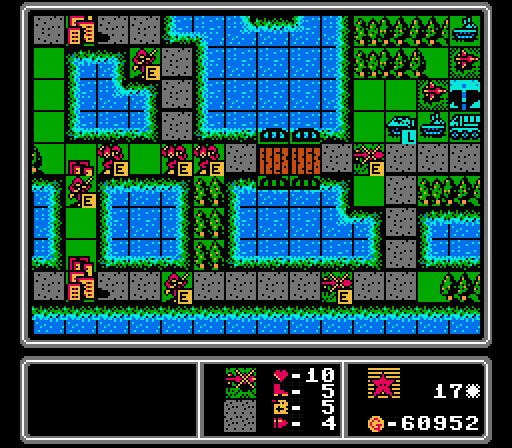
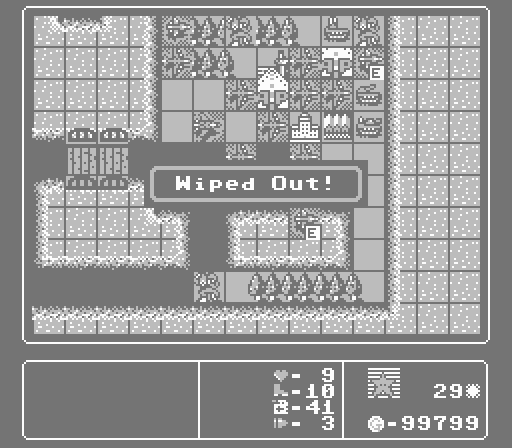
We still have to finish off this supply to end the map, so I hand it off to one of the scouts for square Scout-4, the last square of the game. Looking at the data, six of the seven entries got a bingo, with 36 total squares called. Much better than I was fearing when this update first started.
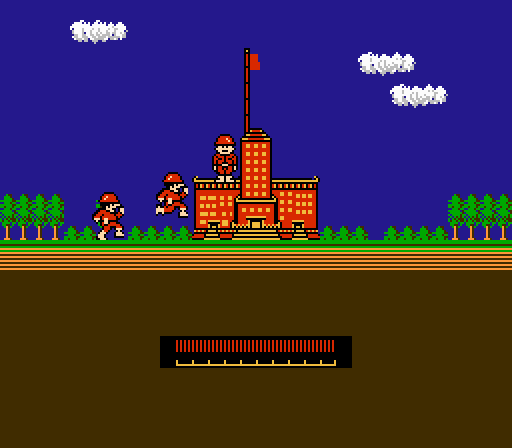
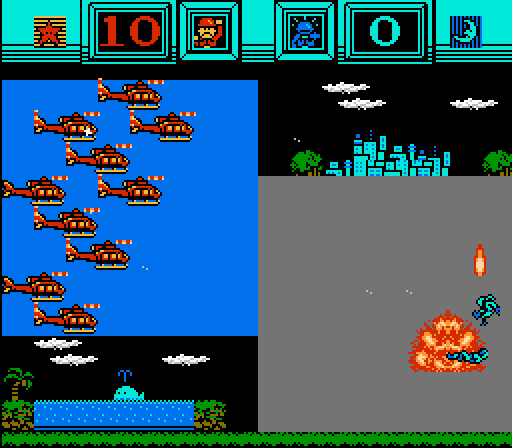
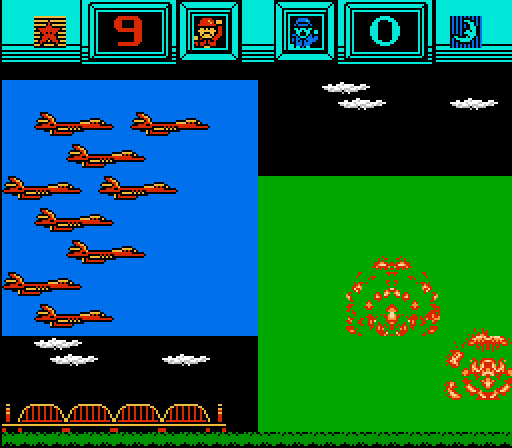
The usual post-victory celebrations.
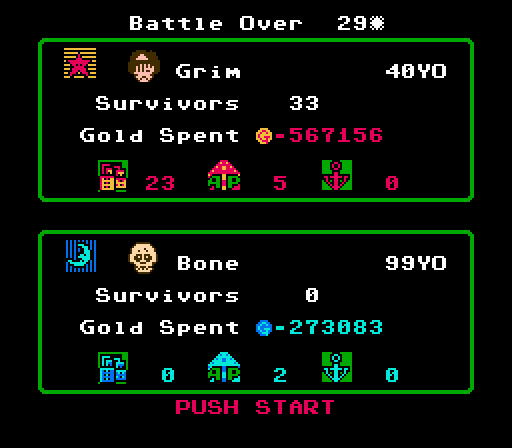
I suppose the dark CO's here are fitting for this map that was so focused on death. The enemy CO is apparently so old he's just a skeleton, at age 99.
So, 29 turns is frankly terrible for this map. You saw how set up we were for victory at half that total. The average timeframe is 23 days, and I think we could've easily beaten that without the challenge forcing us to build some sloooowww vehicles and wait for them to get all the way to the front lines.
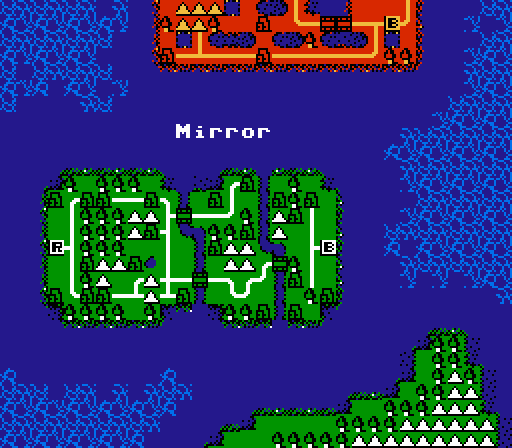
Our final map is Mirror, and I will be attempting the suitably appropriate Mirror Mode 2.0 challenge. What does that mean? Well, I can only build what the AI builds. Including the first turn. Should make for an interesting start to the map; I'll call the challenge complete once I can park a unit on the enemy HQ.
-----
Called squares, final list (winner: Marluxia): Copter-3, Infantry-4, Copter-5, APC-1, Copter-1, Infantry-2, Bomber-3, Bomber-5, Scout-5, APC-5, Infantry-5, Scout-1, Fighter-2, Tank-4, Fighter-5, Artillery-1, Tank-1, Bomber-2, Mech-2, Medium Tank-2, AA Missile-3, Rocket-3, Medium Tank-3, Mech-3, Tank-3, Rocket-4, Fighter-4, Bomber-4, Medium Tank-4, Medium Tank-5, Bomber-1, Fighter-1, AA Tank-2, AA Tank-3, AA Missile-4, Scout-4.