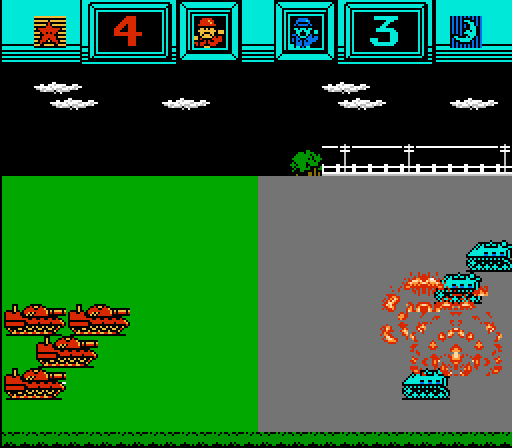
Part 44: Mirror (1 of 2)
Part 44: Mirror (1 of 2)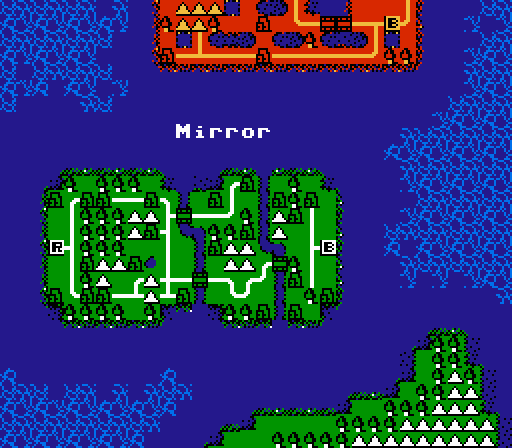
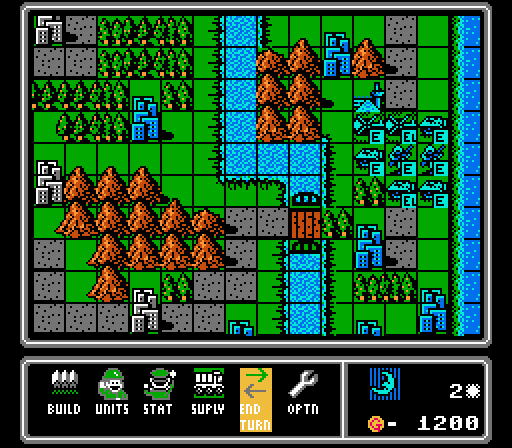
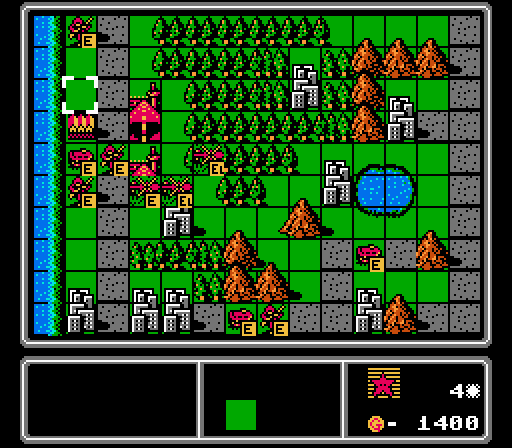
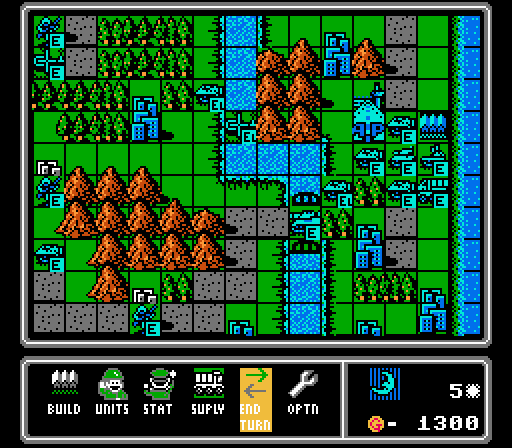
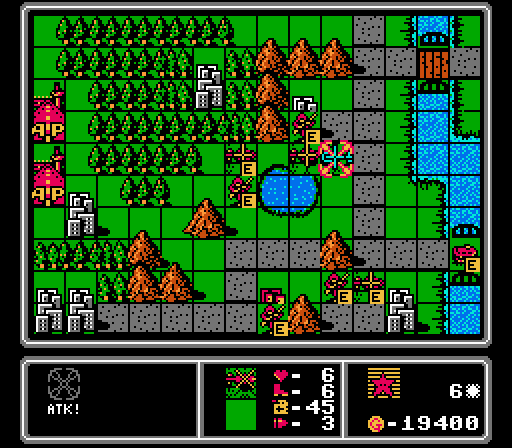
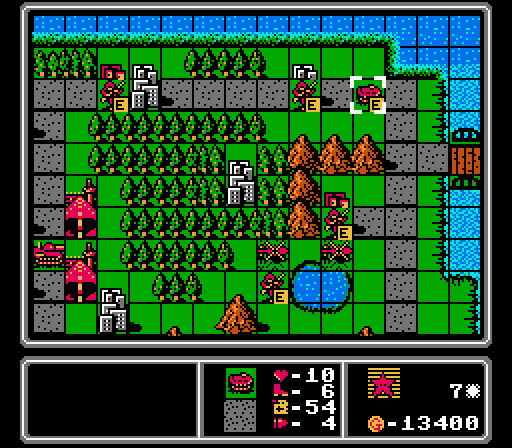
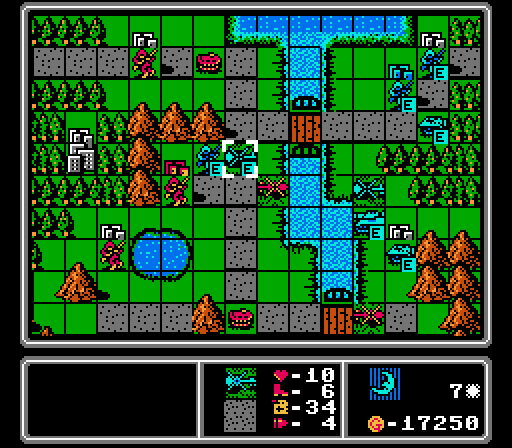
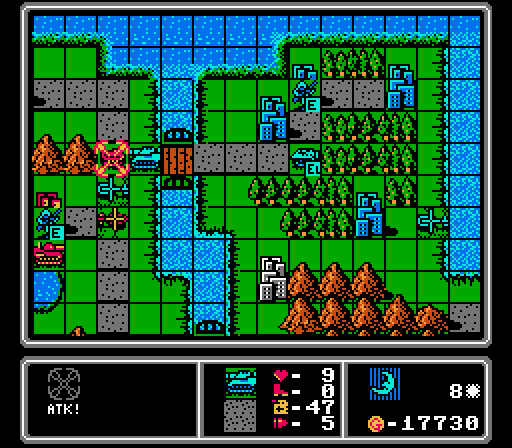
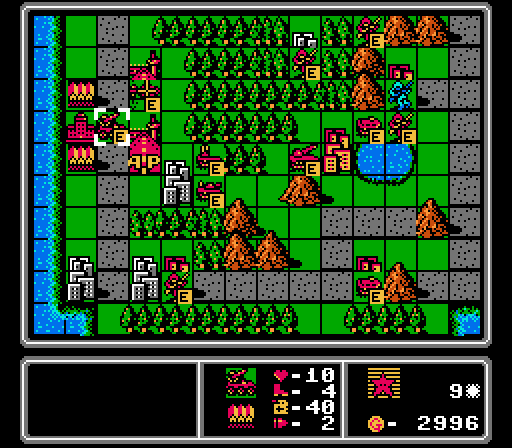
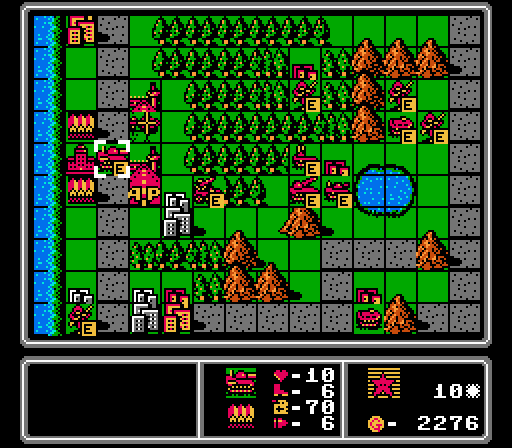
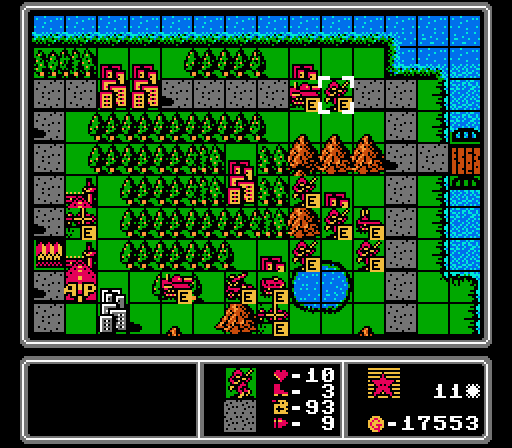
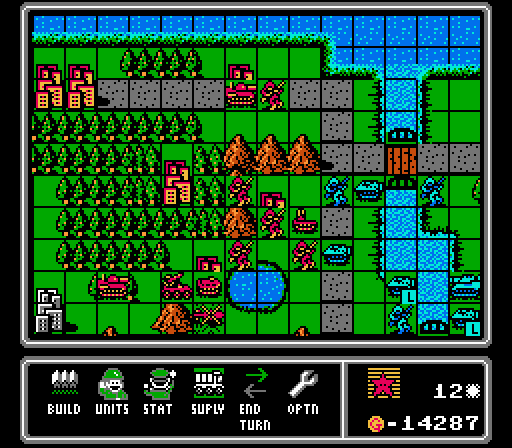
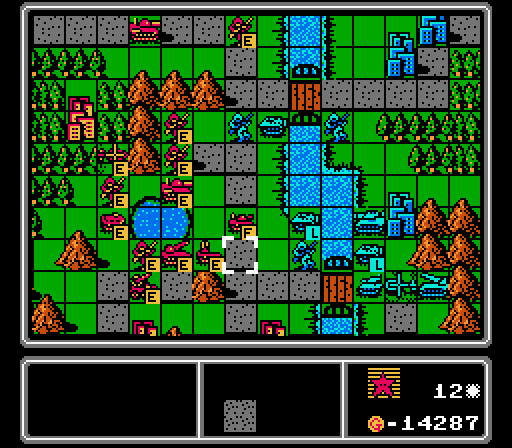
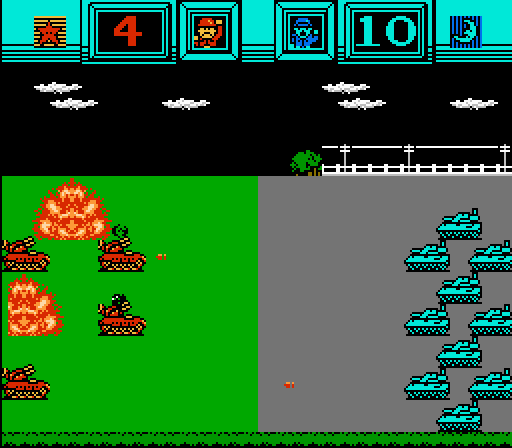
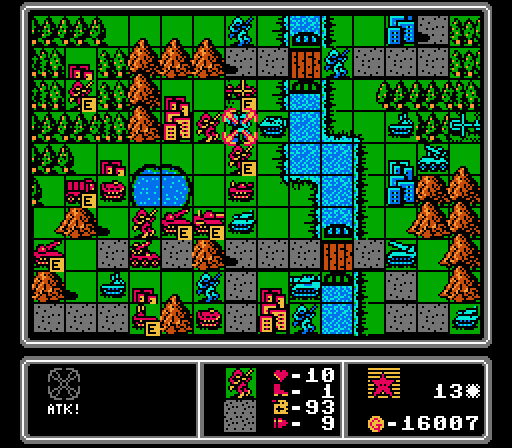
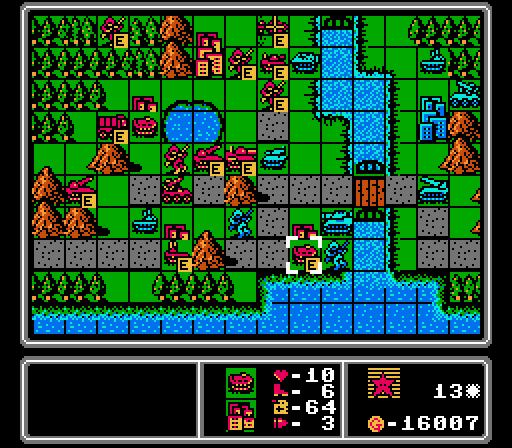
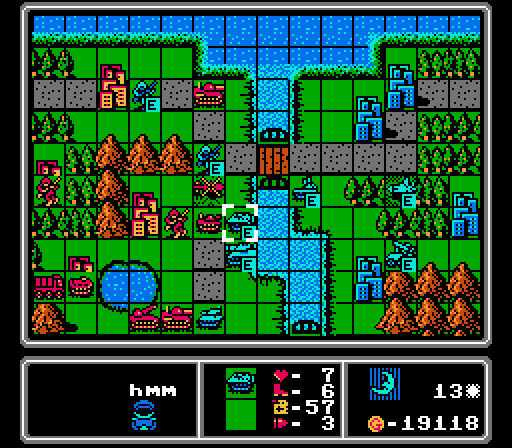
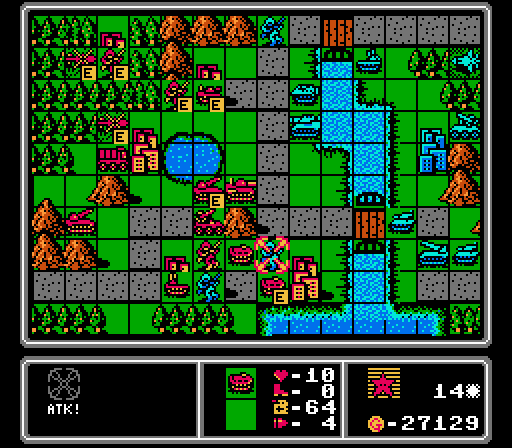
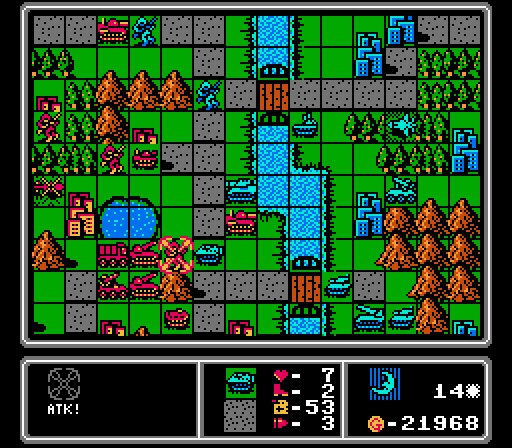
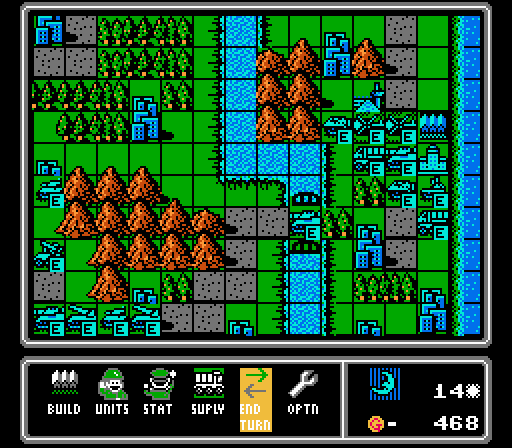
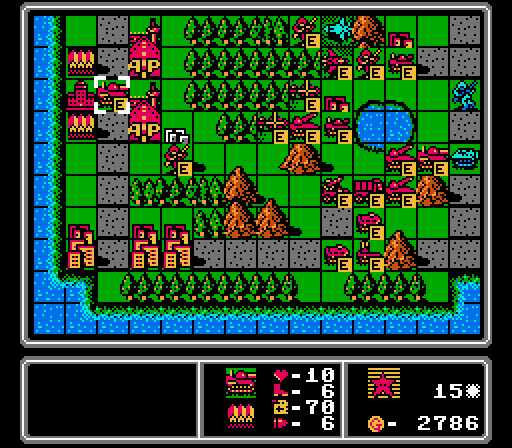
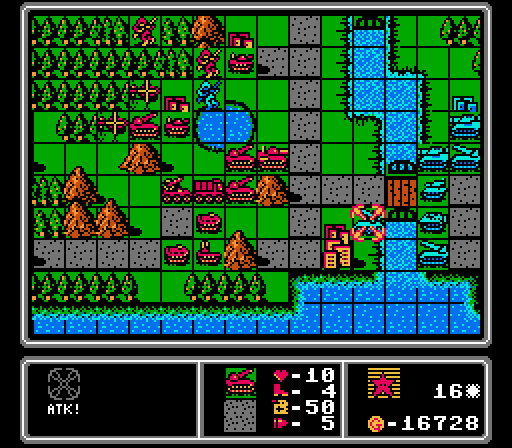
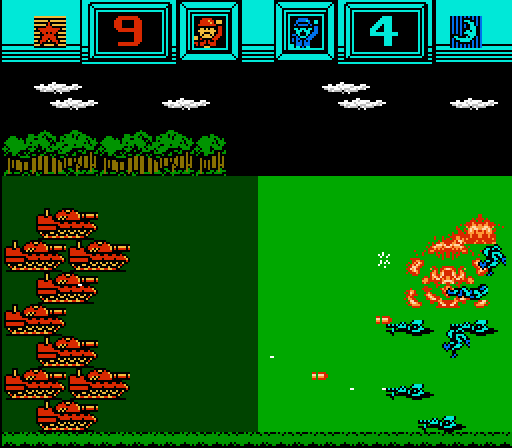
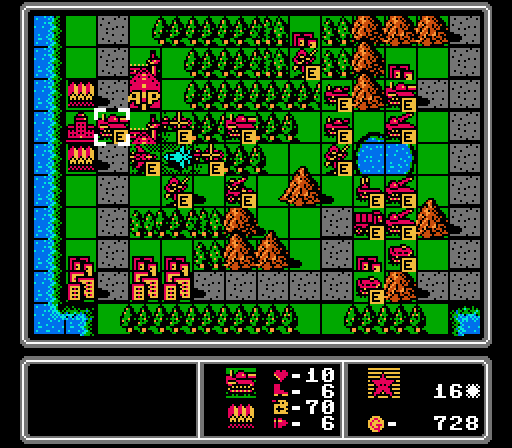
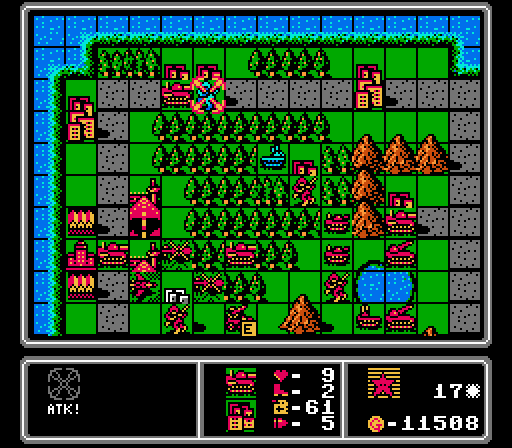
We've reached the last of the 15 maps in the first Famicom Wars game. Here is Mirror, a map that is not at all symmetric.
The map is just as wide as last time, but with about half the height. The ground path between HQs is a lot simpler this time as well. We have a slight long-term advantage with an extra airport, but Blue starts out with a massive advantage with nine cities already captured. Both halves of the map have an equal number of cities, so we'll have to scramble to catch up.
Turn 1
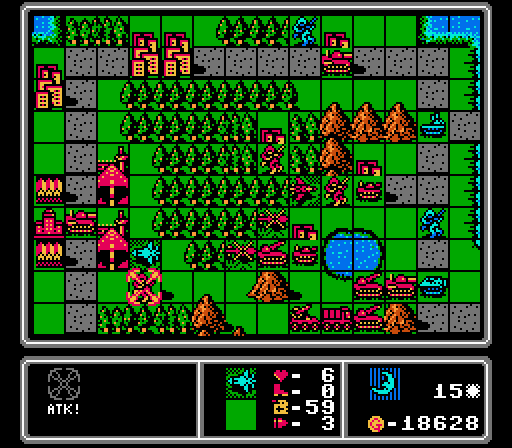
Since the name of the map is Mirror, our challenge will be Mirror Mode 2.0. We're only allowed to build what the AI builds, including building nothing on the first turn. Our normal strategy of rushing out copters to take the middle of the map before it's contested won't work here, since we built nothing the first turn and will only get one copter next turn.
Turn 2
For this turn, we build exactly what Blue built last turn. In future turns we're going to have to be more selective, since Blue has almost twice our income to start so we're not actually going to be able to afford everything that the AI builds each turn.
Blue actually loads both of its infantry and will be sending them off to take the last few cities on their half of the map that they don't already own. Another disturbingly competent capturing start from the AI. I wonder if these last couple maps were placed at the end here because the AI happened to perform the best on them.
Turn 3
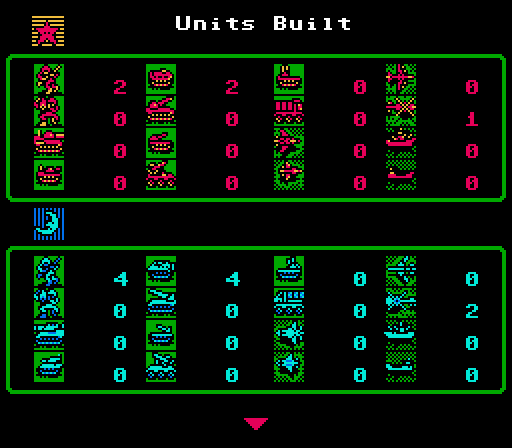
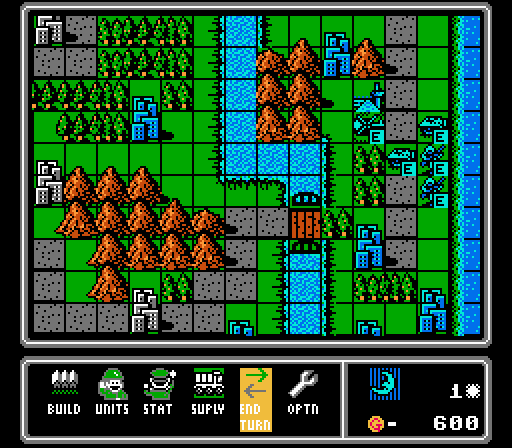
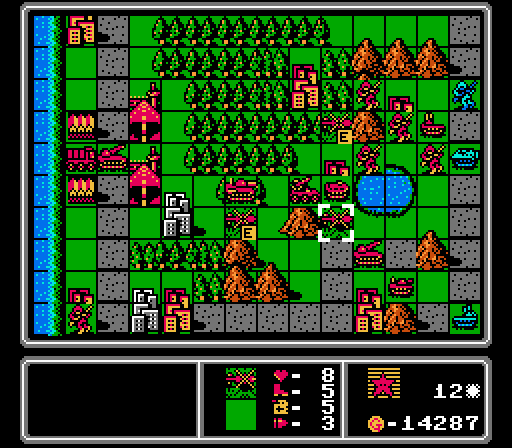
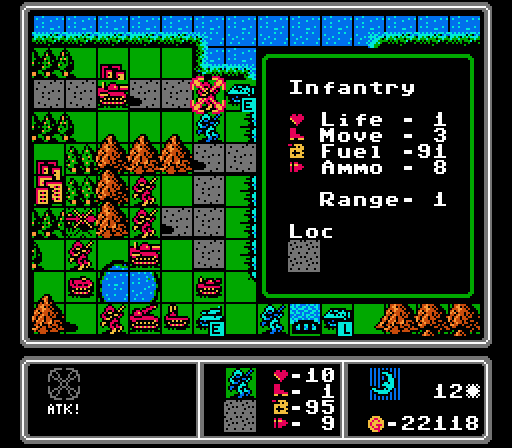
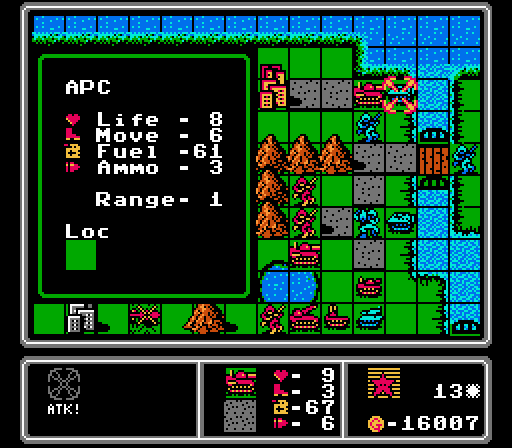
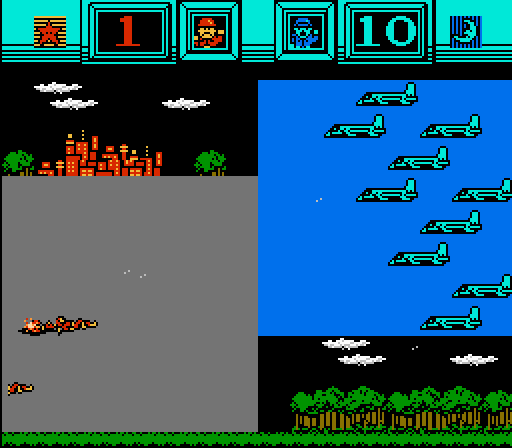
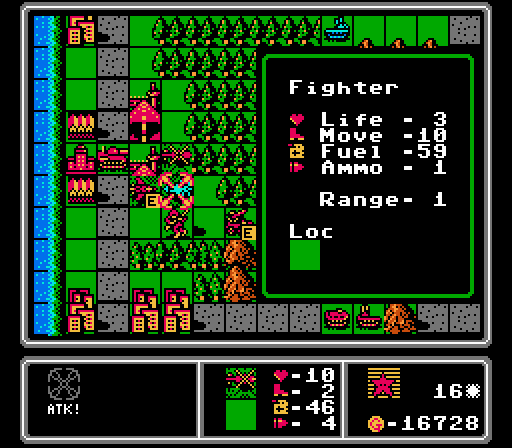
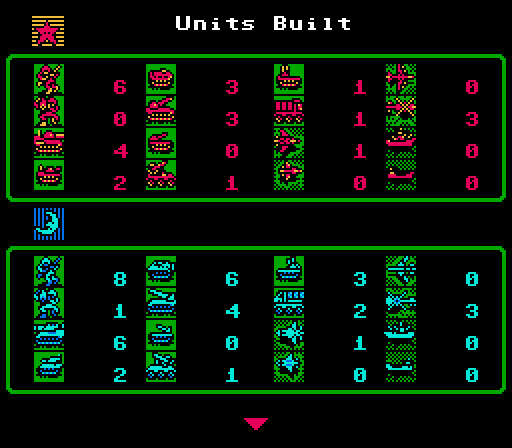
I won't show this screen often, but here's how I'm tracking what the AI has built so far and what I'm allowed to build each turn. It'll get more complicated over time as we fall further behind in total income, but this screen makes the calculations easy at least.
In this case we build a copter and two infantry, but forgo the extra two APCs. We start capturing a city in the upper-left corner, and load another infantry in an APC to head for the lower-right corner.
Blue's turn is pretty much the same as before, loading up its infantry and building another identical set of units.
Turn 4
The copters will head for the more distant cities on our island.
So Blue not only has a couple of infantry already at neutral cities for capturing, but they are confident enough and rich enough to put out a medium tank already.
Turn 5
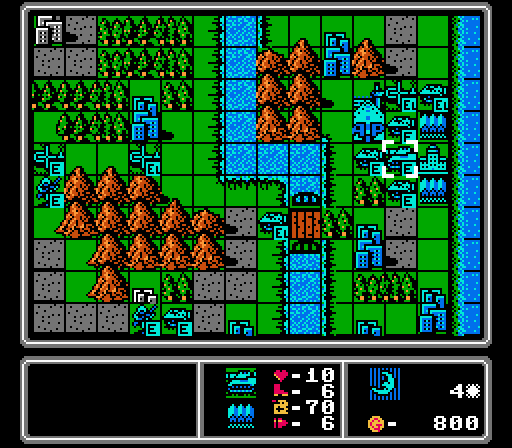
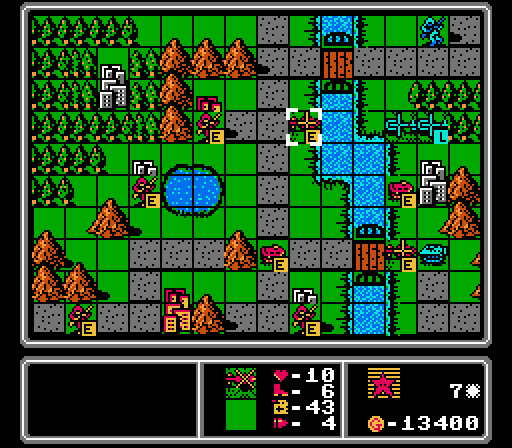
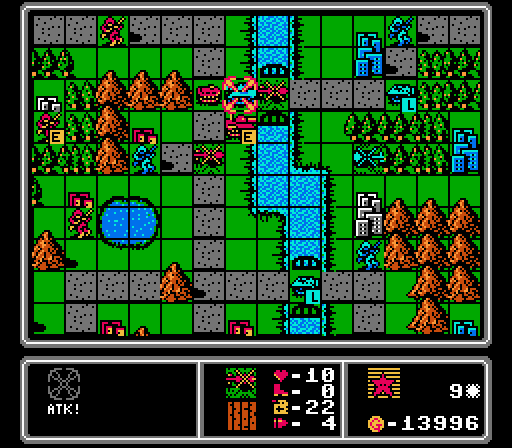
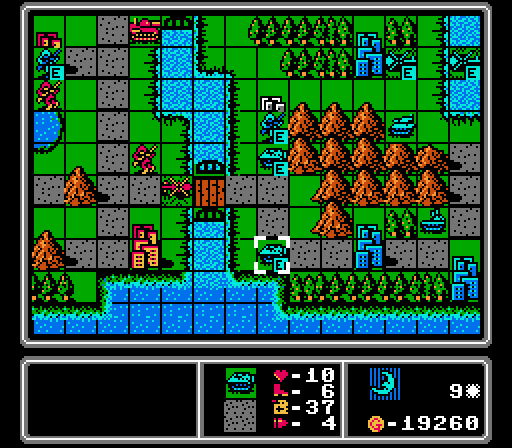
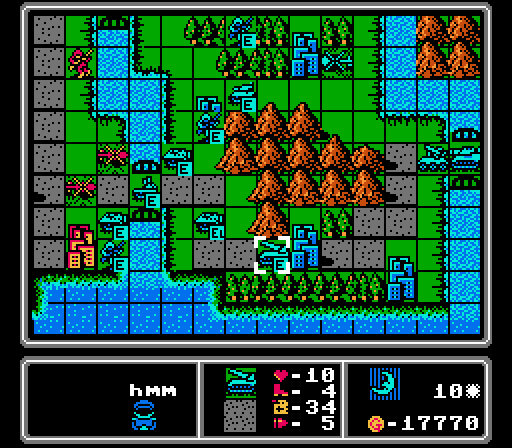
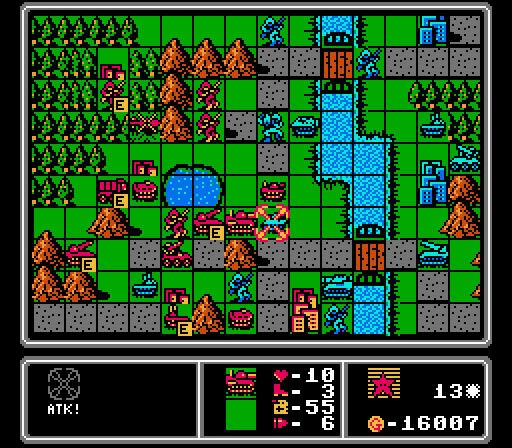
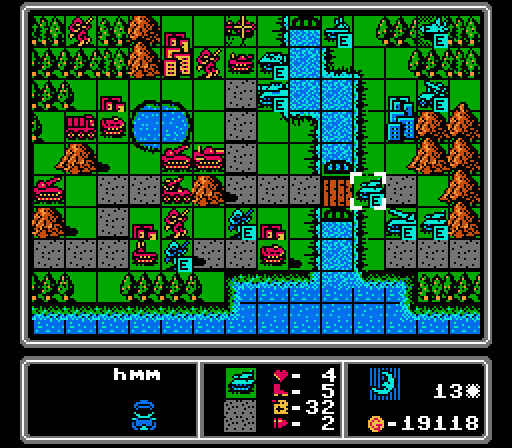
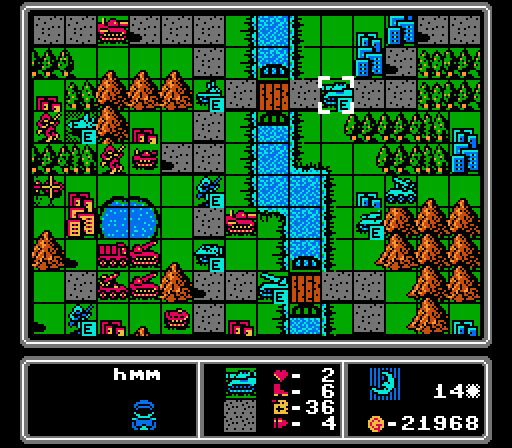
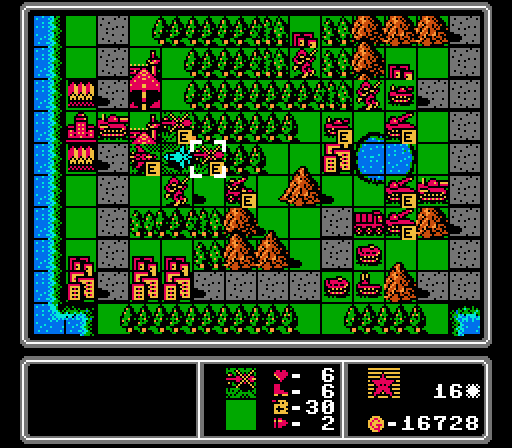
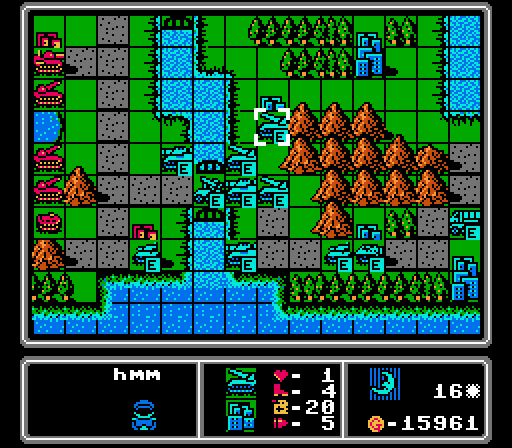
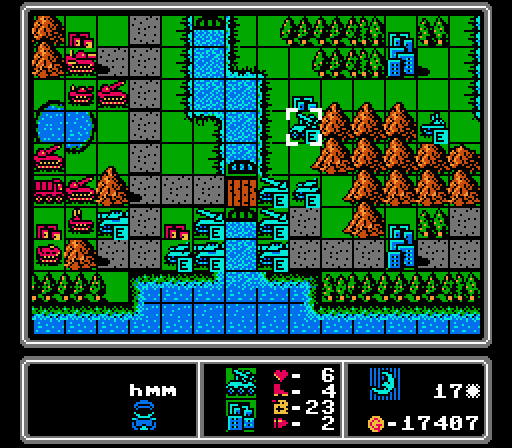
It's important that we grab the bridges in the center of the map to control access and keep from getting overwhelmed early on.
We can't afford a medium tank and I don't really feel the need for more APCs so we stand pat this turn.

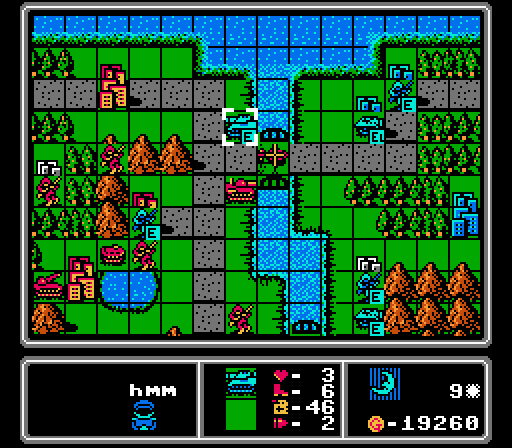
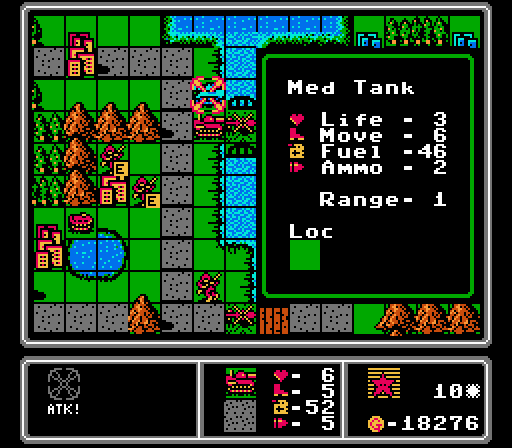
My overall strategy for this map is to avoid losing units as much as possible, retreating for repairs instead. We're limited in what we can build, but not in what we can repair, and preserving our units while the AI builds more to replace its losses will eventually give us an advantage in what we can field. In this case our copter is protecting our infantry and will try to drive away the enemy copter before heading back to an airport.
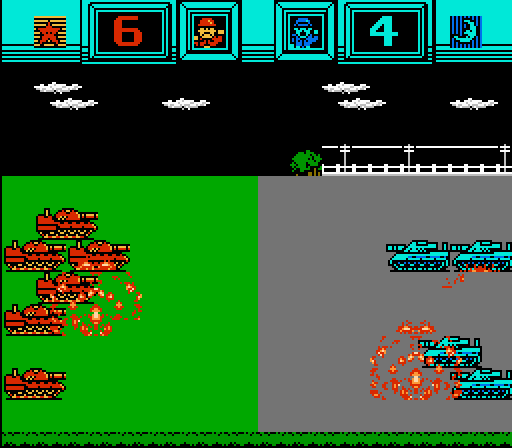
The enemy is starting to spread out over their second island and then gives us some new units to play with - a tank, an AA tank, and a supply.
Turn 6
I immediately violate my prime directive of preserving our units by exposing an APC to delay a capture here. But we already have three more APCs we can build if needed.
We're at risk of losing this copter, but I'm pretty sure the AI will choose to retreat and save its own copter instead. Either way our capturing infantry is protected.
We need to match heavy-for-heavy here so we put out a medium tank as soon as possible.
Our APC takes a hit but survives the turn.
Another heavy unit comes out, a rocket. It'll take us another couple turns of saving to get one ourselves.
Turn 7
A fresh APC moves up to finish off this capturing infantry and cover the retreat for the other APC.
Starting to gain control of our island here, with a few cities captured this turn.
While our damaged copter retreats, the other two run interference, blocking off the lower bridge and screening off our infantry.
To my delight, we're able to afford a rocket right away. This baby will be key to holding the bridges.

I did not see that the enemy medium tank had reached us already, and our APC pays the price here.
Blue has its own islands pretty well controlled now and is feeling comfortable sending in infantry to harass us.
I only have a couple of copters flying around but apparently the AI is concerned about them, putting out an AA missile here.
Turn 8
I don't remember why I pulled our infantry off of the lake city here (probably looking to capture the one on the other side of the mountains), but I left it wide open for the enemy infantry here while going after the enemy copter instead. At least our medium tank is here to save the day!
We catch up on some units that the AI built awhile ago, putting out a tank and an AA tank.
Oof. For the second straight turn I lost sight of the enemy medium tank and an APC paid the price.
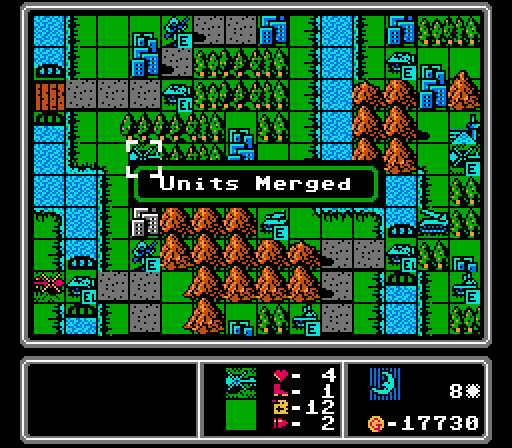
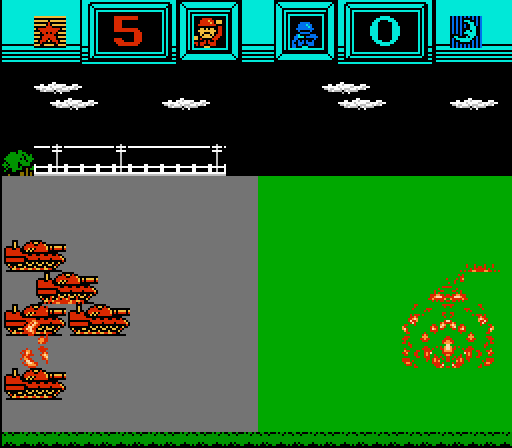
Two damaged enemy copters merge together. A merge is as good as a kill for our strategy; I mostly want the AI spending its funds on new units rather than repairs, and merges take away from possible repairs.
There's another medium tank headed for us, and we haven't dealt with the first one yet. At least we'll get to build another one ourselves soon.
Turn 9

I want to take care of the enemy infantry, but I can't leave this medium tank alone to run amok on our island either.
A copter flies up to block off the enemy retreat, and gets in some chip damage to keep the matchup favorable for us next turn.
We didn't hit the enemy infantry much (just two damage) but are positioned for a better strike next turn. Our damaged APC was able to retreat as well.
We can't quite afford another medium tank yet, but I do get out an AA missile to ward off future copter invasions.
Blue is taking another shot at the last neutral city on their islands, as our copter continues to hold the bridge for now. That enemy AA tank is getting closer, though...
I think blocking bridges confuses the AI, they just kind of shuffle around aimlessly here.
Add another tank and rocket to our to-build list.
Turn 10

A rocket strike and two infantry charges are enough to eliminate this infantry before they can finish their capture.
We're also able to destroy the enemy medium tank to regain total control of our island for the moment.
I have to pull back from the bridge due to the AA tank getting close, but go for a partial blockade anyway.
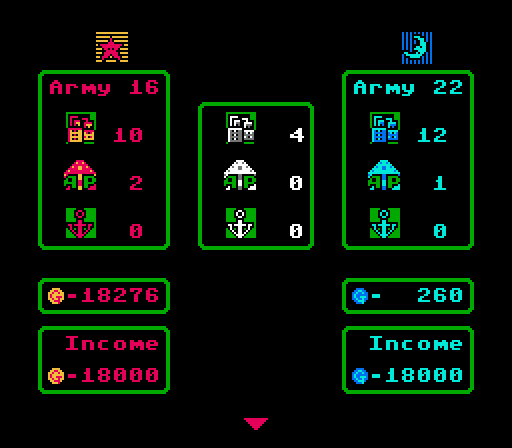
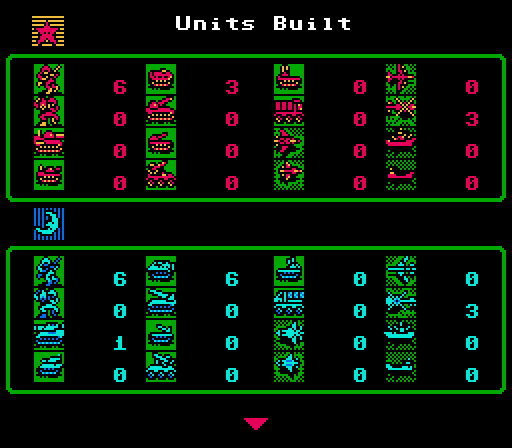
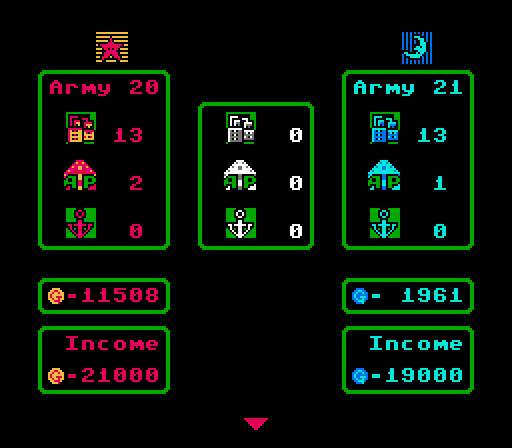
We've reached income parity, but still have a long way to go to catch up on total funds spent and total army size.
Another medium tank will help with that problem.
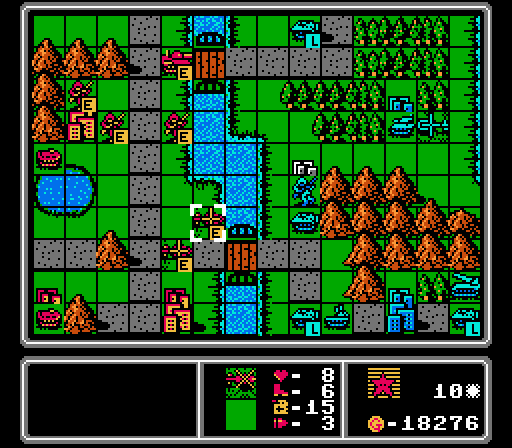
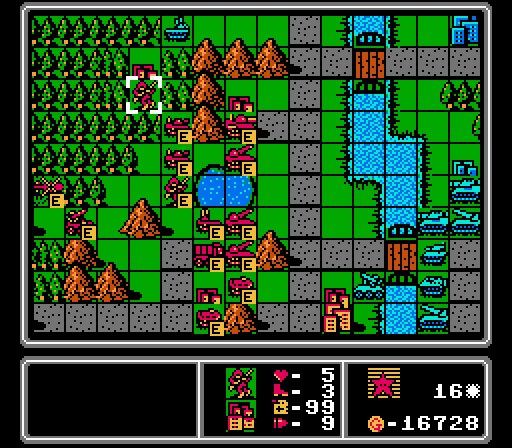
Right after we clean up the upper bridge area, we have a breakout at the lower bridge.
A new rocket is built. You can see the train of vehicles headed our way, too.
Turn 11

Our first APC is recovered enough to park on this city and fend off the enemy infantry. I intentionally don't attack, since I'd rather keep the APC healthy enough to defend.
Our copters have to retreat, but I position a rocket to blow away anything that comes across the bridge.
Our first medium tank is also sitting back to get repaired.
More rockets will come in handy for holding the bridges, and a supply will be needed to keep them full on ammo.
Okay that surge was bigger than I expected. The only attack was an APC on our infantry, but we survive it.

Another medium tank.
Turn 12
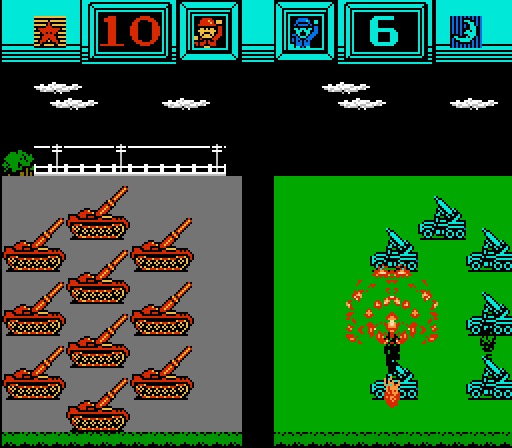
Even though we've matched Blue's income now, we're still spending a lot of our funds on repairs each turn (especially when repairing medium tanks, like we are here). You can see that even though we started off with plenty of cash, after repairing our units we don't have enough left over to match the enemy medium tank that just got built. In the long-term we'll still be at an advantage, since we can choose what to build more selectively while maintaining the presence of the units we've already built, but we're still getting slowed down now.
While one copter is fully repaired and headed back out, and another is about to make it back to the airport, I screwed up with this copter and now it doesn't have enough fuel to get back to the airport. Instead it merges into the other damaged copter. Note that even though I merged together one copter with 6 life and another copter with 8 life, I don't get any compensation for the "extra" life that's lost in the merge. I just have a 10-life copter with the same funds as before. The fuel and ammo don't merge either - the merged copter just keep the highest totals from the individual copters.
I have a bit of a dilemma with three APCs nearby and only one tank at our disposal, but choose to finish off the one that was slightly damaged when it attacked our infantry, ensuring a kill. Somehow all of the APCs avoided rocket range, too.
Our damaged units pull back and the rocket takes aim at the lower bridge area again.
This APC needs to pull back a bit, but gets in a hit on the AA tank on the way back.

We can't get a medium tank, but we do have enough cash on hand to match Blue's third rocket.
I was too focused on the enemy medium tank this time, and totally missed that the enemy tank could reach our AA tank. Hope we don't have to deal with any enemy air units anytime soon.
We lost this infantry that I put out as a sacrifice. We're ahead enough on infantry kills that we'll be fine here.
Three enemy footsoldiers on our island now, two in reach of our cities. And that AA tank is gunning for our copter, but we can literally fly circles around it.
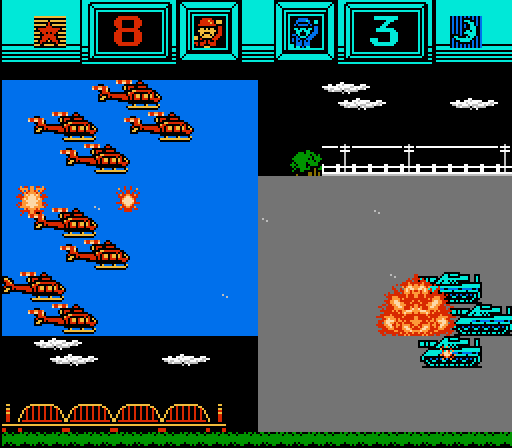
Oh, good, an enemy fighter.
Turn 13
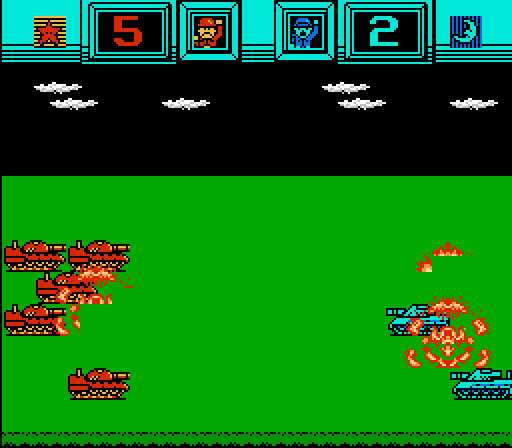
A medium tank normally does 7.5 damage to an APC, and an APC normally does 1.5 damage to a medium tank. Both units are slightly damaged here, but the medium tank is actually better off, so we should have an easy victory here, right?
Not with hard mode cheating on! Somehow our medium tank takes three damage from a damaged APC! And our medium tank only hit the APC for five damage! I'm pretty sure the hard mode bonuses that the AI gets have an even greater effect when using damaged units; the randomness has more room to nudge the dice rolls or something.

Luckily the AI can't cheat their way out of this rocket kill.
A fresh medium tank is able to pull the teeth from this enemy tank while protecting our rocket.
I get a little over-aggressive here and have a copter and two infantry move out to take out this mech. They're all a little exposed now, though.
I really wanted to free up the space for our tank to slide in against this APC. A tank against an APC is an extremely favorable matchup normally, right? Tanks do 9.5 damage to APCs, and take only 2.5 damage from them. Even with our tank slightly damaged, we should have come out much better off than we did here, taking 4 damage and only dishing out 6 damage. There's no information on plains tiles giving slight defensive bonuses, but even if they do we shouldn't be taking that much damage in return!
This APC is trapped so I park it on the city to make removing it more difficult.
I'm trying to save up to get a fighter to counter the one that the AI just built, so we only put out a tank this turn.

We lose another infantry to this medium tank, but I'm happy to have it eat that attack.
Another infantry is hit by this enemy infantry but surives the assault.
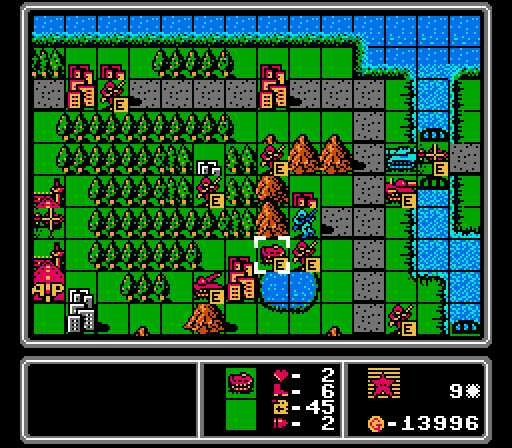
The lower pass here is getting a bit tangled. Three rockets are going to be tough to crack.
A lucky break here as two damaged APCs merge together, neither one attacking.
The damaged tank also retreats, leaving us in much better shape for next turn.
Yet another medium tank out to get us.
Turn 14
The enemy AA tank wandered right into the range of our third rocket and got wiped off the map.
Our APC has to pull back to get away from the enemy rocket, but hits this exposed infantry on the way, and a second, freshly-repaired APC is able to finish them off.
We use a rocket to soften up the enemy medium tank, and follow up with our own medium tank, but can't quite get the kill.
We have enough for our own fighter now. We couldn't get rid of all the encroaching enemy vehicles, so I have a damaged infantry trying to screen the lead rocket.
Losing another infantry is preferable to letting a rocket take a hit. I'm not sure I could've saved that infantry anwyay.
The enemy fighter has reached us already, taking a cheap shot at our infantry that was trying to heal up, but they barely hung on.
The enemy infantry run around trying to reach an unoccupied city, the damaged medium tank retreats, and a fresh AA tank and rocket cross over to our island.
A fifth medium tank from the AI, plus an AA tank. We're actually three behind on building medium tanks now, need to start cranking those out before we get overrun.
Turn 15

A straight-up dogfight between two fresh fighter groups results in us taking the slightly worse result again.
Our two APCs continue to move back and take out another infantry on the way. Up near the enemy fighter, I position our air units so that our AA missile can attack no matter which unit the enemy fighter hits.

I can't pass up the opportunity to hit an exposed enemy rocket, and use both of our rockets to bombard it but can't completely destroy it.
This medium tank is starting to fall apart but I have it hit the enemy APC anyway before it retreats.
We need to catch up on medium tanks, so here's a start.
Augh the enemy fighter is able to hit our infantry that was one turn away from capturing the last neutral city on the map. And it's out of the range of our AA missile, too.
The enemy retreats its own damaged units behind the bridge, giving us room to regroup a bit. Then the AA missile randomly crosses over into our rocket range for some reason.

A new infantry and yet another medium tank!
Turn 16
Free shot at an AA missile, why not.
Our other lakeside rocket doesn't have anything else to do, so hits this infantry and allowed the tank to follow up to grab the kill.
I've been letting this enemy infantry creep ever closer to our HQ while our medium tank got repaired, but it's time to take it out. Note that we should've dealt 8.5 damage to this infantry, and an infantry getting in even the one damage against our medium tank in a forest is bullshit.
A copter attacking a fighter isn't usually a smart move, but in this case I want to take the hit to drain that fighter of the last of its ammo.
Now we have the fighter locked in, unable to move or shoot, and an AA missile ready to shoot it down next turn.
Blue can't reach us but we want to get some more repairs in so we sit back and wait for them to come closer.
More medium tanks, more!
I expected the AI to be more aggressive here. Instead it parks a tank on one of our cities, and puts a medium tank right into rocket range.
Another infantry and another rocket.
Turn 17
Shooting down this fighter first. Now our own fighter is already getting repaired on the airport, so we'll be up a fighter for as long as we can keep ours flying.
Finishing off this infantry, with the added benefit of getting repaired on the city next turn.
This AA tank is getting too close to our copters so it has to go as well.
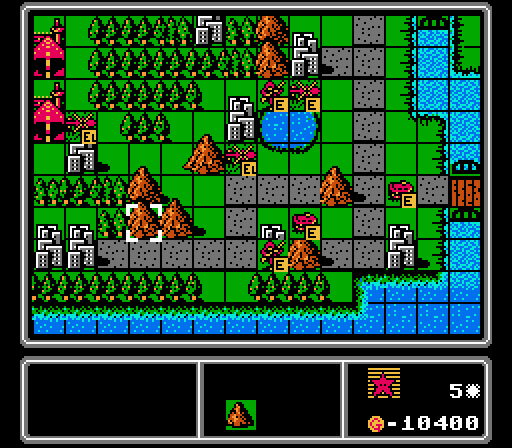
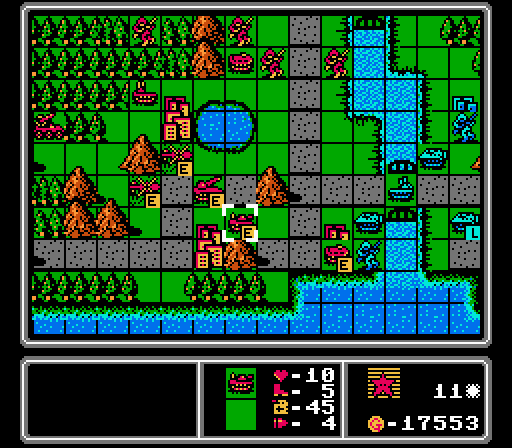
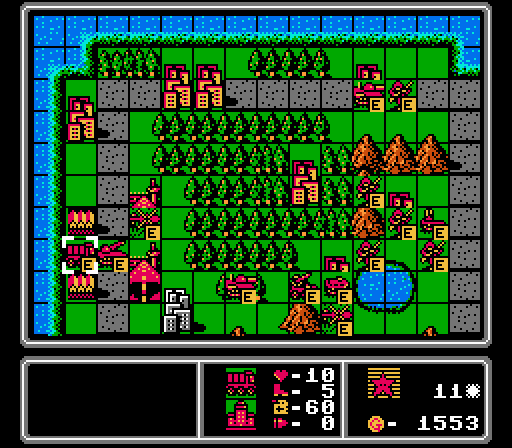
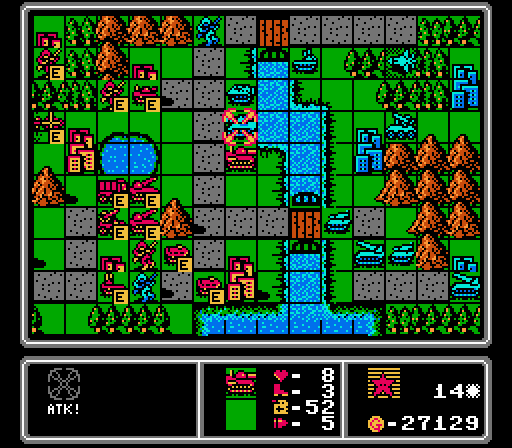
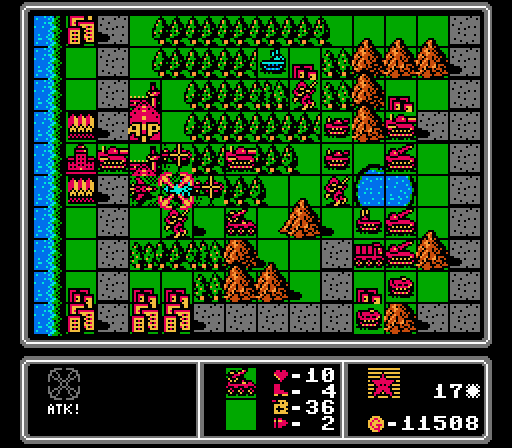
The last neutral city is ours. A little later than normal, but we did win the capturing race, despite Blue's head start. Really though it was more a function of city distribution - we each grabbed all the cities on our own halves of the map. Our income edge is from that extra starting airport we have.
Not sure what the AI was doing sending this damaged medium tank out here, but a rocket quickly removes it.
Lined up to keep the rockets out of range and minimize the exposure of other units.
We still have lots of build options because of how much extra funds Blue built up over the early turns. Not a lot of cash on hand though, due to all the repairs we're doing (fighters and medium tanks are as expensive to repair as they are to build). So I take the opportunity to catch up on footsoldiers this turn.
Two medium tanks and a rocket cross over the bridge, one of them wrecking our AA tank.

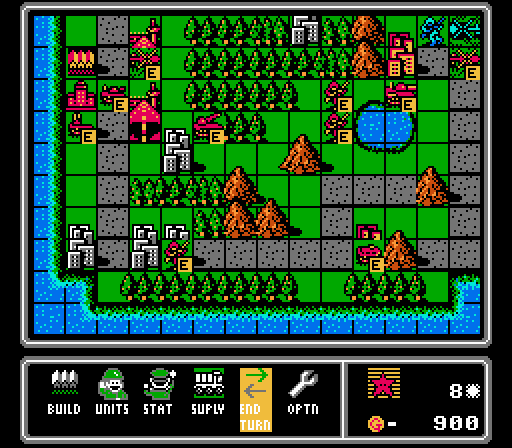
Blue gets its seventh medium tank. We've got a lot of pressure on us now, though we're poised to turn things around once we get some of our damaged units repaired and our new units up to the front. Good time for a stop for today!
To Be Continued...