Part 45: Mirror (2 of 2)
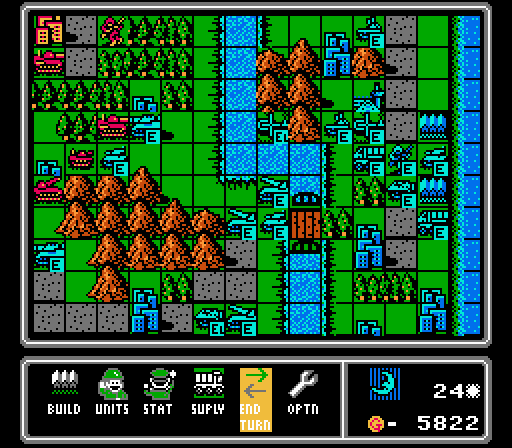
Part 45: Mirror (2 of 2)Turn 18
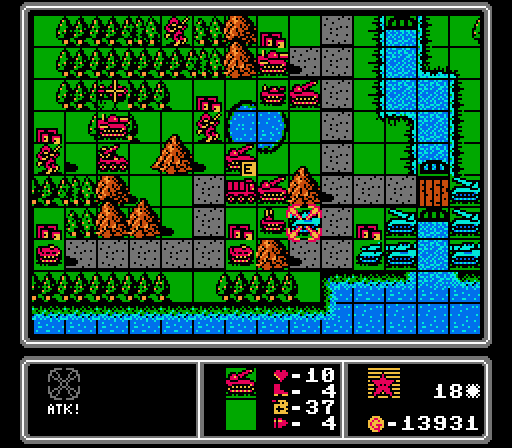
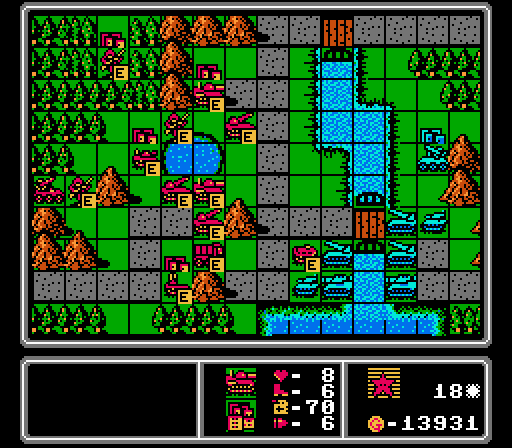
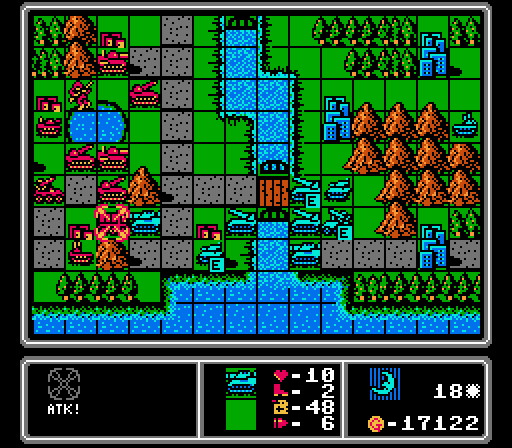
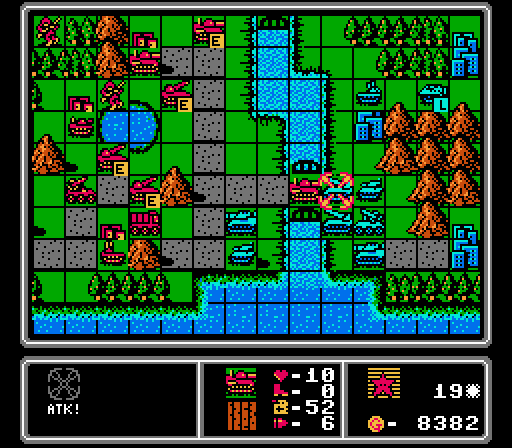
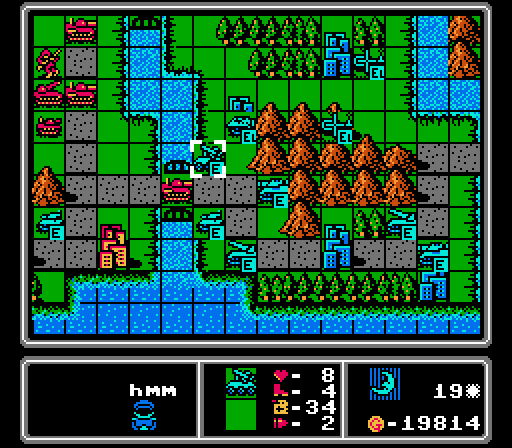
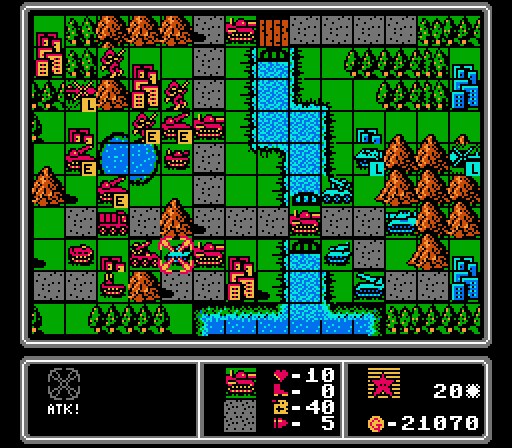
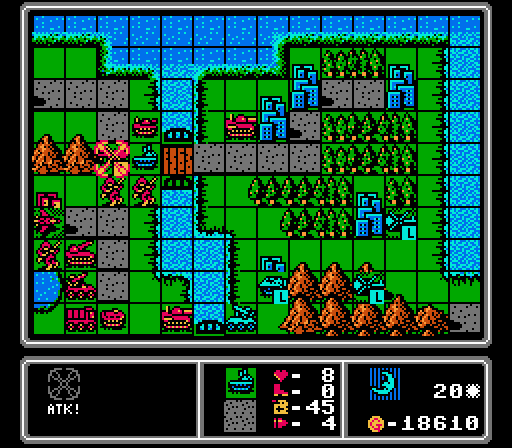
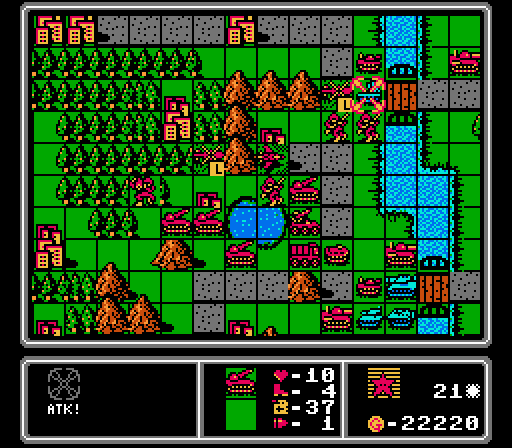
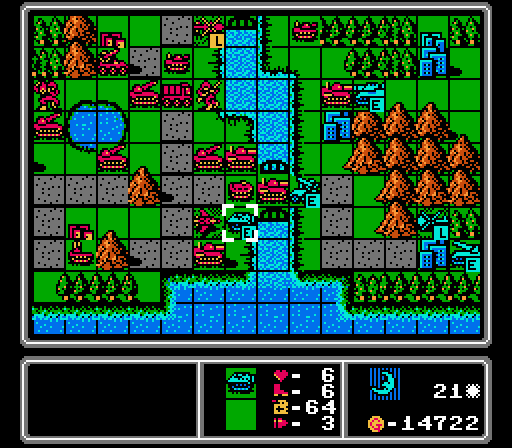
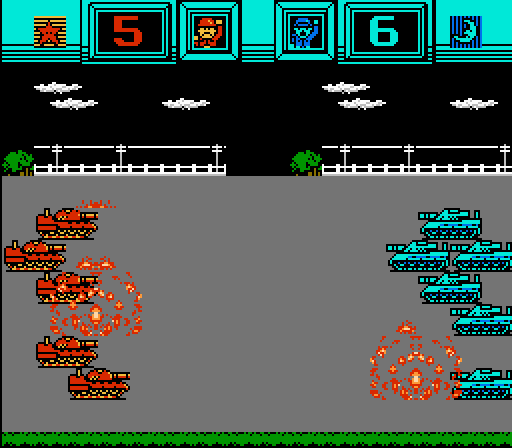
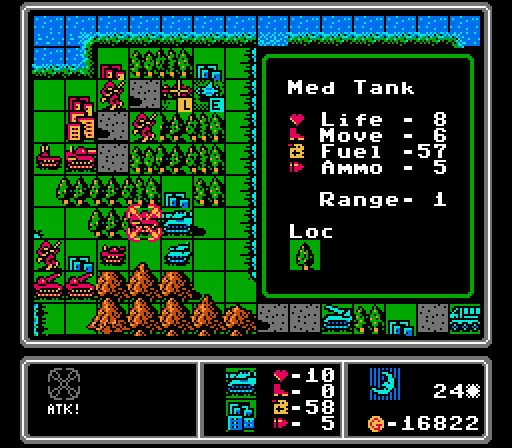
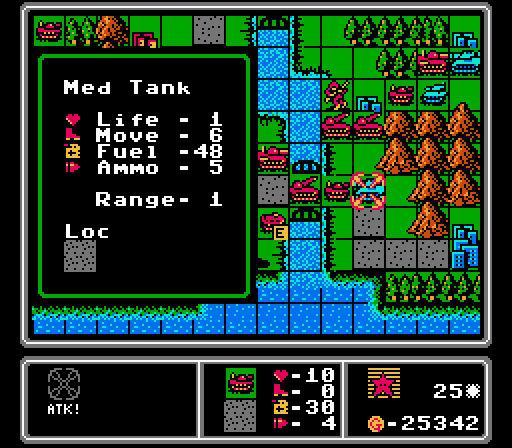
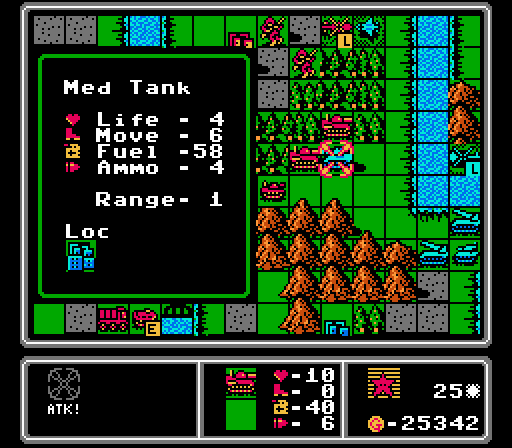
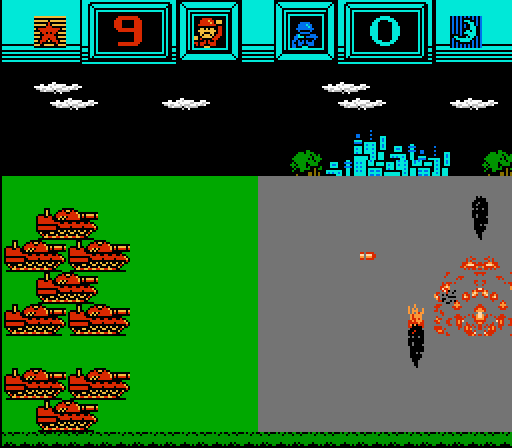
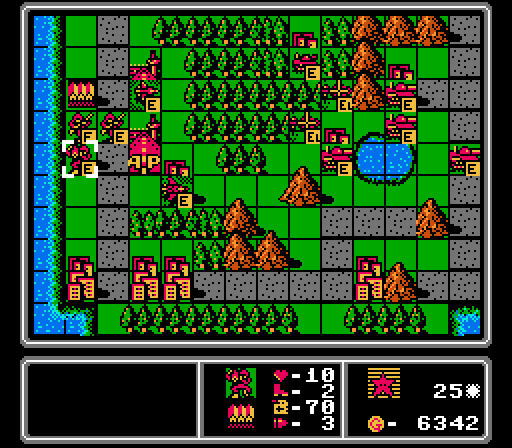
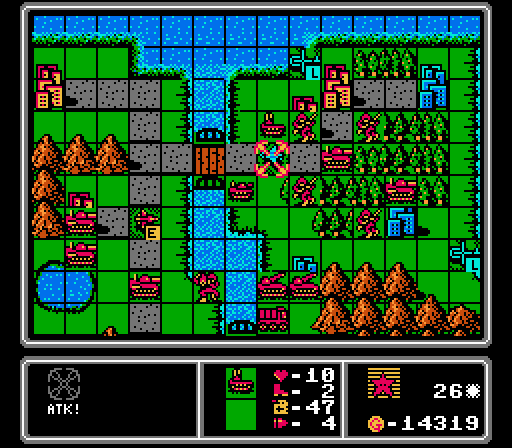
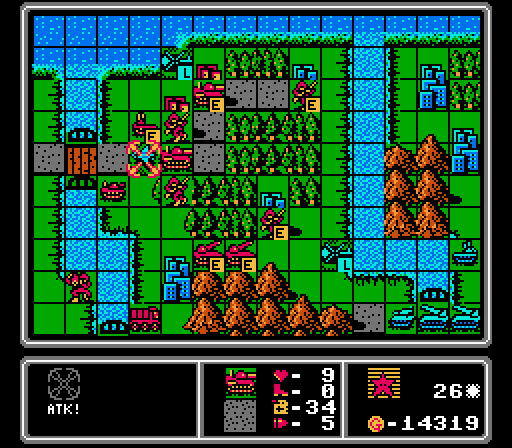
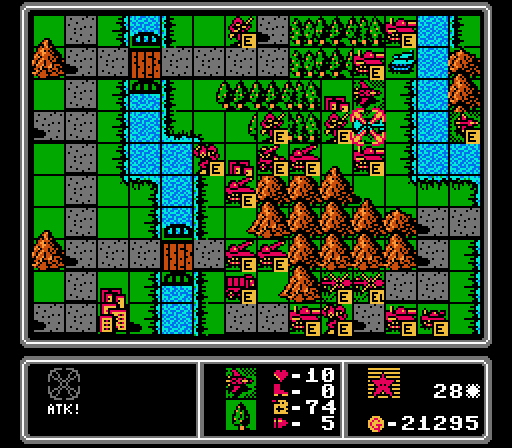
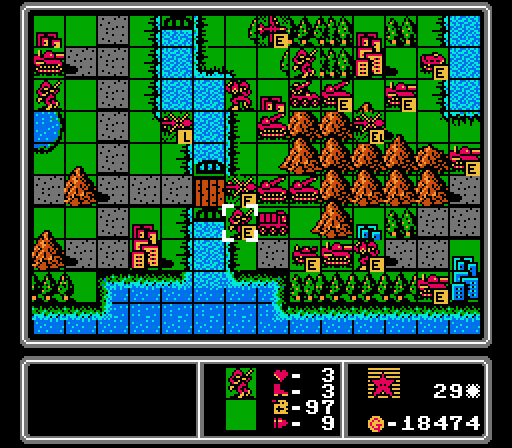
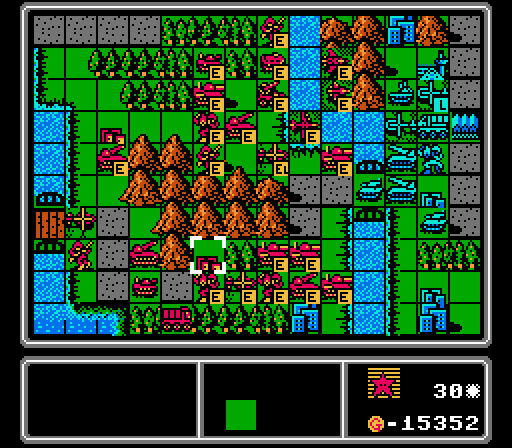
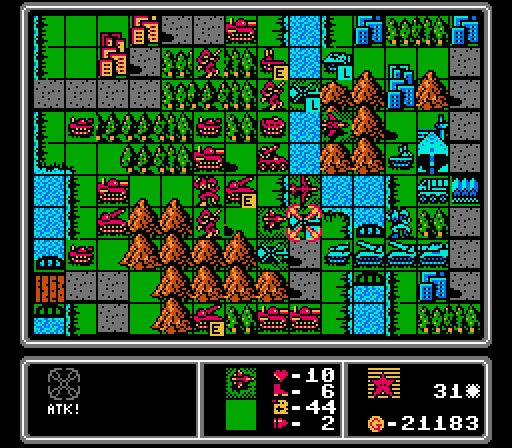
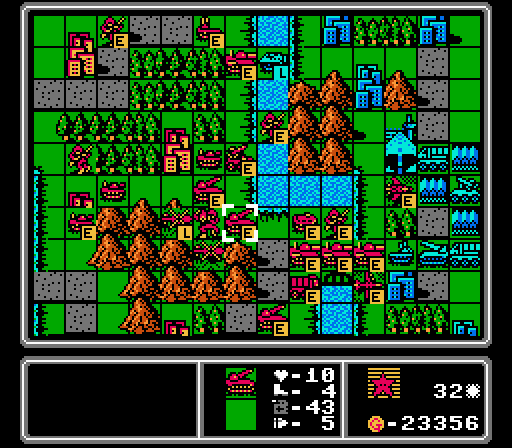
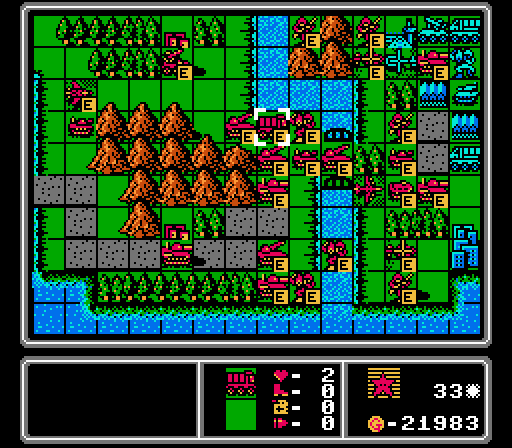
Blue has a lot of heavy units putting pressure on us here. We kick off the turn by having two rockets eliminate this medium tank.
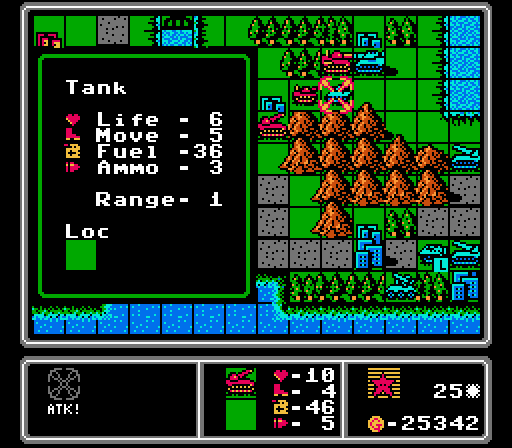
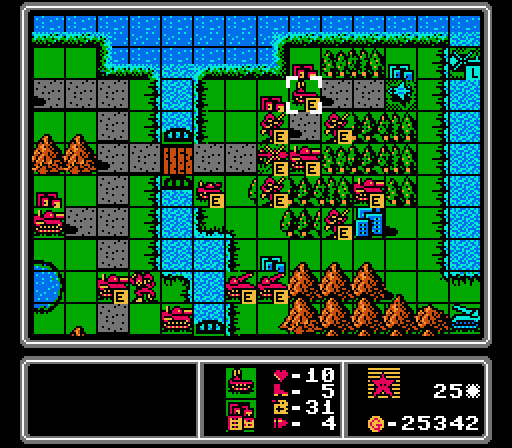
The third rocket fires on this enemy rocket to keep it from hurting us too bad on the enemy phase.
I can't do much with APCs right now anyway, so I throw this one away to get in some more damage on the rocket.
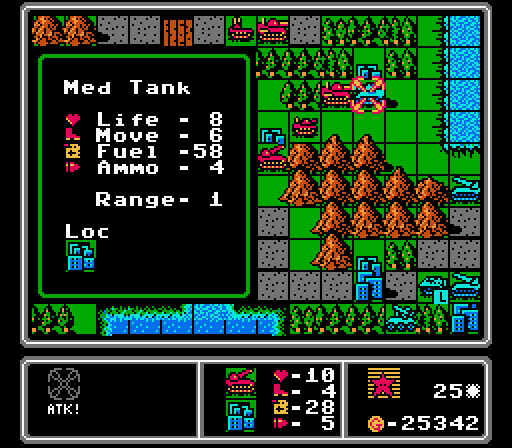
A fresh medium tank moves in front of our lower rockets, though I have a lowly supply truck blocking the lower pass between the mountains.
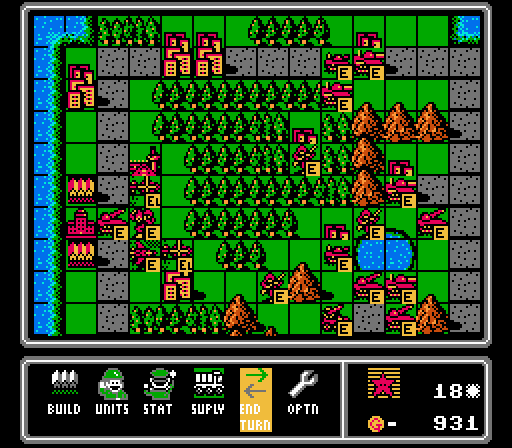
We get to match the rocket that the AI built a couple turns ago. Our two infantry that we built last turn are now both inside copters.
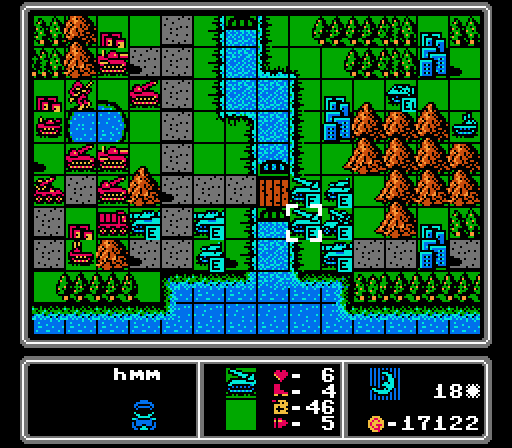
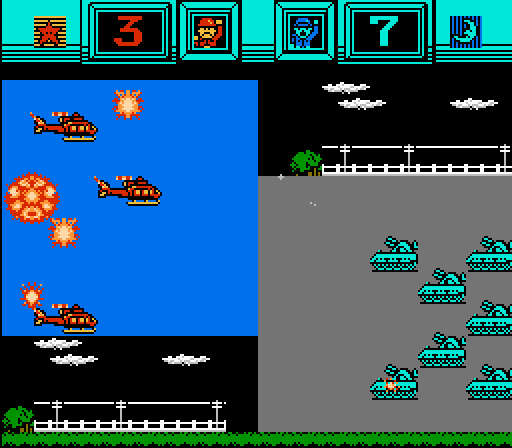
The enemy phase sees our APC quickly removed from the field.
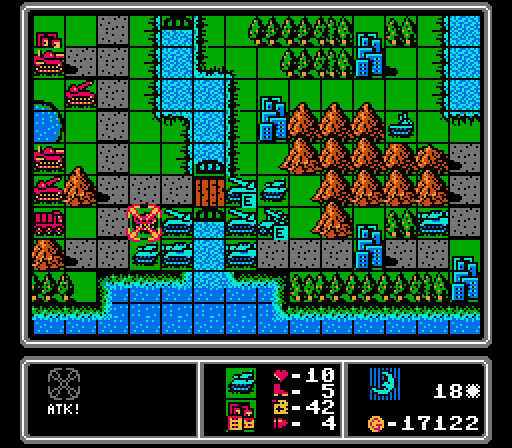
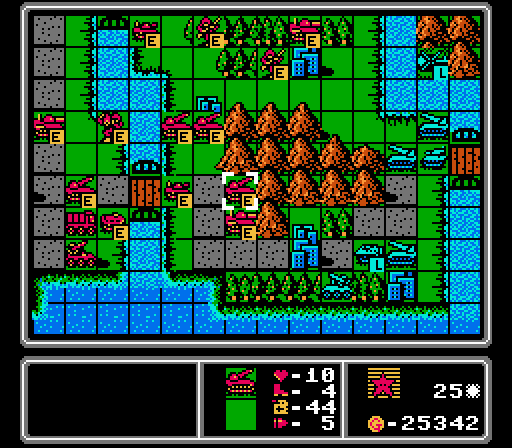
The supply truck blocking the pass draws another medium tank into rocket range.
Another medium tank crosses over; it's also in range of a rocket, but otherwise protected by their own rockets. The damaged enemy rocket retreated and merged with another damaged rocket; as good as a kill for us.
I think every time we destroy a medium tank, the AI builds another one. Works for me; we haven't lost one of our own yet.
Turn 19
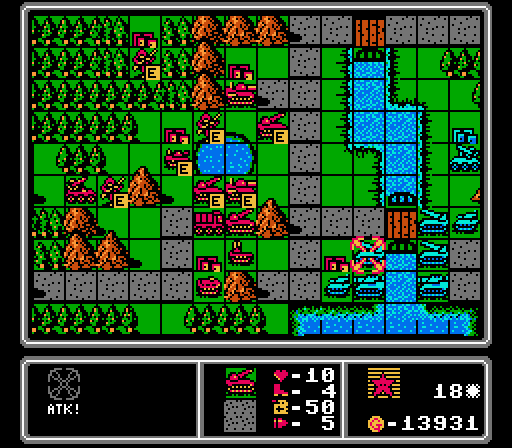
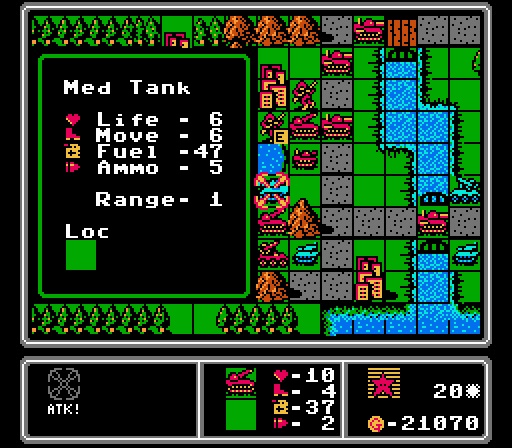
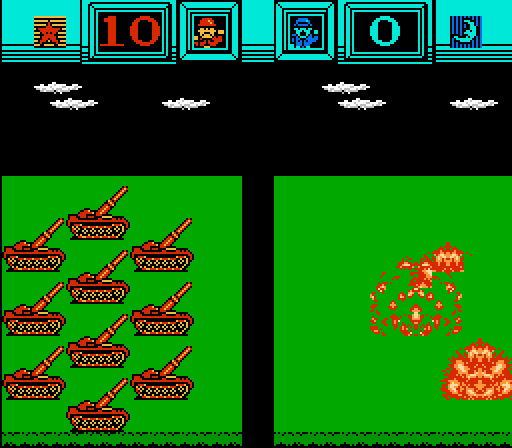
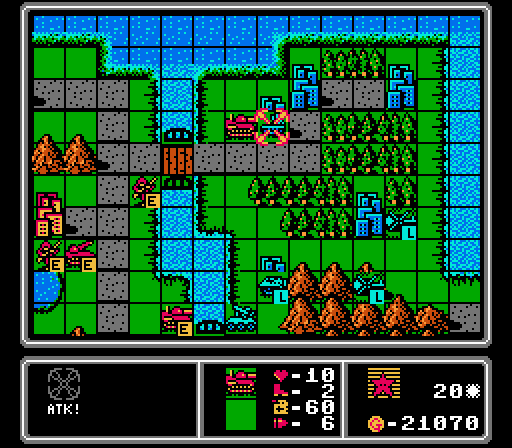
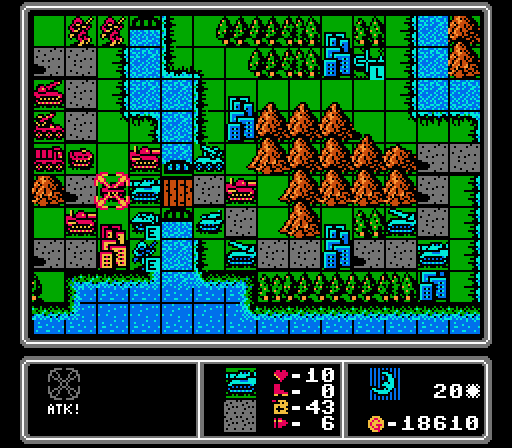
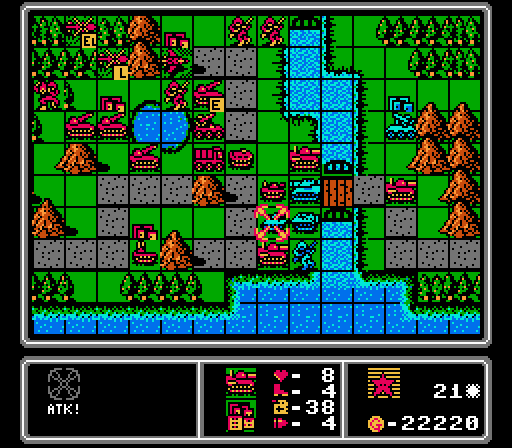
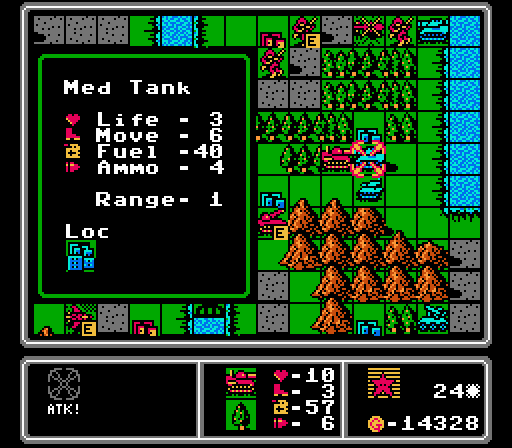
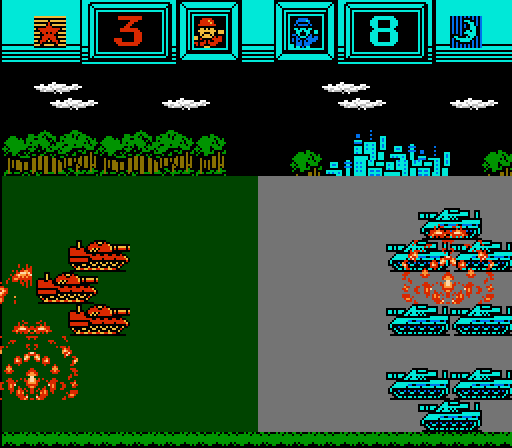
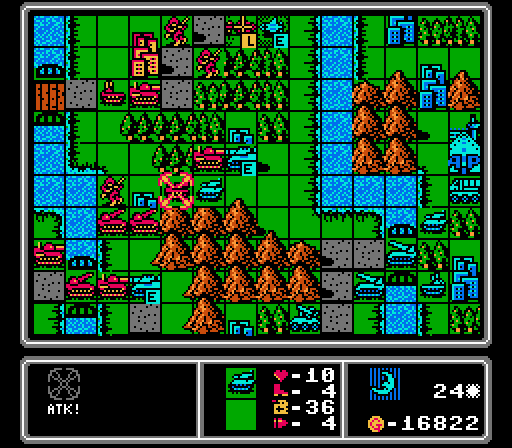
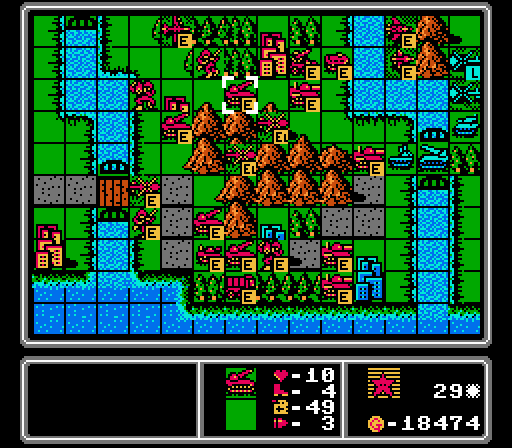
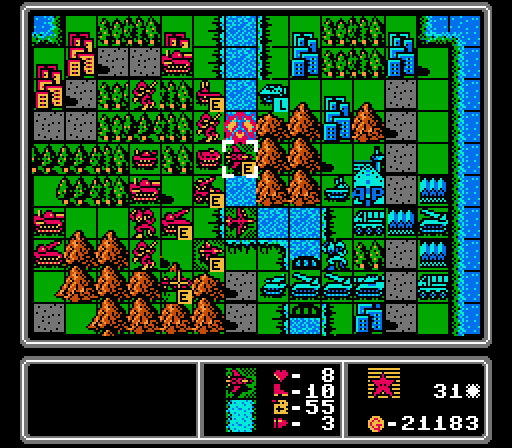
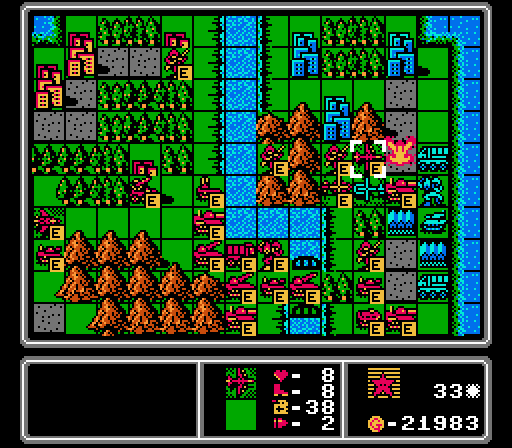
First we use a pair of rockets to remove one of these medium tanks again.
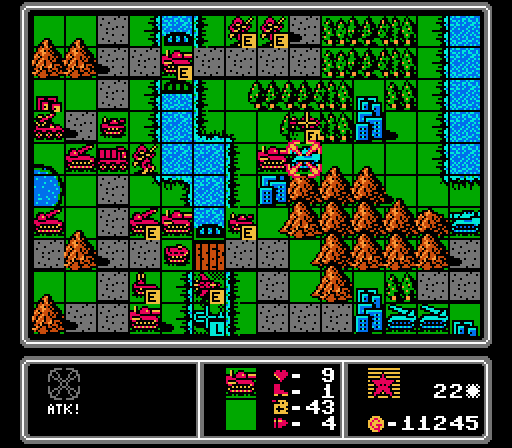
The third rocket hits the other medium tank. I can't follow up on that medium tank directly because of the enemy rockets. But I can have this medium tank sally forth across the bridge to wreck this rocket, without either enemy rocket being able to hit back. We have plenty of medium tanks around and plenty more we can build, so I'm okay with risking one here to take out a rocket.
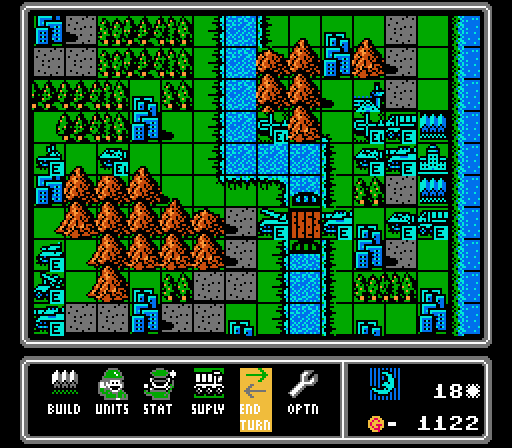
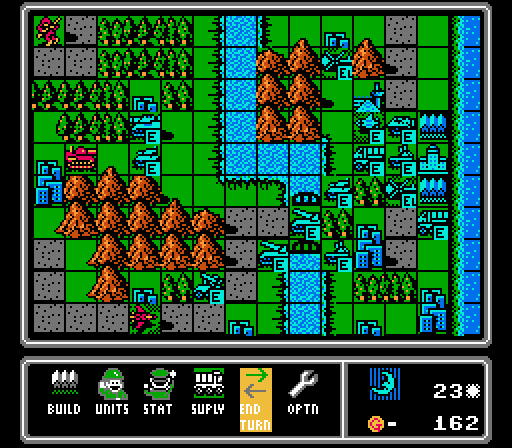
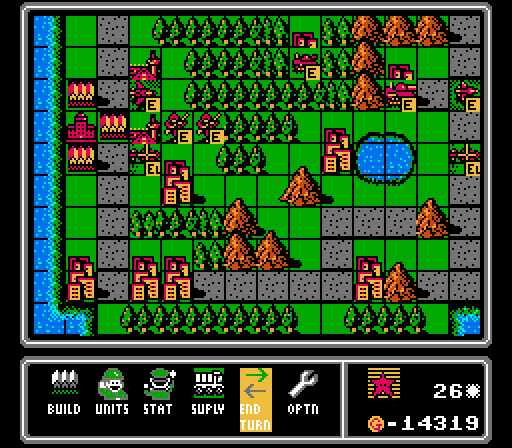
The upper bridge has been pretty empty as Blue marches its troops along the shortest path to the lower bridge instead. We have some new and repaired medium tanks on the way, and suddenly we're the ones with overwhelming force in the area.

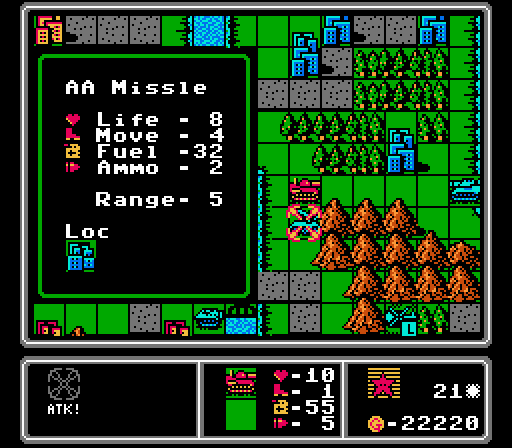
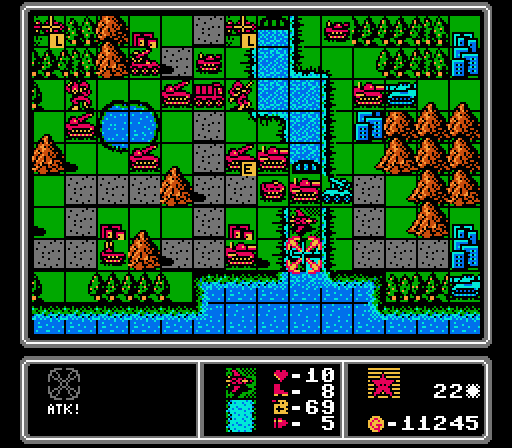
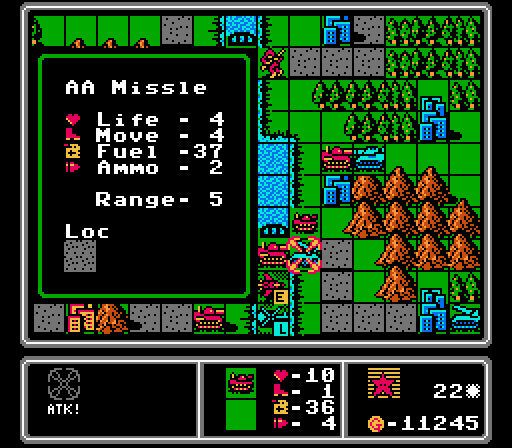
I've been spending most of our cash on repairs, so decline to build anything this turn. Note how I now have the AA missile blocking the lower pass. I really should get something stronger down there.
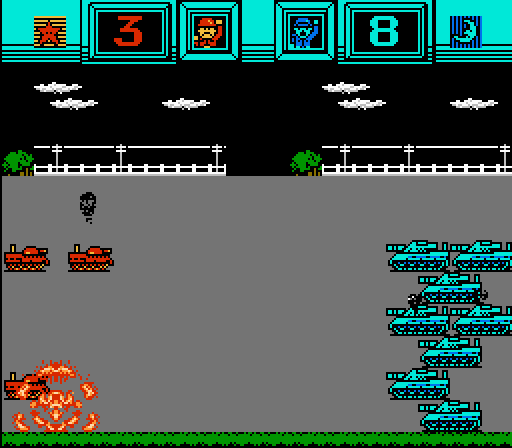
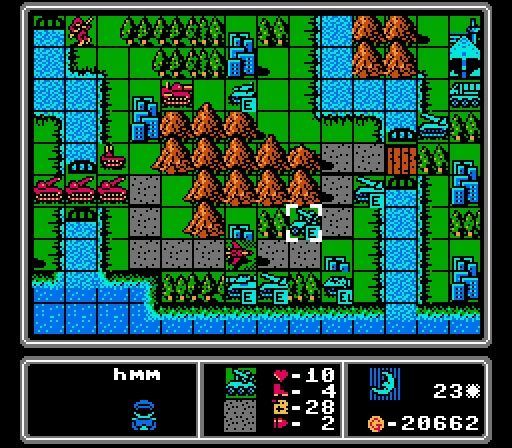
The AA missile took the hit from the tank, but I didn't have anything left to keep the damaged medium tank away from our rockets, and one lost half its Life here.
The damaged rockets retreated and merged again. Interestingly this retreat happened only after the nearby tank and medium tank had already taken their turn, so no one was left to hit our medium tank on the bridge. I'm not sure how the AI determines in what order to move its units (maybe in the order they were built?) but it's clearly sub-optimal here.
It's whack-a-mole with medium tanks here.
Turn 20
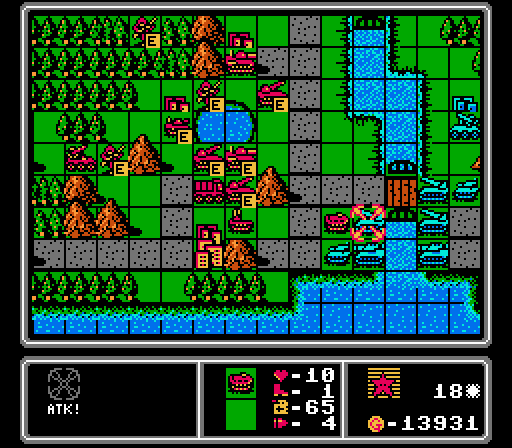
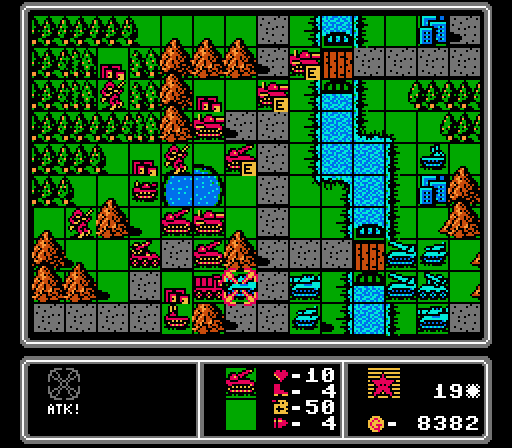
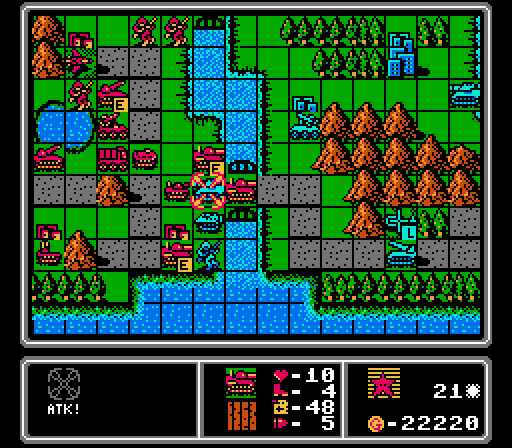
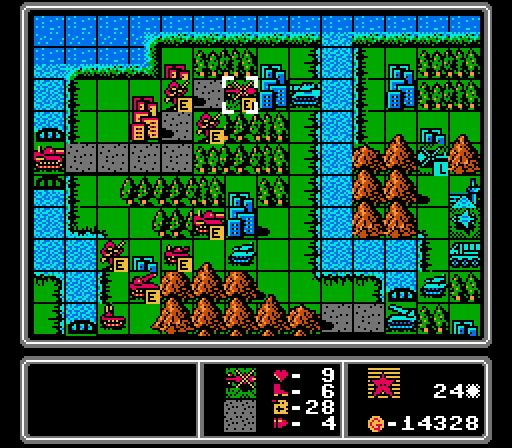
Only one of our rockets can reach this medium tank, but one is all we need.
Our damaged rocket heads to a city for repairs, while the other one hits this tank and allows our medium tank to finish it off.

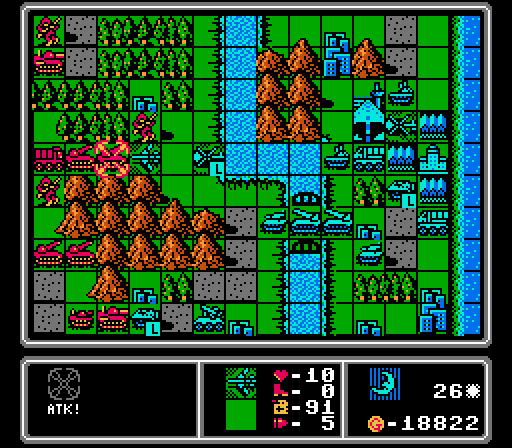
We've got full control of the lower bridge. I didn't actually attack with any of our other vehicles here; they're just sitting there being intimidating.
Meanwhile we begin our invasion across the upper bridge, starting with a hit on this AA tank.
Everyone is repaired and rushing ahead now, with both bridges under control. I did make one mistake here though...


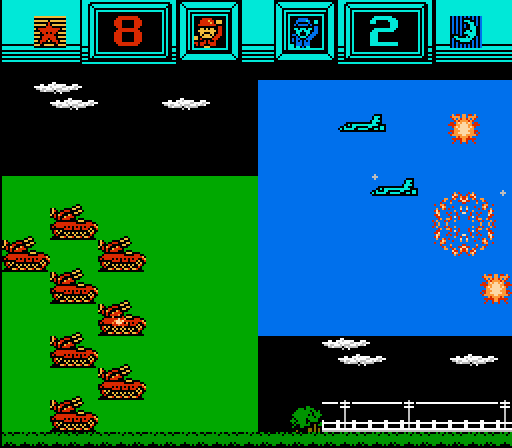
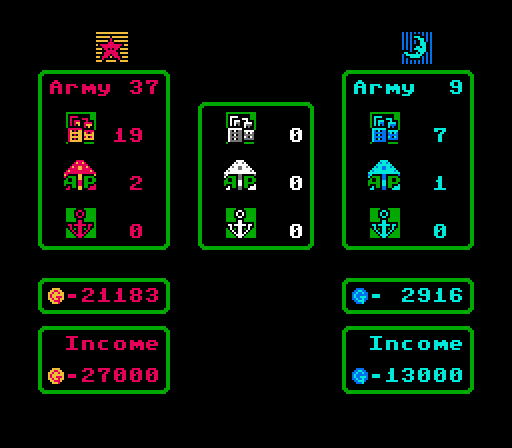
I went looking for what we're allowed to build, and noted that Blue has built nine medium tanks now, five more than we have. Since we have the funds for it, let's get one more for our side.
Here's the mistake I made - the enemy AA tank repaired half its damage and was able to reach our copter, severely damaging it and the infantry it's carrying.
This medium tank completely ignored our medium tank and headed for our tank instead. I guess that was another unforced error on my part.

Oh crap, the enemy tank can reach us, too. Luckily it's still damaged...
Phew, we survived. It feels weird caring about each individual unit in this game. That tank probably isn't going to matter much with all the medium tanks we have available, yet I can't help wanting to min-max this challenge.

For some reason Blue put out a tank and an AA missile this turn. Maybe they didn't like our fighter flying forth again.
Turn 21
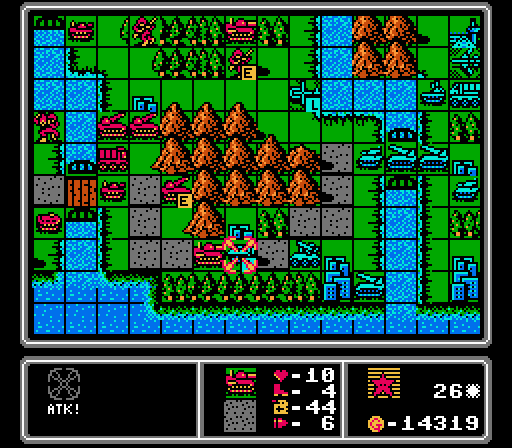
First up - a rocket wipes out this offensive enemy AA tank.
One medium tank finishes off the tank, while two others take care of the remaining medium tank here.
A fourth medium tank continues to cause chaos on Blue's island, roughing up this AA missile.
Playing my favorite game of using a fighter to blockade ground units. Also shown: A rocket is out of ammo, so I move a supply truck up to refill it next turn. Two infantry are crossing the upper bridge, and will start a city capture next turn.

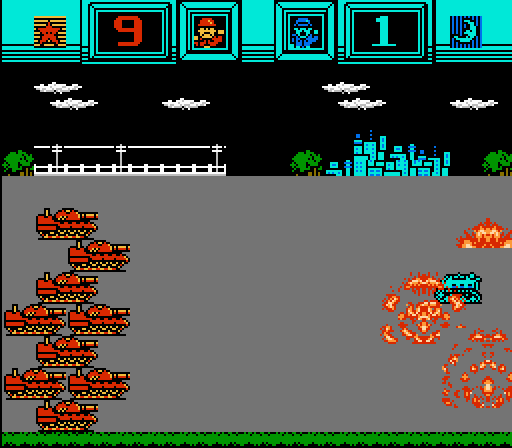
Look, if the AI is going to keep throwing medium tanks at us, I'm going to throw them right back. We also get a tank to match the one that Blue built last turn.
We've got the enemy on the run in the lower road. Meanwhile another enemy medium tank arrives to do battle with our medium tank. Both units on plains tiles, but we end up a bit worse off anyway.
The enemy APC attacked our APC, and then the infantry jumped inside it. So our rocket will be able to take out both with one strike next turn. Thanks weird AI!
Looks like we took out enough rockets to encourage Blue to build one more.
Turn 22
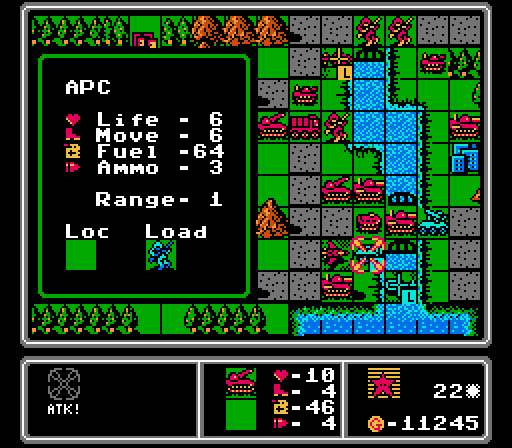
I promised that the rocket would take out the APC and its passenger and I deliver here.
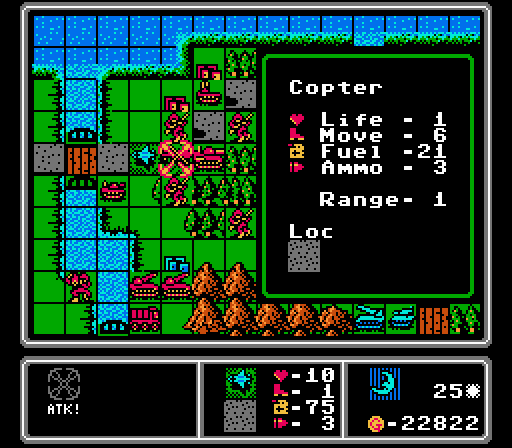
Our fighter is back in the action, and hits this loaded copter while sitting in the safe zone close to the enemy AA missile.
Not that the AA missile is much of an obstacle. I snuck a tank across the upper bridge last turn, and it hits the AA missile from behind to destroy it.
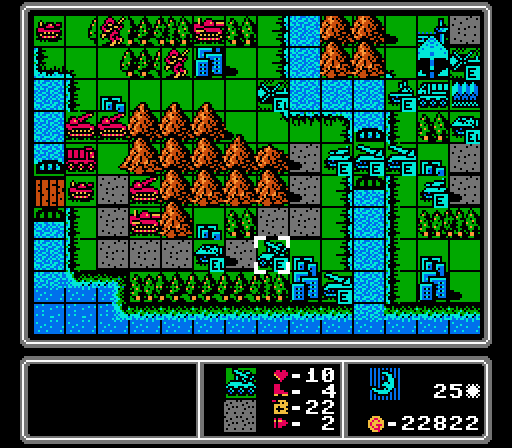
One medium tank retreats across the upper bridge, while another crosses the lower bridge to hit this enemy medium tank.
We hold the bridge with another medium tank, backed up by three rockets. I debated building an AA missile for awhile here, but decide to just save our funds for next turn.
Blue doesn't challenge us at the lower bridge; probably a wise decision. We're going to need some more firepower in the upper half of the island though.

The AI puts out several cheaper units this turn - a copter, a tank, an AA tank, and a mech.
Turn 23
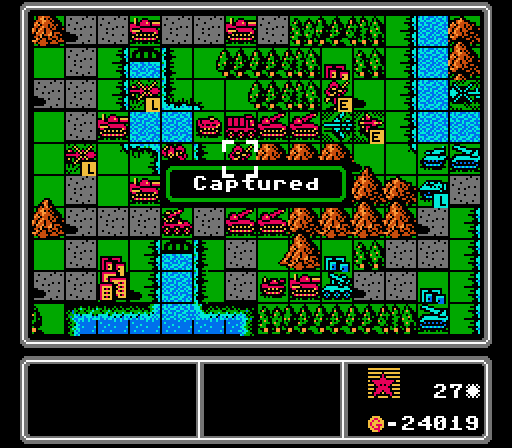
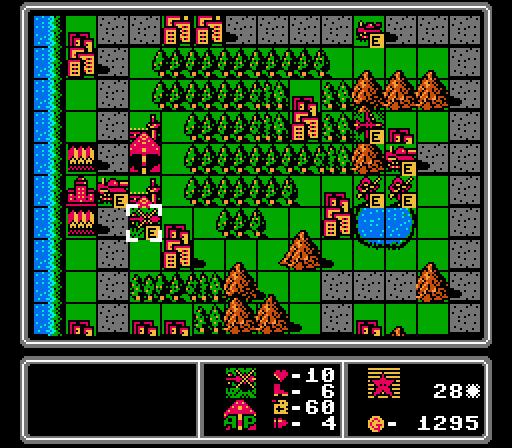
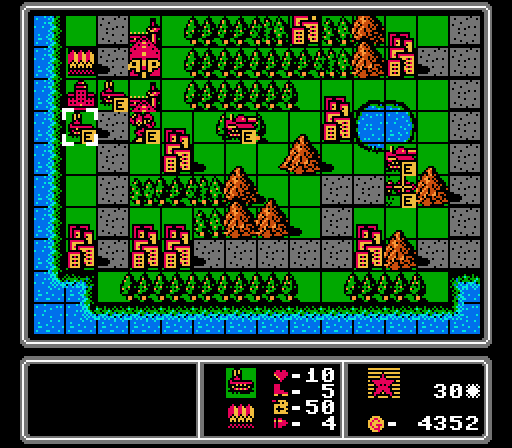
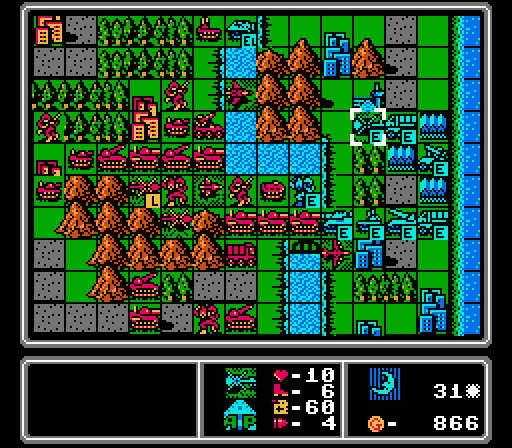
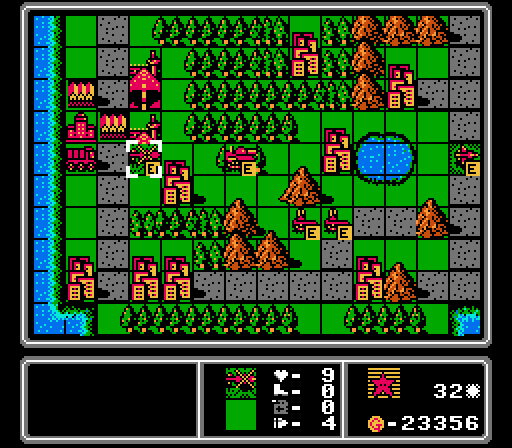
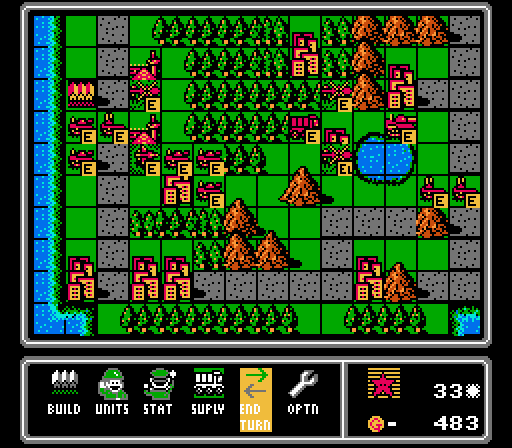
The snowball has started - we've taken our first city from Blue.
Fun fact - if you hit a copter with a fighter, it can't actually get away from you. We finish off the copter and its passenger this turn while also sitting on Blue's city and clogging the pass.
Our rockets are in the lead and appear to be exposed, but I checked about four times that nothing could reach them.

We still have a lot more units we can build before we catch up to Blue. I opt for the obvious choice with a medium tank, and use some leftover funds on a mech.
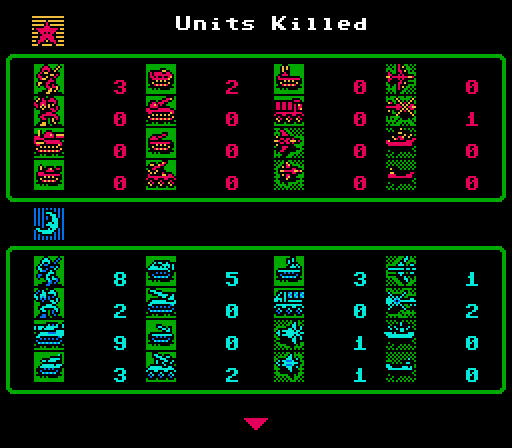
Part of why we're still so far behind on units built, is that we have a huge advantage in units killed. We've killed a ton of Blue's units, and only lost a handful of our own. So our funds are going towards reparing damaged but salvageable units, rather than buying new ones. Having a backlog of units that we can build will help us as we capture more of Blue's cities and build up more and more of an income advantage.

Oops, got a little aggressive dropping off this infantry, and it loses half of its Life.
Still not much going on at the lower road, but an AA missile moves up to threaten our fighter.
Blue finally builds its second serious air unit, a scout, along with an AA tank.
Turn 24

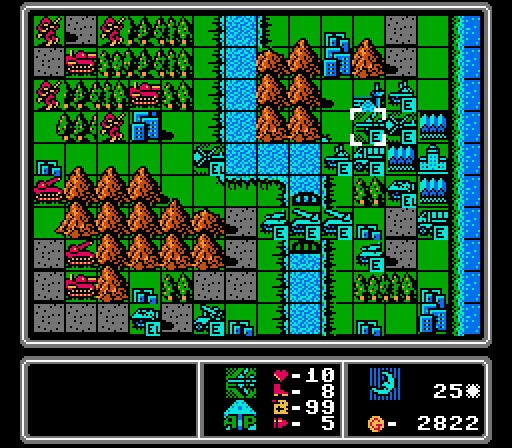
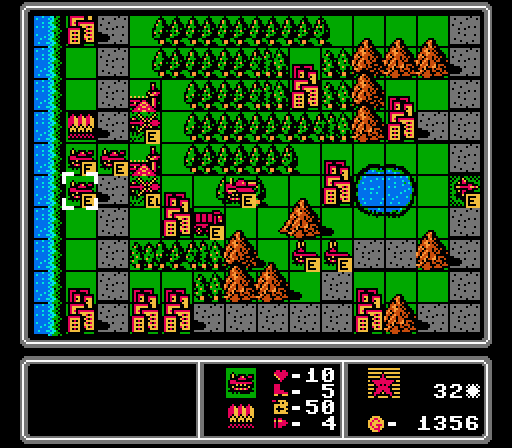
We start off the turn by taking a second city from Blue.
A fresh medium tank arrives to finish off this enemy medium tank.
I think I'm clever here by hiding the injured infantry back inside the copter, but the copter is just barely still in range of the enemy scout.
We're still being cautious at the lower bridge, but I do put a couple rockets onto Blue's island.

Here's where I notice that the AI built a scout last turn, and mildly panic since I just sent our fighter back to refuel and we don't have enough cash to get our own scout.
Instead we build nothing, and I panic again as I realize that the enemy scout can reach our copter. Somehow we barely survive this one.
Another battle between two fresh medium tanks, this time both on roads instead of plains, but the same result.
This medium tank battle also doesn't go our way, but like in the last one, the enemy unit is now in rocket range.

Hey, a neutral battle where we don't mysteriously take more damage for once.
Some more cheap units come out - a copter, a tank, and an infantry.
Turn 25
One of our medium tank attackers falls to a rocket and a tank here.
Two other rockets finish off a tank and damage another medium tank.
I've got a fresh medium tank on the upper half of the island to get the kill here.
I thought about protecting the copter here, but decide it'd be better to keep the infantry since that copter is probably going to run out of fuel soon anyway.
Starting to advance along the lower road.
We match Blue's scout, and then catch up on footsoldiers.
The copter is lost on the enemy phase, but we'll be able to hit that scout with our AA tank now.
The AI is not sure what to do on the road so just kind of sits there.
I'm more excited that we can finally build a bomber than worried about what the AI can do with this one.
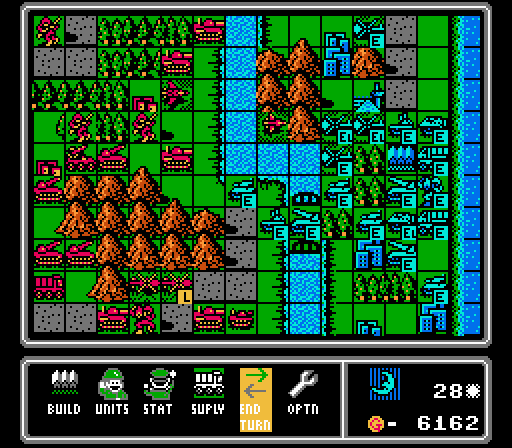
Turn 26
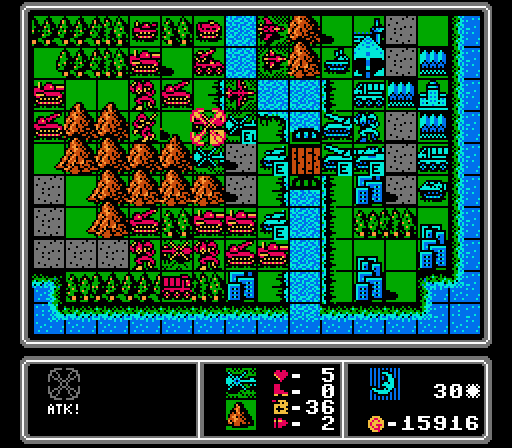
It feels good to be the one with the annoying AA tank for once.
Somehow a rocket and a medium tank aren't enough to dislodge this APC from the city.
A medium tank finishes off this scout before it can retreat, while our rockets advance with all the ground units in the area gone. We also start capturing three more of Blue's cities.
Can't afford a bomber yet, so we just get a copter and load a mech into it.
I really have a blind spot when it comes to checking the range of newly-built air units.

I'm not sure what these copters were trying to do, but apparently they were scared off by our AA tank.
Blue seems to be pulling back to hold its last bridge. The road isn't much of an obstacle now with everything we have here.
Another copter and two more tanks. We should get some more anti-air units up front to deal with these copters.
Turn 27
Our scout has arrived and pulled the teeth from the bomber.
We finish all three captures that we started last turn, putting a large dent into Blue's finances and really all but ending the map at this point.
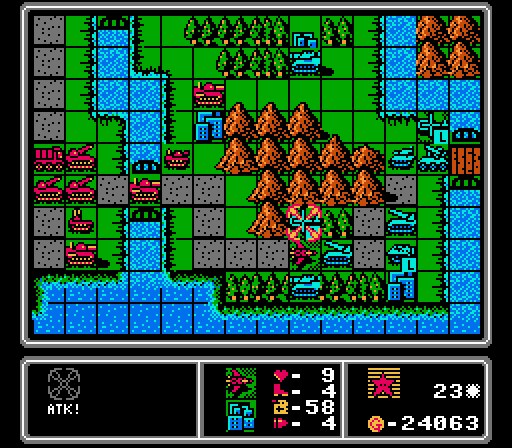
Our rockets each hit the AA missile but can't remove it. Meanwhile a medium tank sneaks up on the rocket while everyone else waits safely out of reach.

It's finally bomber time for us!
A couple of copters attacked our infantry that are still sitting on their newly-captured cities, and some vehicles came up to play, but not much else happened here. The bomber retreated, and Blue built a supply and a rocket.
Turn 28

Both air units are on mountain tiles here, so our scout can finish off the enemy bomber without being threatened by the AA tanks.
Down on the lower road, we took out the AA missile with a couple of rockets and advanced to attack another rocket, then dropped off a mech to take the freed-up city. I intentionally exposed our tank to the enemy rockets on the bridge, willing to take some losses now to end the map more quickly.
Around the rest of the island, we destroyed an APC with a medium tank and killed a mech with a rocket, then did some damage to the copter and tank in the upper corner. Finally our refueled fighter arrives to hit the other copter.
I'm not sure how much these will matter, but here's a copter and a medium tank for you.
Just capturing our low losses before I start throwing units away to make progress. It was fun while it lasted.
Our tank survived! And all of Blue's damaged units retreated, with no other attacks. The AI then built an APC and a mech; nothing important there.
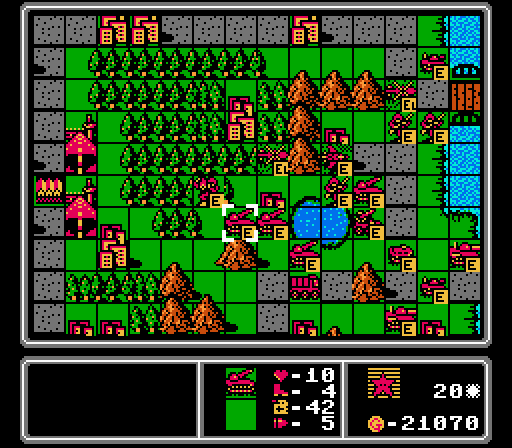
Turn 29
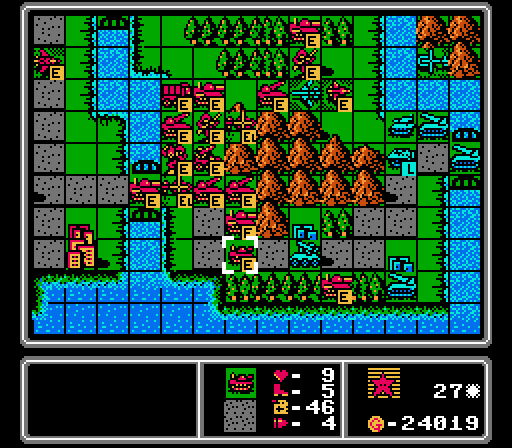
Here's something weird. This infantry has been riding around in the copter above it for a long time. The copter took a hit down to 3 Life and went back to the airport for a few turns of repairs, getting back up to 9 Life. However while the infantry here took the damage while they were inside the copter, they did not get the benefit of repairs while in the copter. I was going to have this infantry start capturing the other Blue city shown here, but that obviously won't work with how injured they are now.
Anyway we removed a damaged tank with this rocket, then finished off the rocket in the lower road with a medium tank, and advanced another medium tank along the road to challenge the chokepoint there, hitting the AA tank.
We're matched up on medium tanks now. In fact Blue doesn't have any left on the field, and we haven't lost any. So we now have nine unchallenged medium tanks out here.
Well, Blue built another medium tank, go figure. The damaged AA tank went after our copter that I didn't realize was exposed, and then a tank moved up to hit our medium tank. The rocket formation here is a little more difficult to crack, but I'm not about to retreat now.
Turn 30
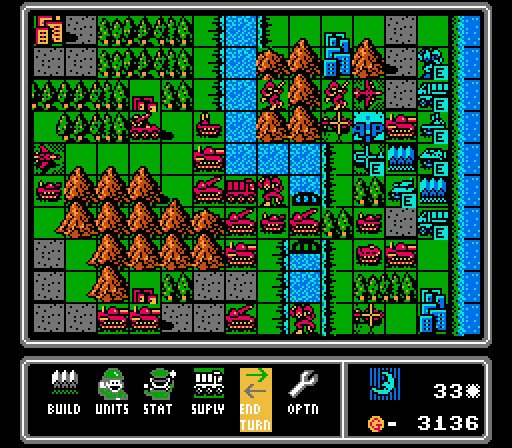
We finished off the AA tank with a distant rocket, and used a couple medium tanks to wipe out an enemy rocket and another one to destroy a tank. We have a bit of an odd formation here - three medium tanks are all in range of one enemy rocket, but not in range of the other rocket. So we'll only take one rocket hit, and probably only lose one medium tank as a result. I realized a little late that the remaining enemy tank on the bridge could reach a rocket and an AA missile and cause some trouble, so put a copter in its way, even though it has a passenger.
Can't afford a medium tank, and I was mildly concerned about how to deal with enemy copters, so we get a couple of AA tanks instead.
We lose the medium tank by the bridge, and we also lose the copter here to a couple of enemy copters. Lucky for us the enemy tanks moved first, so couldn't take advantage of the opening.
Ugh, rockets are so annoying at this stage. Whatever I have plenty of tanks to throw at that bridge.
Turn 31
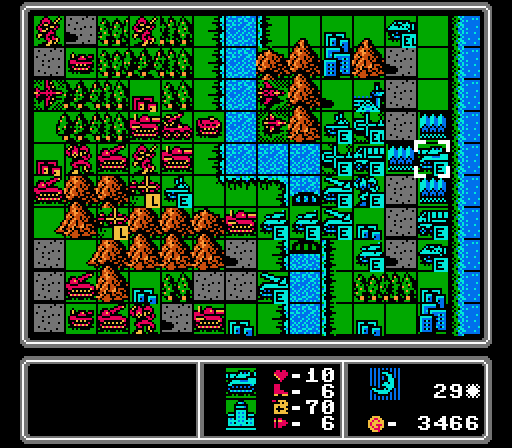
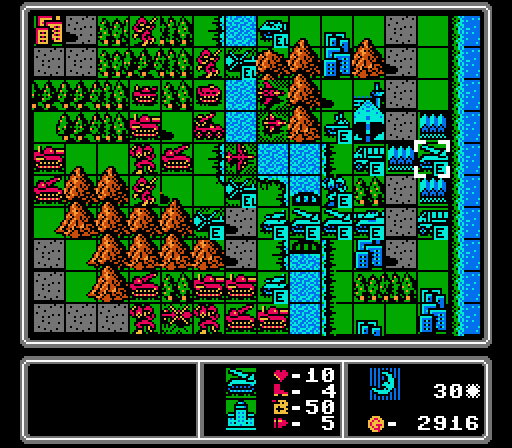
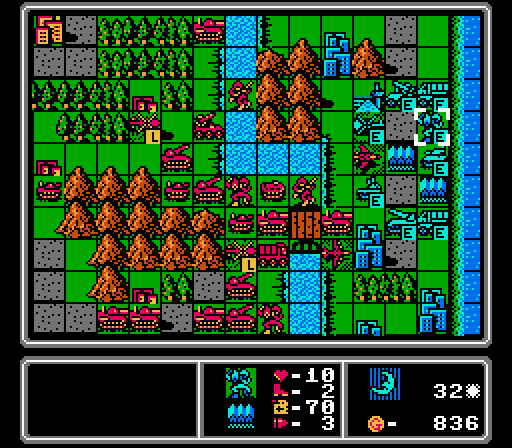
The enemy copters all came out to play once we got our AA missile close enough to hit the airport. I've had our fighter and scout sitting safely in the mountains waiting for this moment, and between those two air units and the AA missile and our own copters, all three enemy copters are eliminated here.

Meanwhile our rockets eliminate one tank, and damage the other tank and the lead rocket enough for our medium tanks to march right down the bridge, wiping out the tank and rocket in the process. Our bomber then flies in to finish off the second enemy rocket. Note how we're still out of range of Blue's new rocket. Our bomber is exposed to the AA tank, but I'd rather have the rocket gone and the bridge clear anyway now.
We wiped out almost half of the enemy army this turn, so as long as I'm not critically stupid we should be done in the next few turns.

Nothing we build now is going to make a difference in this map, but for as long as I'm following this challenge, you're going to see what I'm building for it.
Our bomber is safe, because the medium tank took up the square to hit our medium tank instead. I also get a reminder that APCs can cross rivers, as one hit our AA tank up top. And an enemy mech entered the river but didn't attack anyone. We also have a new AA missile and a new copter.
Turn 32
The enemy medium tank is taken out by our medium tank and bomber, freeing up space for another medium tank to roll forward and whallop the enemy AA tank. Our APC also finished off the enemy mech with help from a rocket. And another medium tank moved up to whack the APC in the river. Another enemy APC was hit by a rocket on the lower road.
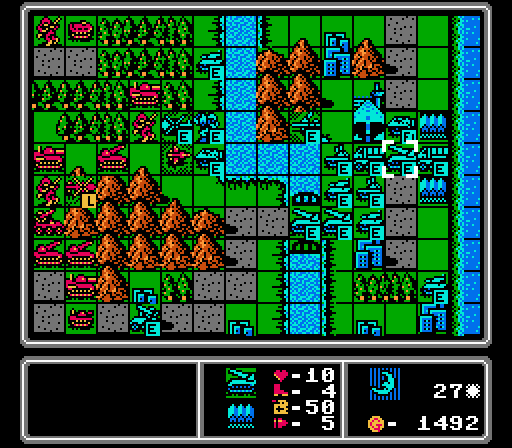
Here's another fun fact - this copter had literally just enough fuel to make it back to this airport. At the start of the next turn, it should crash for being out of fuel, right? Well, it turns out that air units don't consume fuel on owned airports, so this copter will survive and get refueled.
Also we're way behind on building tanks so I toss a few out there.
We lost a medium tank on the bridge to the rocket, but that's the only casualty on our side. The enemy APC on the river suicided on our infantry, and the enemy AA tank went after our fighter instead of killing itself on our bomber. We also have three new units - a copter, a tank, and a mech.
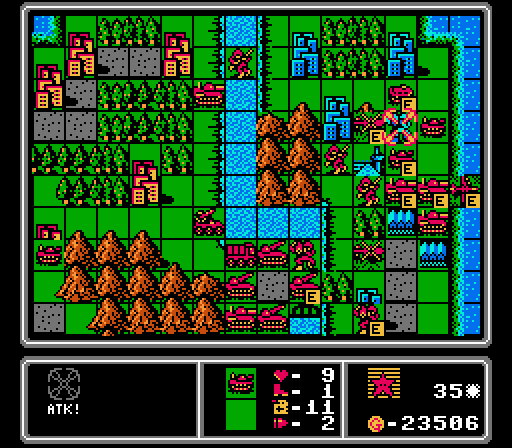
Turn 33
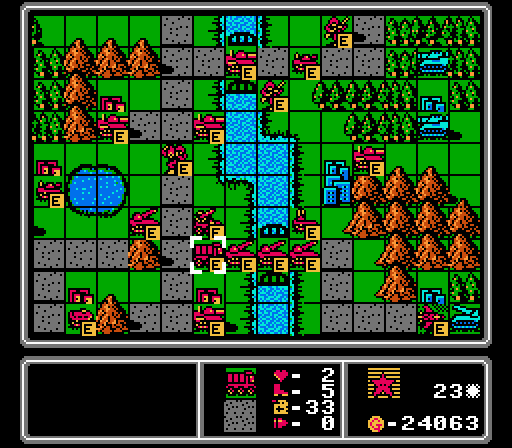
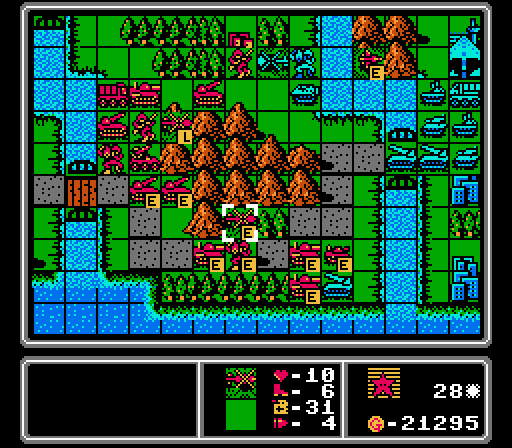
Our rockets finished off an APC and AA tank, and we had a tank and medium tank destroy the last enemy rocket. Another medium tank rolled all the way past Blue's HQ to hit the AA missile. And a couple copters dropped off footsoldiers for some capturing, with others ready to cross over on foot. Highlighted here is a situation I've never seen - our supply truck ran out of fuel and can no longer move! (Somehow it can still provide fuel to other units that wait nearby, though!)
I forgot, our bomber actually flew up and finished off the AA missile. No anti-air units left for Blue.
We built a copter, an AA tank, and two tanks here. That scout is the same one we've always had, just looking for more fuel.
The enemy phase isn't very exciting but we did lose an infantry to that tank and copter, and the AI then built an APC and an AA tank.
Turn 34
We wiped out a tank and an APC, then damaged a bunch of other units while blocking build points as much as I could. Off-screen I built a rocket.
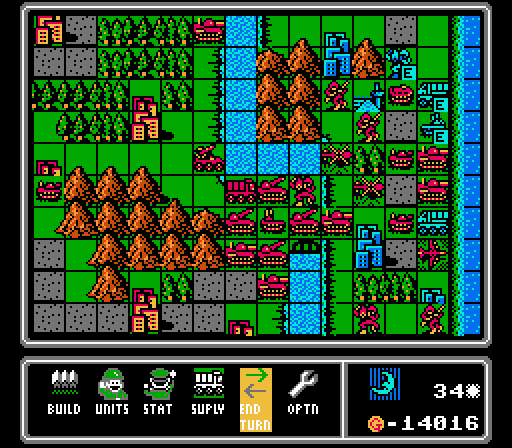
The enemy copter killed itself on our infantry, and nothing else happened. Blue didn't even clear its AA tank off of its base to try and build something else.
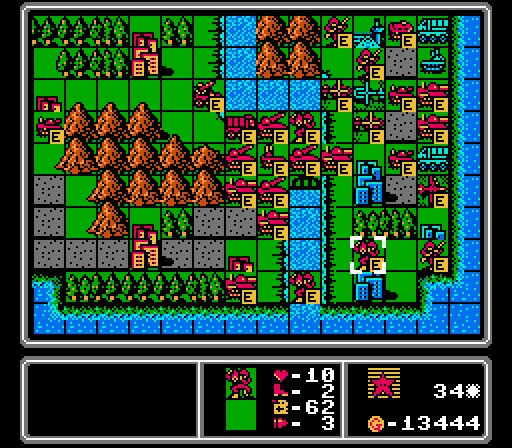
Turn 35
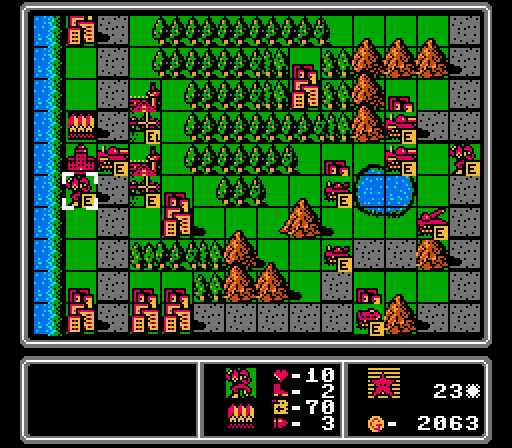
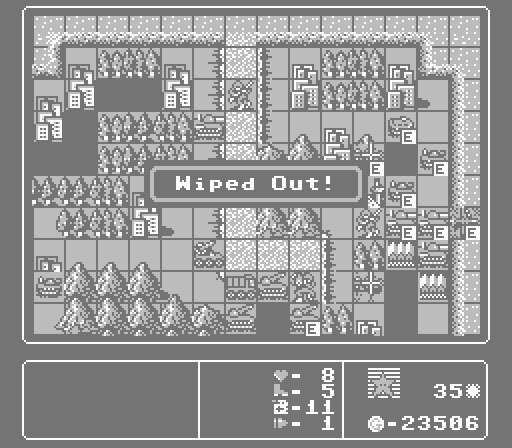
It took some careful maneuvering and ordering of operations here, but I managed to finish off every enemy unit this turn!
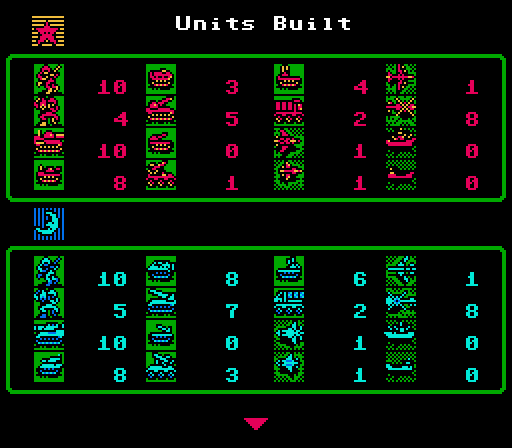
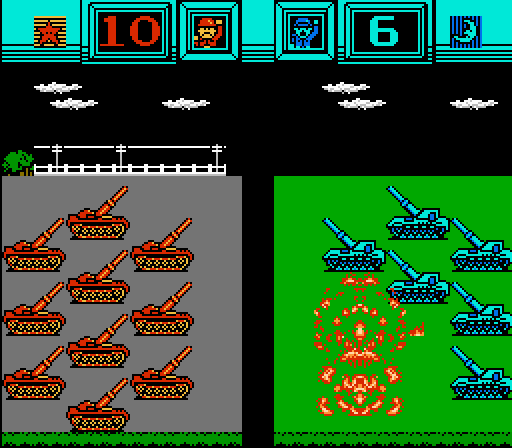
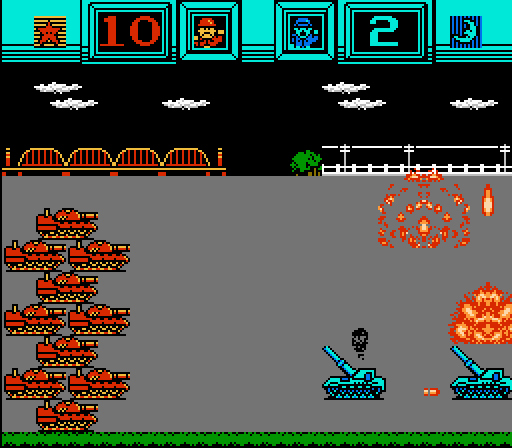
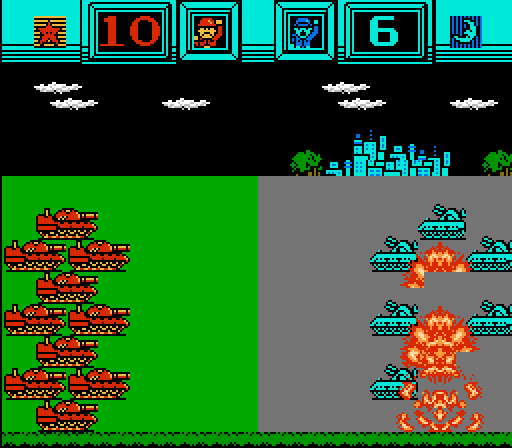
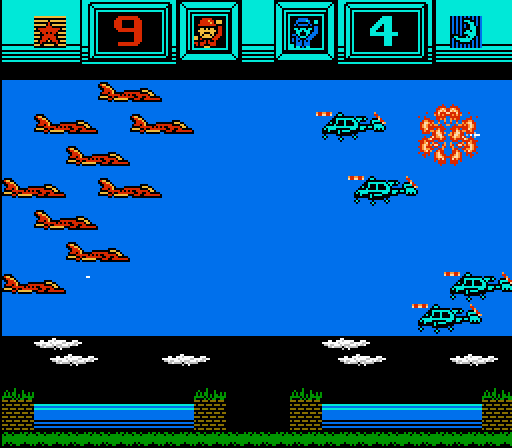
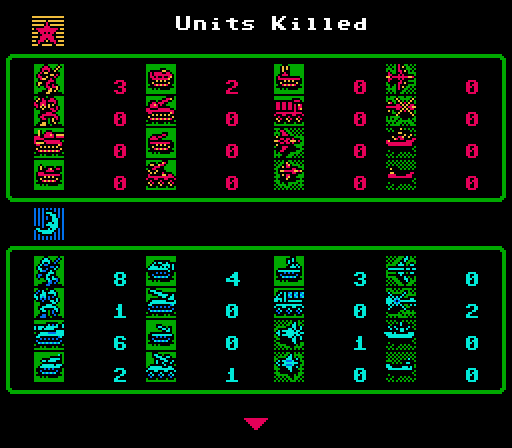
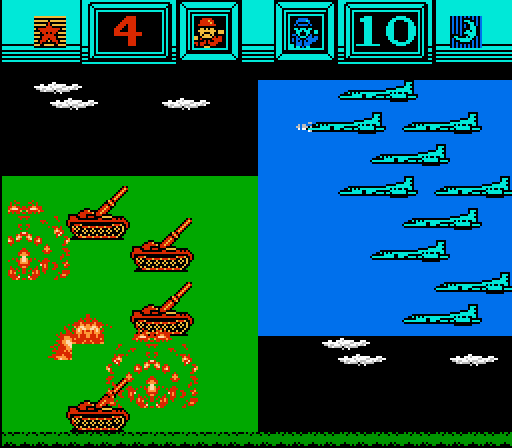
The final count of units built - we met the challenge through the very end.
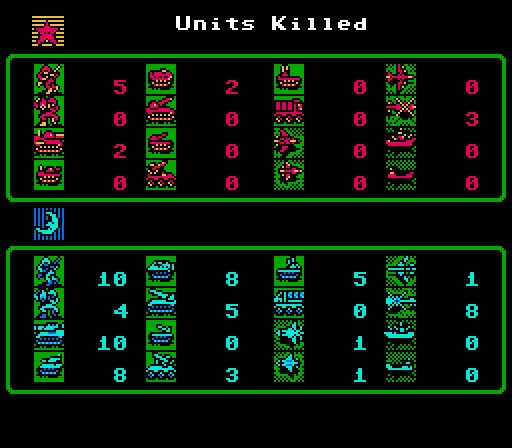
We lost a few more units in the final push once the conclusion was no longer in doubt, but still a pretty good ratio here. (This snap was taken at the start of the turn, before Blue's last few units were killed.)
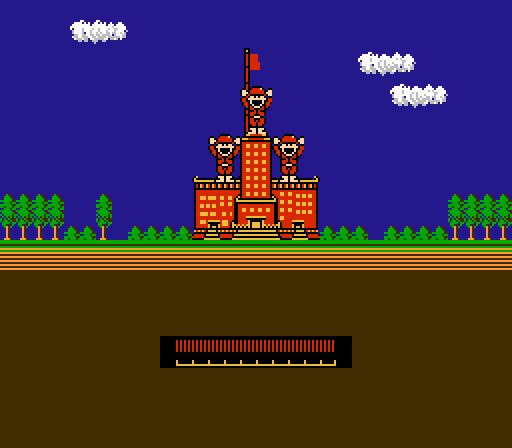
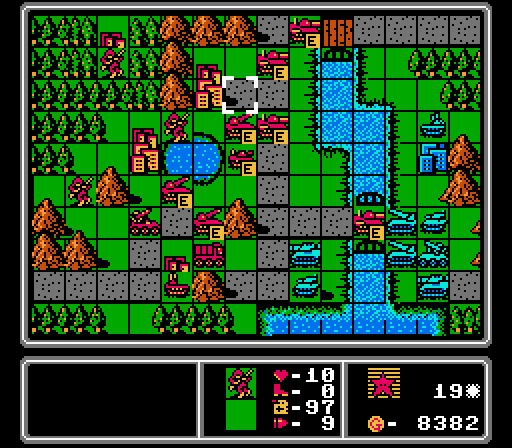
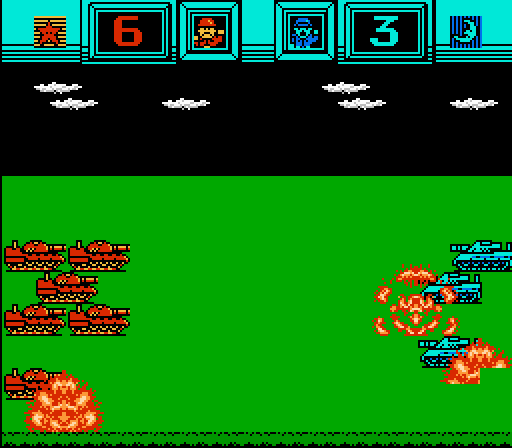
Victory!
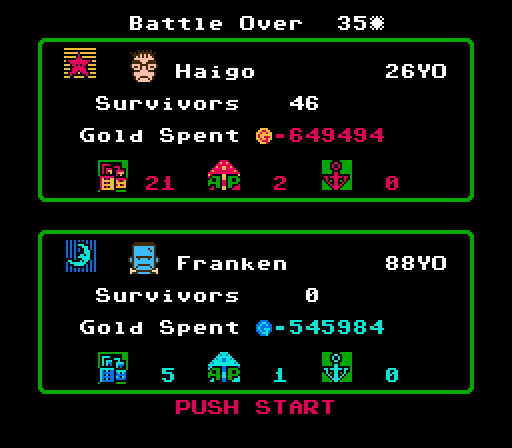
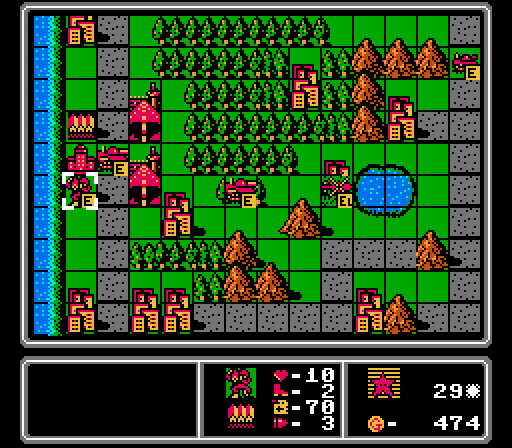
Not sure what our CO "Haigo" refers to; I guess it means "back" or "rear end" in Japanese but I don't really see it. The enemy CO is a bit more obvious, looking like Frankenstein's monster. Notice how we did eventually surpass Blue in total income, even though we never really caught up in total units built, since we spent so much more of our funds on repairs.

There are 15 maps on the map selection screen in this game, and we've just completed the last one! And with a slightly above average score, no less! The challenge was pretty fun for me this time, forcing a mostly ground-assault strategy. Hopefully you enjoyed it as well. Now, before we wrap up this LP...
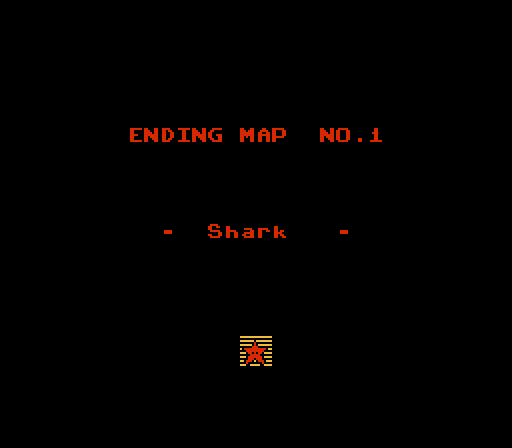
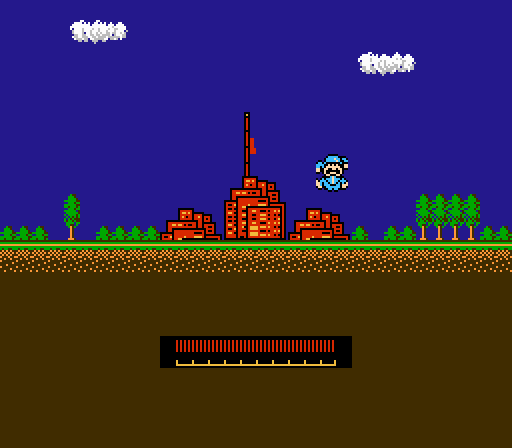
We actually get a special bonus map upon completing every map in the selection screen!
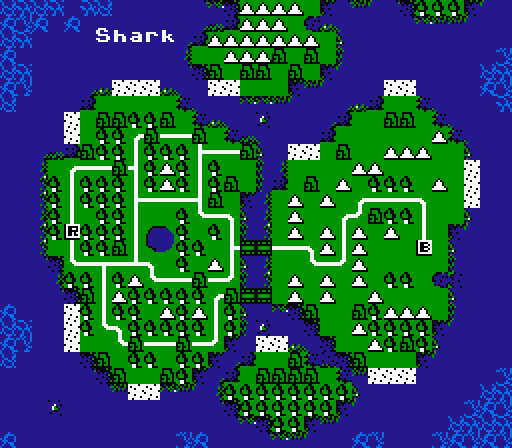
We're left on the selection screen here, but with the new map as our only option (moving up or down doesn't do anything). So next time, we'll take a look at the Shark map!