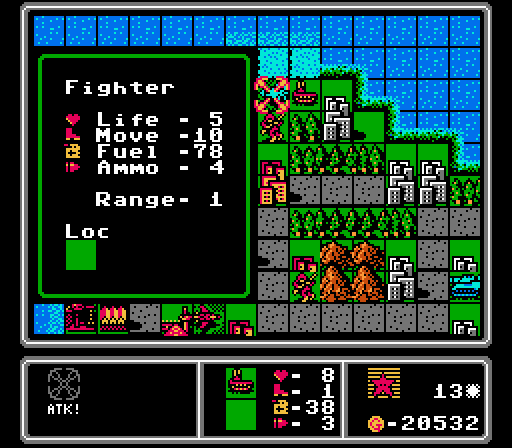
Part 47: Shark (1 of 2)
Part 47: Shark (1 of 2)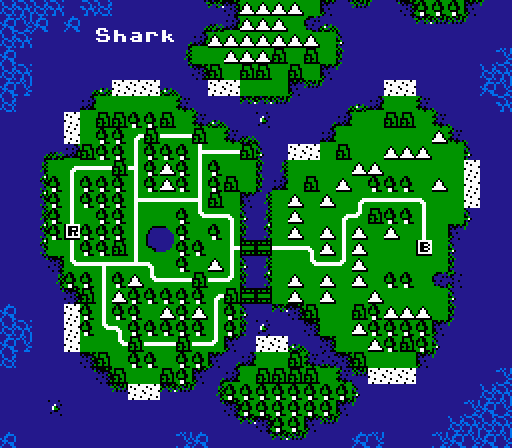
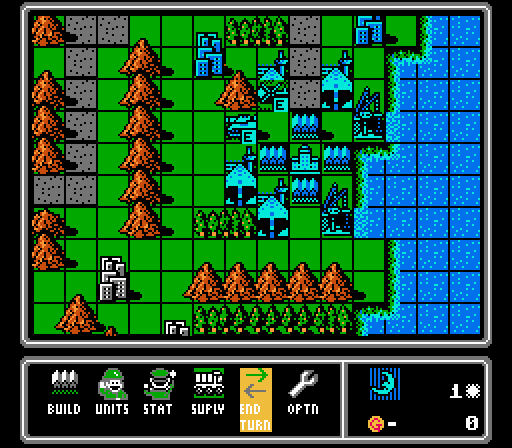
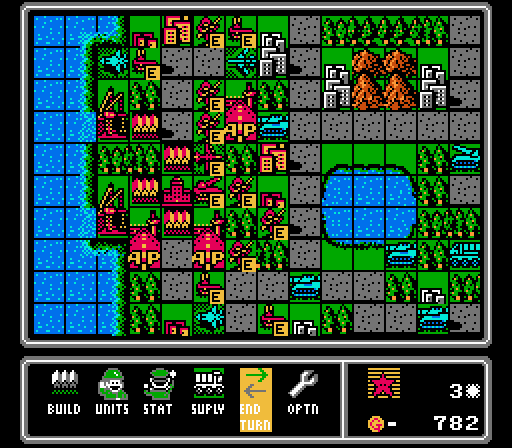
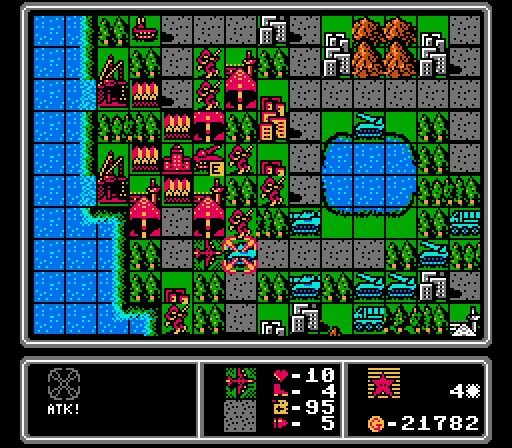
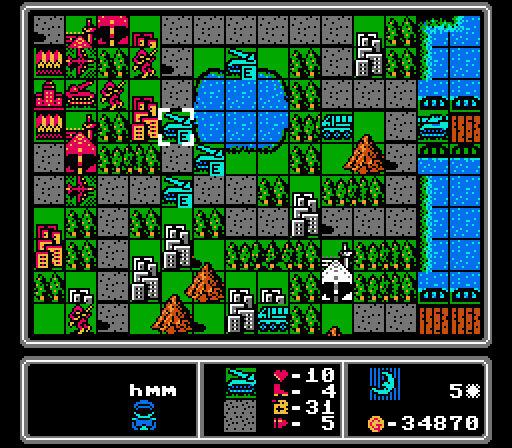
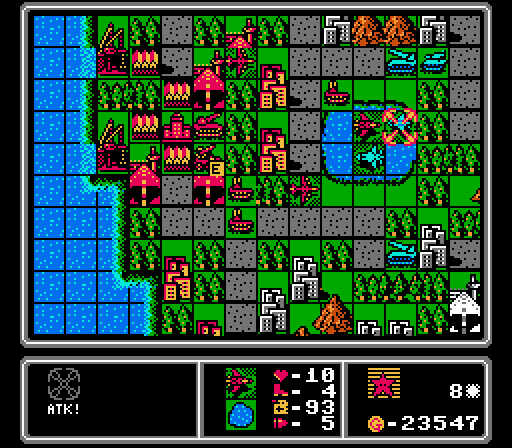
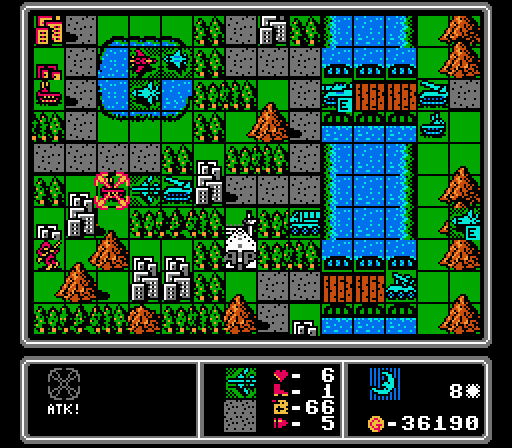
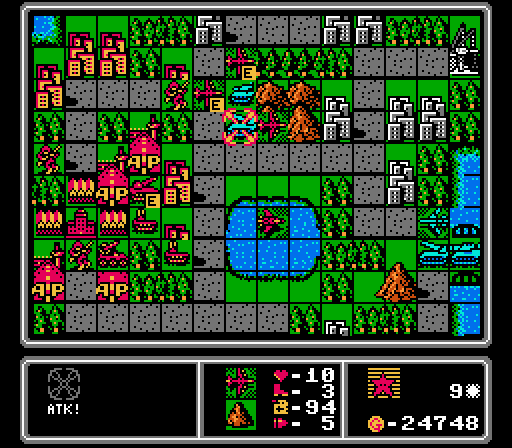
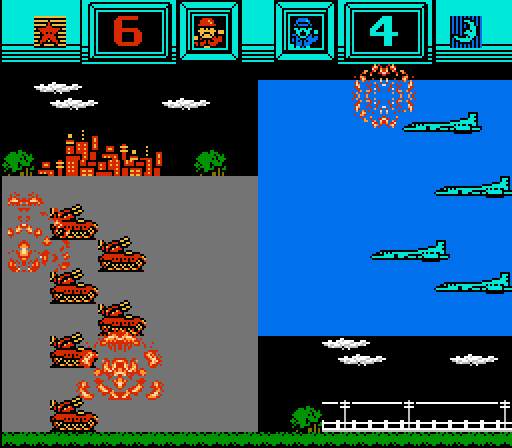
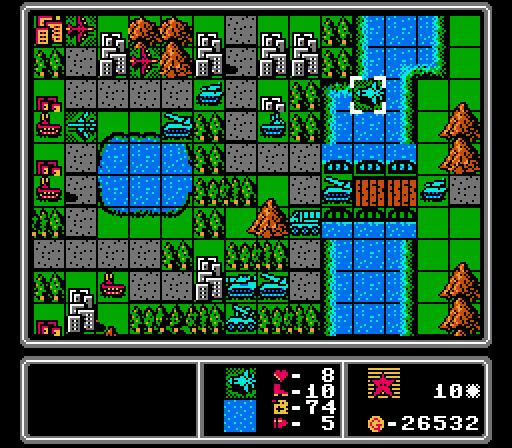
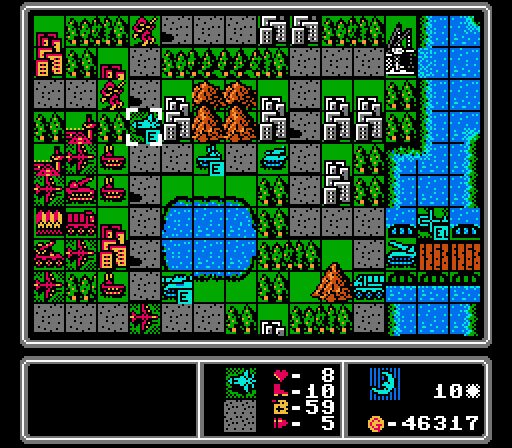
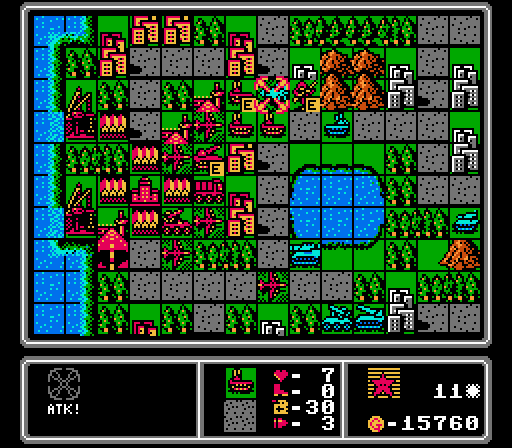
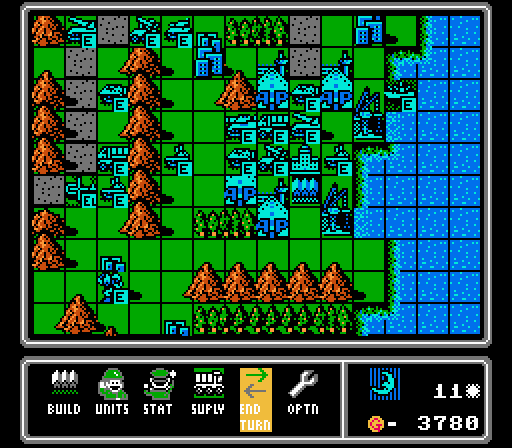
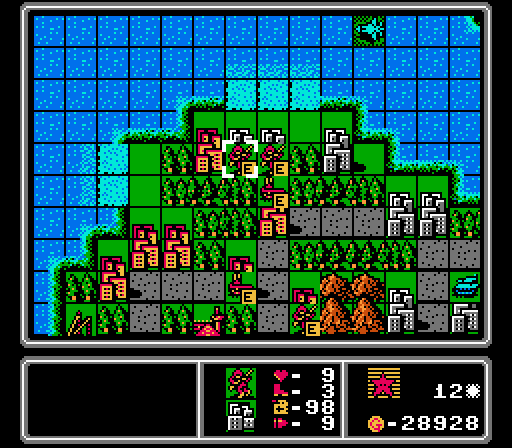
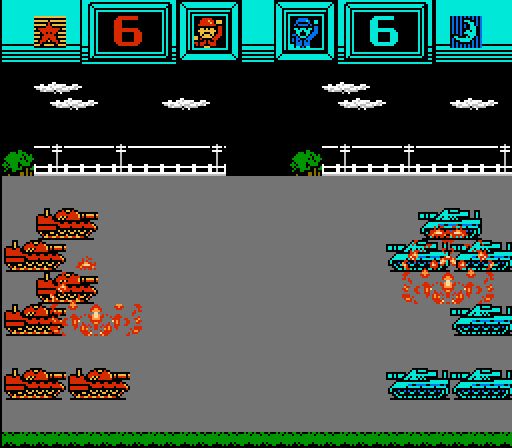
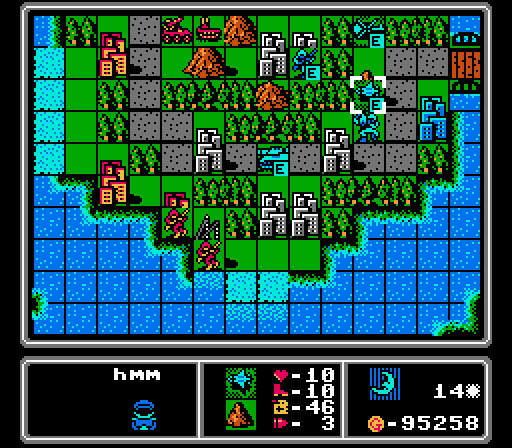
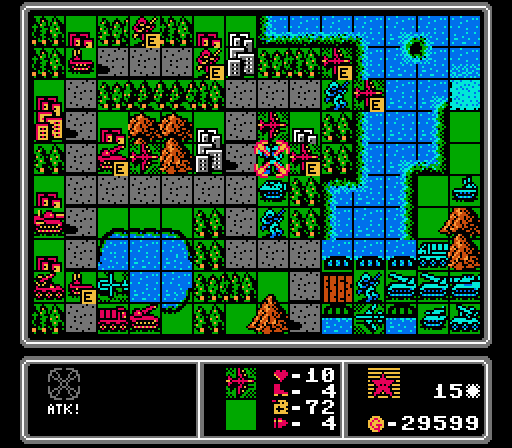
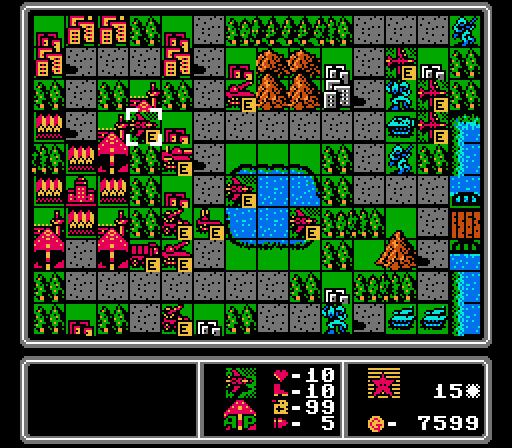
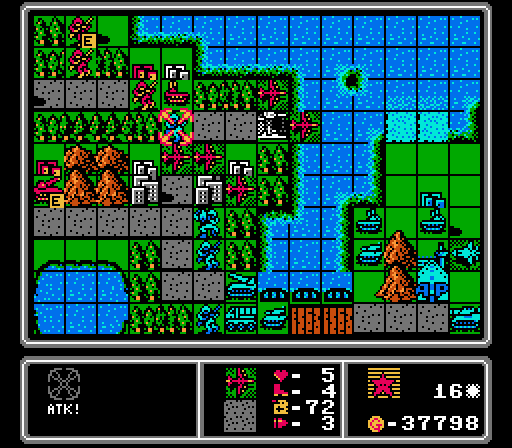
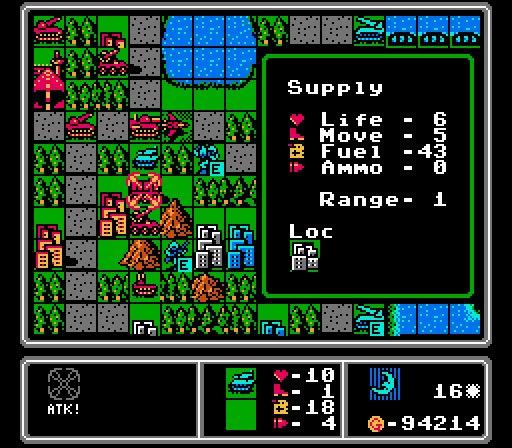
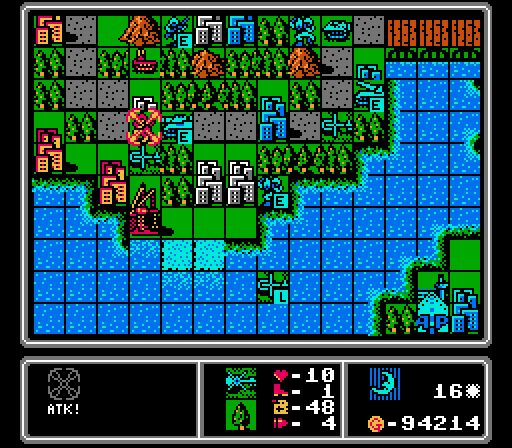
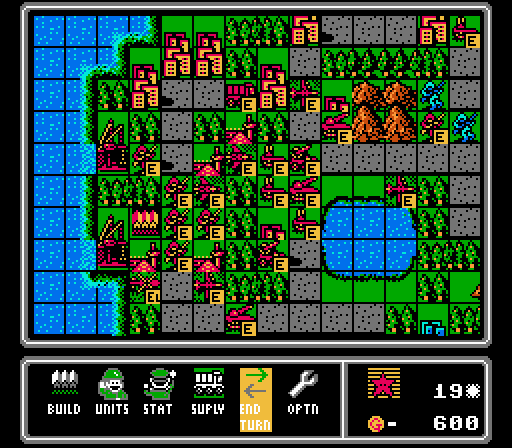
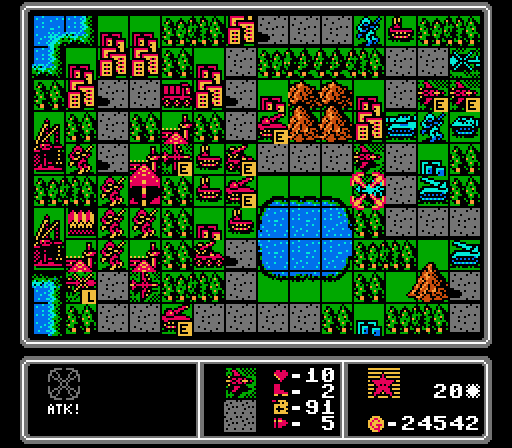
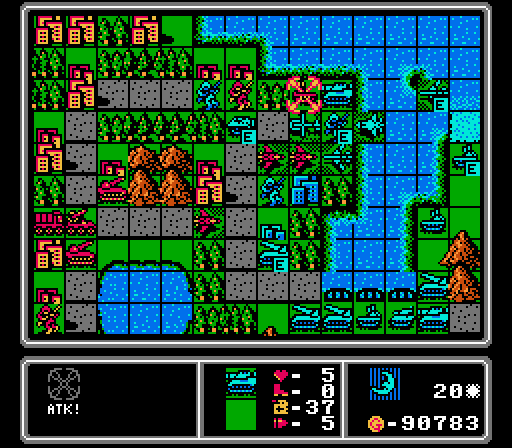
Welcome to hell everyone. This "bonus map" does not pull any punches.
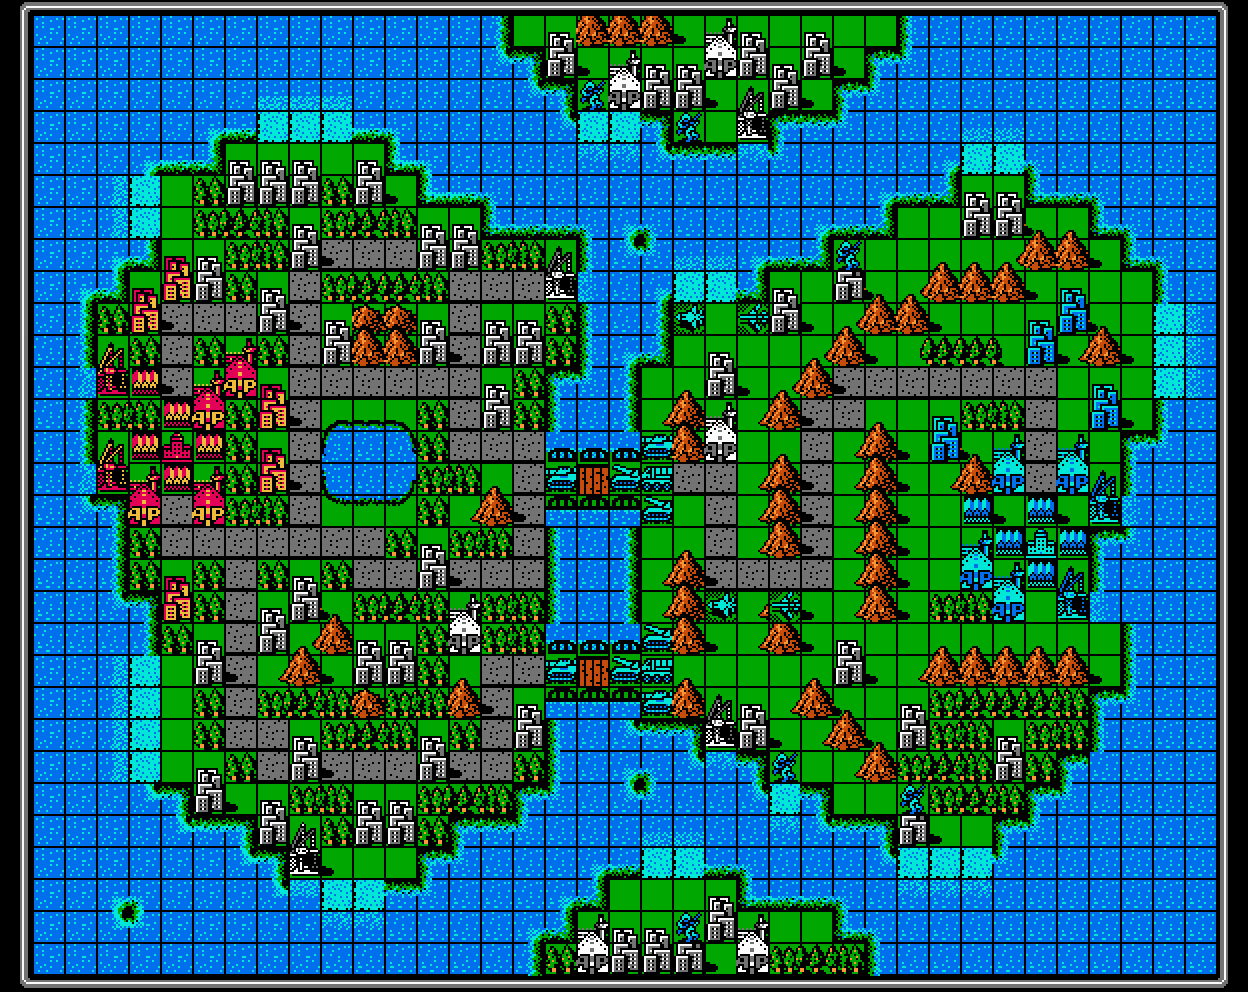
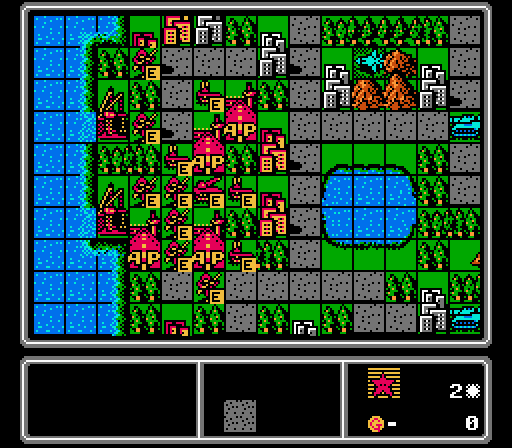
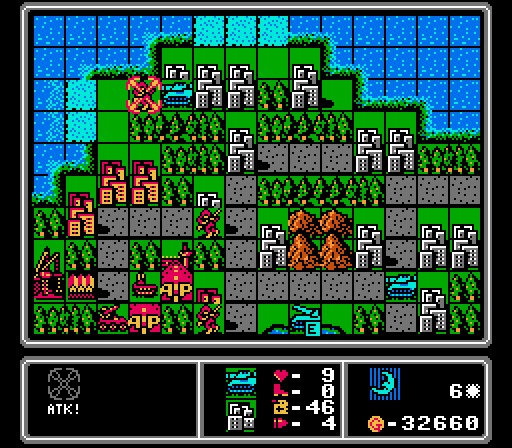
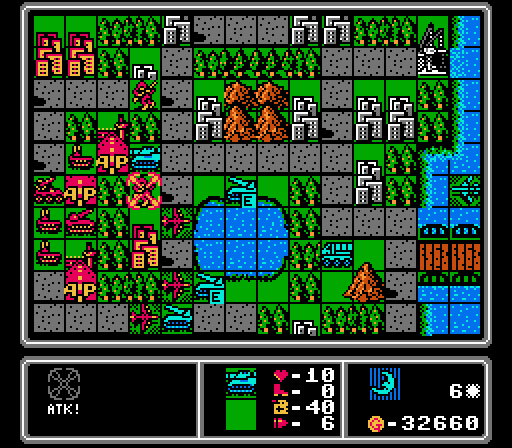
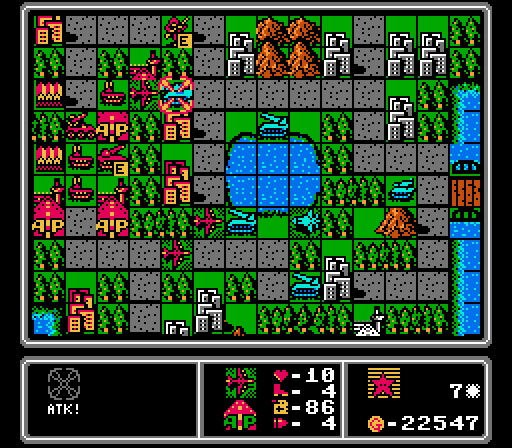
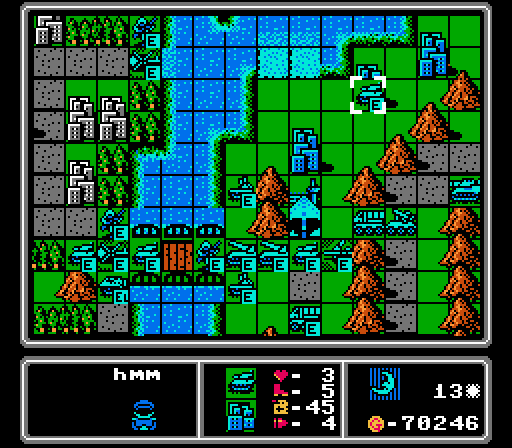
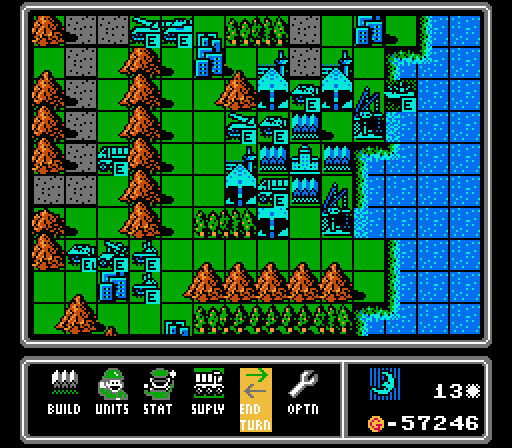
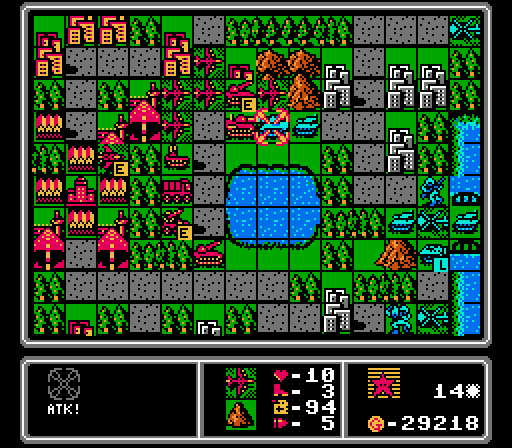
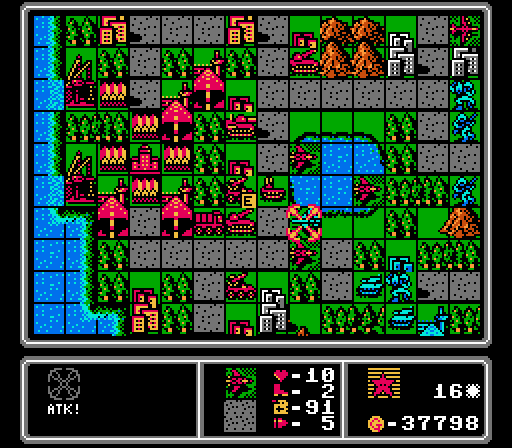
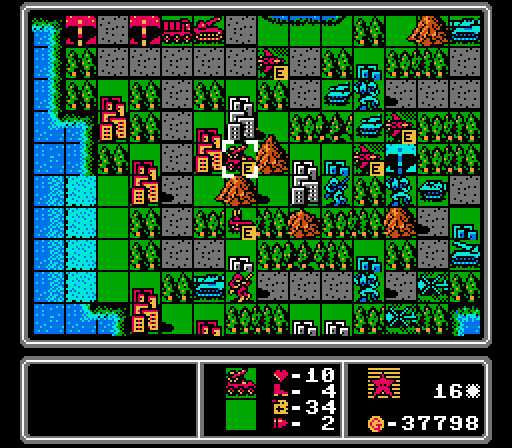
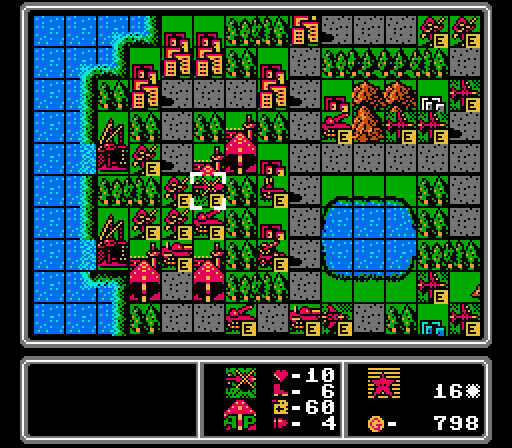
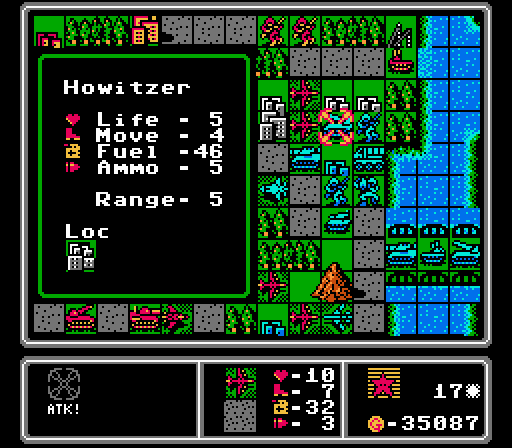
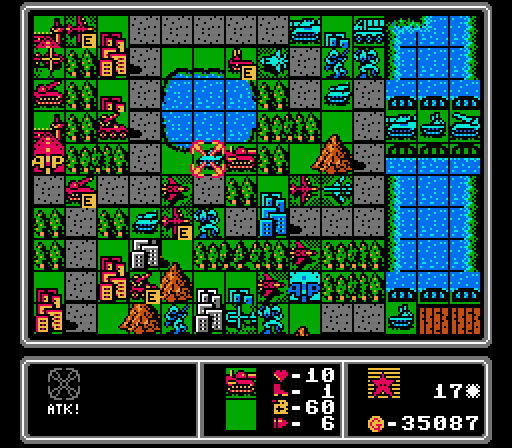
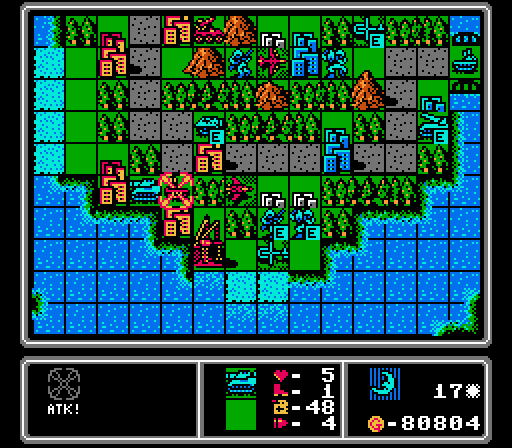
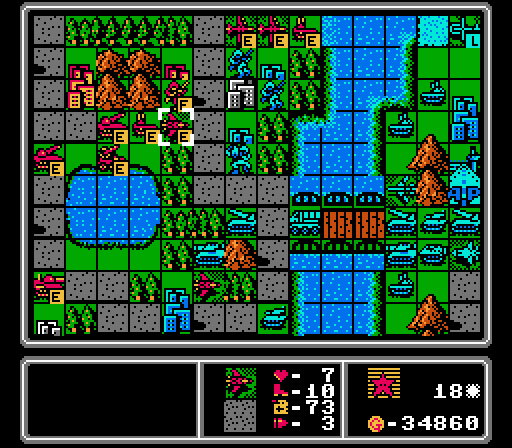
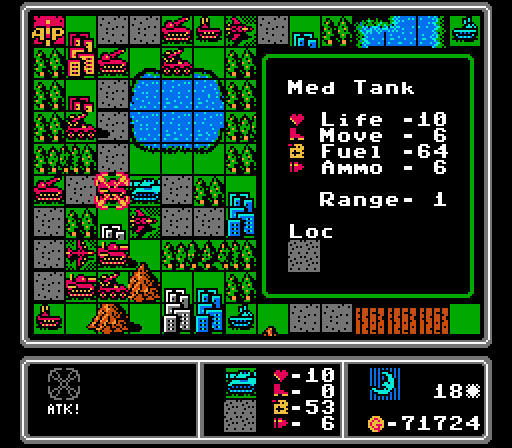
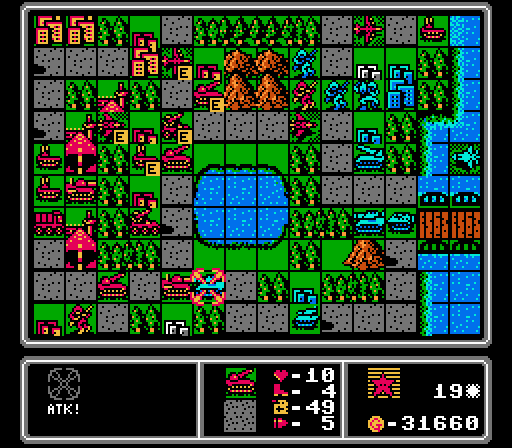
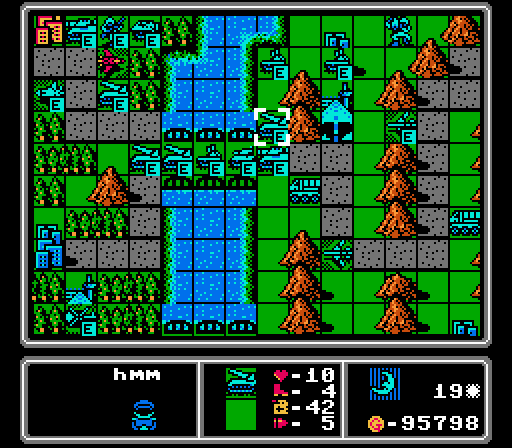
So, let me get this straight. You're telling me that this game had the ability to start the map with a bunch of units already out there, and chose not to take advantage of that capability until the bonus post-game map? And look what's out here - four medium tanks, four rockets, two bombers, two fighters, and two supply trucks just in case we survive long enough for the vehicles to run out of ammo. Waves of death headed for us when we have nothing out there. And to top it all off, Blue also starts with six infantry already in prime capturing territory. This map might be the most unfair setup I've ever seen. Buckle up, this one is going to be rough.
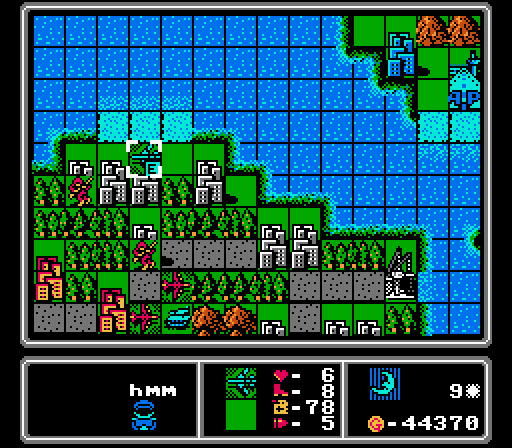
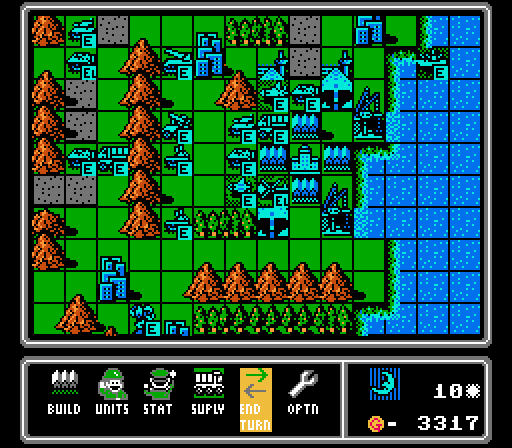
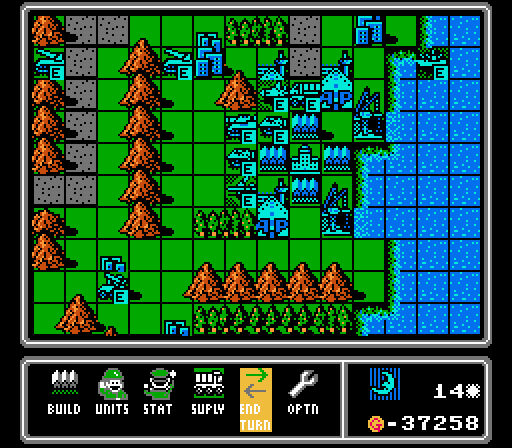
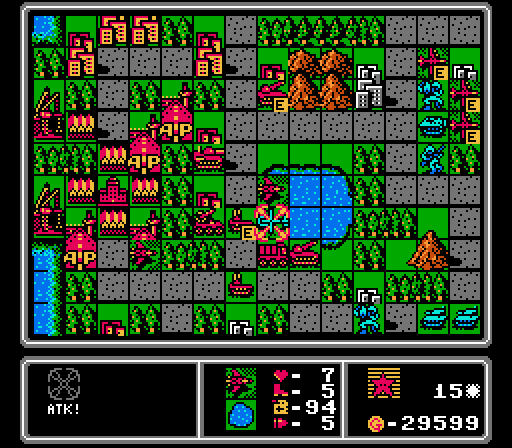
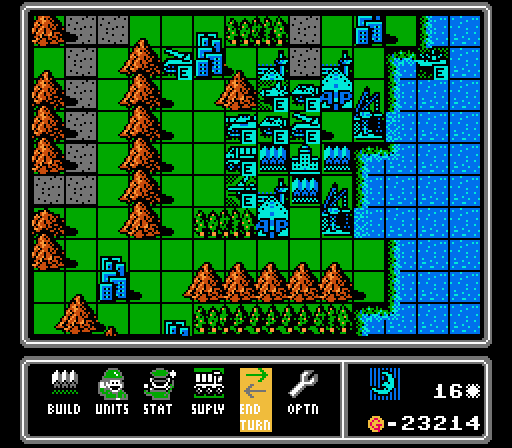
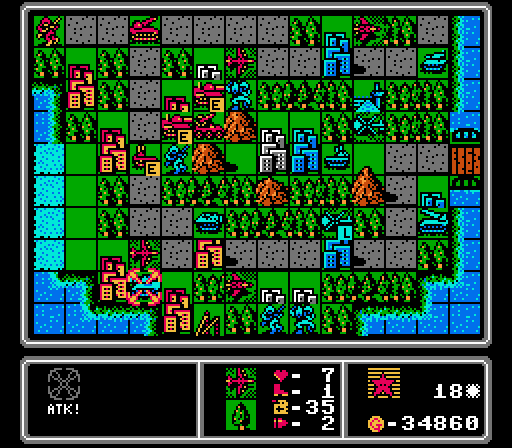
Turn 1
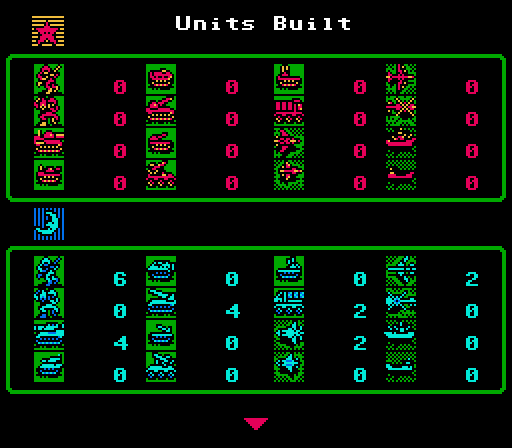
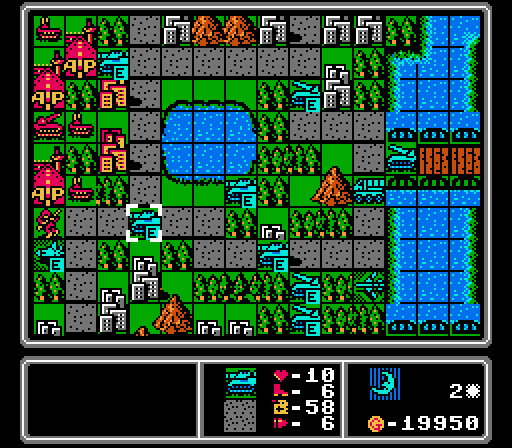
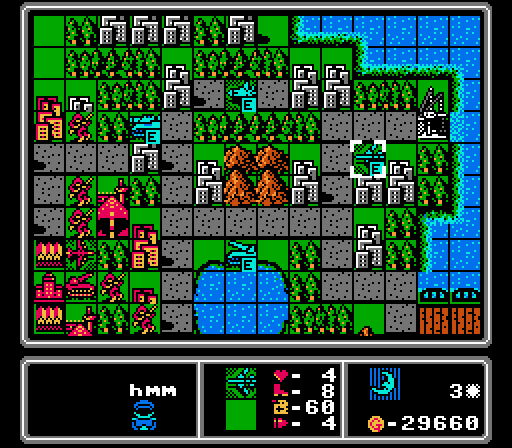
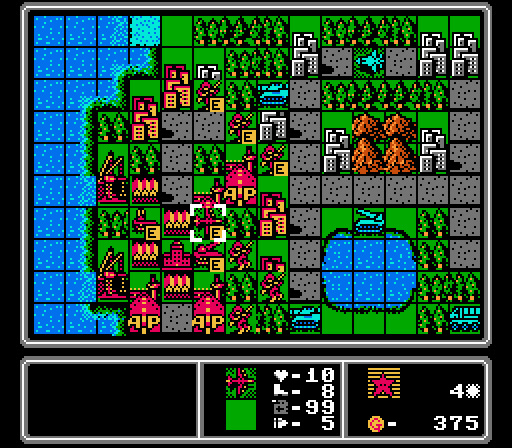
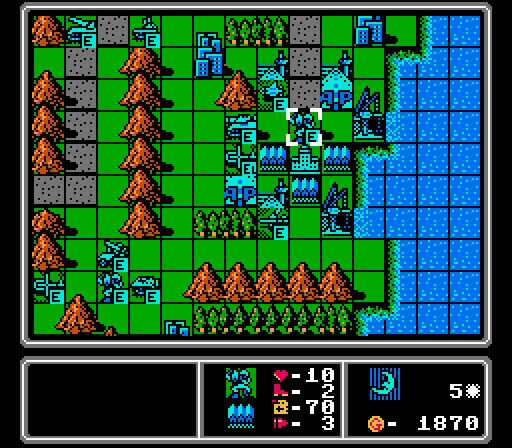
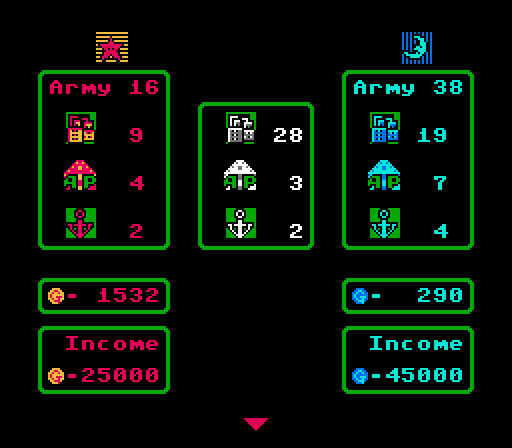
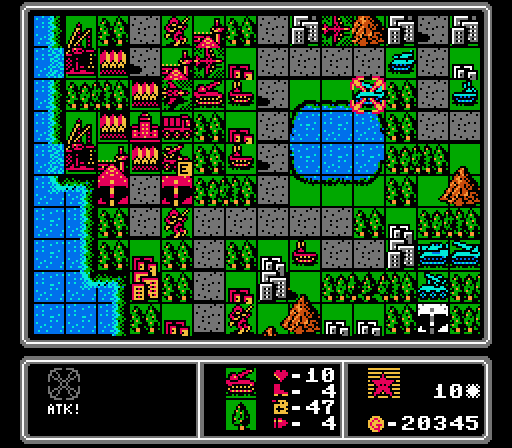
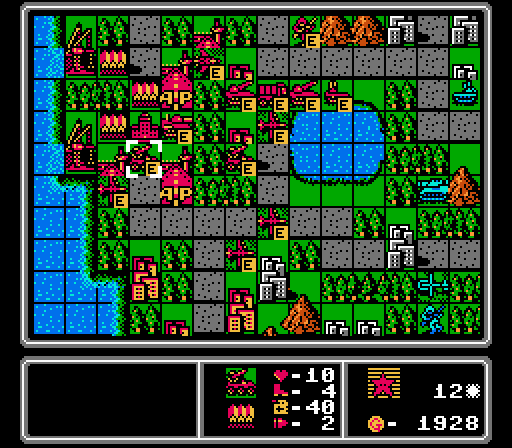
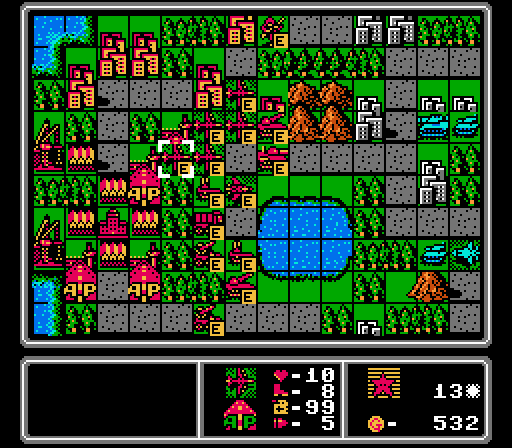
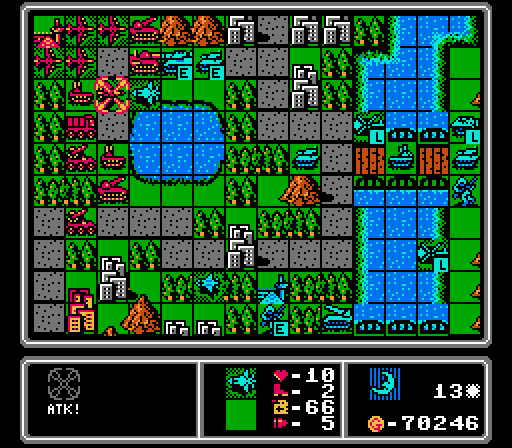
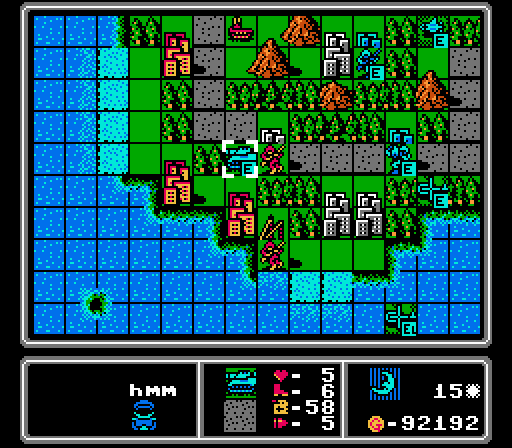
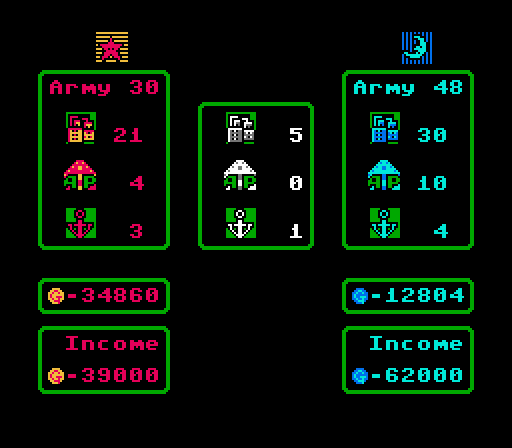
I wanted to check and yes, the stats screen counts all those pre-deployed units as "built". Mostly I just wanted to complain again. To put that in perspective, that's 212,000 G in free units (about ten turns' worth of income), combined with several turns' worth of positioning. Basically Blue got to take ~6-10 turns in advance while we sat around not only not doing anything, but not even accruing income. Okay, I'll calm down now.

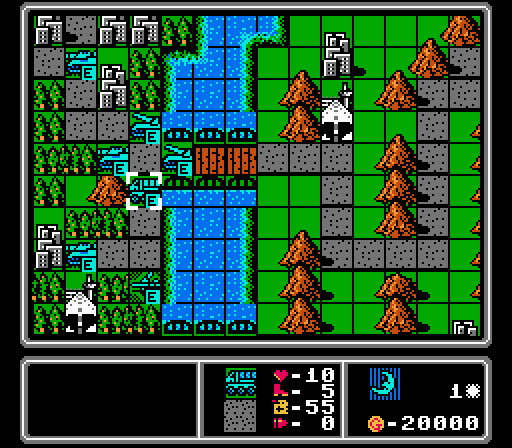
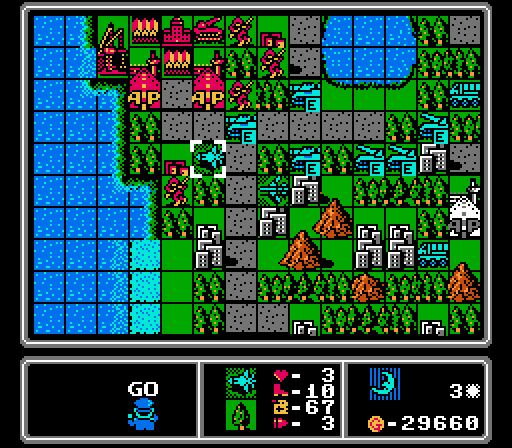
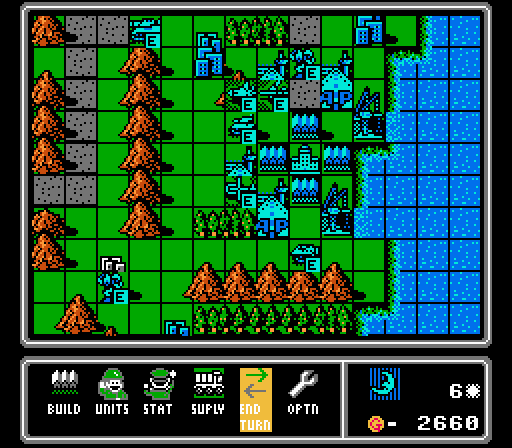
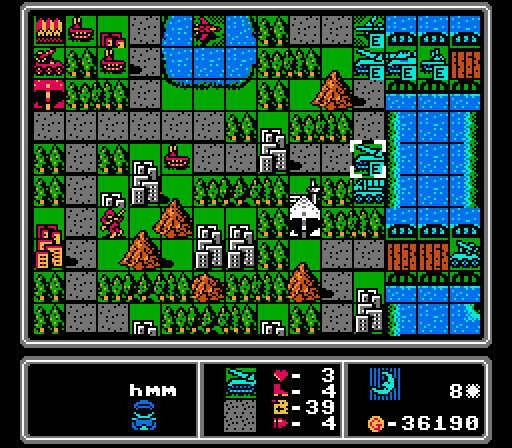
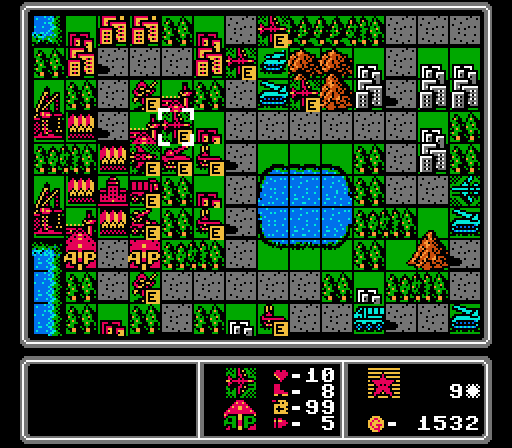
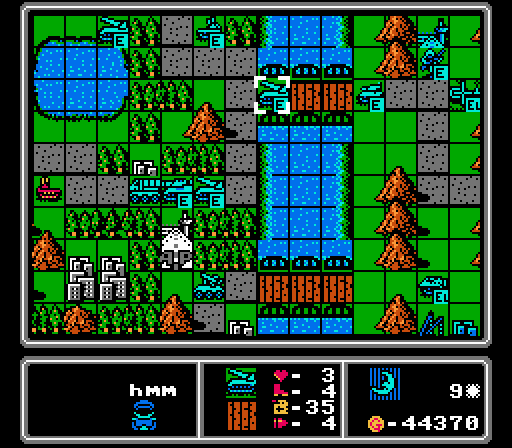
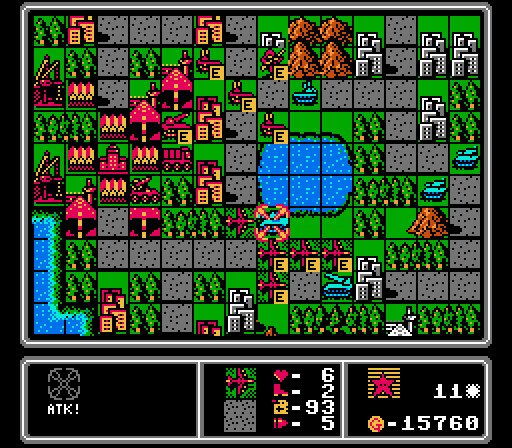
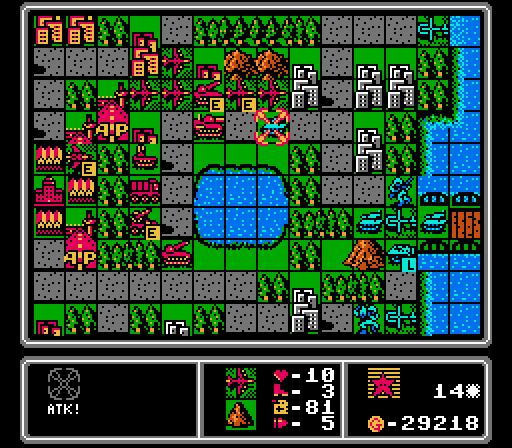
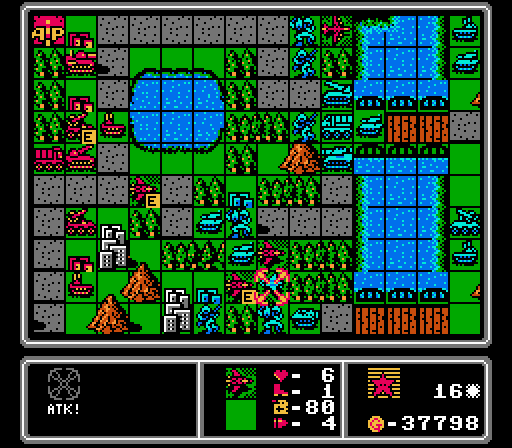
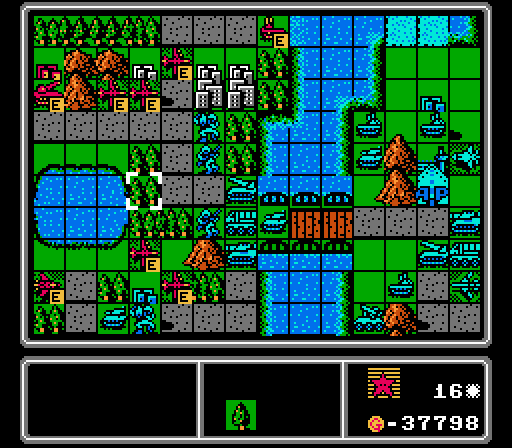
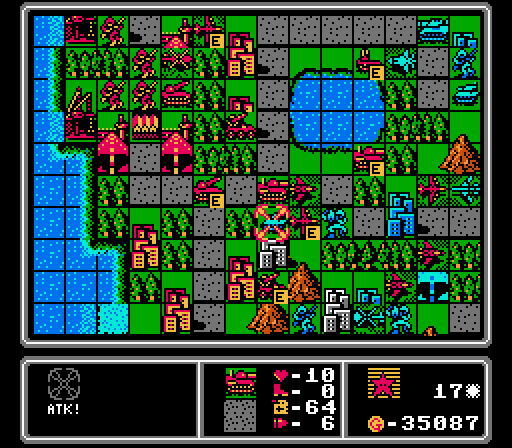
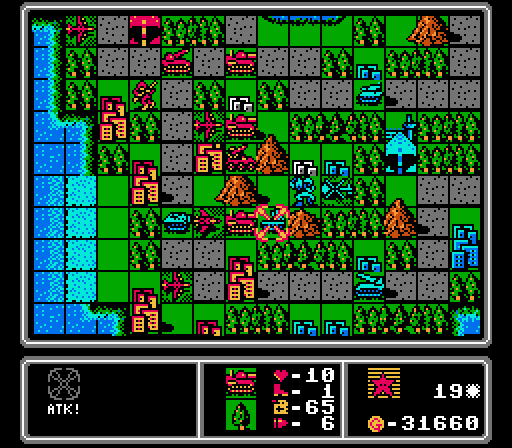
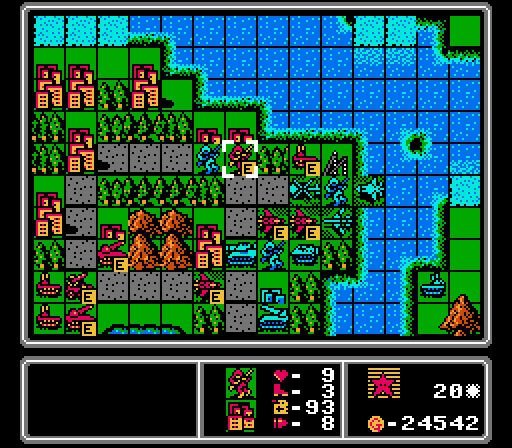
Honestly this advantage wouldn't be that bad if it weren't for the positioning of these units. But we don't even have time to respond properly. Those planes will be here in two turns and we need to scramble to meet them now. Oh and the medium tanks will be here in three turns and we won't have the funds to properly handle those by then. I also throw out a few infantry who will alternate between masquerading as speed bumps and trying to sneak in city captures.
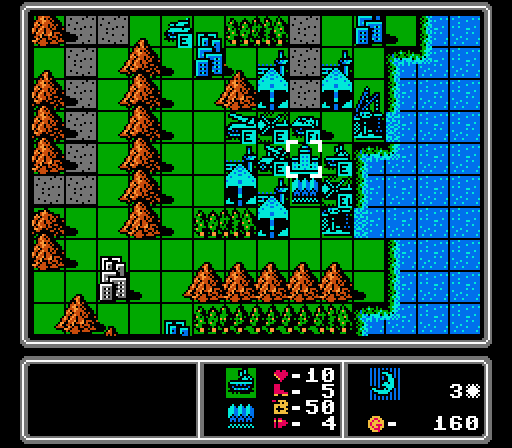
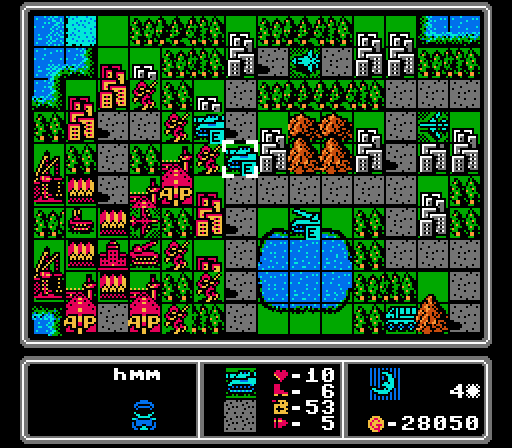
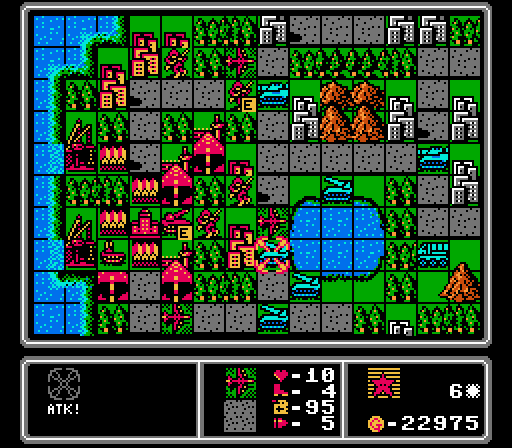
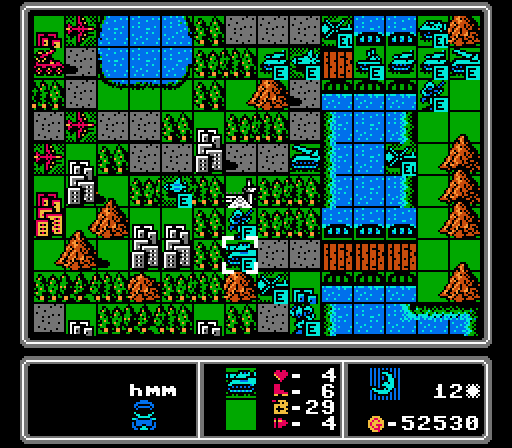
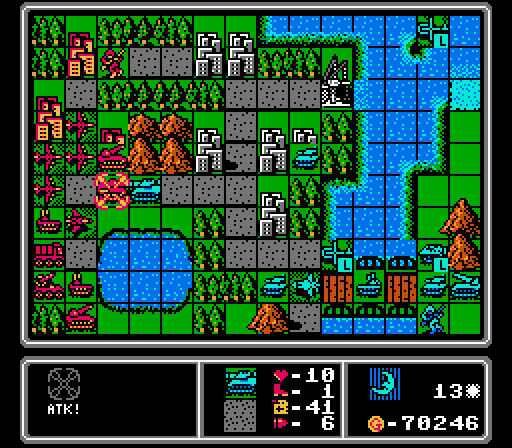
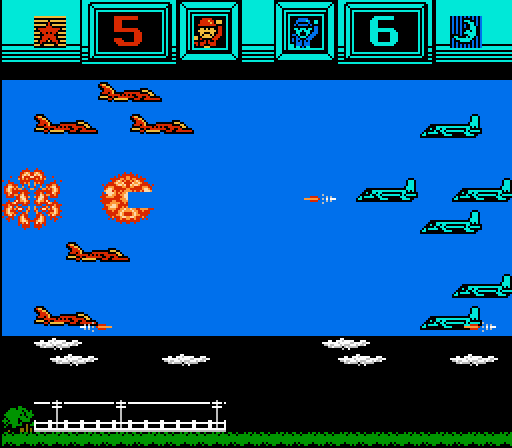
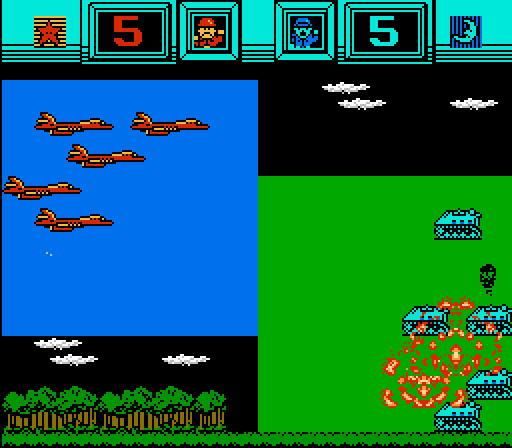
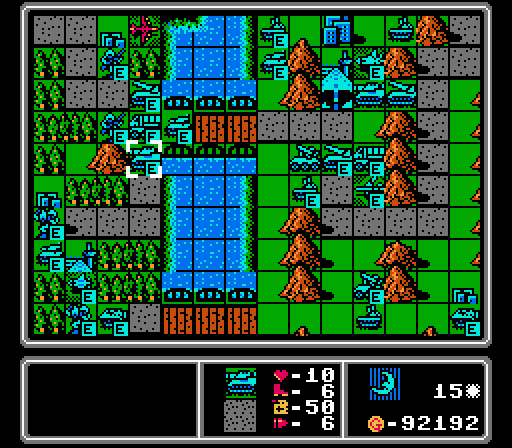
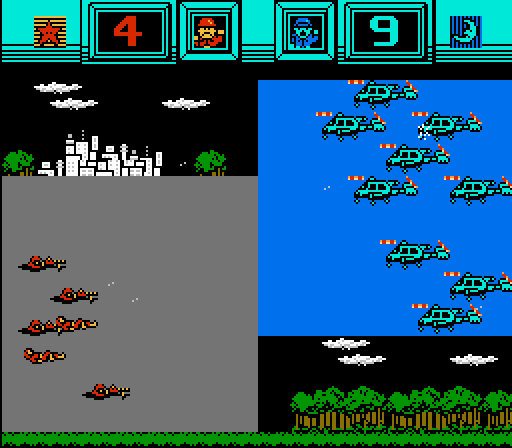
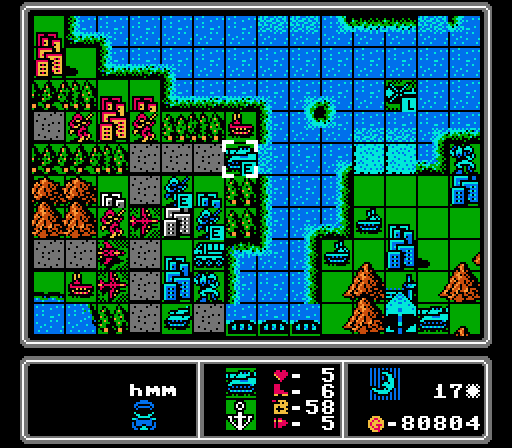
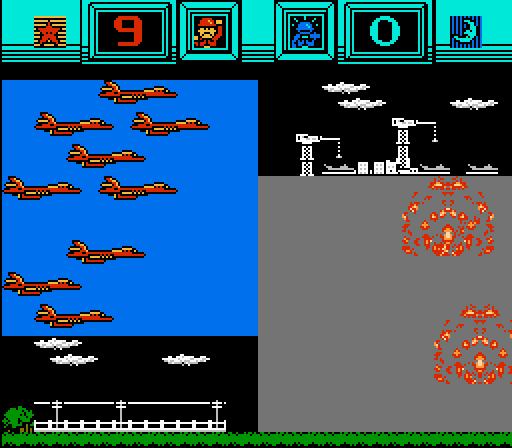
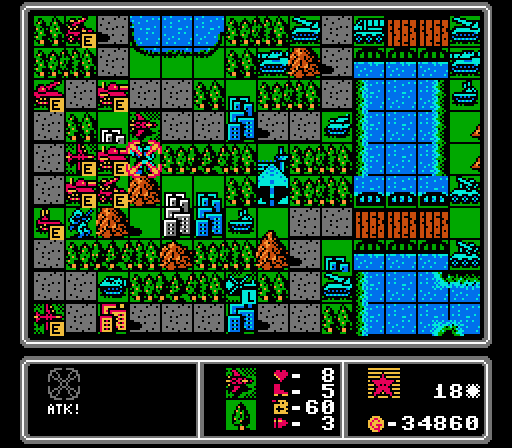
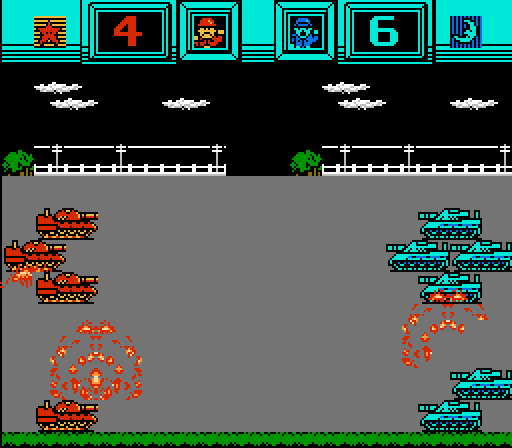
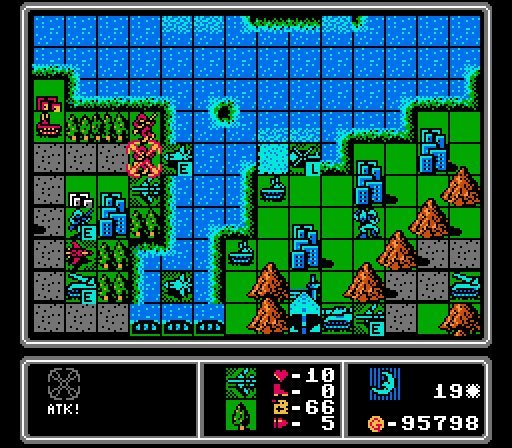
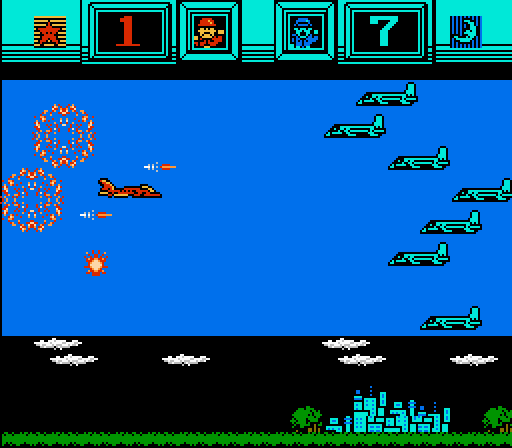
Here they come...
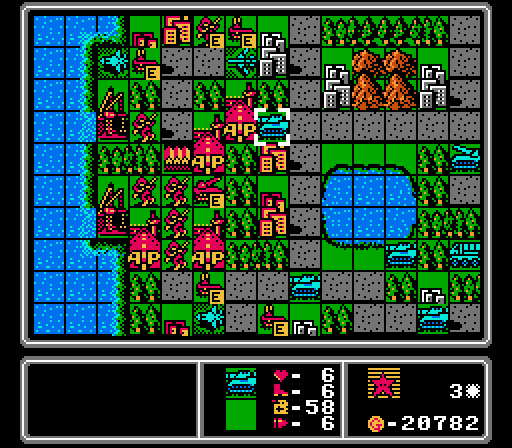
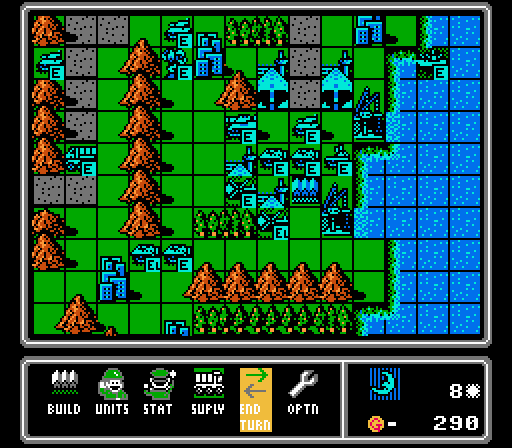
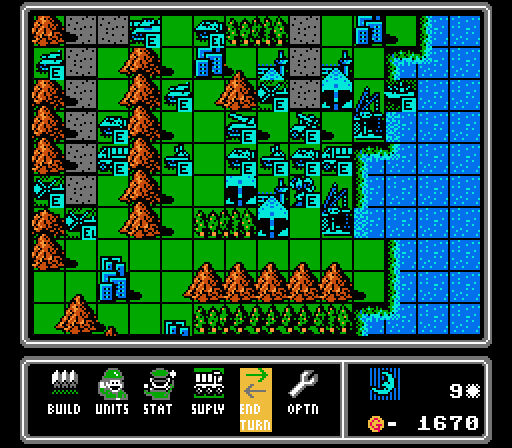
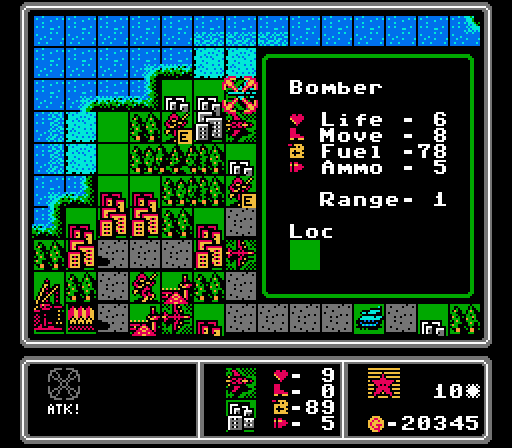
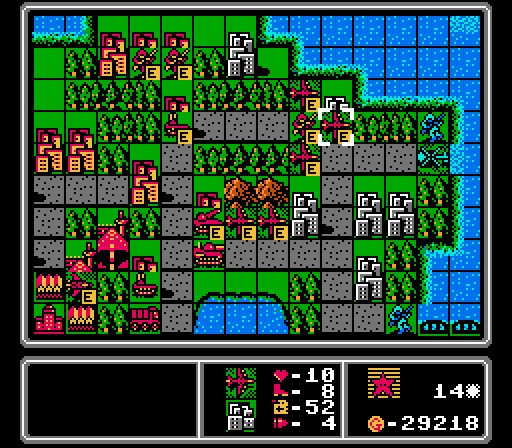
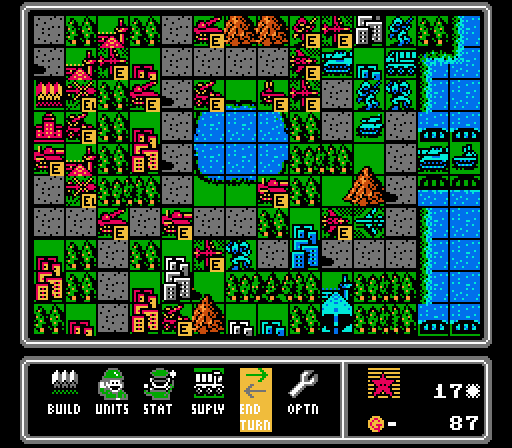
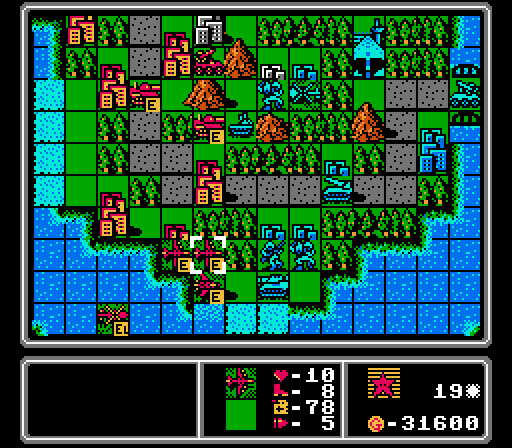
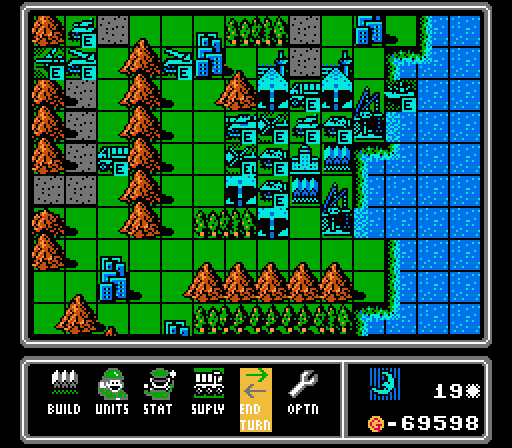
I pay almost no attention to what the AI chooses to build in the early turns, since the start of the map is really just a scramble to survive the initial waves of death coming for us. But Blue starts off with enough income for a medium tank or a bomber every turn, and will capture at least six properties every two turns until they're all gone. By the way, this enemy phase took a full five minutes to play out, and it only gets worse from here. This map was just a nightmare to play through.
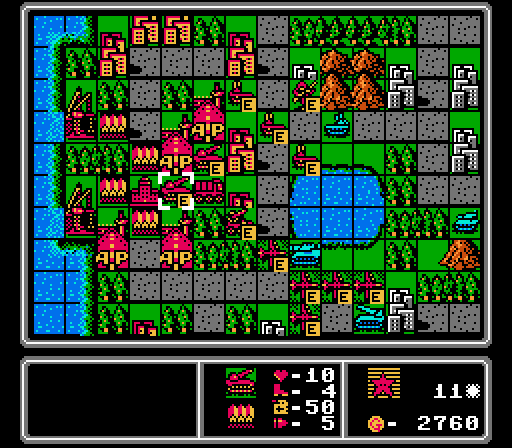
Turn 2
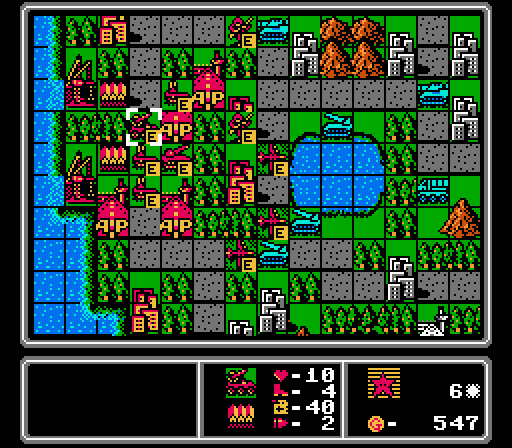
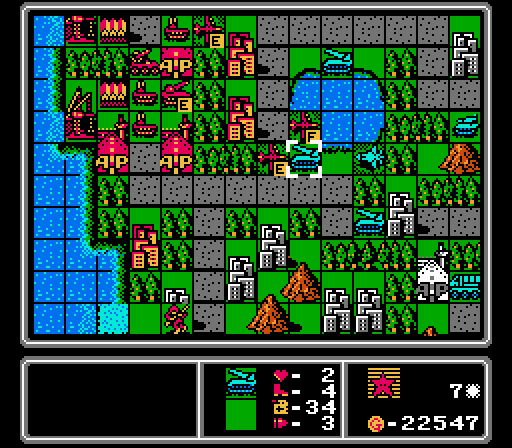
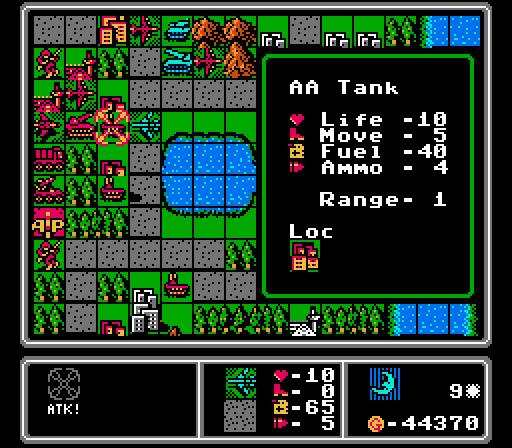
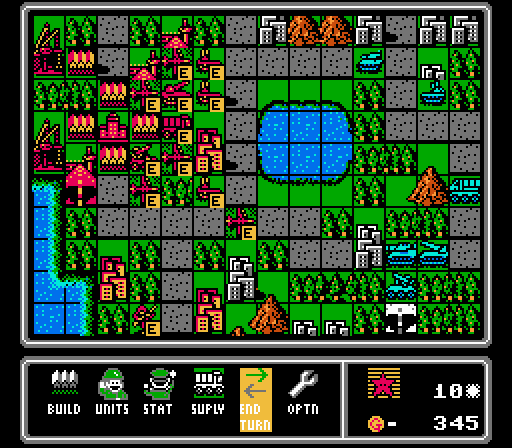
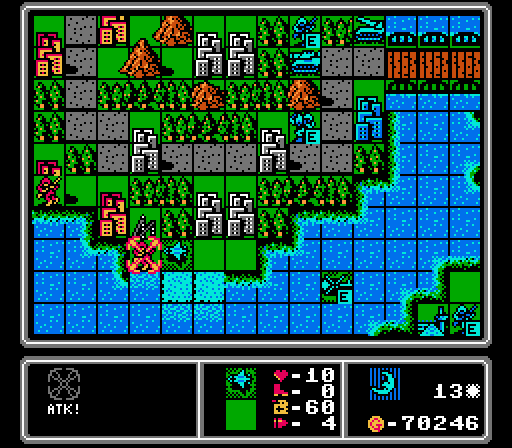
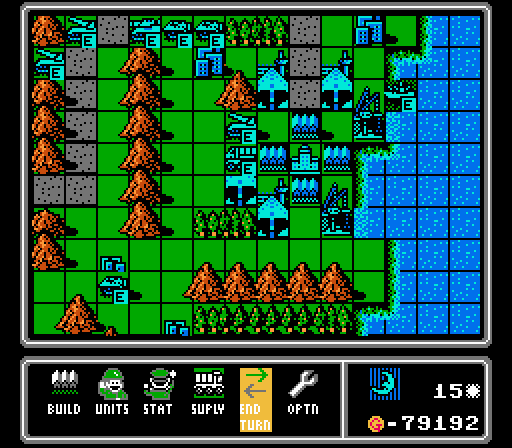
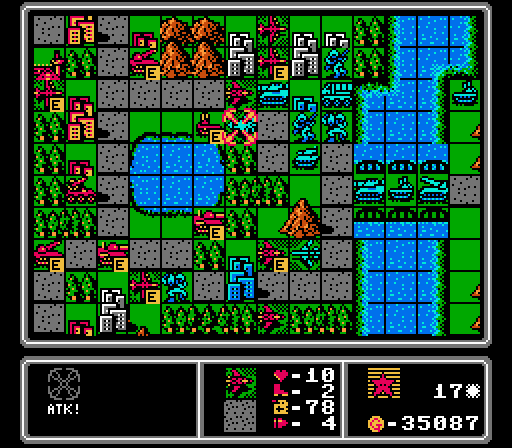
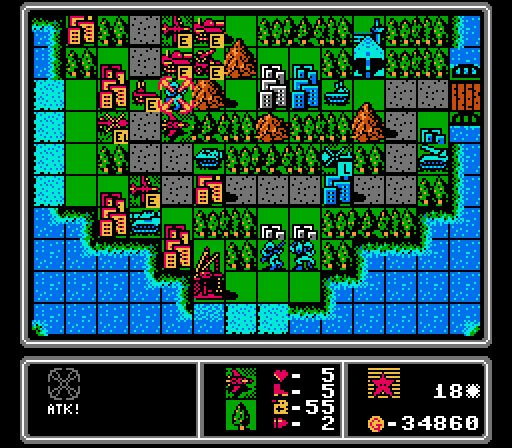
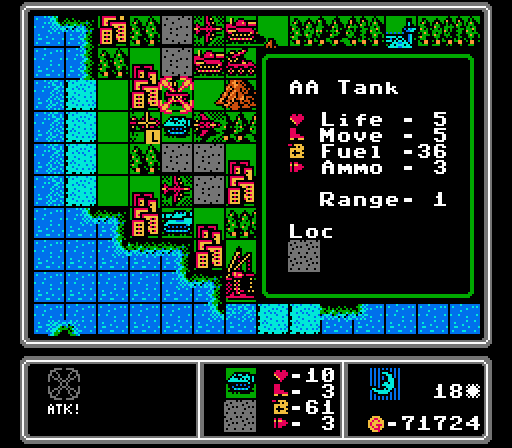
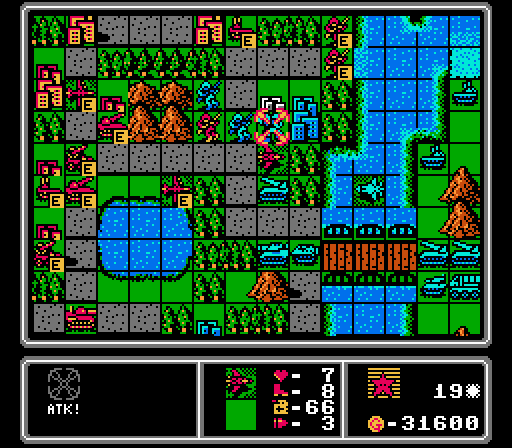
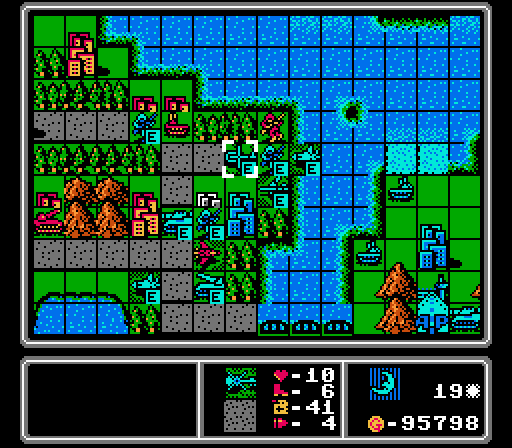
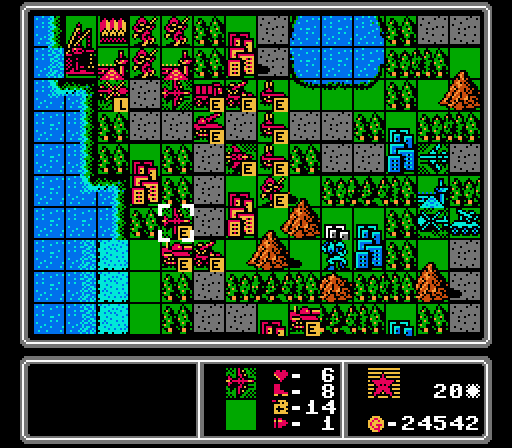
Positioning our AA tanks for the arrival of the enemy planes, and putting out our first rocket to help deal with the incoming medium tanks. We also get a fourth AA tank, because there are four planes headed for us, and a few more infantry.
I was wrong, the medium tanks actually get to us at the same time as the planes. The rocket can hit one of them but the other is going to go after our AA tanks, and there's nothing I can do about it. The fighters actually reach our infantry so I'll be sending the AA tanks there while I still have them.

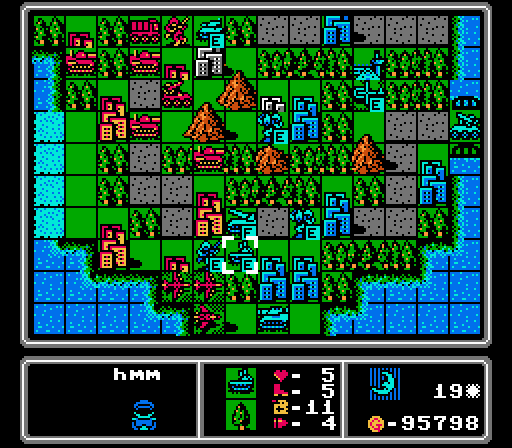
Blue puts out a bunch of cheaper units, good for us. Another five-minute enemy phase, by the way.
Turn 3
The AA tanks go after the fighters and bombers, so all of the enemy planes have now taken enough damage that they'll retreat on the enemy phase.
Next step is handling the medium tanks, for which I build a bomber and build a wall of infantry around our rocket.
The enemy planes retreat as expected, but the medium tanks are able to wipe out three of our AA tanks in return. They're exposed now, but those rockets are coming up fast. We need to deal with the medium tanks before the rockets get here.
Blue builds some more expensive units this time, but luckily no planes still. Enemy phase took 5.5 minutes this time....
Turn 4
We start the turn by having our rocket and bomber remove this medium tank. I opted to get rid of one medium tank entirely instead of weakening two of them, just to limit the number of attacks that the AI can make on the enemy phase.
We get another bomber and keep up two smaller separate screens of infantry this time. Our remaining AA tank also moves back behind cover.
The medium tanks and the one rocket in range spread their attacks out over multiple infantry. That'll slow down our captures later but keeps the screen intact and preserves our rocket, so it's a good trade for now.
A new fighter will cause trouble. The damaged planes are going to be repaired soon as well. I'll need some more anti-air units going, but first we have to get a safe zone established around our HQ. Enemy phase took another 5.5 minutes here.
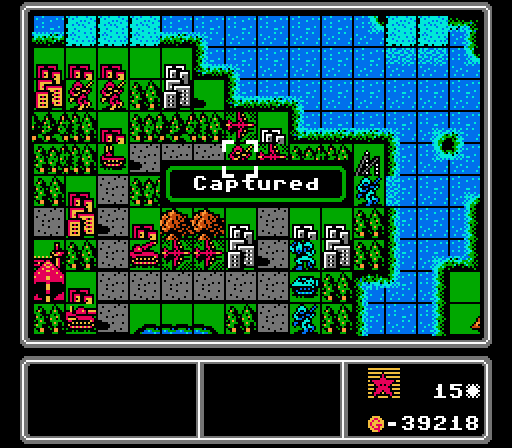
Turn 5
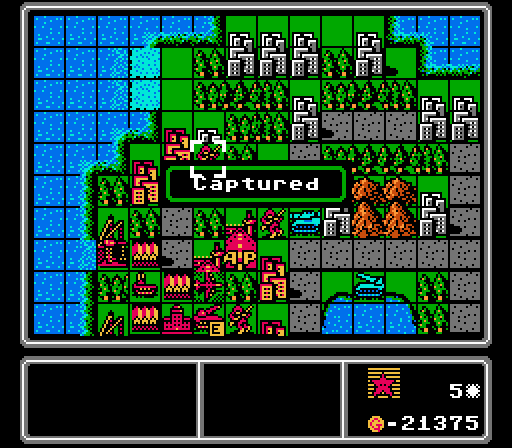
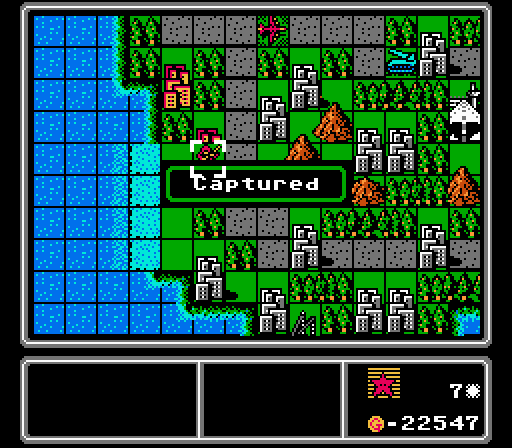
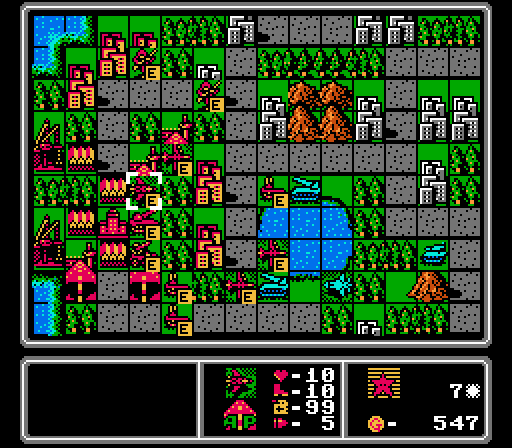
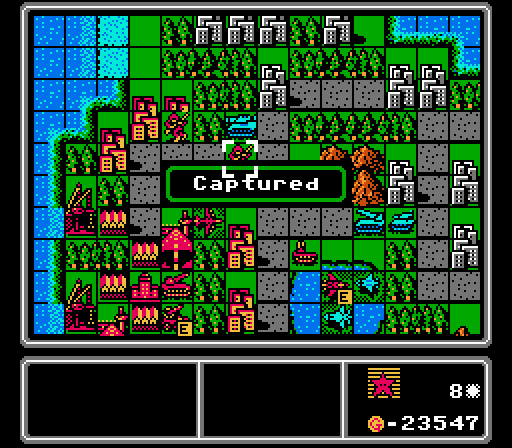
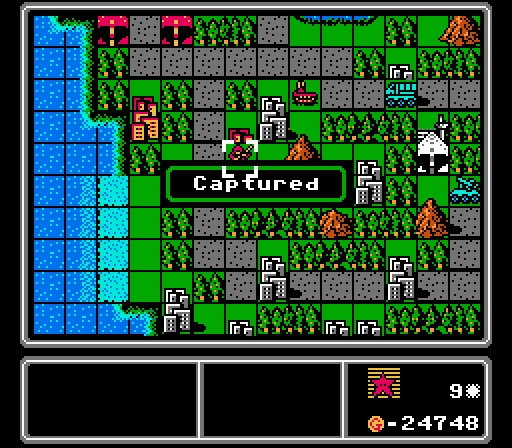
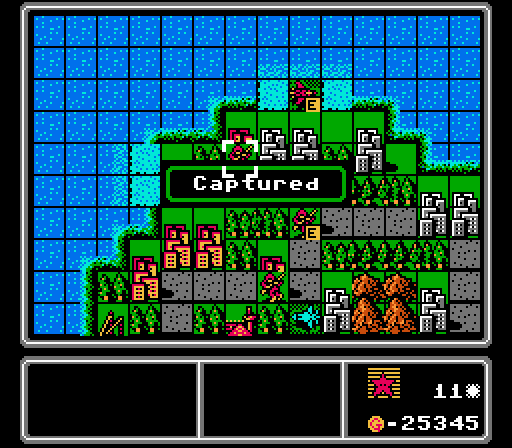
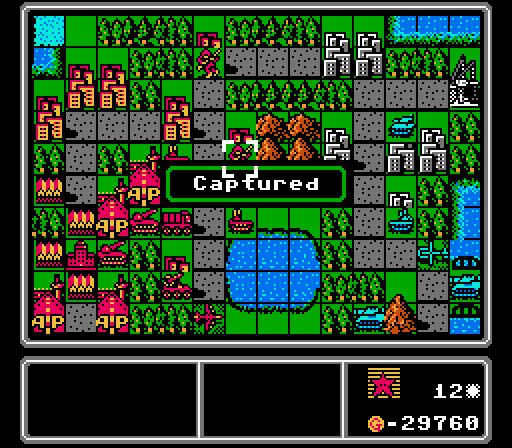
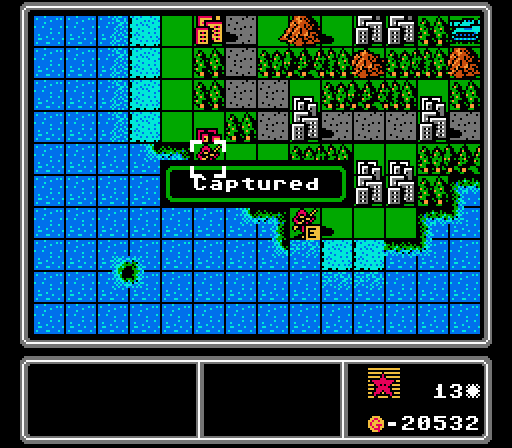
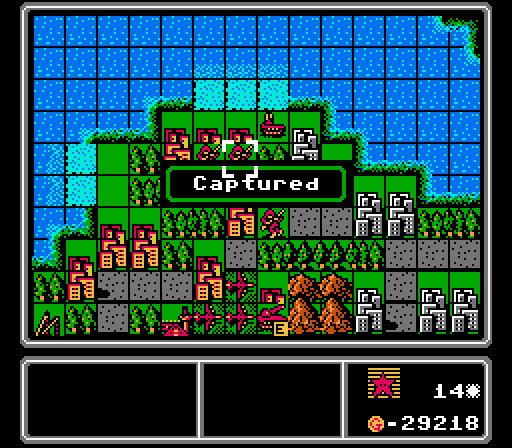
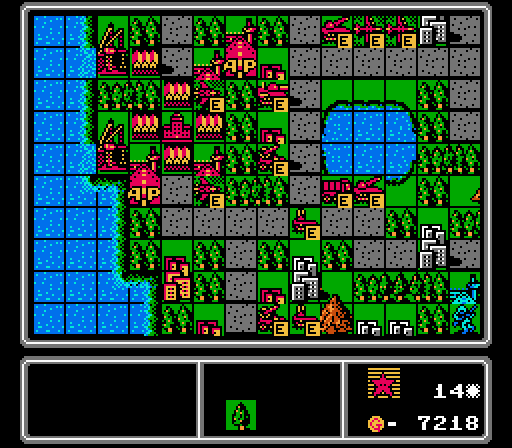
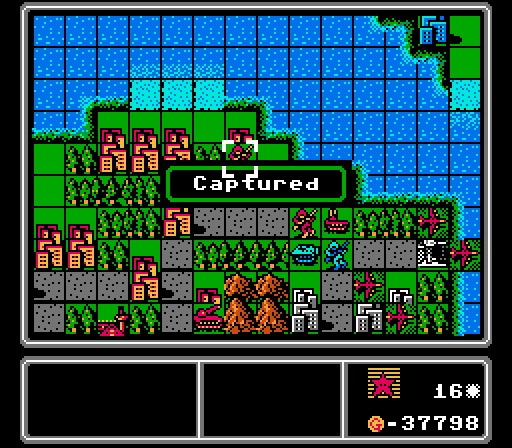
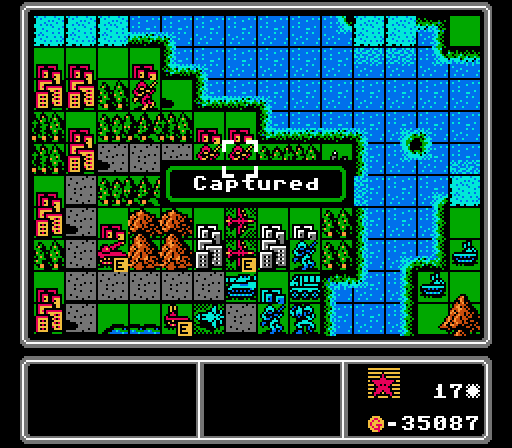
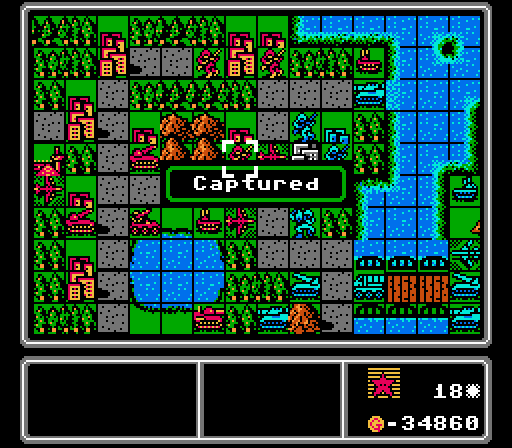
Here's an important moment - we finally capture our first city. We need to start churning out our own planes here, and need every scrap of income we can get.
The same rocket+bomber combo removes another medium tank.
This medium tank took a hit from a rocket a couple turns ago, and our fresh bomber is able to finish it off despite the defensive bonus from the city. Just one medium tank left...plus the four rockets...plus everything else the AI has been able to freely build since the start of the map....
There are more enemy planes coming, but we need more firepower for the rockets first, so we put out another bomber. Our infantry are still protecting our rocket, but all four enemy rockets are in position to fire upon us now.
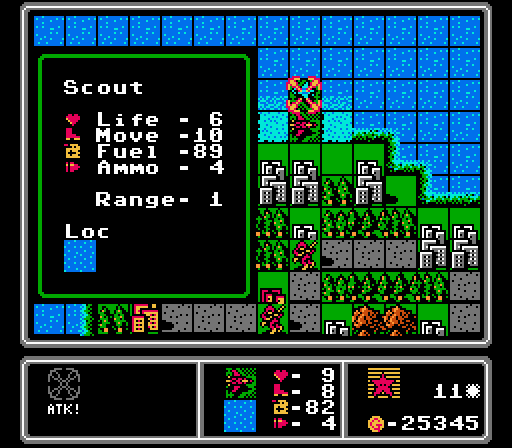
We lost one infantry to a pair of rockets, and two others were injured by another rocket and the last of the initial medium tanks. The fourth enemy rocket lost its only available target (bad planning from the AI I guess) and rolled forward instead.
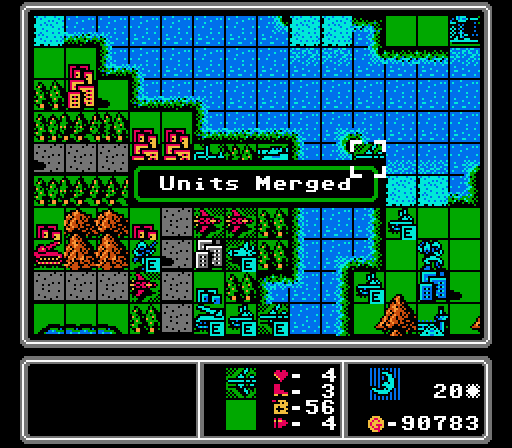
That's a new scout alongside an old bomber that made it back for repairs. The two damaged fighters also merged together, so they'll head back our way soon. Another 5.5 minutes for that enemy phase.
Turn 6
Another rocket+bomber duo take out the first enemy rocket.

Two other bombers took some recoil damage from the medium tanks last turn, so can't quite finish off the second rocket.
Getting ready for the next wave of planes.
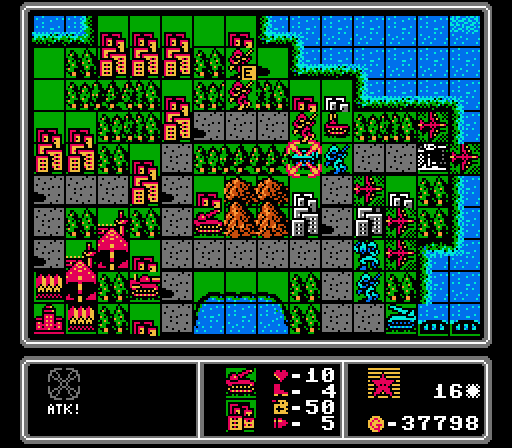
I didn't notice that the medium tank could reach our infantry up here.
Another medium tank has arrived and kills off our infantry that had just taken two rocket barrages. This medium tank is the one that Blue built back on the first turn, so we're dealing with fresh reinforcments making their way over now, even as we try to fend off the last of the AI's starting waves.
The merged fighter kept retreating but Blue built a new bomber alongside some other trash. Enemy phase was 6.5 minutes this time, lots of enemy units to move around and lots of time spent thinking about it.
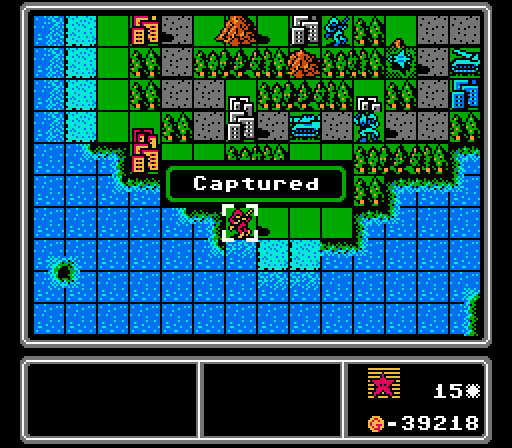
Turn 7
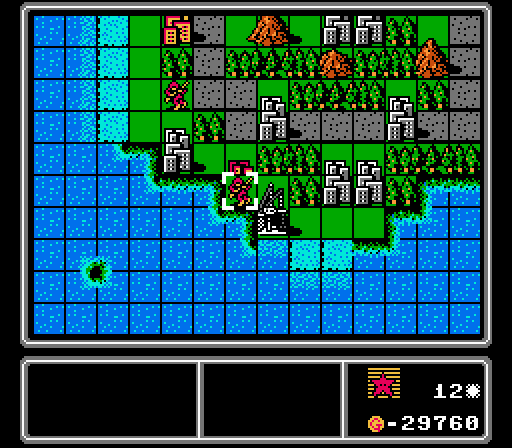
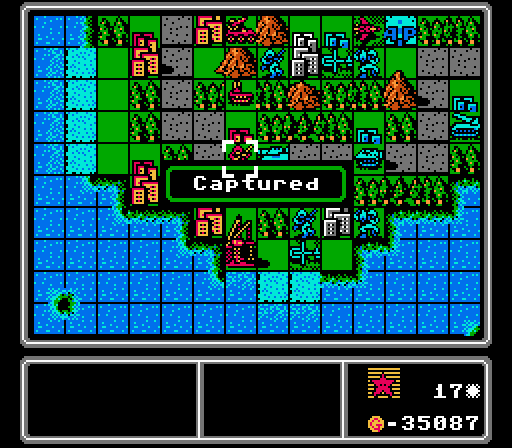
We got a second city! Sure, Blue has grabbed 18 properties by now, but every little bit helps us here.
The new medium tank falls to another rocket+bomber burst. Now to see if I can protect that bomber from the enemy fighter hovering over the lake.
Apparently I gave up on protecting the bombers, in favor of wrecking another rocket. That fighter can only get one of us!
We've got a bunch of anti-air units (including a new fighter) ready for when that fighter comes at us. They'll help for the scout that's right behind it, too.
We lose the bomber, as expected. But we're well positioned for a counterattack next turn.

Blue built a battleship. That's great news for us - the AI has no idea what to do with battleships, so all that money is just going to sit there. Just six minutes on the enemy phase this time!
Turn 8
Our AA missile takes a shot at the fighter and our fighter goes after the scout. Both planes will now retreat again. I could finish them off with our AA tanks, but I'm reluctant to expose them to enemy fire.
Despite getting attacked multiple times, our infantry manages to finish off this capture.
I really need to get some more captures going, so our bombers take out the last medium tank in the area to keep our infantry safe.
With the enemy planes under control for the moment, we put out another bomber for vehicle deterrence and a couple more infantry to replace our recent losses and speed up our capturing.
For some reason this damaged bomber flew at us again and killed itself on our AA tank. I'll take it!
Afterwards Blue retreats its damaged units, leaving the lower region open. At least, if it weren't for that fresh bomber threatening the area.
Five new vehicles for the AI; one a medium tank but otherwise nothing special here. Almost seven full minutes for the enemy phase this turn.
Turn 9
Every capture is crucial now, giving us a little wiggle room to keep putting out planes and sneak in a few repairs.
We take advantage of the rare lapse in pressure from Blue to send three bombers and a rocket after the enemy tank and rocket here. Neither are destroyed but both will retreat now.
Our fighter could've gone after the enemy bomber, but there was an AA tank nearby that would've shredded it on the enemy phase, so instead we sit back and wait. Oh and we get another bomber, because we really can't have too many of them.
We've captured four cities in nine turns, probably a record low for this LP, but we've had other concerns up until now. In just eight turns, Blue has actually taken three airports, two ports, and a whopping 15 cities. We've got a lot of catching up to do, but I think we can play efficiently enough to make up a 2:1 income advantage, as long as we don't let it get beyond that. (I may have had three prior runs totaling eight hours that did not go nearly this well to this point.)
The AI sends another bomber straight into the teeth of a fortified AA tank. We'll repair half of the damage for relative pennies next turn and have an easy time finishing off that isolated bomber now.
Another bomber aborts its repairs and heads our way, but it'll be easy pickings for our fighter.
While the damaged units retreat, there are three new heavy vehicles that have crossed over now - a medium tank, a rocket, and an AA missile. Right behind them we have some loaded APCs and copters that are going to start grabbing properties on our island, and we absolutely have to minimize what they can take there.
Seven new units for Blue, including another rocket and AA missile. They're actually getting close to the unit cap now, which means every cheap unit they throw out is a win for us. The enemy phase runtime ballooned up to eight full minutes this time, as the battlespace gets more crowded and more complicated.
Turn 10
I missed this repaired fighter headed back towards us already. We'll have to be careful in how we move our bombers this turn. Might be a good time for them to head back for repairs, actually.
After our AA missile shoots down the damaged bomber, our rocket finishes off the damaged rocket, opening up some breathing room for our ground troops.
As promised, our partially-repaired fighter picks off this bomber before it can do any further damage to us. That's three bombers down in three turns, each with minimal damage to us, a pretty big funds swing in our direction.
Two bombers head back for repairs, two others lurk near the heavy vehicles headed our way, and we build a fifth just because.
The mostly-repaired enemy fighter wanders helpfully right up to our AA tanks and presents its soft belly for us. Up offscreen a partially repaired scout does the same thing, stopping right next to our fighter.
Ugh, a new fighter and a new scout. I'll have to shore up our anti-air units again. Total enemy phase runtime this turn: 8 minutes, 45 seconds. For reference, I only have space for 200 minutes of footage at a time, and the player phases take me some time to work through as well.
Turn 11
Second turn in a row that an enemy plane, that really could've used another turn of repairs, instead wandered into fighter range and got sunk off-shore. I'll take all the help I can get at this point.
We also grab two more cities in the upper half of the island.
Our AA tanks quickly dispose of the fighter, while our rocket takes advantage of the enemy AA tank rolling into range.
Bomber swarm! We take out the AA missile and hit the rocket and medium tank, but two of the bombers were too damaged to finish off the medium tank. Still they're forming a blockade on one side of the lake, while a wall of AA tanks are screening the enemy AA tank on the other side.
We spent a good chunk of our income this turn repairing units (particularly a couple of bombers) so use the leftovers on a second rocket. Having enough indirect fire support will be key to pushing out to take the rest of the island.
Ugh, we have a mech taking a city on our island and an infantry just dropped off to do the same. And the new fighter and scout will keep our bombers from getting close.
Another turn of annoying vehicles getting built - a medium tank, a rocket, an AA missile, and an AA tank. And the enemy phase "only" took 7.5 minutes this turn, too!
Turn 12
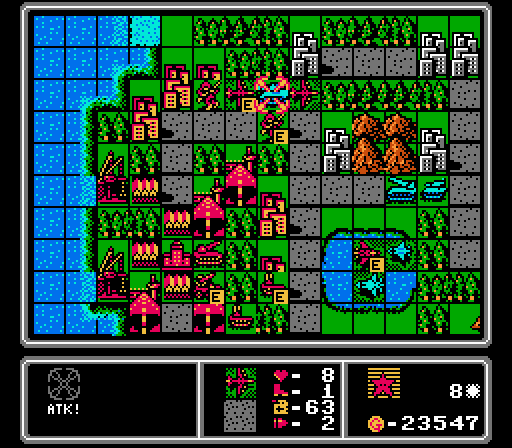
Snuck in a capture of this mountain city after driving Blue back the last couple turns.
We also grab our first city on the lower shore as we race Blue to grab properties in this area.

We've gained four cities in the last three turns, a much better pace. In the same period, Blue took two airports and three more cities, but we're still avoiding getting doubled up on income.
I could use some medium tanks here to press our ground advantage. The bombers are going to have to retreat in the face of the fresh fighter+scout pair there.
Another fighter that's only partially repaired wandered over, and I bait it in further with a couple of capturing infantry backed up by a somewhat-fresh AA tank.
I thought about getting another fighter here, but decide that our current anti-air defenses are sufficient. Instead we get a medium tank to support an advance, and then I end up getting an AA missile anyway with the leftover funds. Our bombers are safely out of the way (two of the more damaged ones actually merged together on the airport), and our rockets tentatively roll forward on the upper lakeshore road. To be fair to the AI, this turn took me nine minutes to play out, trying to micromanage every move so carefully, so the map drags on both ends.
Bad news for us - the enemy fighter and scout only partially advance, providing cover for their footsoldiers to keep capturing properties on our island. We're going to have to get a bit more aggressive here.
A bomber and a medium tank for the AI, saving the rest of the funds for later. Not much action this turn so only a 6.5 minute runtime here.
Turn 13
To start we use the pre-positioned AA tank to dispose of this damaged fighter.
Just another city capture.
More dancing around, clustering our bombers in a safe pocket and trying to extend from our HQ area a bit. We built a new bomber to replace the one we lost from merging units last turn, getting back up to a wing of five full-strength bombers in waiting here.
Our medium tank gets in the action right away, drawing in and holding off an enemy medium tank.
The enemy fighter also gets baited in, attacking our fighter.

The enemy scout stays away to harass a capturing infantry instead. I really wanted that port!
There are six enemy footsoldiers on our island now. Need to get that under control.
With the light action the last couple turns, Blue is up against the unit cap now. They're flush with cash but only build a rocket. More going on with all the troop movements and attacks this turn, as the enemy phase ran for 8.5 minutes.
Turn 14
Our AA missile quickly removes the fighter.
Two more city captures. Our income is giving us a little more breathing room now to put out the units we need each turn and still do some repairs.
While the scout is distracted on the lower shore, the bombers can run wild around the upper half of the island. The first two quickly finish off the medium tank and tank here (with an assist from the rocket).
The other three bombers can't actually reach anyone to attack, so run a screen for a capturing infantry instead.
We send an AA tank and an AA missile after the enemy scout, and build a new fighter to either run it down or fend off the bomber headed our way.
The scout retreats, I'm not really sure why, but there's a medium tank in the area now to ruin our day anyway.
Well there's a triple threat for you. Blue puts out a fighter, a bomber, and a medium tank. And another 8.5 minutes goes by on the enemy phase. (You're probably tired of hearing about it; at least you're not the one sitting through it!)
Turn 15
We start off with a couple more captures, this time getting a city and a port.
It's not the most efficient use of bombers, but I can't let Blue get a foothold on the upper half of our island when they already have a heavy presence on the lower half. And the enemy scout is denying our bombers access to the rest of the island at the moment anyway.
I know the bomber was already in some disrepair going into this attack, but how does it make sense for an APC to take off three Life from it?
This copter is annoying and hurt our supply truck last turn, so I have an AA tank and a fighter remove it.
With more enemy planes on the way, I figure it's time to put out another fighter. Our new fighter from last turn takes point out over the lake, daring the enemy bomber to come closer.
The medium tank comes out to mess with our capturing infantry, as Blue completes two more captures on our island.
More reinforcements cross the bridges into our territory. The scout annoyingly retreats to an airport that Blue owns on our island, while the new fighter and bomber lurk just out of reach.
I'm not killing enough of Blue's units again, as they're stuck building only a rocket. Just about 8 minutes, 15 seconds for this enemy phase. Here's the first point where my hard drive filled up - about 200 minutes of footage to get through 15 turns, 102 of which were spent just watching the AI think and move around without my input. It's like a bunch of long boring cutscenes! Okay, I'll stop now.
Turn 16
That bomber got awfully close, but an AA missile and our new fighter quickly get rid of it.
Two other fighters team up to take out the scout that had been lurking around.
Still celebrating every capture. We've got most of the upper shore under control now.
To that end we have a rocket finish off an APC, and a damaged bomber kill off an infantry.
The lower shore is still crawling with enemy units. We move some anti-air forces down to try and scare off the copters and protect our lone remaining infantry in the area.
Our bombers re-arrange themselves to stay away from the enemy fighter while still remaining nearby.
We get another medium tank and rocket, and a small horde of infantry with a copter to carry one of them away on a special mission.
For some reason I thought positioning the AA missile was worth throwing away a supply as a screen. At least that tank is going to get chewed up next turn I guess.
One of the copters comes after us anyway, but our infantry hangs on. The other copter can't reach us after the medium tank got in the way.

There sure are a lot of enemy footsoldiers on the lower half of our island now. Is this what losing looks like?

The upper half of the island is suddenly looking more concerning as well.
Fighter, bomber, medium tank, rocket. Probably the worst-case combination for us.
Turn 17
We need to blunt this advance. An AA tank is able to reach the fighter and mostly neutralize it, allowing our bombers to stay in play. One wipes out this damaged rocket, while our own rocket fires on the nearby medium tank.
Grabbing two more cities will help keep us afloat.
The enemy copters buzzing around are entirely too effective at crippling our capturing infantry, so an AA tank goes after the lower one while the AA missile targets one near our fighters.
We finally get some action for our own medium tanks, as each one finishes off an enemy tank (that were weakened by a rocket or bomber strike first).
Our healthy fighter flies up to finish off the enemy fighter, while our other fighters harass the bomber that flew over and finish off one of the damaged copters from earlier in the turn.
We set up another aircraft screen on the upper road, then build a medium tank, an AA missile, and two copters for hauling infantry around.
We lose our infantry to an enemy APC and then our AA tank takes a hit from this medium tank. Way too much Blue in this region still.
I parked this AA tank here to try and keep that enemy copter away (and the infantry it's carrying), and got surprised by another medium tank attack. With our AA tanks all taking hits and endless waves of enemy planes still coming, I think we'll need to put out some more soon.
More heavy vehicles cross over into what is supposed to be our territory, as the two new planes lurk in striking range.

Yup, definitely need more anti-air support.
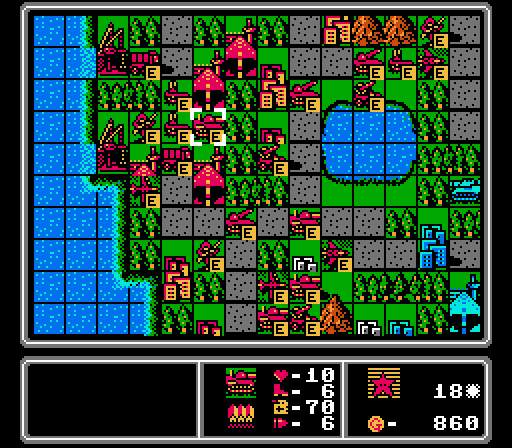
Turn 18
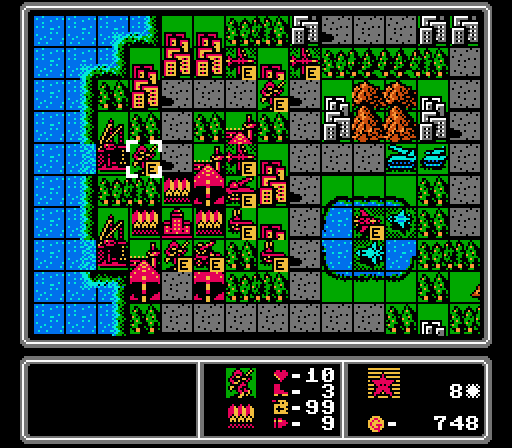
One more capture down, though I think we'll be somewhat stalled for the next few turns. We've taken all the easy cities on the upper half and don't have any infantry left on the lower half.
We're still chipping away at Blue's lead, though. Relatively, anyway. In the last six turns, we've both gained 8 cities and either an airport or port (so 10000 G income increase). But that gain means a lot more to us right now.
As our medium tanks harass the nearby enemy footsoldiers, a bomber flies down to keep this medium tank from bothering us again.

Our AA missile is able to shoot down an enemy copter that fled to the airport. With our supply truck gone, however, this AA missile isn't going to be able to fire again next turn. AA missiles are really limited with just two shots, and it will bite us here.
A fresh bomber is able to finish off this medium tank while still staying out of the approaching fighter's range.
Continuing the fighter screen, while keeping the ground units just out of rocket range.
Our fighters can't touch the remaining copter with that AA tank nearby, so they pull back and finish off a couple of footsoldiers instead.
Our income is allowing us to put out a lot more units now. We get not only a medium tank, but two AA tanks, two supply trucks, and another random infantry for good measure.
This attack was the point where I decided I really need to avoid direct attacks between evenly matched units. Or really any attacks against units that can hit back if possible. We just always end up worse off for it. I need more rockets.
We lost this AA tank but that APC is over-extended now.
The enemy reinforcements just keep on coming. The incoming bomber took a curious detour (off the screen to the upper-right) to avoid our fighters; I'll have to remember not to lose sight of it later.

Third straight enemy turn building a bomber. We've been lucky enough to have fighters on hand to wipe them out before they can hurt us so far, will we be able to continue that streak?
Turn 19
We can't dislodge the enemy rocket here, especially with a fresh medium tank lurking behind it, so our ground units pull back. We do use a rocket to finish off this damaged medium tank though!

AA tanks are annoying to my air-dominance strategy, but lucky for us they can't fight back against medium tanks so we get a free shot in here.

Meanwhile a rocket and another medium tank are able to take out this APC.
It's kind of silly, but I use a few planes to keep that enemy infantry from reaching one of our properties this turn. Two of them are damaged anyway, and the third one (highlighted here) couldn't reach anything else without getting too close to that AA tank.
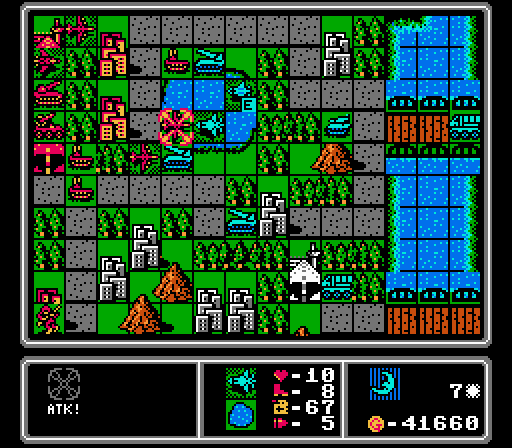
We start capturing the port in the upper-right corner here, an action which will have an interesting side effect on the enemy phase. I leave a damaged bomber near the lake to lure a fighter into missile range, then use this fighter to finish off an injured mech.
I'm a little paranoid about all the bombers headed our way, so put out a new fighter to help deal with them (the other fighter and bomber on airports here are in for repairs and refueling). We also get another copter for infantry ferrying, and a new swarm of infantry.
Yeah, so the AI really did not like me trying to capture that port, and sent both a fighter a bomber to take care of that problem.
The loaded copter that had been hovering nearby for several turns takes advantage of the opening to drop its own infantry on the port instead. We also lost an infantry to a rocket and medium tank combo. At least our bomber bait was able to draw in that second fighter.
Down on the lower shore, all the annoying units nearby helpfully removed themselves from defensive terrain to sit exposed on plains and roads.
Two more rockets cross over into guarding position on the other rocket, with plenty more vehicles right behind them. Between the overlapping rocket coverage keeping ground units away, and the nearby AA tank and fighter keeping bombers away, we're going to lose ground here next turn.
Blue "only" builds a medium tank, a tank, and an APC this turn, giving us a slight breather.
Turn 20
I left our infantry too far forward and it took a hit from this tank, but we're able to remove it with a couple of rocket strikes.
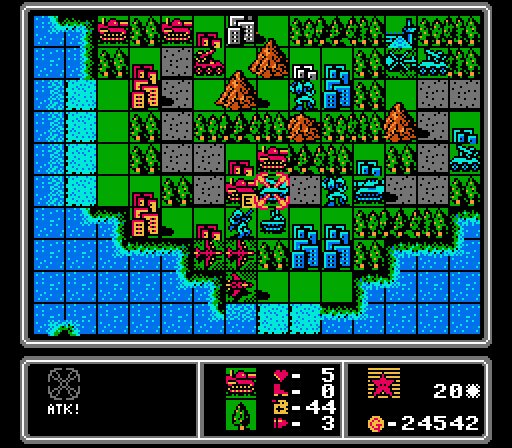
This rocket also advanced too far and got stranded on the road and taken out by a pair of medium tanks.
We do get rid of this fighter that took our bomber bait, hitting it first with an AA missile and then following up with our own fighter. We could've used an AA tank, but it would've been vulnerable to a rocket on the enemy phase.
No further kills up here, but a lot of attacks on the nearby units, including damaging the bomber and a couple of capturing infantry. Our rocket also hit the medium tank.
An enemy bomber sat back away from all of our fighters, so I build a wall of AA tanks to protect our indirect fire units. Our bomber highlighted here is going to limp back to the airport for fuel, ammo, and repairs.

We build a copter fleet to carry away the infantry swarm, and then an AA missile because the AI keeps throwing planes at us.
I missed that the enemy bomber could reach our medium tank, but it had taken a lot of damage and fired most of its shots already anyway.
A damaged medium tank finishes off our AA tank, and an APC and copter take out our infantry.
This fighter battle is rather lopsided, but I have others in the area to help out next turn.

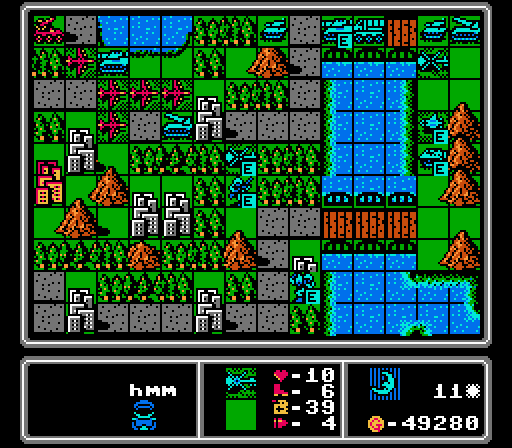
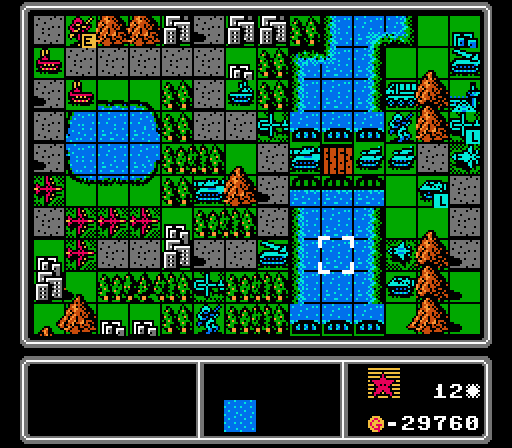
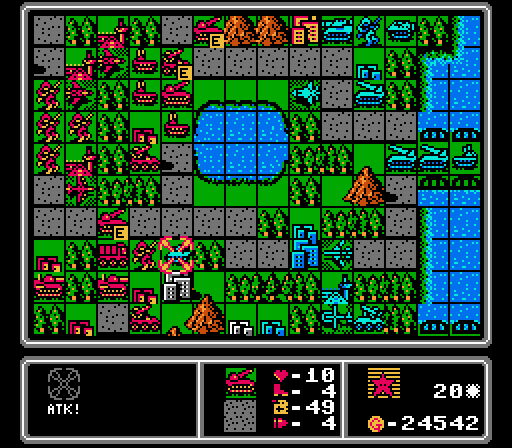
Yikes look at all those heavy vehicles coming at us. That's four rockets all lined up in a formation that's almost impossible to take out without heavy losses, backed up by a couple more medium tanks. Are we still gaining ground here, or about to succumb to an avalanche?
A couple of damaged bombers merge together, presenting a single juicy target for all of our nearby fighters.
Another deadly quartet - fighter, bomber, medium tank, rocket. Plus an infantry just because. And I know you don't care anymore, but that enemy phase set a new record at 9.5 minutes. This map is a marathon, and you'll have to wait to see how it plays out next time!
To Be Continued....