Part 48: Shark (2a of 2)
Part 48: Shark (2a of 2)Apparently this update was just a bit too long so I'm breaking it up into two pieces, but you get them both now.
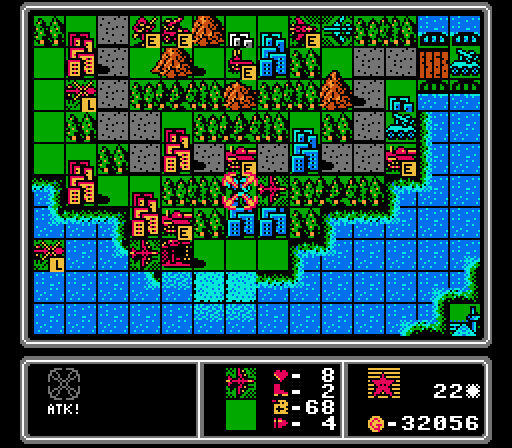
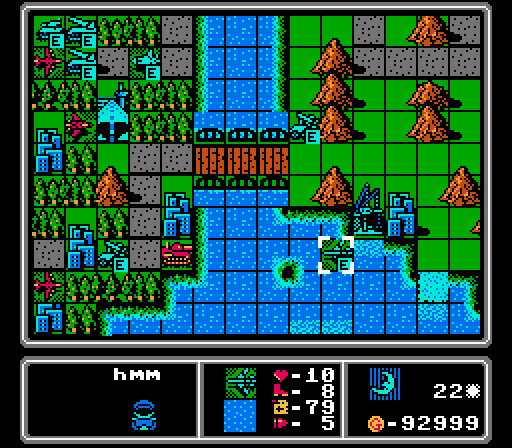
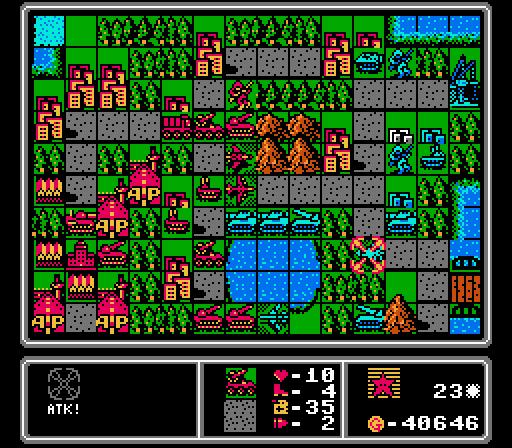
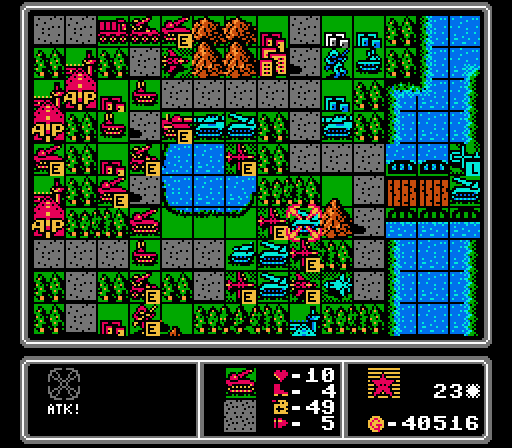
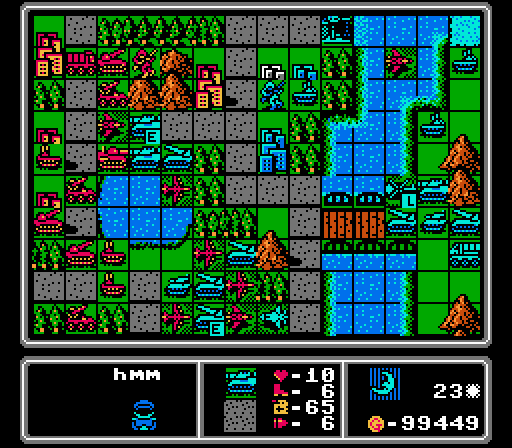
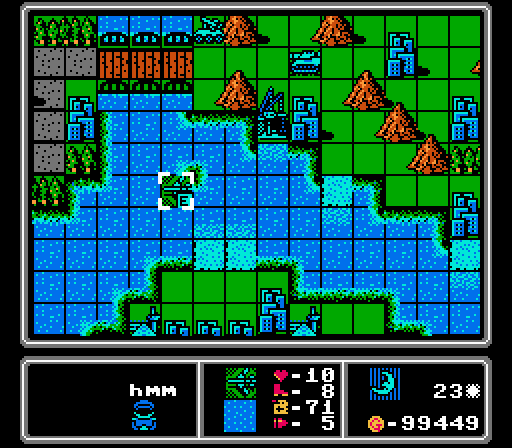
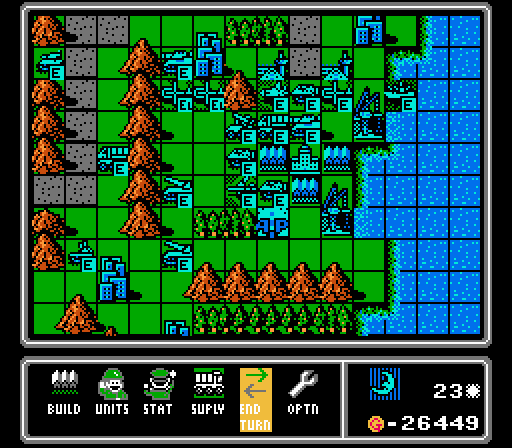
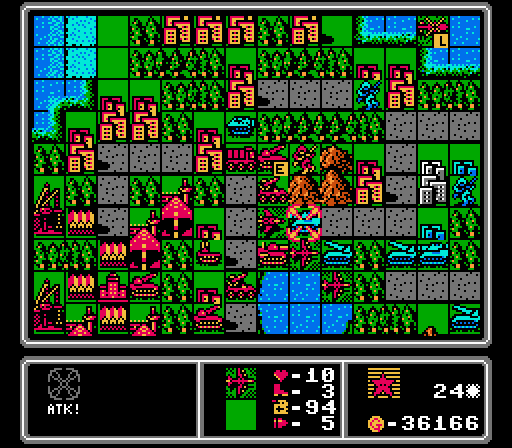
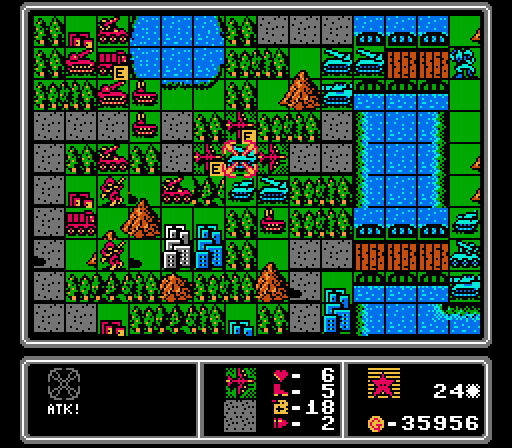
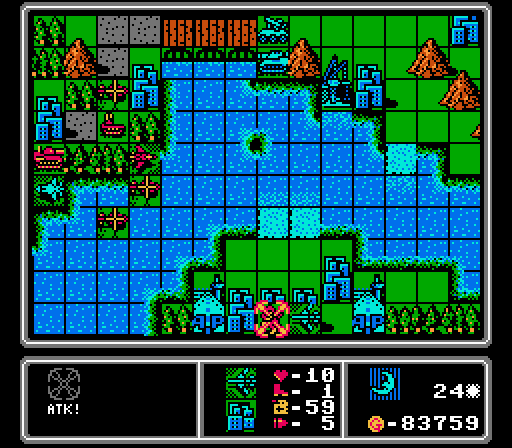
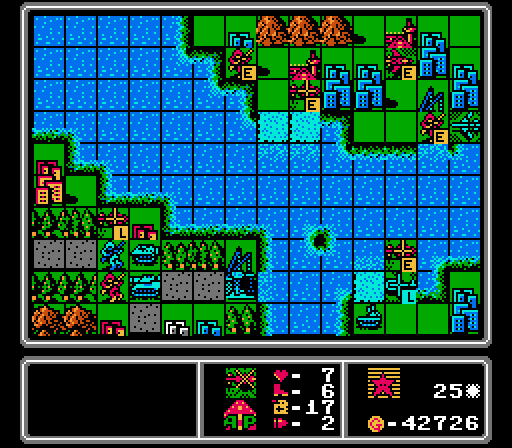
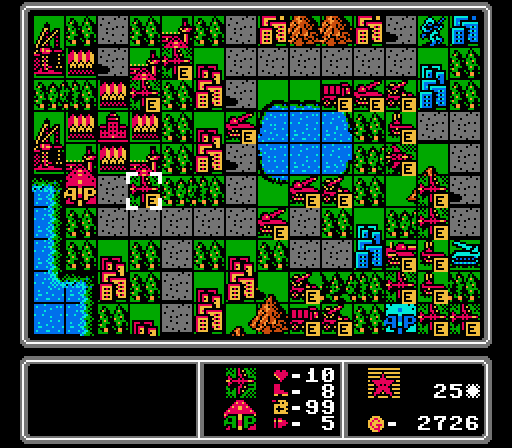
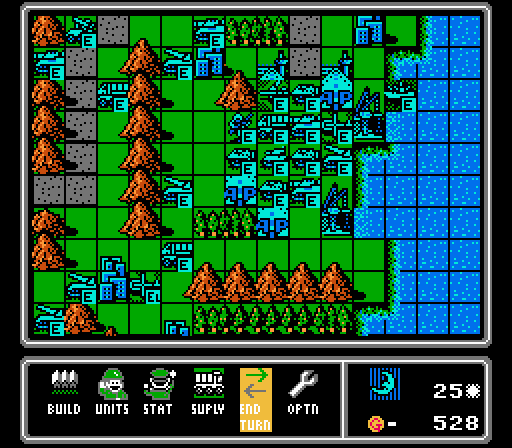
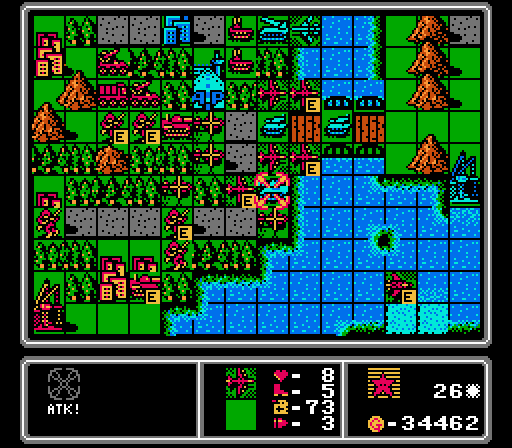
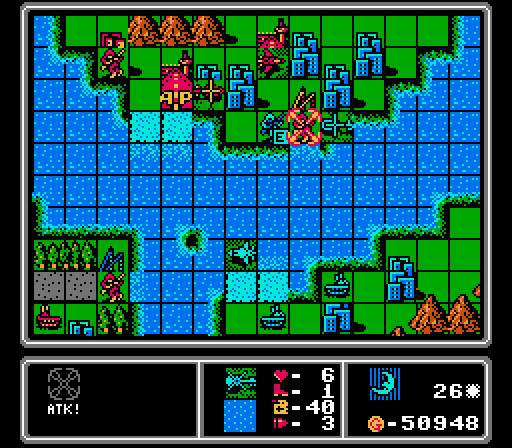
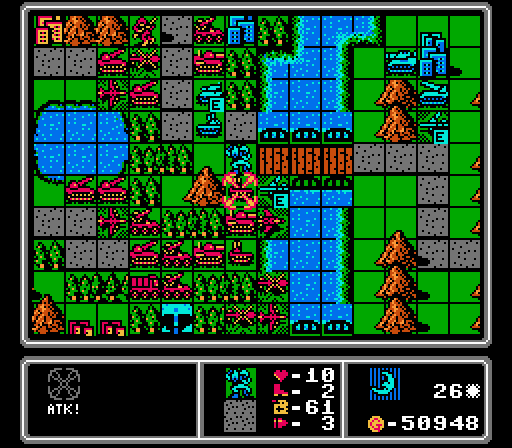
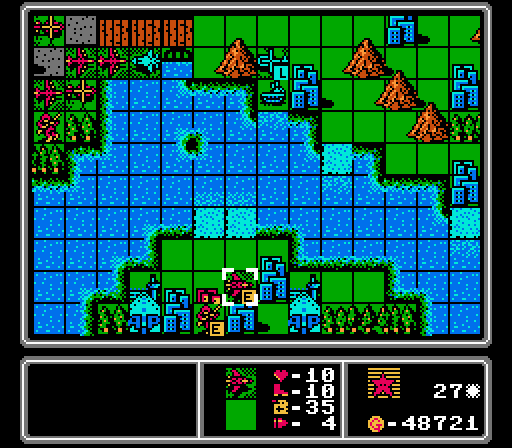
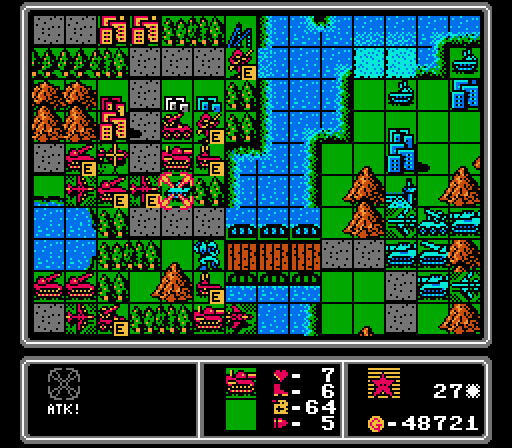
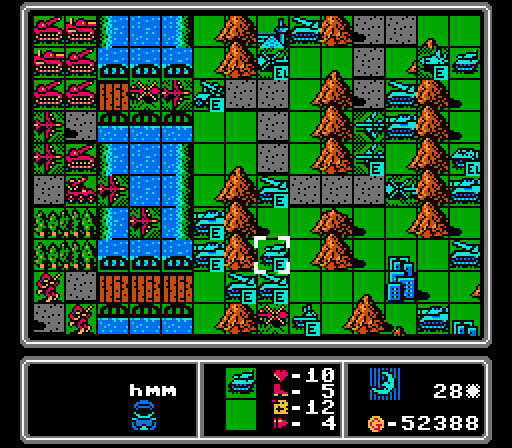
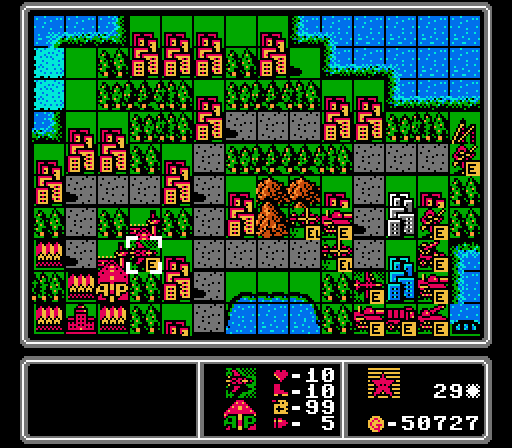
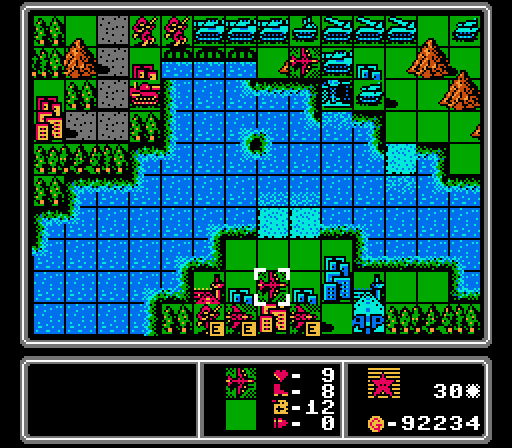
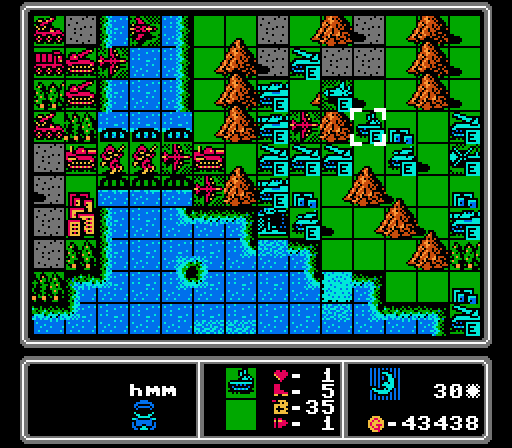
Turn 21
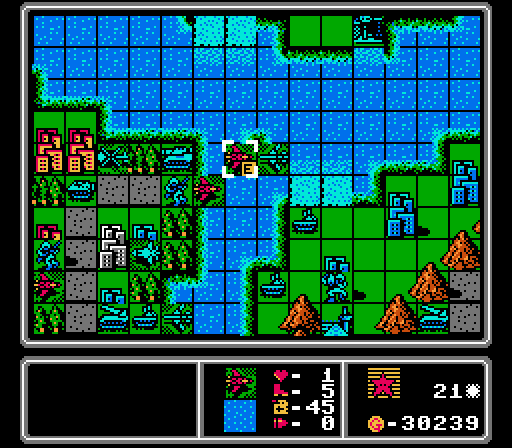
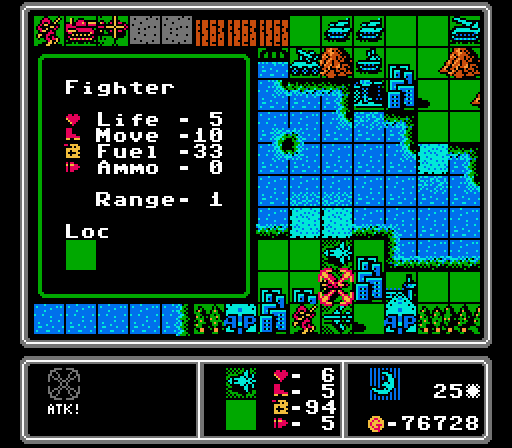
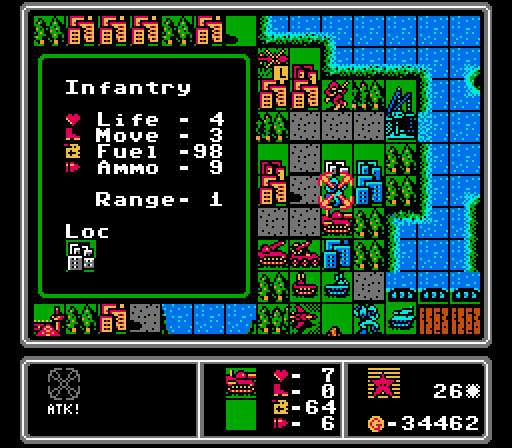
One fighter goes after the merged bomber, and then we merge our damaged fighter into it for a tiny bit of extra Life.
The other fighters switch arenas, hitting another bomber and a capturing mech. That nearby AA tank could be trouble....
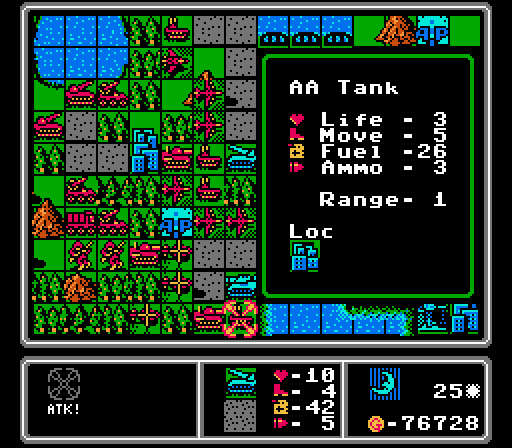
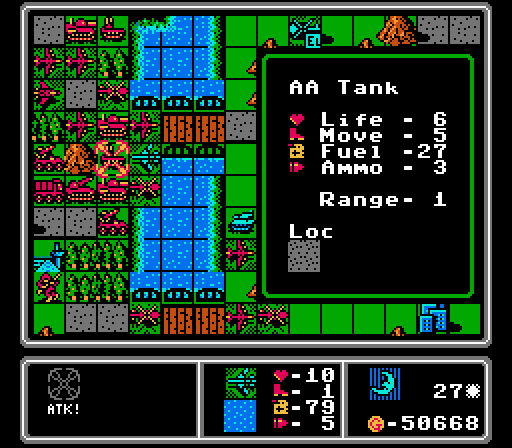
This copter got to our healing infantry, so we take it down with an AA missile and an AA tank.
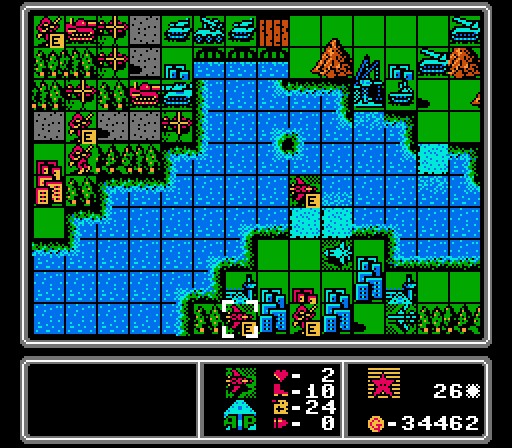
After a couple of bombers go after the capturing infantry on the lower shore, a medium tank finishes off this mech.
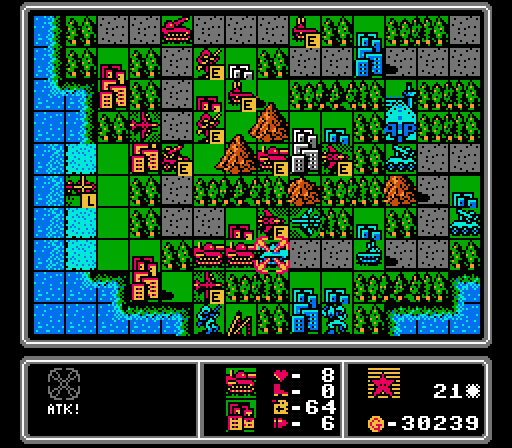
Here's why our fighters are safe. We first take the back-line medium tank forward to finish off the enemy medium tank. That kill frees up the road for a another medium tank to advance and finish off the AA tank.
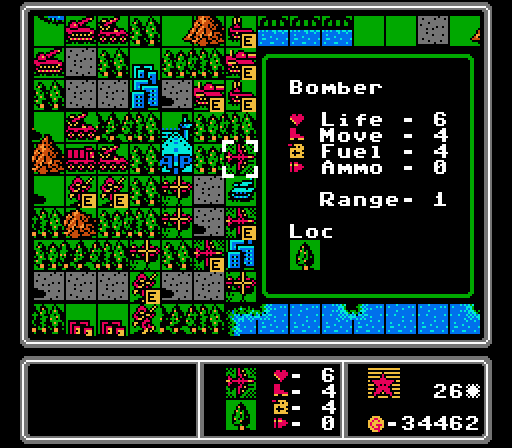
Here's an interesting formation. We've kind of abandoned the middle of the island. There's a bomber just off-screen, and the only thing it can hit now is a fortified AA tank. That enemy fighter also can't reach anything important.
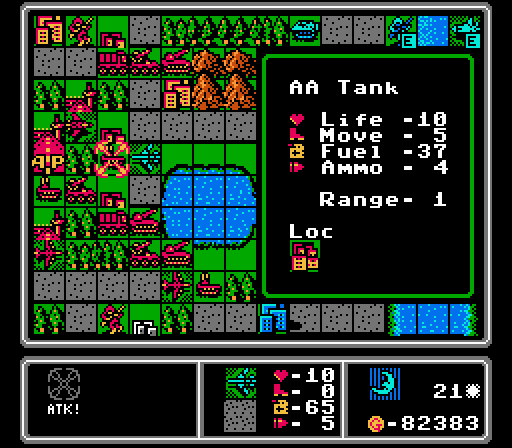
We lost a fighter and an AA tank recently, so put out a couple of replacements. We're going to need something against those heavy ground vehicles soon though.

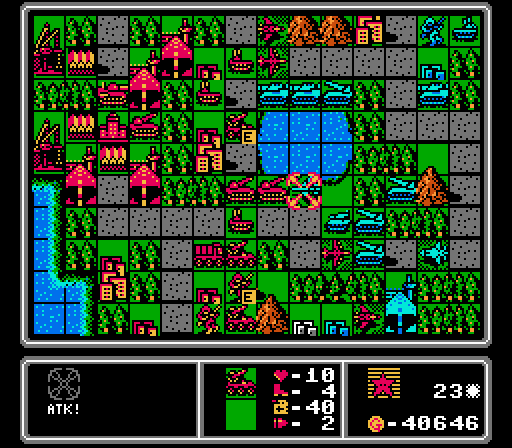
This enemy fighter throws itself away against our stronger fighter here, a nice win for us. Too bad there's another one right behind it.
Here's another positive exchange, taking out more than half of a bomber for less damage on a much cheaper unit, that will get half-repaired next turn anyway.
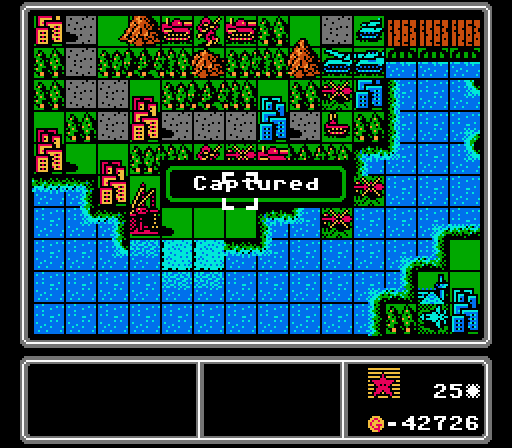
Those were the only two attacks we faced this turn. Here three of the rockets actually head down the lower road, with a medium tank on the upper road. Blue does capture that port we'd been fighting over, unfortunately.
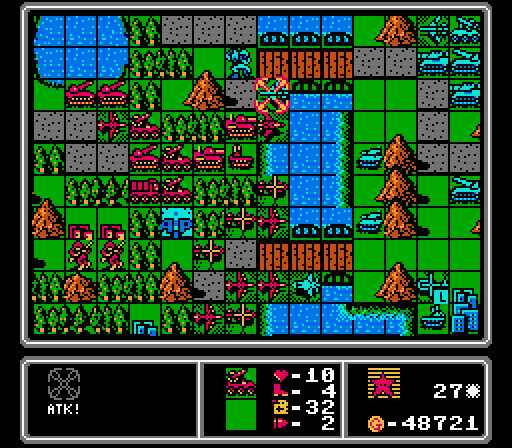
Tank, rocket, AA tank, bomber.
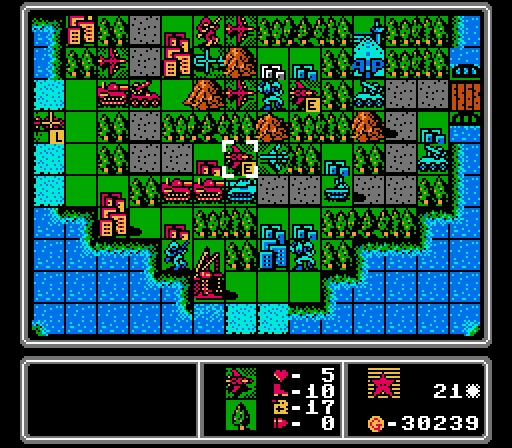
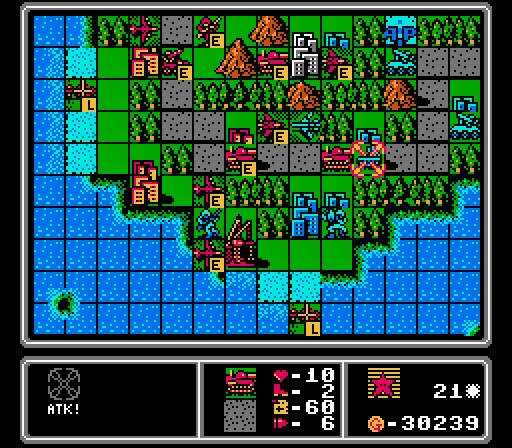
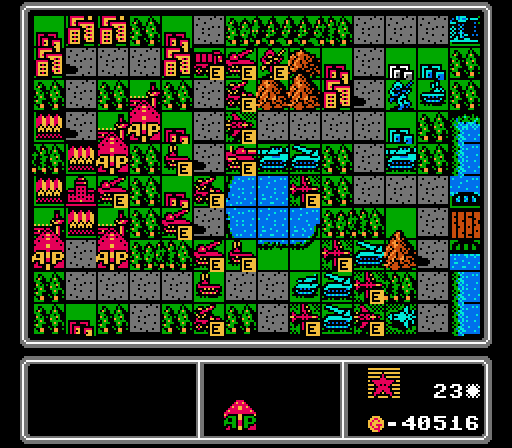
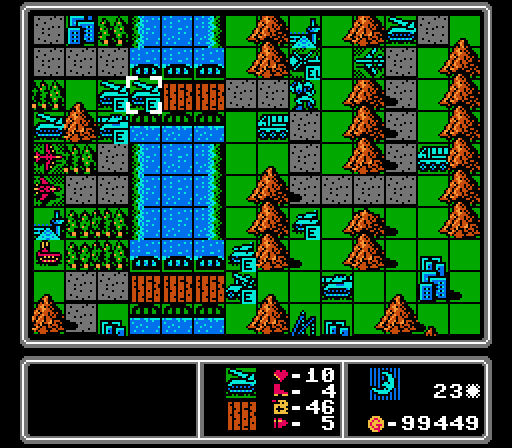
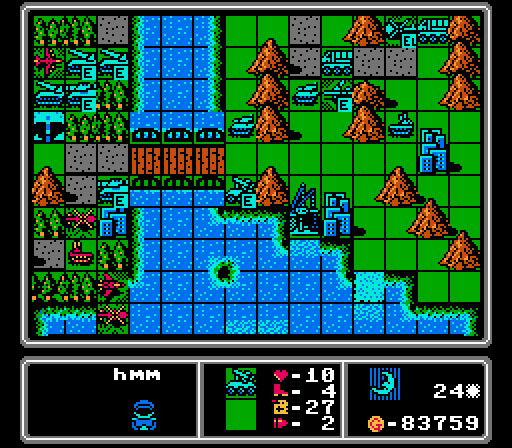
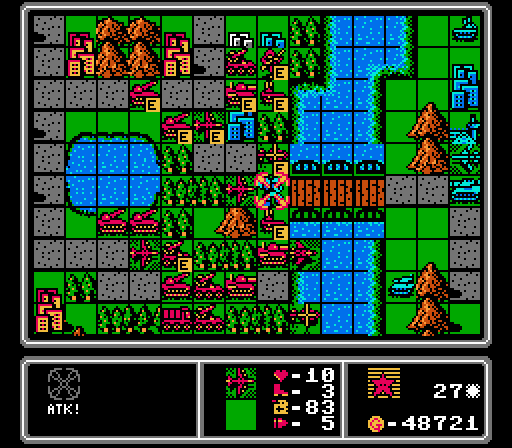
Turn 22
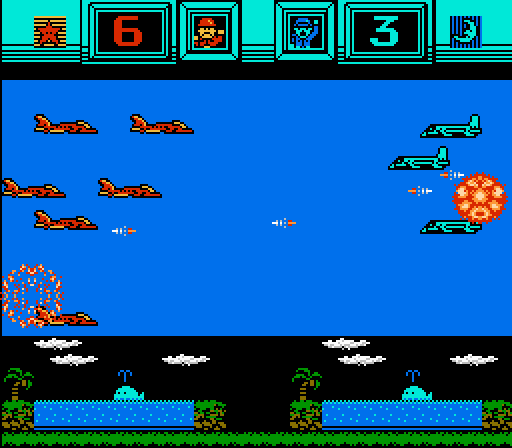
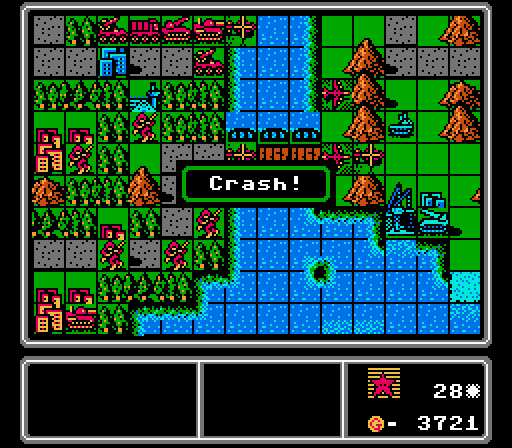
A rocket hits the capturing infantry, and then we take care of this bomber with an AA missile.
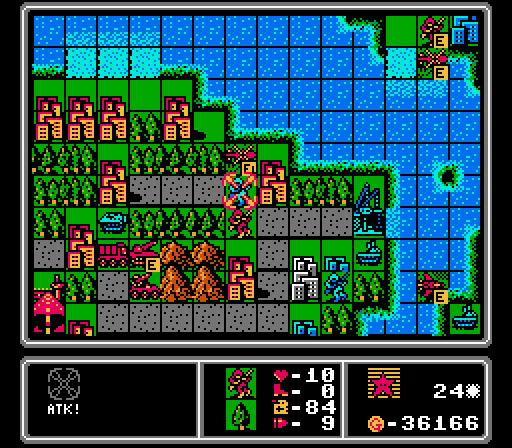
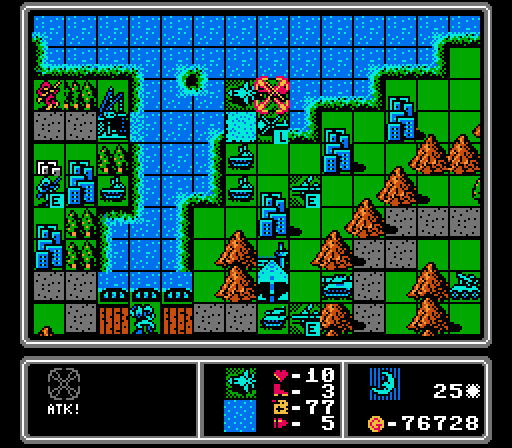
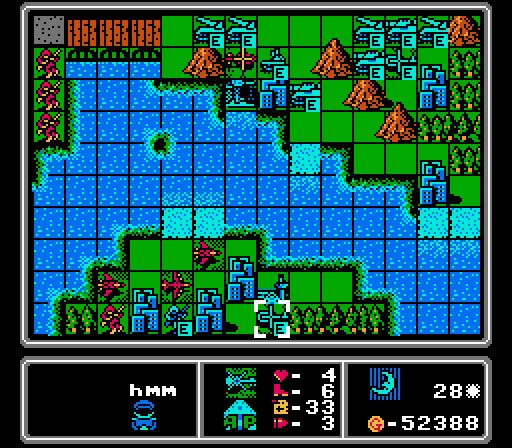
The enemy bomber retreated to the small upper island that we've ignored for the entire map, because Blue started with two infantry there and captured the whole thing early on. Let's chase it down.
Have you been wondering where all our loaded copters went? Well we managed to sneak a couple onto this island, and after we remove this bomber we can start capturing an airport up here.
The enemy AA missiles retreated and left an opening for us to take this fighter and finish off another bomber. That's three dead bombers this turn! The other fighter is also damaged and has no ammo and not enough fuel to make it back to the airport, so it merges with the first one.
Oops I guess we didn't quite kill this bomber after all. Still it's the thought that counts. We'll get it next turn.
We also got a copter to the lower island!

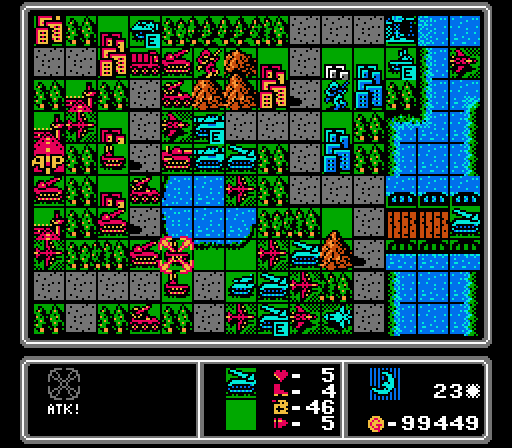
Dancing around on both fronts here. A couple of planes screen the upper road, while we hit one rocket that wandered into our own rocket range, and otherwise stay away from that group for now.
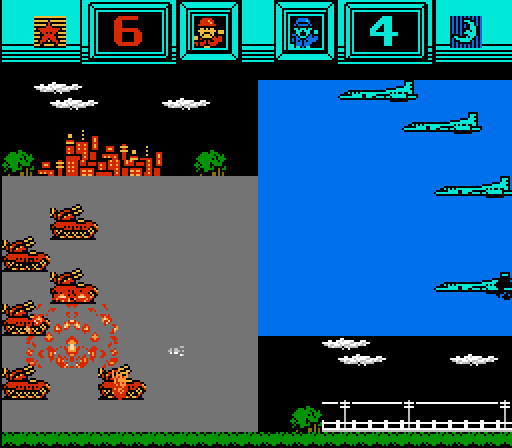
A medium tank finishes off this infantry before it can take another city from us, and then another medium tank teams up with a bomber to take out this mech. Notice how clear the lower shore is now? And we have three loaded copters nearby ready to start taking some of these cities back.
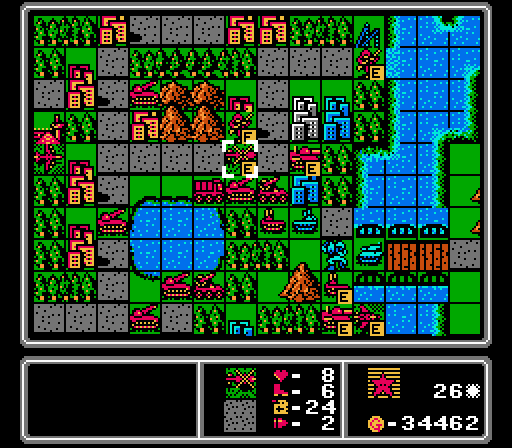
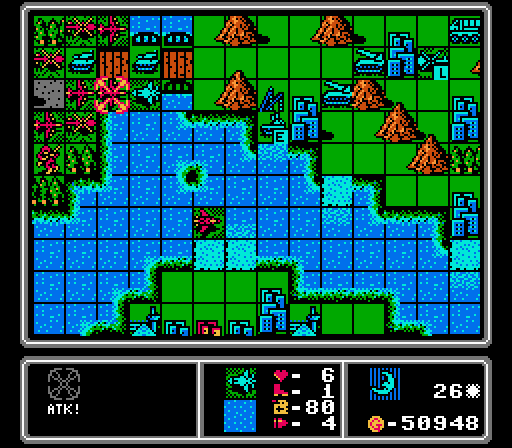
Time for a couple of units that can help turn the ground battle in our favor.
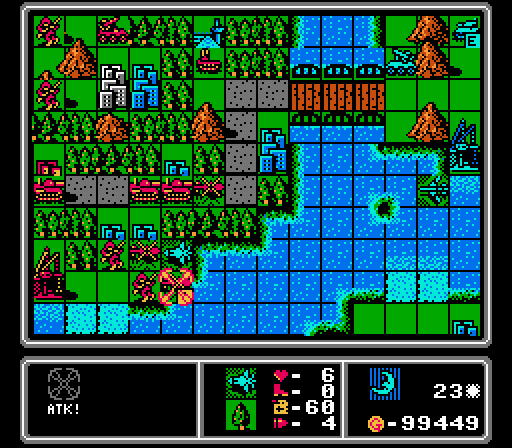
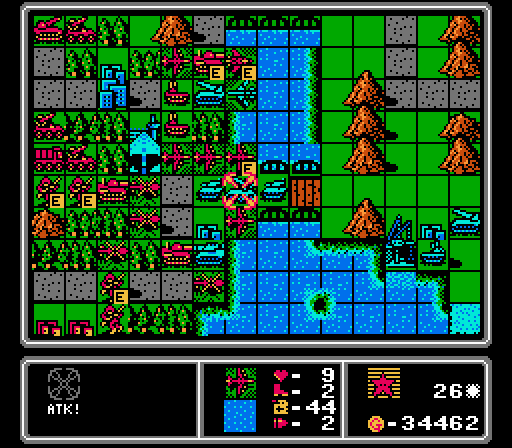
Blue sends its heavy hitters straight into our defense on the upper road, betting that we can't take them all out.
The lower road also sees an advance, with the damaged bomber and rocket hitting one of our rockets. Otherwise we don't take any hits this turn.
A new fighter lurks behind the line of rockets, while a new bomber sits back from our fighters and is actually threatening the infantry we just put on the lower island.
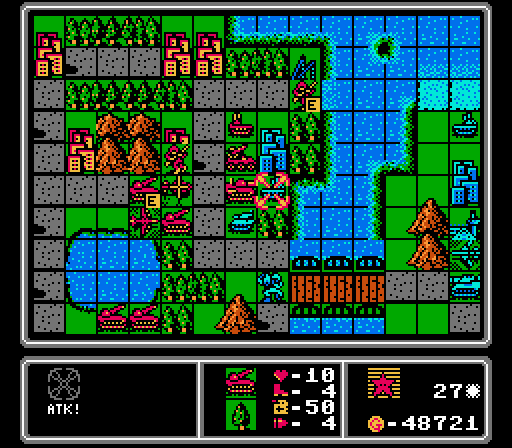
Medium tank, rocket, copter, and infantry. Looks like Blue will be sending more capture attempts our way.
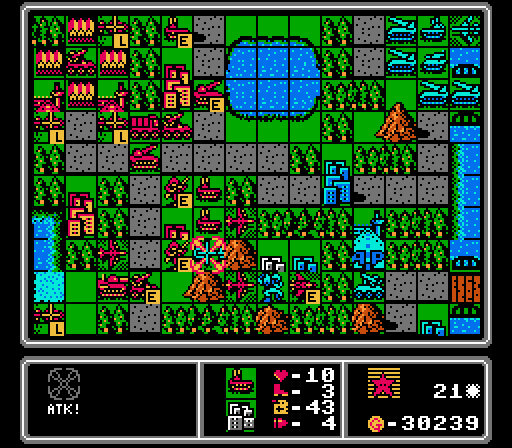
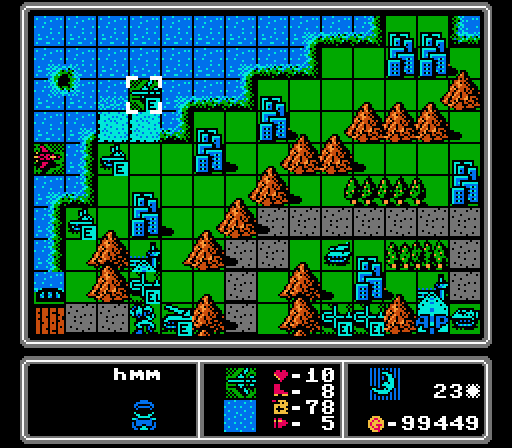
Turn 23

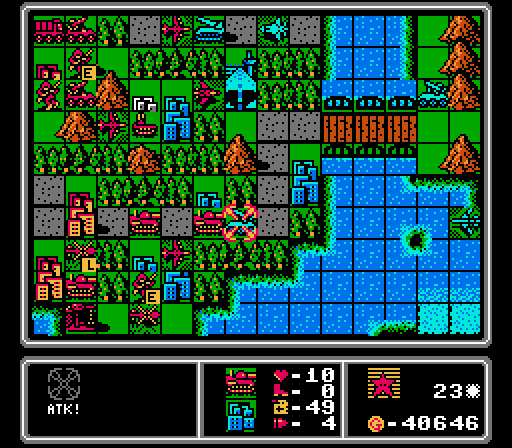
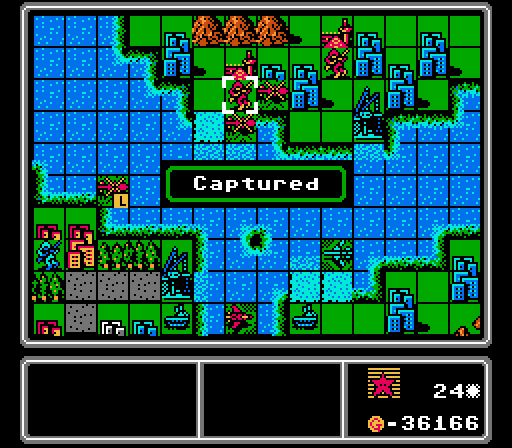
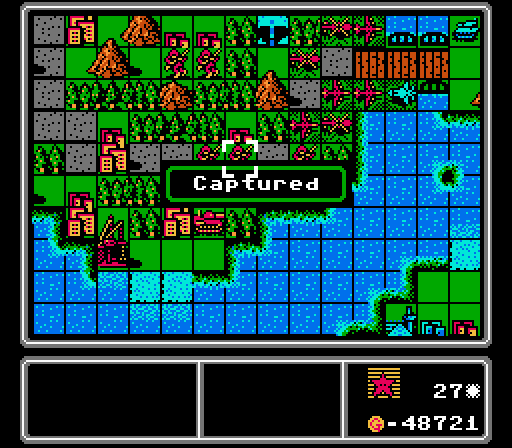
I'm shocked that it took until the 23rd turn to capture a city so close to our HQ, but there it is.

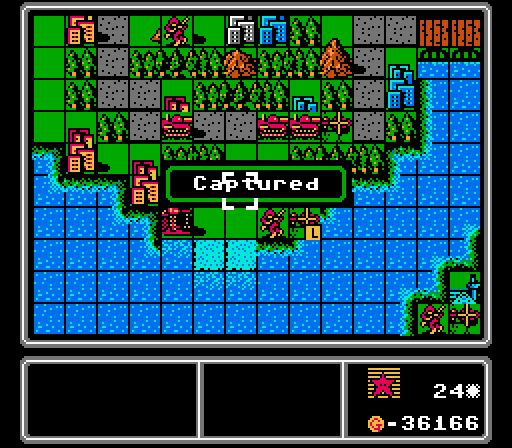
Hopefully this airport capture is a turning point, a 4000 G income swing in our direction.
We hit this AA missile last turn and it tried to run away, but we hunted it down and destroyed it. That unit was the last enemy on the lower third of our island.
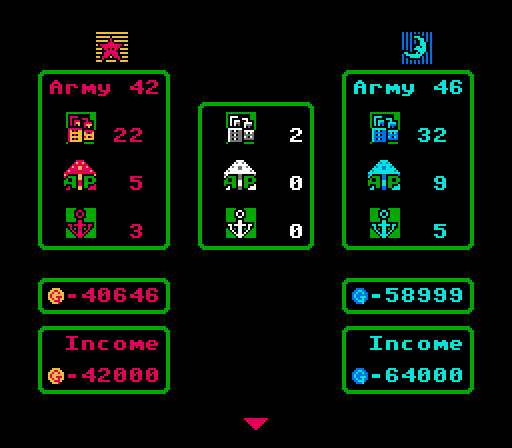
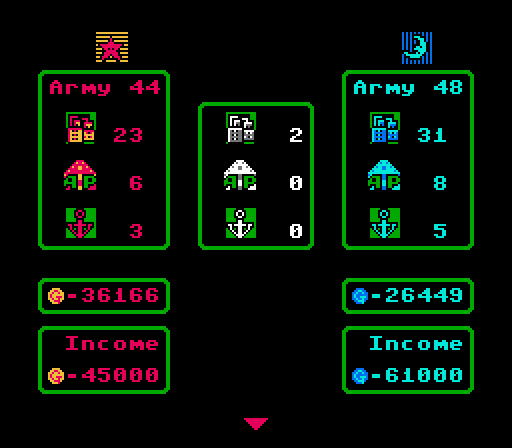
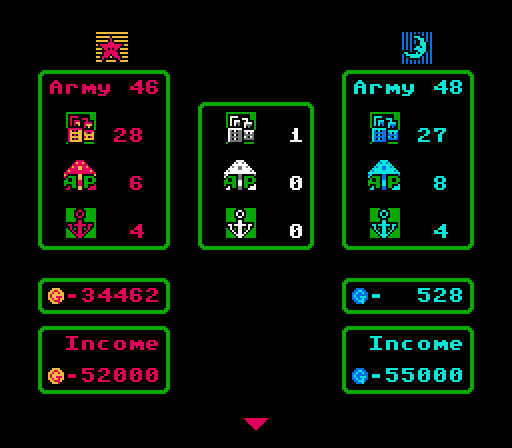
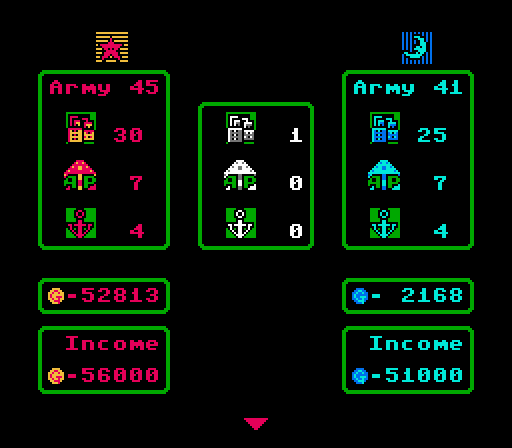
We stalled out for a little while the last five turns, but we've gone up 3000 G and Blue has only increased 2000 G, the first true gain we've had. Look at how our total army size is creeping up to near-parity with the enemy as well!
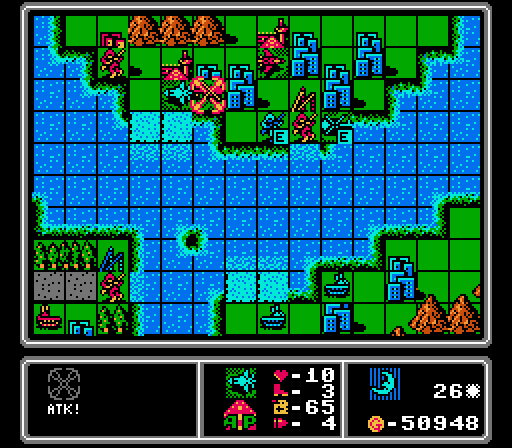
I'm pretty sure this damaged fighter wandered over just to tempt our AA missile into firing instead of moving, but I'm not scared! Another AA missile finishes off the damaged bomber.
Our new rocket is already close enough to finish off this medium tank.
The other medium tank takes hits from a rocket and our new medium tank, as a bomber hits the nearby rocket. That's the upper road assault neutralized.
Our other bombers pick apart the lower road assuault, with a rocket chipping in here. We also toss a fighter at the fresh enemy fighter, just to keep it from outright killing a bomber. The only full-strength unit in this group now is the lowest rocket, which is parked on a city and not worth trying to damage right now.
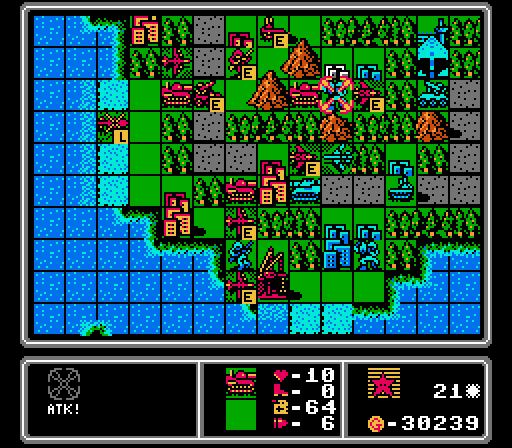
A fighter helps block the upper road, as the rest of our units hold a ragged line. We've got just over 40,000 in funds, so I can't resist putting out two bombers to really throw back this attack next turn.
Down on the lower shore, we drop off another infantry and use our copters to keep the bomber away.
The only full-strength enemy rocket we left behind wasted its attack on an AA tank and didn't even destroy it.
Here's another break for us - this fresh medium tank advances before the other units retreat, and has to end its turn unable to attack anyone.
The enemy rocket on the upper road also wastes its attack on an AA tank for some chip damage.
Oops. The enemy fighter was able to reach our loaded copter and hurt the infantry inside. That damage will slow us down a bit.
This bomber just moves a few spaces, still threatening both the lower island and the lower shore of our island, but not actually able to hit anything yet.
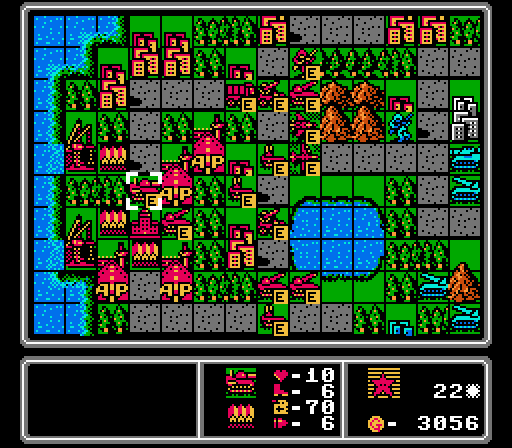
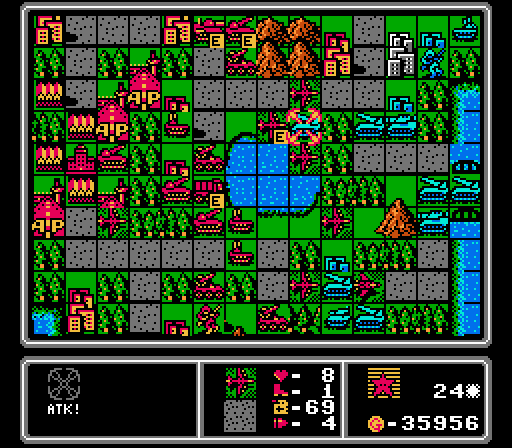
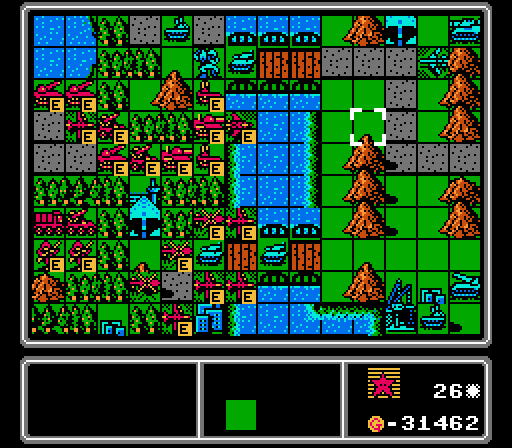
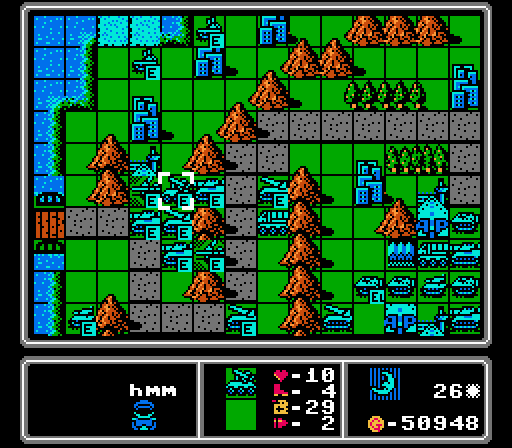
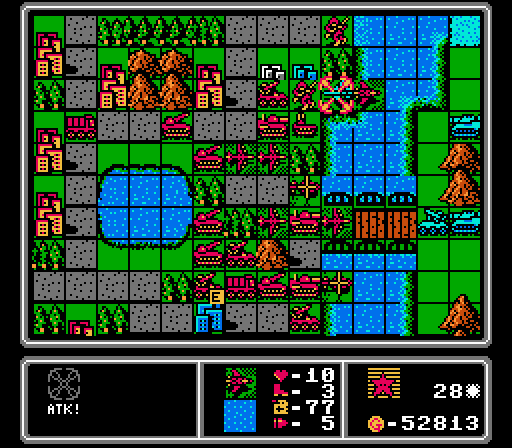
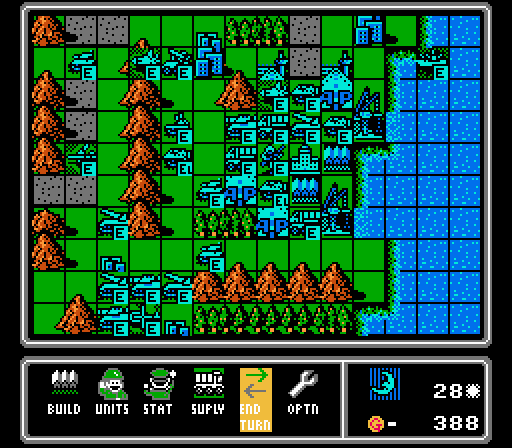
Still more heavy vehicles crossing the bridges, but the endless tide of reinforcements has actually slowed somewhat - this part of the island is much less dense with enemies than it used to be.
I think this bomber is headed for the upper island. I have a fighter nearby but it only has one shot left and has already taken some damage.
The two most heavily damaged enemy rockets both pulled back, but surprisingly didn't merge together.
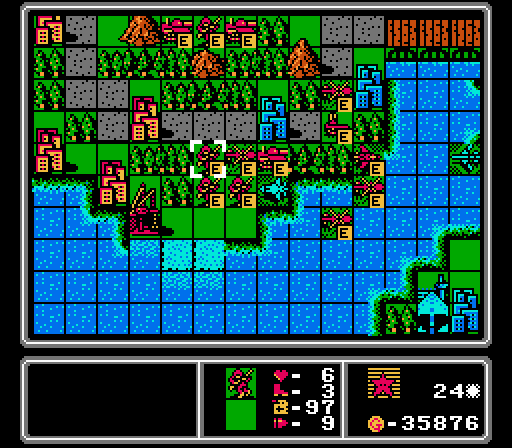
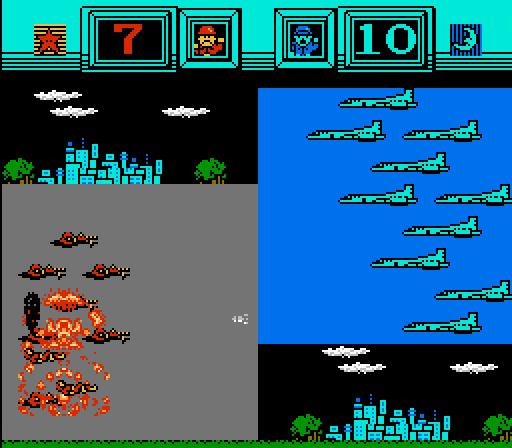
AA missile, fighter, bomber, medium tank, copter. My hard drive filled up again here...so another 200 minutes of footage. This time was mostly my fault, spending a lot of time measuring exact movements and even replaying turns sometimes to get the perfect setup. 70 of those minutes were enemy phase time, not as bad as the first set of turns.
Turn 24
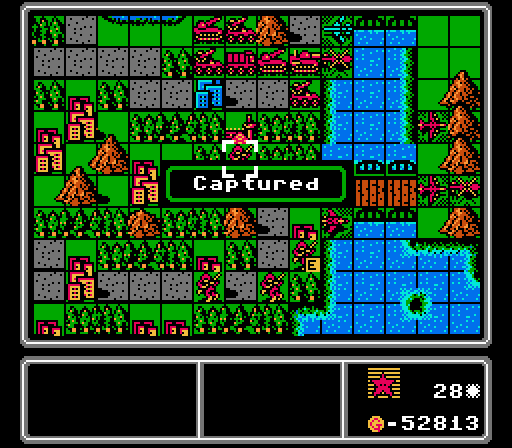
We swiped the second airport on the upper island! Also a random city on the lower shore of our island.
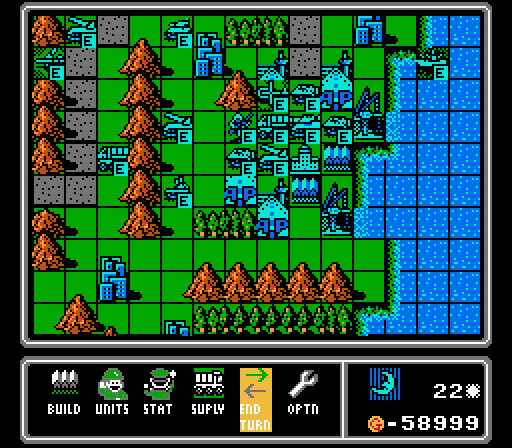
It's just one turn since I last showed this screen, but it already looks quite a bit different to my eye. We're close to the unit cap ourselves now, too.
Rocket+bomber combo is still my favorite way to instantly remove a fresh medium tank.
I'm tired of letting Blue capture stuff on our island, so cut this infantry down a bit with a copter and an infantry.
Two bombers finish off two damaged rockets. Elsewhere a medium tank heads to the upper road to punish an APC for getting close to us.
This time with the more immediate threats handled, we send a trio of bombers to remove this fresh rocket from the city.
Down on the lower shore, we form a plane screen against the enemy bomber while hitting the damaged enemy fighter with a medium tank to try and push it into retreating.
We've got bombers guarding both lakeshore approaches from Blue's heavy reinforcements. The tank and rocket down near the enemy airport are both heavily damaged and won't even attack, so we're set up pretty well here.
We get another fighter to fend off all the planes still headed for us, and another rocket to start holding the bridges now that we've almost cleared our island.
Our biggest problem on the enemy phase is a bomber going after our infantry trying to solo the lower island, but it can't do much damage against the city defense.
No attacks here, but two medium tanks and two rockets cross over to our island to cause trouble later. A healthy dose of bombers will help, but notice how that lower medium tank is protected by the AA missile.
Two rockets, a medium tank, and another bomber. We've been pretty successful at not letting the enemy bombers hit our expensive units (so they're just a cash-drain on the enemy) and will have to continue that process through this phase of the battle.
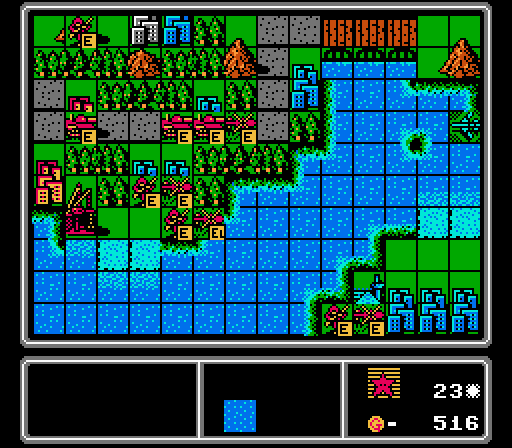
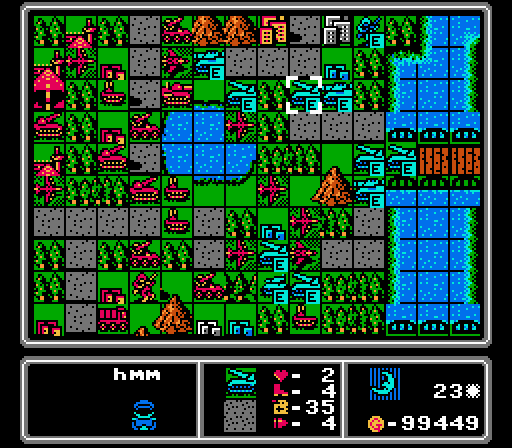
Turn 25

We've got a couple micro-battles brewing on the two side islands. I need to keep that infantry just healthy enough to finish that city capture and stay alive afterward, so I'll probably need another fighter down here. This one uses its last shot to take off half of the bomber's Life. The enemy fighter here is the damaged one from earlier, but will repair a bit on the enemy phase.
The upper island is in slightly better shape. Since we already have both airports, we can re-arm our fighter there. The enemy bomber here is already damaged and barely scratched our infantry. There's a loaded copter headed our way so we send one of our copters to get in some damage. We really don't want a full-strength infantry landing and taking these properties back.
In the meantime we grab another city on the lower shore, slowly taking back our island.
Three already-damaged enemy units all fall here. The rocket gets the medium tank, the copter takes care of the infantry, and then a medium tank rolls all the way up to finish off the APC. I don't usually use a loaded copter for combat, but the minor damage it took here is worth keeping that city and getting rid of a pesky infantry.
Time to do what we can with the fresh arrivals. First a medium tank and a bomber take out one of the rockets.
Two more bombers get rid of this medium tank. Yet another bomber finished off the damaged tank that was nearby.
A medium tank than destroys this damaged rocket. That leaves a fresh rocket and medium tank able to attack us on the enemy phase, but we have gained enough on this map now that the trade of letting those units fire on us is worth the benefit of being more aggressive and taking out all the units we could here.
I also left most of our bombers in range of the new enemy fighter for the same reason. I did get all of them covered by at least one AA missile at least.
That said, we get a couple of replacement bombers just in case; they've been very effective lately, with not much enemy anti-air in the area. The third bomber here is looking for some supply love next turn.

The enemy rocket uses its shot to remove a damaged AA tank, probably the least-damaging result for us. The only downside is the enemy medium tank is able to use the freed-up city to attack our medium tank.
This enemy fighter can't resist hitting a defenseless target (our fighter is out of ammo so can't fight back), but I'd much rather have this result than have the fighter going after our capturing infantry. What's even better is the bomber didn't attack either, just flew back to the airport for repairs.
The new enemy fighter decides not to throw itself away on our protected bombers, and instead takes out a copter and complicates our mini-battle on the upper island. The loaded copter here then drops off its passenger on one of its cities on the upper island. Once again though the damaged bomber retreated rather than continuing to chip away at our capturing infantry.

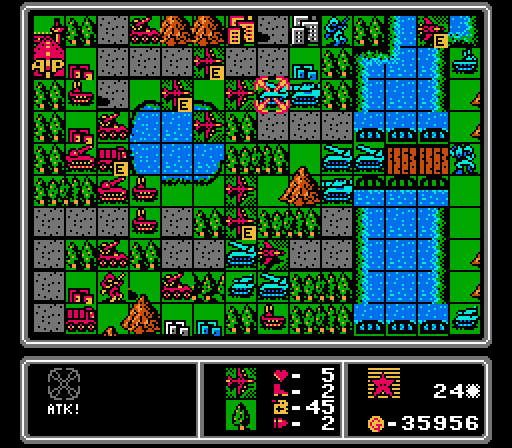
Some more reinforcements roll over the bridges, but it's a much less threatening crew this turn. The bomber here can't reach anyone either, so puts itself in a spot where it gets some protection from the AA missile. There's still a gap we can exploit, however, and our fighter is already sitting right in the position where it can hit the bomber without getting struck by the AA missile in return. Why didn't the bomber just hang back one more space for full protection?
We destroyed a lot of enemy units this turn, freeing up room under the cap for Blue to build a ton here. A bomber, two medium tanks, a rocket, a tank, an APC, and an infantry.
Turn 26
We get a port and a city on the upper island, and our first capture on the lower island! Our copter on the upper island also hits the enemy infantry to make sure it can't capture anything anytime soon.
We also get two more city captures in this middle area, producing a huge swing in income this turn.
We're so close to income parity now that we can keep up the extra aggression we've had lately. We are certainly doing more damage to Blue each turn than we've been taking, so can afford to lose a few units and keep buying replacements. One major milestone here - we now have more cities than Blue does!
Looking back at the lower island, a fresh fighter arrives to help out our infantry, while our damaged fighter parks on the enemy airport to deny its supply services.
This infantry thought its best option was to try and capture the last neutral city and hope we ignored it for five turns. Not happening.
This AA missile advanced without any anti-air backup so two bombers quickly remove it. Because I knew the AA missile wouldn't be a problem, a new fighter arrival was able to destroy 90% of that new bomber without worrying about getting hit on the enemy phase. The positioning of our fighter there is very important for later.
Two more bombers are able to surgically remove this medium tank despite its city protection, while our own medium tank that got hit last turn heads back for repairs.

Two of our medium tanks wipe out the last rocket in the area, freeing up space for an AA tank to finish off the bomber.
I ran this bomber all the way out of fuel and ammo but it has just enough juice left to merge into another half-strength bomber, producing one fully-capable plane for next turn. I'm at the point where we're so close to the unit cap that we're better off merging damaged units together so we have room to build new ones.
This copter took a bit of damage attacking infantry earlier, but I unload its passenger onto one of our cities so it'll be at full strength when it moves to capture the nearby neutral city next turn. The port also gets a capture started, though our infantry there is at half-strength so will take four turns to complete it. We also use the rocket here to hit the AA tank so it's not much threat to our bombers.
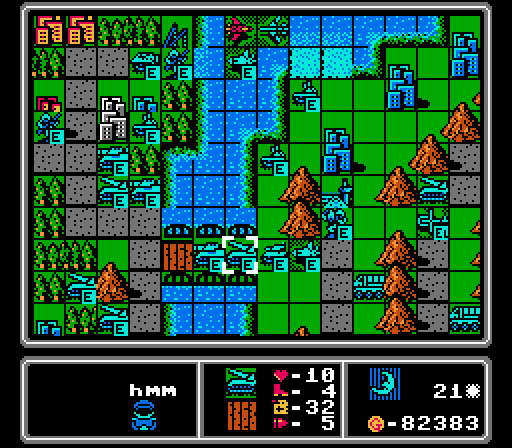
Here's our bridge positioning for this turn. That new bomber could have reached our medium tank, if I hadn't put the fighter out in front of it. I actually reset this turn once to achieve that positioning after screwing it up the first time.
With more enemy bombers on the way and some of our fighters distracted supporting the side islands, we get another fighter to help out. I also have a damaged supply out as a screen so build a replacement. That bomber on the airport is still looking for some more repair time, but the two new ones advanced to a striking position for next turn.

Our infantry on the lower island takes a bigger hit this time, but it's already taken the city so will be able to heal up now.
A fresh bomber gets to our AA tank but pays a big price for it. Ensuring the enemy bombers only hit our cheaper units (and then using fighters to quickly remove them) has been a key to turning this map around.
The enemy infantry and copter, while damaged earlier, team up to punish our infantry. We actually won't heal up on a port but at least we're still alive here.
This fighter probably could've finished off our infantry on the lower island, but instead shoots some holes in one of our bombers.
Another fighter takes out our remaining copter on the upper island. We might need some more support up here.
This mech finishes off our AA tank, but after the enemy tank had already moved to take out our supply. Those two losses are easily replaced and really just give us room under the unit cap to build something better. The enemy AA tank here was hit by our rocket and hides in the trees.
Another wave is building on the enemy island, but they're far enough back that we can fortify the bridges next turn.
Bomber, medium tank, rocket, infantry. Note however that Blue's run its treasury empty again; we're finally making an impact with our captures.
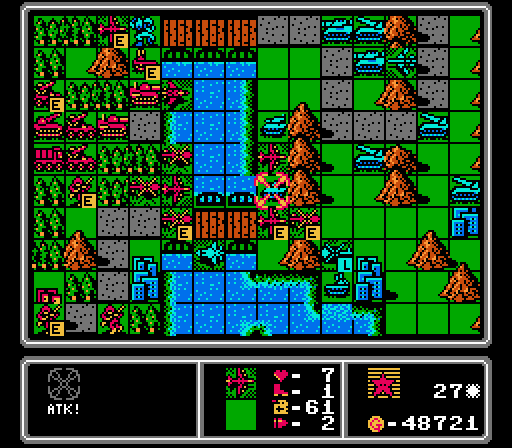
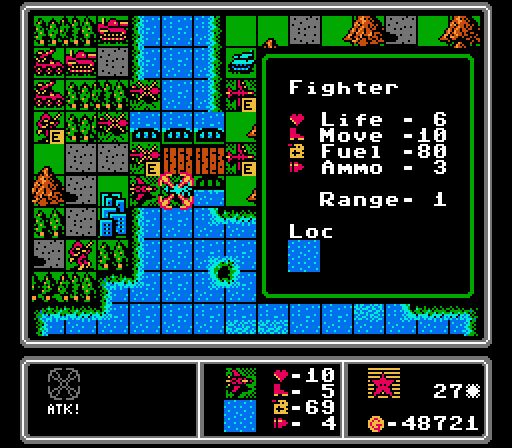
Turn 27
There's another loaded copter headed for the upper island, so our first priority is ensuring it takes a big hit before getting there. We might lose an infantry as a result but we'll at least keep what we've taken so far.
A fresh fighter arrives and finishes off the bomber on the lower island. There's still an enemy fighter nearby, and another loaded copter ready to dump on us on the enemy phase, so we're not done here yet. Our damaged fighter merged into the new one just to get our unit count down (it had just two Life and no ammo, so wasn't worth keeping around).
Our indirect fire units go first in the main battle, finishing off a bomber and an AA tank here. Another rocket hit the nearby tank to keep it from causing trouble.
I was so focused on getting those attacks in, I didn't remember to capture this city right away.
Anyway, after the tank is hit by the rocket, a mostly-repaired bomber and a lurking medium tank finish it off. The tank was sitting on a city so was a bit tougher to remove than normal.
A copter and a bomber hurt this mech but can't quite kill it. I really want control of this bridge though!
We start our first attacks on the enemy island. A copter blocks the mountain pass so that the AA tank can't reach our bombers, which team up to take out a tank. These tanks had been on the bridge but ran away last turn. I also merged in a damaged bomber to reinforce the ones left.
This fighter won't be much trouble anymore. That attack will help out the situation at the lower island.
I had a spare bomber to finish off the mech on the bridge, and moved a medium tank right behind it. For the first time we have our island clear of enemies and we have both bridges fortified so no new ones can cross over this turn. We've got mostly air units out in front here, with the enemy anti-air either too far away or distracted.

I rammed full speed into the unit cap for the first time, trying to pump out more infantry to speed up taking the two side islands. We also get another fighter to help fend off the incoming bombers and win the side battles, a medium tank to keep up the ground pressure, and a copter to carry some infantry around.
This damaged bomber got some repairs and is able to reach one of our capturing infantry, but can't hurt it much. Luckily the bomber couldn't reach the injured infantry we have trying to slowly take that port.
Another bomber runs right into an AA tank, but this one wasn't at full strength so loses the exchange.

On the upper island, the fighter ran away (maybe more worried about our bomber fleet?) and the loaded copter likewise retreated. The remaining copter went after our healthy infantry instead of killing off the injured one. Altogether a pretty positive development for us, as we'll keep control up here for the rest of the map.
We will have to deal with a fresh infantry and copter on the lower island, however. That damaged fighter will retreat to the nearby airport as well.

I don't know what happened here, but for some reason after moving this AA missile the AI got "stuck" in thinking mode for over three minutes here. Maybe this point was where the AI realized it was doomed....
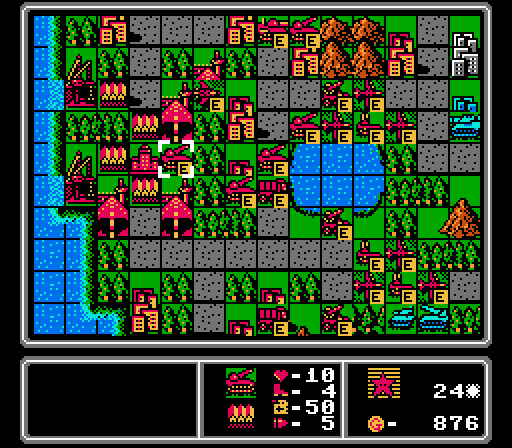
AA missile, AA tank, yet another bomber, and two tanks.
Turn 28
No worries, just a copter that was hanging around taking up space after dropping off its passenger. We could use fewer cheap units out here anyway.
We take back the airport on our island and also the city by the lower bridge.
We've finally done it! Our income has surpassed Blue's! Between that milestone and us having control of the bridges, this map is basically over.
Removing bombers....
The upper island is looking better now. Our healthier infantry kills off the enemy infantry, and our fighter is able to finish off this copter while sitting on the airport for some repairs next turn. There's still a healthy enemy fighter in the area, but I think it'll get distracted by our bombers instead of remaining up here.
The lower island is still in trouble. First we free up the airport by taking out the damaged enemy fighter, then go after the copter to keep it away from our infantry, which in turn starts capturing the airport to give our planes a refueling station and stay away from the enemy infantry. I also send down a bomber to help take out the enemy infantry later.
We've got the upper bridge blocked off with more air units, and a literal handful of rockets ready to launch across the water for some hurting next turn. The gap you see on the bridge is where the enemy bomber can reach.
We get a couple copters to carry away the infantry, and round off with another bomber. For the first time we have enough funds left over to get another expensive plane, but we're at the unit cap so can't put one out.
Letting the AA missile shoot down this damaged copter was important for a reason I don't remember anymore. Maybe I was trying to keep the AA missile in place for a rocket attack next turn, and wanted to get rid of some copters to make more room for bombers anyway? Yeah, let's go with that explanation.
I don't know what happened here. The enemy fighter, still at full strength, just retreated back into the center of the enemy island instead of harassing us at either the upper island or the upper bridge.
I left the lower bridge open so Blue sent most of its vehicles down there instead of challenging our rocket squad at the upper bridge. We lost a copter to an AA tank down there last turn, and it hurts another one this turn.
The plan on the lower island works out in our favor again. The enemy infantry starts capturing the city we just took, but we have three air units that can prevent that capture from completing. More importantly, the enemy copter parked on the airport to get in some repairs instead of hitting our infantry.
Blue still has enough income to cause trouble - a fighter, a medium tank, a rocket, and an infantry this time.
Turn 29

We finish taking the port and the nearby city for another boost.
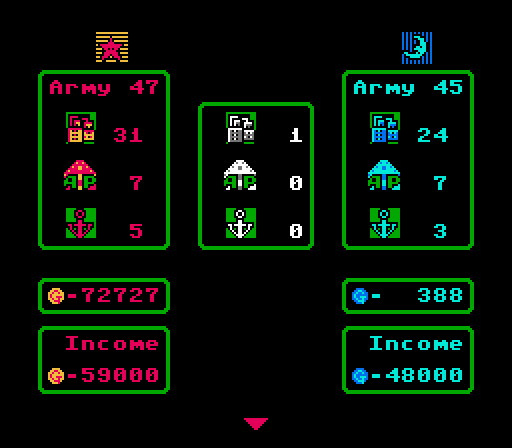
For the first time in recent memory, Blue ran out of money before hitting the unit cap last turn. We've really turned it around now. I'll start summarizing a bit more from here, but there are still four different fronts we're fighting.
On the lower island, one fighter takes out the copter while our other air units slow down the infantry.
At the lower bridge, the bombers run free and take out a rocket while damaging two medium tanks. That AA tank will probably go after the copter, but even if it hits a bomber it'll take a lot of damage in the process. I'm also no longer worrying about the enemy fighters, since we can produce replacement bombers faster than the AI can destroy them now. We also start moving infantry forward, despite the remaining enemy rocket.
The upper island is clear of enemies now, so our fighter is free to rejoin the main battle. One infantry heads back to a city to heal up, while the other starts a long capture on another city.
Our other fighters help form a wall to limit where the enemy bomber can go. After a copter finishes off the AA missile, we load up the upper bridge as well as the coastline between the bridges.
We performed a little too well this turn and can only put out one unit, so I pick a fighter.
I made a bit of a mistake at the lower bridge. The AA tank indeed finishes off the copter, freeing up space for the medium tanks to wipe out one infantry and hurt another. It's not much of a mistake, though, as both medium tanks were damaged by our bombers and are now in rocket range. There are several more medium tanks and rockets piling up nearby, however....

We fare a bit better at the upper bridge. An AA tank comes out to hit our copter but will fall to rocket fire next turn. Both bombers come out but they can only reach an AA tank. Both fighters advance a bit but don't attack anything again.
Blue puts out a bomber, a medium tank, and two copters.
Turn 30
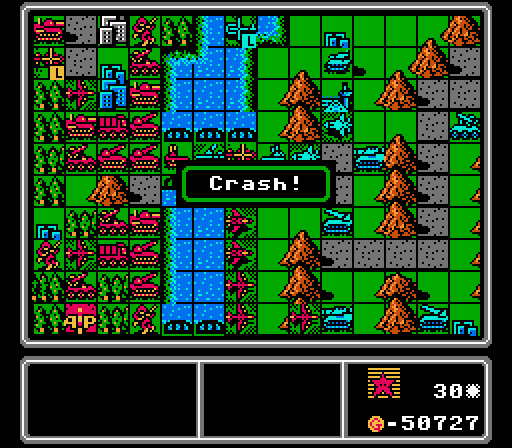
The copter that the AA tank came out to hit ran out of fuel and crashed anyway.
We complete the airport capture at the lower island, and our two fighters are able to finish off the enemy infantry, putting the island totally within our control now. This bomber is out of ammo and low on fuel so it'll wait around until next turn, when it can move to the newly-captured airport for a supply.
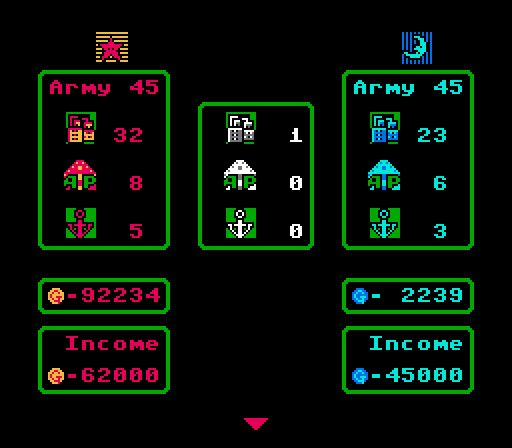
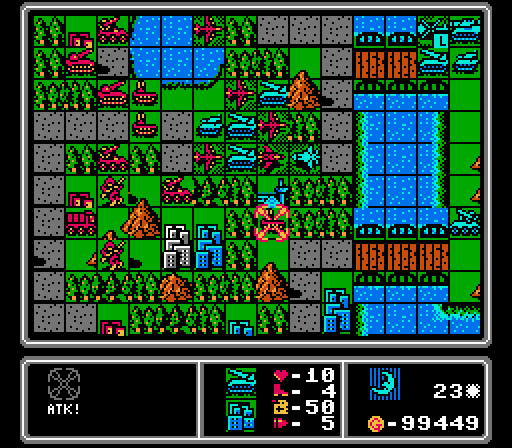
We also finish a city capture on our island. In the span of just six turns, we've completely reversed the income edge from 45k-61k, to now 62k-45k. That's a huge swing!
Highlights at the lower bridge: Rockets take out the two lead medium tanks on the bridge. Bombers take out a third medium tank, opening up space for our medium tank to advance and all but destroy the AA tank. Two other bombers weaken nearby rockets to protect the medium tank, while a pair of infantry advance as decoys.

At the upper bridge, AA missiles and fighters shoot down a loaded copter and two bombers. Rockets wipe out an AA tank. More fighters go after one of the enemy fighters. Now the only threat to our air force this turn is one fresh fighter.
Nothing to report at the upper island - one infantry continues a capture while the other continues healing. Back at the HQ, we build a fighter and two bombers to maximize the value we can get within the unit cap.
All the action on the enemy phase was at the lower bridge. We did lose a bomber to the enemy fighter, and two rockets hit our medium tank while the third hit an infantry. The damaged AA tank ran away but lucky for us only after the medium tanks ended their turn, unable to move. Otherwise one of them could've moved into that gap to finish off our medium tank.
With Blue's income down so much, for the first time in eight turns they don't build a bomber or a fighter. Instead we get a medium tank, tank, rocket, copter, and two mechs.