Part 54: Royal (2 of 2)
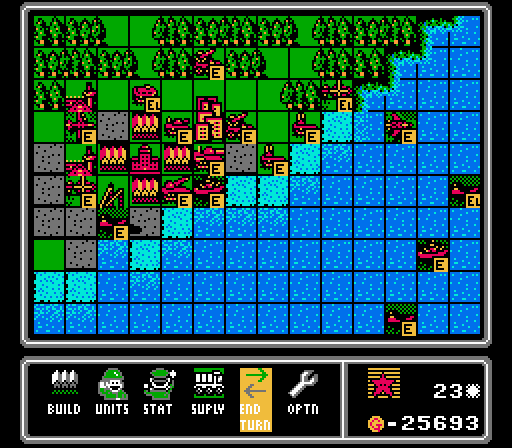
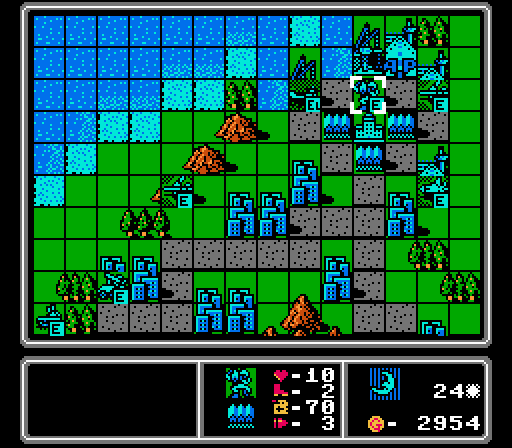
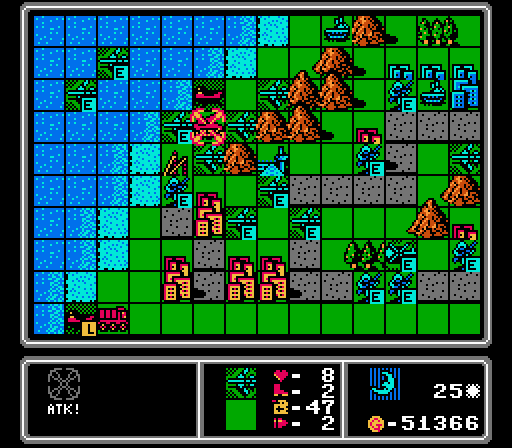
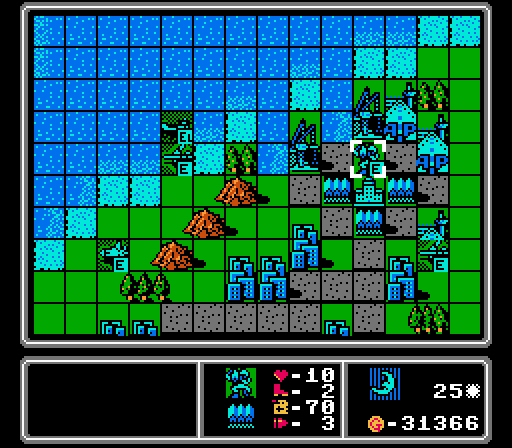
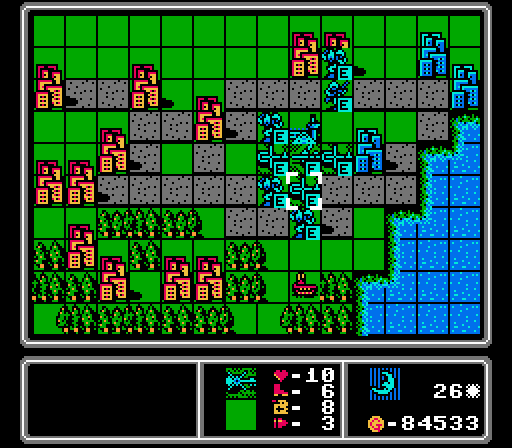
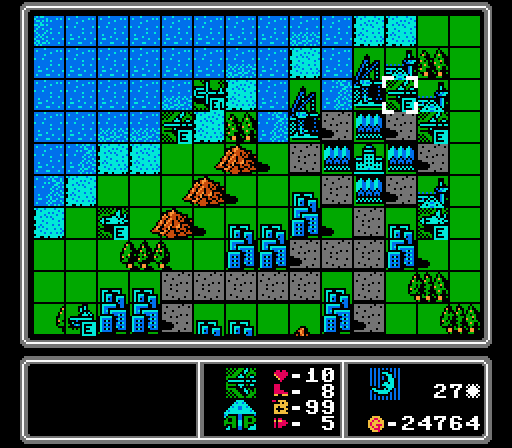
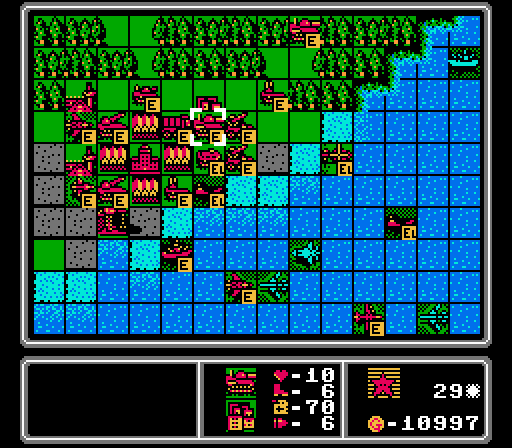
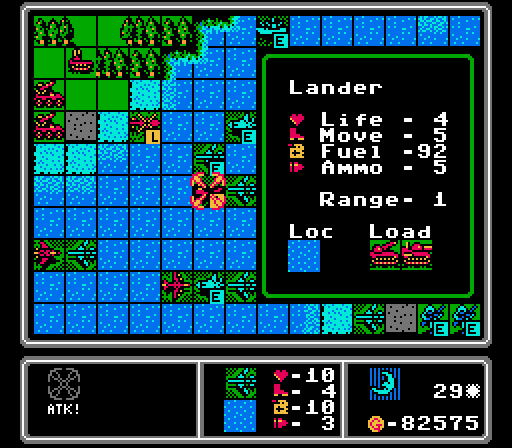
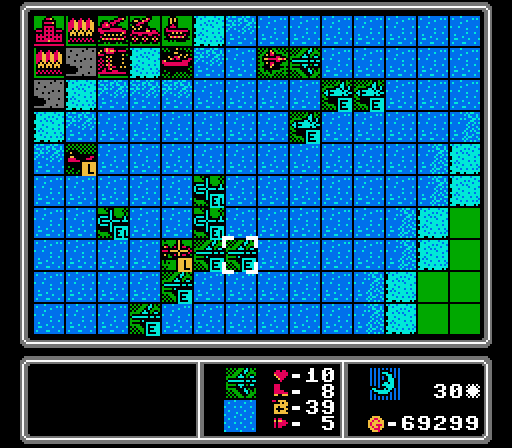
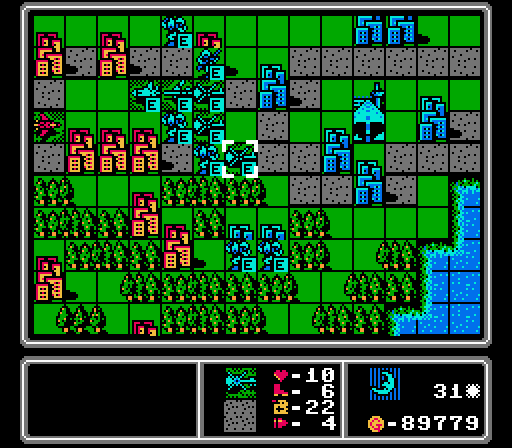
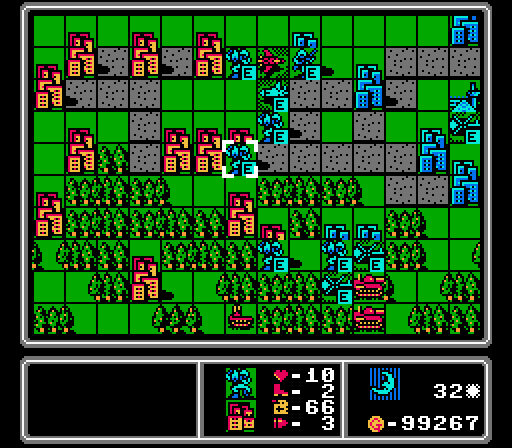
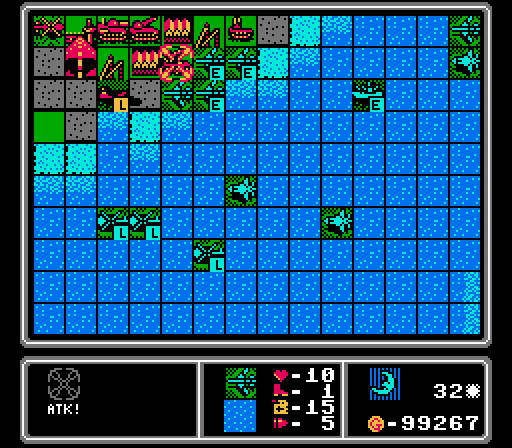
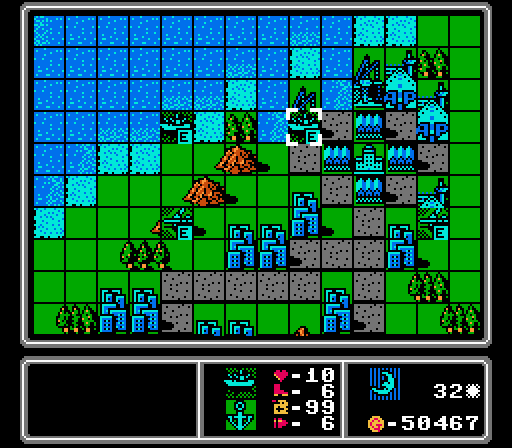
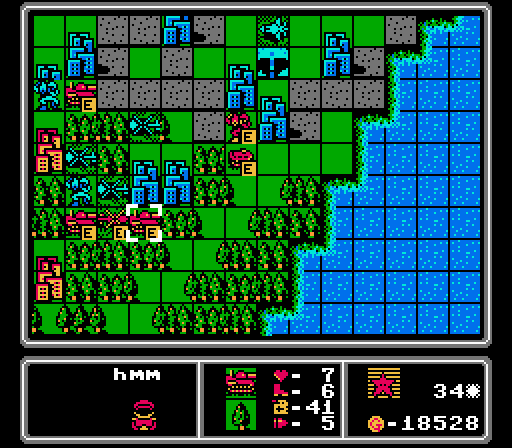
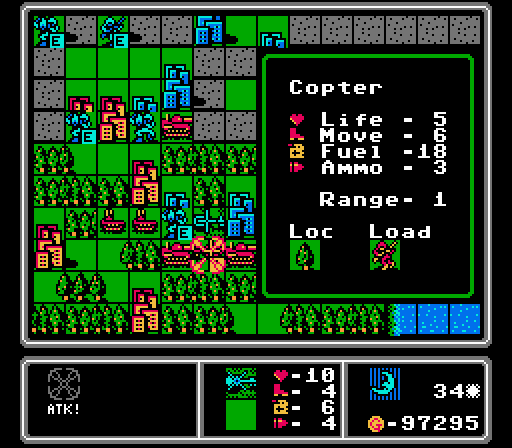
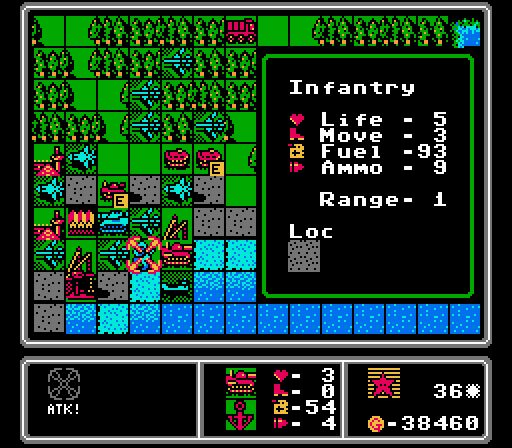
Part 54: Royal (2 of 2)Turn 21
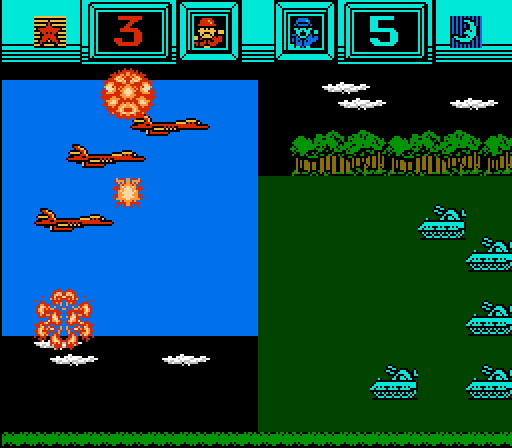
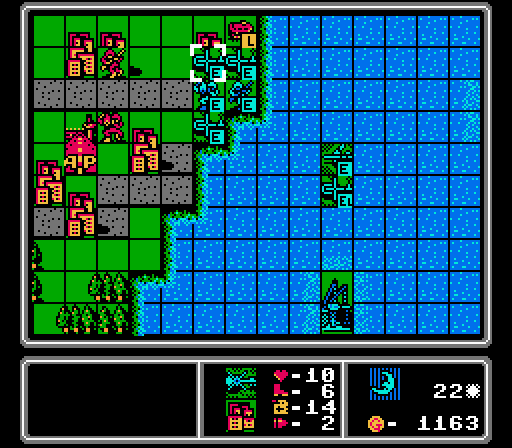
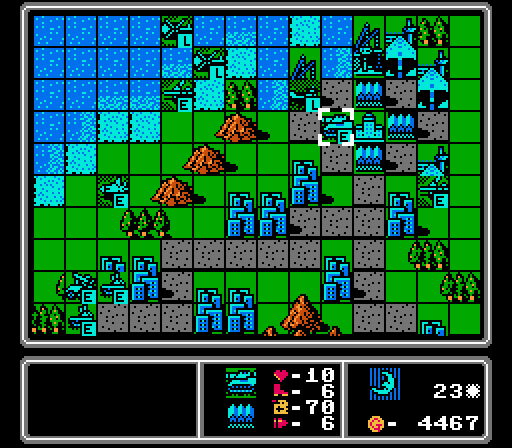
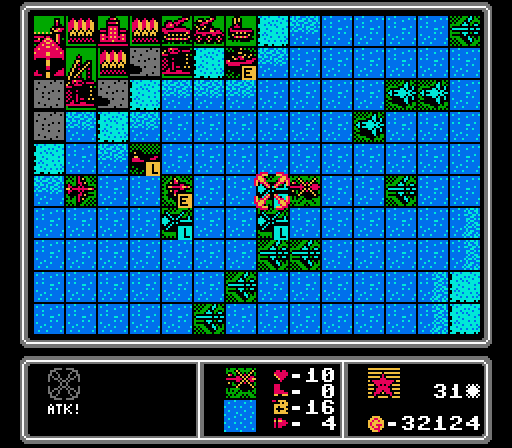
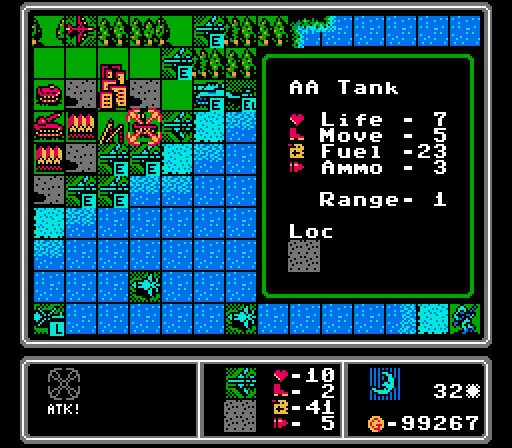
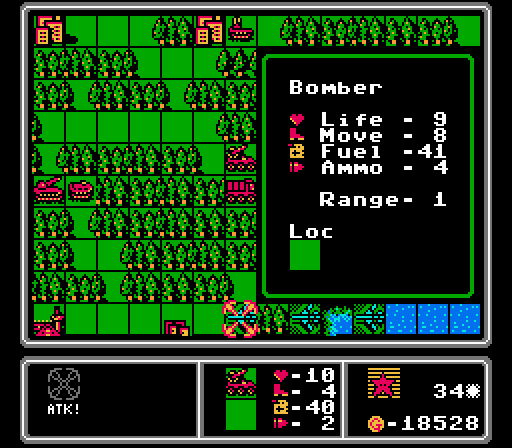
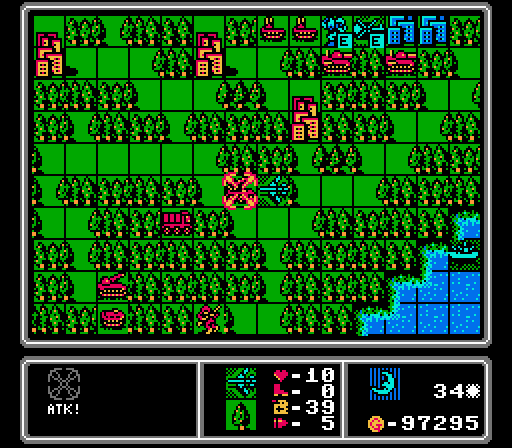
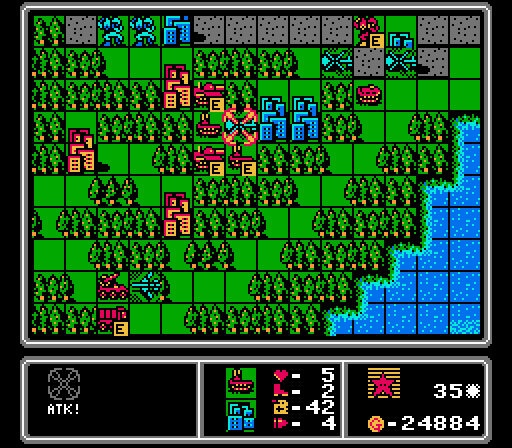
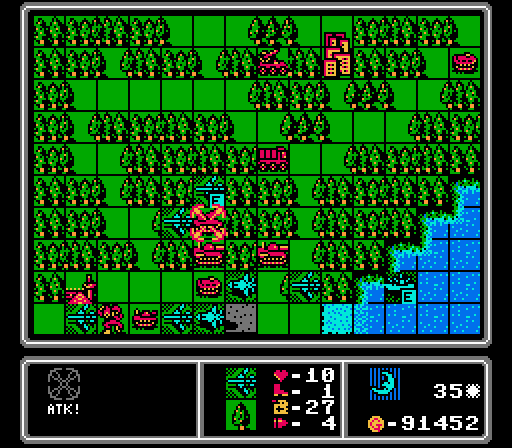
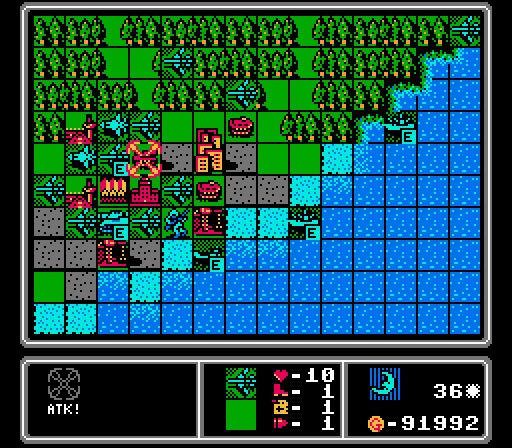
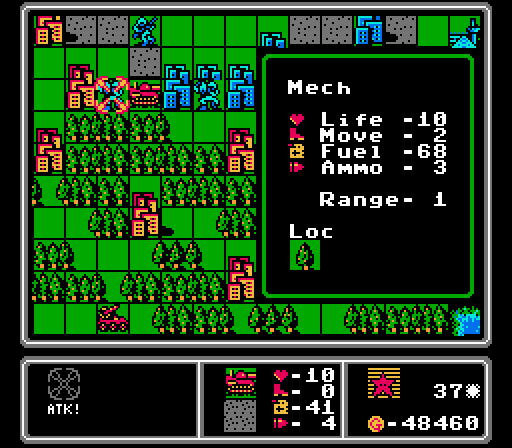
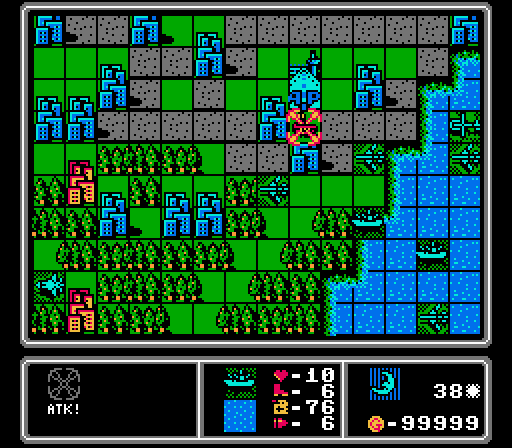
The bomber lure is successful. The AA tank takes a little more damage on a forest than on a city, but they won't be of much use for longer as the map transitions to a water battle.
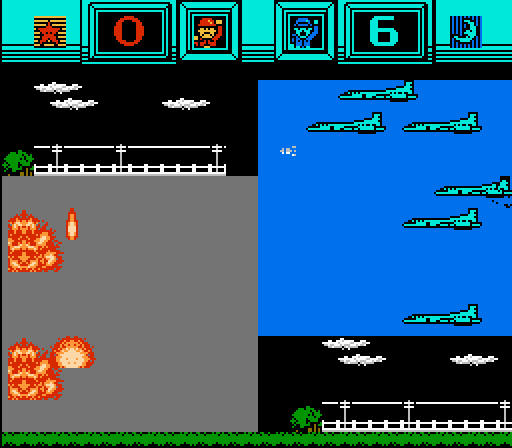
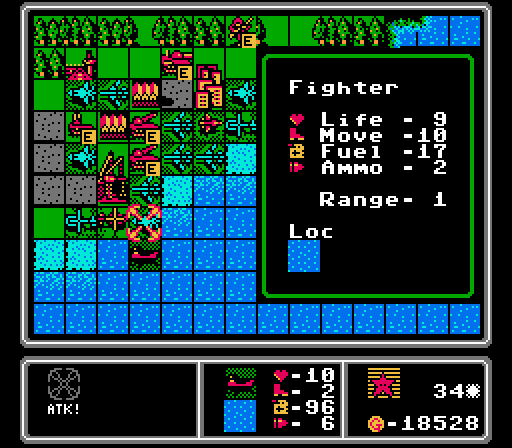
Our fighter likewise draws in the enemy fighter, and gets in enough damage that our battleship can get a kill here. The other enemy fighter can't reach anything so just flies a little closer.
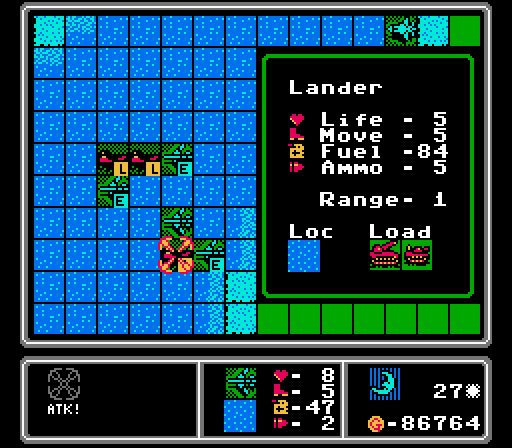
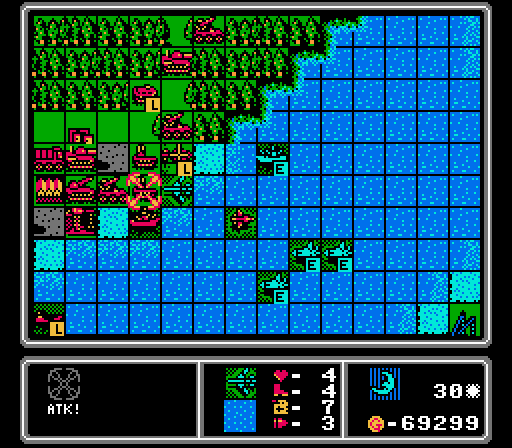
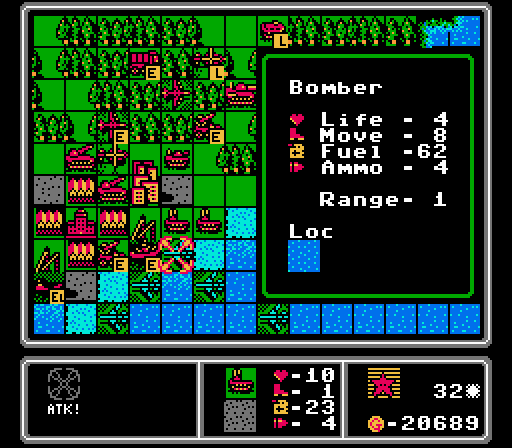
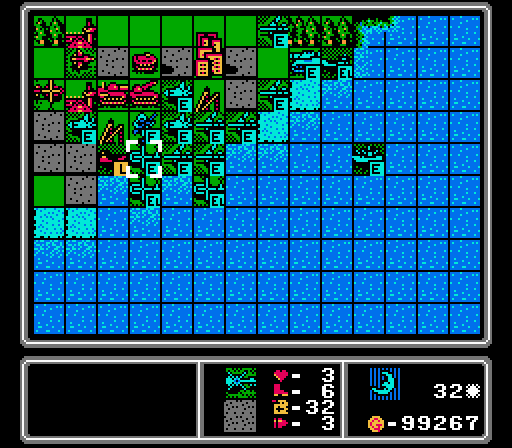
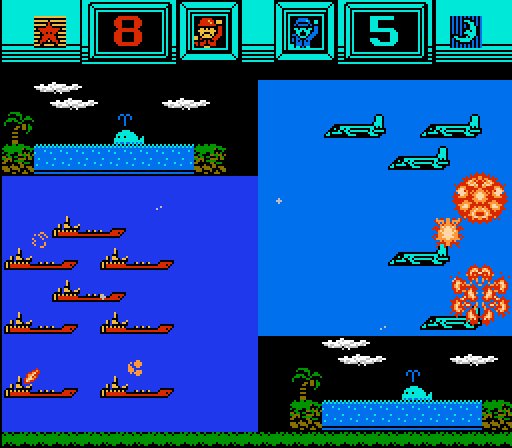
We'll have to take out the landers soon. Our bombers will take some damage, but if they can hit a loaded lander they can do a lot of damage to three units at once.

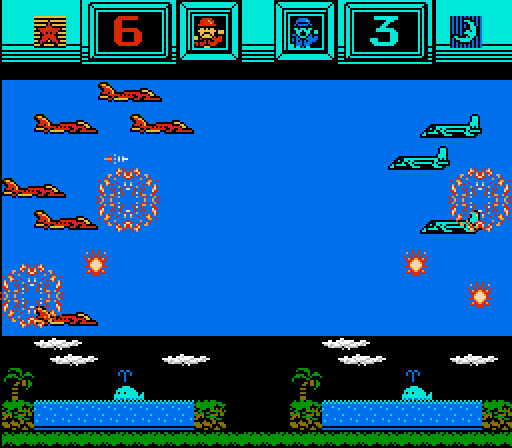
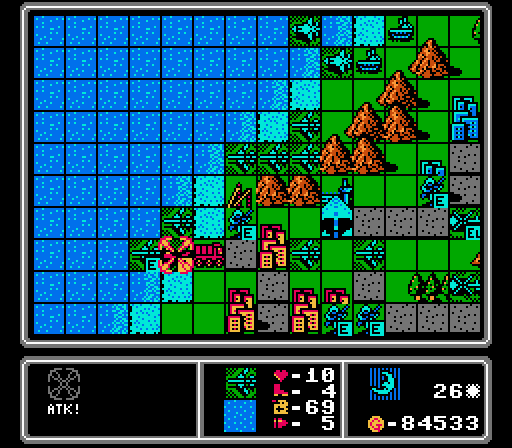
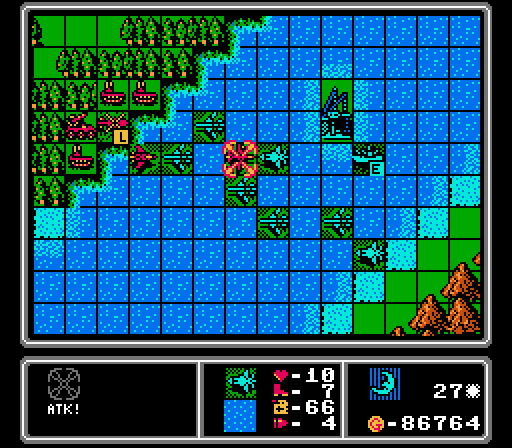
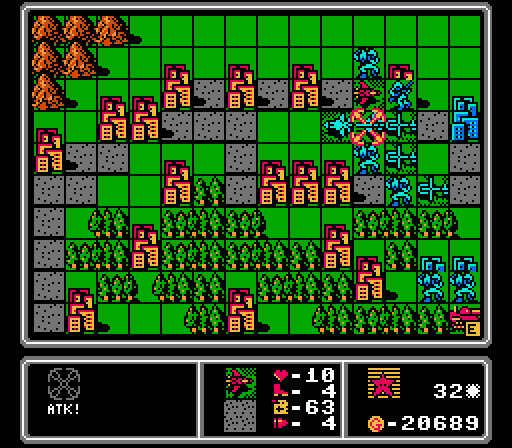
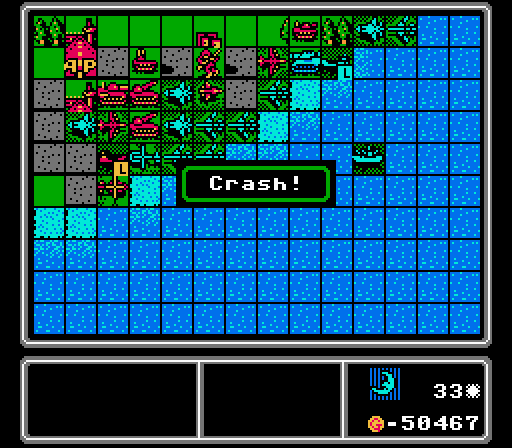
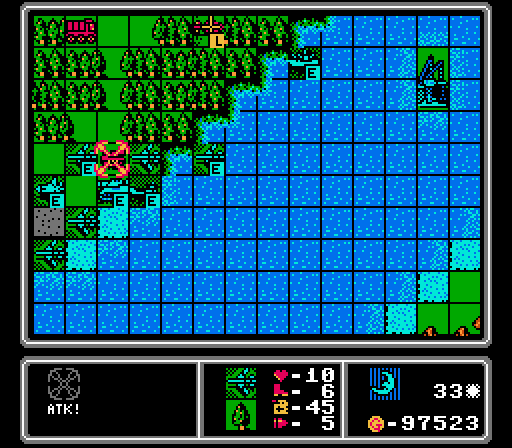
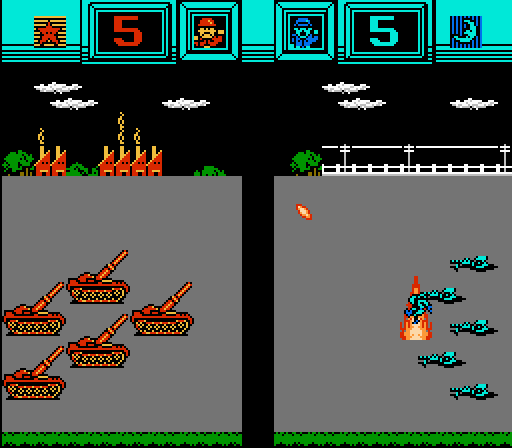
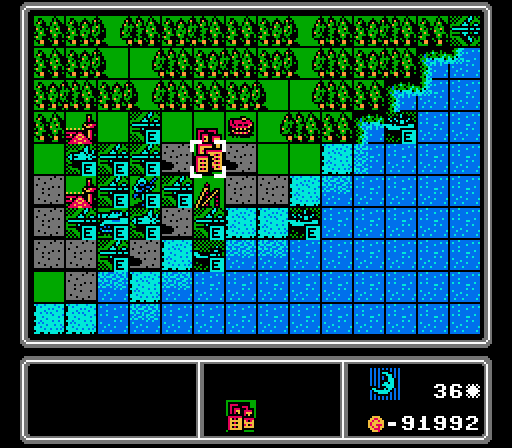
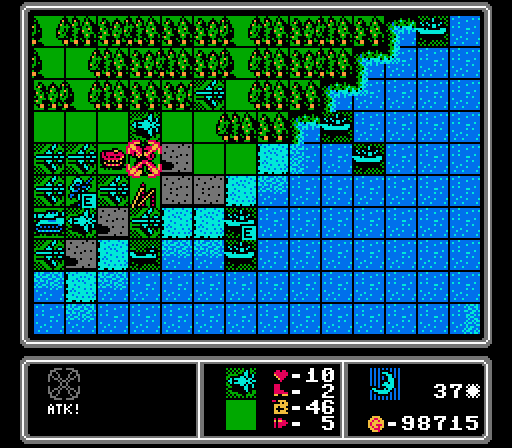
Our battleship takes out the fighter, and our AA missile finishes off the bomber.
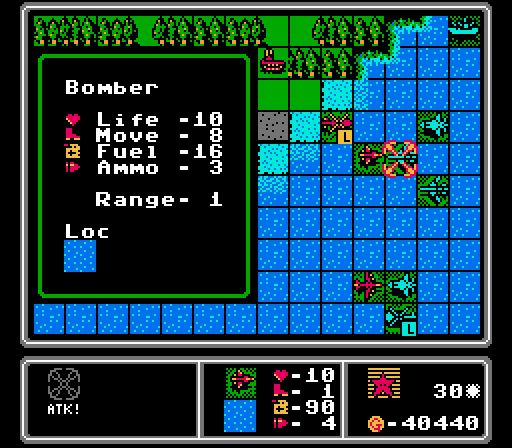
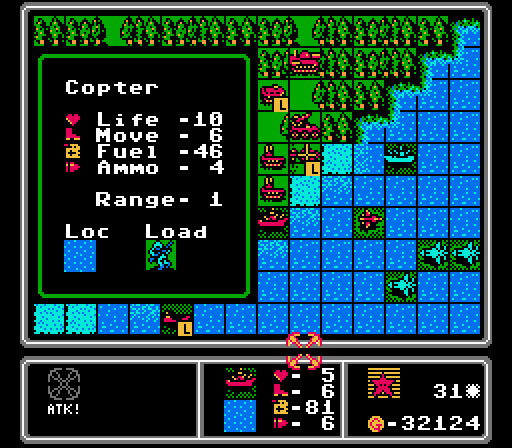
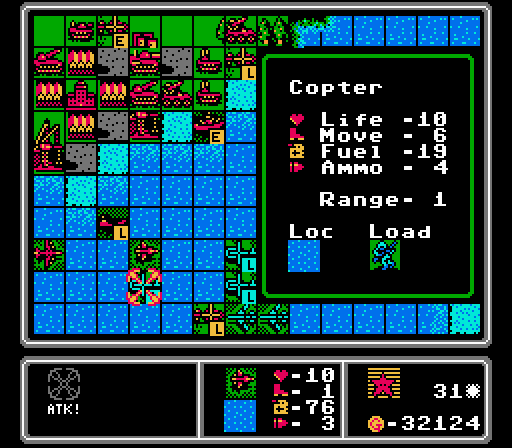
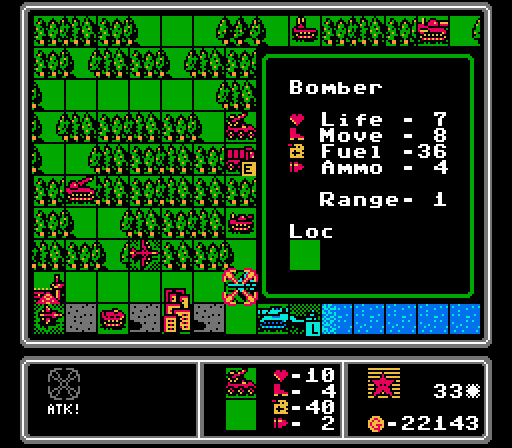
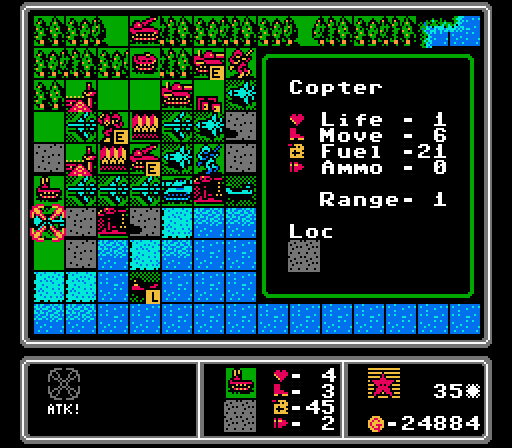
We've gone a long time without losses, and have a ton of bombers around, so let's take this bomber that's almost out of fuel and ammo and use it as fighter bait. The bomber is sitting right where both the battleship and the AA missile can cover it. We also merge the two fighters together to get back one full-strength one.
The rest of our bombers hang back, though the enemy medium tank is going to be able to reach our infantry as a result. Still I'd rather lose an infantry and be able to get rid of that pesky fighter. The loaded copter here is going to drop off an infantry on that last airport as soon as we get an opening.
Another bomber hot off the assembly line, with a medium tank also rolling out for a voyage across the water.
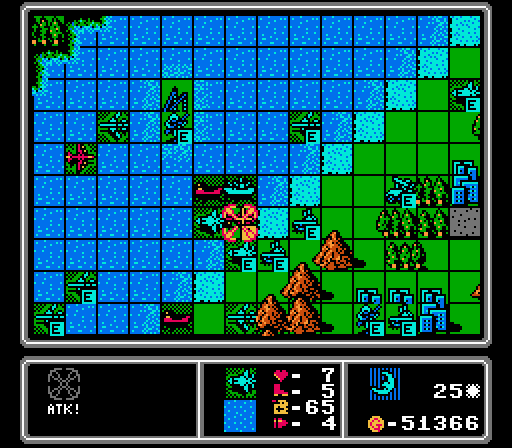
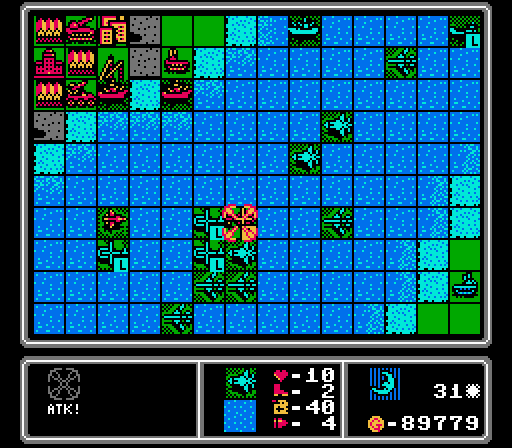
Turn 22
The fighter took the bomber bait; our first serious combat loss in quite awhile.
Ugh, another fighter.
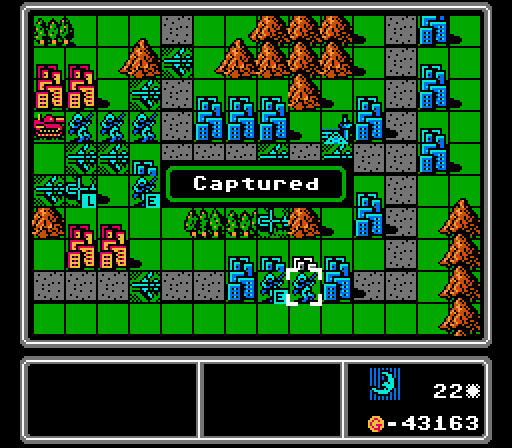
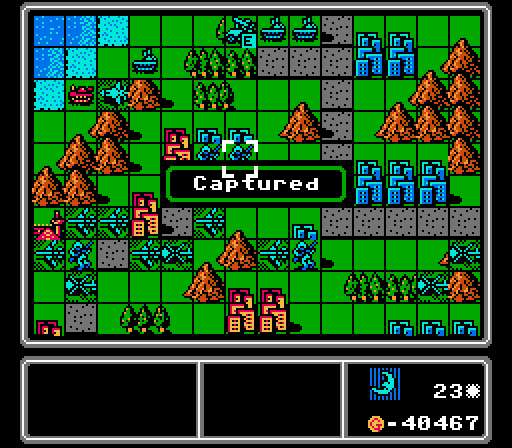
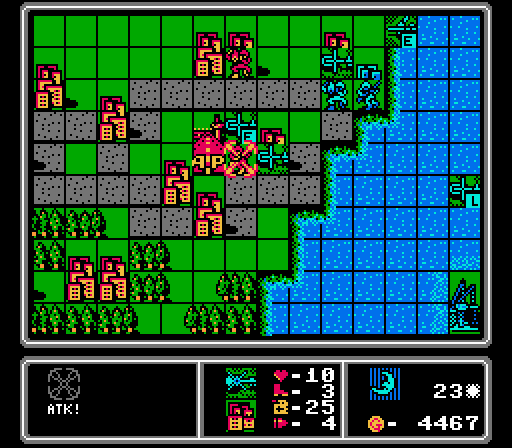
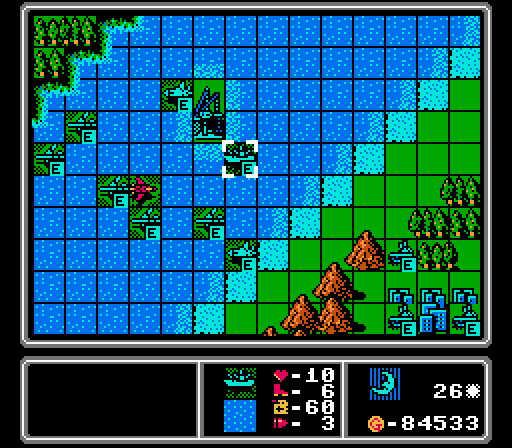
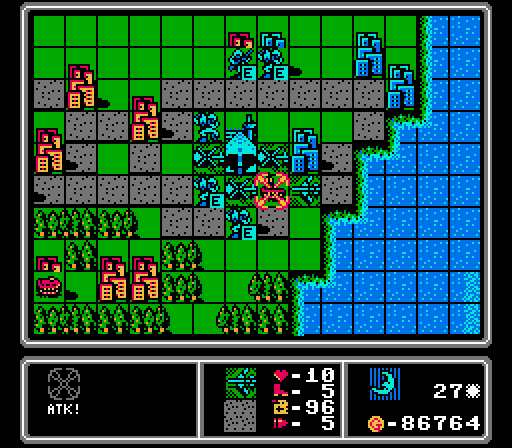
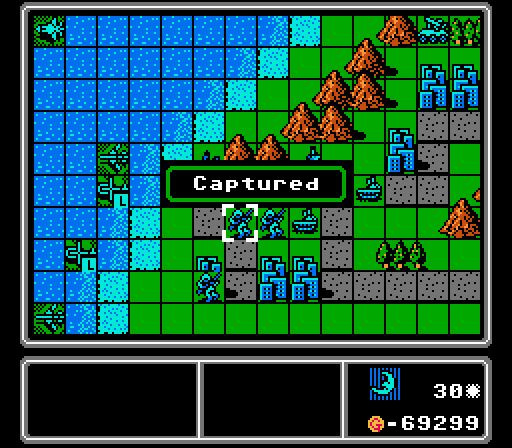
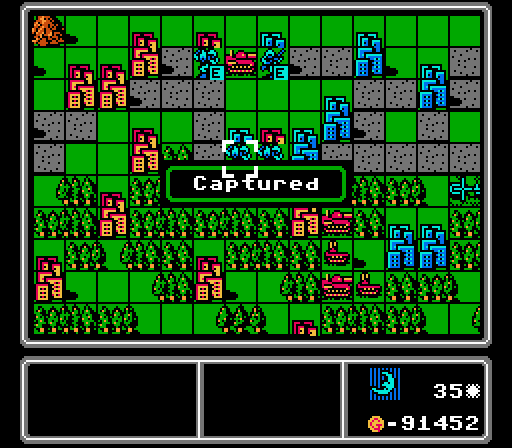
We lost one of our cities up on Red's island, but take three more here.
Well one more fighter down at least. That AA tank will be bomber food next turn; I can't send our fighter out after the bomber, because of the battleship giving it cover.
Until the new fighter gets here, we have plenty of bombers to cause trouble. Two medium tanks down here.
Another rocket goes down right afterward, leaving room for us to drop off an infantry. Ugh those landers have gotten better at dumping more vehicles on us, though.
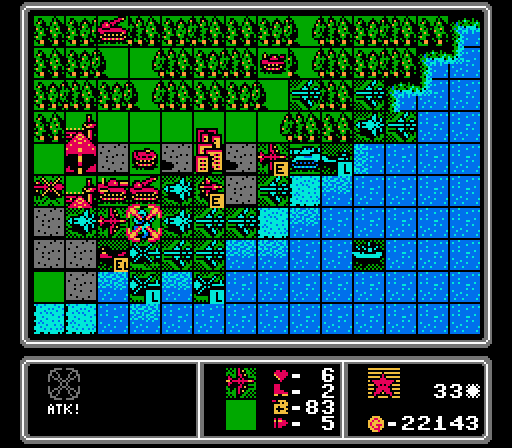
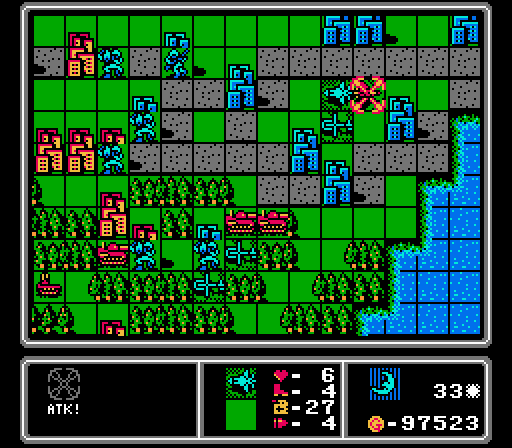
Time to start our air invasion in earnest. Two copters unload with more right behind them. I also peel off a bomber to provide some support, particularly against that APC.
I actually built these earlier, but here are the new fighter and bomber. We may have lost a bomber this turn, but we still have 14 of them out on the field.
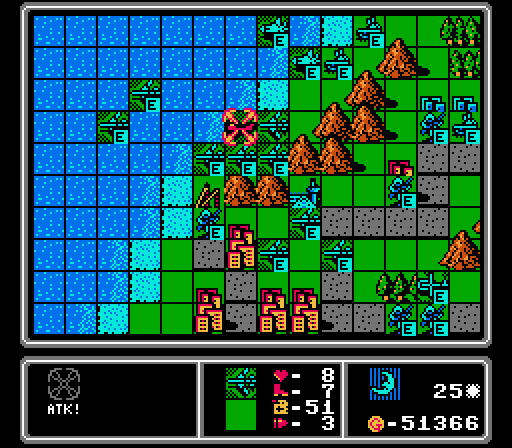
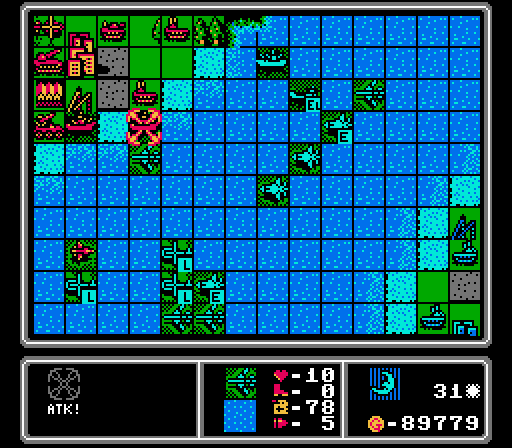
Turn 23
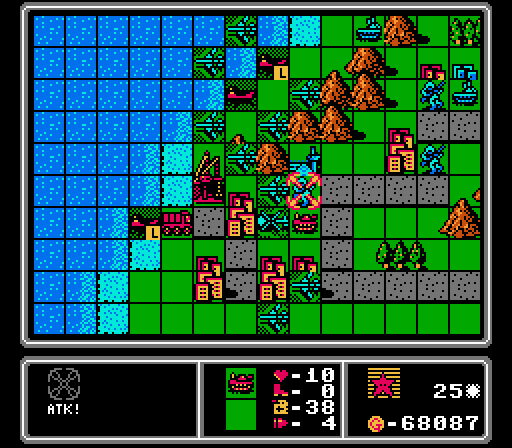
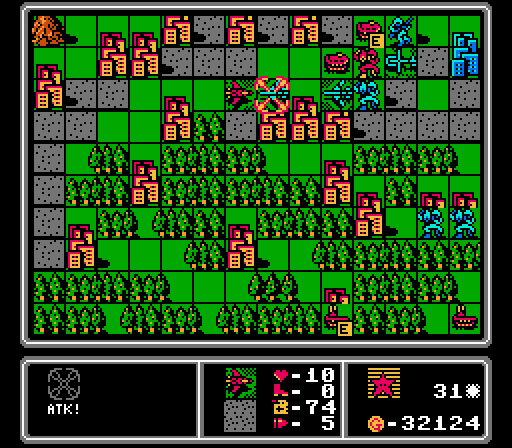
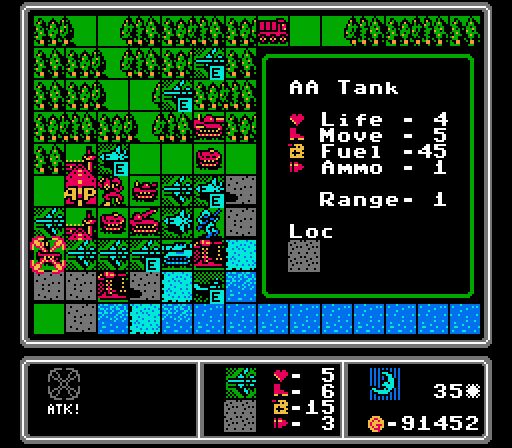
The AA tanks continue to perform admirably at drawing in bombers.
While the enemy fighter gets a little closer, the enemy battleship tries to find a spot it can threaten us. Down at the bottom of the screen, our fighter kept the enemy tank away from our AA tank.
Two more battleships on the way, and I think Red is up to eight landers now, but that's still better than another fighter.
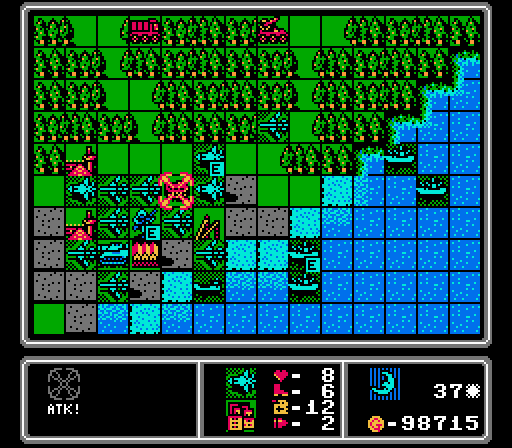
It's our turn now, and we shoot down the bomber with our AA missile again and snatch a couple more of Red's cities away.
While we have a battleship and a bomber take care of an enemy battleship, we're able to get a copter out to grab this last tiny island. Our fighter also takes a shot at a loaded copter, while waiting for the next enemy fighter to arrive.
Up here we have two bombers able to wipe out this tank while staying just out of the fighter's range. Down below we start capturing the airport while the bombers take out a rocket and another tank and form up in a line to keep the infantry safe.
We get another bomber, and then a second medium tank for the lander. We're up against the unit cap now so I hold off on more mechs and copters.
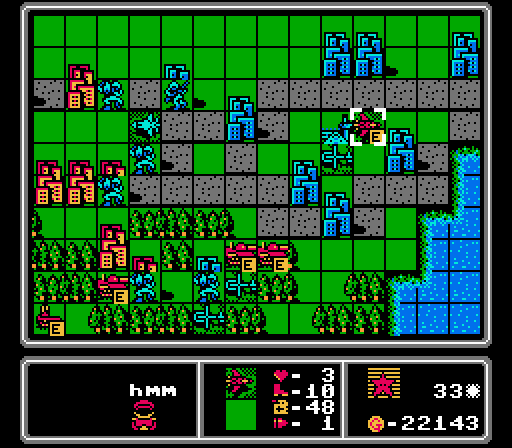
No one attacked us up here, so the bomber just destroys the APC and the copters kill off an infantry. As our mech starts capturing, the remaining copter gets between it and the other mech. Another copter arrives to drop off another mech by the airport.
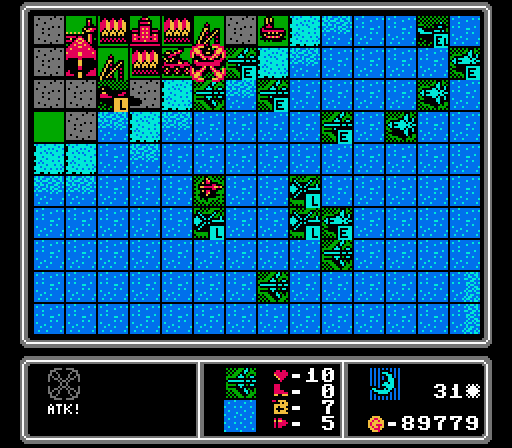
Turn 24
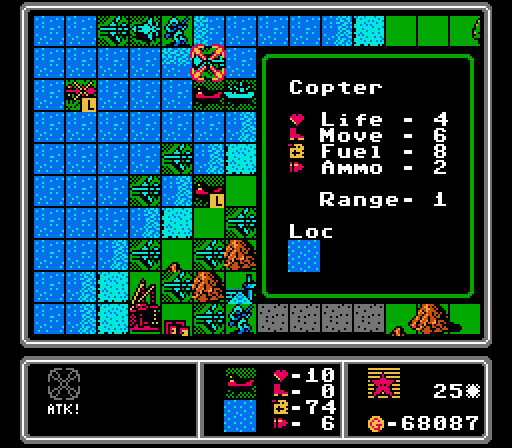
Another loaded copter approaches, as the fighter hits our copter. I kind of would rather lose that copter right now so we can put out more heavy units.
We had almost cleared our island, but this lander drops another rocket and another one unloads a medium tank.
Red still has a pretty obscene income and can keep throwing the heavy units at us, including another fighter here.
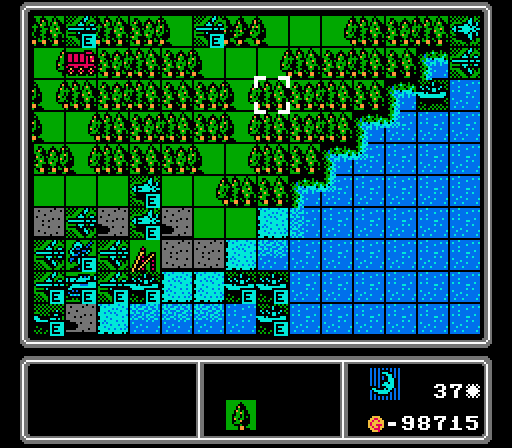
Taking the last airport on our island will help fix that income gap.
Our damaged copter is still able to get one last shot in to finish off this battleship.
Our new fighter arrives to tag-team the enemy fighter here.
Two bombers take out the medium tank, and then an AA tank finishes off this loaded copter.

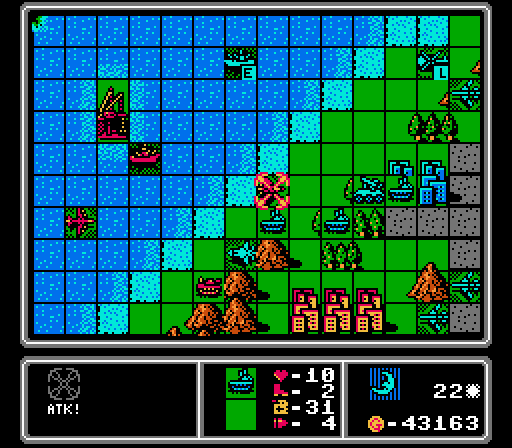
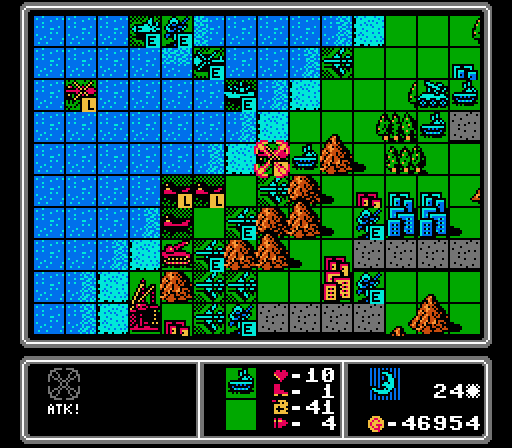
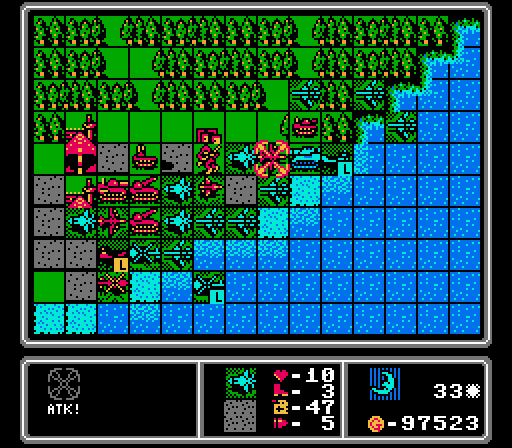
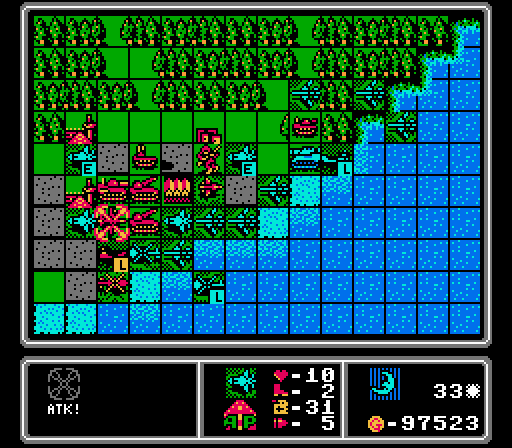
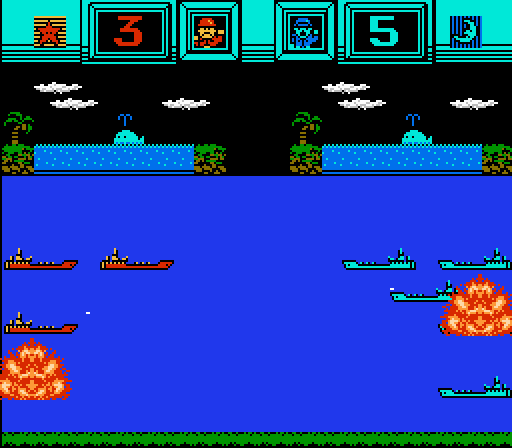
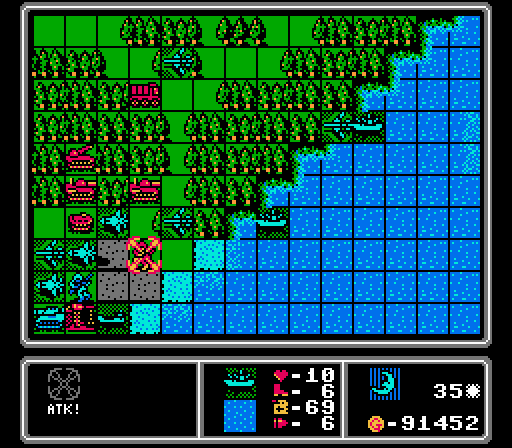
This lander is still carrying a medium tank and a rocket, so we eat the damage to two bombers to wipe out all three enemy units at once. We ended up taking 12,000 G in damage on the bombers, but destroyed 47,500 G worth of enemy units.
More bombers are able to take out both remaining enemy rockets. I end up merging the remaining bomber into one of the ones that took damage from the lander.
Up in this corner, we take back this city and start taking the airport and another city. The bomber and copters combine to take out the mech, leaving us all alone up here for now.
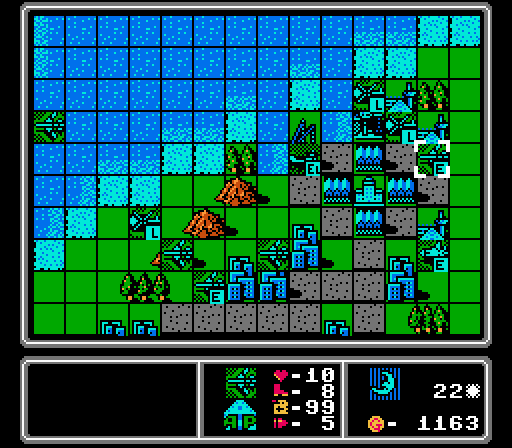
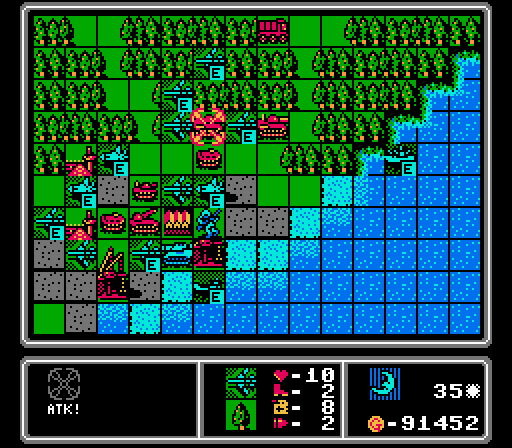
We're almost perfectly even now, and over the next few turns we'll finish taking over the rest of our island and make some gains on Red's island to start pulling away. Note also how Red is no longer near the unit cap - their income will soon no longer enough to keep putting out heavy units at the rate it has been up until now.
Having enough cash to get a fighter and a bomber in the same turn is nice. We also get a mech for later.
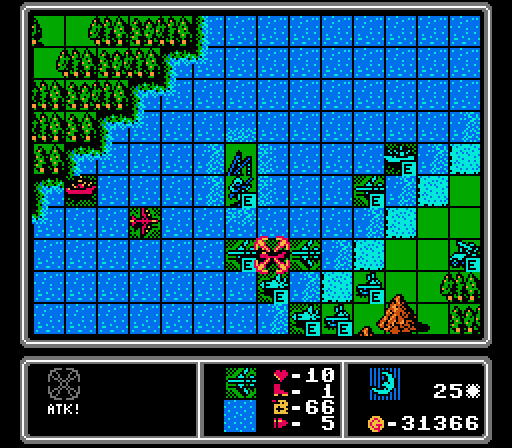
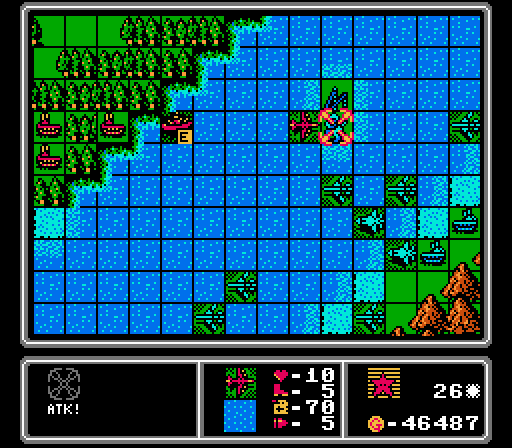
Turn 25
Oops, that last merge we did opened up a path for the tank to get at our infantry here. Oh well, that'll be the last ground attack we face on our island.
Now that we've attacked the landers, they're going to get more aggressive on us. This one sails up to take out our damaged copter.
The enemy fighter is lurking back there, but the battleships have too much separation. That lower one is too far from the fighter, too.
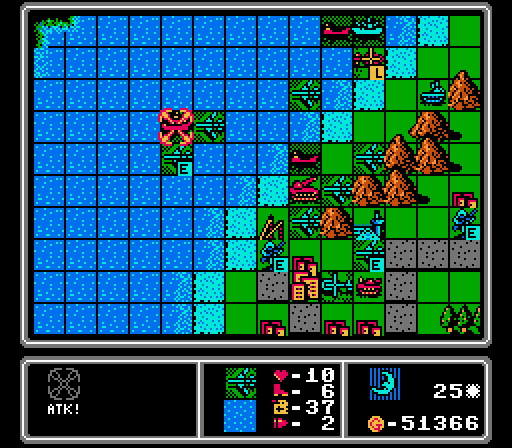
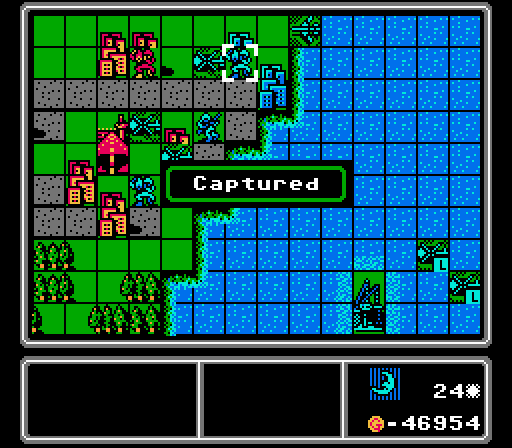
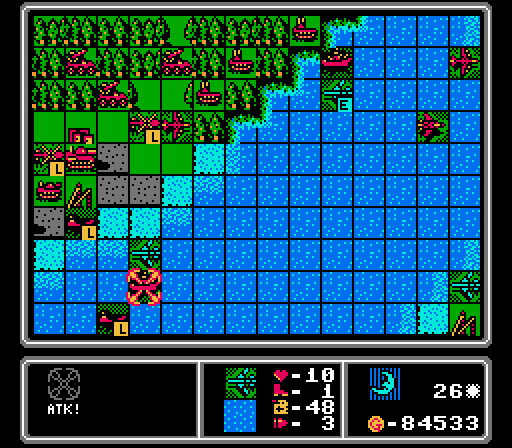
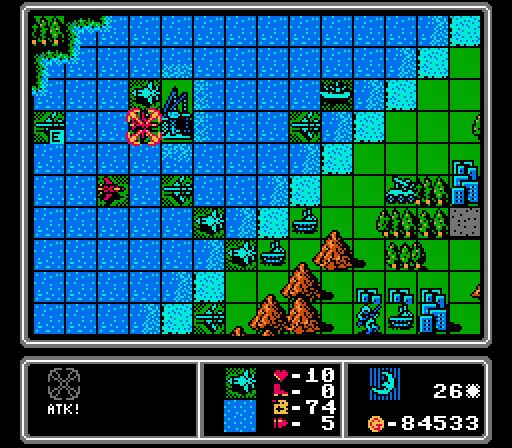
As soon as it's our turn, we take advantage of the opening for the easy kill.
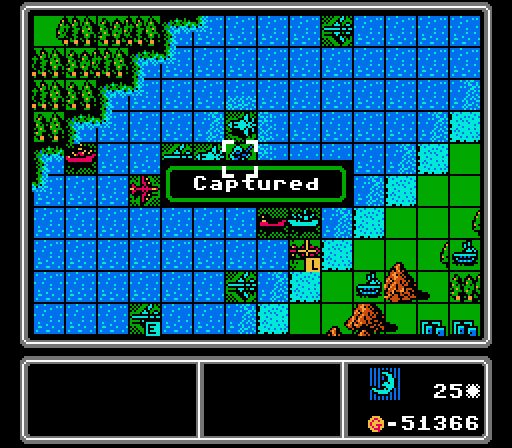
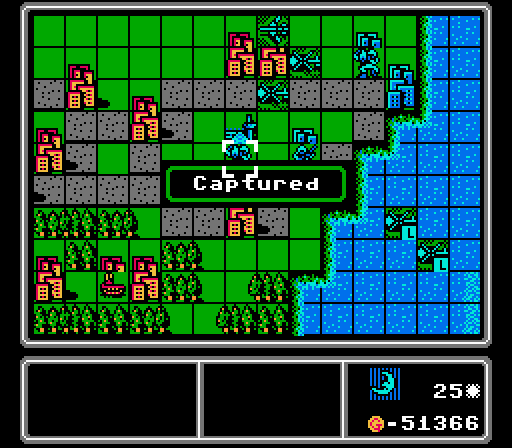
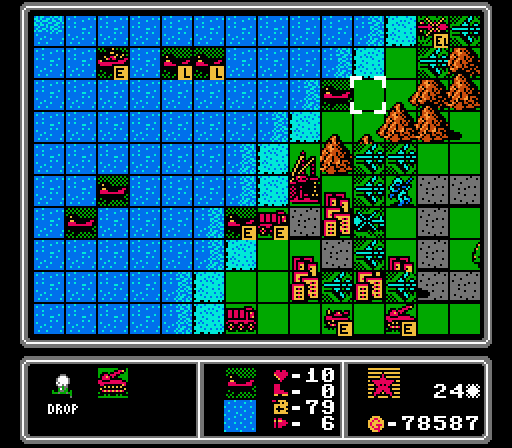
We grab the last island port and one of Red's airports, plus a couple more cities for another big income swing. Up on Red's island we also drop off two more mechs for some more capturing later.
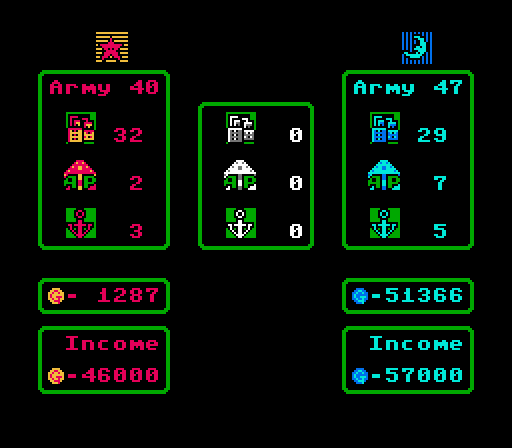
We've got the advantage now! It only took 25 turns....
Two bombers take out the tank that hit us earlier, while two more quickly destroy the rocket that just unloaded. Another bomber is out of ammo and looking for more at the airport.
The enemy bomber is protected by the battleship and an approaching fighter, so our fighters take out this loaded copter instead.
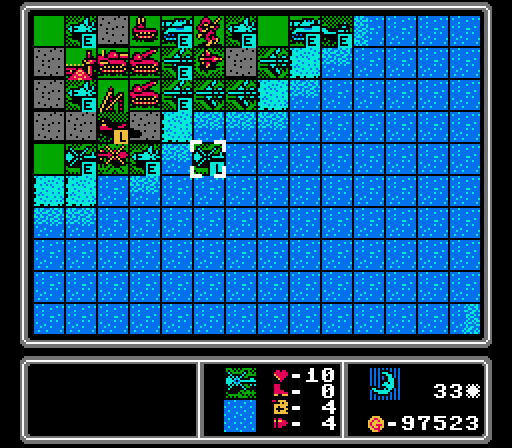
This lander's empty but it's time to start taking them out anyway. I can merge together the damaged bombers to make room for creating new ones.
Ditto for this lander. That enemy bomber now can only reach our AA tanks in a position that will leave it vulnerable to our AA missile again.
We're almost at the unit cap but have just enough room to put out another bomber.
Turn 26
I kind of forgot about this infantry, and it gets murdered by a battleship and a bomber here. This infantry wasn't going anywhere and was taking up space on the unit cap so I'm actually kind of happy about it.
Quiet enemy phase so let's get our attacks in now. This new battleship is exposed and we can just barely reach it with one bomber. Two other bombers are able to take out the other battleship shown here.
A new fighter is just barely able to reach and shoot down this bomber.
Up here a copter took a hit from the AA tank, so it merged into another one in the screen while our bomber gets some repairs and topped off fuel.
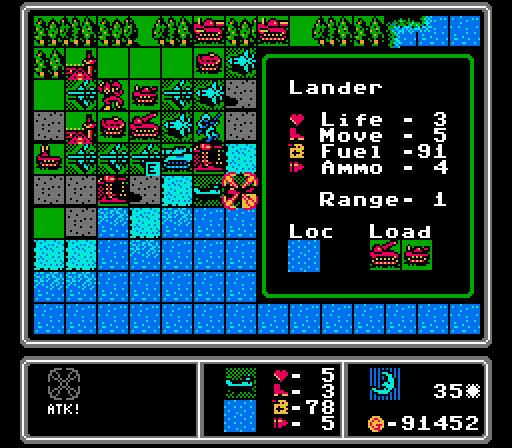
This lander is just carrying a supply truck, but might as well take it out while we're here. That's four of Red's eight landers sunk now. More bombers get rid of the other supply truck, leaving our island completely free of enemy units for the first time!
Now that's what I call getting full use out of a plane. Out of ammo and it's going to use its last bit of fuel to reach the other fighter for merging. We also merge in a bomber into one of the ones damaged by the lander.
That enemy fighter is going to hit one of our bombers, I'm just trying to make sure we can take it out when it does.
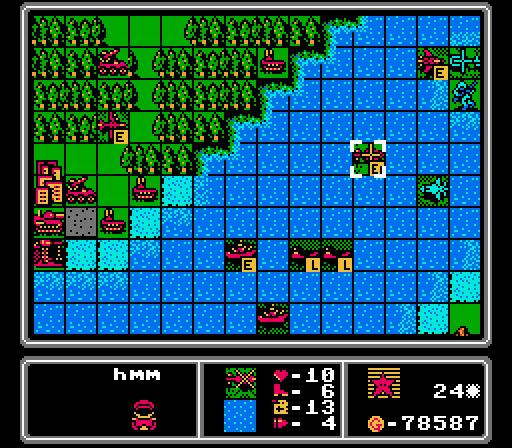
That'll probably be the last copter I build - I think we have enough capturing going on Red's island already. Thanks to the merges and losses we can also put out another bomber and fighter pair. That's 12 turns in a row with a bomber, finally following my original strategy. Pop quiz: How many bombers do we currently have on this map?
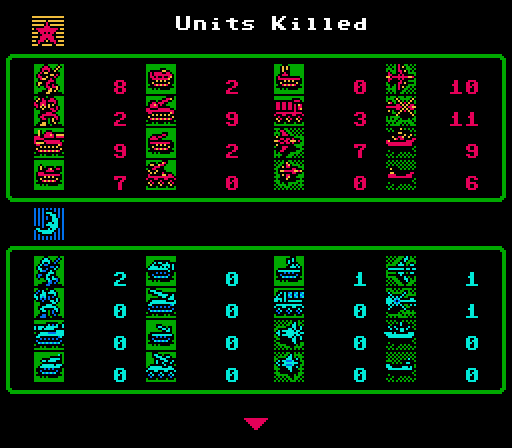
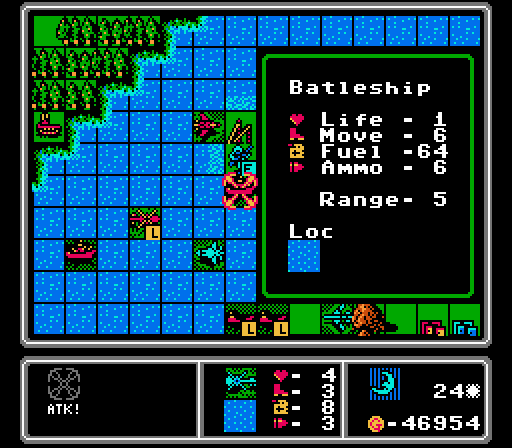
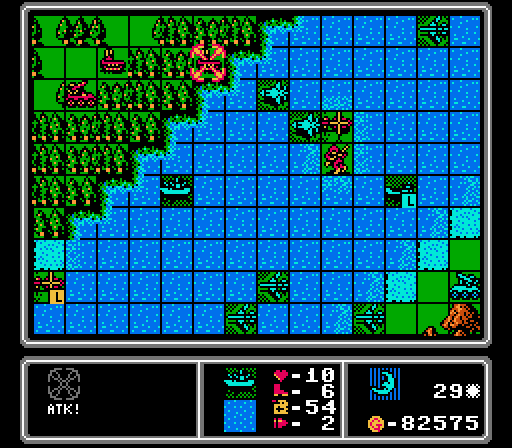
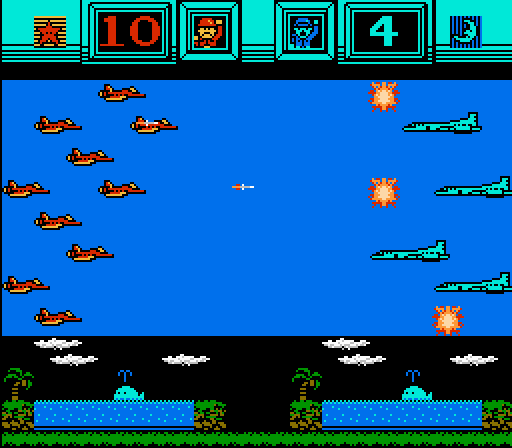
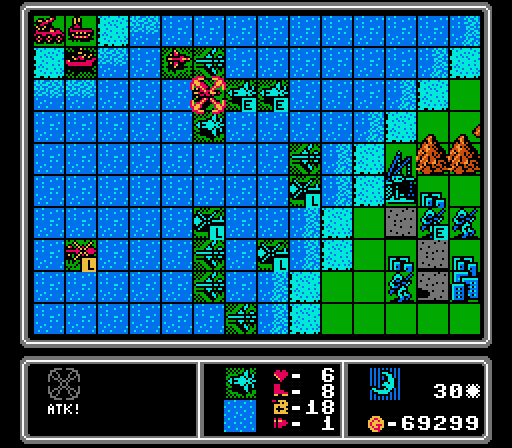
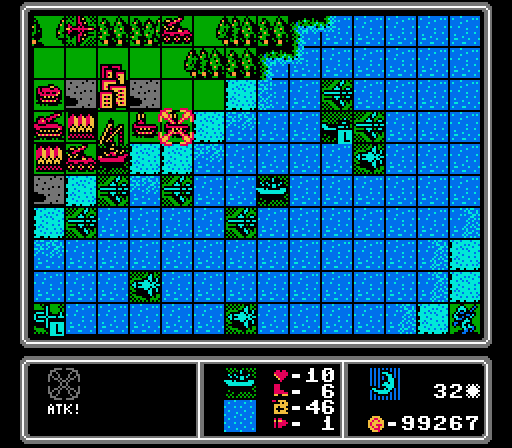
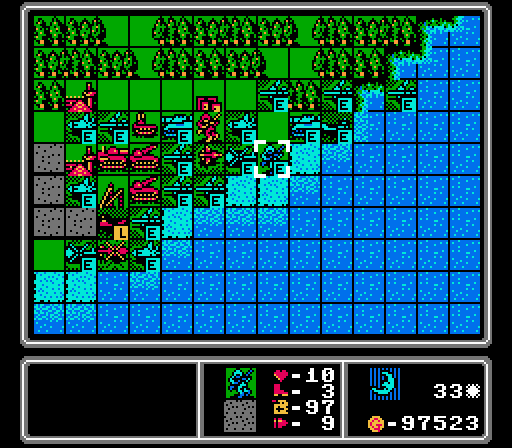
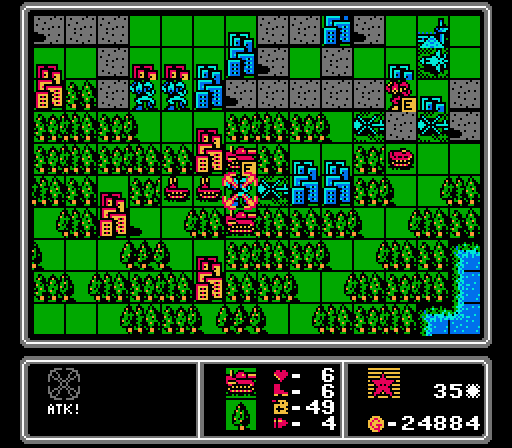
One last shot at our incredible survival rate vs kill list before we start to get more aggressive. Now that our island is clear, it's time to really take the fight to Red! By the way, the answer is we currently have 16 bombers flying around. We built 20, lost one to a fighter, and lost three others to merges (mostly in the last few turns).
Turn 27
We lose most of a bomber to the fighter as expected. Unfortunately my grand plan of making sure we can attack the enemy fighter in return is a bust, since every space free for attacking the fighter is covered by an AA tank or AA missile.
Not much else happened but the AI did put out another fighter and bomber pair.
Anyway we can at least get rid of this bomber before it can hurt us, using the battleship and a fighter.
We have a lot of bombers around and need to both remove these landers and make room for new bombers. So let's bite the bullet here.
Our distraction invasion is still going well. We grabbed three more cities up here and used a refreshed bomber to finish off this AA tank to keep our copters safe a little longer.
We merge some other bombers together to make room to build more, and park each one where the AA missile can cover them.
Having three airports that can build planes for us is very handy for this part of the map.
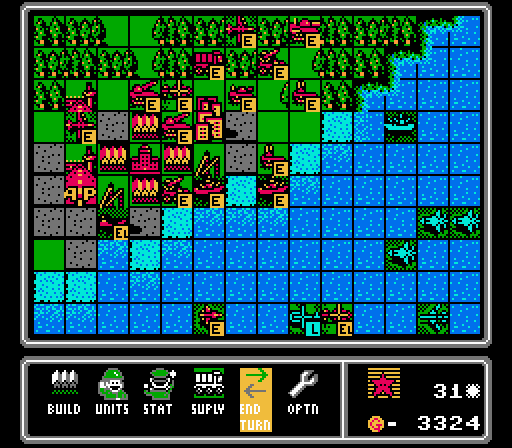
Turn 28
Fun fact - loaded transport units can't merge, for obvious reasons. So these damaged ones just retreat under fighter and battleship cover. The other enemy fighter didn't take our bait and flew most of the way back to its home airport for some reason.
We finally finish taking the only neutral port on either main island, where I will use it exactly once the rest of the way.
We also take a few more cities across both islands. This area is starting to look a lot healthier with the arrival of a second bomber and no real resistance in the area.

The loaded copter strayed too far from its anti-air support so I send a fighter after it. Then our battleship finally gets in position to threaten the enemy coastline and all the anti-air units giving us trouble there.
While another fighter of ours softens up the enemy fighter, we actually get a clean kill of this lander (and its two medium tanks) with a damaged bomber.
A couple more merges of damaged bombers gives us room to repeat the same build order as last turn.

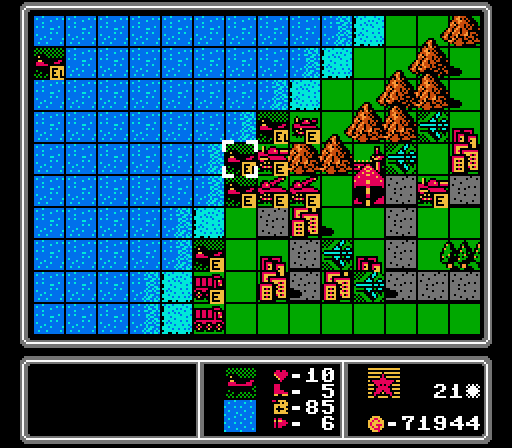
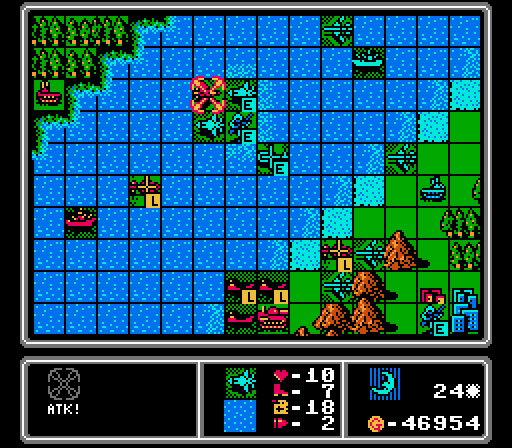
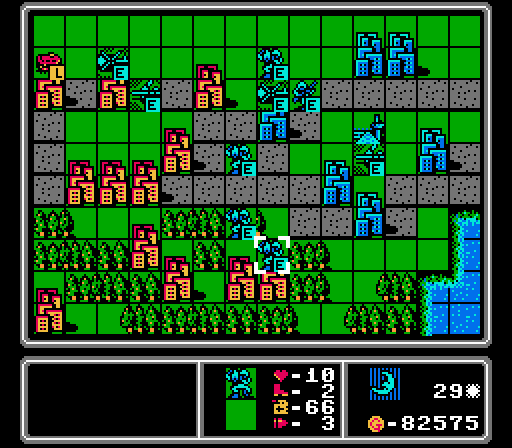
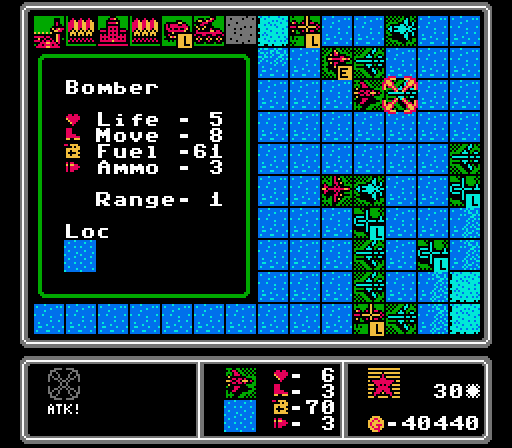
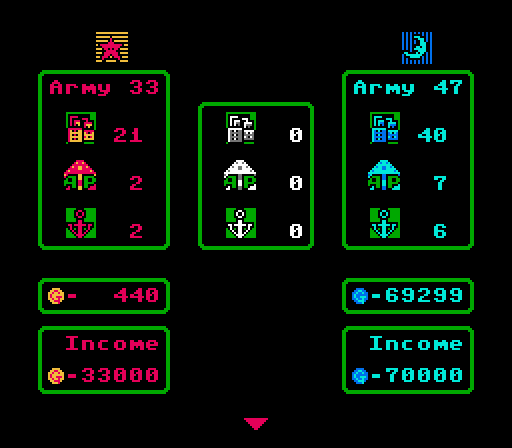
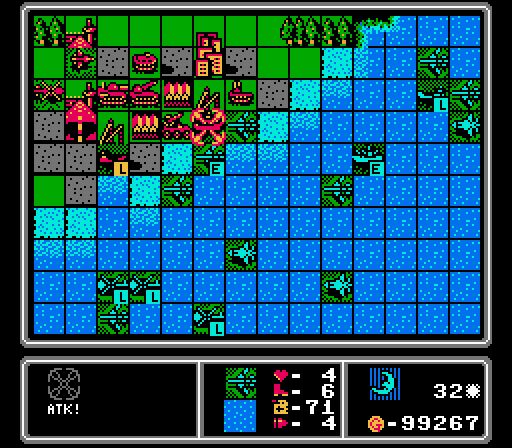
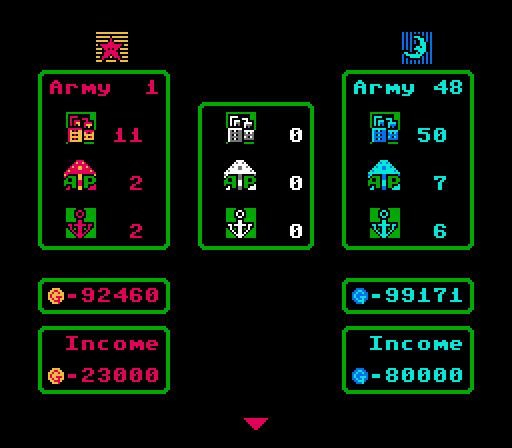
The captures of the last few turns have really turned around the income to the point where now we're the ones with nearly double the income of our opponent. Notice also how Red's army size has dropped off recently. We'll need to continue capturing just to keep limiting Red's income - we want to limit how many fighters and battleships they can put out.
Turn 29
This fighter attacked one bomber a couple turns ago and then headed back to the airport for some reason. It wasn't particularly low on fuel, either. Strange behavior.
If I have a stroke and forget about this infantry, it'll capture that port in another five turns.

I think I need to back off of Red's HQ area for now until we can get more support. I can't break open the battleship+fighter+AA missile coverage here.
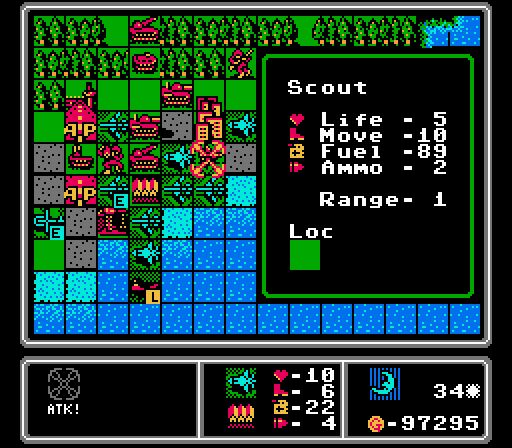
Red puts out a scout, a sure sign that it's feeling the pinch we've put on its income.

I'm not sure why this AA tank stayed in range but I'll gladly take advantage of the opportunity for a lot of risk-free damage to it.
We're going to start drawing some attention up here soon, so I'm trying to grab as much as I can before that happens.
A fighter finishes off the infantry, leaving our loaded lander to take out the copter without suffering any damage in return.
A pair of bombers sinks another lander and its expensive passengers.
I form up a weird plane wall to keep the loaded copter from reaching our island next turn. A damaged fighter also hits that enemy bomber to keep it in check.
I'm looking for more support against the enemy planes and anti-air units so we get a battleship to go with the fighter and bomber pair this time.
Turn 30
I mildly panic as I realize this fighter is headed for our distraction invasion and the bombers and copters I have there. I'm going to have to re-route a fighter or two up there I think.
Attacking the lander resulted in this bomber staying out where the scout could reach it, but at least now that scout is exposed.
The damaged enemy fighter is then able to finish off this bomber, only our second one lost in actual combat (rather than merges) and the first since the 22nd turn.
So much for that scout being exposed. It's now covered by a battleship and two AA missiles.
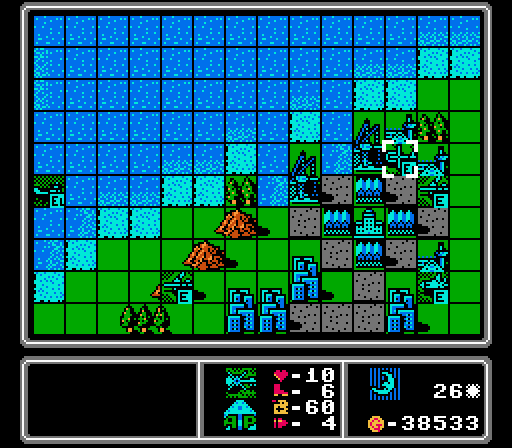
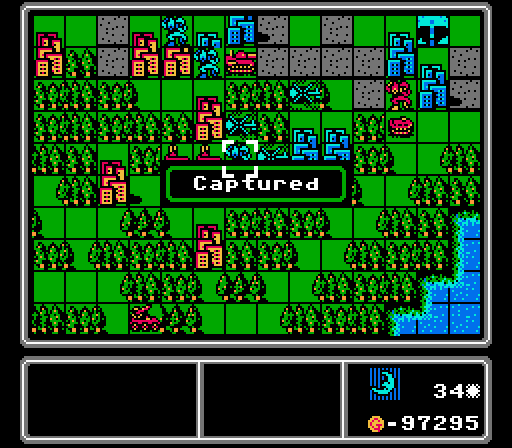
There it is - the last property on our island is now ours, and with it we now have more than double the enemy income.
We start capturing four more cities on Red's island, but the area is being contested now so not all of these captures will complete next turn.
The enemy scout may be protected, but we can finish off this fighter at least.
The enemy copter retreated, so I just move up the plane wall behind it. Spot the mistake?
This bomber can't get away from the scout and is almost out of fuel, so I throw it away on an AA tank to make room to build a new one.

Another battleship+bomber combo this turn. Those battleships will come in handy once it's time to clear out Red's HQ area.
Turn 31
Speaking of battleships, I left a loaded copter in range of this one. Luckily it had already taken some damage so didn't hurt us too badly.
Another loaded copter is wrecked by the scout, and then the enemy copter abandons its attempts to reach our island and gets in some more damage on our copter. Our attempt to sneak over some infantry is pretty much over before it really started.
The enemy fighter arrives at the distraction theater and immediately wipes out a bomber. The other units in the area chip away at our capturing footsoldiers to delay two of the captures by a turn.
Red finishes off its turn by putting out another battleship. We really need to get a stronger presence here to make some headway.
We do finish off two more city captures, but two medium tanks are on the way, we just lost one of our bombers in the area, and the other one is exposed to the enemy fighter next turn. Still I guess they did pretty well for a distraction?
Apparently I decided it was time to stop being so timid here. After using a fighter to take out a loaded copter, I send in a fresh bomber to finish off this battleship even though it has an AA missile and another battleship ready to wreck it.
Two more bombers go after the other battleship, but the port's defensive bonuses are tough to overcome.
Another fighter goes after the scout for a lot of damage, followed by a third fighter (that is out of ammo) merging in with it to get it back to full strength.
With most of our loaded copters heavily damaged, now would be a great time to make a few more to carry these infantry over, but it'll be way too many turns before I think of doing that.
Instead it's another battleship+bomber pair to use up the tiny bit of space we have under the unit cap.
Turn 32

The battleship and two AA missiles each fire on a different bomber for a lot of total damage.
Up here we lose the other bomber to the fighter, and our mech takes a hit from the first medium tank to arrive.
Another bomber falls to this AA tank.
The distraction invasion is finally living up to its name, as the AI has now sent three medium tanks, a tank, a fighter, a bomber, a couple of AA tanks, an AA missile, and a couple of loaded transport units up there.
We finish off two more city captures. It occures to me that a wipeout victory is going to be difficult with so many of the enemy units spread out all over the island, and we've just lost most of our air-lifted infantry near the HQ for a capture victory. This one's going to drag out again, isn't it?
As we use a fighter and a mech to wear down the enemy fighter, two other mechs start new captures and our copters try to keep the medium tanks away for one more turn.
Our first battleship from the very beginning of the map finally uses up its last shot here, to finish off an AA tank.
Two damaged bombers are still enough to finish off this battleship.
With Red getting spread a little thin, now seems like a good time to start picking off the ground units. We unload a medium tank and send in four more bombers to remove both AA missiles. Suddenly the enemy anti-air presence in the HQ area is down to a damaged scout, a damaged AA tank, and a loaded lander.
Scratch that, the AA tank is no longer a concern either.
Might as well start unloading these copters then, right?
We still only have room to build two units, so another battleship+bomber pair appear.
Turn 33
I totally missed that this third AA missile was sitting up here, and we lost another bomber as a result. Still, it was worth taking out the other AA missile last turn.
The ground invasion is off to a rough start, as one bomber hits our medium tank and the other finishes off this infantry.

We also lose this copter before it can even unload its passenger.
While two of the medium tanks are successfully blocked off by the copters, the third one is able to creep up the left side to hit our capturing mech.
Looks like we ran one of our bombers straight out of fuel.
Our fighters make short work of the enemy bombers.
We also finish off this enemy fighter.

One mech completes its capture. The other mech continues capturing and gets a boost by merging with a damaged mech. The copters are once again trying for some partial protection here.
This tank also snuck in an attack on our medium tank earlier in the turn, so a couple of bombers take it out.
Other bombers try to weaken the rockets, but the defensive bonuses from the HQ and the base are too strong. This copter has our last healthy infantry but it has to unload this turn or it'll crash.
Not an ideal location but it'll have to do. I really should've built a few more copters a few turns ago.
Well no time like the present I guess. In addition to our new normal of building a battleship and a bomber, we also have room for a fighter and a copter.
Turn 34
This AA missile got us again, though our bomber barely survives this time.
The two rockets hit our infantry near the HQ, making an HQ capture unlikely.

After the enemy medium tank finishes off our damaged medium tank, an AA tank goes after a fighter that is out of fuel and ammo and is just sitting around blocking the airport.
The loaded lander decides to start participating in the battle, firing at another of our fighters.
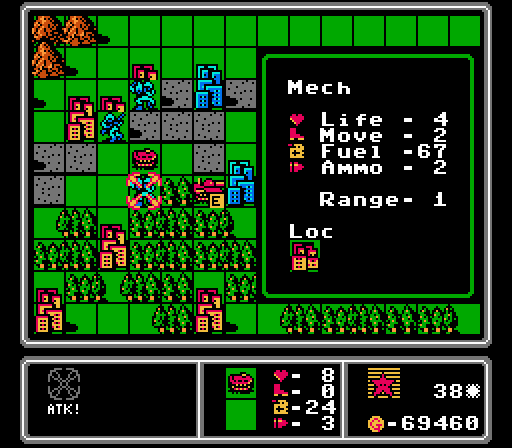
A couple of medium tanks hit our mechs again. More importantly though an enemy mech is dropped off well in range to start re-taking some shit. Can't let that happen.
The scout went after our copter instead of doing something useful. Red then built another medium tank and a mech.
The medium tank attacks aren't enough to keep us from taking one more city away. Every little bit of income we snatch from the AI here is going to help keep those reinforcments down.
Our copters take a break from screening medium tanks to ensure this mech won't be capturing anything anytime soon. The enemy AA tanks were getting too close anyway.
For similar reasons, our third copter takes out the loaded enemy copter that attacked us, even though it's going to fall to those AA tanks next turn.
Here's some economy of action for you. Our extremely damaged copter is able to finish off another extremely damaged copter (that was out of ammo so couldn't fight back anyway).
After a bomber takes out one of the rockets, a fighter moves in to finish off this scout.
We're going to lose this bomber to a fuel crash next turn anyway, so might as well have it go out swinging against an AA tank and block the enemy airport at the same time.
I got real sick of this AA missile surprising me every turn so diverted a bomber to deal with it.
Keeping the infantry out of rocket range, and arranging the fighters to try and protect it from everything else.
We've lost a lot of bombers lately, so let's build two this turn.
Turn 35
We do finally lose this mech to the medium tanks, but at least it finished taking the city first.
Likewise this copter falls to the AA tanks. The rest of this area is still doing relatively well though.
Another AA tank takes out another copter here. The rocket fired on our lander for almost no damage.
The enemy lander then tried to take advantage by hitting our lander, but didn't fare too well.
We're starting to benefit from being able to block most of Red's build points. Here they're only able to put out a tank and an APC.
We got in another two city captures despite the medium tank harassment.
The first of our battleship reinforcements has finally arrived, and announces its entry to the battle by killing off an infantry.
The lander battle ends in our favor, also sinking two vehicles.
This rocket could cause trouble later, so a couple of bombers quickly remove it.
Another bomber, low on fuel, is able to finish off this AA tank.
Two more bombers take out a medium tank. We're making a lot of progress this turn whittling away at Red's army!
We got the rocket off of the HQ, and moved in our medium tank to block it, but I don't have anyone left that can protect our infantry from that APC so an HQ capture really isn't going to happen now.
Turn 36
I didn't even notice that the damaged medium tank could reach us. I guess we could wait around seven more turns for an HQ capture still?
One of our fighters finally ran out of gas.
Our lander finishes off the medium tank; that's a weird thing to say.
Red built a rocket and we took it out with a medium tank and a bomber before I could even show it. Another bomber finishes off this tank.
I thought I was very clever here, blocking every obvious build point. Unfortunately the city I have highlighted here is another one of those hidden bases.
Finally fulfilling the promise of the third airport by putting out three bombers at once.
Two more cities captured! Our distraction force was wore more successful than I ever expected it to be.
Turn 37
Two of the enemy medium tanks merged together last turn, and used their combined strength on this poor mech.
We lose this mech entirely to an APC attack, despite the city protection.
This copter barely survives the AA tanks. We'll need some help up here to complete the wipeout victory.
Flush with cash, Red uses its single build point to put out a mech.
The mech quickly falls to a battleship and a new fighter.
Another fighter flies in to finish off this APC (it took damage from a battleship last turn) and block the secret base.
Some careful re-arrangement allows us to continue blocking all the build points while sending up two bombers. One finishes off the last AA missile, while the other hits a supply truck.
Turn 38
The enemy phase here is pretty light - the two AA tanks merged together, as did the two medium tanks. This APC then took out another of our mechs.
Lucky for us, the merged AA tank is in range of a battleship we sent this way last turn, and the battleship is able to take it out in one shot.
While we're able to easily take out the supply truck, none of our bombers can reach the APC and only one can reach the medium tank, so we're going to need one more turn here.
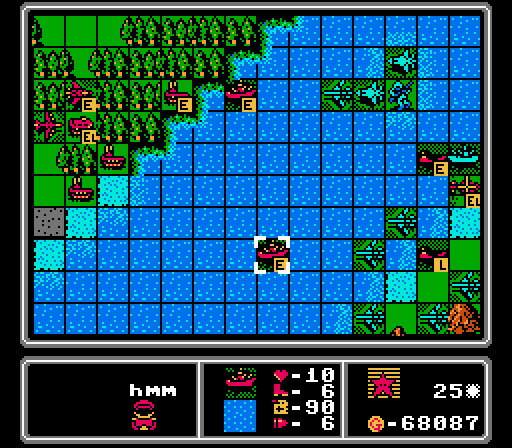
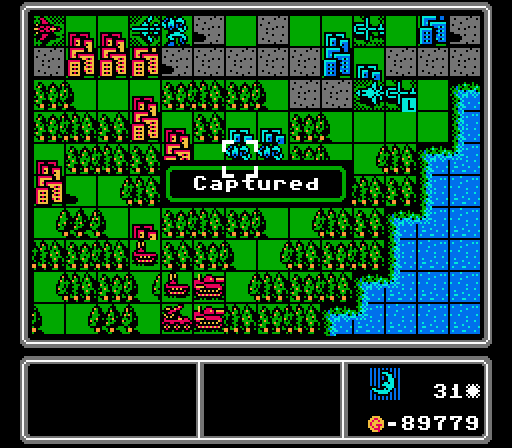
Turn 39
The medium tank kills itself on our infantry on the enemy phase.
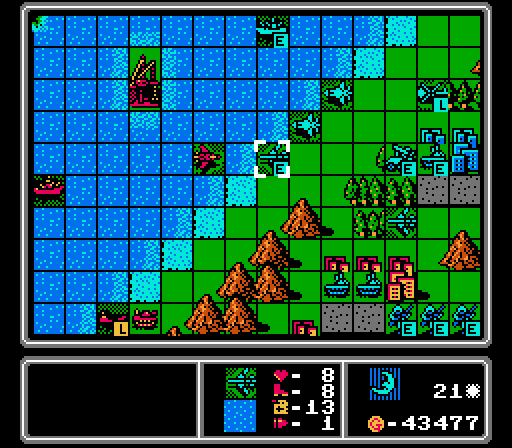
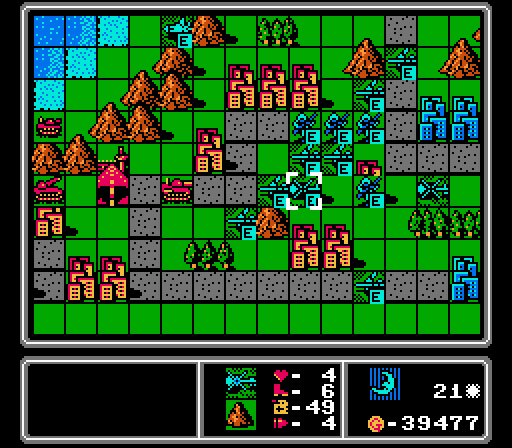
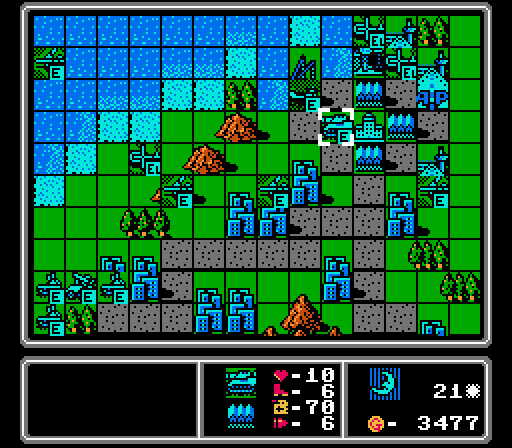
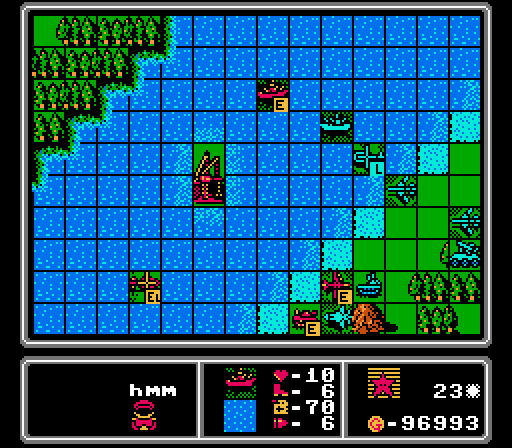
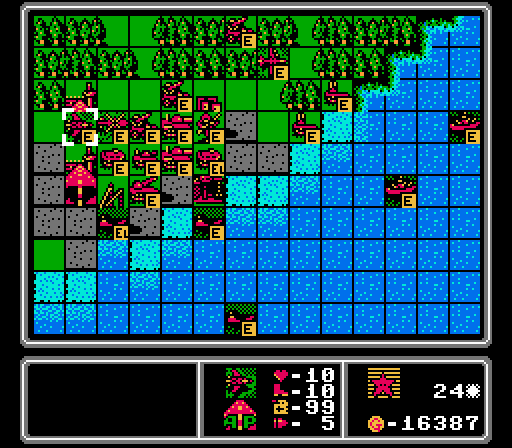
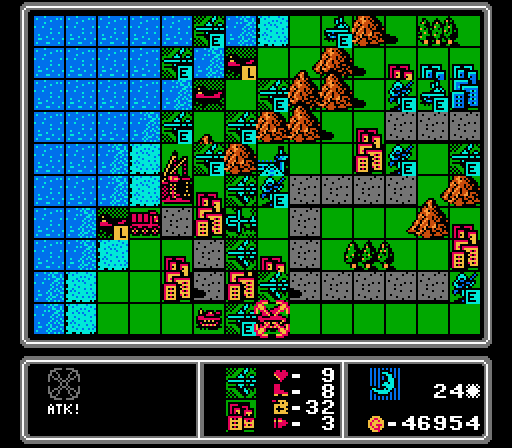
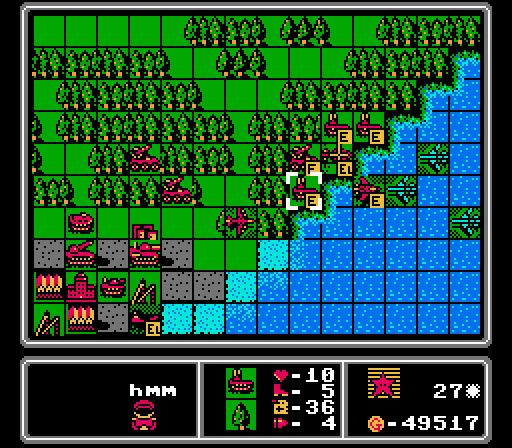
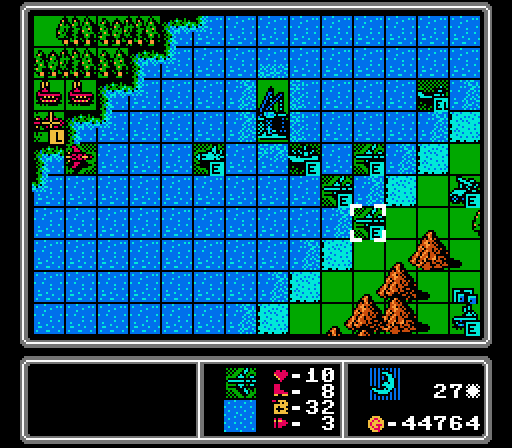
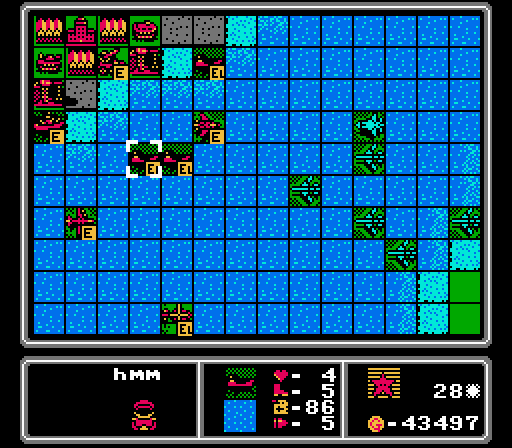
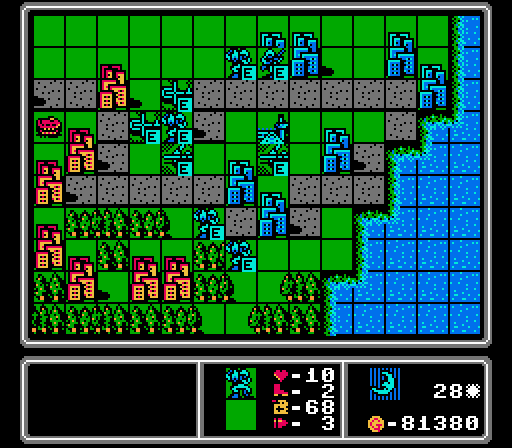
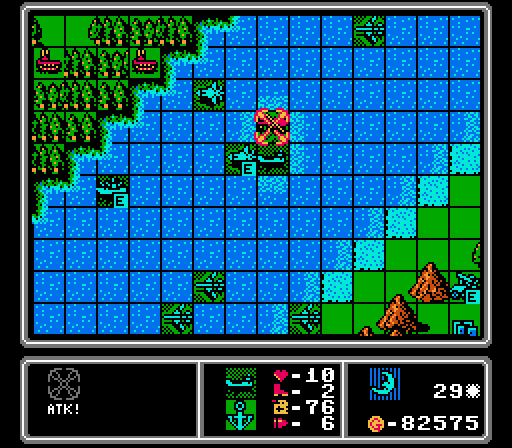
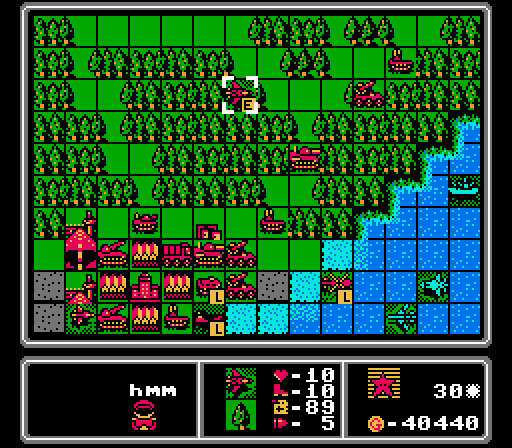
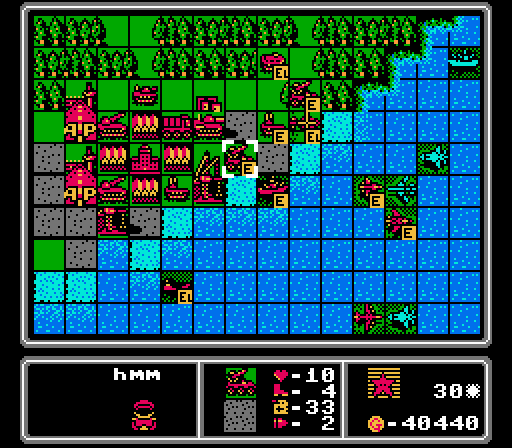
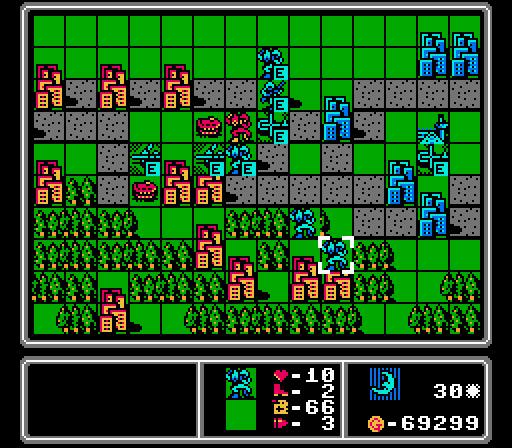
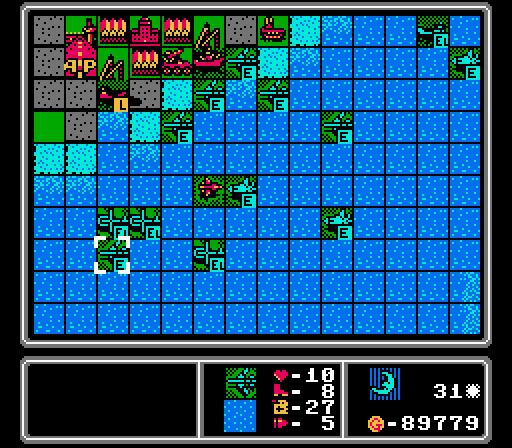
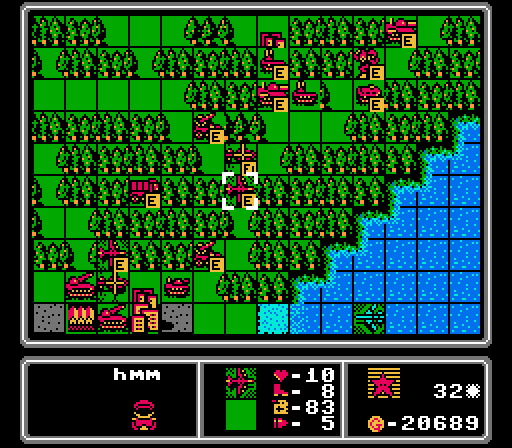
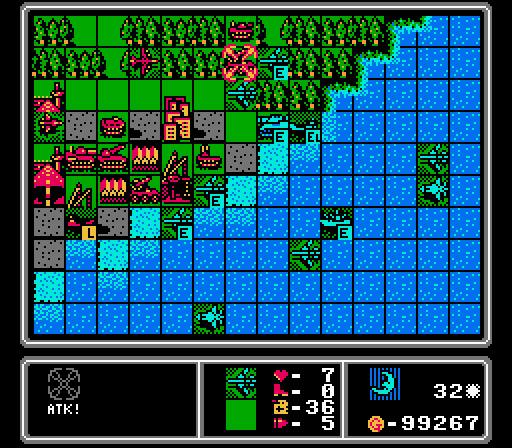
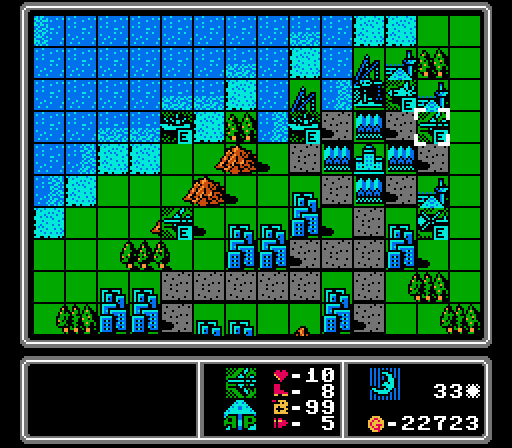
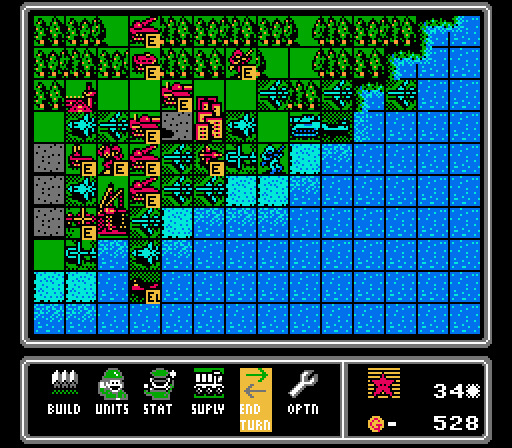
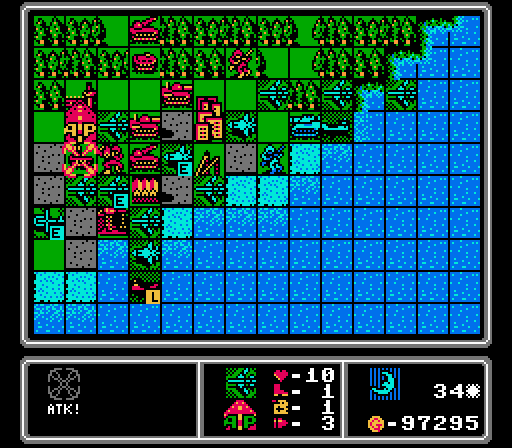
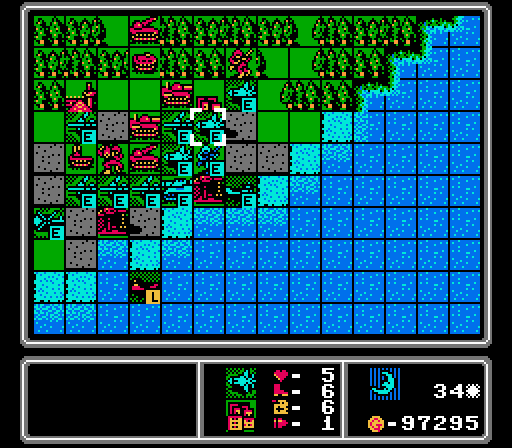
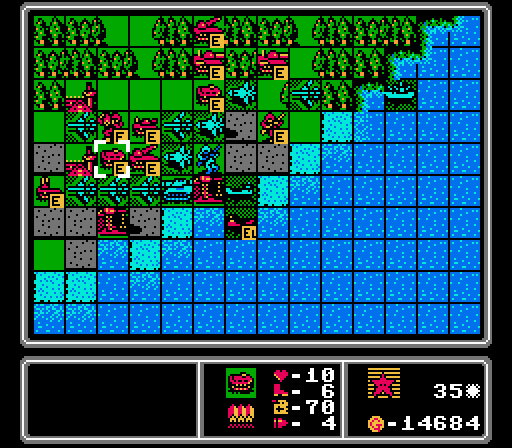
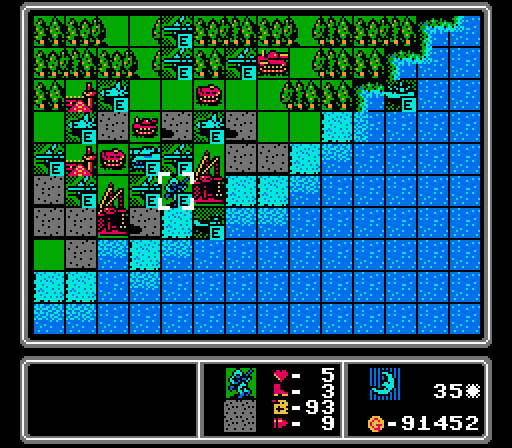
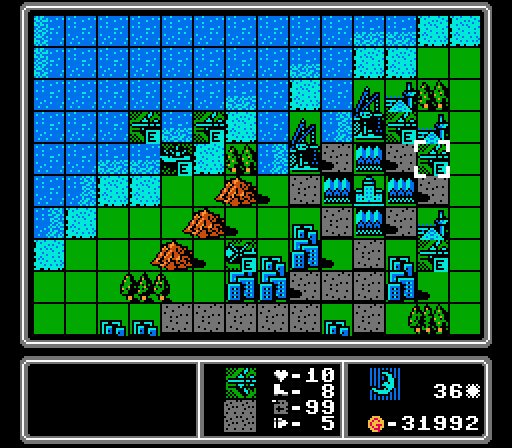
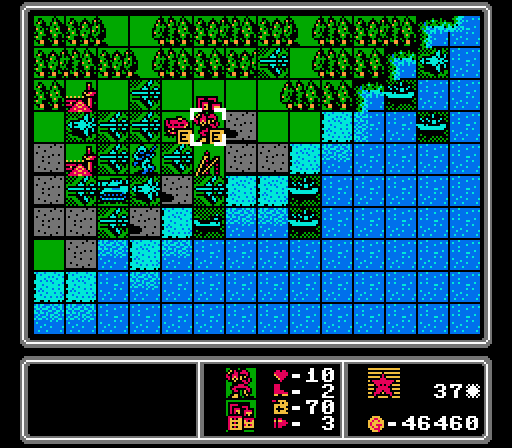
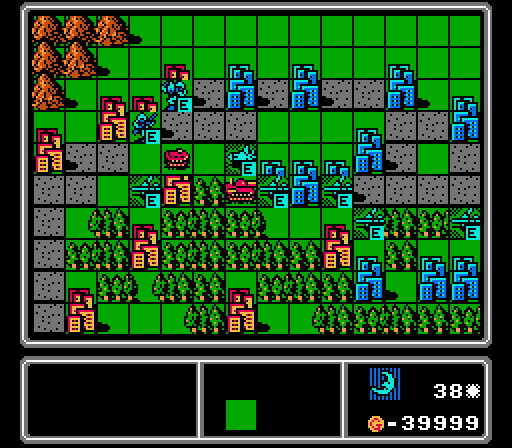
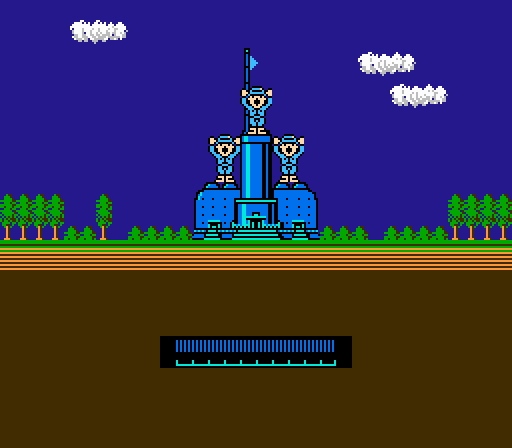
Before we finish off the lonely APC, one final snapshot of where we stand as we wrap up the map. We ended up taking most of Red's cities in the upper half of its island.
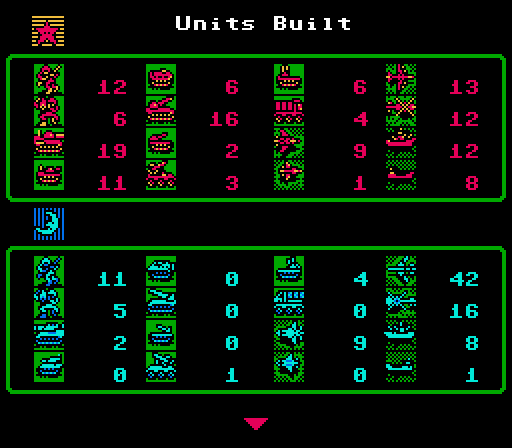
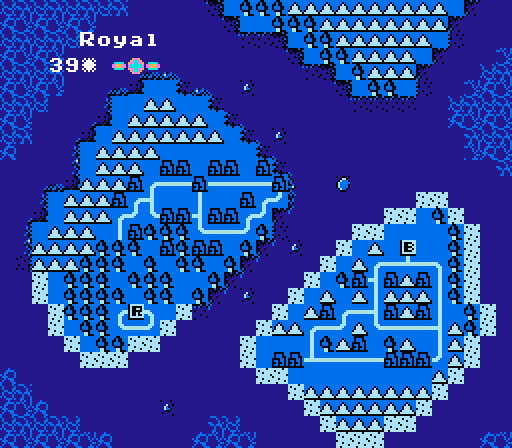
We built an obscene number of bombers, including at least one every single turn since the 14th turn. What's more interesting is what we didn't build - not a single tank, APC, rocket, or artillery; no scouts; and only one AA missile and one lander (for a naval invasion map, having one lander is pretty odd). Red in turn had a lot of medium tanks and rockets that never really accomplished much, a dozen battleships that were annoying but never did as much damage to us as they cost the AI to build, and only nine fighters? It felt like a lot more when we were dealing with them. The AI only putting out three AA missiles and six AA tanks is pretty unusual, too, given how bomber-heavy we were.
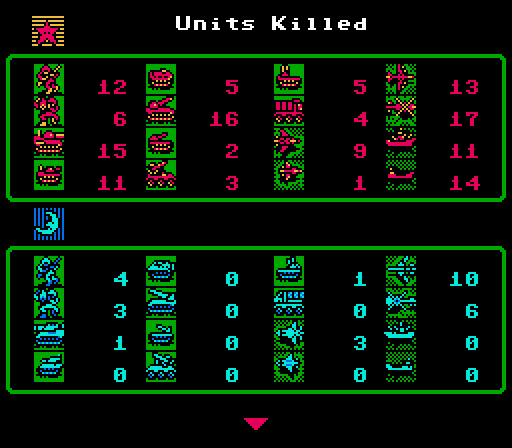
Our losses skyrocketed at the tail end of the map, and are even higher if you take into account all the merges we did (by my count we had 11 merges for bombers alone). We still are ending the map here with 21 bombers out in the field though.
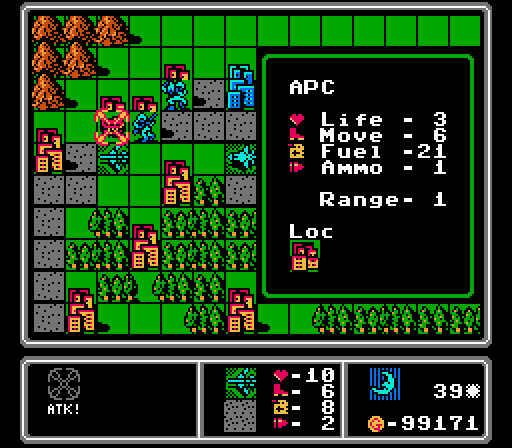
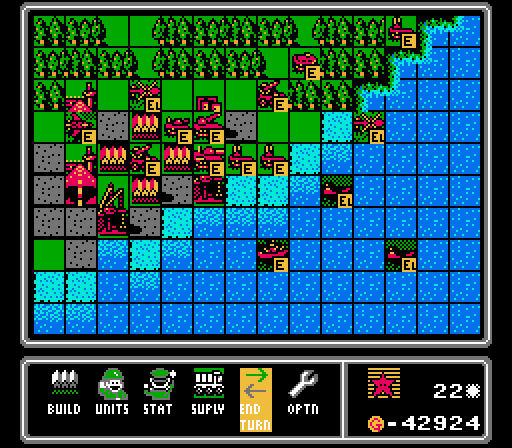
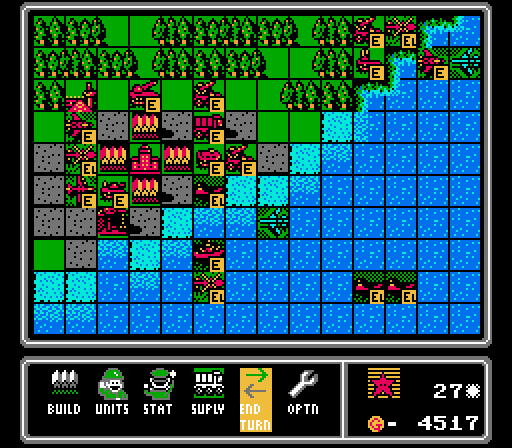
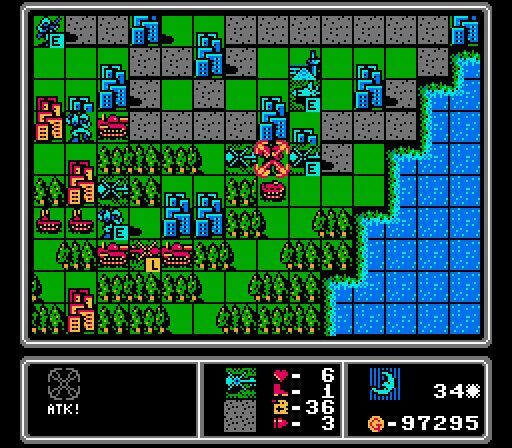
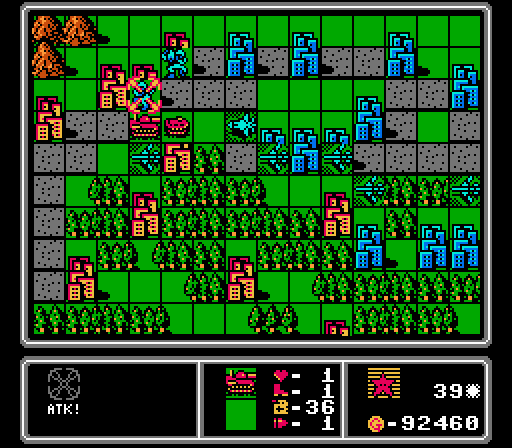
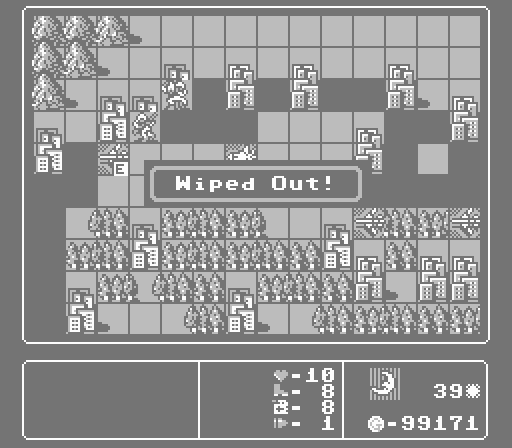
Anyway, this APC took a lot of damage going after our mechs and infantry, so one bomber strike is all we need to claim victory.
You know, even if we had started building copters way back on the 31st turn when I first thought of it, they wouldn't have even made it to the enemy HQ by now. And our damaged infantry was just 4 turns into the 7-turn capture with its paltry 3 Life remaining. So I guess a wipeout was still inevitable here.
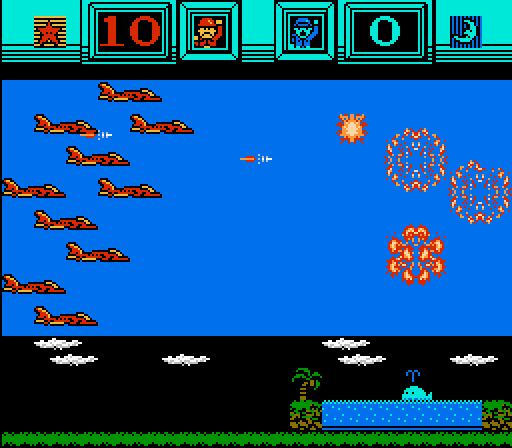
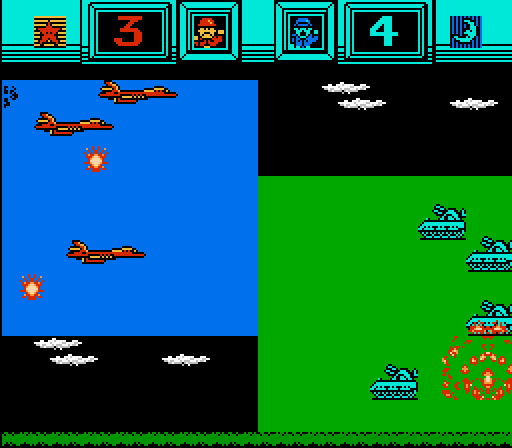
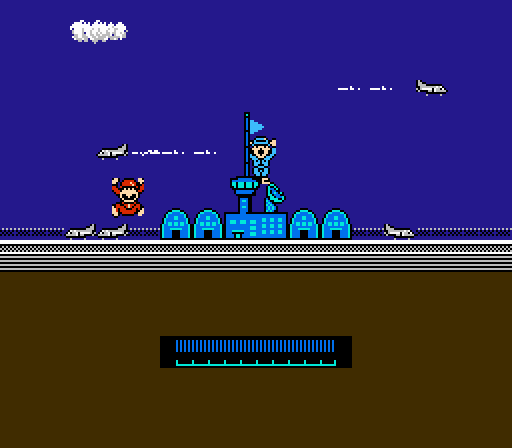
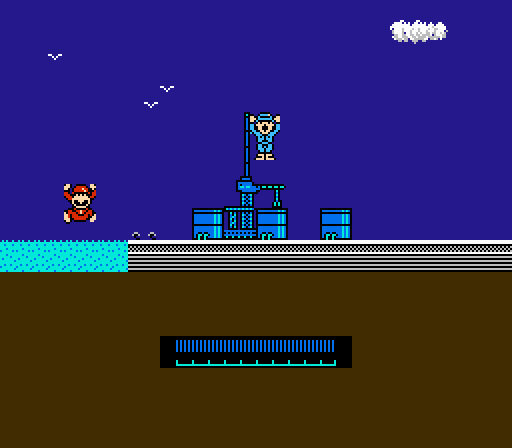
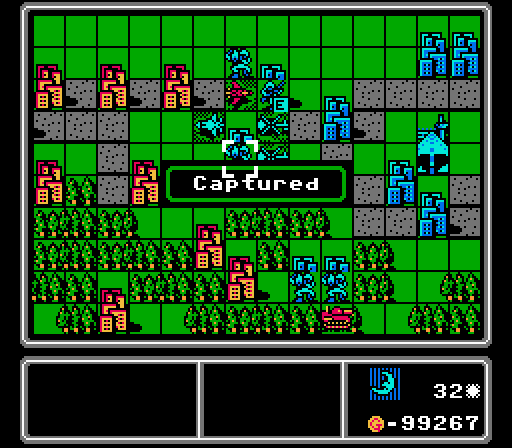
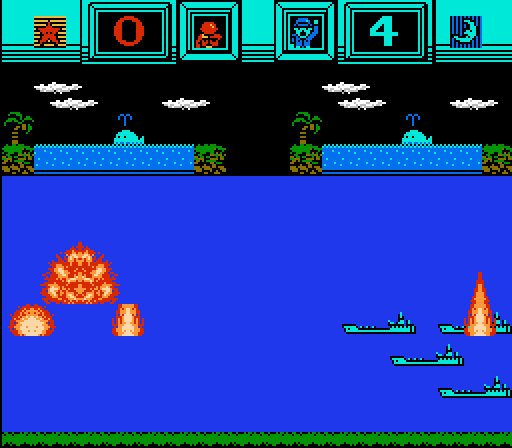
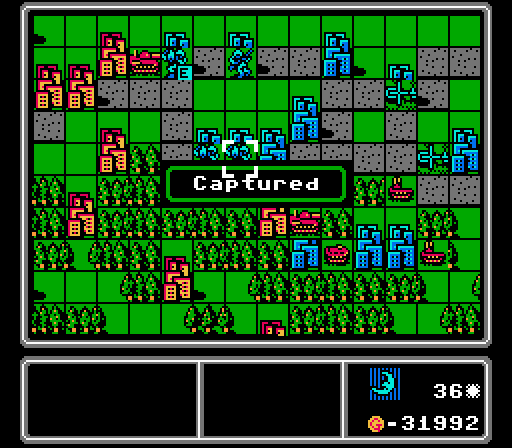
One last victory screen for you all.
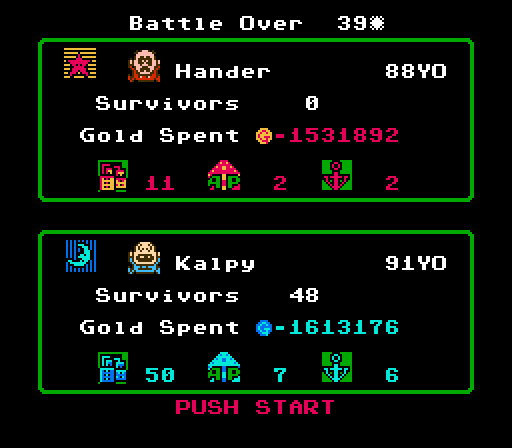
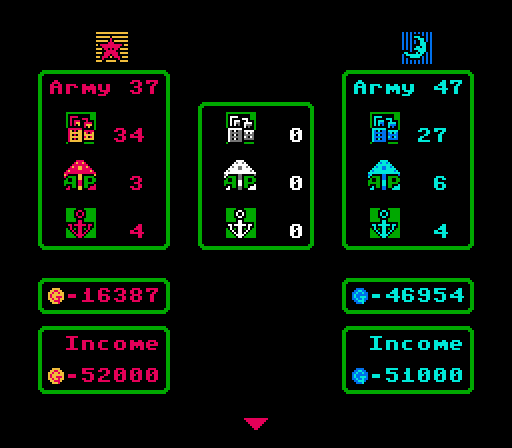
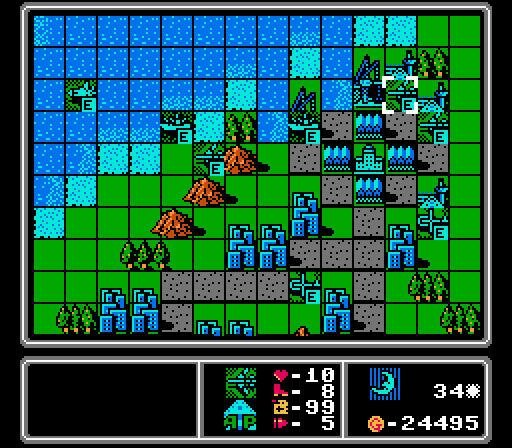
These are the same two COs as on Red's bonus map! We actually ended up with more total gold spent this time around, completely turning around Red's initial advantages.
We beat our score compared to Red's bonus map, too (that one took 42 turns). The AI just can't handle naval maps. Our total runtime was also just under 9 hours, a large improvement over the almost 13 hours that the Shark map consumed from my life. Our total time for the entire Blue campaign now stands at 37.5 hours! Hopefully it didn't you that long to read all of it!