Part 21: Dress Up and Arena
Update 21: Dress up and Arena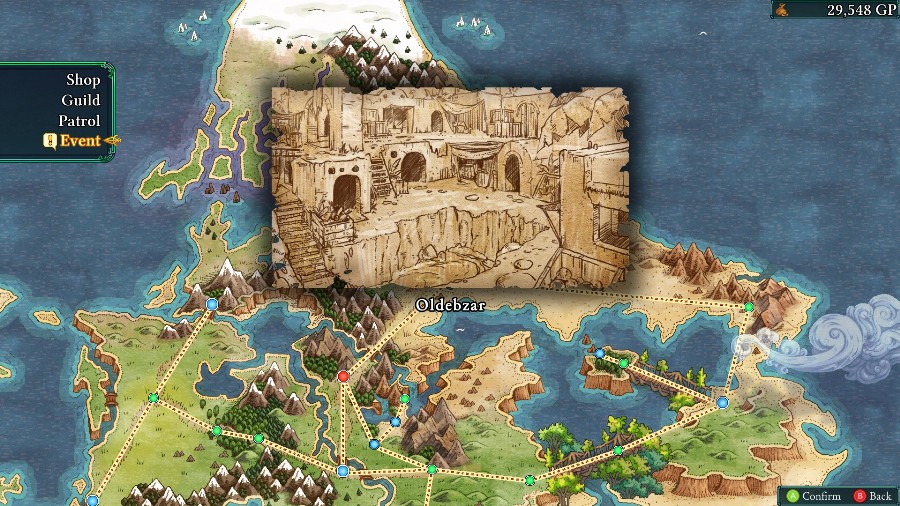
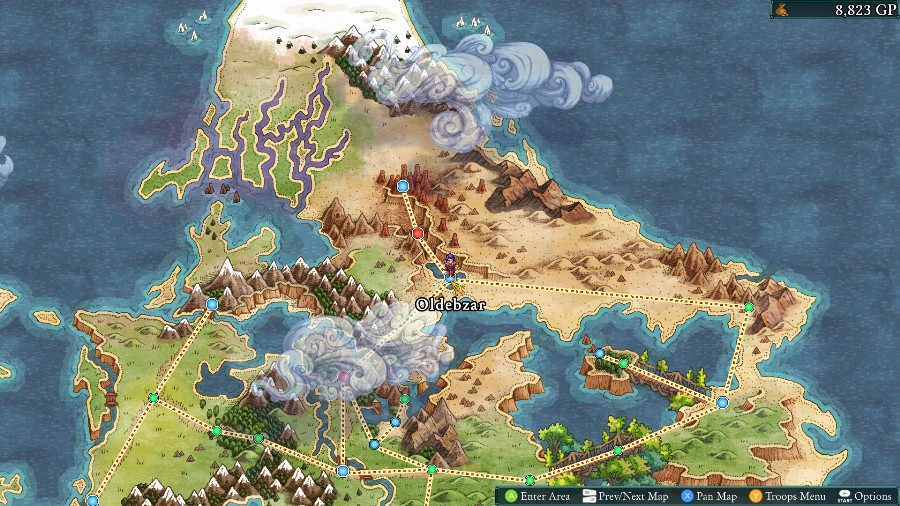
Welcome back! Last time we saved the town of Oldebzar from a bandit attack led again by Mercier. Reiner tracked him down to his rendezvous point, giving us the option to follow up and hopefully stop the attacks for good. However, instead of doing that or progressing we’ll be checking out the new event in Oldebzar and then heading back to Centina to do the first series of arena fights.
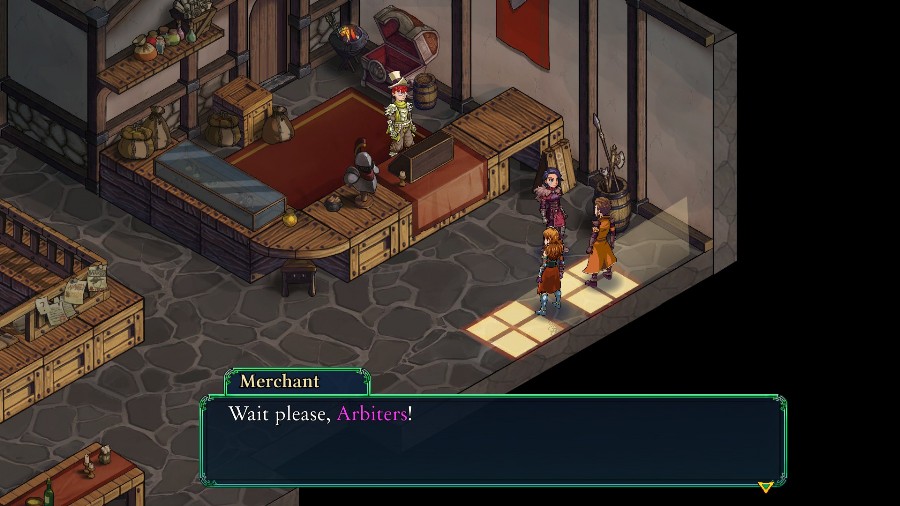
We join the group in one of the town’s shops, about to head back out.
 Yes?
Yes?Merchant: I want to give you something, a reward for your efforts defending the city.
That’s very kind of you, but Arbiters require no rewards for doing their duty.Merchant: Captain, I must insist! Without you, Oldebzar would have been overrun. No Oldebzar, no shop.
 Don’t you think it would be rude to refuse such generosity, Kyrie?
 And the right sort of reward would aid us pursuing our duties in the future.
 …
…Merchant: I do insist, Captain. I will not let you leave until you’ve chosen something. Please.
Oh, very well. Yay!
Yay!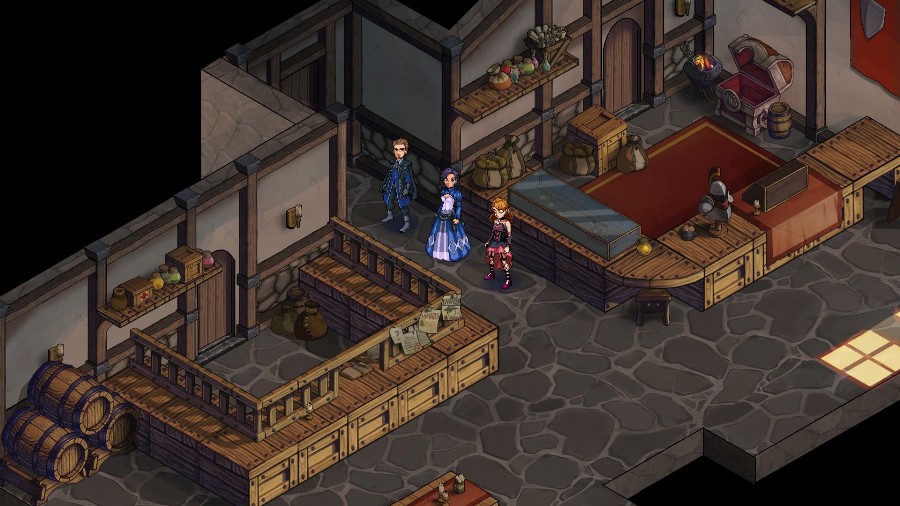
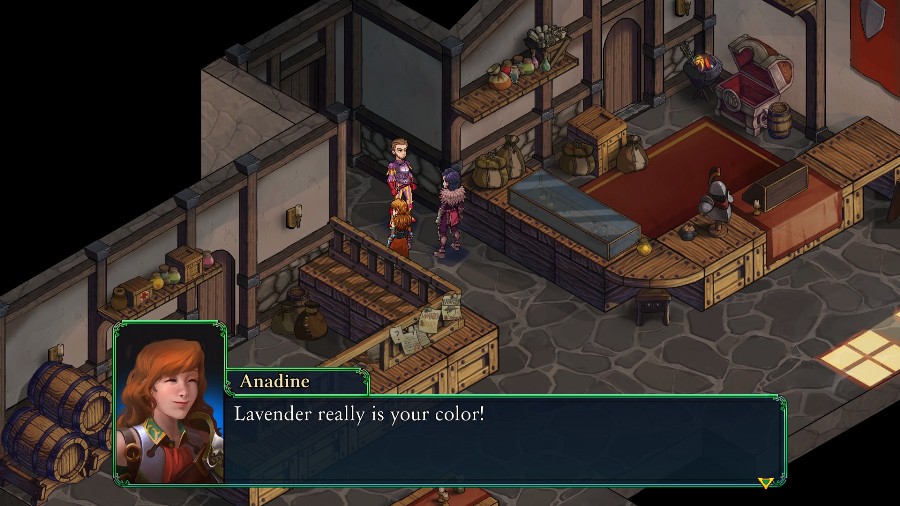
And our trio all try on new outfits which are a bit fancier than their usual fare.
Handsome! I like the way that looks on you, Captain. I have to admit this was a good idea.
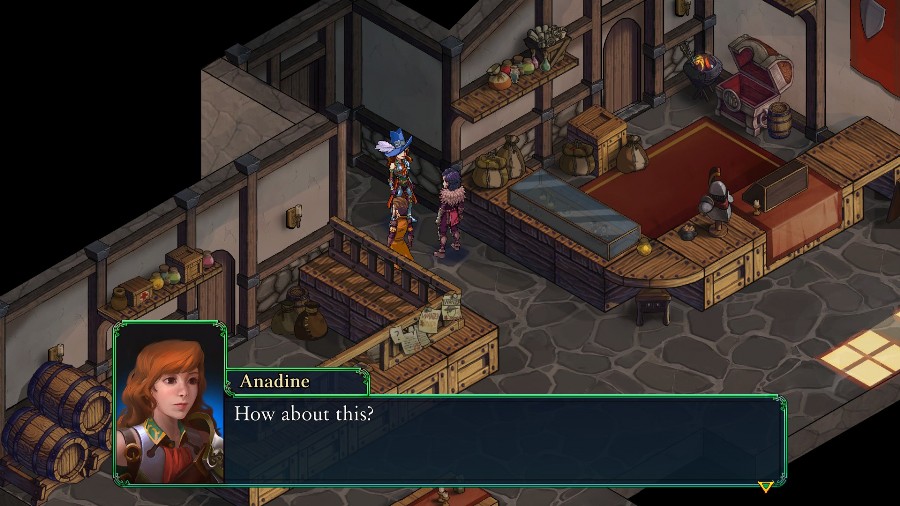
 That’s one way run the flag. The enemy will know we’re coming from a league away.
 Throwing shade on Eustace’s fashion choices.
 Huh. It didn’t look so garish on the rack. She’s right, seeing you in that everyday would definitely be good for morale. Haha, right.
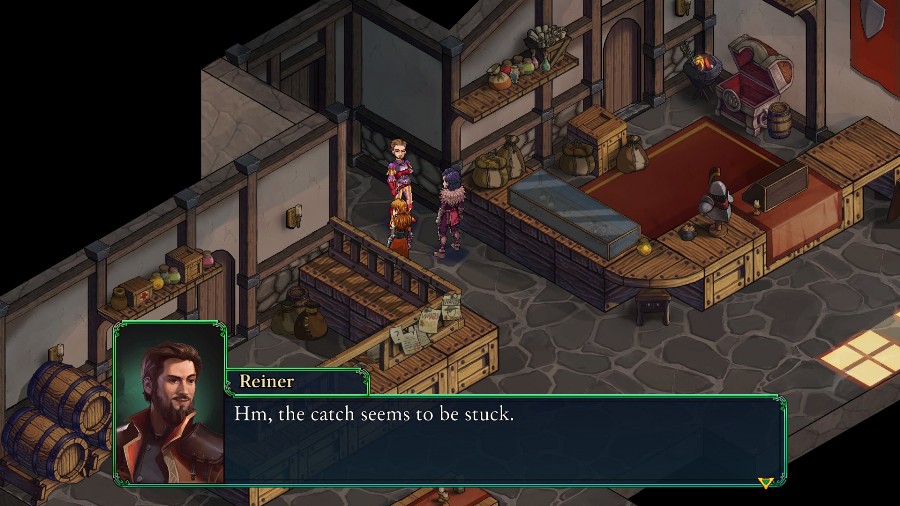 … Heehee! The fit is too tight. I can’t seem to… Do you need some help, Reiner? No, Anadine, self-reliance is important for an Arbiter. I’m sure Reiner can handle this on his own. Let’s go find the owner and let him know we’re finished.
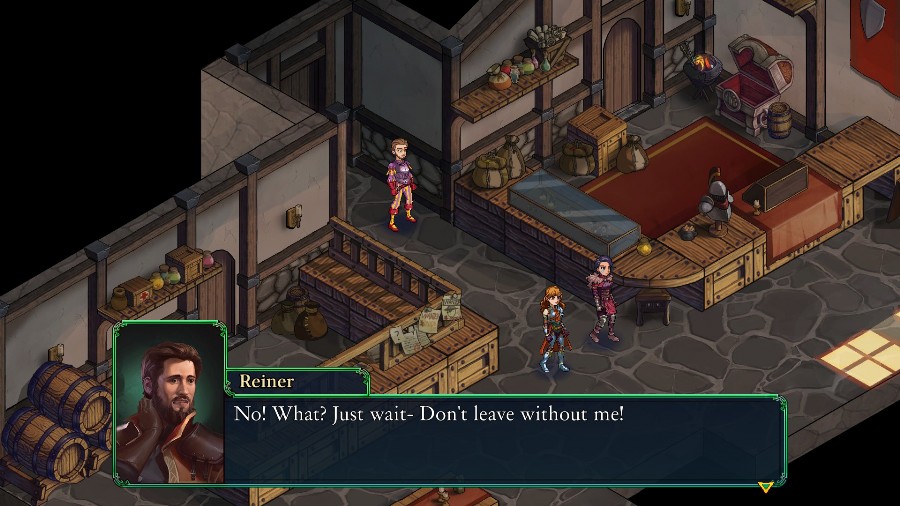
As Anadine and Kyrie leave Reiner to sort things out, we also get a copy of the newest light armor in stock. It’s not too expensive a gift, but nice to have as I’m re-equipping everyone.
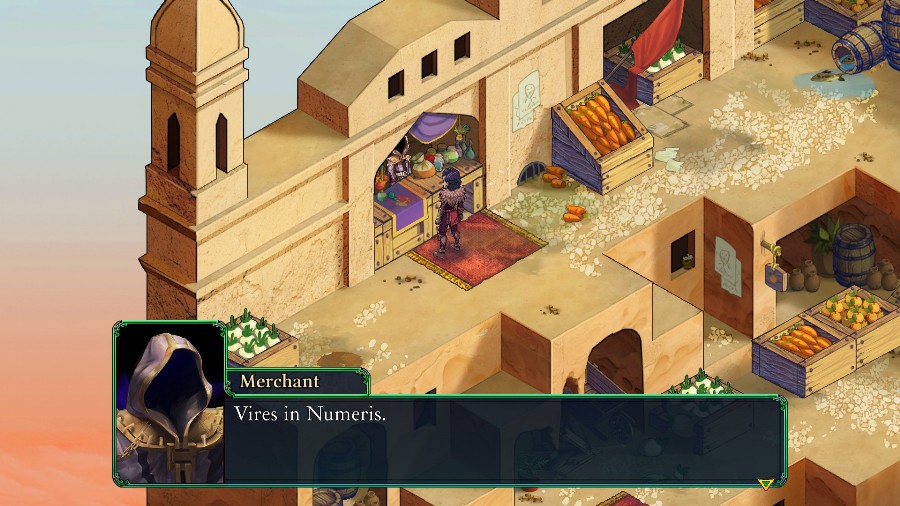
Before I head out I want to show off this town’s merchant. Unlike other ones, he’s hanging out in the town market and is entirely hidden by his hood.
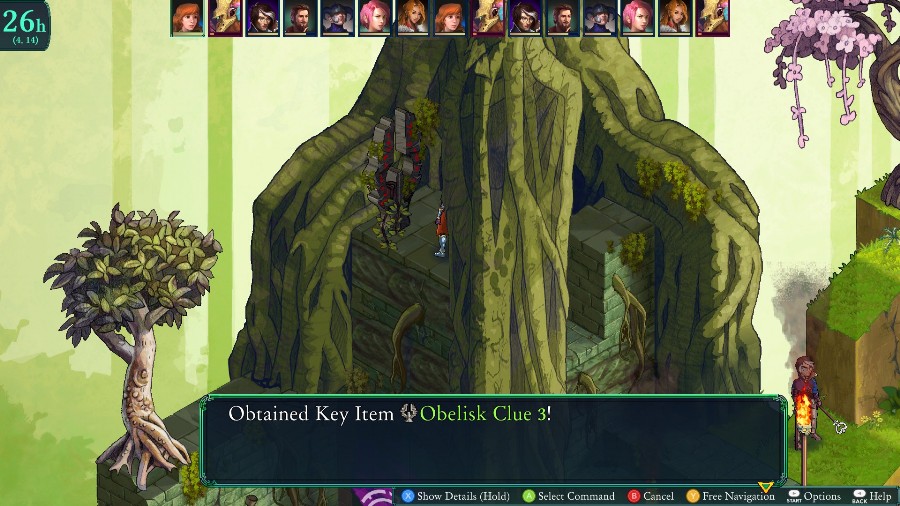
I also used the jet boots to get some treasures we missed, as well as another one of the obelisk clues that was hidden back at the ekhidna falls.
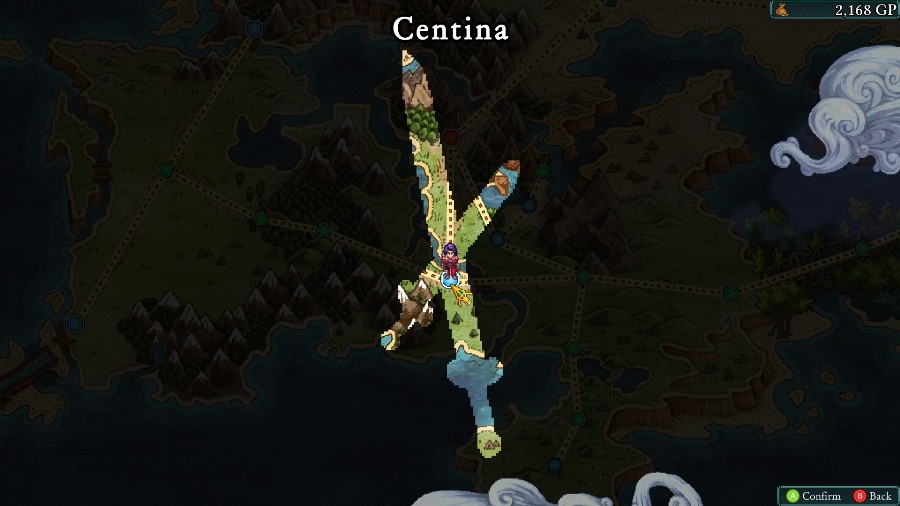
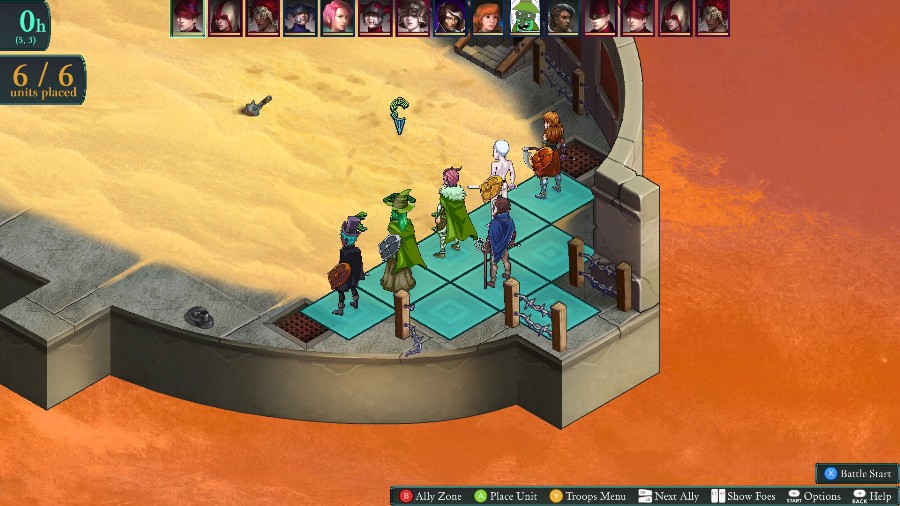
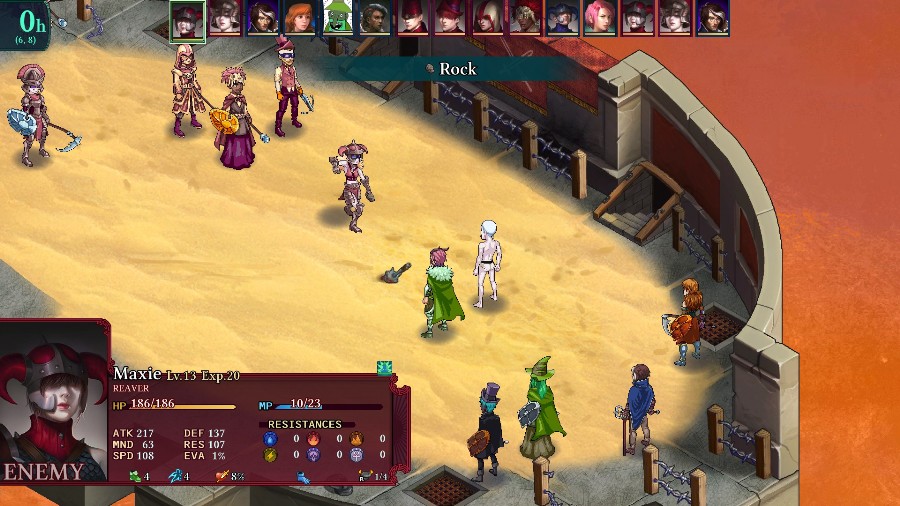
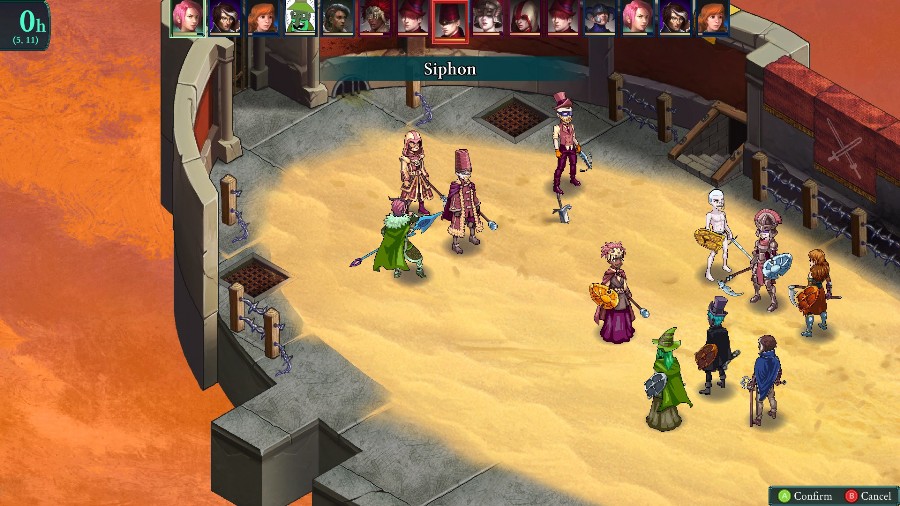
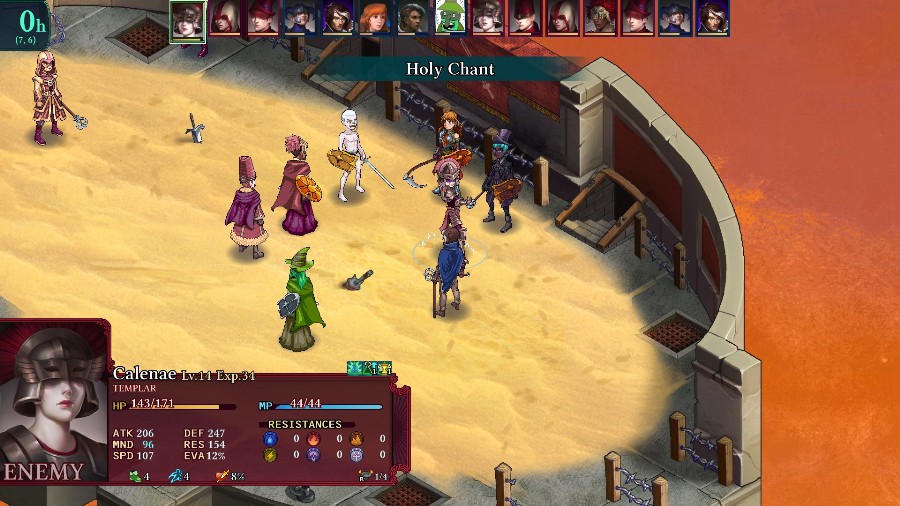
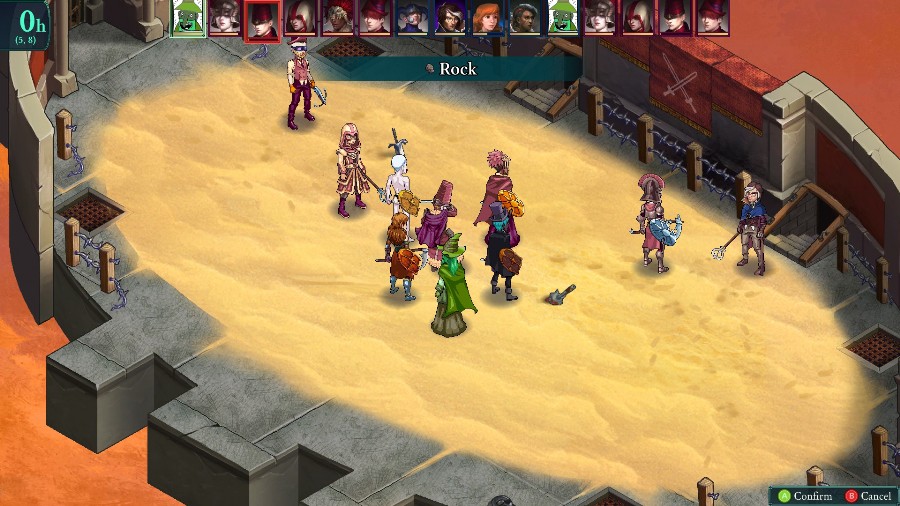
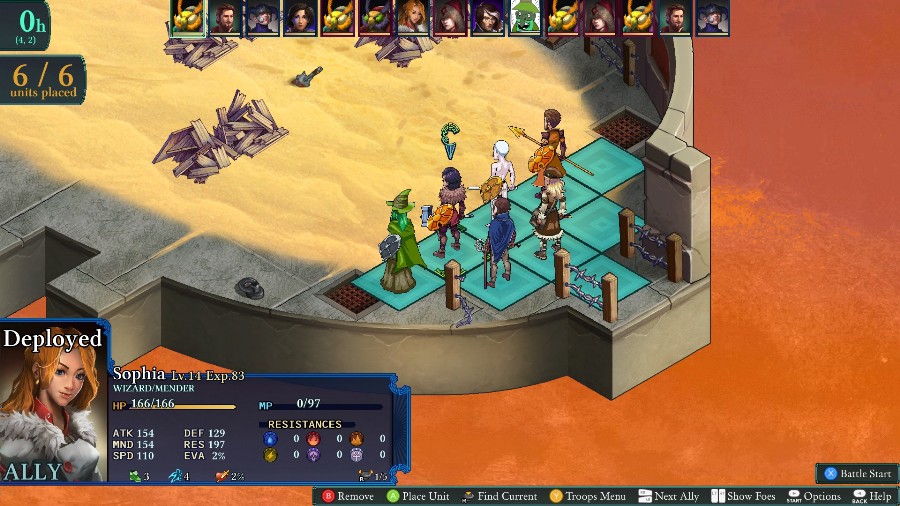
And with that done, we’re headed off to the arena! This time, it’s a series of 3 consecutive 6 v 6 fights. You can adjust your team between fights but I believe that any injuries sustained (from going down) aren’t healed until after all 3 fights are finished.
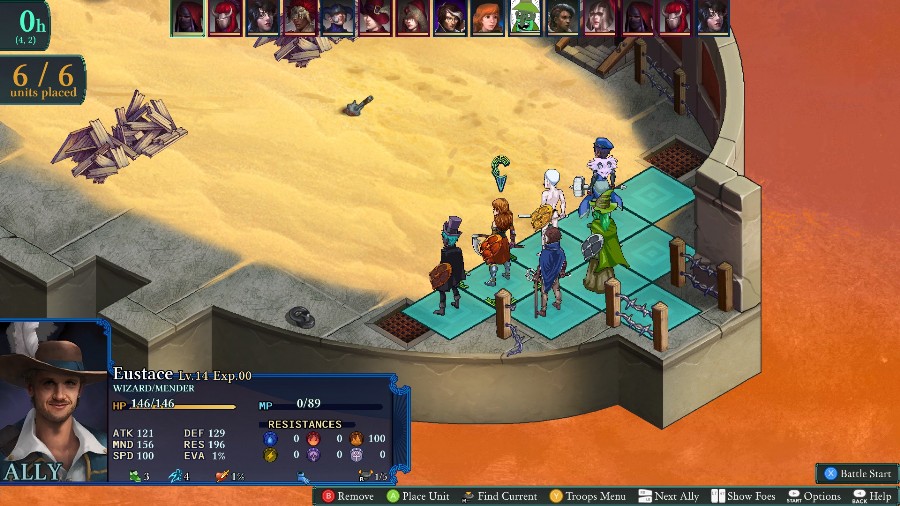
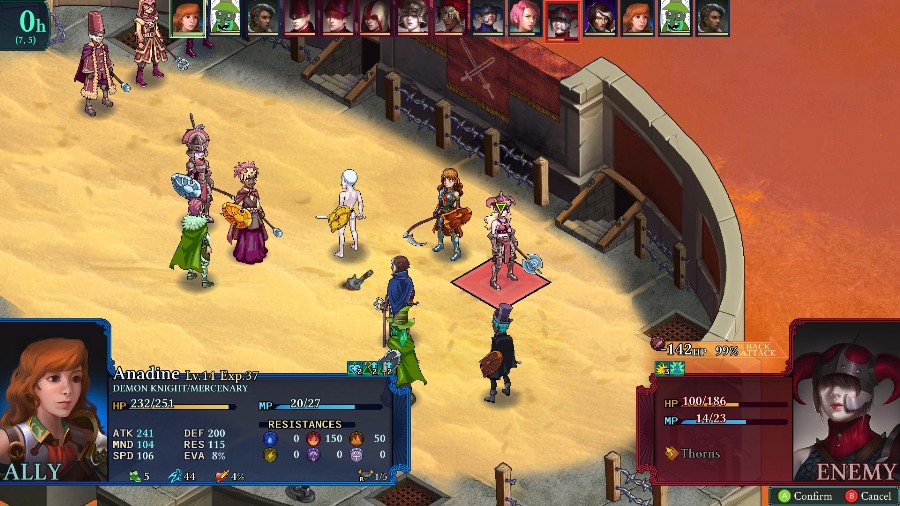
For the first fight, we’re bringing Anadine, Selena, Mongo, Yates, Bobby, and Azure. Azure is currently a mercenary to get some skills for her next class, and I believe Mongo is now a templar. Otherwise, I don’t think there are any notable changes.

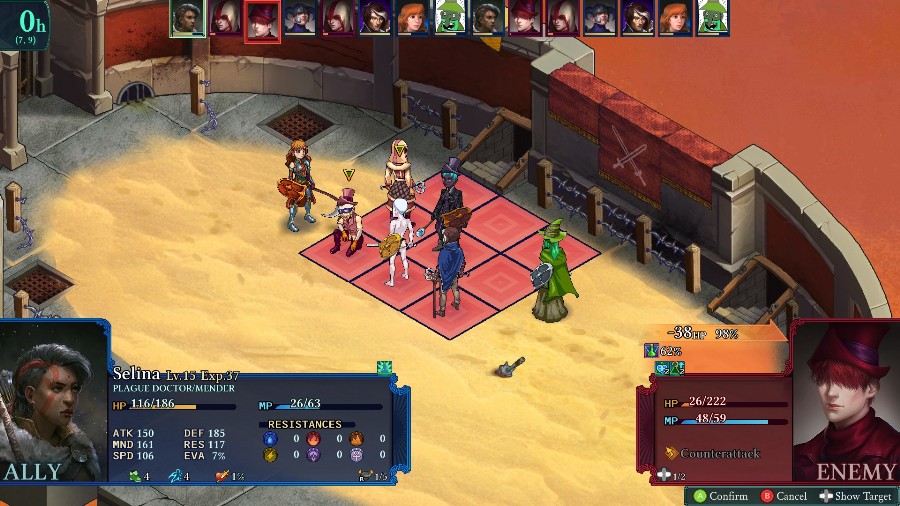
The other team is a mix of physical and magical classes, all of whom have a nasty secondary as well. The most annoying one of the bunch is the mender, because it’ll obviously help keep the enemies standing. The assassin could also be annoying if it decides to spam status conditions at me.
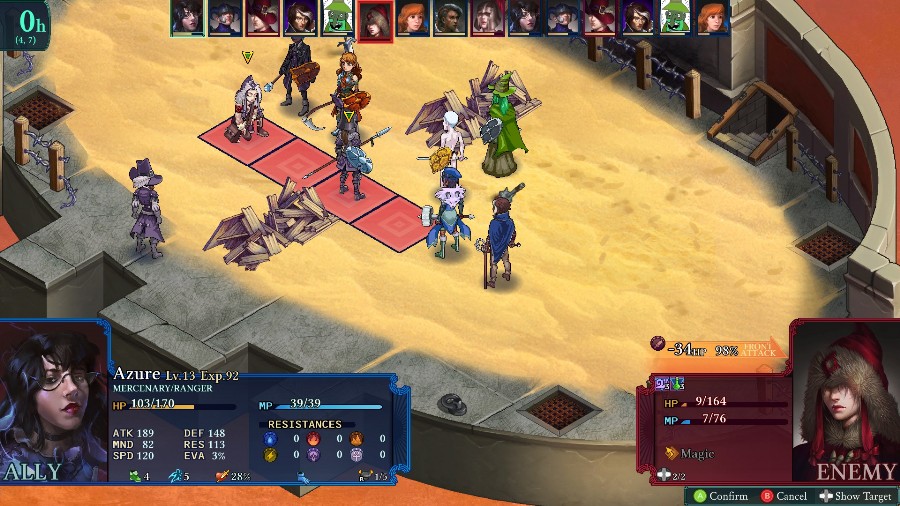
Azure starts the fight off by hitting the fellblade with some arrows.
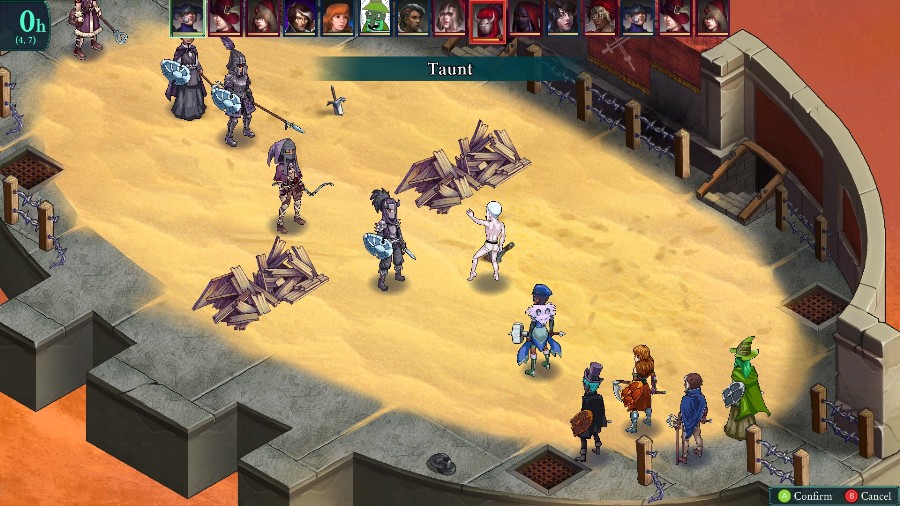
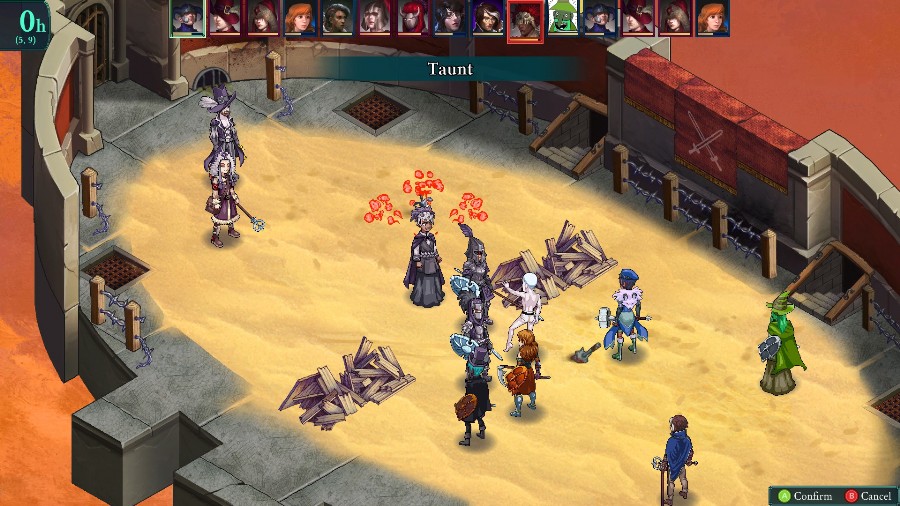
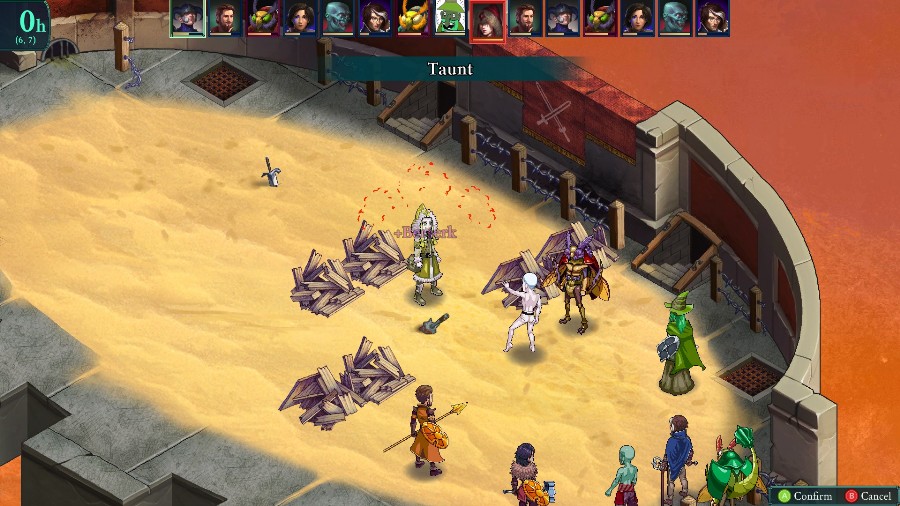
And Mongo taunts him too.
Side note: Taunt is absolutely amazing. It has no mp cost, has a slight range, has a 100% berserk infliction chance, and basically neutralizes the unit for 3 turns. Yes, they can hit you, but it’s only with a basic attack, and that’s still less dangerous than whatever else they might’ve done.
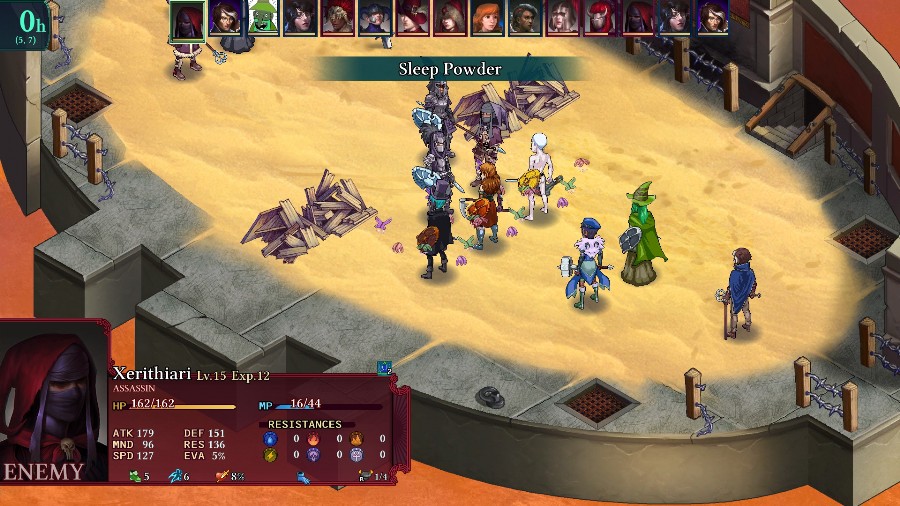
The battle lines close as the assassin hits all 3 front liners with a sleep powder, though only Anadine falls asleep. She’s quickly healed by Yates, though she does take a big hit that wakes her up.
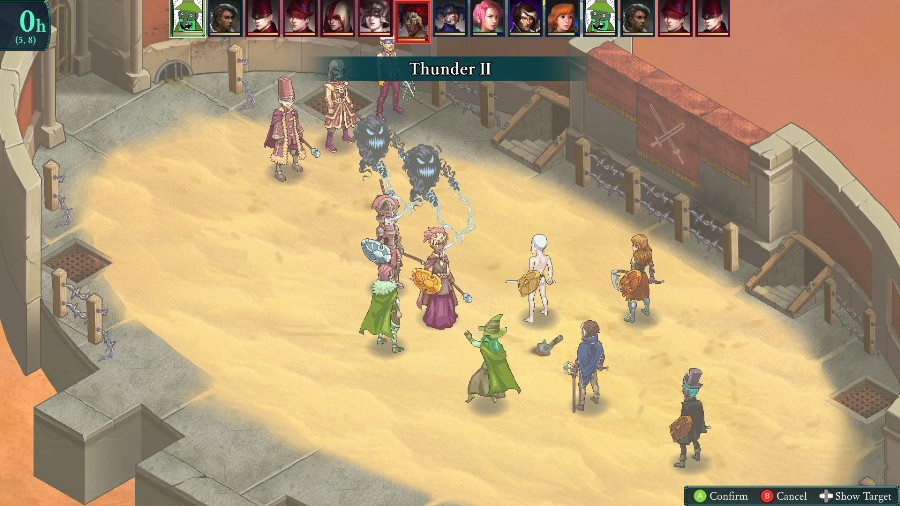
After a blast of Thunder Locus from Bobby, Azure is able to just barely take out the assassin thanks to the AOE on multishot.
The druid retaliates with some magic
But Bobby puts a stop to that with another taunt.
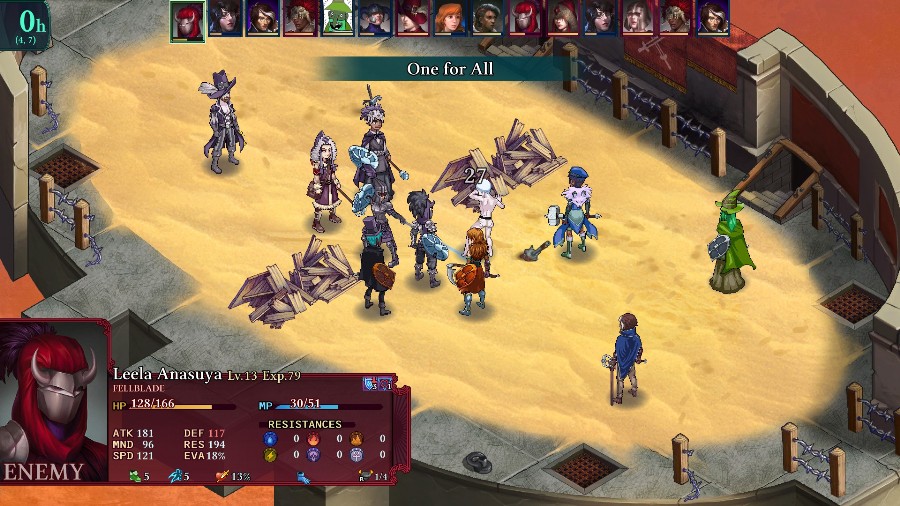
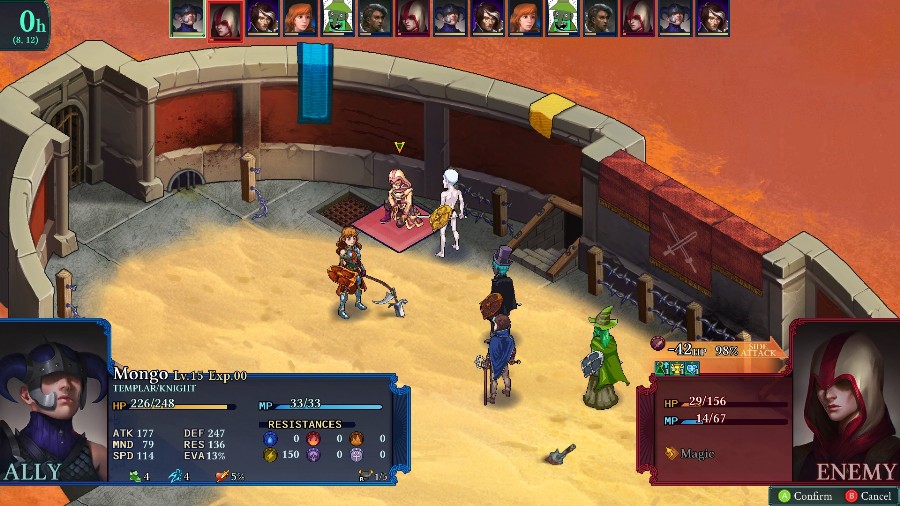
Thanks to the spear’s extended range, the knight gets a very nice position to use One for All, and the berserked fell blade decides to show if off by hitting Mongo. He’s pretty much fine though.
Azure chucks a rock at the fellblade to soften him up and Mongo takes him out with a defensive hit.
The mender keeps being annoying. I’d nearly taken out both him and the druid, but he heals them back up.
There’s a bit more of a scrum in the center until Anadine breaks through and bursts down the druid.
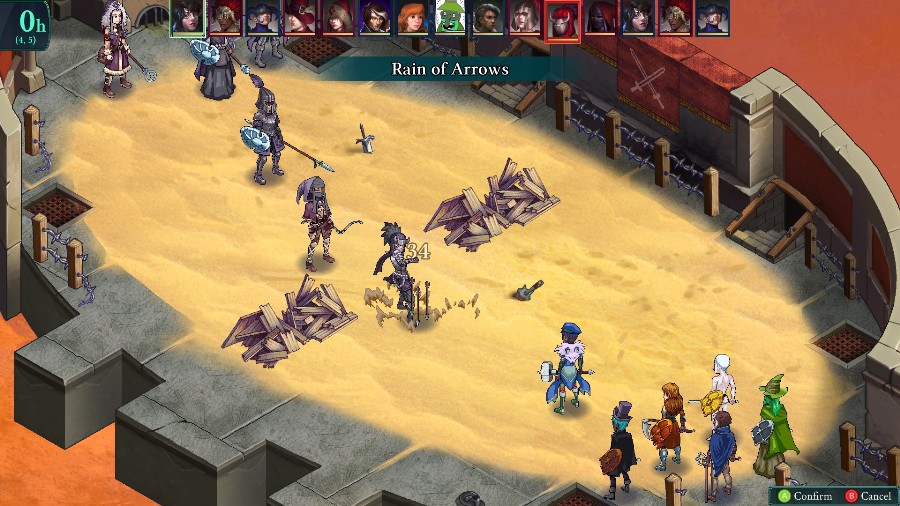
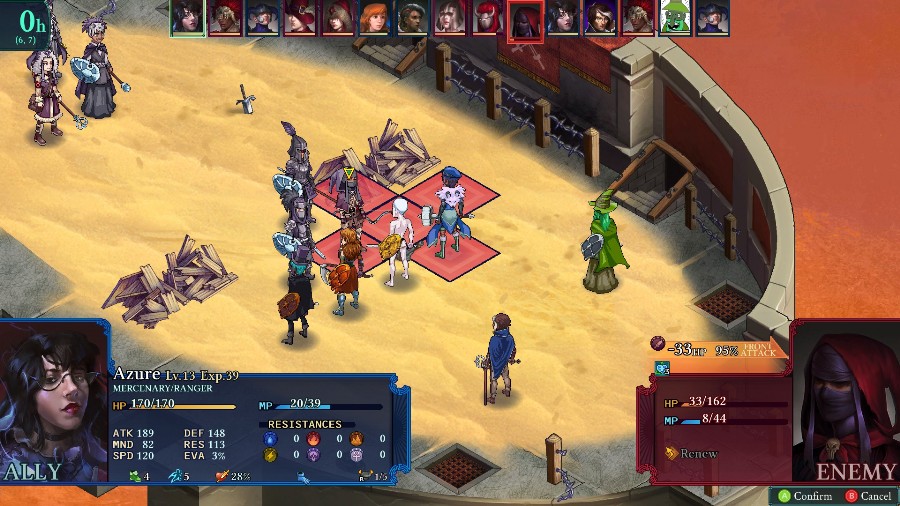
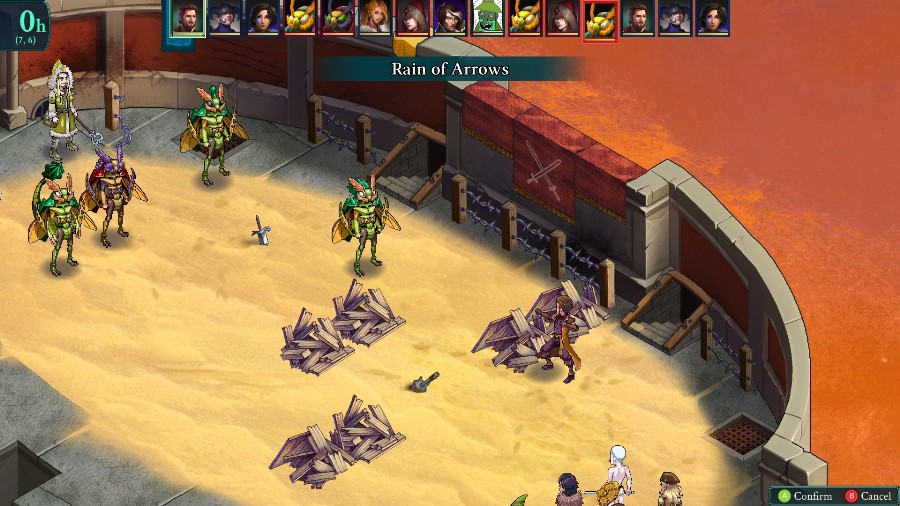
And Azure then follows up by taking out the mender with another rain of arrows.
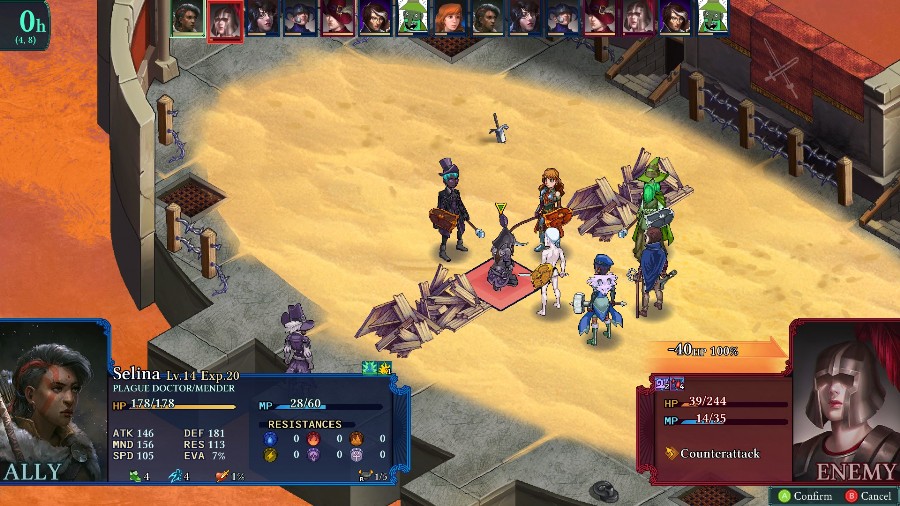
It takes pretty much my entire team, but Selina then manages to down the knight.
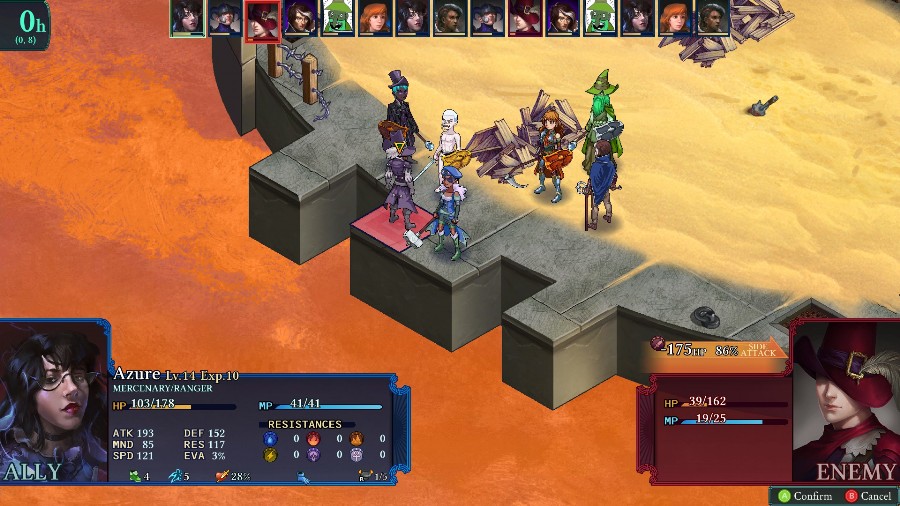
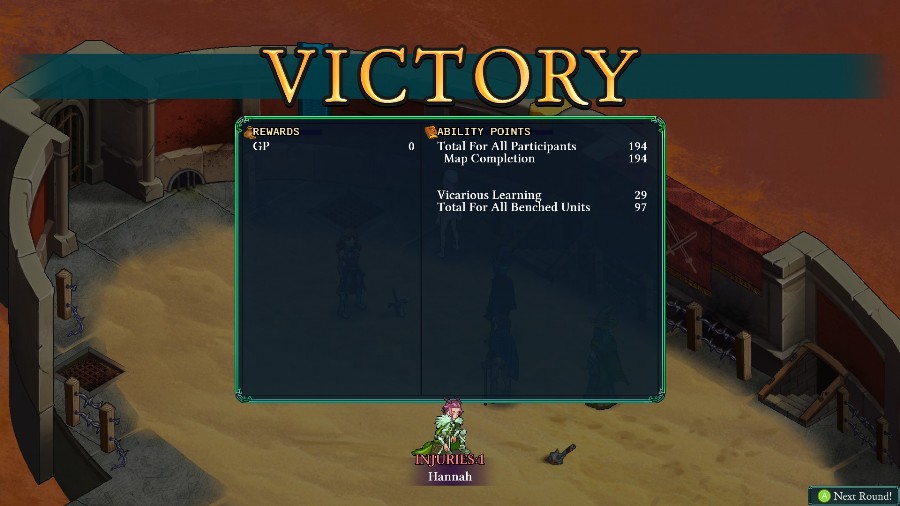
And then Azure finishes the fight off with an absolutely overkill sniper shot.
No gold, but we do have the option to back out and get some winnings. But we’re going all the way.
Only change this time is that I swapped out Azure for Hannah since she’d been falling a little behind in levels. Hannah is currently a scoundrel for class reasons, but has templar as a secondary.
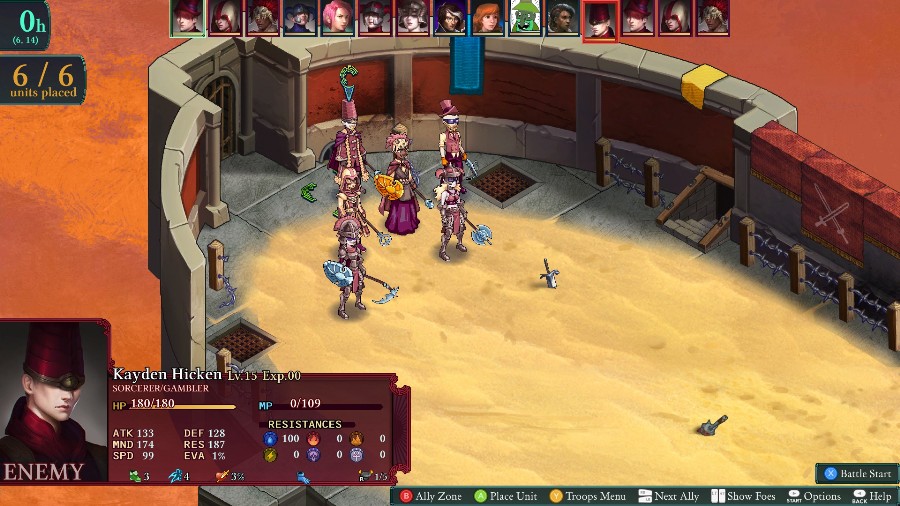
On the other side, we have a much more offensive team. The standouts are the templar, reaver, and sorcerer. Not sure if I’ve mentioned them before, but sorcerers are like Illusionists from the FFT games. High cost skills that hit all enemies on the map, though their damage is at least slightly based on proximity and their most powerful skills hit every single person. Still, they can be very nasty is they sit in the backline.
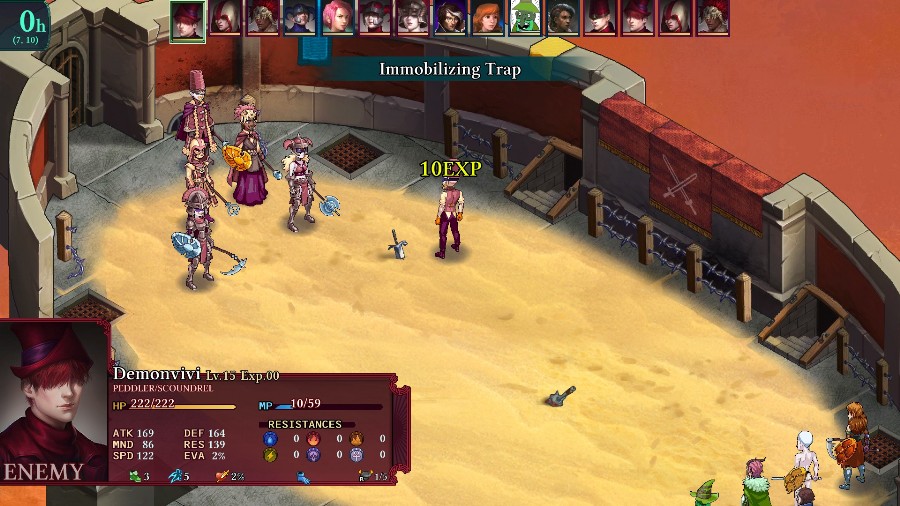
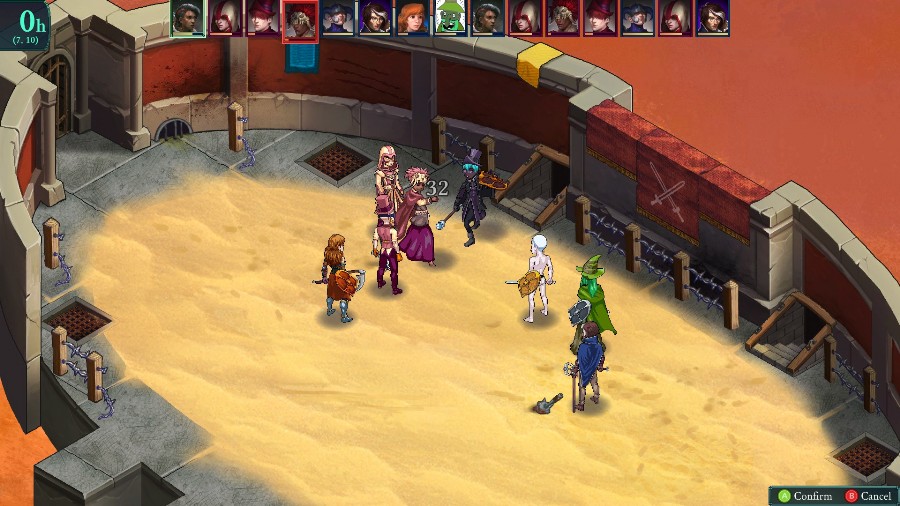
The peddler starts laying traps down, which could be very annoying without a ranger to spot them. As the groups close, both sides buff up.
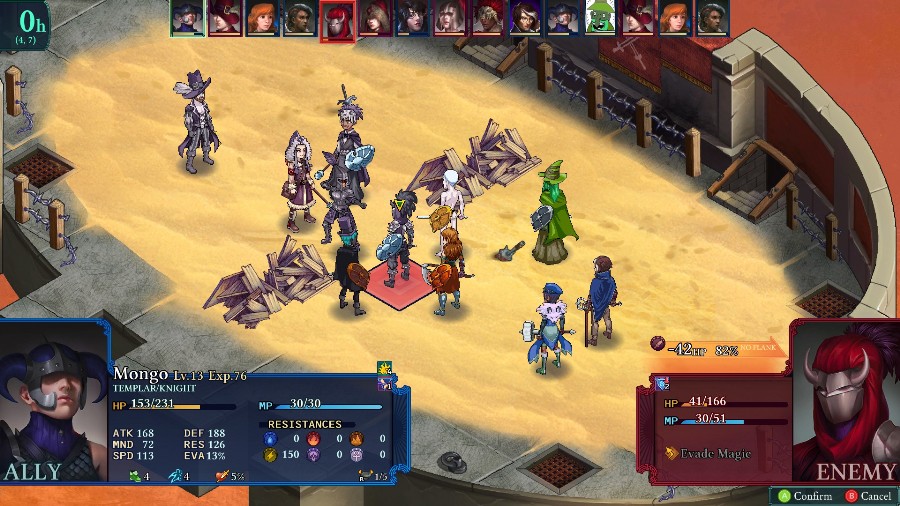
And another battle is actually started by chucking rocks at Mongo. However, no one else gets close for a bit and both side just keep buffing as they approach.
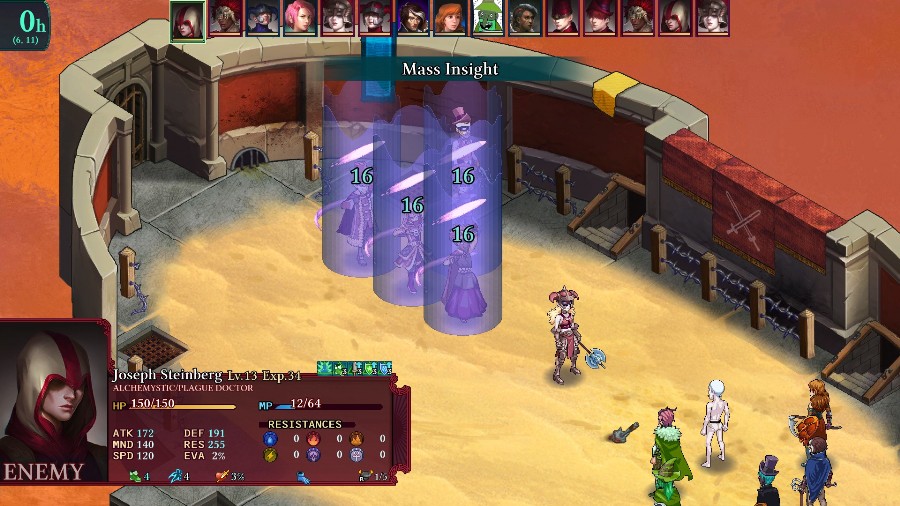
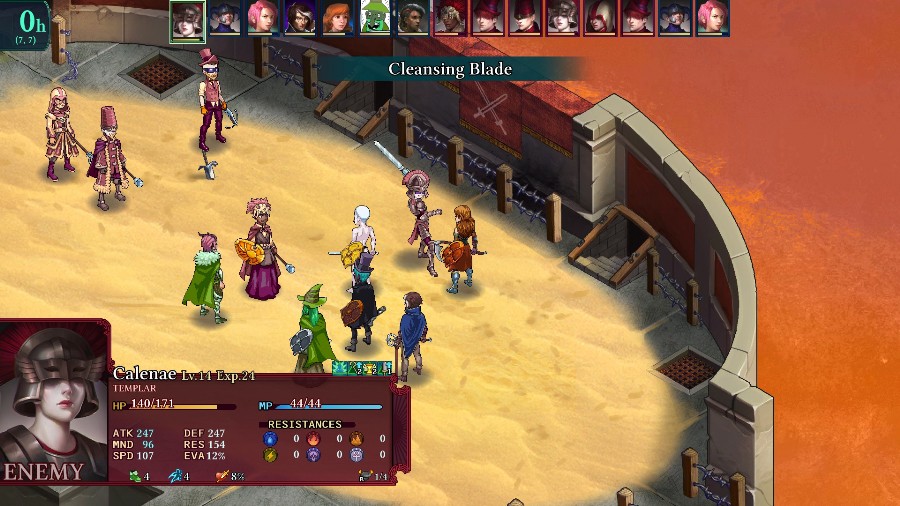
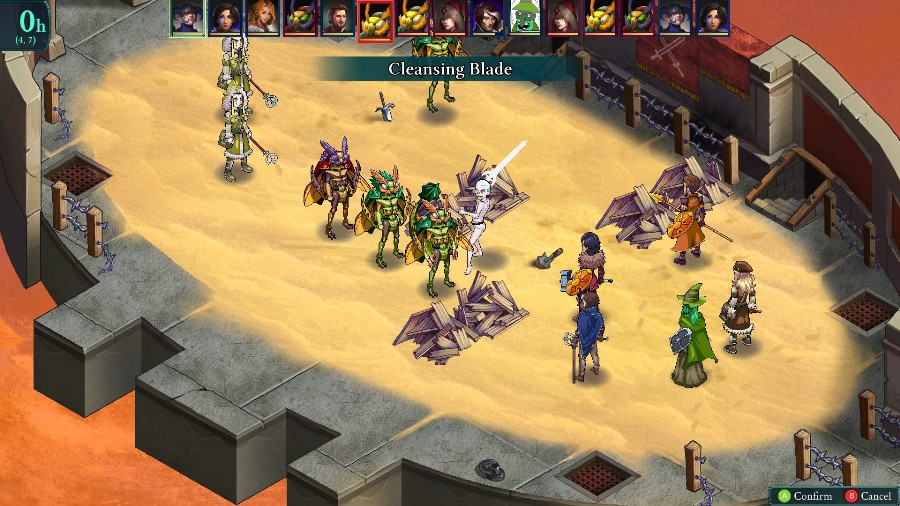
As demonstrated by the number of buffs shown right now. It does make them really tempting targets for Hannah and Mongo with their cleansing blades.
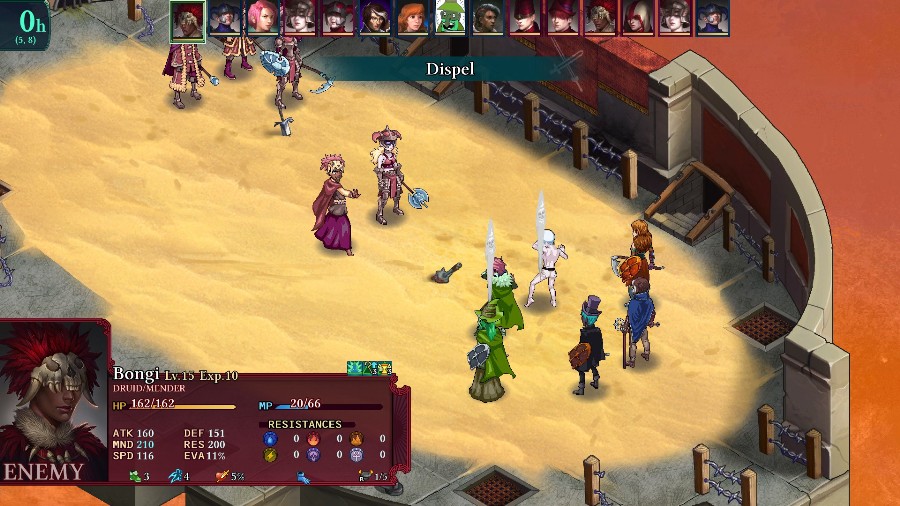
Though the druid is very rude and dispels all of the buffs on our front liners.
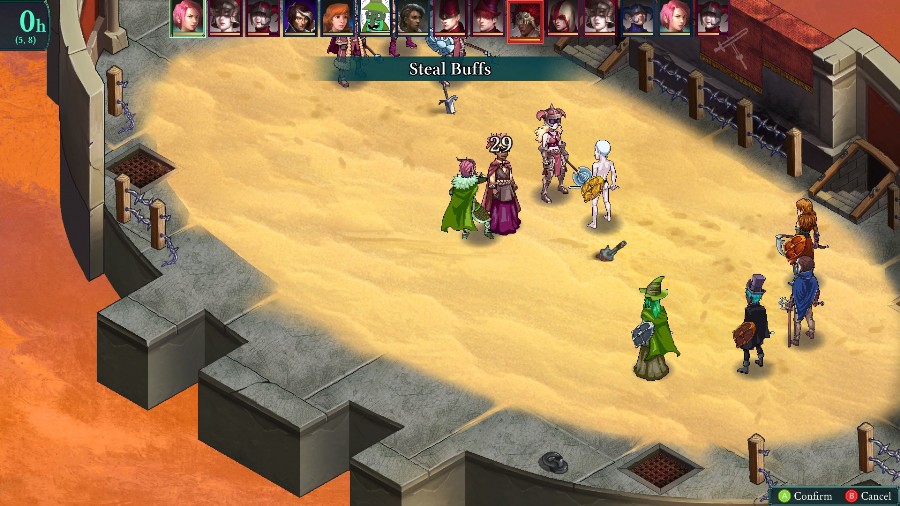
But that’s okay because Hannah just goes and borrows his.
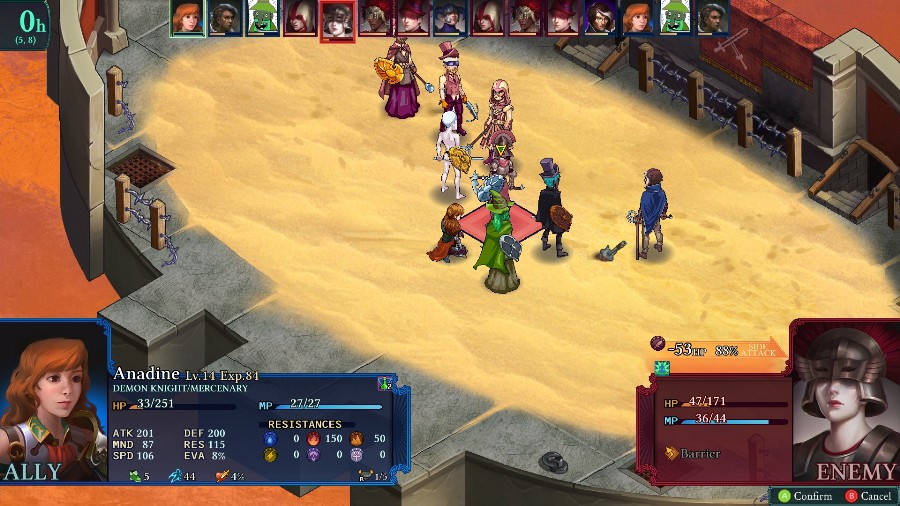
The reaver was left isolated, and Yates blasts him with a dark spell. Anadine, freshly buffed up, easily takes him out.
Bobby and Selina get some nice AOEs off on the templar and druid.
But the templar runs over to Anadine and hits her with his own cleansing blade, taking out most of her HP.
Hannah then runs up to the sorcerer to try and drain his MP. Sadly, she misses this.
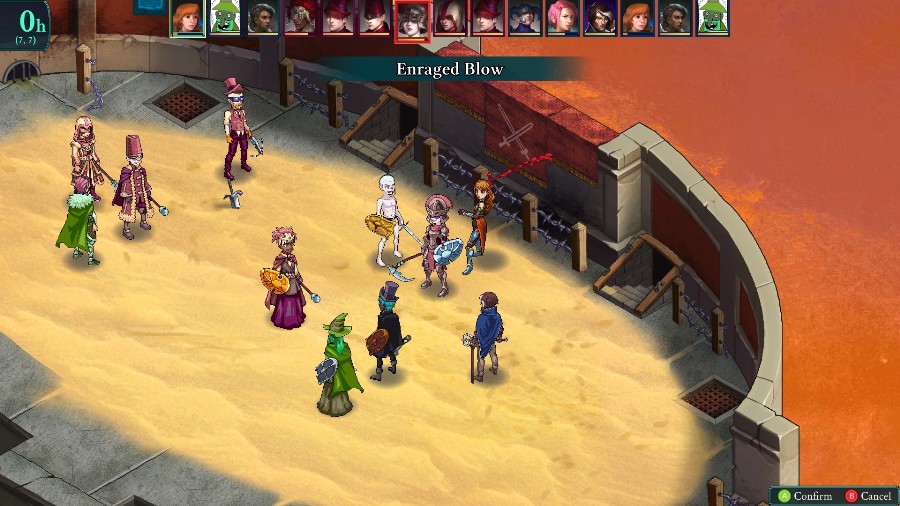
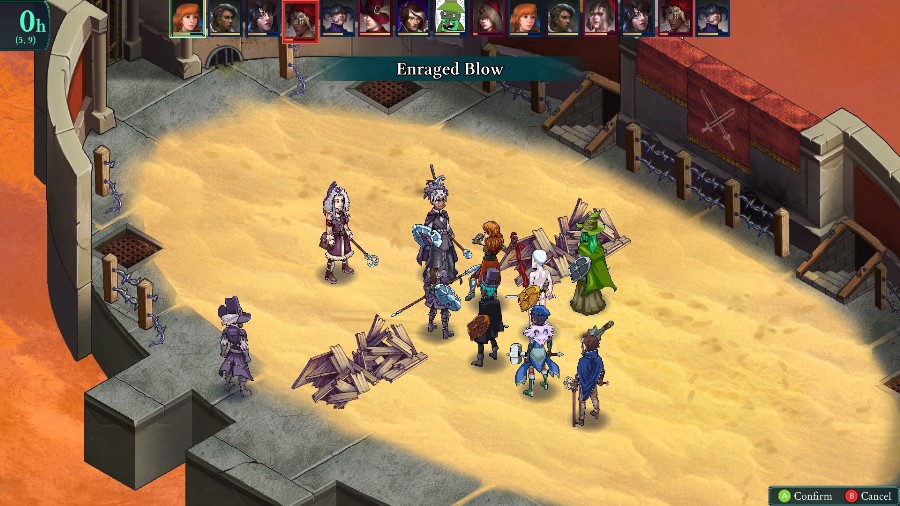
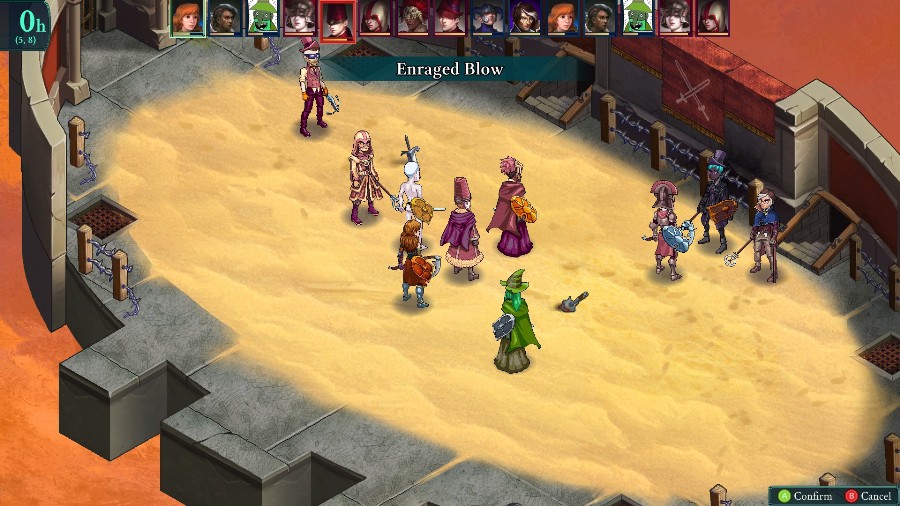
Meanwhile, I take advantage of Anadine’s low HP to get an enraged blow off for essentially no cost. Bobby then cures Selina’s root status, and she runs over to heal Anadine with a heavy potion (150 hp heal).
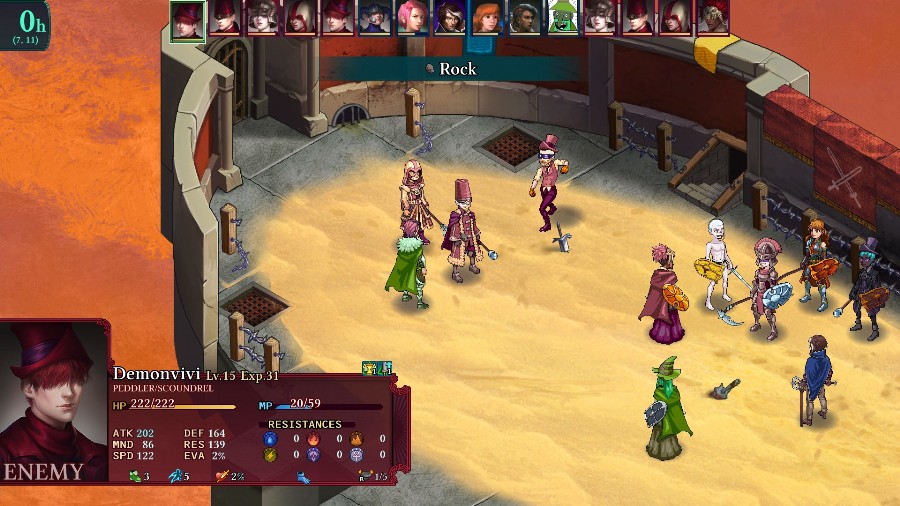
On her own, things go bad for Hannah. First, the peddler chucks a rock at her, which does a flat 80 damage since peddlers have a passive that doubles all item effects.
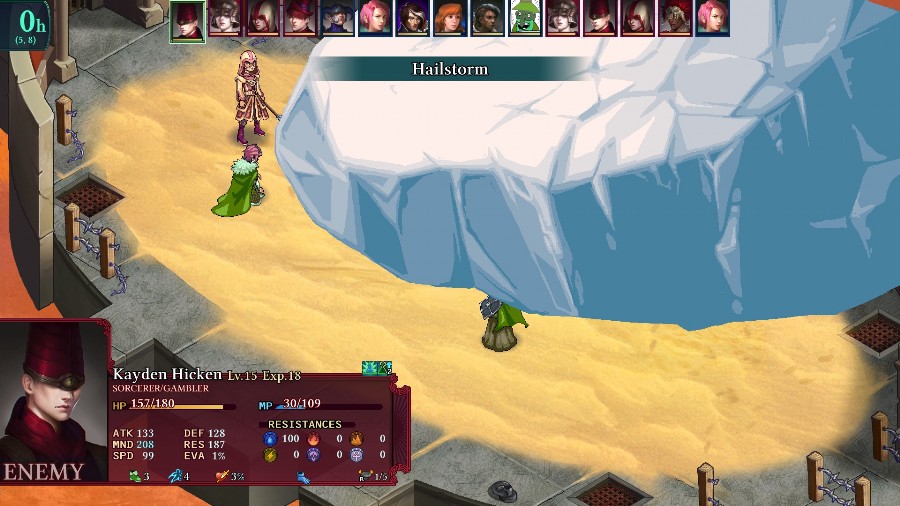
And then, because the sorcerer still had MP, he calls down a giant chunk of ice that takes out Hannah and does a ton to the rest of the team.
Which is not helped by the templar, who piles on even more damage.
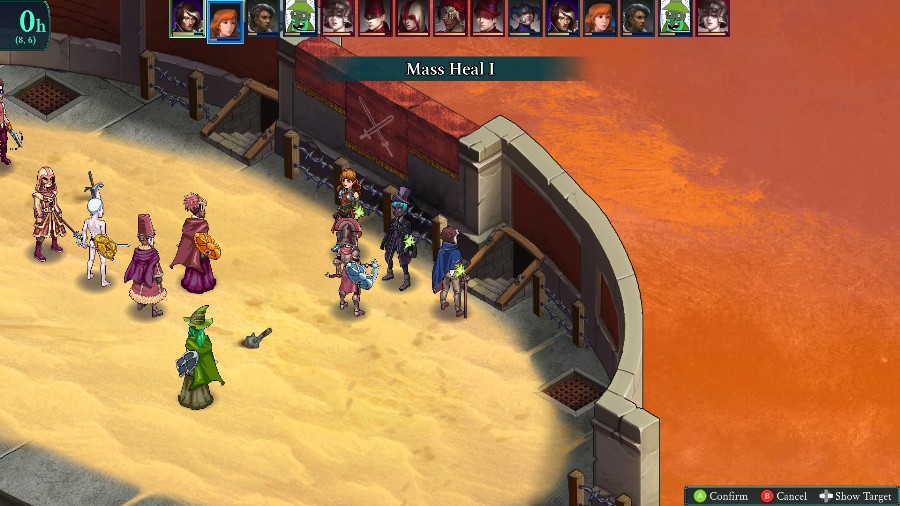
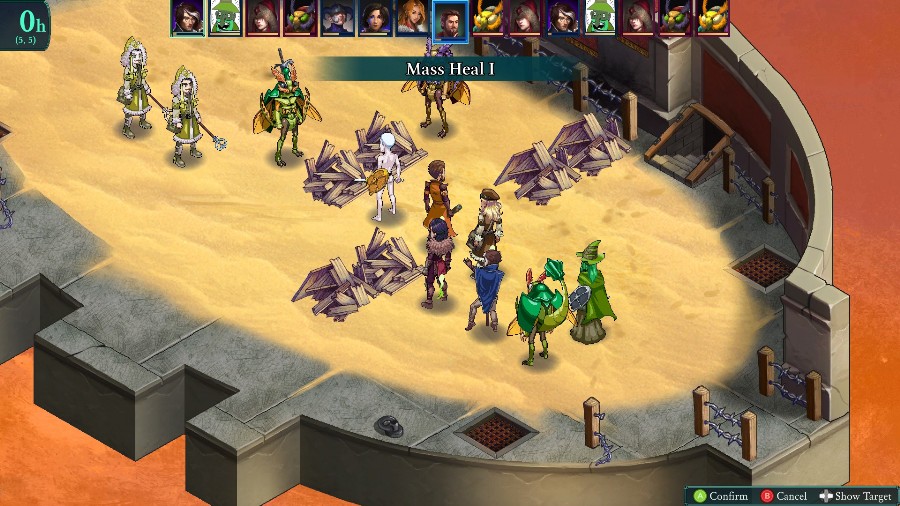
However, because the templar’s nearly at full health there’s not much of a downside to hitting him with an AOE heal as I patch people up.
I also really need to take out that sorcerer before he goes off again, so Anadine runs over to start working. Sadly, the sorc barely survives and poisons her on a counter.
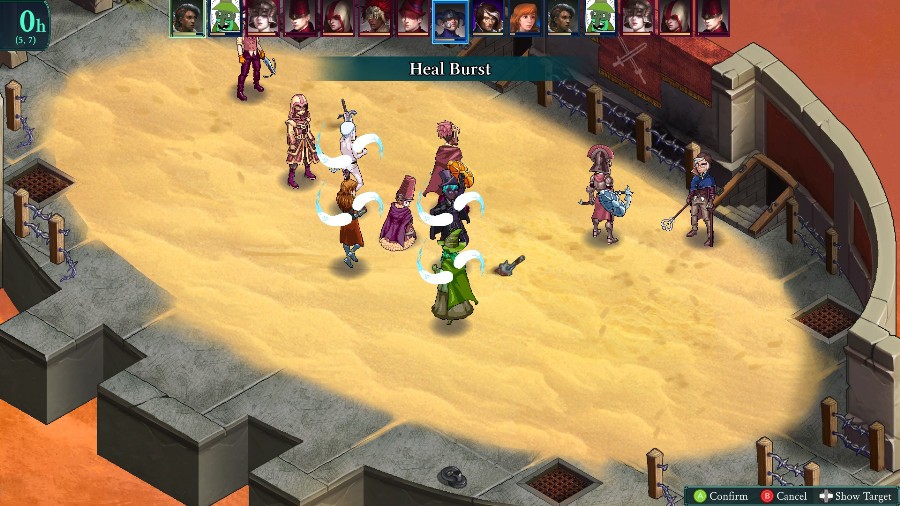
So Selina fires off a healing burst to help keep her and everyone else up (thank god for smart casting on this one).
And Bobby finishes him off with a rock so I have no chance of missing.

Though the templar takes advantage of the new hole to hit everyone again.
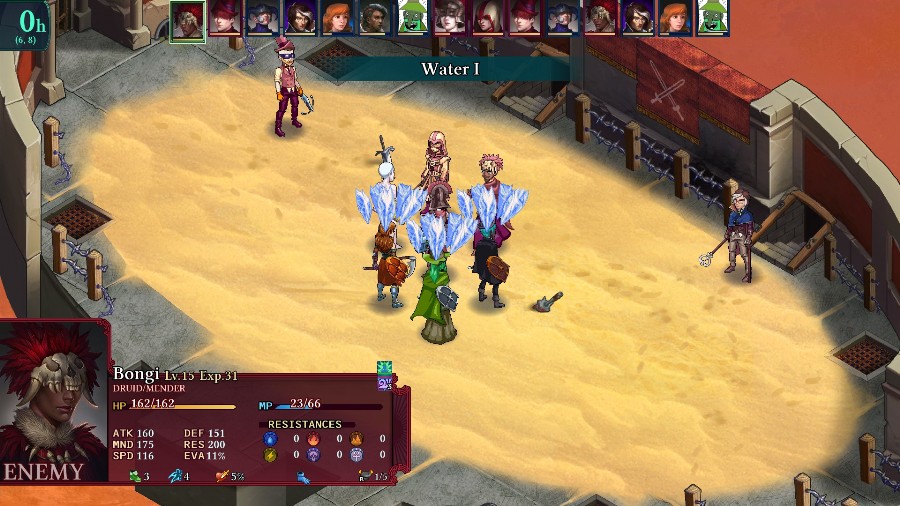
The druid follows up with a cast of water, and I nearly lose Anadine again. Mongo then taunts the druid to put a stop to any more casts.
And then Anadine is able to take out the templar. From here, it’s mostly cleanup that just takes a while because all 3 enemies keep healing each other.
But eventually Selina takes out the druid.
Bobby misses a chance to take out the peddler, so Selina confirms that KO as well.
And then Mongo finishes off the alchemystic to end the fight.
Ouch that Hannah went down again, but it really could’ve been a lot worse considering how close things were at some points.
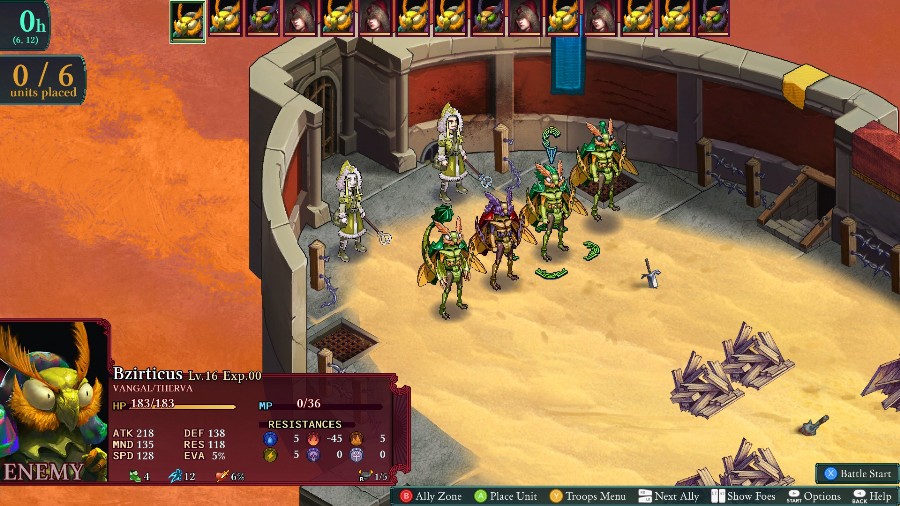
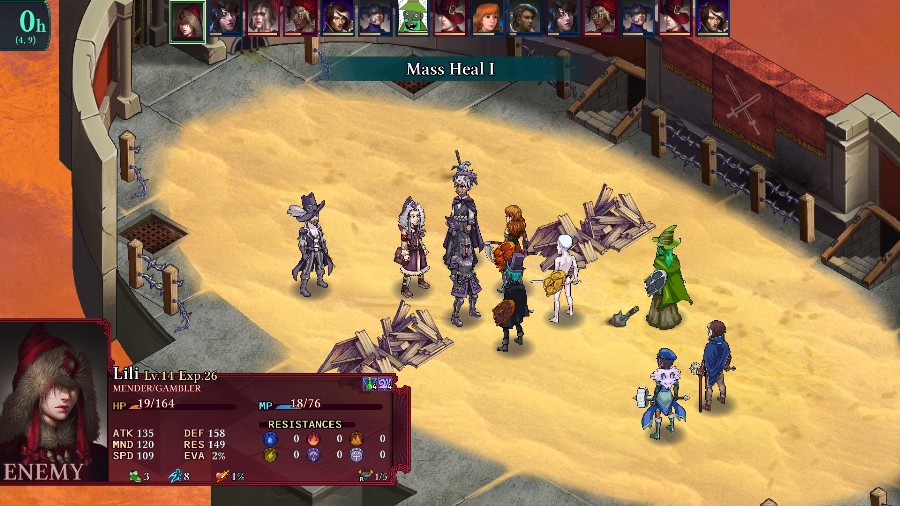
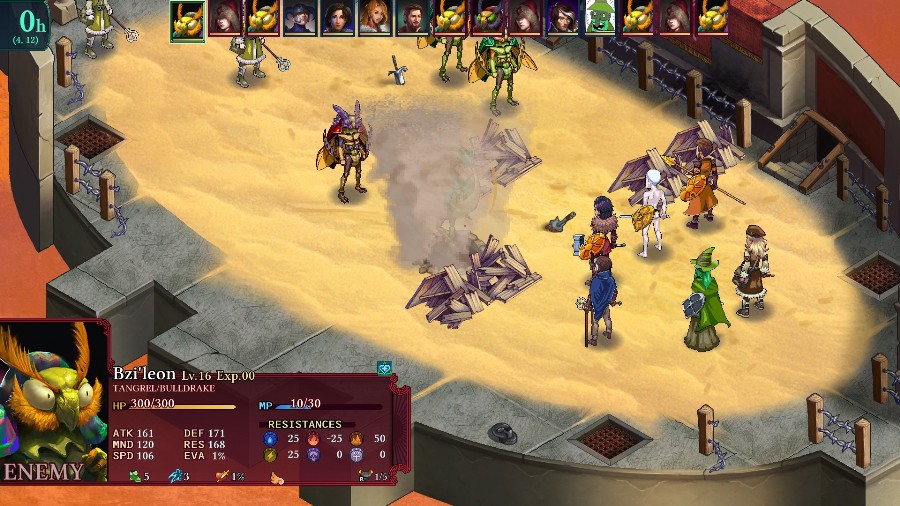
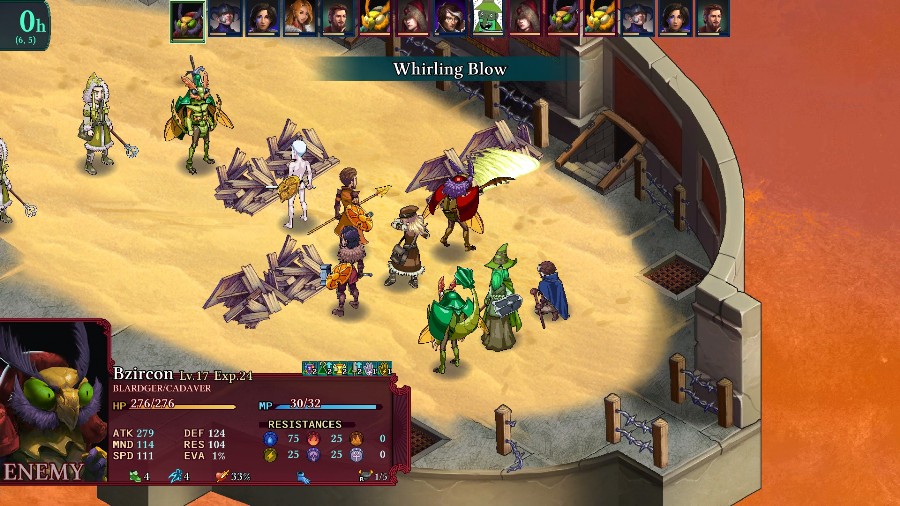
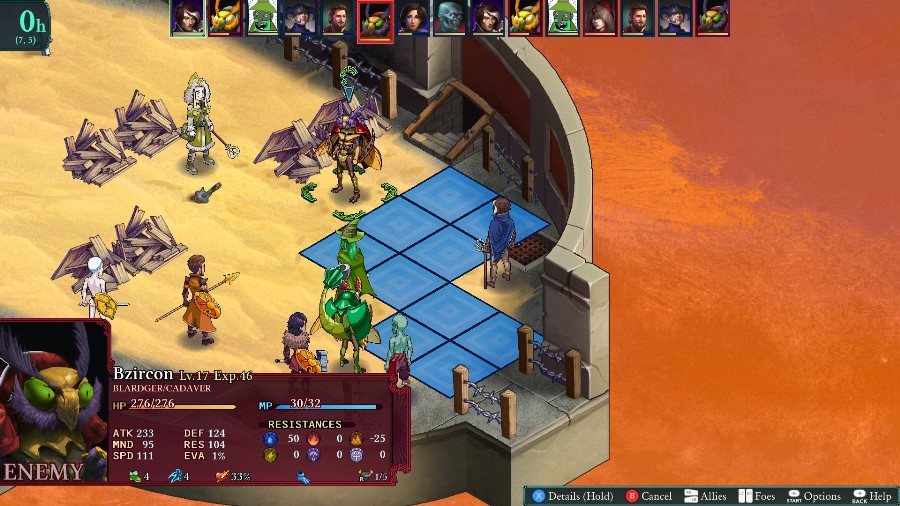
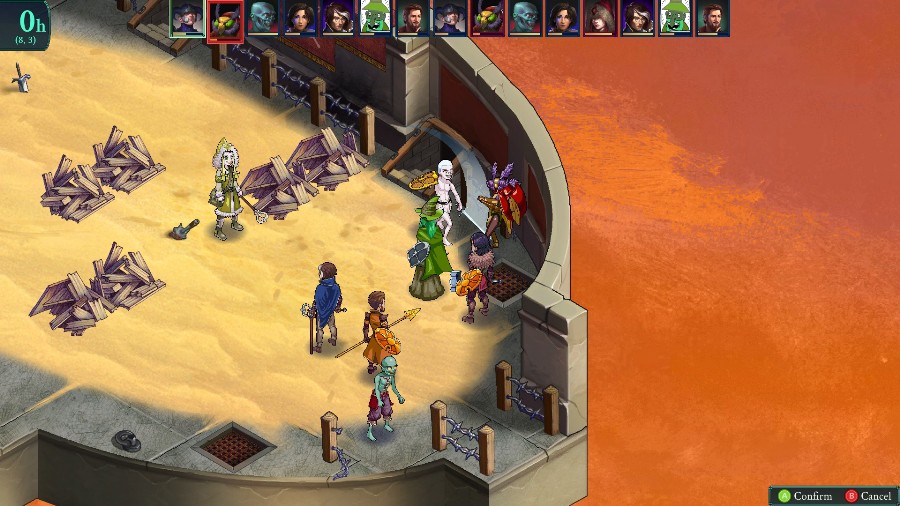
On to fight 3! This time we have 2 menders (groan) backing up 4 Bzil. As a quick review, Bzil use monsters as classes, including whatever movement or elemental resistances their primary monster would have. So they can be pretty tough and have some really effective ability combos.
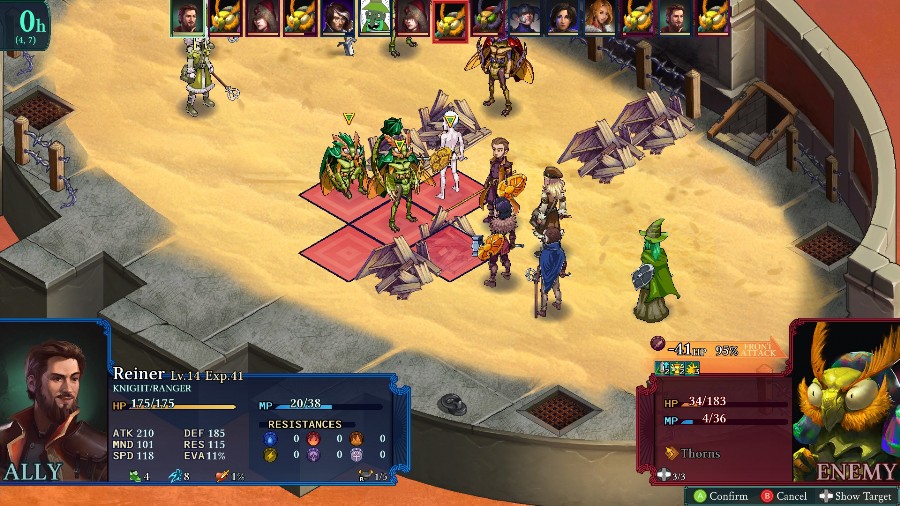
For this one, Sophia’s coming in, as well as a knighted Reiner (for the same class change reasons). The strat this time is going to be to use the debris on the map as a choke point and hopefully down the Bzil while they’re stuck in that area.
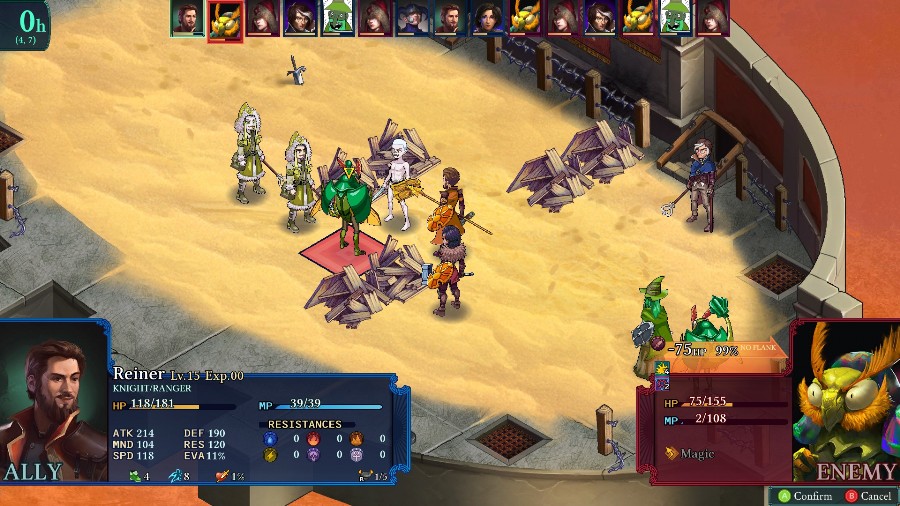
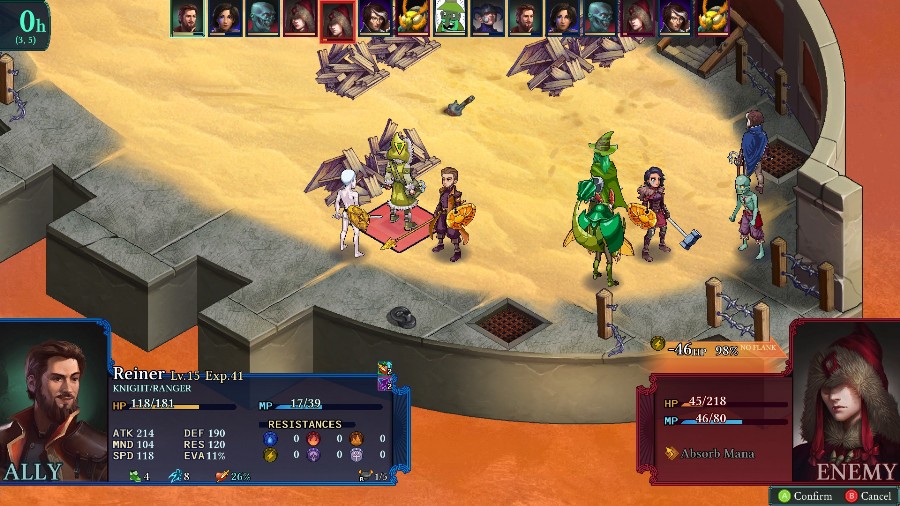
The fight itself starts with Reiner launching some arrows at one of the Bzil for a bit of damage. Though another Bzil just runs up and uses a potion on him.
People continue moving up. One of the Bzils has a cool movement where he burrows underground and pops up somewhere else. That could definitely cause problems with my whole choke point strategy. Though this time he just throws a rock at Yates.
The front Bzil had accrued a solid number of buffs, so Mongo gets rid of them.
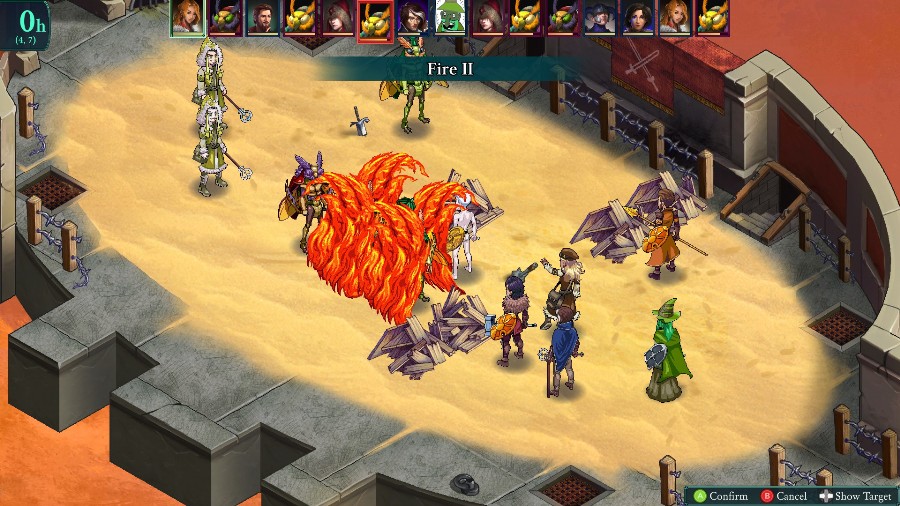
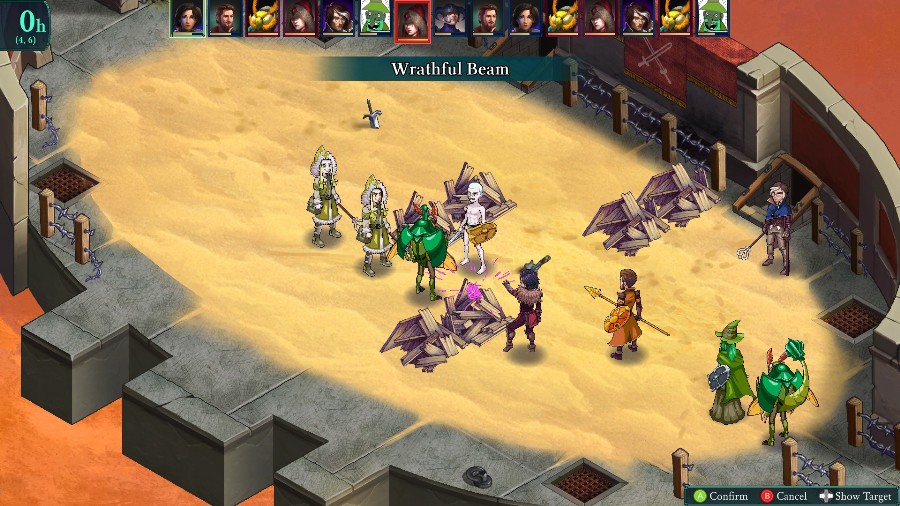
Followed up by a beam attack from Kyrie and a big spell from Sophia.
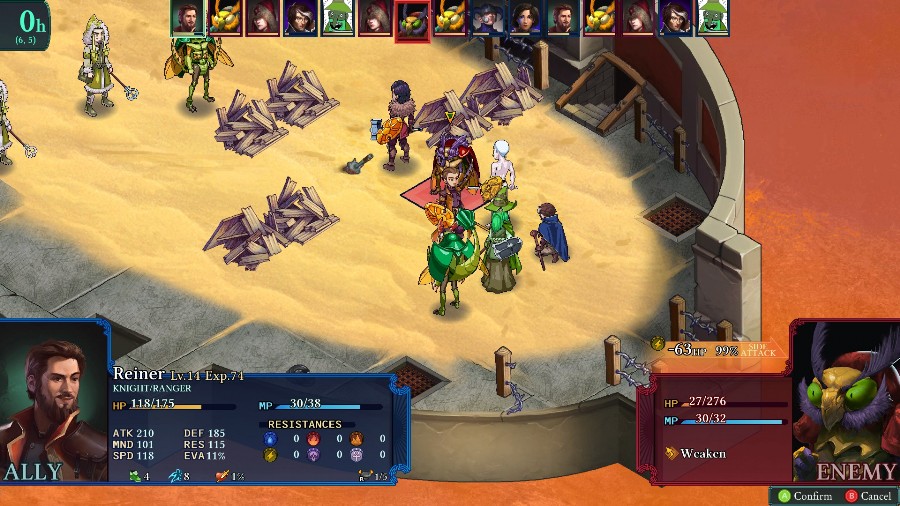
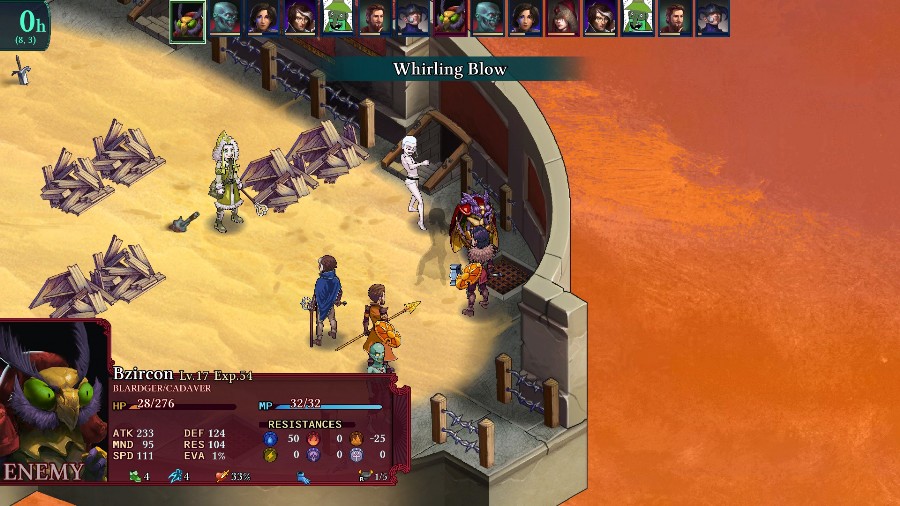
Which weakens one Bzil enough for Reiner to get him with a multishot. Now, what I haven’t been showing is that the front Bzil counters attacks by inflicting the weakened status effect, which prevents any healing. Thankfully, Reiner and Sophia both dodged it but Mongo, Kyrie, and Yates are all unhealable.
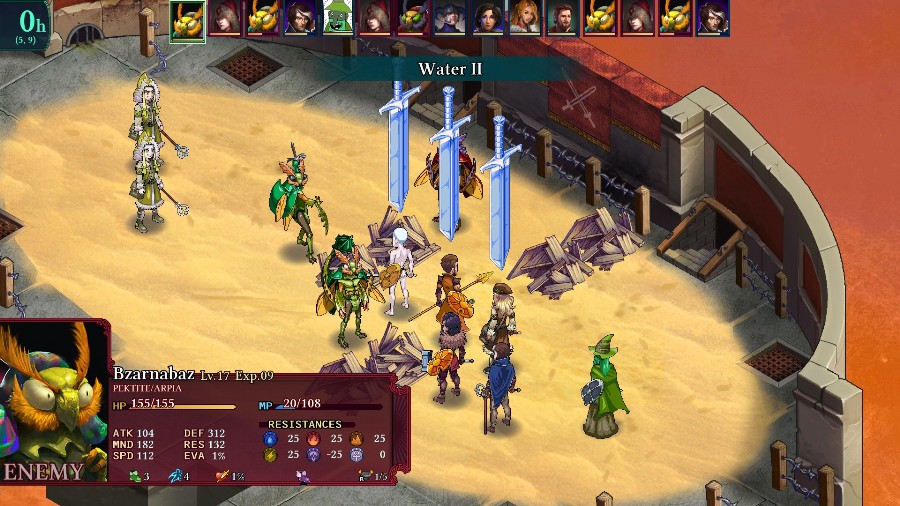
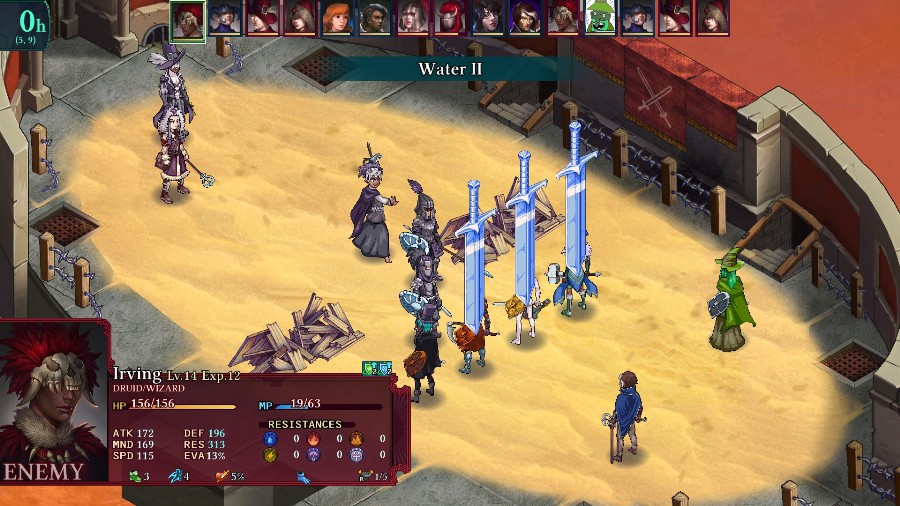
Which is a problem when the pekite-Bzil casts a big water hit on the front group.
And then the burrowing one teleports behind and hits most of the back group.
Yates heals Reiner and Sophia to prevent an easy snipe, and then runs off so Bobby can clear his status with an item in relative safety.
Sadly Yates’s heal was not enough for Sophia, and this super buffed up Bzil takes her out.
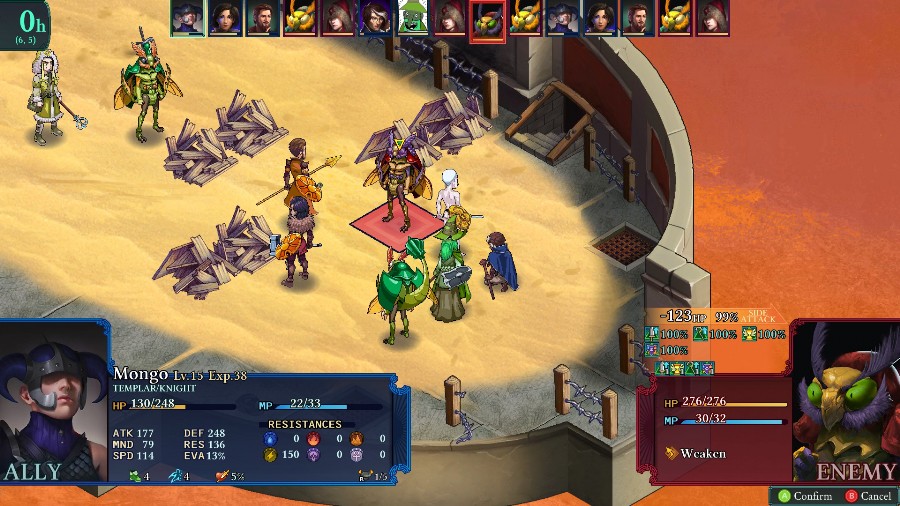
Mongo starts getting revenge by clearing out his buffs, followed up by a big hit from Kyrie.
And Reiner finishes him off. Somehow, Yates manages to survive to his turn as well, and heals himself back up with a potion.
The menders are kind enough to line up for Kyrie to hit all 3 enemies with a beam attack.
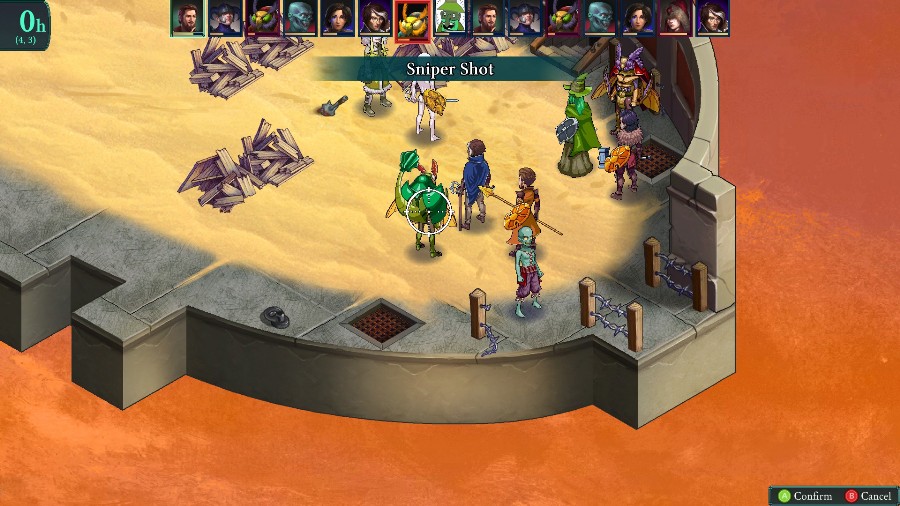
And Reiner finishes off another Bzil with a sniper shot. This was through the super-high pekite defense, so I was really happy to see it work out.
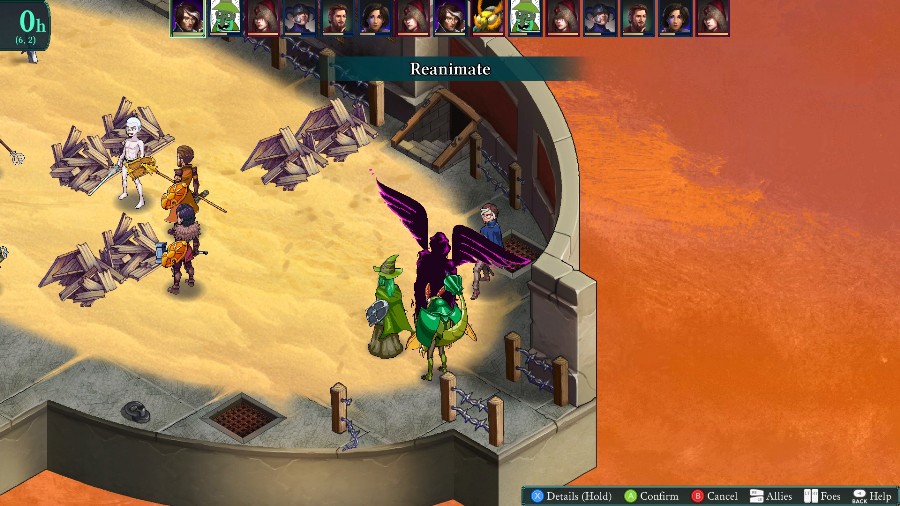
And then to prevent one of the menders from bringing him right back, I have Yates finally use Reanimate, and turn that Bzil into a zombie.
After a few rounds chasing the enemies around, Reiner manages to down one of the menders, which is great.
Though the other mender brings back the Bzil that took out Sophia.
So I have Mongo go put a stop to anymore of that.
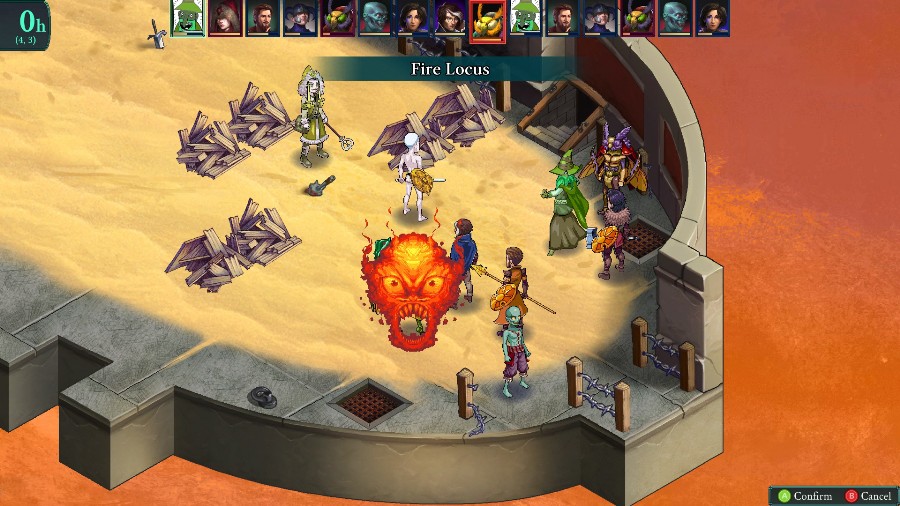
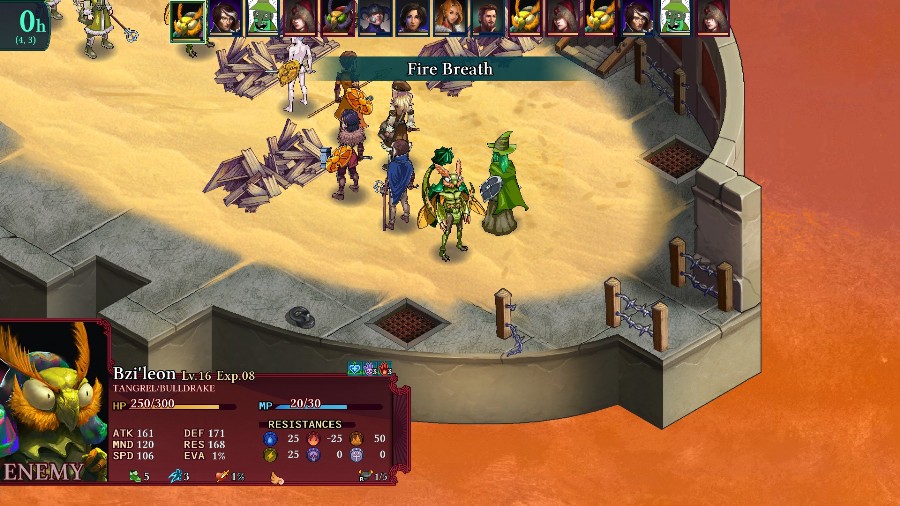
Soon afterwards, Bobby takes advantage of the burrowing Bzil’s fire weakness to take out most of his hp with a fire locus.
And Reiner snipes him as well.
Meanwhile, Mongo ends up a bit short of killing the revived Bzil.
Who then takes out Bobby and then just dies to Mongo’s counter attack.
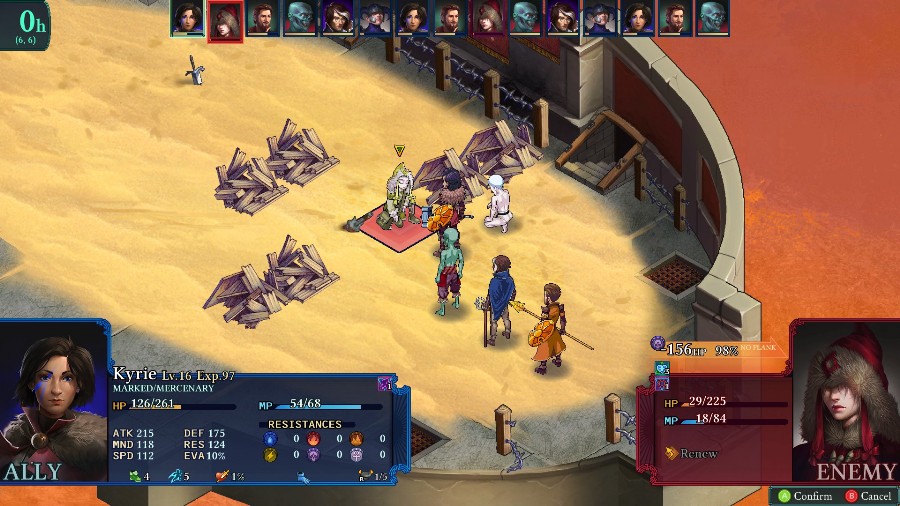
And with that, it’s just down to a berserked mender whom Kyrie executes with prejudice.
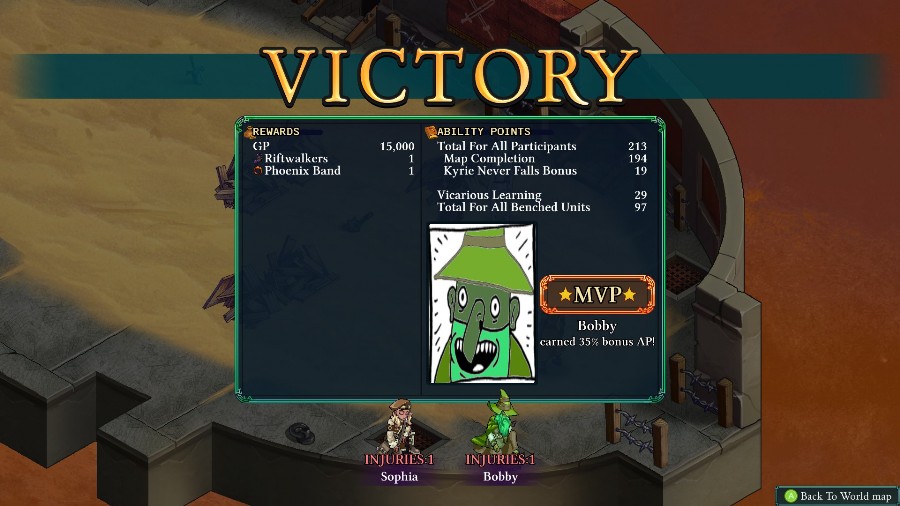
Bobby gets MVP for the fight, and we get a big pile of gold as well as 2 very nice accessories. The Phoenix Band automatically applies the reraise status to its owner at the start of battle, while the Riftwalkers allow the wearer to teleport (effectively giving them the flying movement type). The Riftwalkers are especially useful, both in battle and for getting special chests.
And with that extra long update, we’ll head back to Oldebzar to prep for next time, when we’ll be dealing with Mercier once and for all!