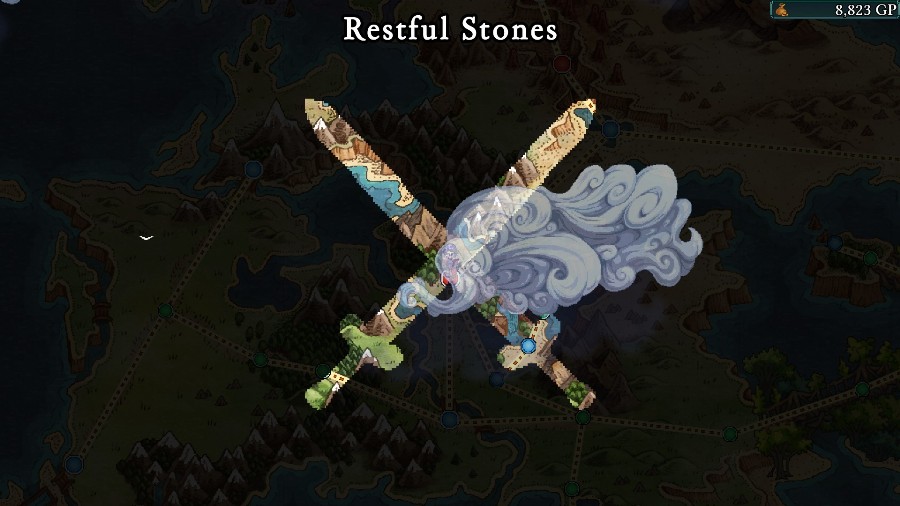
Part 22: Restful Stones
Update 22: Restful Stones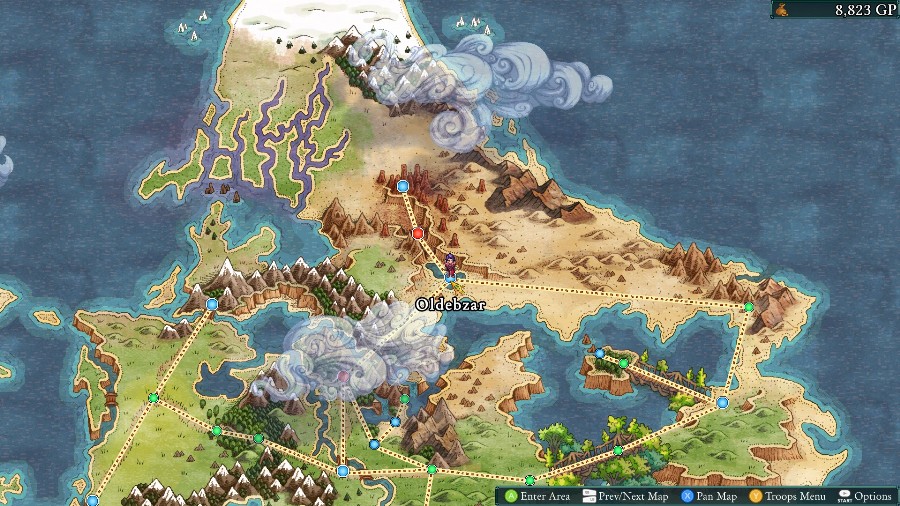
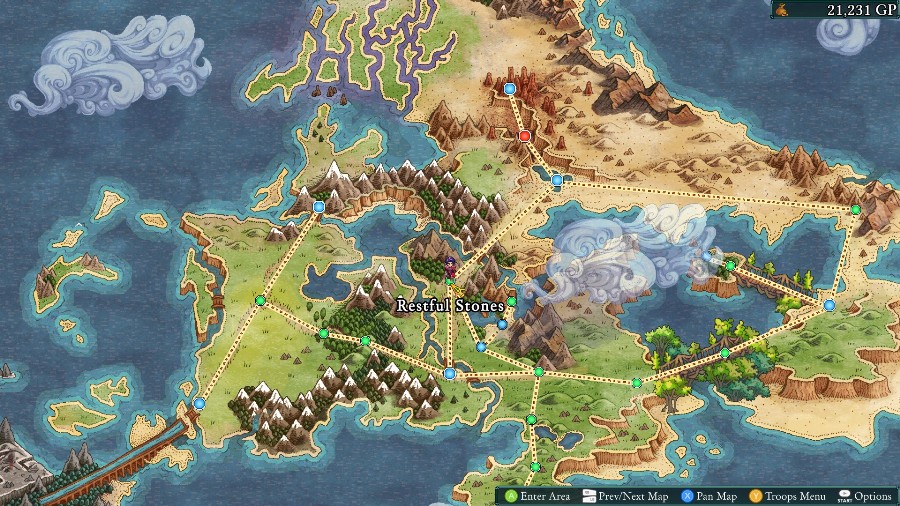
Welcome back! Last time we went through a series of pretty grueling arena battles in Centina. This time we’ll be heading over to the Restful Stones to deal with Mercier and whoever’s supporting him for good.
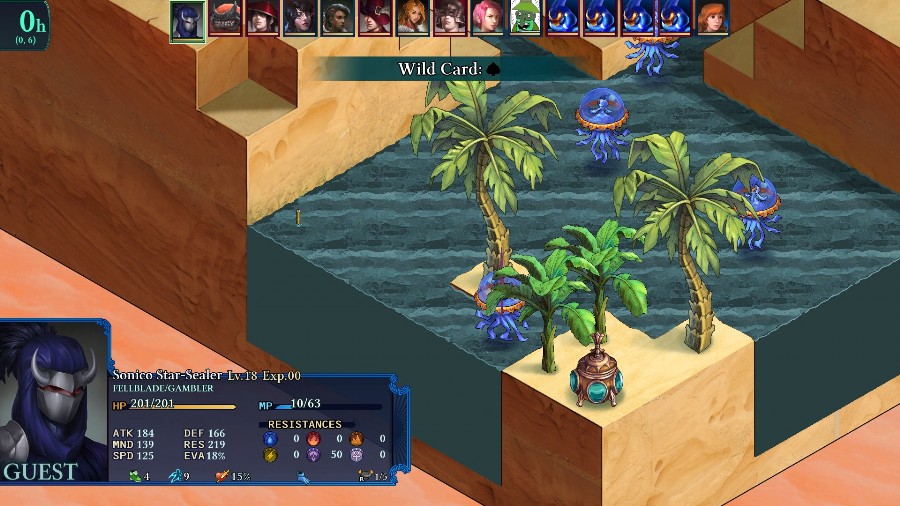
But first I went and got of the new chests available, thanks to the riftwalkers and jet boots.
Just a neat thing to notice is that occasionally there’ll be a random friendly NPC who fights alongside you in patrols. If they survive the fight, you’ll get a little bonus though there’s no penalty if they don’t. As evidenced by this guy being surrounded by Pekites, he did not survive.
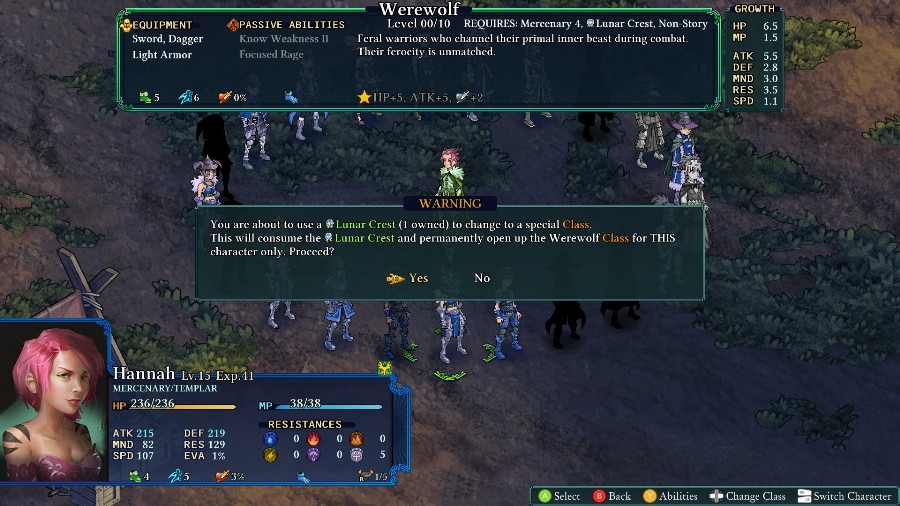
I also found a special crest that unlocks our first secret class! In addition to fulfilling job requirements, you also need to have a copy of each secret class’s specific crest to unlock them, and the crests are generally in short supply. It is possible to craft every crest as well, though the materials won’t be available for quite a long time.
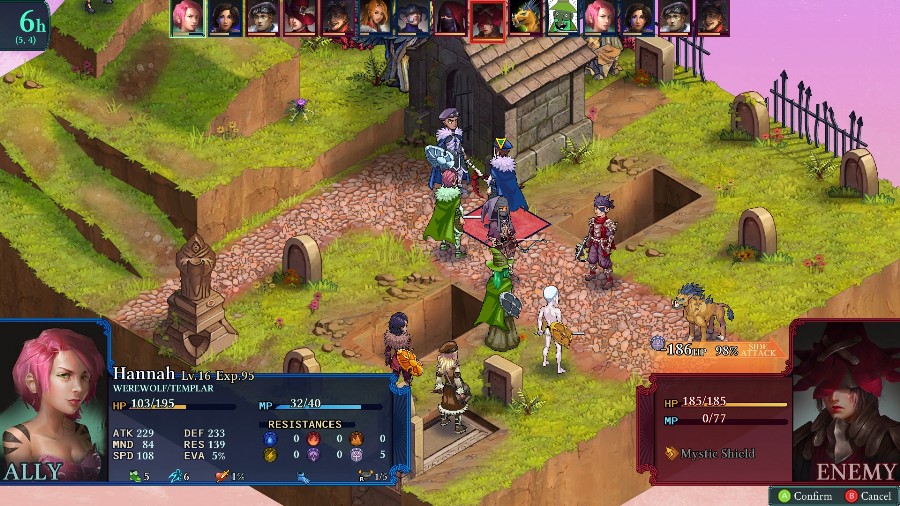
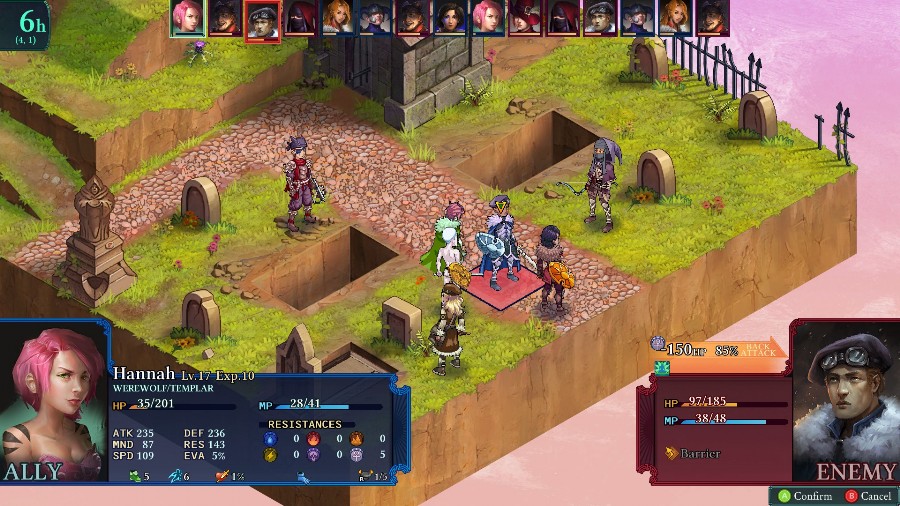
Anyway, the first available secret class is the Werewolf. It’s mobile, with good attacking stats and speed and some useful skills. It’s not as absolutely crazy as some of the other secret classes, but I’m a big fan of it. Considering that Hannah is already about all-out attack, I thought it was pretty fitting for her to get the first crack at it.
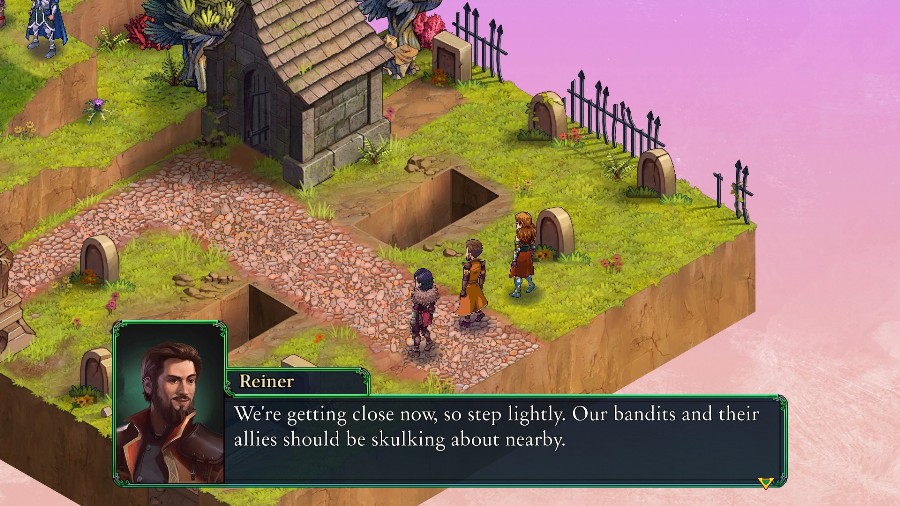
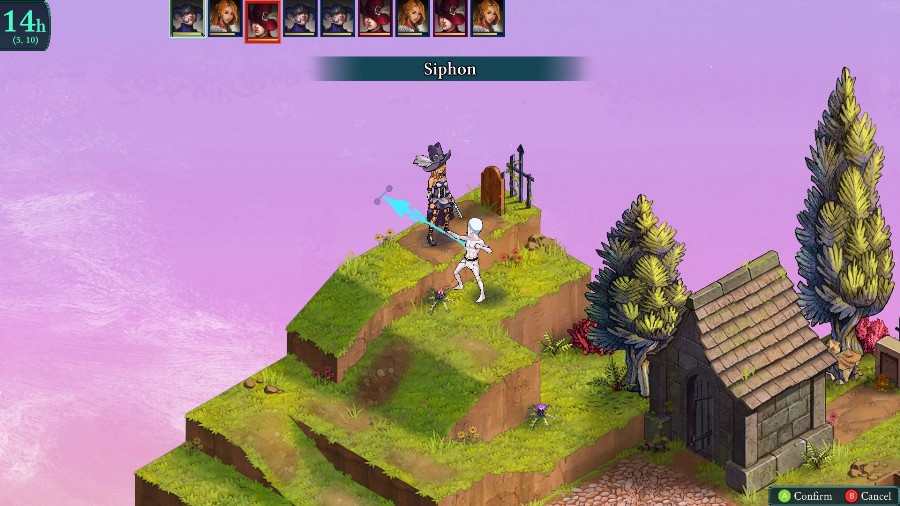
With those quick matters out of the way, it’s time for a battle!
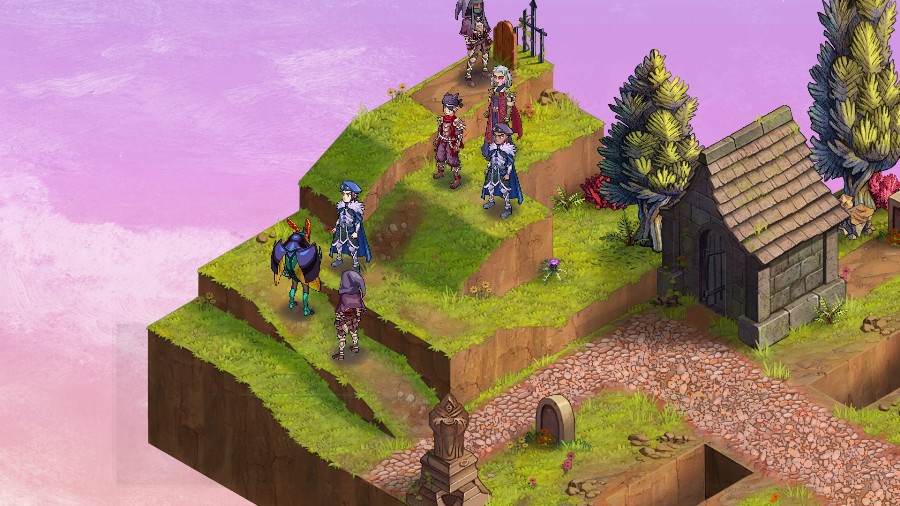
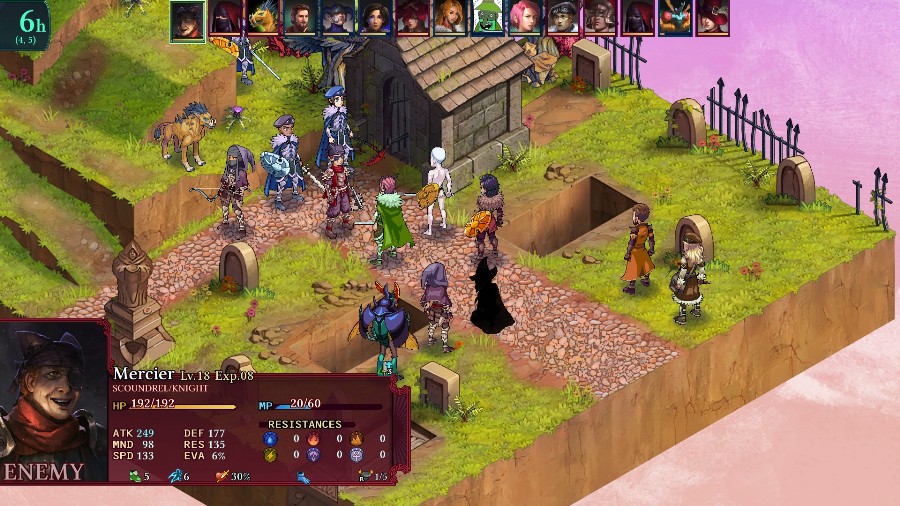
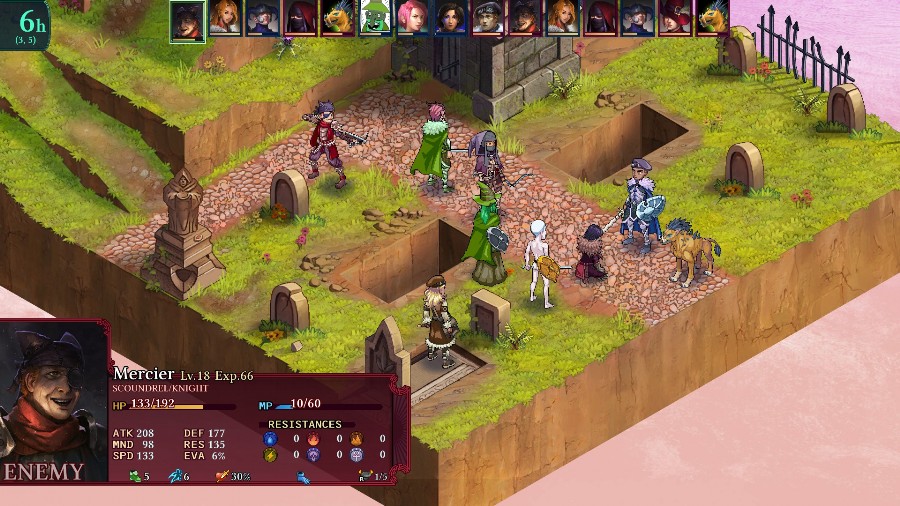
Cut in to a graveyard, with Mercier, Dolman, Septimus, and a bunch of goons surrounding our friend Bzaro!
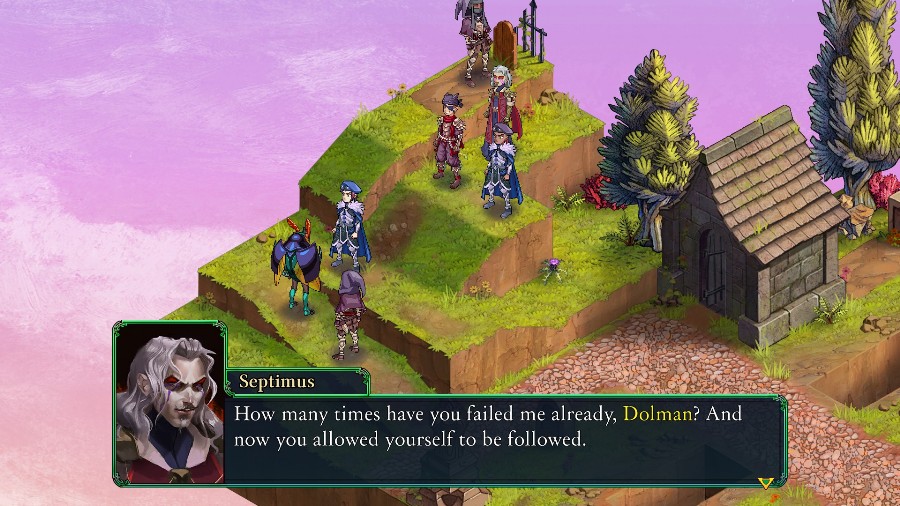
 But Septimus, as I reported, every one of these mishaps is the fault of Mercier.
 Stow that drivel you jumped-up squire! It was Arbiters what kept showing up and attacking us every time we turned our backs! And where were you lot? Your only task was to keep those curs off our trail! If I didn’t have a mob of incompetents to babysit-
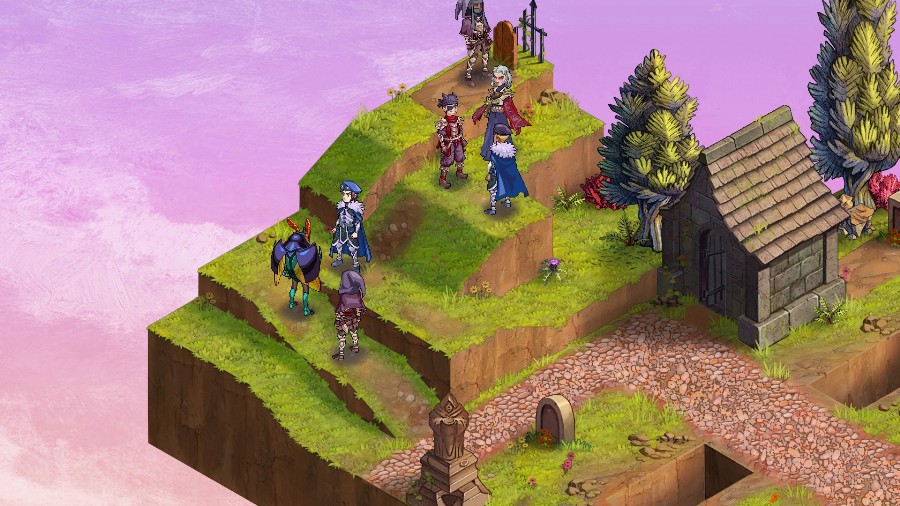
Septimus throws out an arm
 ENOUGH! Just… deal with him. And take more care in your duties from now on. Your job is to perform the tasks you’ve been assigned and spare me from petty distractions. Know that if you continue to disappoint me, you will be retired. In case that is too ambiguous for you, by “retired”, I mean “slain.”
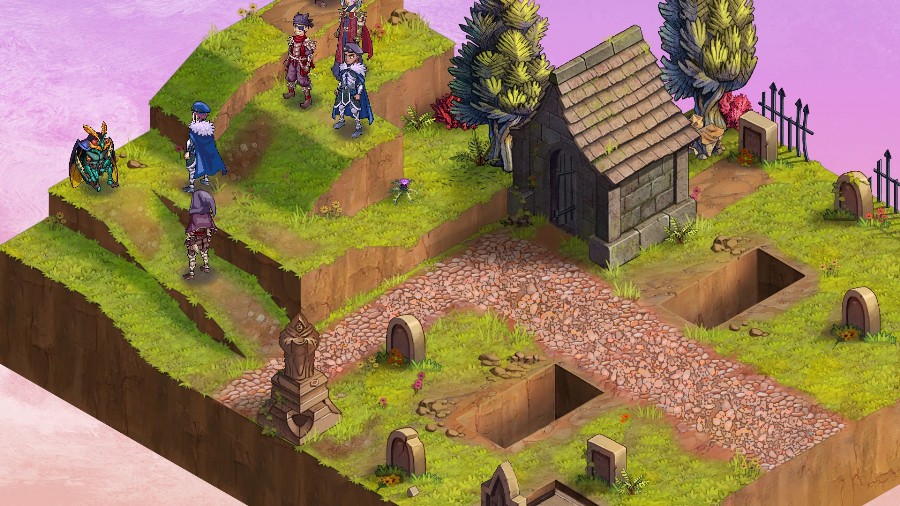
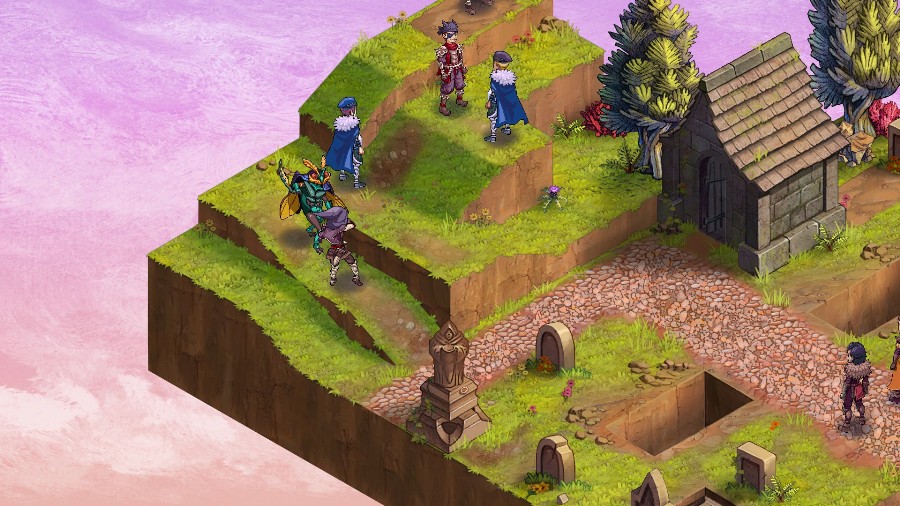
Bzaro starts backing into the corner as the camera shifts southeast.
And our party walks up, just in time.
 Aha, found them! And some of their playmates as well.
 That can’t be… Septimus?! Gods, what now?! One of you buffoons was followed again! And by a Marked, this time! I don’t have time for this nonsense. Deal with them as well, and you had better be thorough this time. If any one of them survives, you’d best be certain you do not.
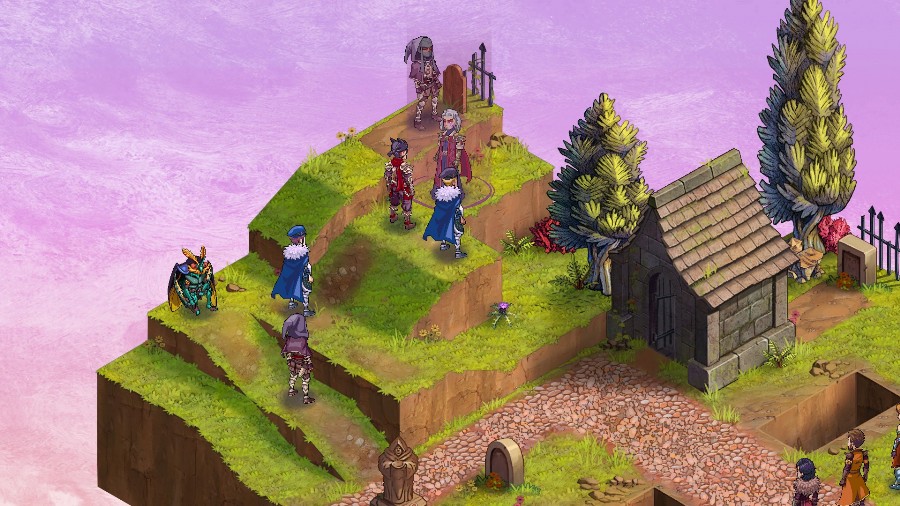
Septimus teleports out.
And Bzaro takes advantage of the distraction to shank a guy and make his way over to us.
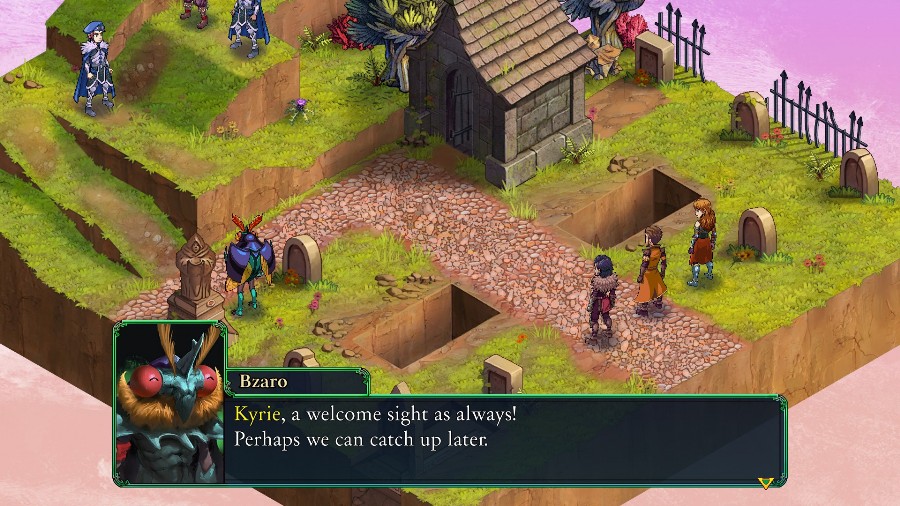
 Bzaro, I can’t say I expected to find you here.
 These days it seems like I’m mandibles-deep in one secret investigation after another. This time it’s corrupt Arbiters. I do believe I just uncovered some conclusive evidence.
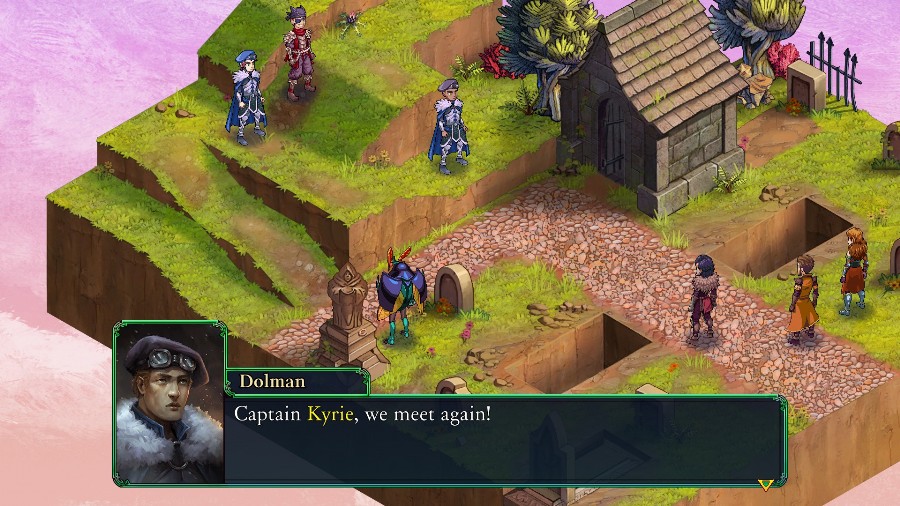
 Dolman. Come come, don’t look at me like that. Everything can be explained. … Still your weasel tongue! We’ve already seen what your negotiating gets us. We’re putting this hunting dog down once and for all, and you’re going to help. Fine. But later on, you and I are going to have a little talk about respect, Mercier. Front and center, everyone! You know the drill, no survivors!
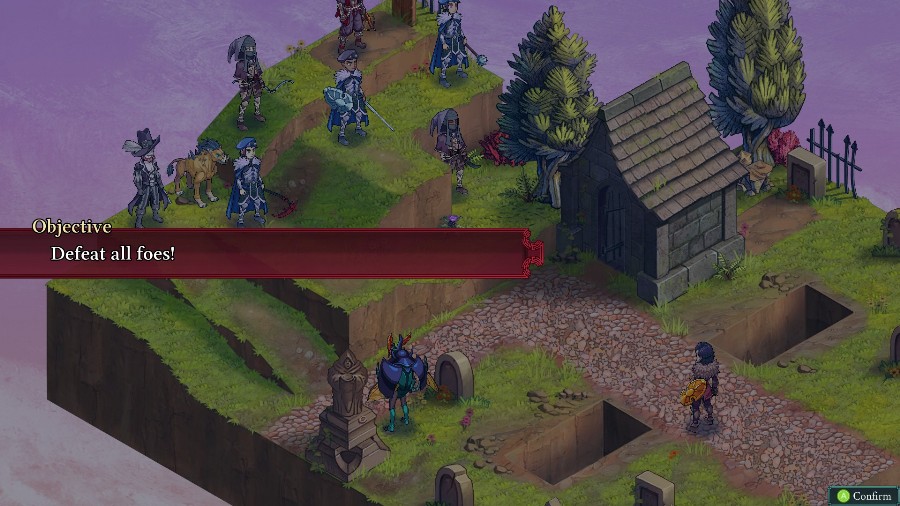
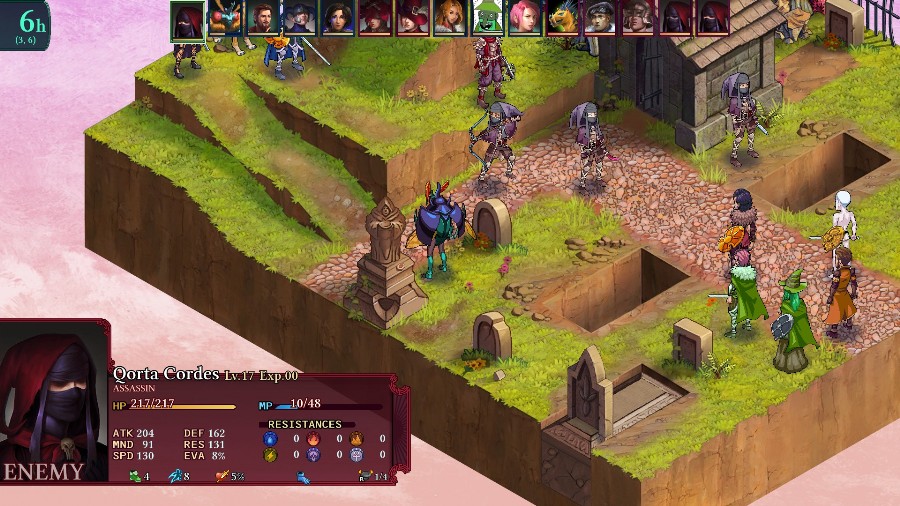
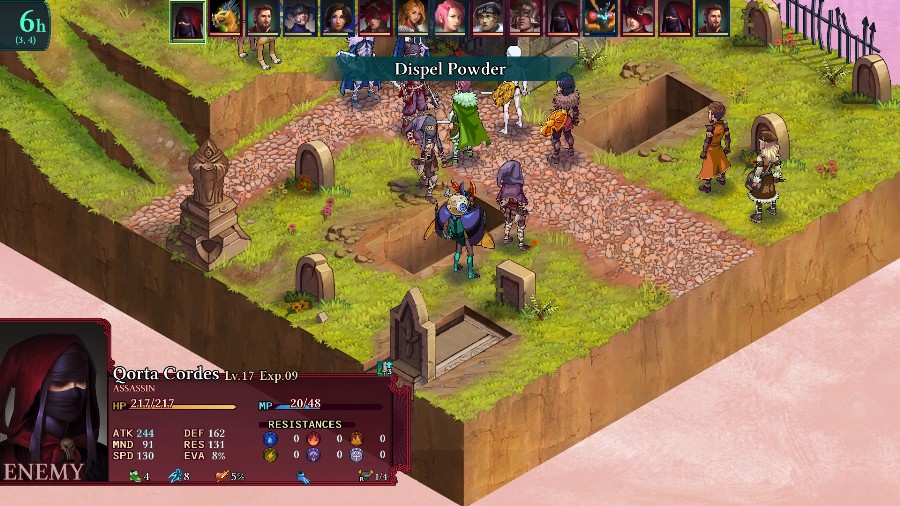
And it’s time to fight! This is another tough one. There is a lot of enemies who all have double classes, and most of them have the full ability list. Additionally, there’s no real way to separate any group out, and the assassins are all basically guaranteed to go first due to their very high speed.
We do have Bzaro helping out as well, but he’s basically a non-entity. It’s rare that he survives past the first round, and if he does survive he’ll either run back to a corner and heal himself or rush into the middle of the enemies and essentially suicide.
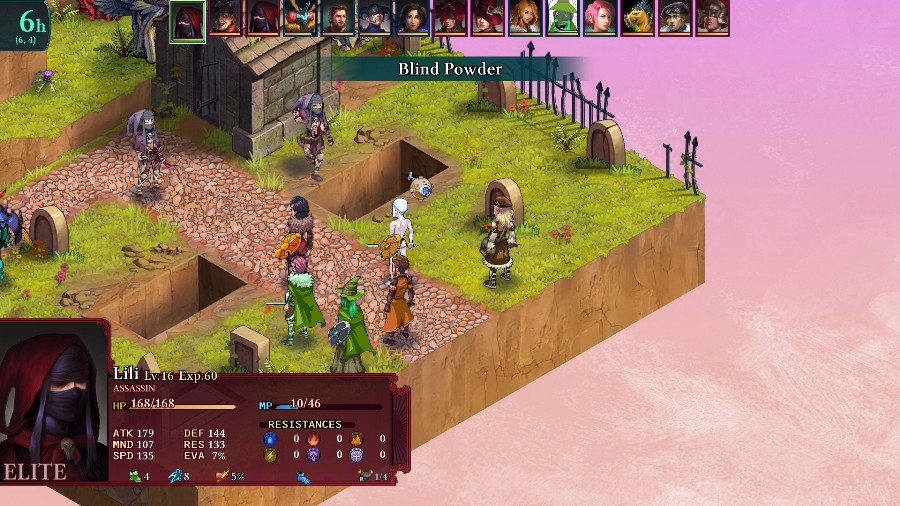
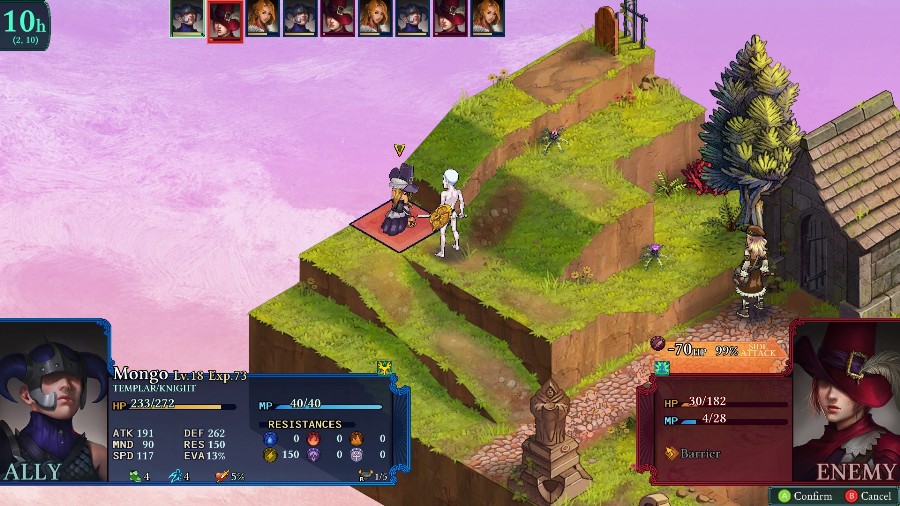
After multiple tries, this time I’m bringing in Mongo, Hannah, Reiner (who’s now a gunner), Bobby, and Sophia. Kyrie is also now a fellblade.
A key thing for this formation is that no one in the first 2 rows is adjacent to anyone else in those rows. That’s because the assassins have a bunch of status moves that are ranged and hit a 3x1 line, so this should prevent them from htting multiple people before I can move.
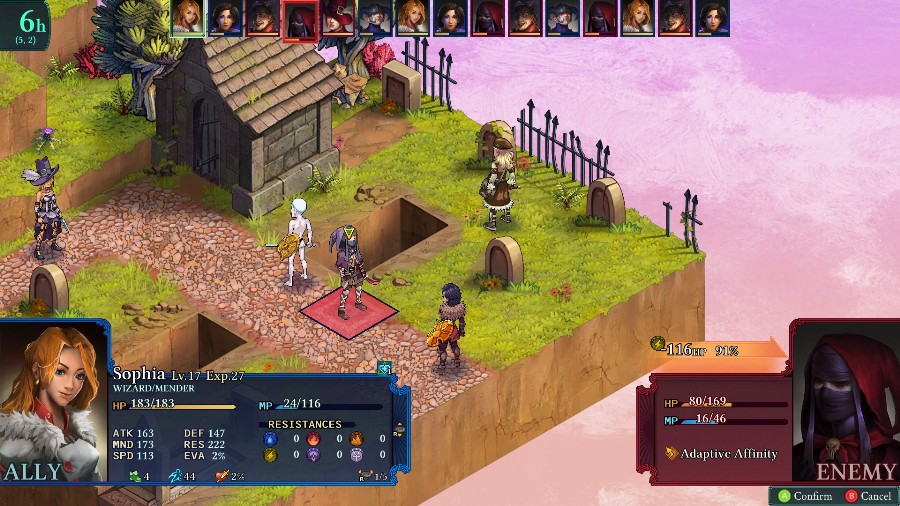
One of the assassins opens the fight up by blinding Sophia.
And then Mercier and one of the assassins almost take out Bzaro before he can even move.

Bzaro then gets to take a turn and starts talking.
We followed one of the bandits here after disrupting their plan to attack Oldebzar. Really?! How did one of these lowlifes manage to escape your grasp? We let him escape, of course. We suspected the bandits were colluding with corrupt Arbiters and arranged for Reiner to track him. What a lucky break for me!And then he just runs back into a corner.
Reiner does my first damage by shooting one of the assassins.
Mongo hits him again.
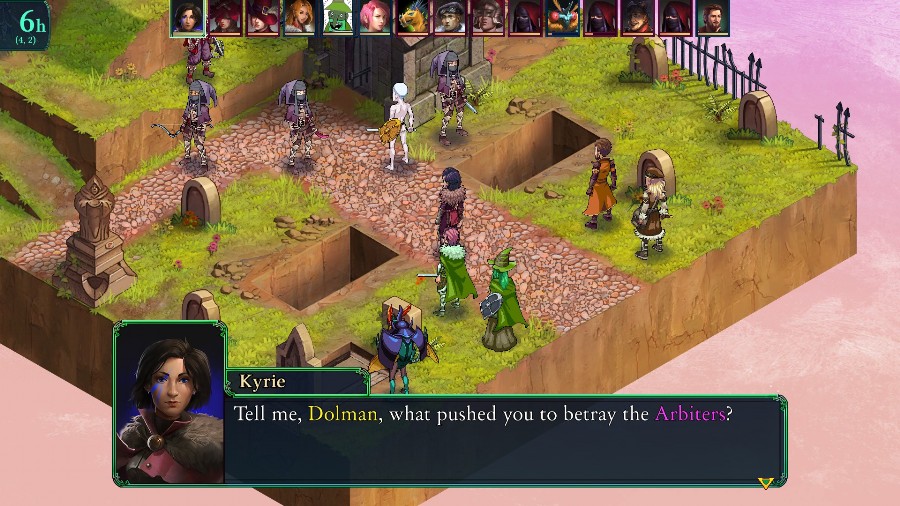
And on Kyrie’s turn she calls out Dolman.
Hmph. You saw who’s in charge. Does it look like I had a choice? I think you were selected because you have a taste for criminal activities. I doubt anyone in my outfit would have received such an offer. Bah, I’ve had enough of your lectures! You will be dealt with, I promise. Then we’ll pin all the attacks on a Marked Arbiter gone crazed with her newfound power! I wasn’t looking forward to taking down an Arbiter, even a crooked one, but you do make it easy. Several citizens lost their lives during your operations. You’ll find no pity here.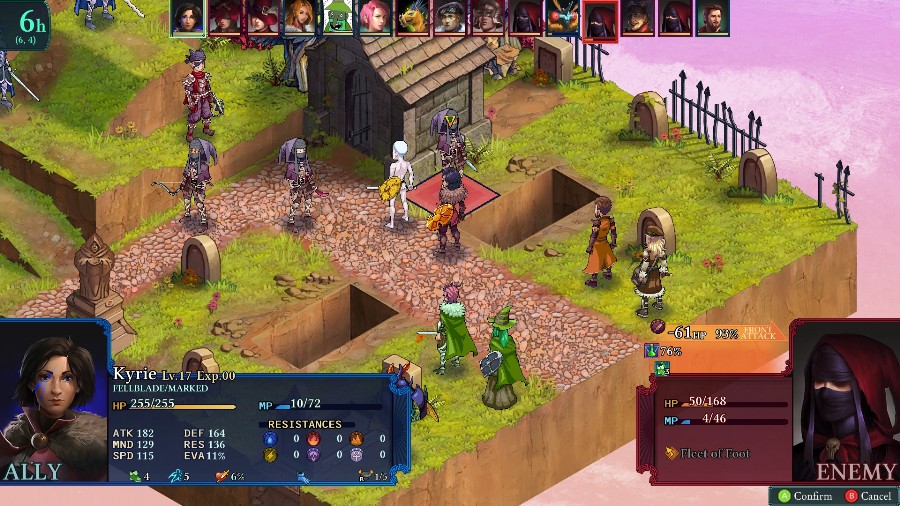
And then she drives her point home by taking out that assassin.
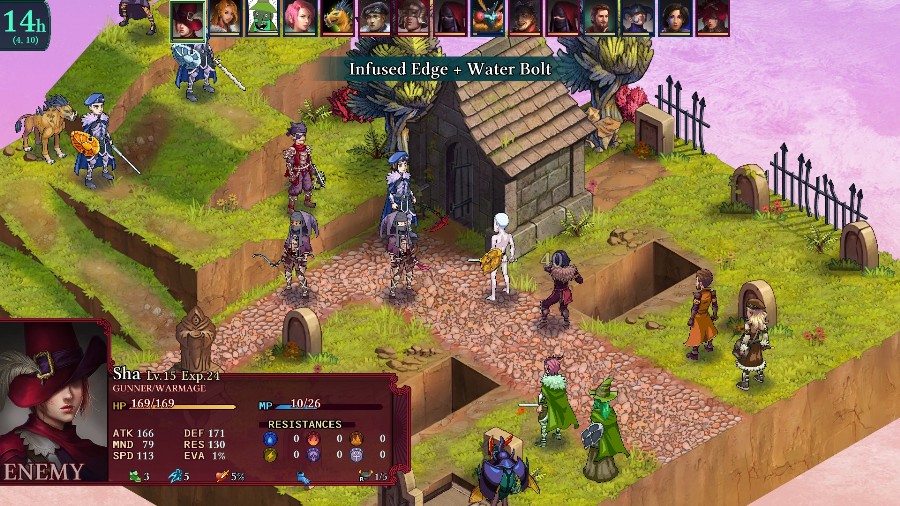
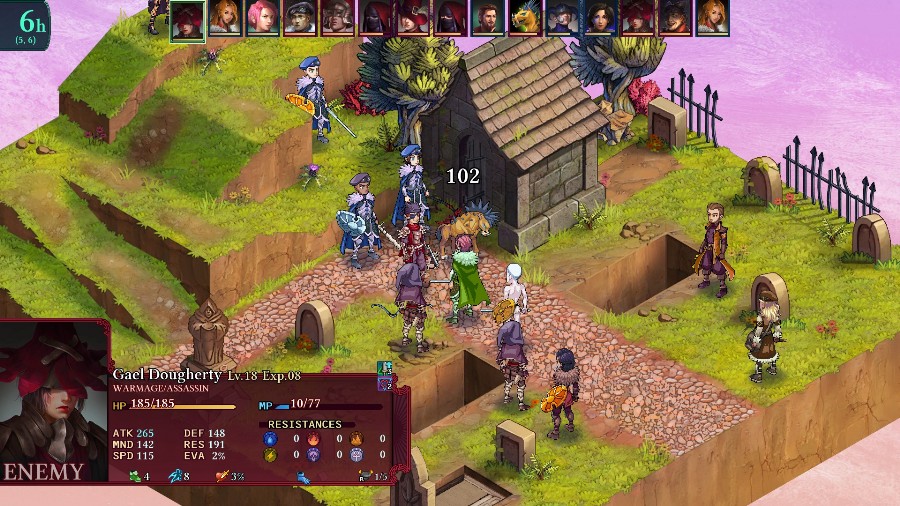
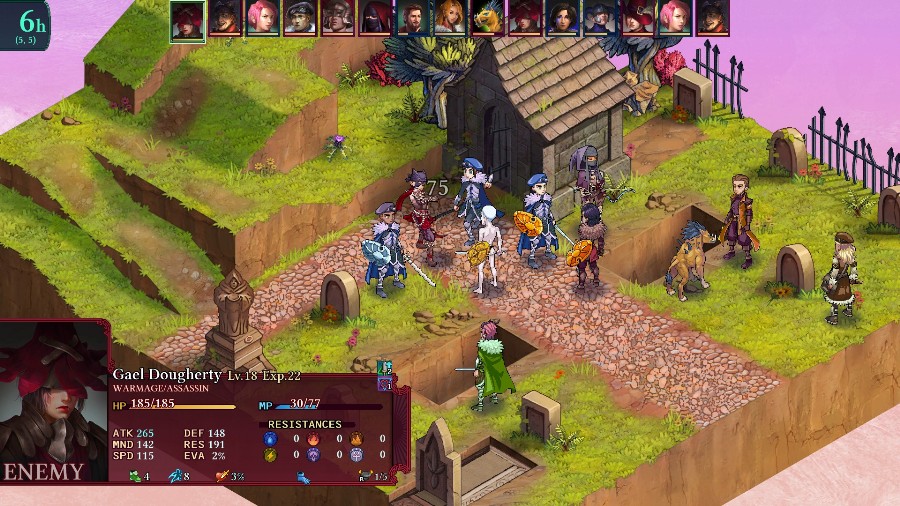
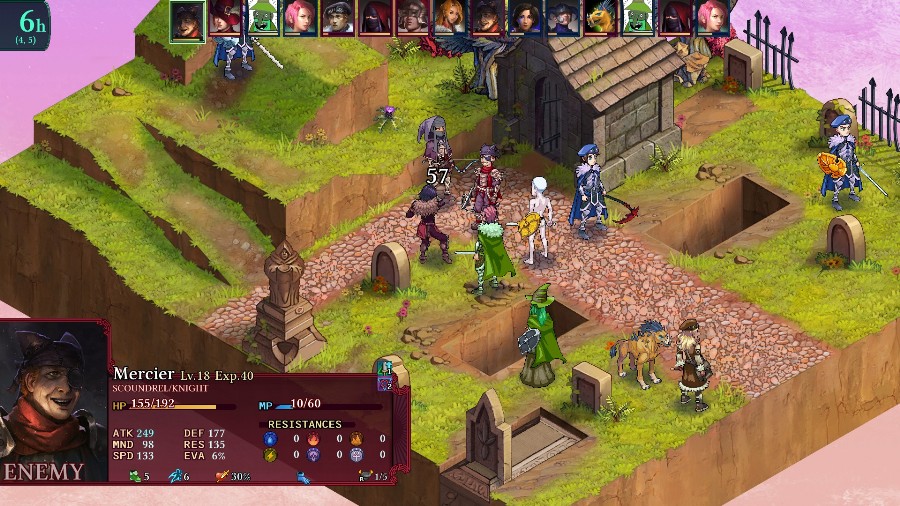
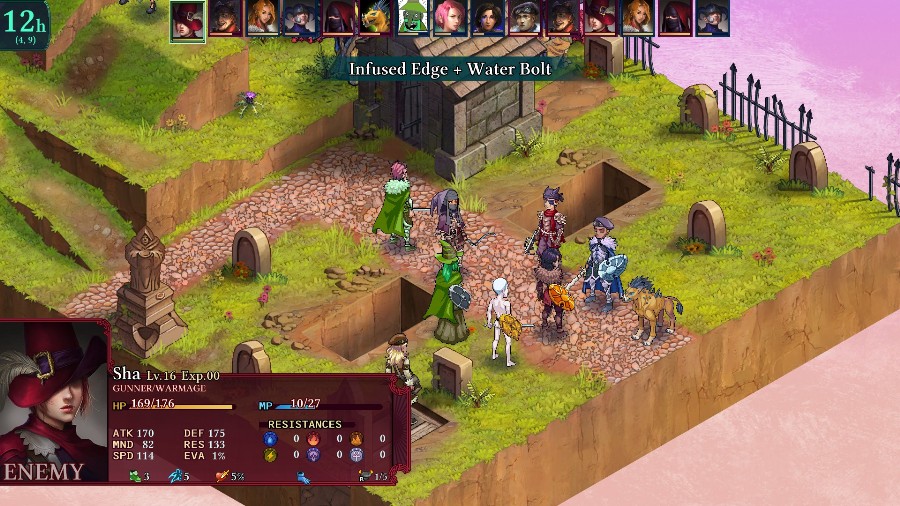
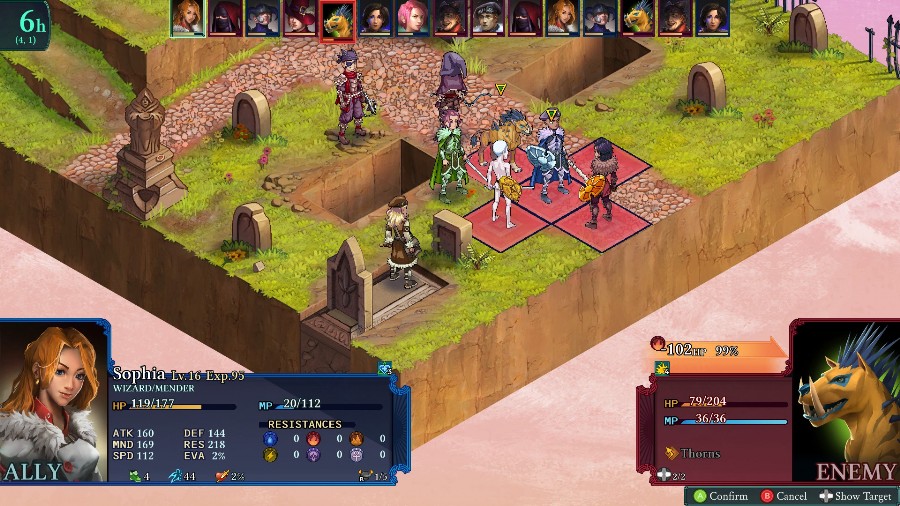
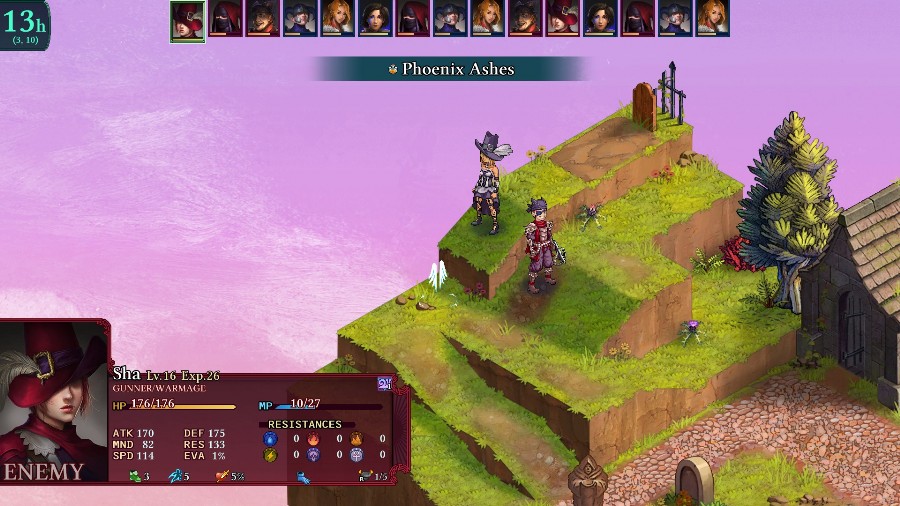
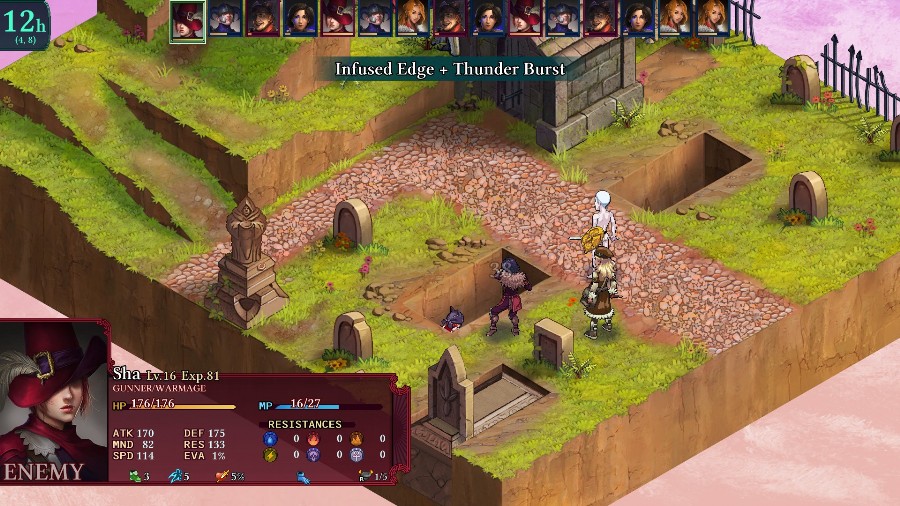
I then make a nasty discovery that the gunner is also a warmage, meaning that they have a very long range and powerful attacks. The only good side is that their magic is pretty low, so the magic attack parts aren’t quite as nasty as they could be.
Sophia’s out of range to do any damage, so she just patches up Kyrie and Mongo.
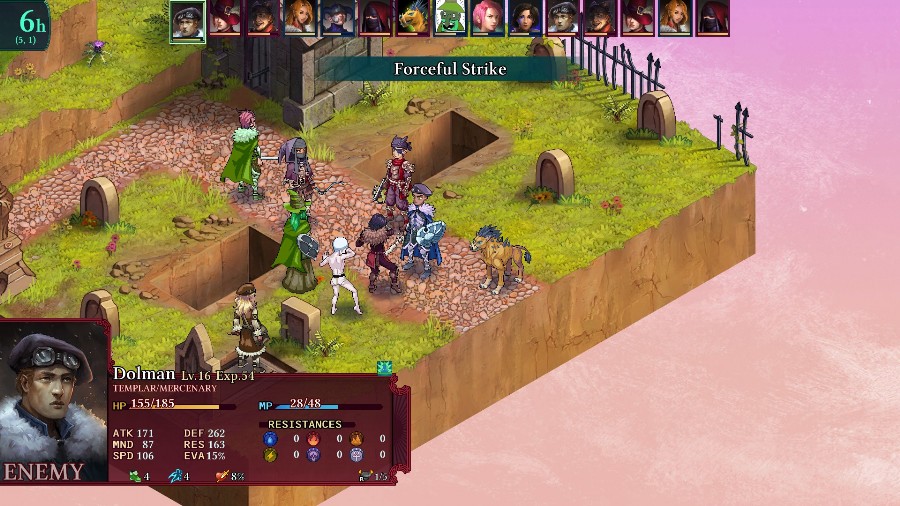
Dolman then buffs a lot of people’s attack, which is very, very bad.
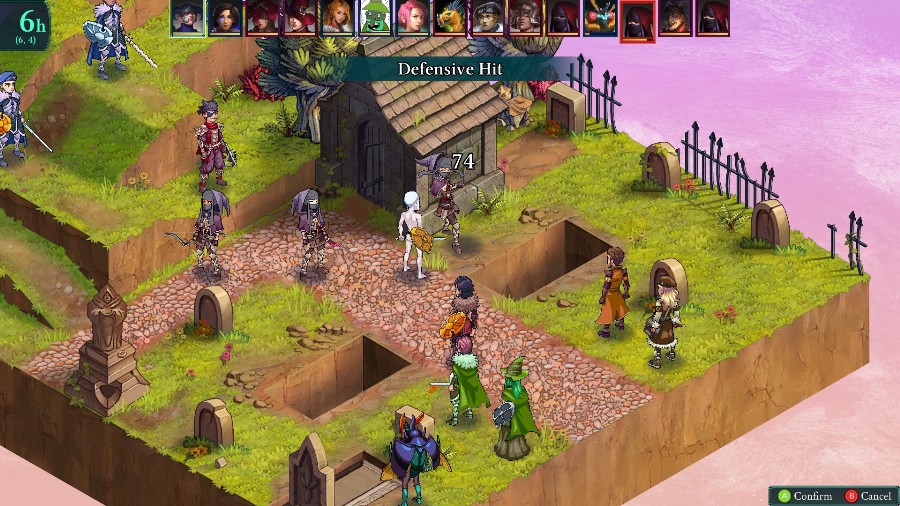
As demonstrated by this assassin nearly 1 shotting Bobby.
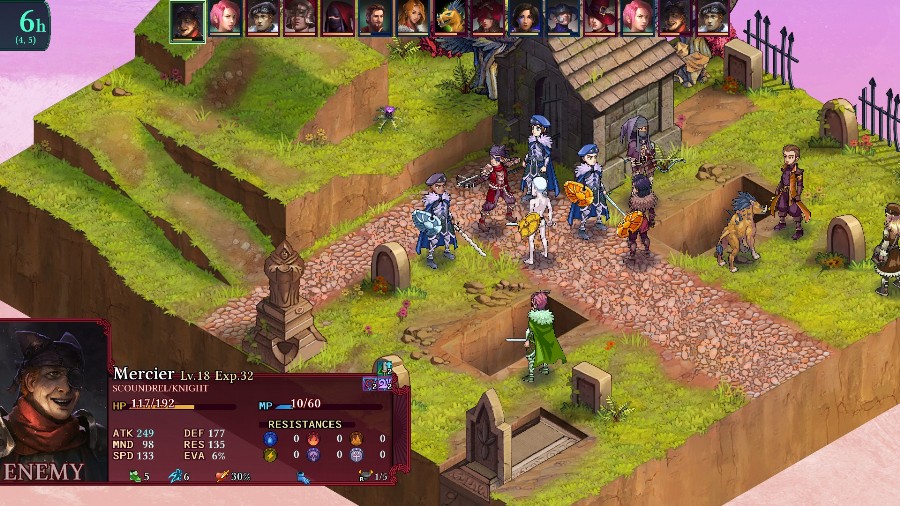
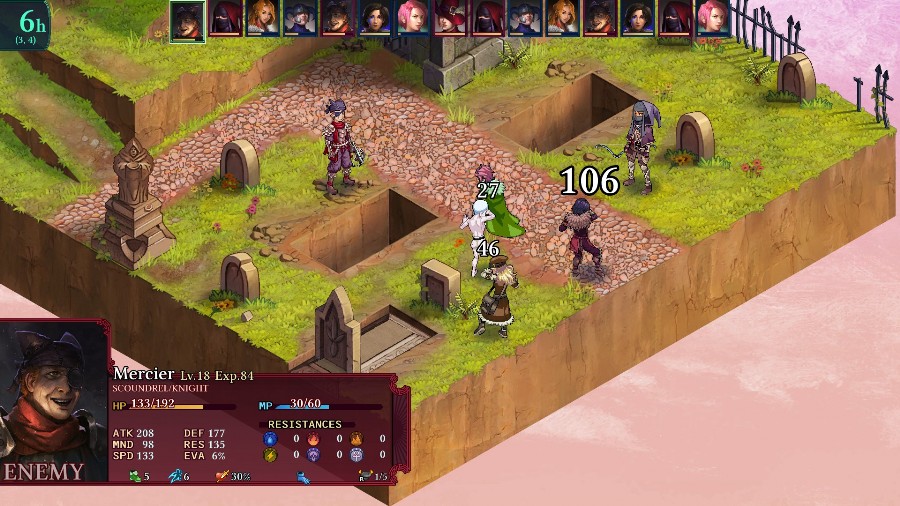
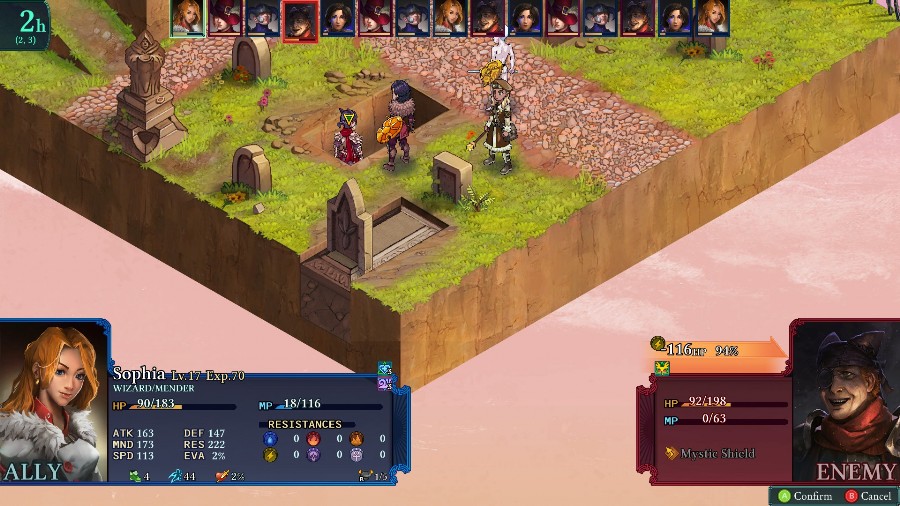
Mercier finishes the job. Which is not great.
Which is followed up by one of the assassins finishing off Bzaro.
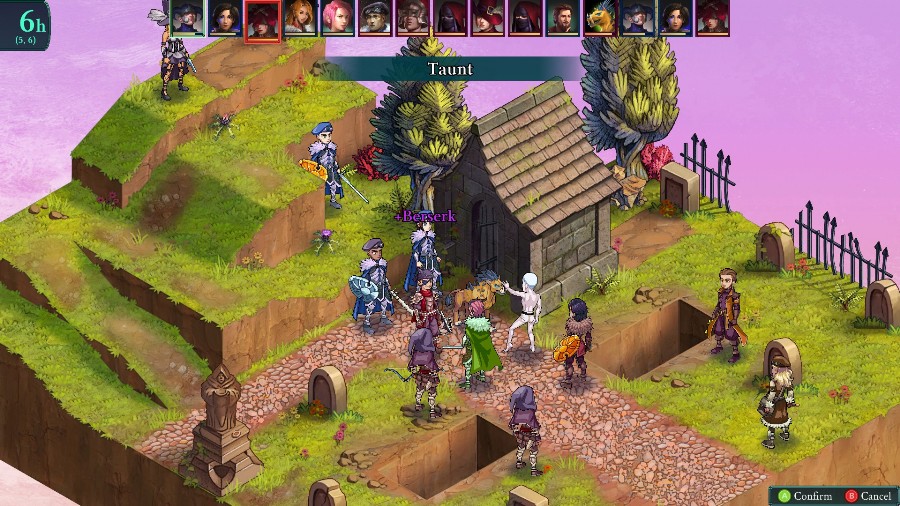
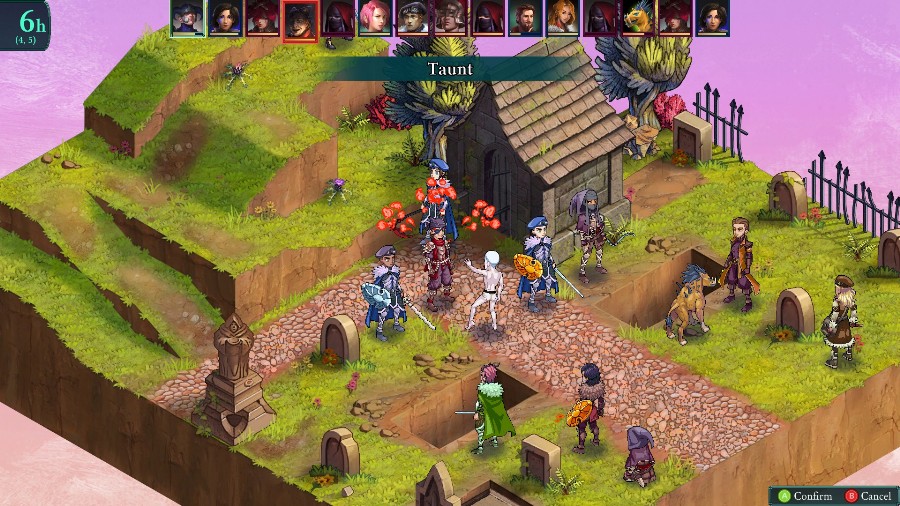
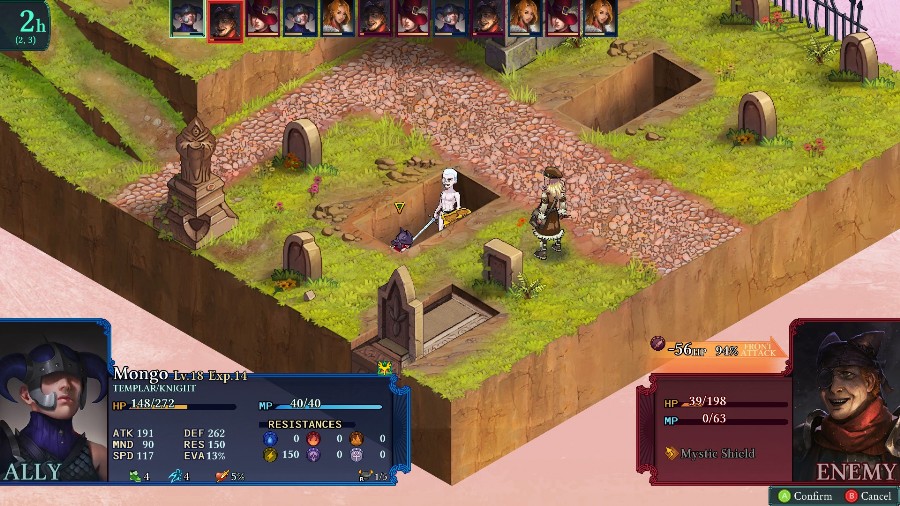
In desperation, I have Mongo taunt the warmage to hopefully stop a little bit of the incoming damage.
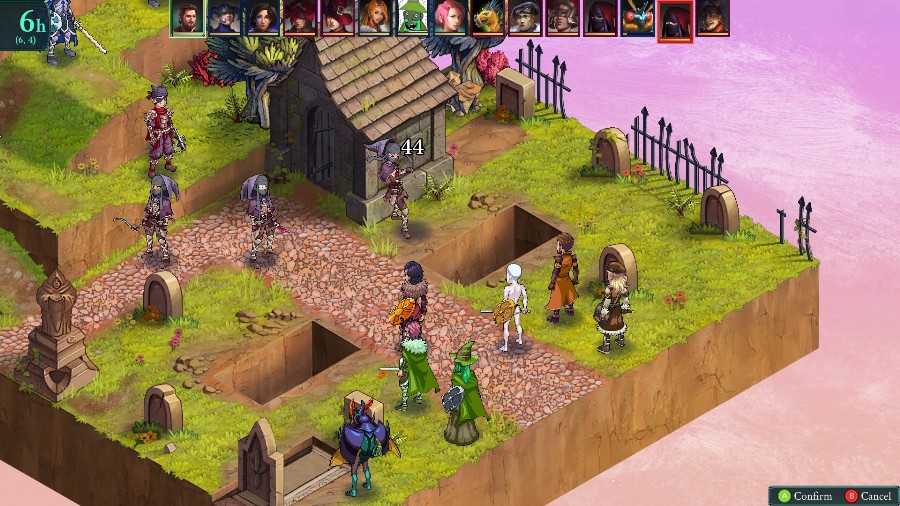
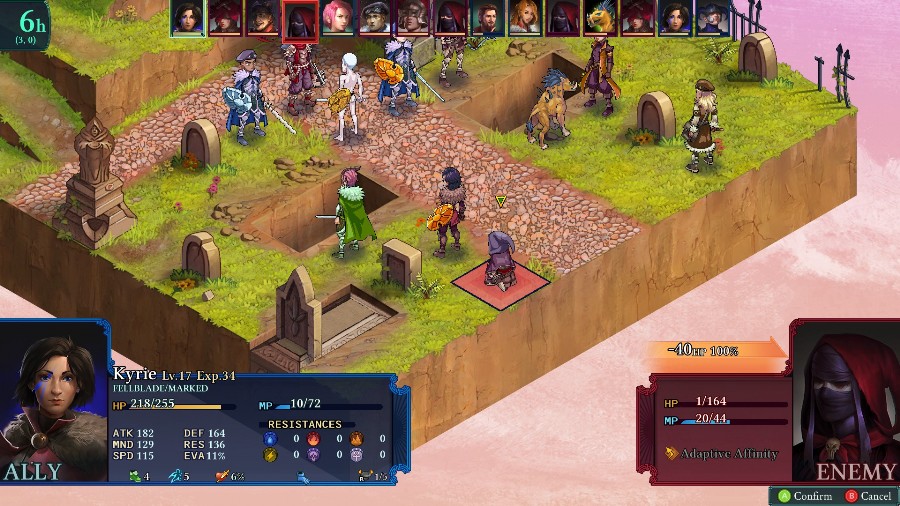
And Kyrie takes a shot at the 2 remaining assassins.
And it was a good thing I berserked that warmage, because that would have probably been another kill on one of my people.
Hannah runs back to clear the assassin and ends up literally 1 hp short of a kill.
A bunch of enemies barrage Reiner.
And Mongo continues his taunting.
Kyrie then takes out the annoyingly lucky assassin with a rock.
Due to the berserk, there’s a string of enemies attacking each other.
And then Hannah once again ends up a few hp short of a kill.

The templar hits Reiner and takes him out.
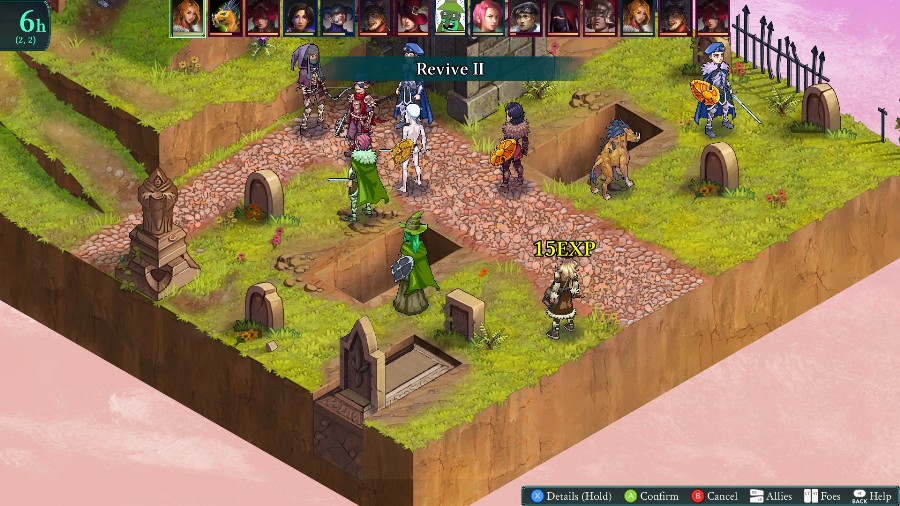
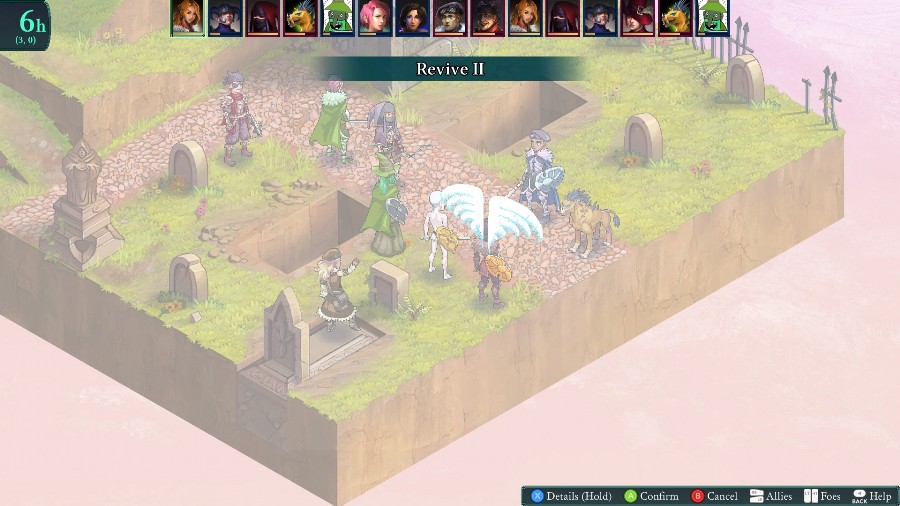
Things are looking pretty bad right now, so I have Sophia revive Bobby, since he has slightly more survivability than Reiner.
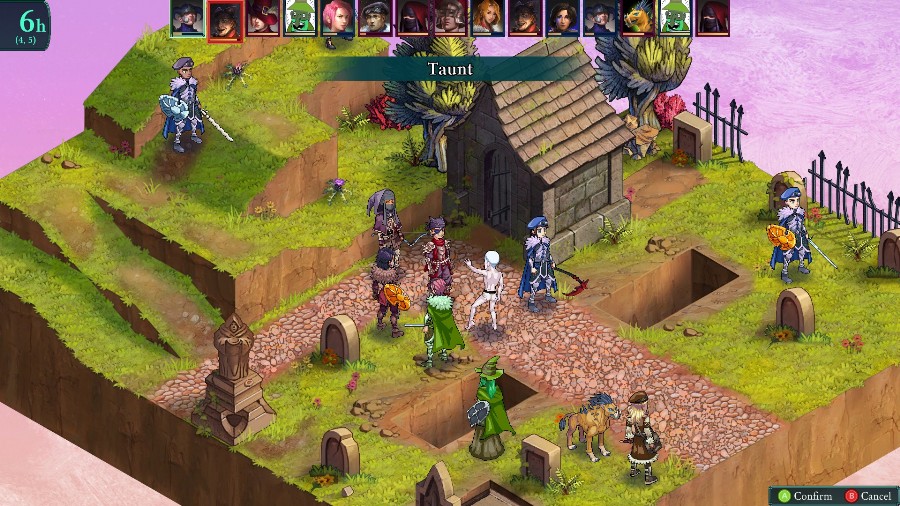
There’s a general fight in the center, where my guys get blasted by the warmage, hit Mercier a bunch, and then the AI uses a heavy potion to heal him right up. So I have Mongo taunt him again to hopefully keep my guys up and fighting.

He still shoots Kyrie in the face and then the gunner blasts her and kills her.
I need to try and keep my numbers up, so Bobby revives Kyrie with an item. She’s eminently 1-shot able right now, so I’ve really gotta hope no one goes after her.
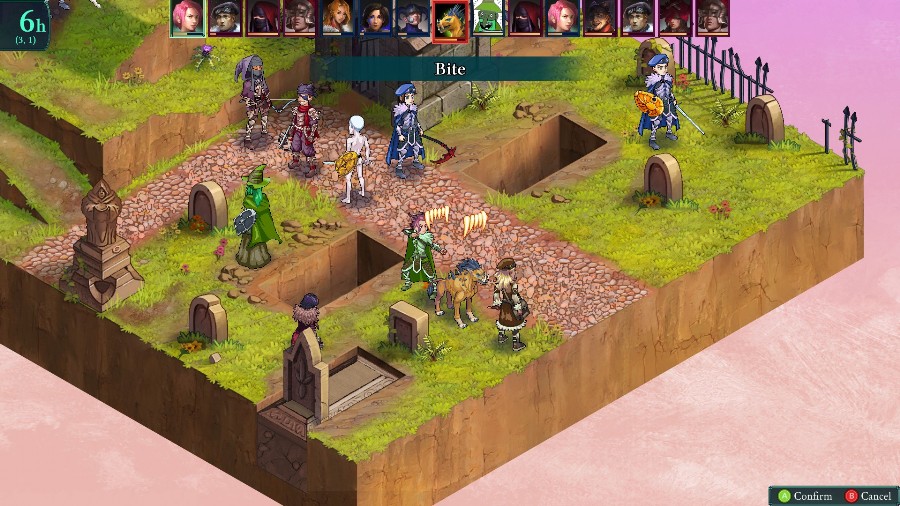
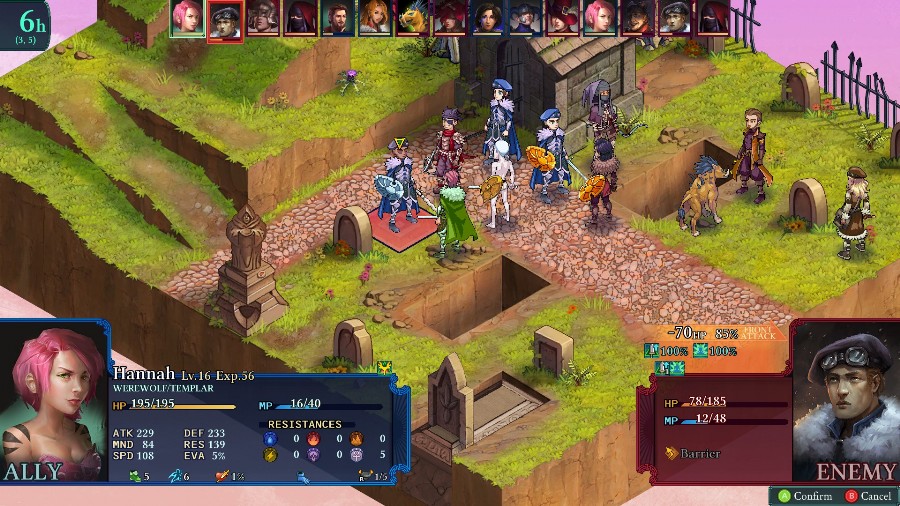
Hannah then uses the first werewolf skill and bites the vangal (which I just liked the image of).
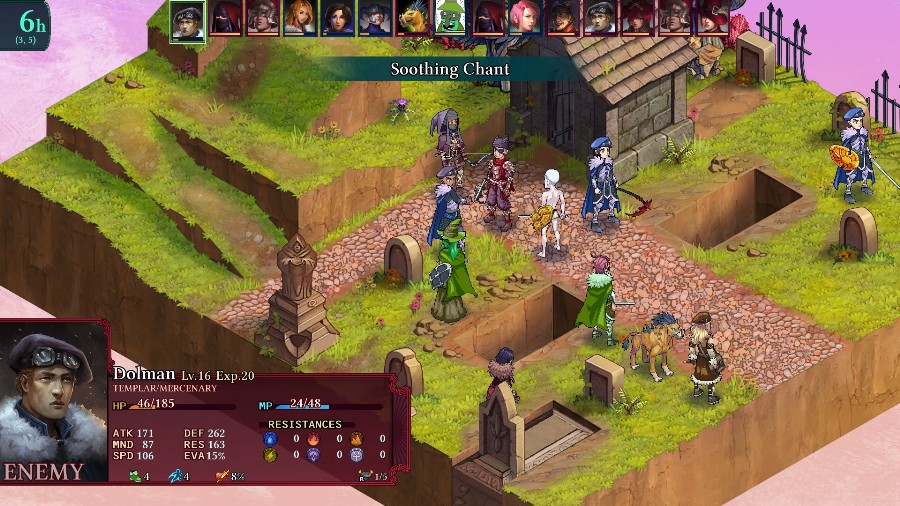
While Dolman goes and heals himself and Mercier.
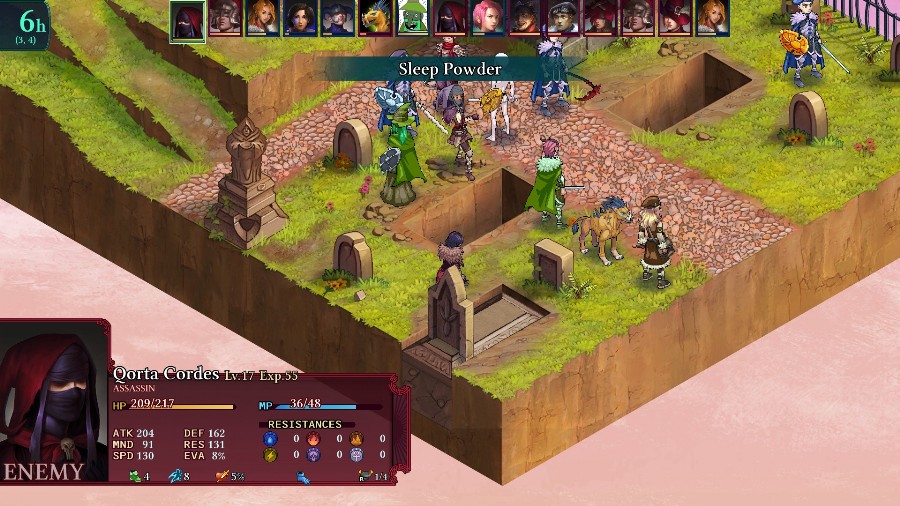
And I have a heart attack when the last assassin attacks Kyrie. Thankfully, she barely survives, but is put to sleep, along with Hannah.
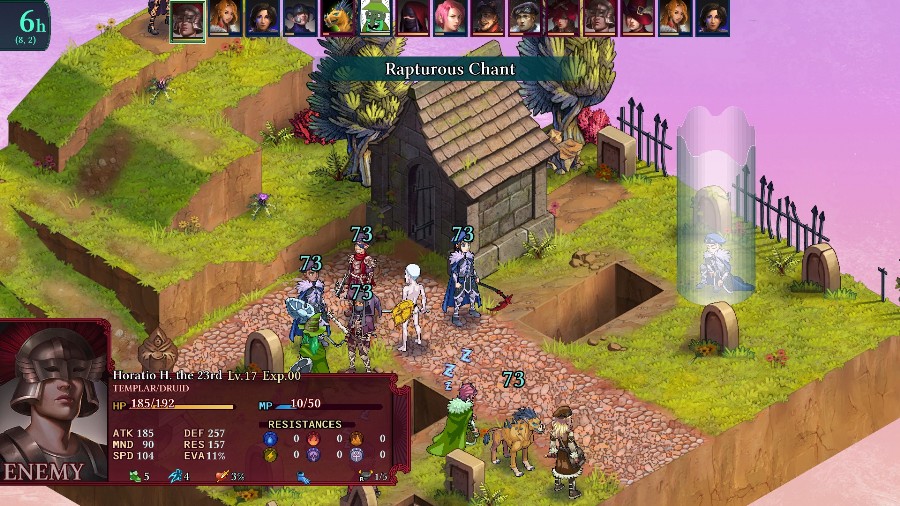
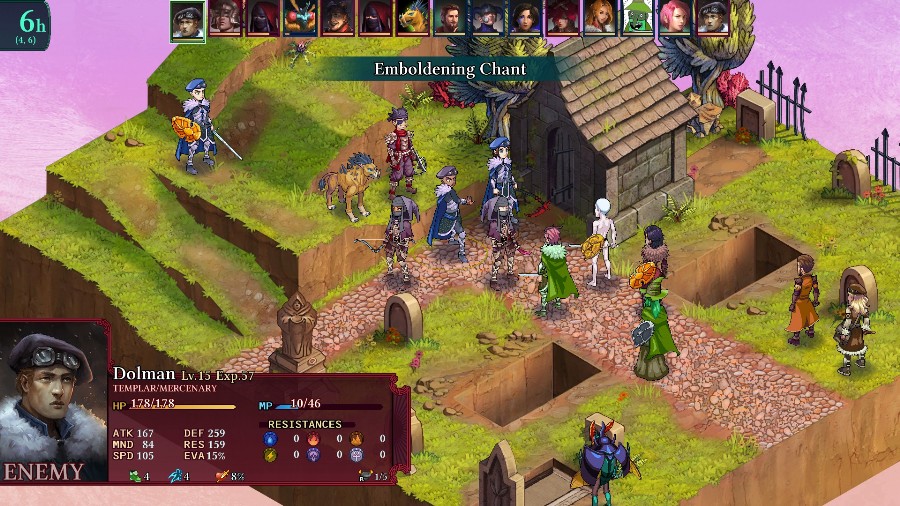
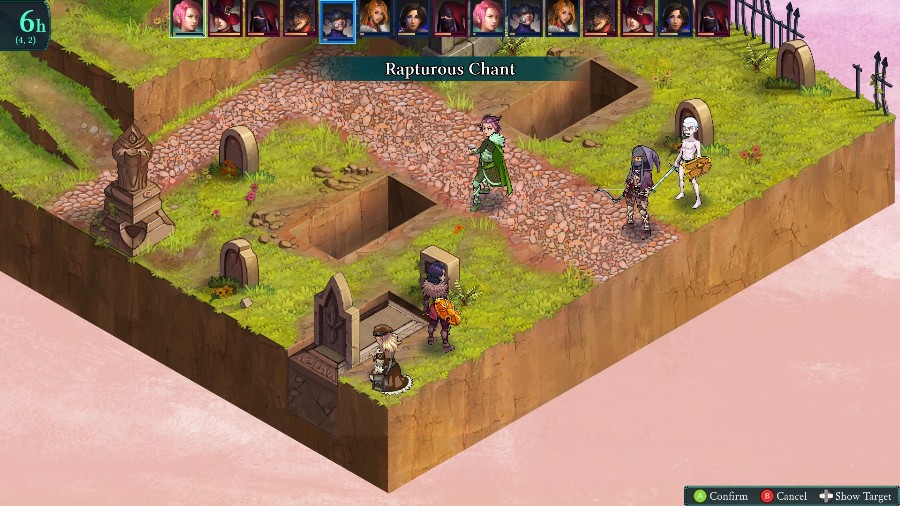
The templar uses Rapturous Chant to heal his entire team. I honestly think this was a good thing for me since he was at full health, but it’s still annoying to see.

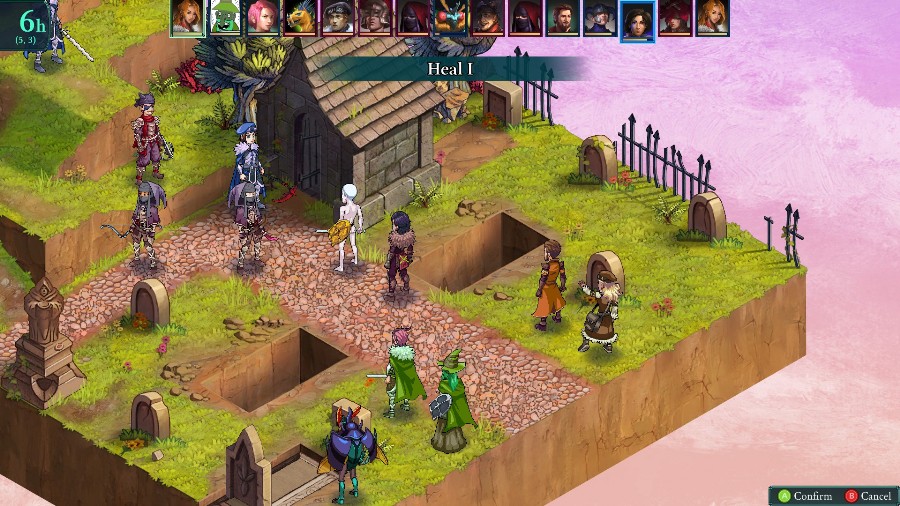
Kyrie’s too damaged for a basic heal to keep her up, so Sophia uses a heavy potion to heal her.
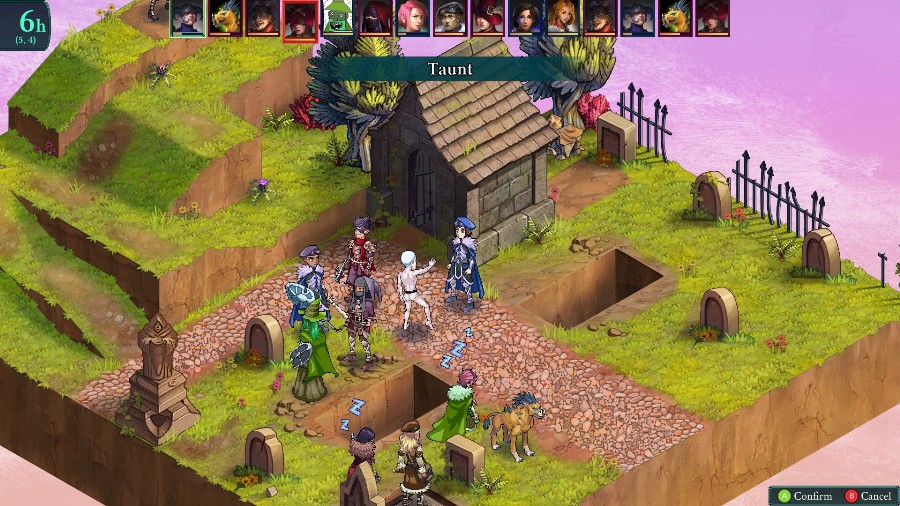
And Mongo keeps on taunting.
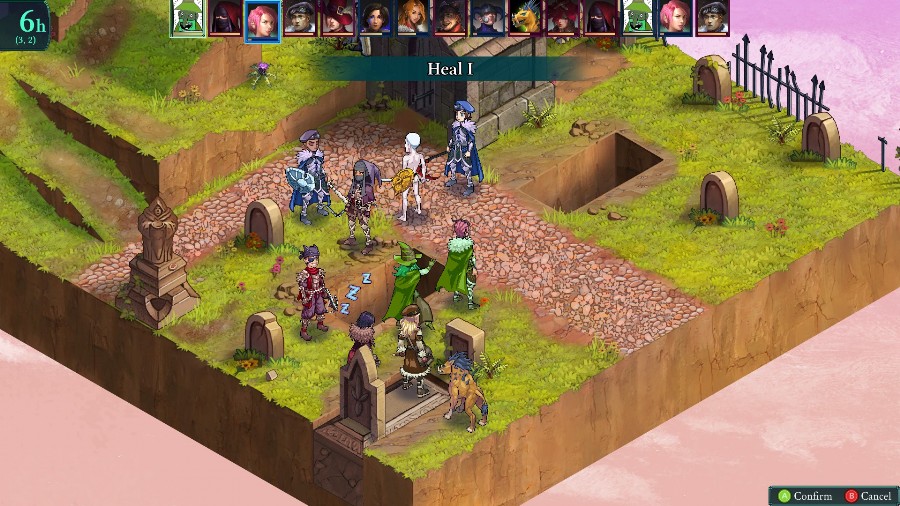
As I keep getting blasted, I have Bobby, then Hannah, then Sophia heal people.
Thanks to the berserking AIs, I have a quick moment of respite where Bobby can use his new double cast to deal some good damage. Annoyingly, both Mercier and the warmage have mystic shield, so they essentially take no damage from this.
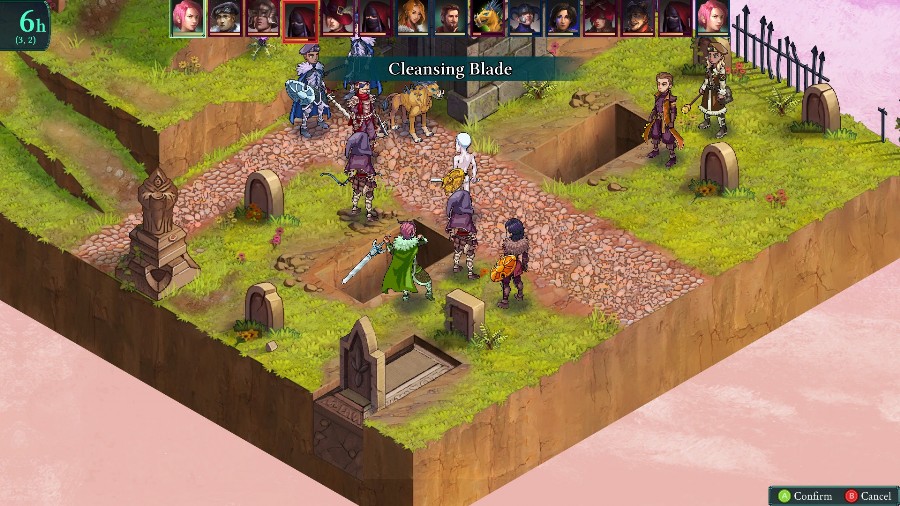
But Hannah comes in clutch this time and 1 shots the warmage from full health with a Righteous Blade.
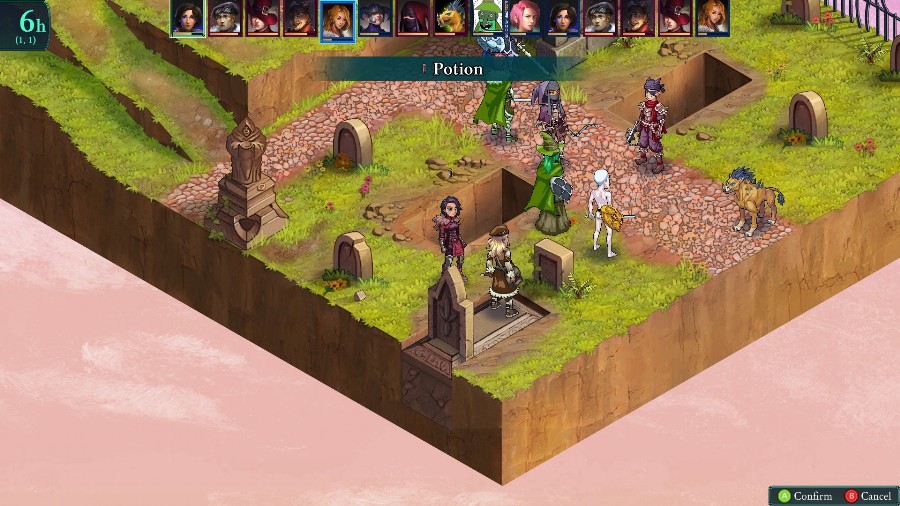
Sophia’s looking low, so I have Kyrie use one of my dwindling stock of items to patch her up.
But she then gets blasted down by the enemies and taken out again.
Luckily Sophia has juuuust enough MP to bring her back up.
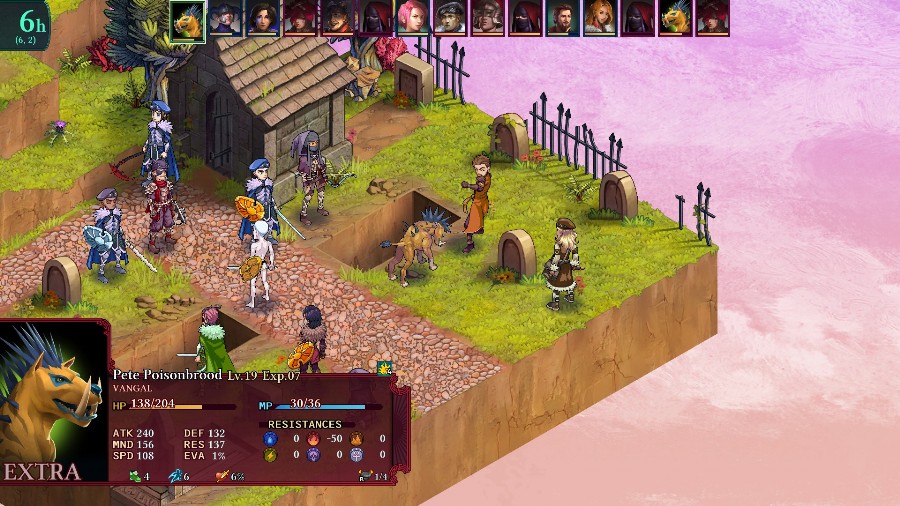
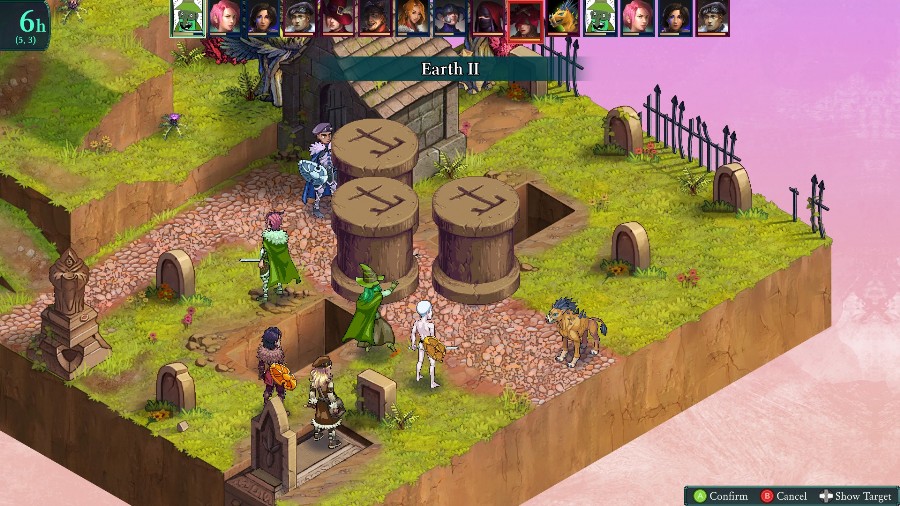
After a bit more scrambling, Sophia is finally in a position to do damage and takes out the Vangal with a cast of Fire II, while also doing heavy damage to Dolman.
I mis-select and have Mongo give himself reraise instead of killing Dolman with a Righteous Blade.
So Hannah finishes him off instead.
But things take a turn for the worse as Mercier does a ton of damage and the last assassin takes out Sophia.
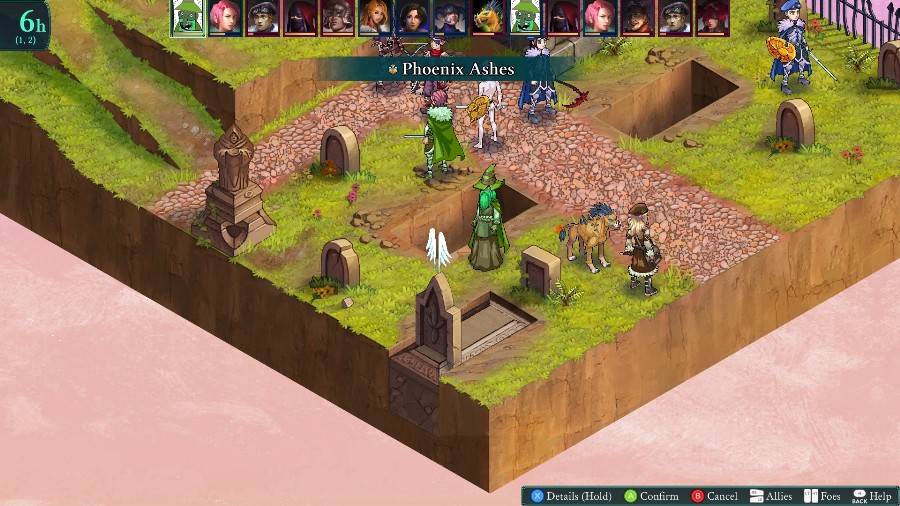
I NEED Sophia up and healing to be able to finish this, so I have Kyrie revive her with my last phoenix ashes, and then have Hannah sacrifice herself to heal everyone.
The gunner/warmage takes the opportunity to be annoying and revive an assassin.
While the other assassin takes a shot at Sophia, but misses.
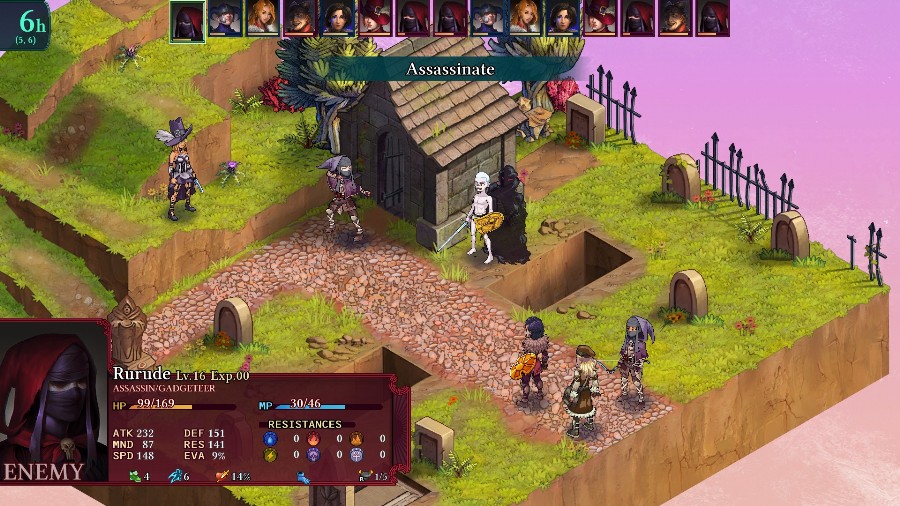
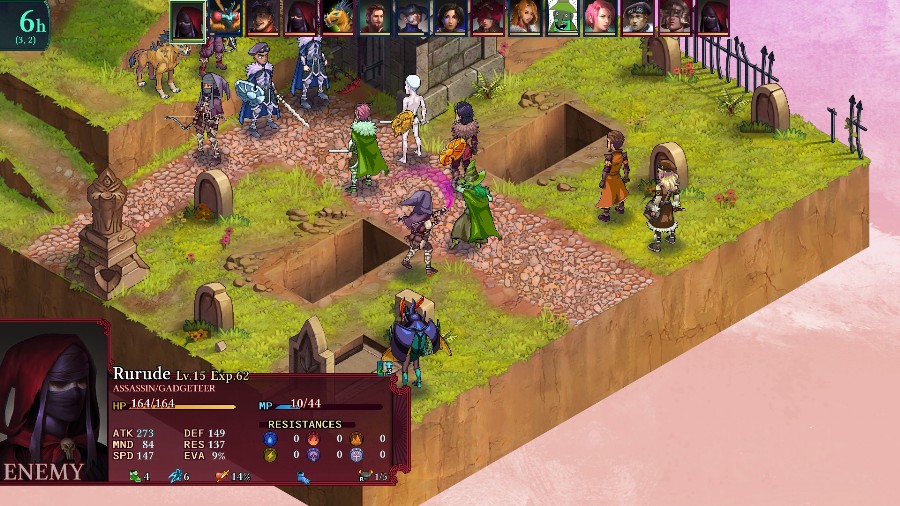
Mongo chases the closer assassin around and gets rewarded by getting hit with assassinate. Despite the name, it’s just a very strong hit that can inflict a bunch of status ailments.
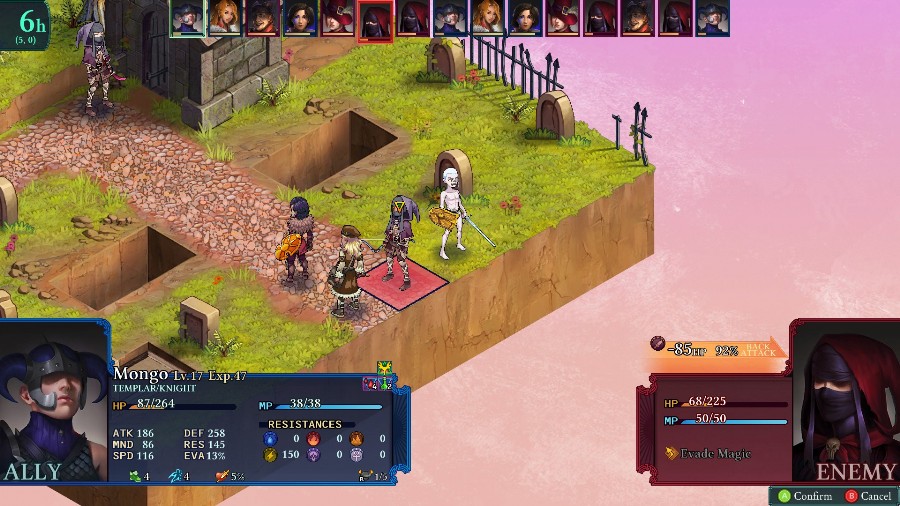
Mongo survives and then takes out the close assassin.
And soon after, Mongo and Sophia team up to take out the other one.
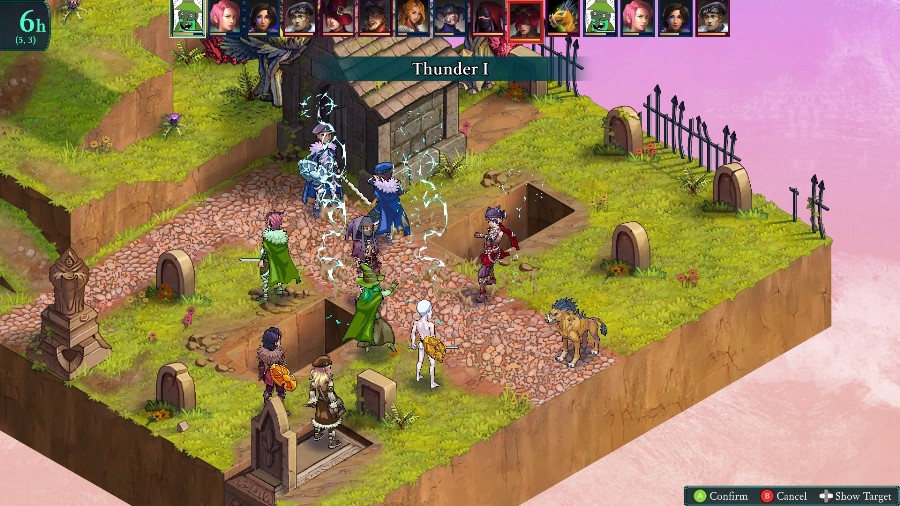
After beating him up for a bit to get through his mystic shield (repeatedly) Sophia takes him out with a Thunder Locus, though he just auto-revives.
The gunner takes Kyrie out again.
But Mongo is finally able to put Mercier down for good.
And now that it’s 2 on 1, with both of my units outside of 1 shot range, it’s time to clean up this gunner.
Which Mongo does, ending the fight.
As I said earlier, this is a really tough fight. There are a lot of tough enemies with long ranged and high-powered attacks and no cover or real way to break the group up. Buffs are also unreliable due to Dolman always having a templar class and usually one or more of the other arbiters having it as a subclass. You really need to figure out how to both survive the initial onslaught of assassins and then decrease incoming damage as the rest of the enemies quickly catch up.
The big weakness I noticed in this fight is that they don’t have much healing or ways to get rid of statuses, other than items and whatever templars are around. I went with berserk because it was available, but I think if you leaned heavily on using fellblades and gamblers to inflict disabling statuses early on, you could have another solid path towards victory.
Still, I’m overall happy at how I did, and how the game’s been going on this difficulty. I’ve had to retry a few fights, but have mostly been coming out with close wins which I think is the most fun way to have it.
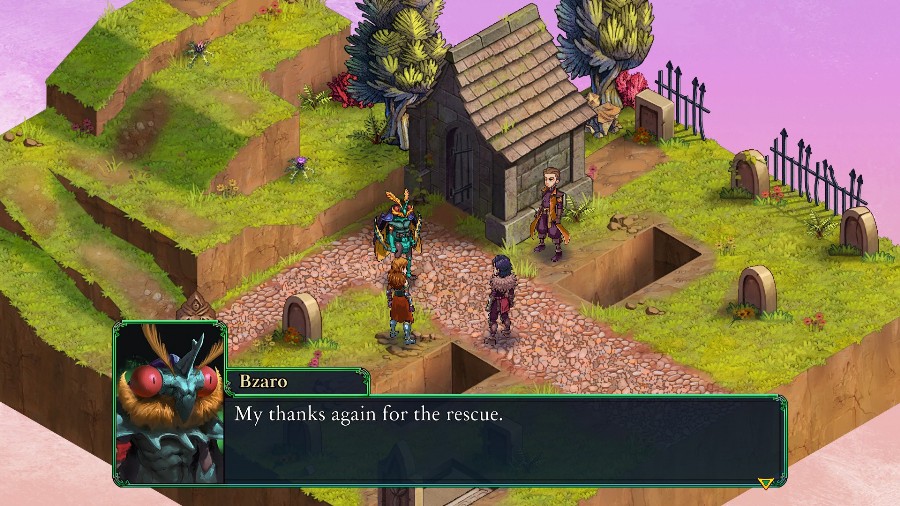
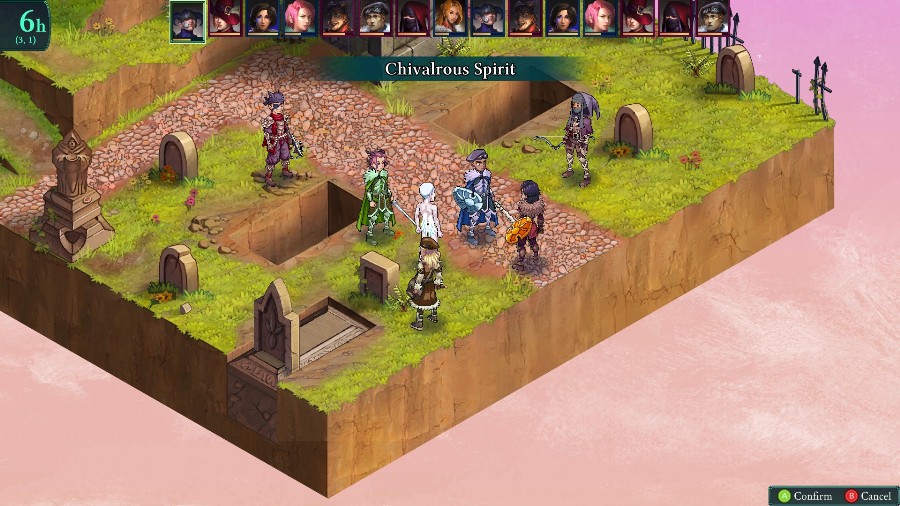
Anyway, after the fight the party starts talking with Bzaro.
That’s tiwce now you’ve saved my thorax with your excellent timing. Always a pleasure, Bzaro. What’s next? If Septimus is the leader of those bandits, we have to report this to the council at once! I don’t fancy sending anyone alone to report this. And Primus made it clear the Council wants us to focus on the Pilgrimage. We’ll report to the Council once the Pilgrimage is over. Illuster is at the end of our journey anyway. Septimus mentioned a big operation planned in the Kawa lands. Since that’s the final leg of your trip, we should at least keep our eyes open. Anything useful we can discover will mean a more thorough report to the Council. We? Well, since our objectives align, I thought we might as well team up. Perhaps if we travel together, you won’t need to swoop in and save my chitinous bottom quite so often. A compelling argument.
 All right. Welcome aboard, Bzaro.
 It’s settled then! Reiner, we must have a feast to celebrate our new partnership! Get cooking, friend! I’m already regretting this.
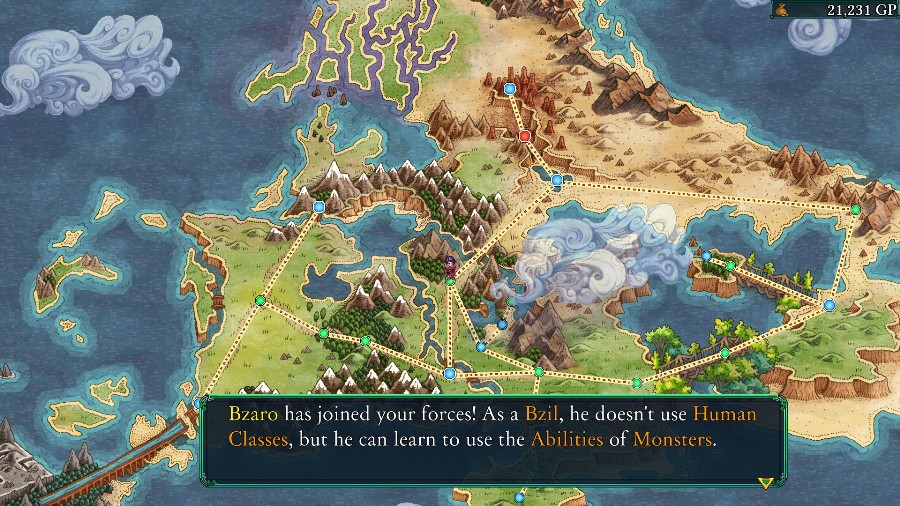
The big reason to do this quest early is that Bzaro joins you for good afterwards! Like the tooltip says, he has pretty different class system to work with, and in general can end up being quite powerful with the right combinations of monsters and passives.
However, I’ll get to that at a later date. For now, we’ll leave things here.