Part 24: Iirzk'tara Gorge
Update 24: Iirzk’tara Gorge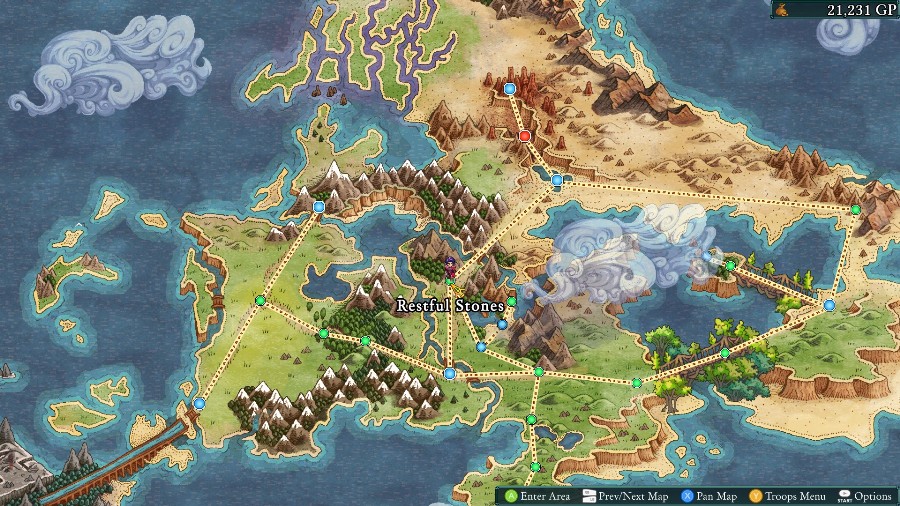
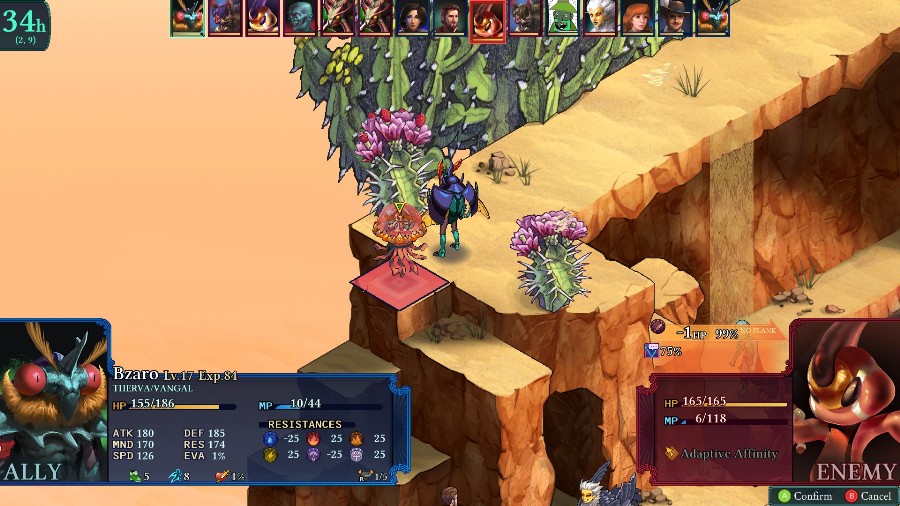
Welcome back! Last time we went through a hell of a fight dealing with a group of corrupt Arbiters and bandits, which resulted in discovering the Immortal Septimus was in on the plot, as well as rescuing Bzaro from their clutches. This time we’ll have a much more straightforward battle as we head through Iirzk’tara Gorge.
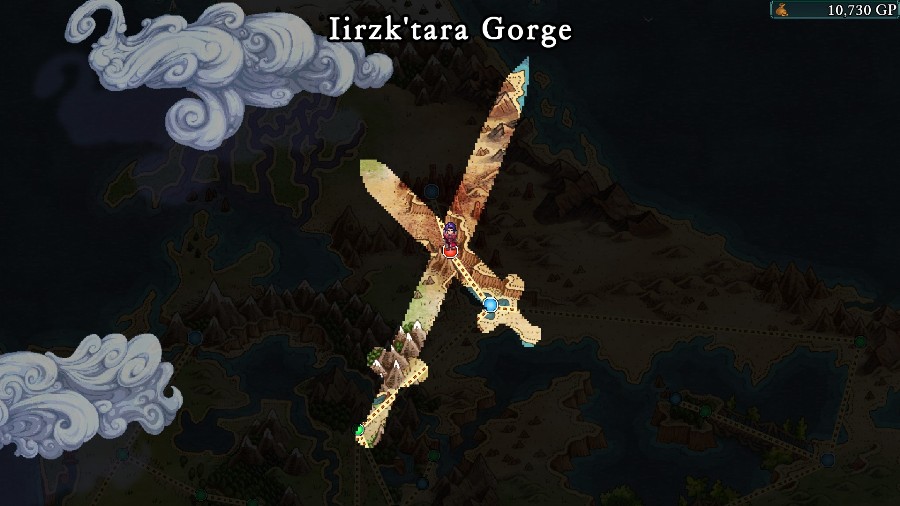
This one’s pretty simple, just straight into battle.
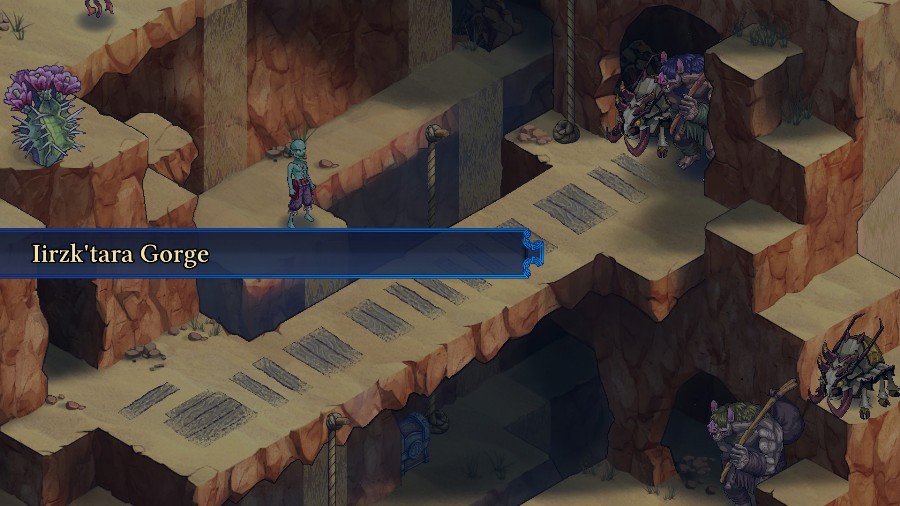
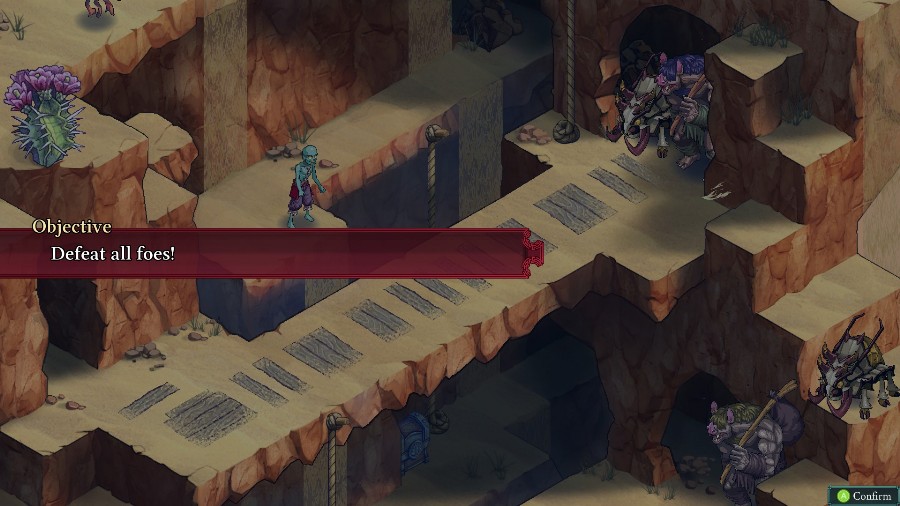
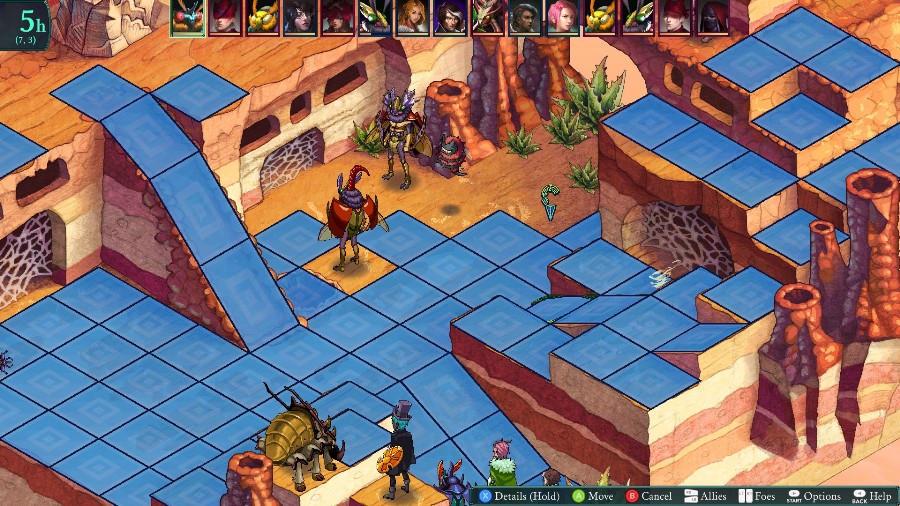
This is an interesting map, though the battle is just your bog-standard condition.
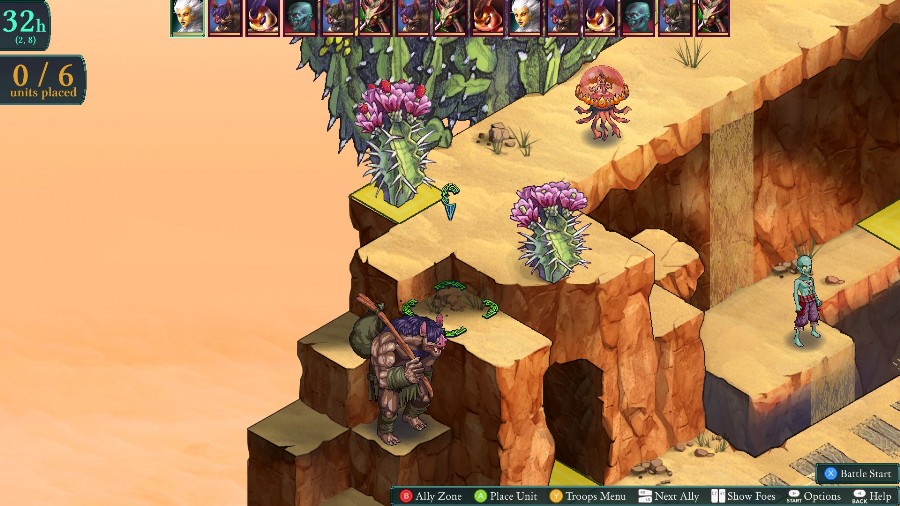

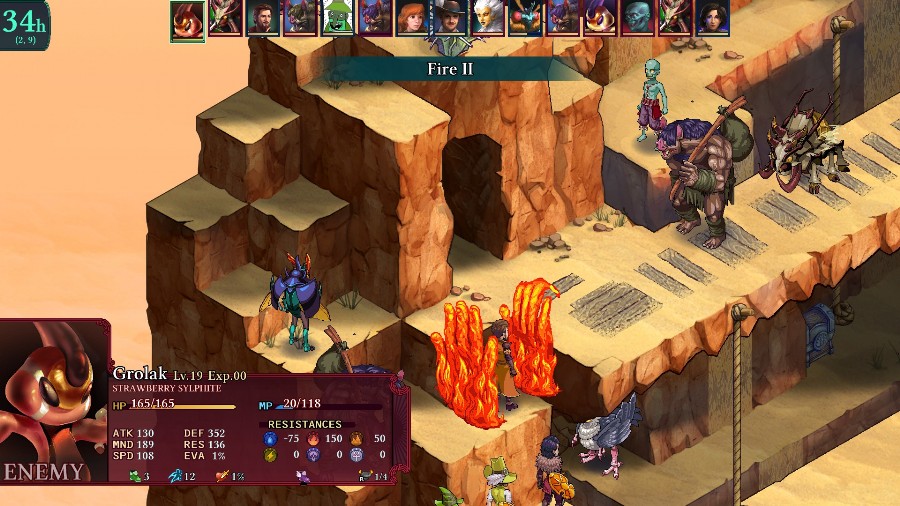
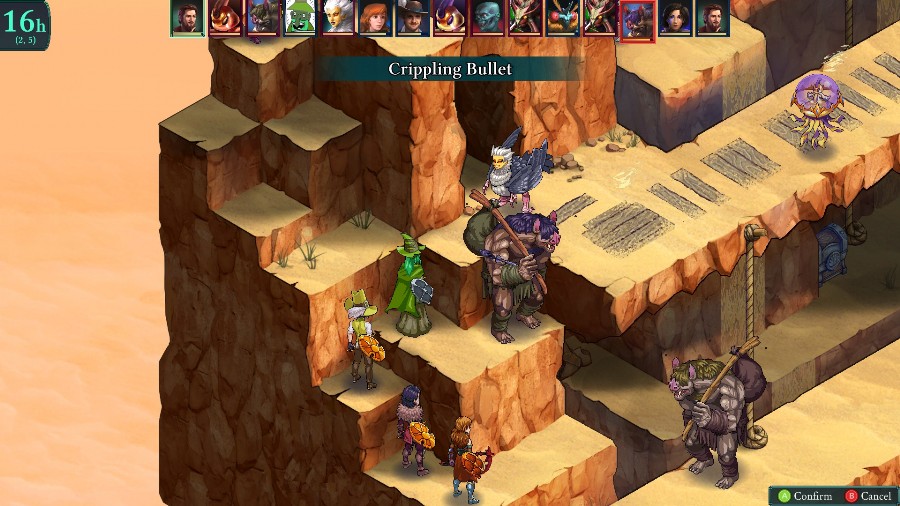
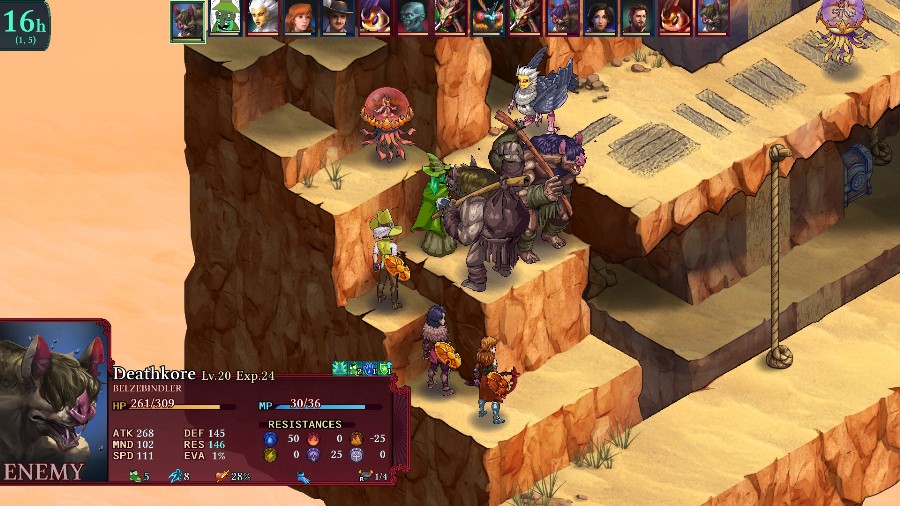
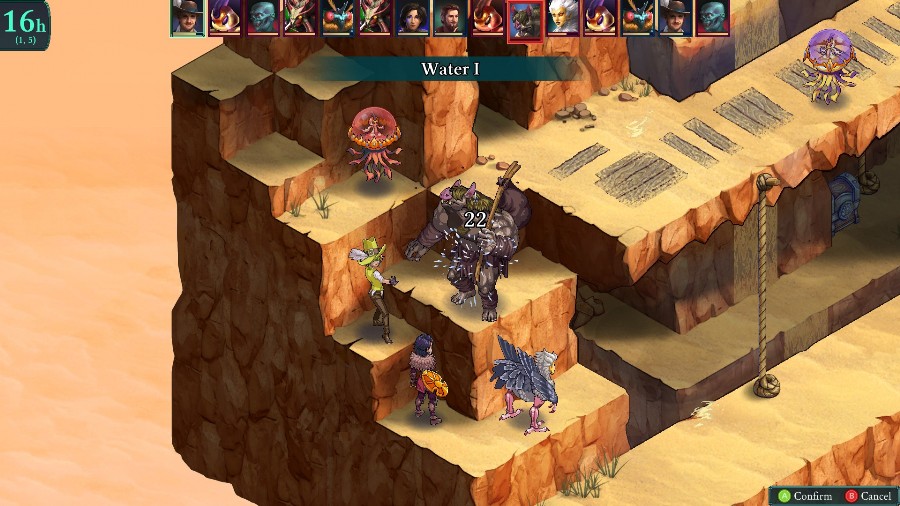
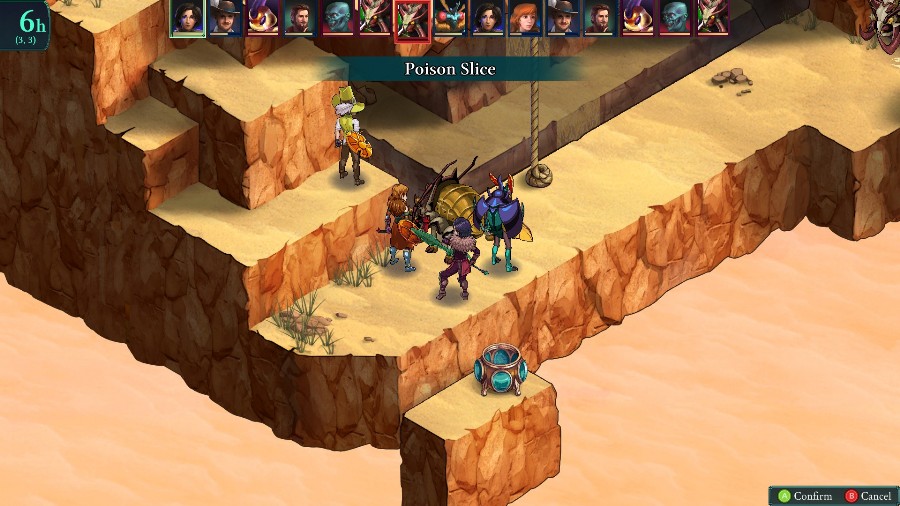
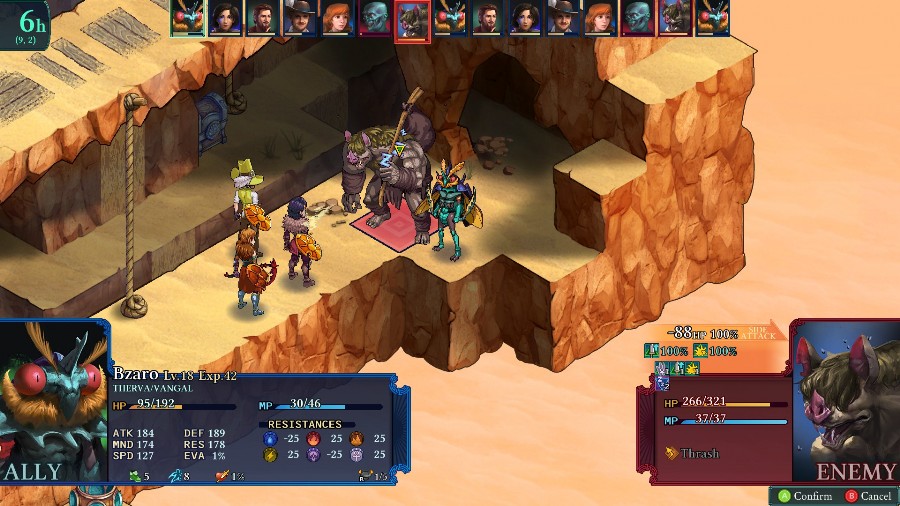
Against us, we have 9 enemies. 2 Pekites, 2 Bzzerks, a Termagant, and 3 new guys: 2 Blardgers and 1 upgraded Belzeblinder. They’re big bulky guys who hit quite hard and have a passive that increases all damage and healing done by them, depending on how many enemies are adjacent to them. In addition to a skill that gives them 2 random buffs, their main move is the AOE attack that one of the Bzils in the last arena fight used. Overall, they’re tough, but a bit slow so you can play around them if you’re careful.
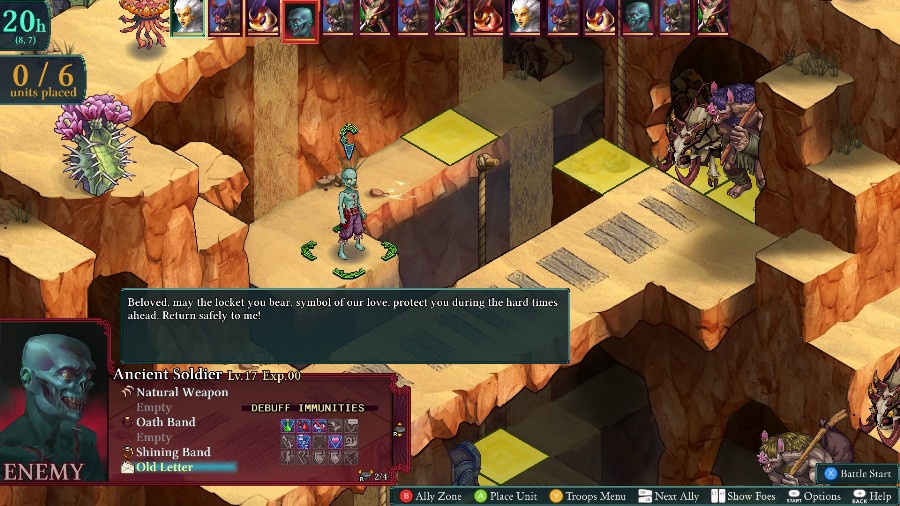
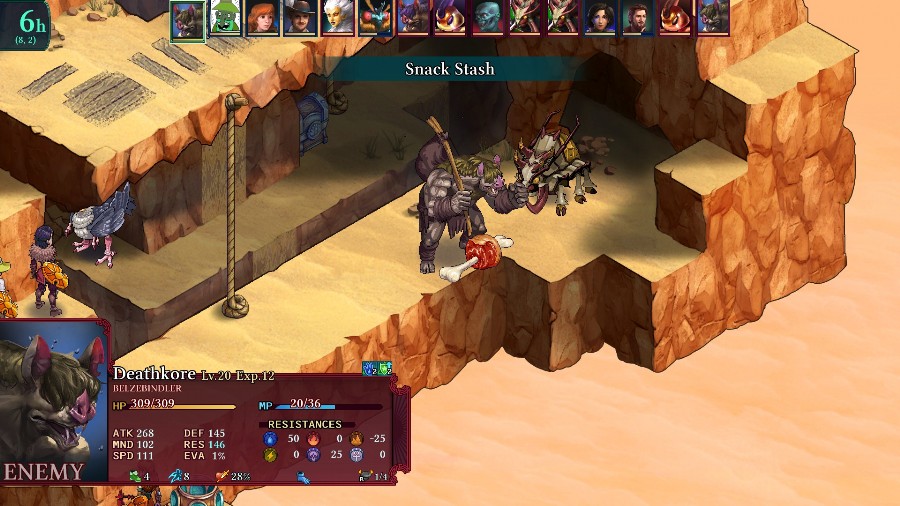
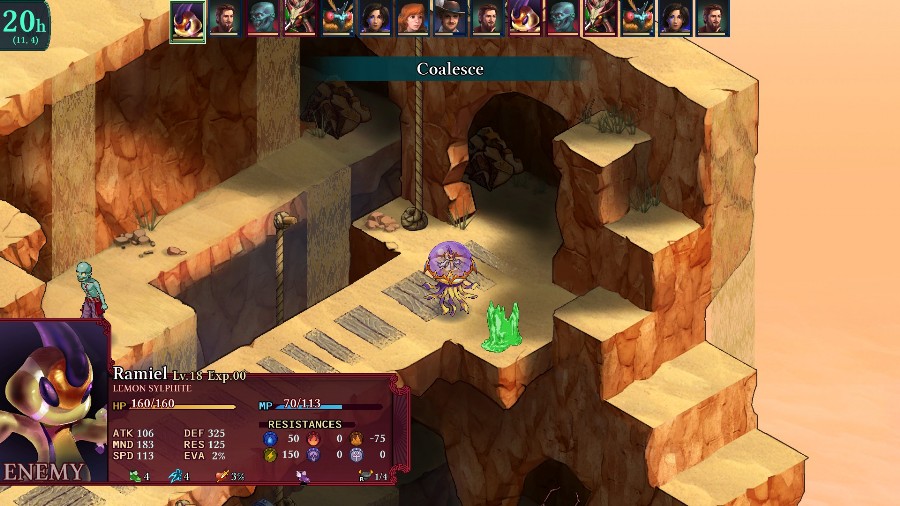
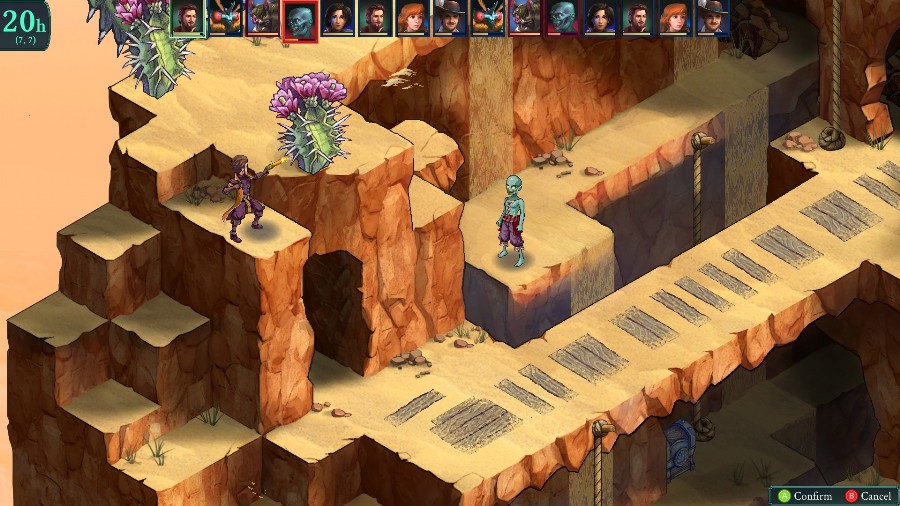
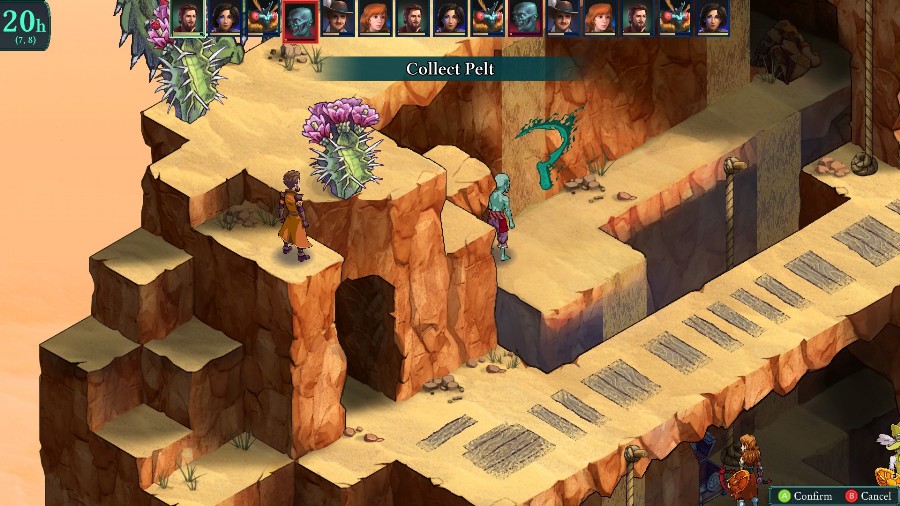
The last enemy is a basic zombie with a special name and item. In fact, this zombie is quite important because a special drop from him serves to unlock our next unique class. However, if you kill him normally, you don’t get anything special. What you have to do is kill him with the ranger’s Collect Pelt skill, and then you’ll get what you need. Thankfully, if you miss him in this fight, he’ll keep respawning in every patrol in this area until you figure out what to do.
Though he is physically able to leave that area through the yellow square, I don’t think I’ve ever seen him do it. So this fight is really a 6 v 8 instead.
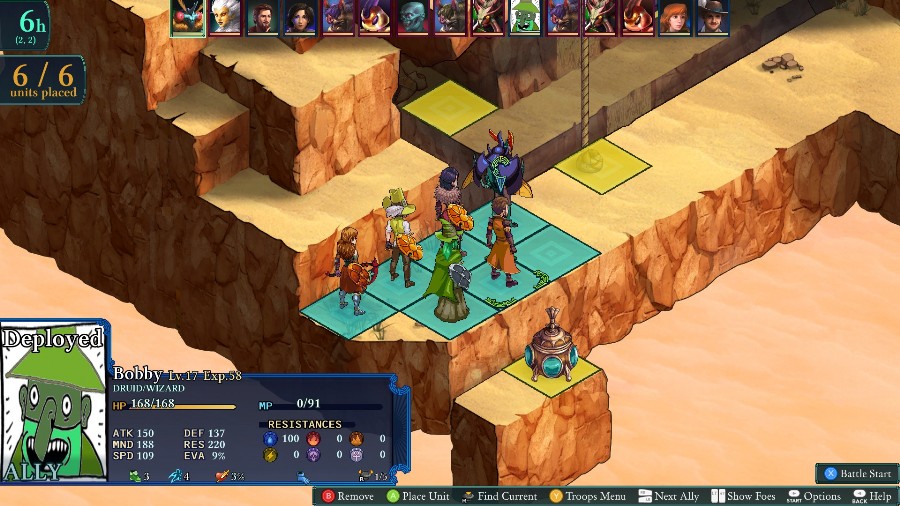
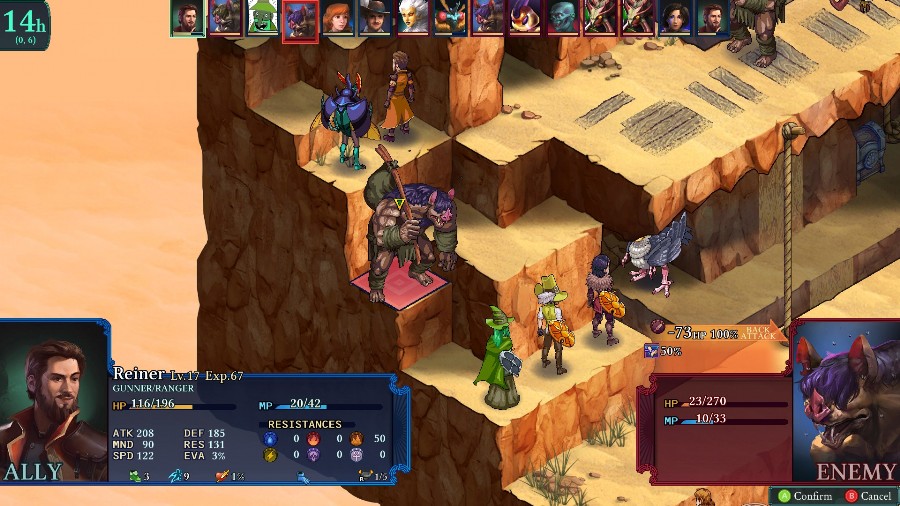
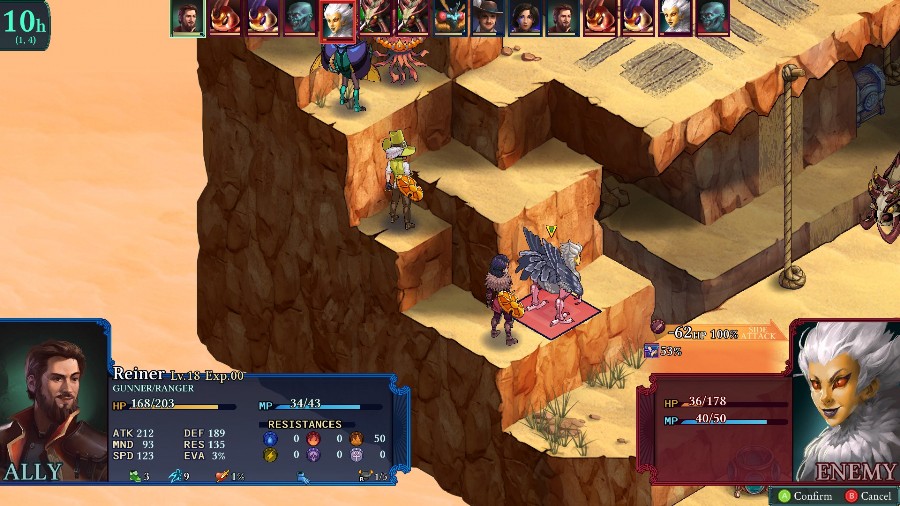
For our party, I’m bringing Anadine (who has the riftwalkers to teleport), Bobby, Eustace, Kyrie, Reiner, and Bzaro. The map itself is sort of divided into three separate levels, with a few enemies on each, and my initial plan is to try and rush up top and then use reiner and the mages to pick off the slower enemies at leisure.
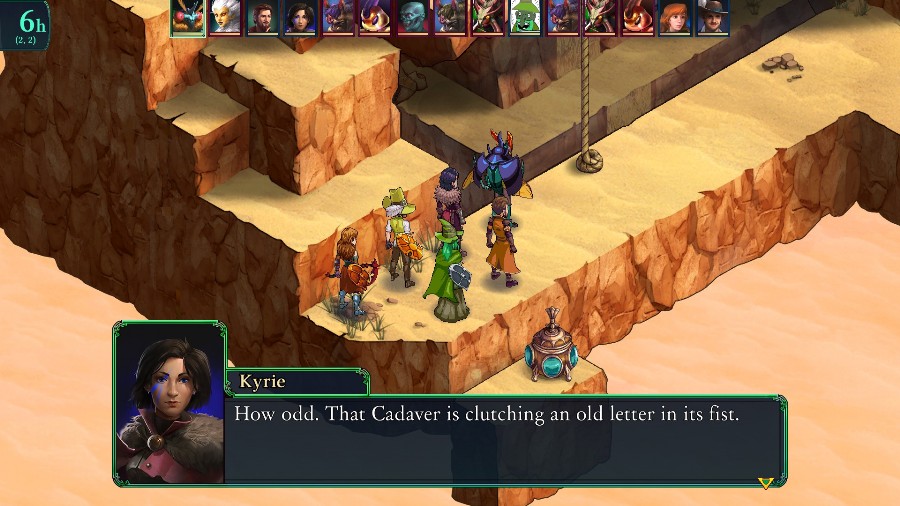
When the fight starts, Kyrie points out the zombie, which serves as a hint to check him out if you didn’t do so already.
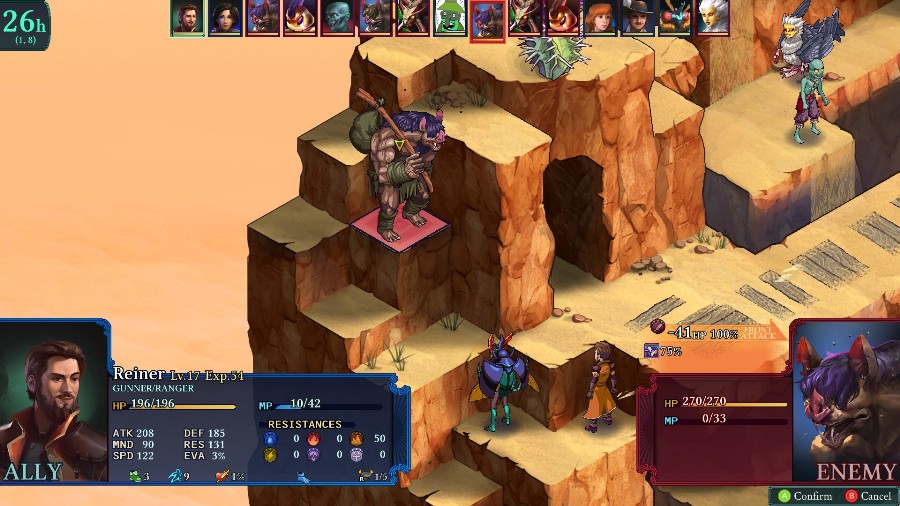
Reiner then opens the fight with an attempt to root the Blardger. Sadly, it doesn’t take and he comes down and punches Bzaro for like half of his hp.
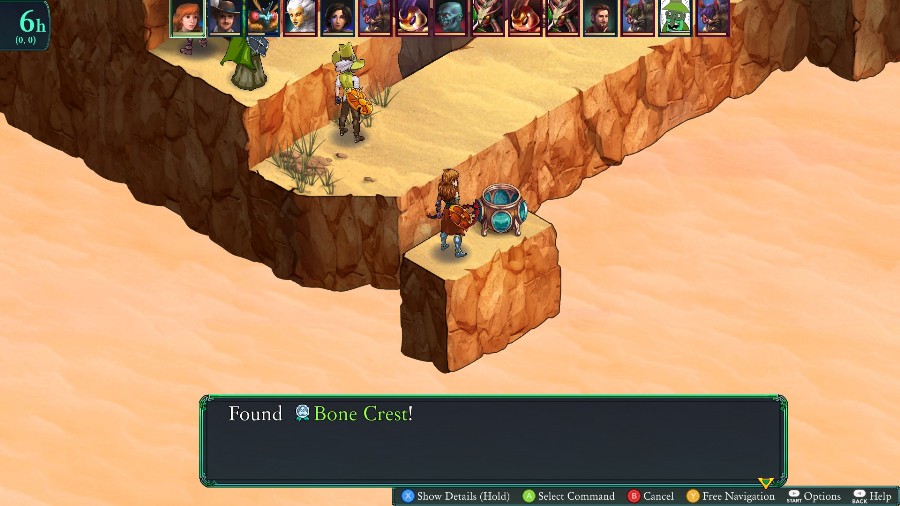
Meanwhile Anadine uses her first move to teleport over to the special chest and open it. We get another crest for a secret class, the vessel. They’re at least fluffed sort of like a summoner, and I think they’re quite powerful.
I wail on the Blardger as the upper Pekite hits Reiner with a nasty magic attack.
Soon afterwards, Reiner is able to put the final hit in and take out the first Blardger. Which is great because he was going to do quite a bit of damage to whoever he hit next.
Down below the Belzebinder slowly advances and continues buffing himself.
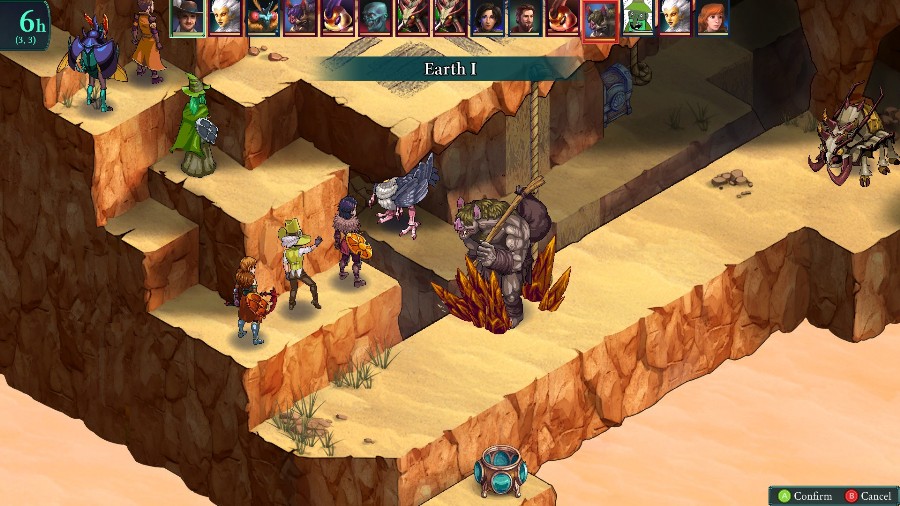
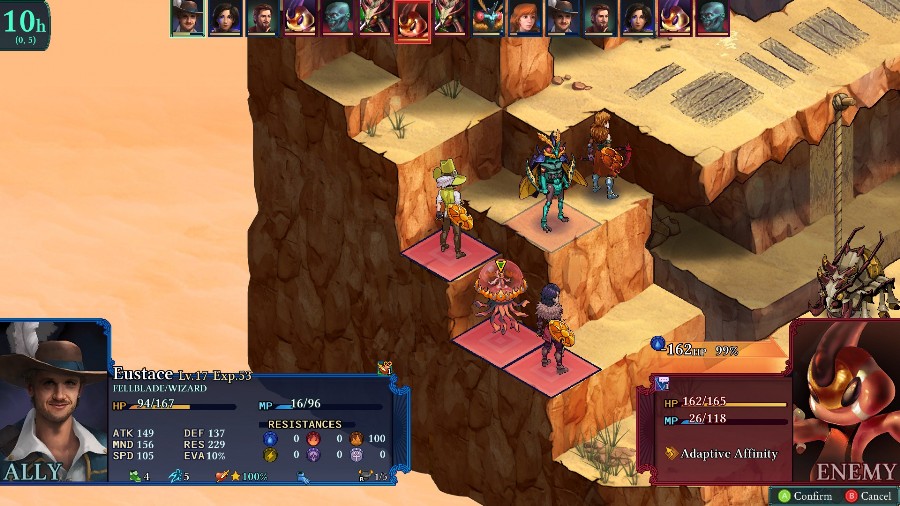
Eustace hits him with some rocks.
And then gets hit with a rock himself.
Bzaro goes and effectively neuters this Pekite by muting it.
I generally continue fighting in my corner, mostly focusing on the Blardger.
However, I wasn’t paying attention to how high the Belzebinder could jump, so I left Bobby open for him. He has a boosted crit chance thanks to a passive, which procs and takes Bobby down in 1 shot.
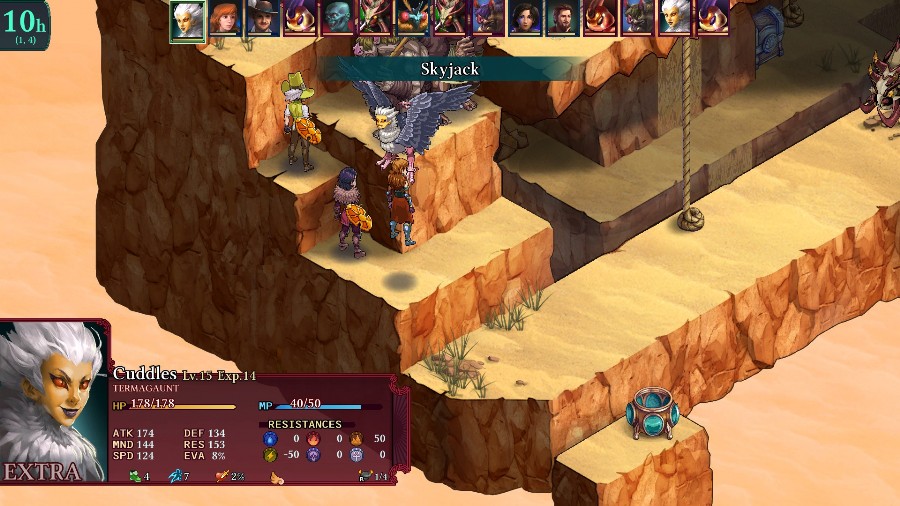
The Termagant then does the most useless skyjack I’ve ever seen.
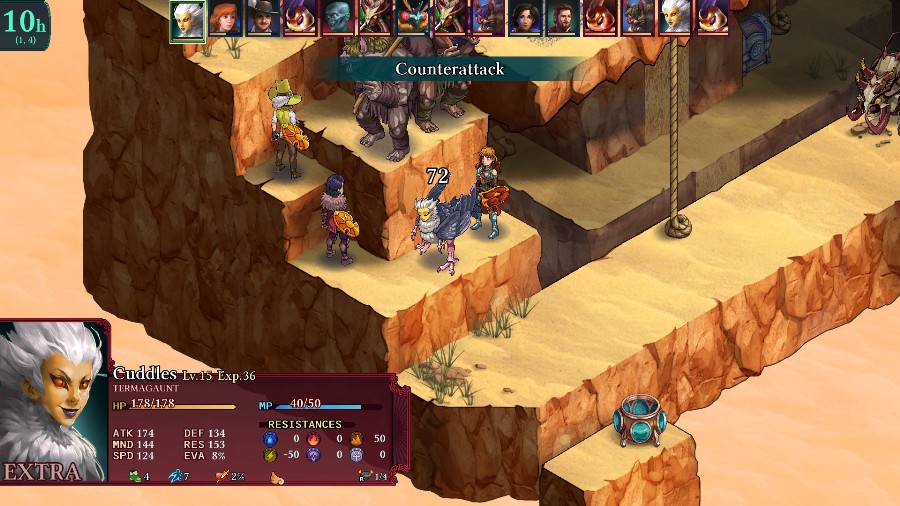
It does do a solid bit of damage, but also just makes it so Anadine does more damage on her counterattack.
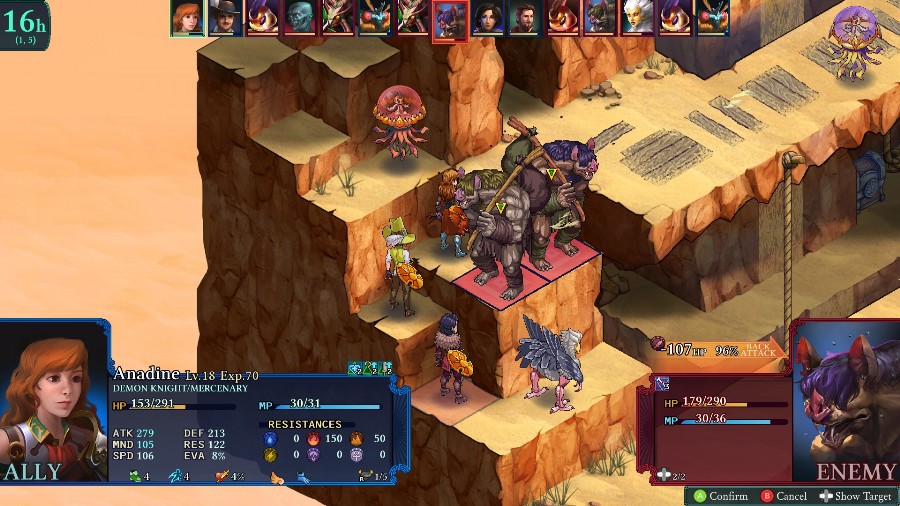
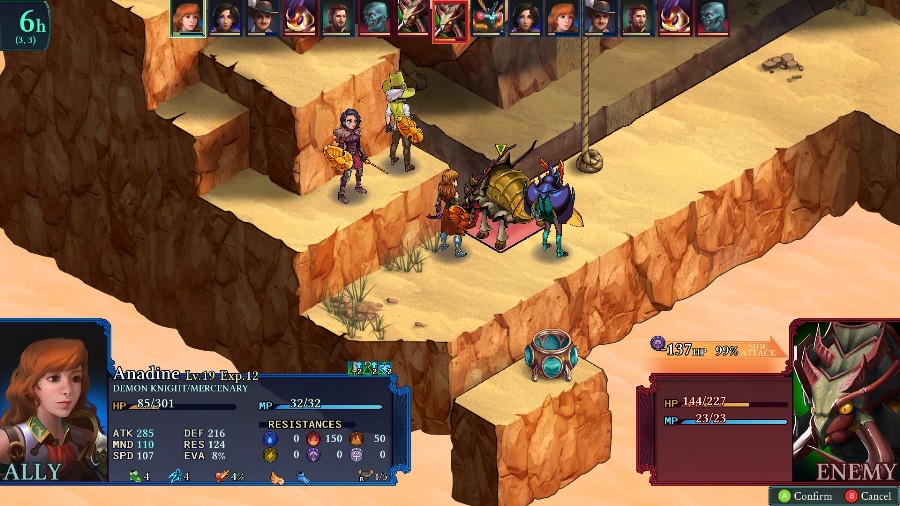
Anadine then teleports up and uses an AOE to take out the Blardger, though she takes heavy damage from the recoil and then the Belzebinder’s counter.
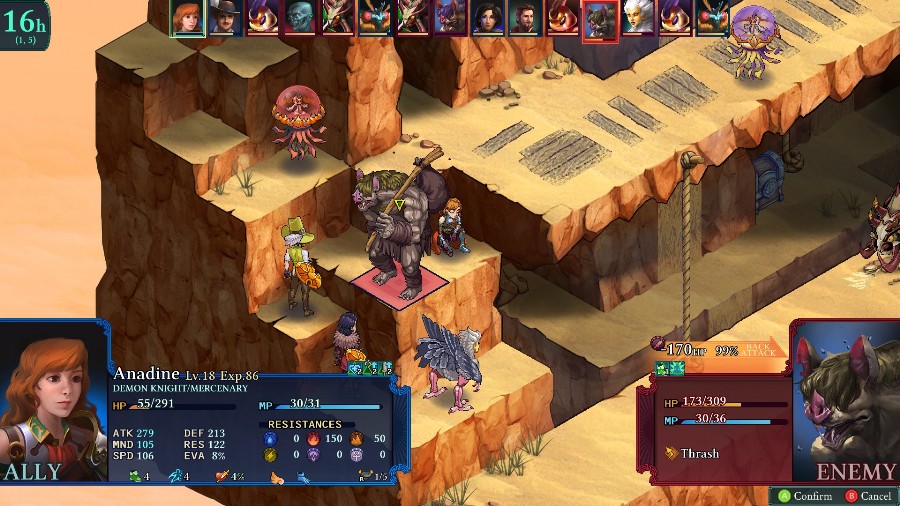
Because she killed the Blardger, cleave procs and she can move again. However, I’m a moron and am apparently unable to read numbers.
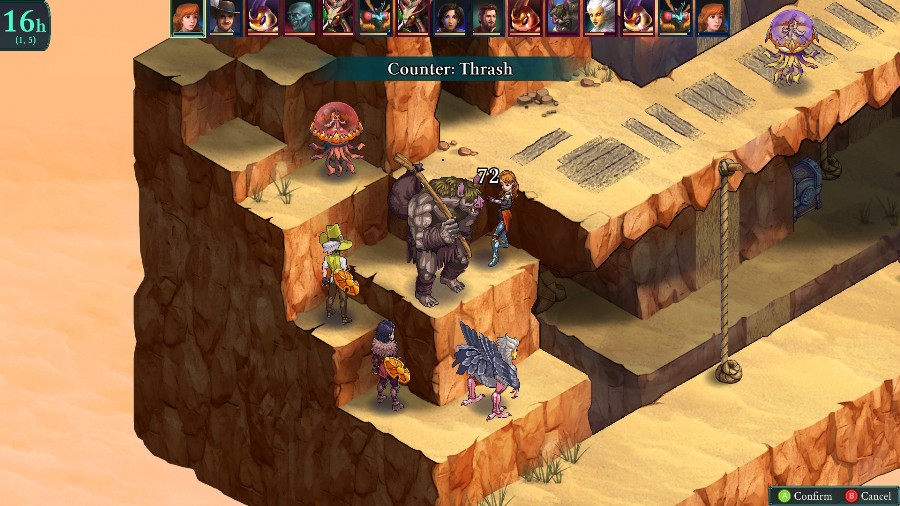
So he survives and kills her on the counter.
Eustace finally finishes him off though.
Soon afterwards, Kyrie weakens the Termagant for Reiner to finish off.
And Eustace uses the boon he got from taking out the Belzebinder the nearly 1HKO the Pekite. I also had Bzaro revive Anadine because she could easily grab the other chest or 2 on the map.
But not before taking a big whack at one of the Bzzerks that finally made it over. I hadn’t been meaning to, but by staying on the elevated back area I had made it so that they couldn’t charge me and had to just trundle slowly towards me.
Kyrie then finishes him off.
The other Pekite uses a move where it sacrifices itself to revive the fire one Eustace killed.
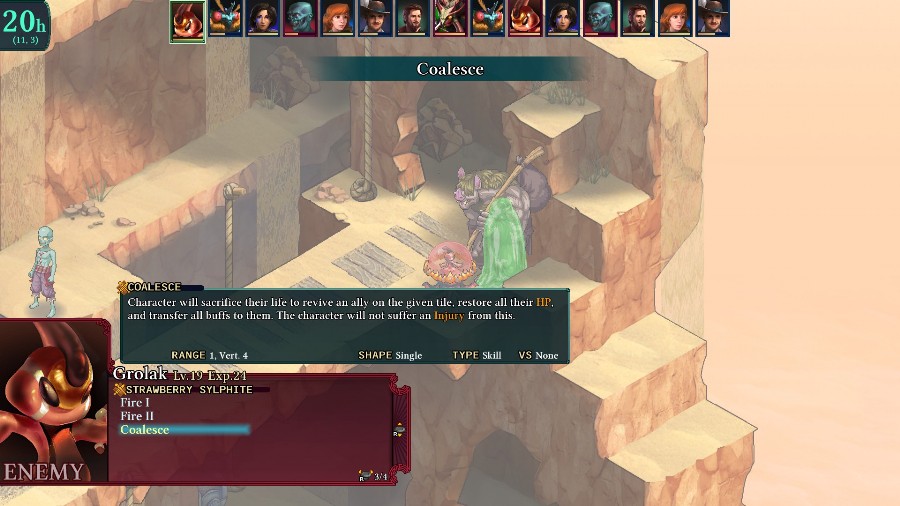
Who then promptly does the same thing the revive the Belzebinder.
The other Bzzerk charged in and Eustace lands another finishing blow.
Through all of this, Reiner is just up top bullying the zombie to get it ready.
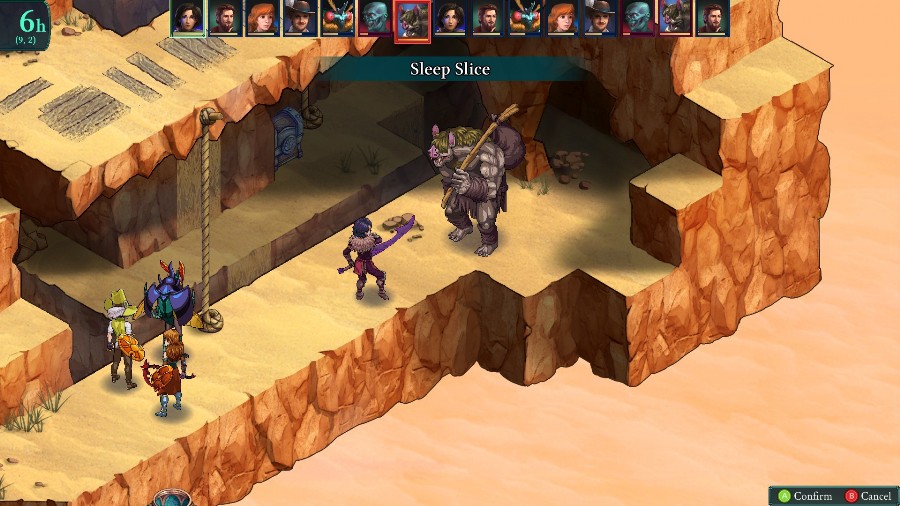
And since the Belzebinder is on its own, I just have Kyrie put it to sleep. Also, because it’s a ranged attack, he couldn’t have used his strong counter even if the sleep hadn’t procced.
Bzaro purges his buffs, just in case.
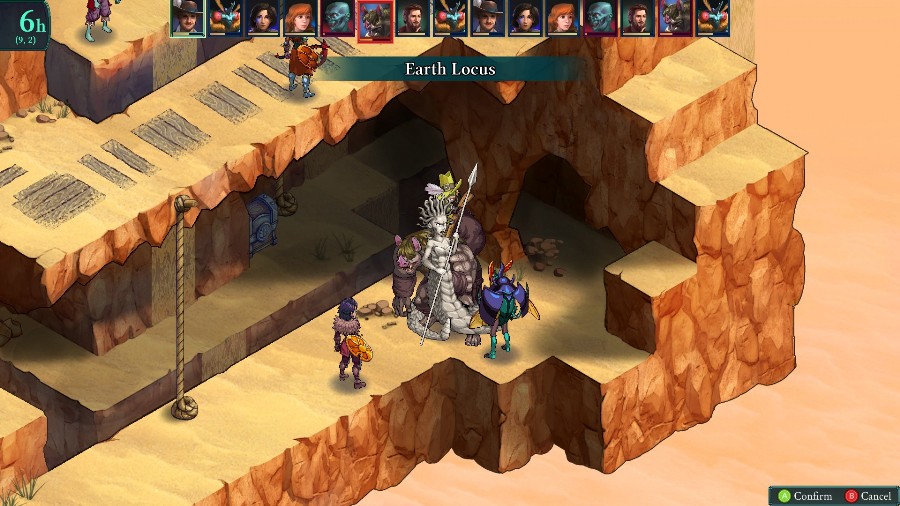
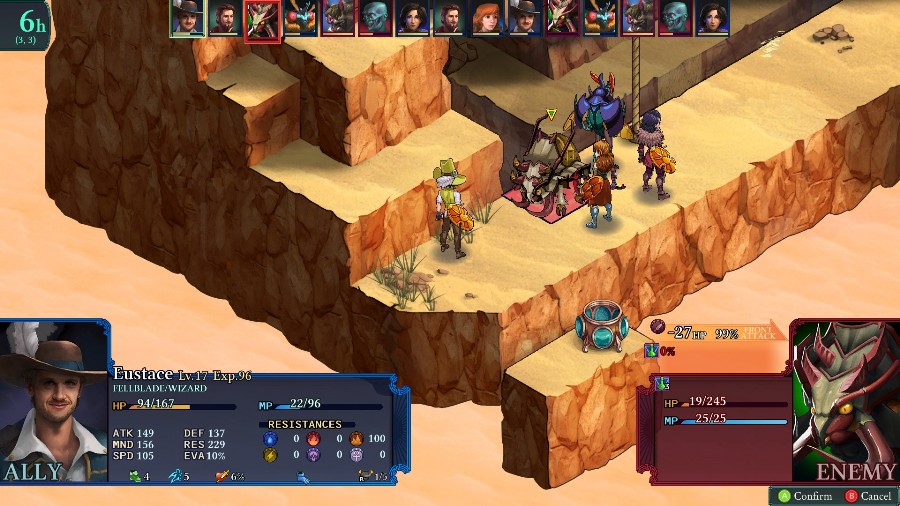
Eustace hits him with an Earth Locus to nearly kill him,

And then Bzaro goes again to finish him off.
Anadine runs around to grab the chests, and then Reiner finishes the fight off.
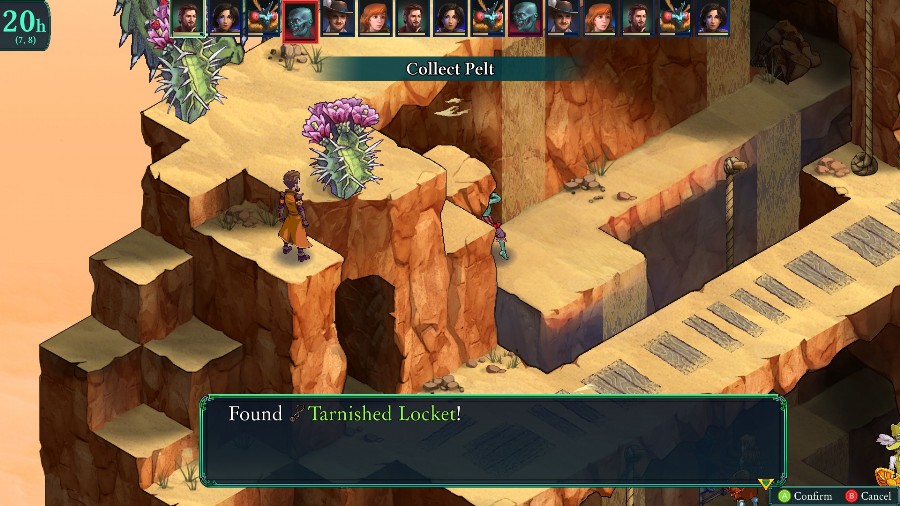
Getting us the special drop from the zombie along the way.
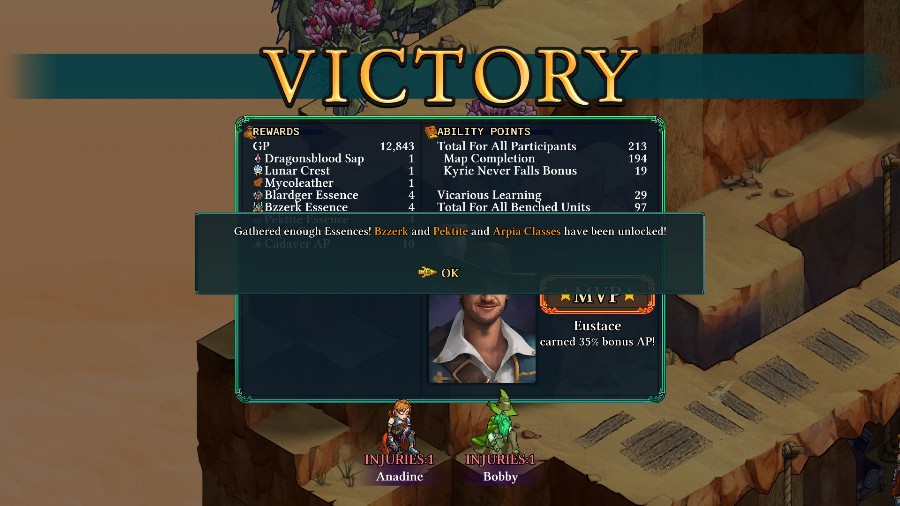
Eustace gets MVP and Bzaro unlocks 2 more monster classes to work with.

Because we got the locket, we can use it to craft a piece of equipment, which is really great, and is the key to unlocking the special class.
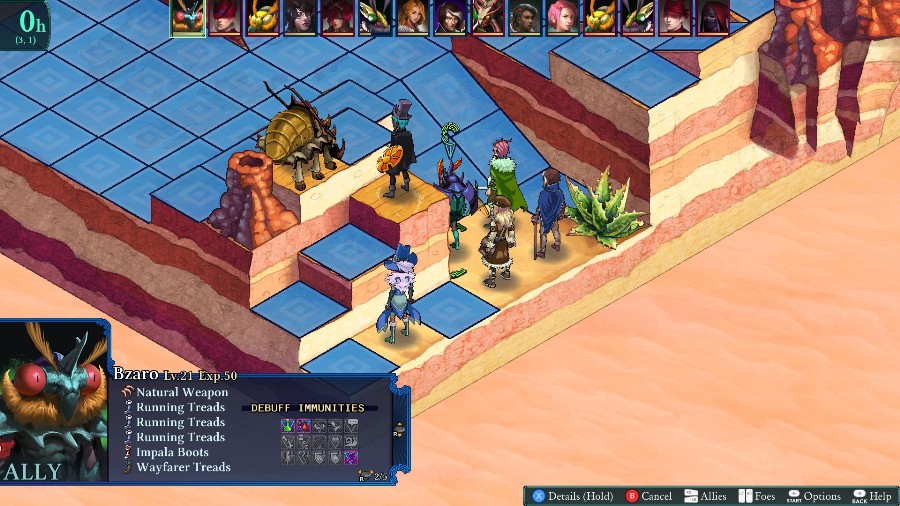
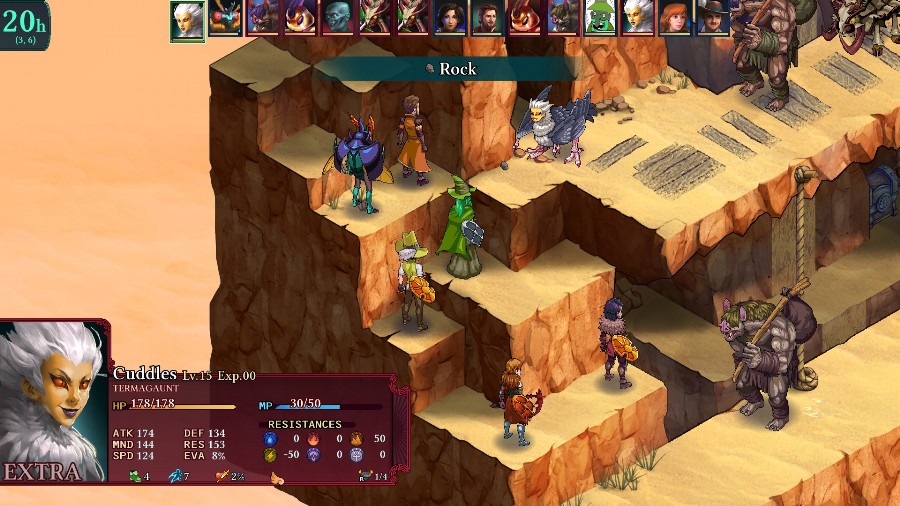
And lastly, because people wanted to see it, here’s Bzaro with 5 pairs of boots. Not even any special ones, these are just basic craftable boots.
He can cover just about half of the map in 1 turn. It’s pretty nice.
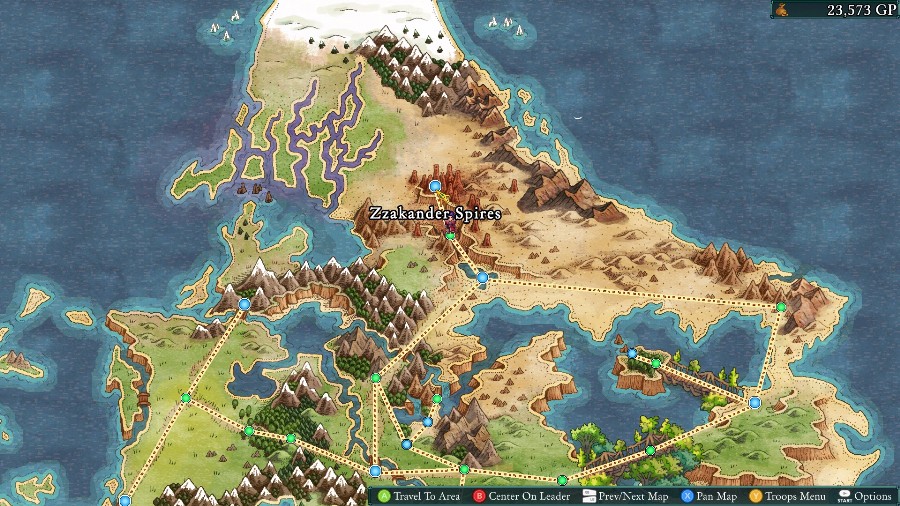
Anyway, with that brief aside done, we’ll be ending things here. Next time we’ll be heading into the town of Zzakander Spires!