Part 59: Arena Tournament II-2
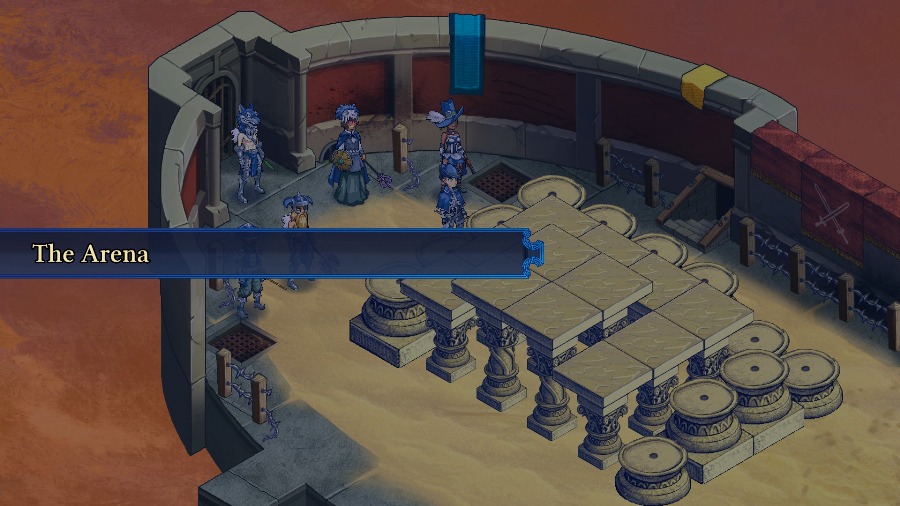
Update 59: Arena Tournament II-2Welcome back! Last time we started the 2nd arena tournament and did the first 2 fights. This time we’ll be continuing with the tournament, doing rounds 3 and 4.

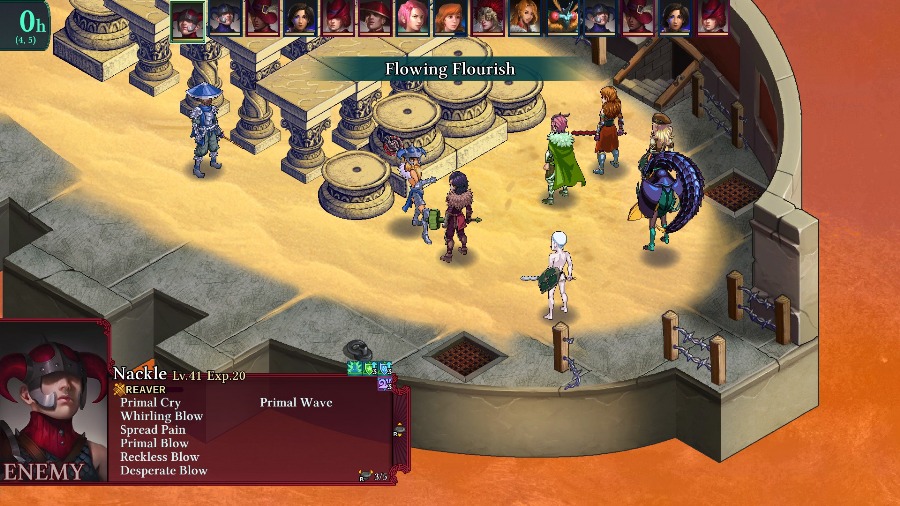
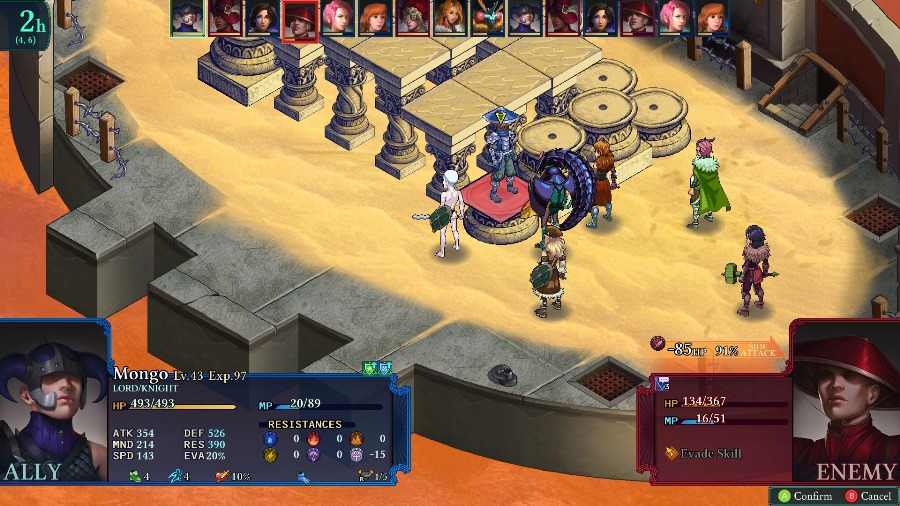
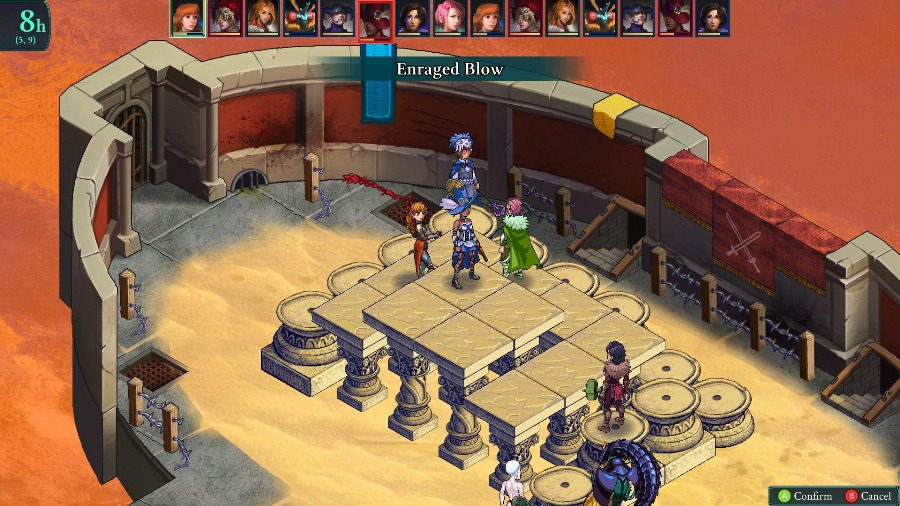
The 3rd fight is again against a bunch of people. If anything, this fight is a bit of a breather after the previous ones. Notable enemies are the Druid/Mender (can heal and doublecast, but is less effective than the Princess in the previous fight), the Gunner/Knight (Ranged One For All attacks), and the Reaver/Duelist (Can hit very, very hard if low on health). That said, there’s nothing as obnoxious as the Princess or Vampire in the last fight.
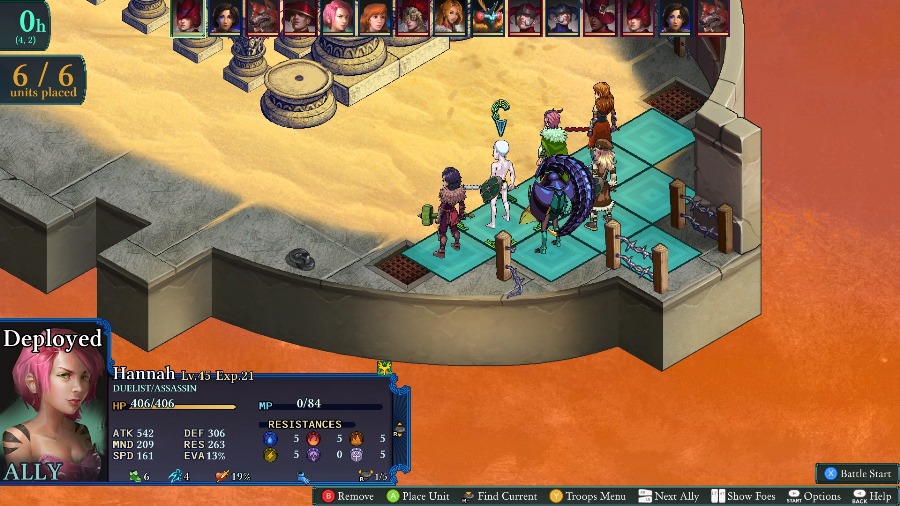
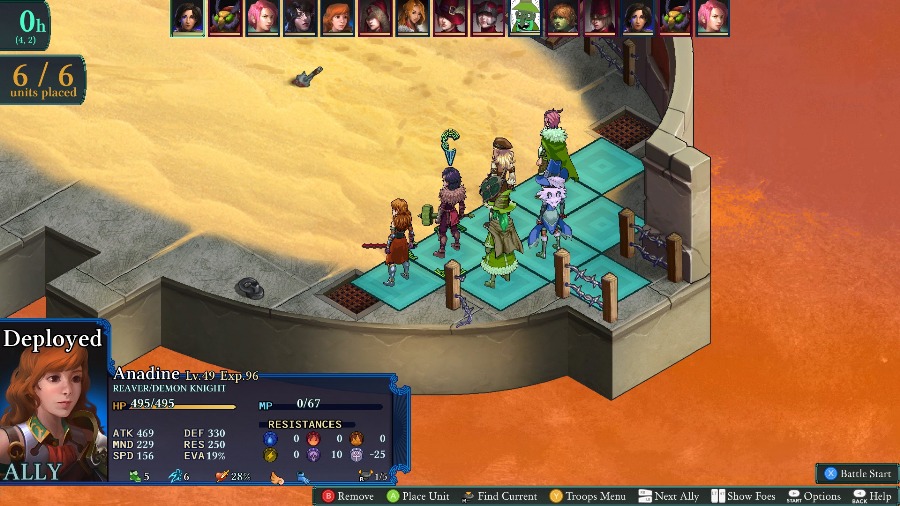
I’m bringing Hannah, Kyrie, Mongo, Anadine, Bzaro, and Sophia for this one. There are still a good number of status vulnerabilities for Bzaro to hit, and since no enemy is too tanky, my damage dealers should be able to blitz through them.
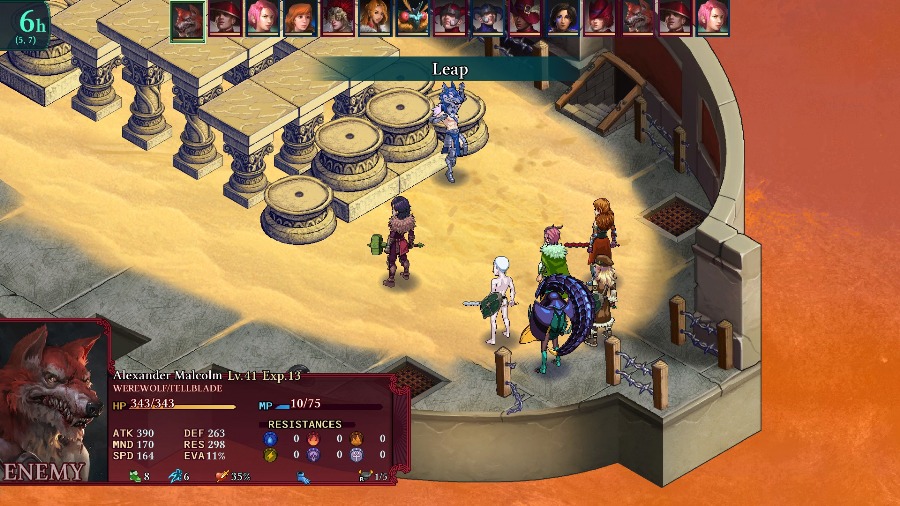
The fight stats off pretty quickly as Kyrie moves forward and then the Werewolf leaps over to attack. Conveniently isolating himself and putting him in range of all of my people.
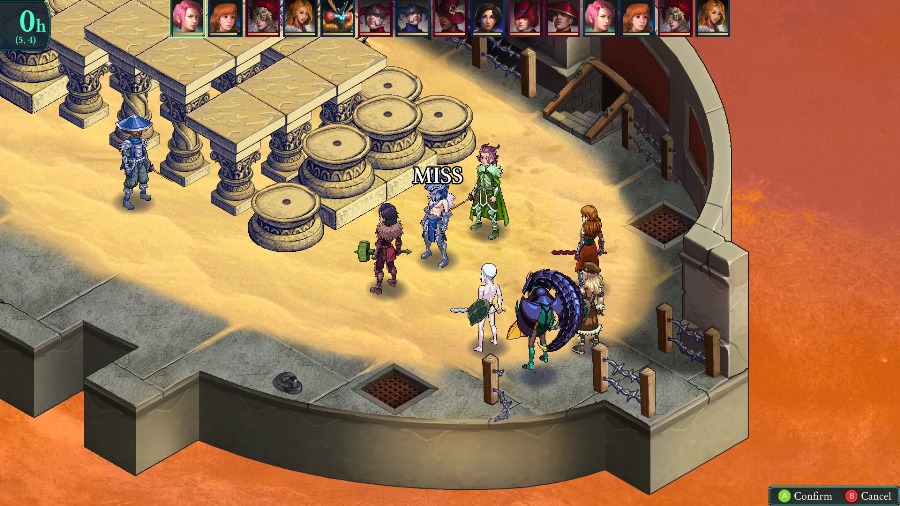
Hannah goes to hurt him, but misses one of the 2 swings. The single hit does weaken the Werewolf enough for Anadine to take out on her turn though.
And then she uses her free turn to buff up.
The enemy ranged units start advancing and the Druid spreads some defensive buffs around.
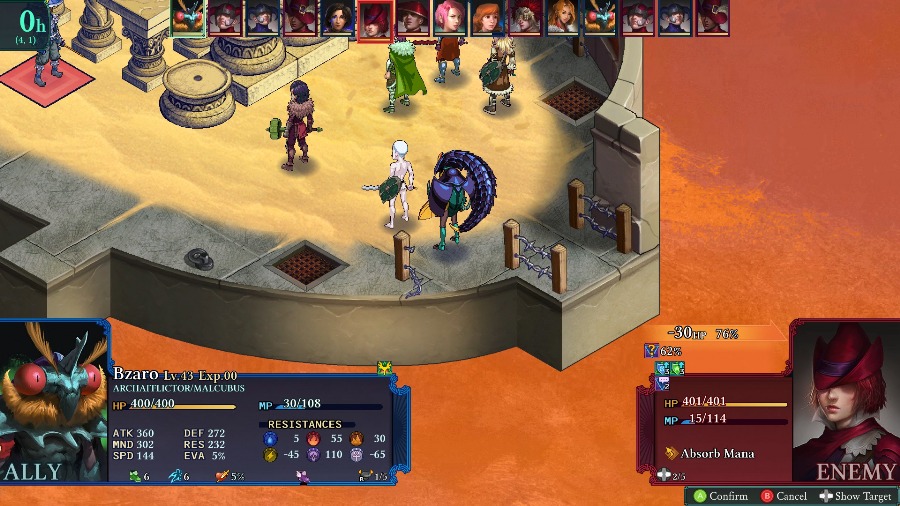
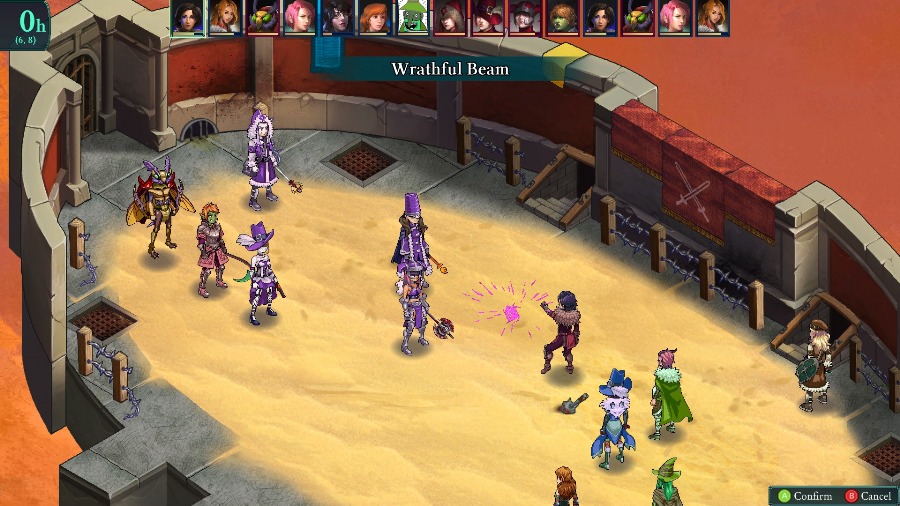
Sophia gave Bzaro some MP, so he uses his first move to put out a Plaguestorm. Only downside is that the Ranger has the Absorb Mana reaction, so I’ll probably be seeing a Sniper Shot or two this fight.
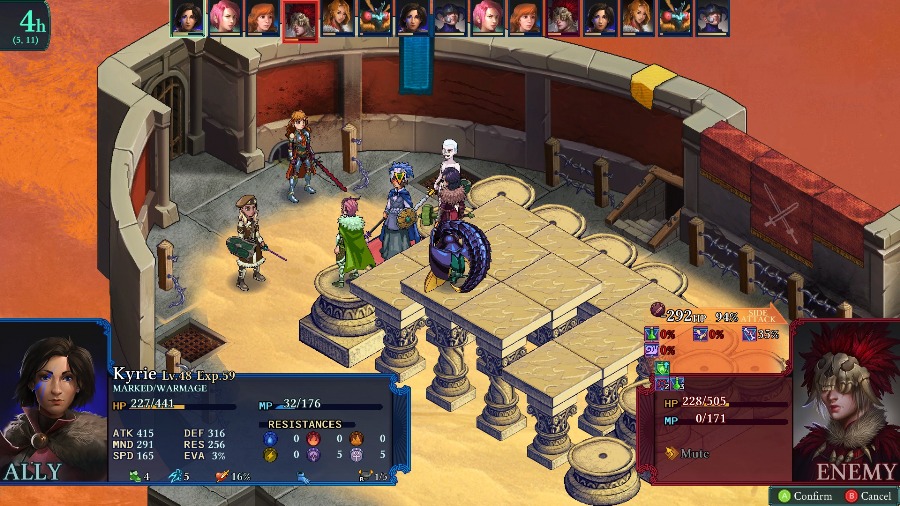
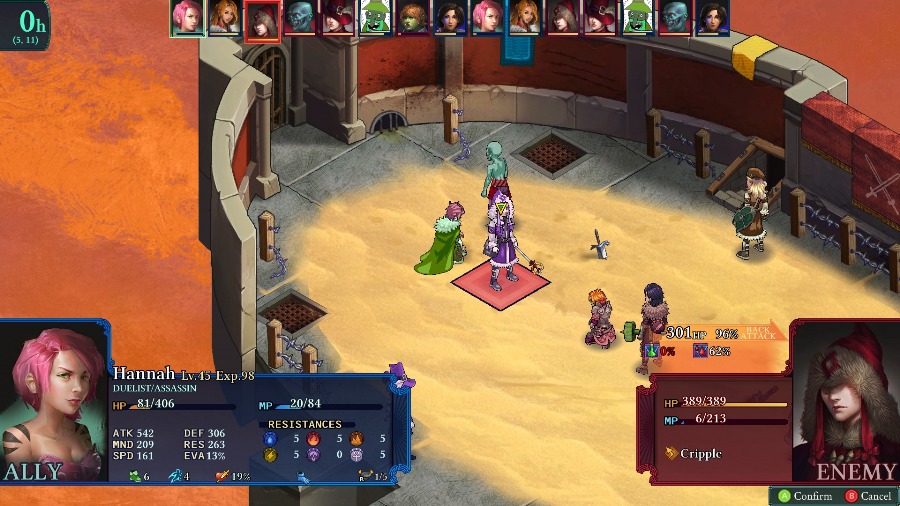
The Reaver runs up and take off about half of Kyrie’s health in one shot. I have Mongo heal her up, in case the Gunner decides to attack her. They don’t and instead just take a potshot at Hannah.
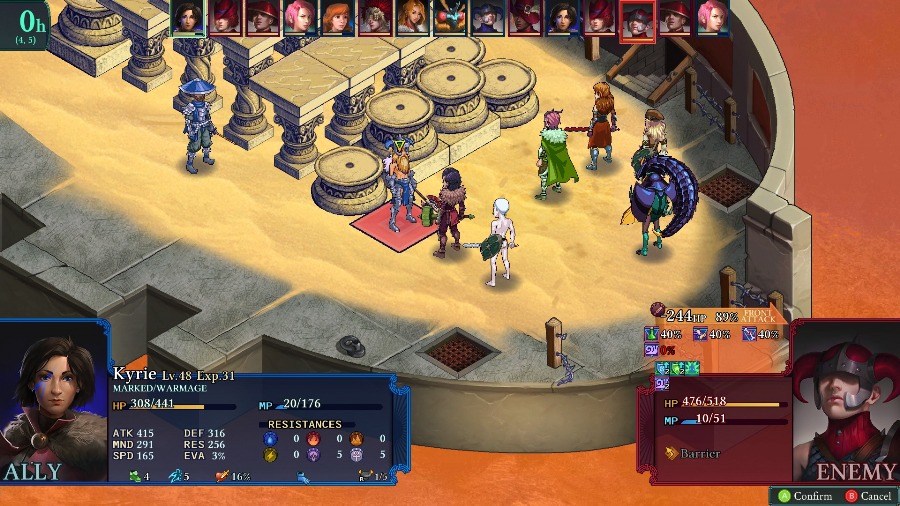
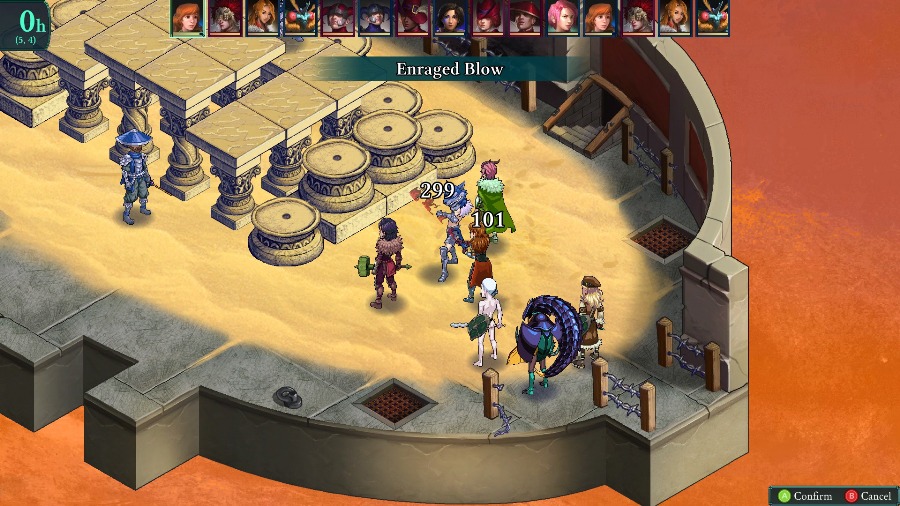
And Kyrie retaliates against the Reaver by taking out half of their health instead.
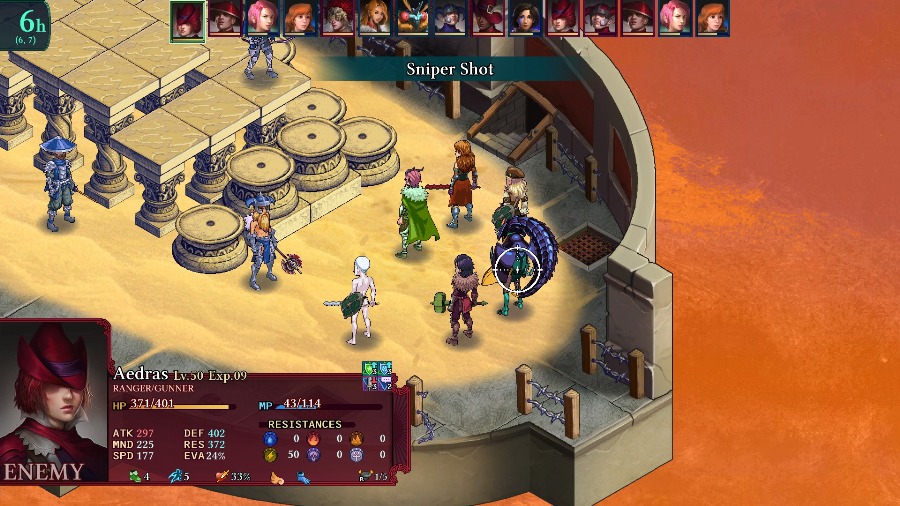
While Bzaro gets sniped. However, thanks to his decent bulk and the attack debuff from Plaguestorm the attack only does about half of his health.

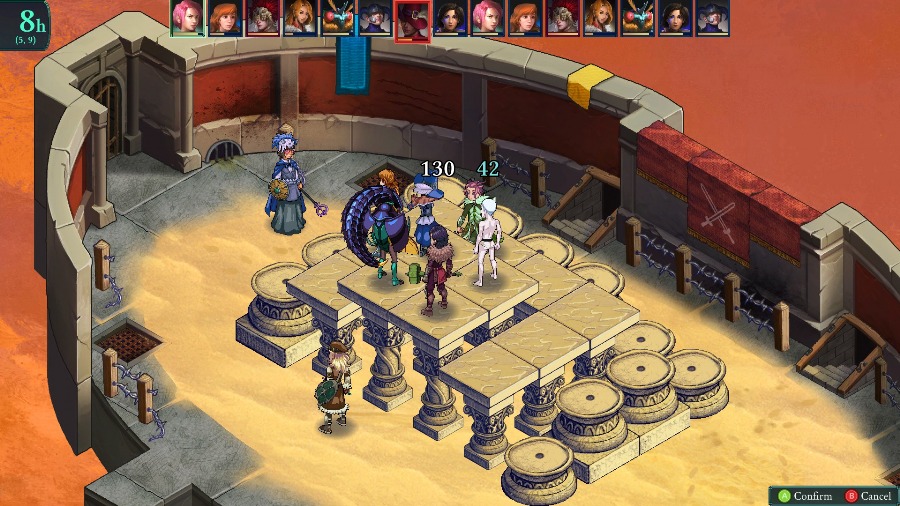
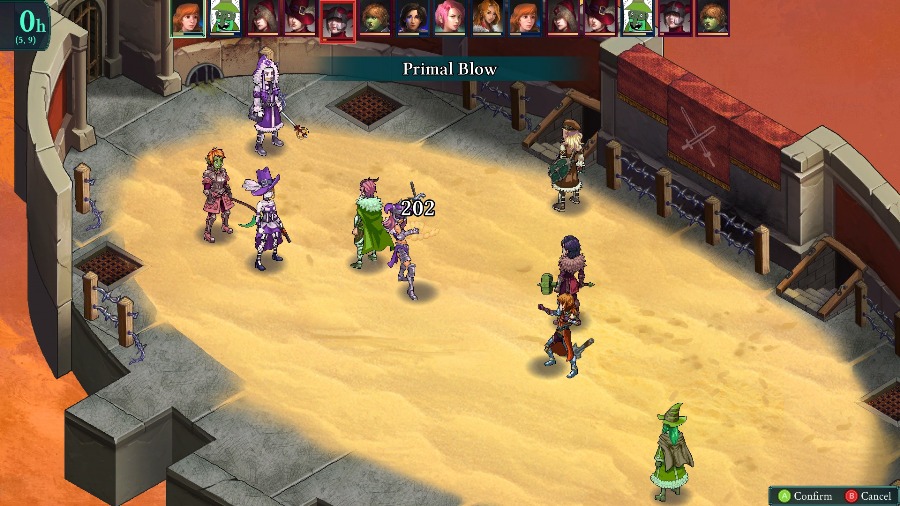
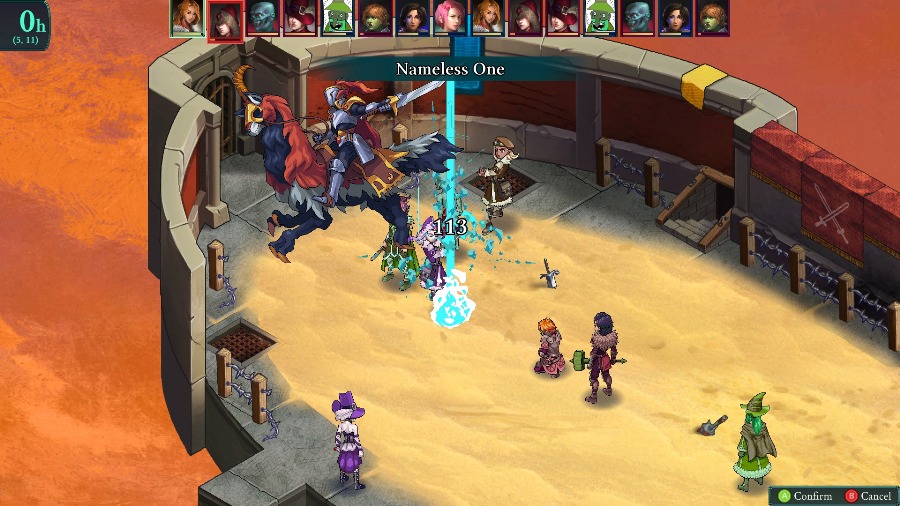
And then Anadine gets a turn, and continues to rampage, OHKO-ing the Ranger and nearly killing the Reaver as well.
Sophia finishes the Reaver off
While Mongo and Bzaro bully the Duelist a bit.
On the Gunner’s turn, they crit Bzaro and kill him, but that just triggers his innate reraise.
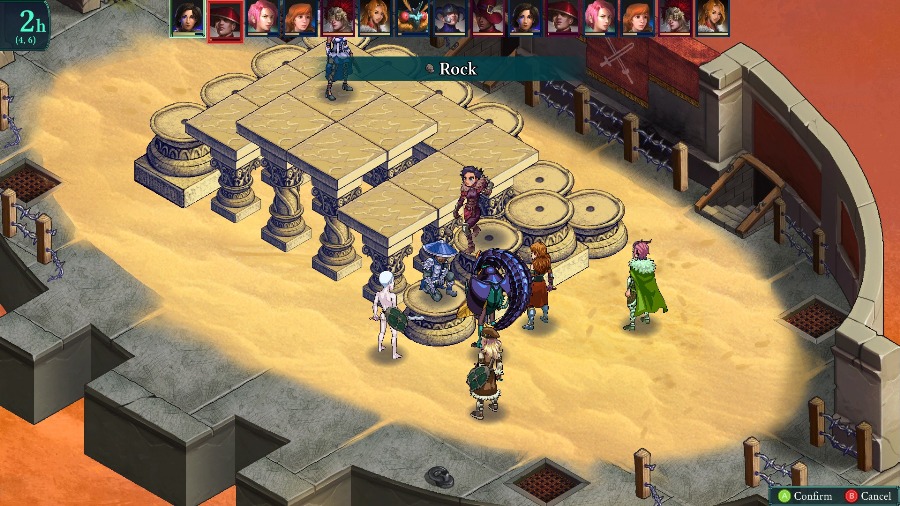
And Kyrie kills the Duelist with a rock.
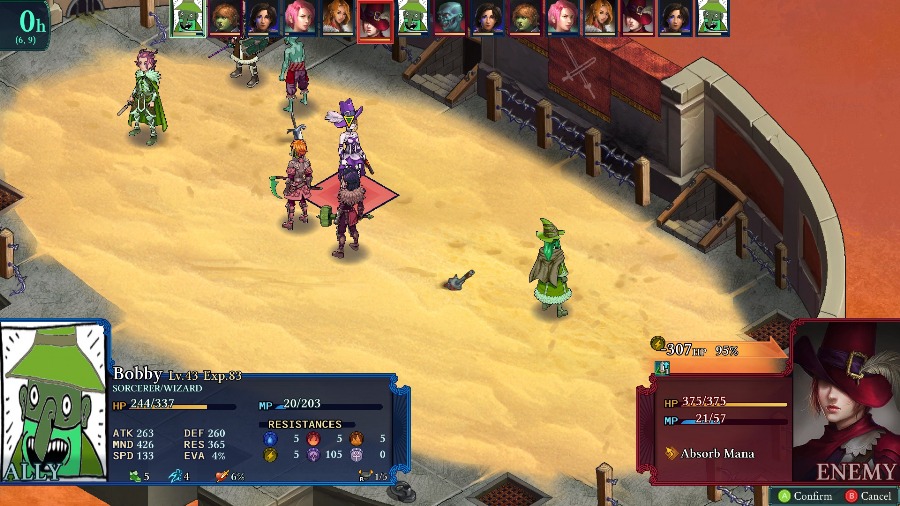
On her turn, Anadine kills the Gunner, but they also have a reraise, preventing Anadine from killing the Druid as well. The Druid then uses their turn to heal the Gunner back to full.

I keep moving up as the Gunner hurts Sophia.
But Hannah quickly kills her afterwards.
Anadine goes to slaughter the Druid, but whiffs the 94% shot.
But after a bit more running around, Kyrie’s able to actually land a finishing blow.

And we of course continue once more to the final round.
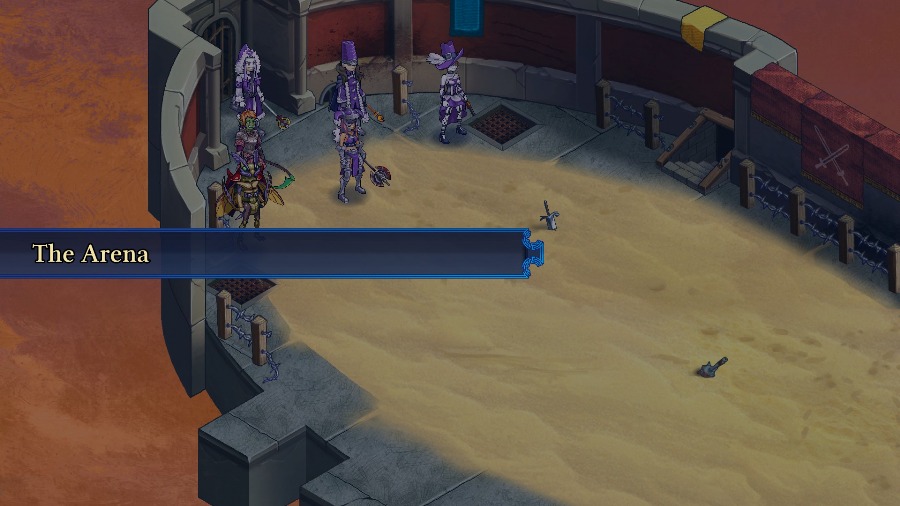
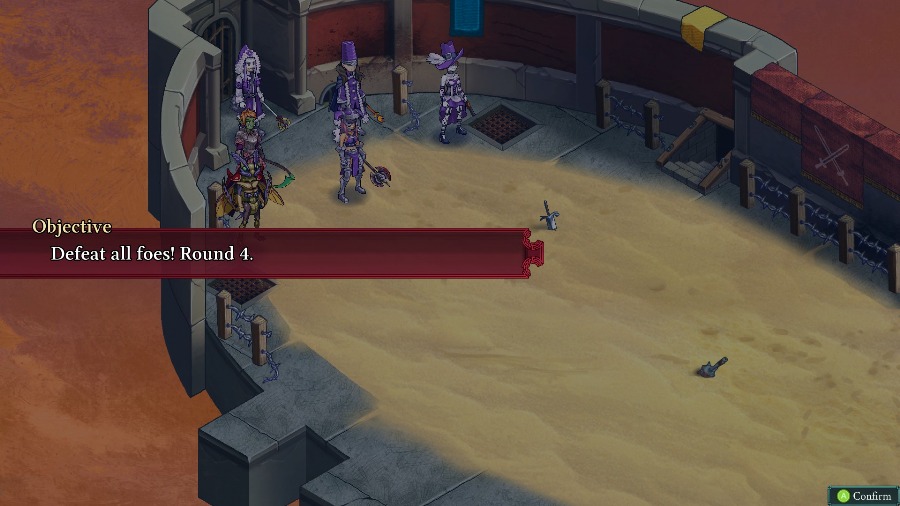
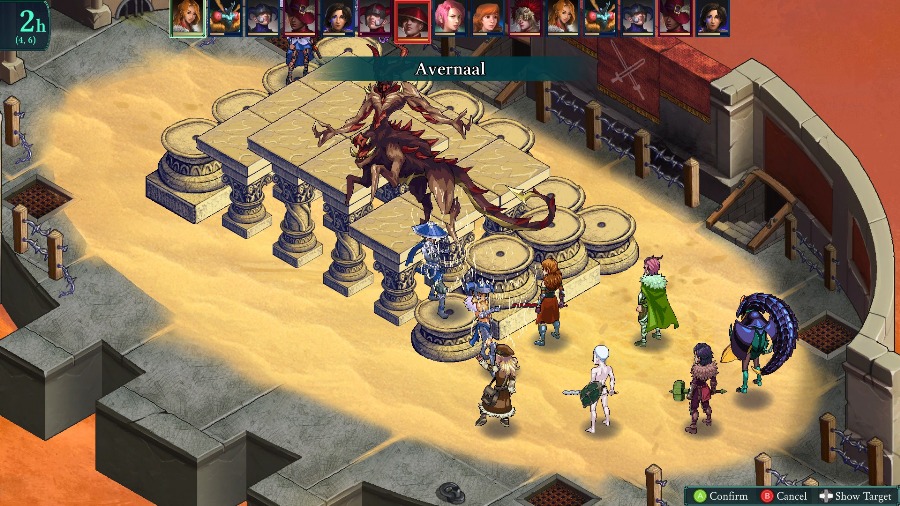
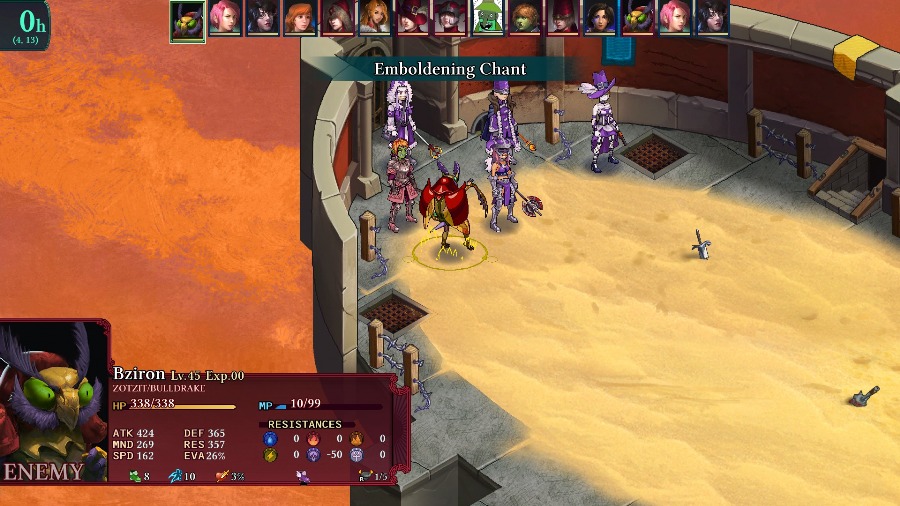
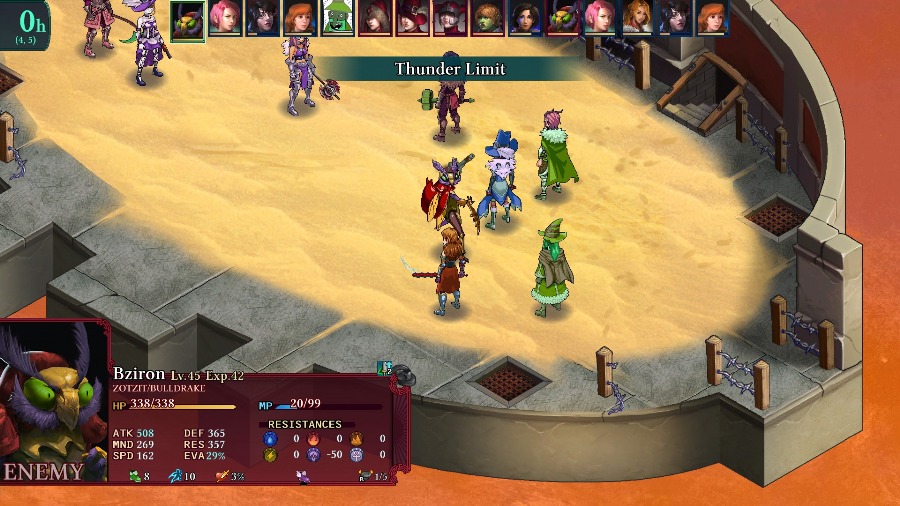
The map for this one is incredibly simple, just a long flat plane. But the fight itself is not simple at all. That’s because these enemies all have powerful class combos (and are actually based off of one of the developers’ preferred end-game teams).
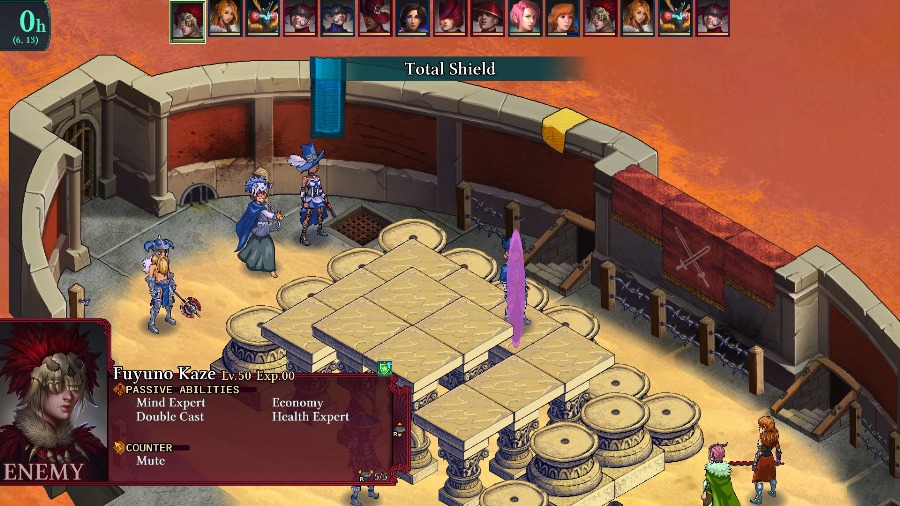
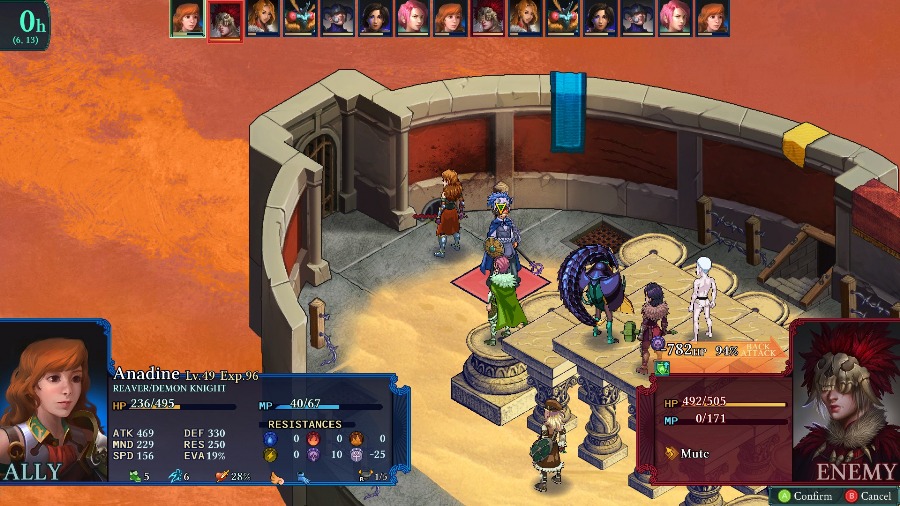
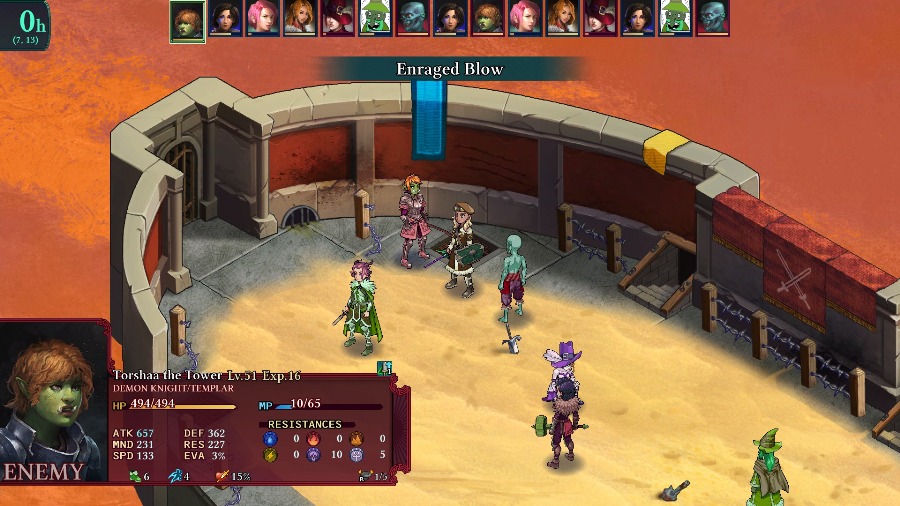
We have a Zotzit/Bulldrake Bzil, a Gunner/Ranger, a Reaver/Mender (good at removing debuffs, not so much at healing) with a phoenix band, a Sorcerer/Vessel with the Blood Magic/Economy passive combo, a Mender/Anatomist with the Anatomist’s Legendary Healer passive,
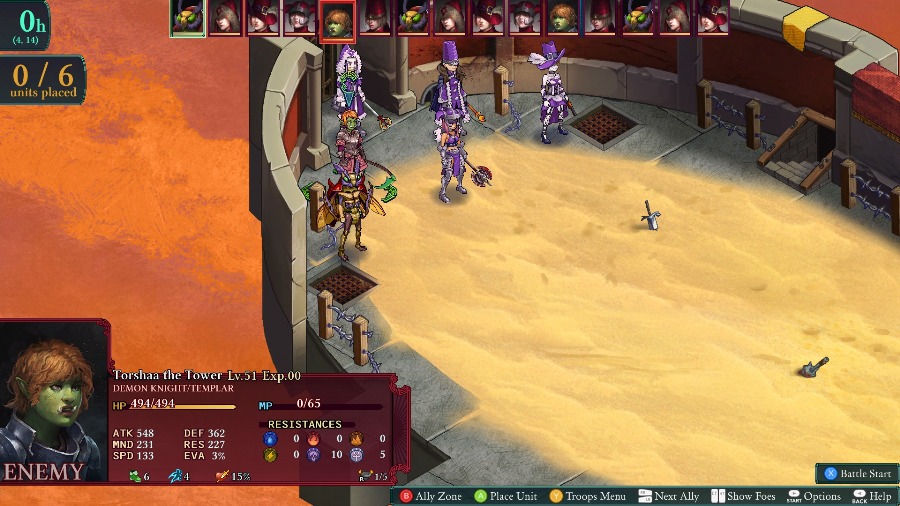
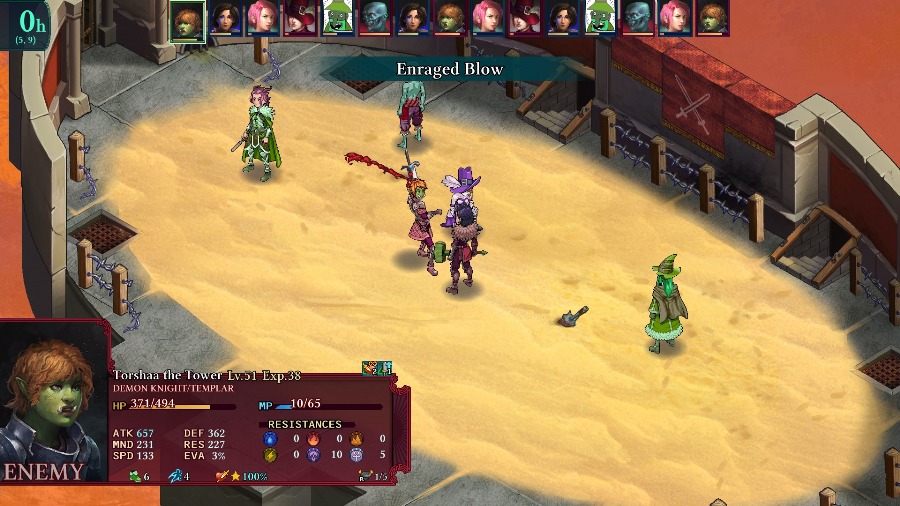
And the biggest threat, Torshaa the Tower. She’s a Demon Knight/Templar with the Boon and Exploit Weakness passives. So she can buff her own attack up to ludicrous levels, inflict heavy damage with either Demon Knight attacks or the Templar’s Righteous Blade, and if she kills someone she will get another 125% damage (from the crit, Exploit Weakness, and the bonus crit damage from a Scythe) on her free turn. Which she will almost certainly use to kill a 2nd person and keep the guaranteed crit going.
So she’s absolutely the priority to take out or avoid if possible.
To balance it, I’m bringing Kyrie, Anadine, Sophia, Hannah, Azure, and Bobby. This is the group that I’d say is probably the most out and out powerful of my units, though the others definitely have their own niches.

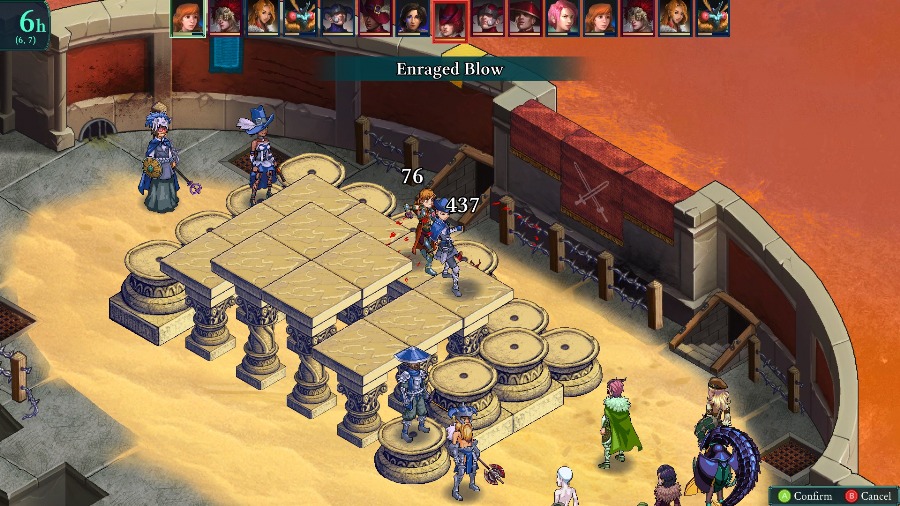
Both sides start out by buffing as we close in. There are a few potshots from Azure and the enemy gunner, though neither of them has a huge impact.
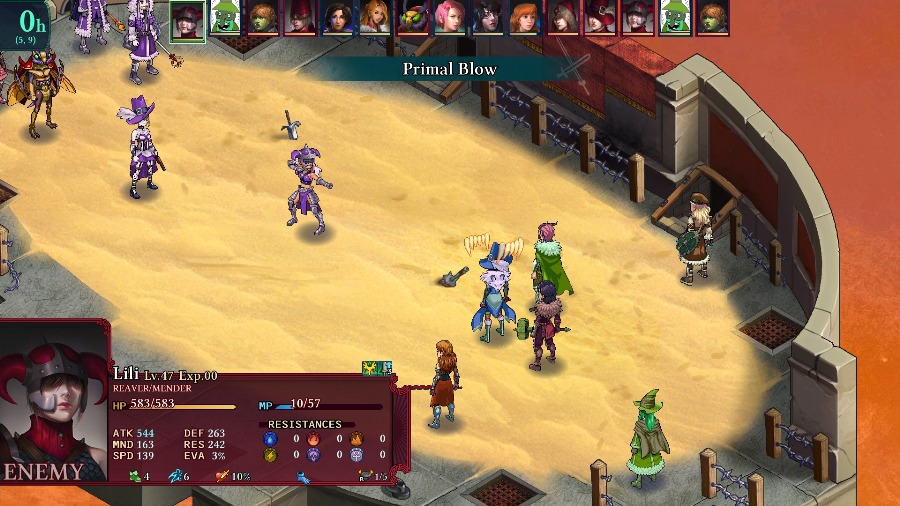
The Reaver takes a decent chunk out of Azure but gets shot back.
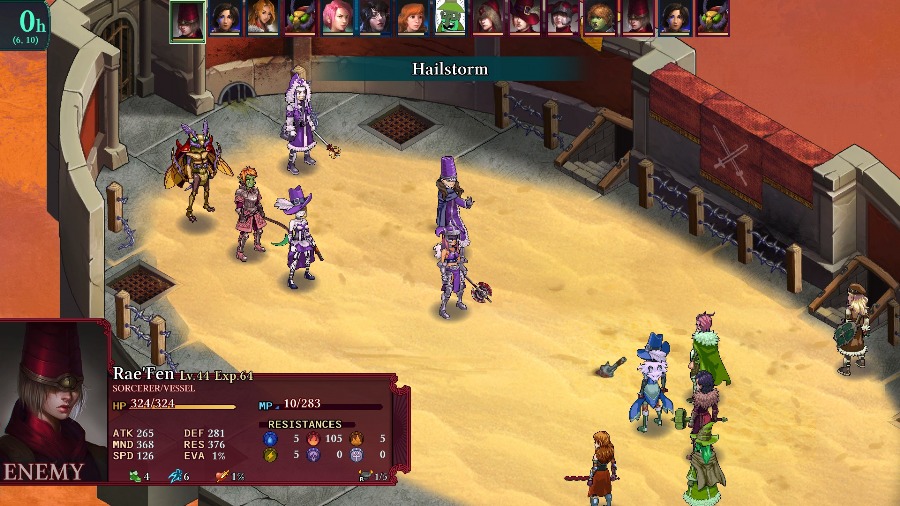
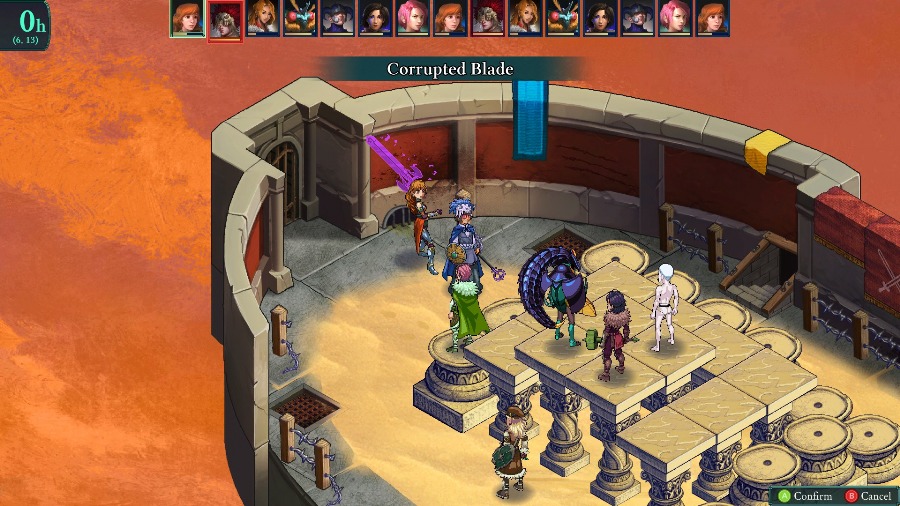
While the Sorcerer starts blasting everyone with map spells.
Thankfully, they’re in range of Kyrie and Sophia, so I have them blitz the Sorcerer down and hurt the Reaver a bit as well.
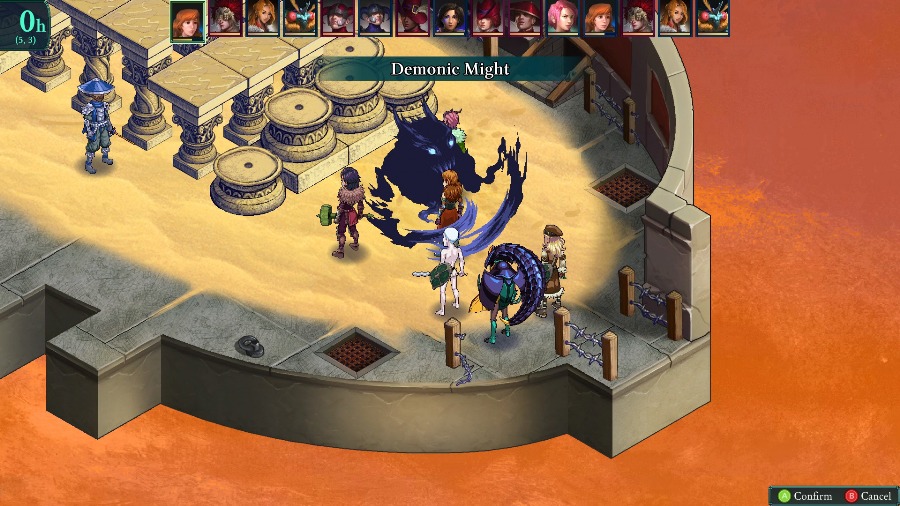
But that burst of good fortune is balanced out by the Bzil killing Azure and hurting Hannah and Anadine with this.

Hannah uses her turn to fill her health and trigger the Reaver’s reraise.
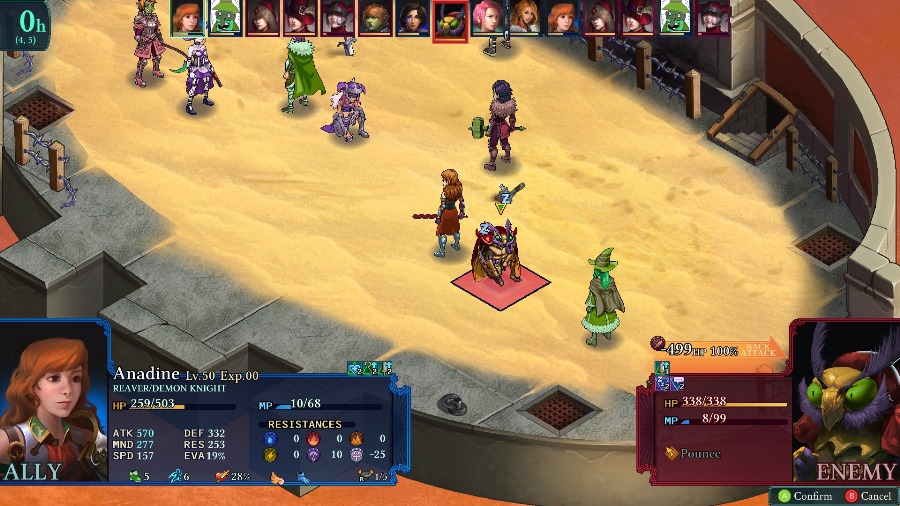
And because she’s so hurt, Anadine’s able to take out the Bzil in 1 shot.
And then moves up to kill the Reaver as well. I kept her back to keep her out of Torchaa’s easy kill range. Hannah is evasive and bulky enough that she has a chance at least of surviving.
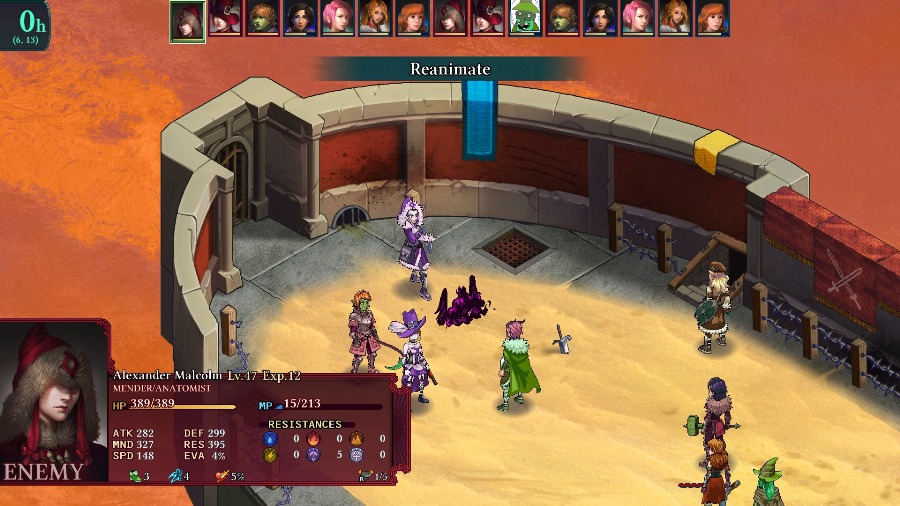
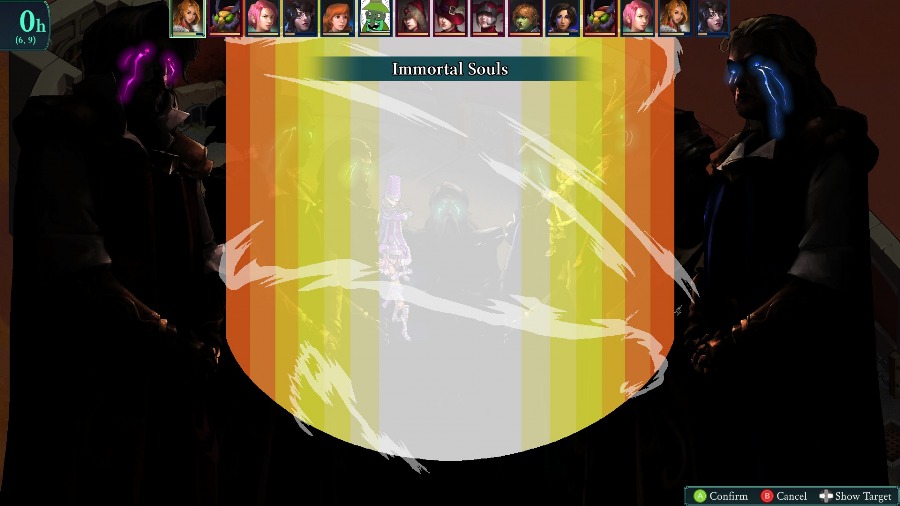
Annoyingly, the Mender reanimates Azure so I can’t bring her back.
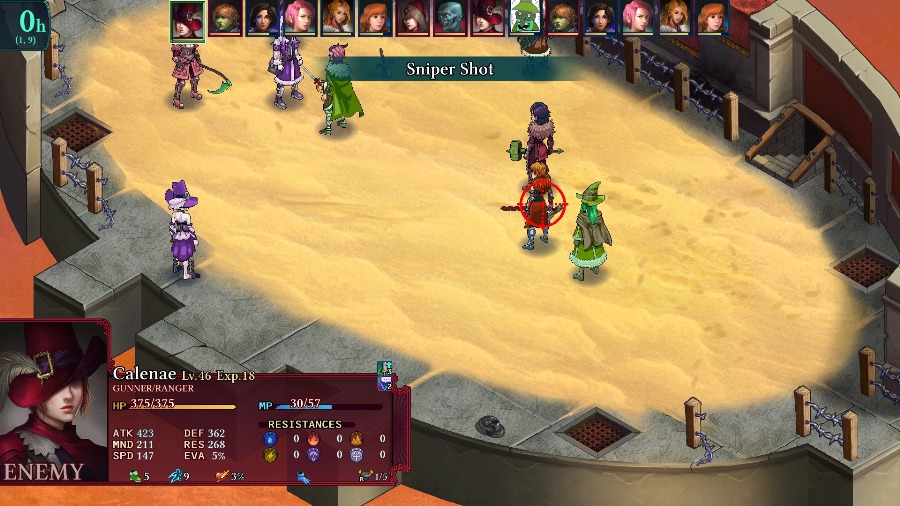
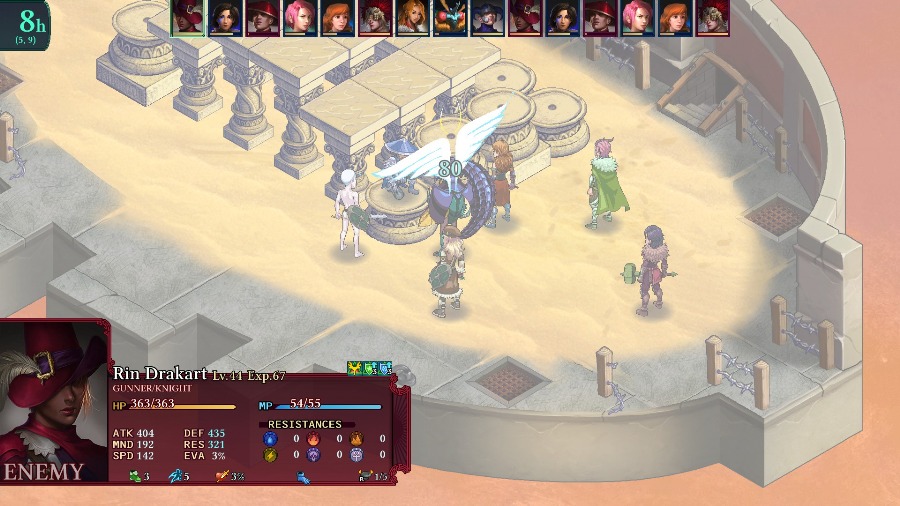
While the Gunner takes advantage of their boosted attack to take out Anadine with a Sniper Shot.
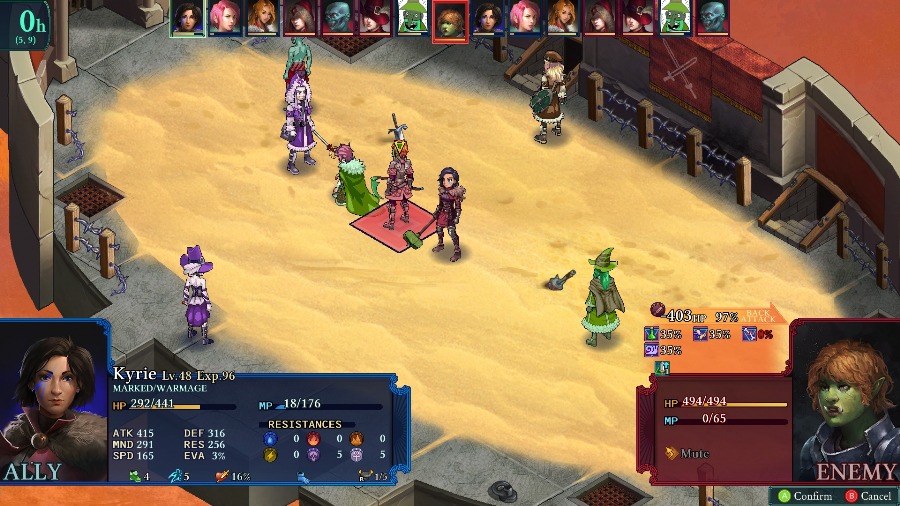
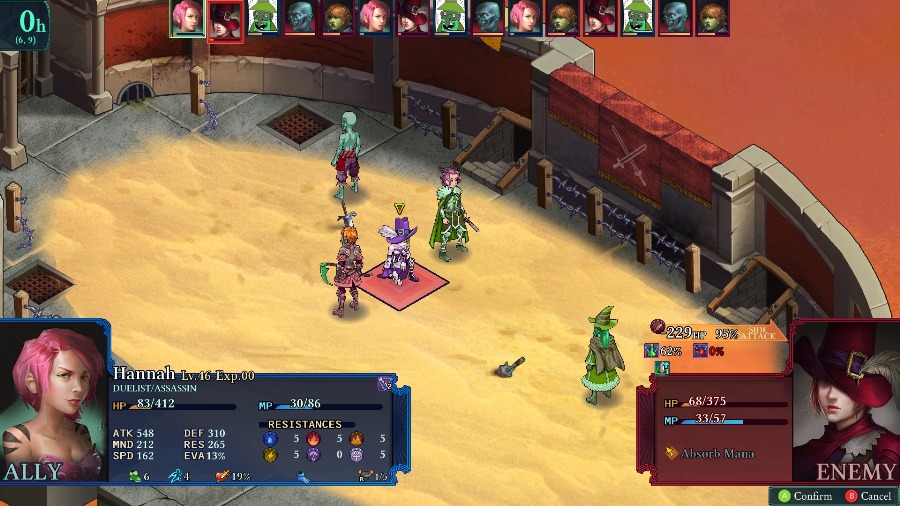
My prediction is proved correct, and Hannah just barely survives an attack from Torshaa. I leap at the chance to take out Torshaa and have Kyrie get rid of most of her health.
But I get a bit greedy and notice that I can almost kill the Mender too. It’s at least sort of justified by the Mender potentially being able to revive Torshaa, but not really.
Thanks to Sophia being low on MP, I can’t hit both Torshaa and the Mender, so I prioritize taking out the healer since she goes next. Plus, Bobby should be able to take out Torshaa before she gets a turn.

Or at least he could have.
So instead, I have him hurt the Gunner instead, since he can’t take out Torshaa in one shot.
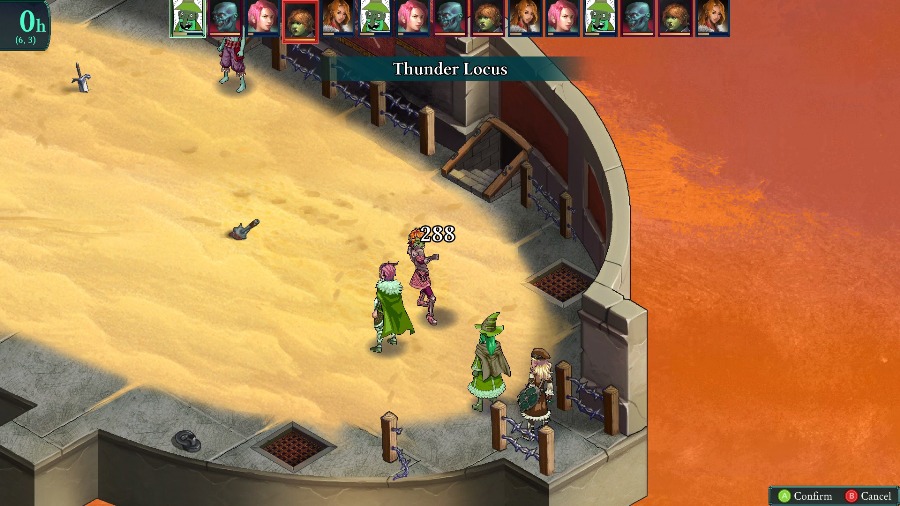
And things go a bit downhill when Torshaa actually gets a turn and kills both Sophia and Kyrie.
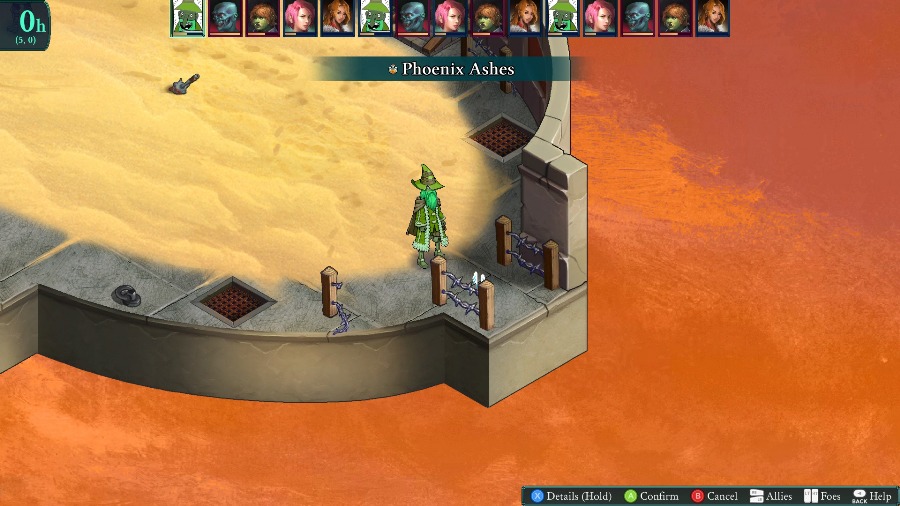
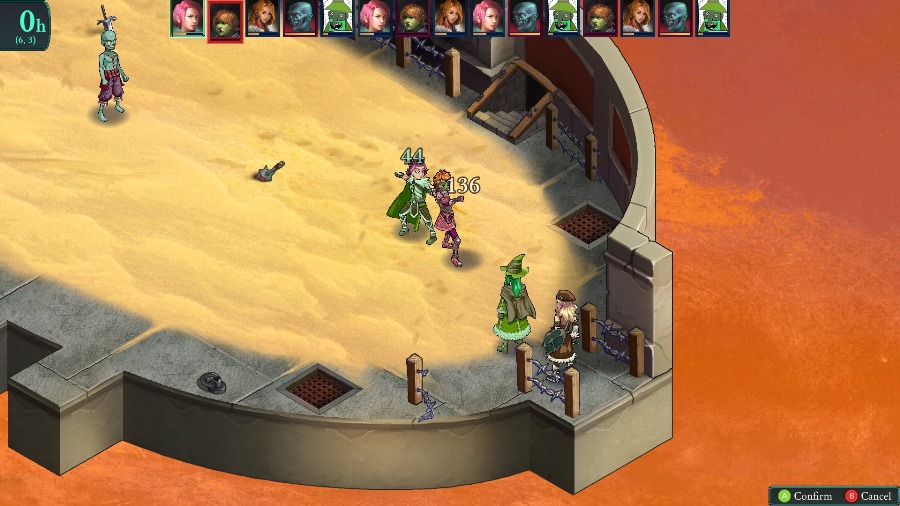
I have Hannah take out the Gunner while Bobby runs as far away as possible and revives Sophia.
Torshaa kills Hannah and then uses her 2nd turn to heal since Bobby’s too far away.
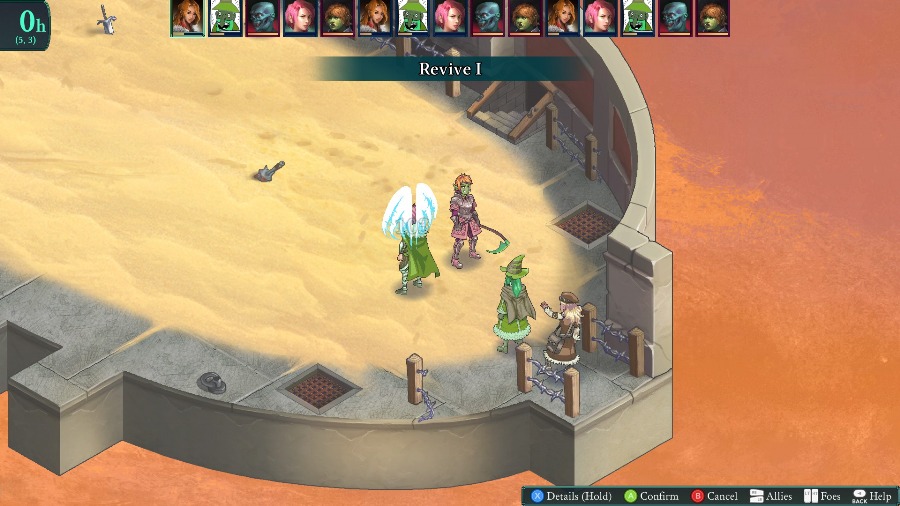
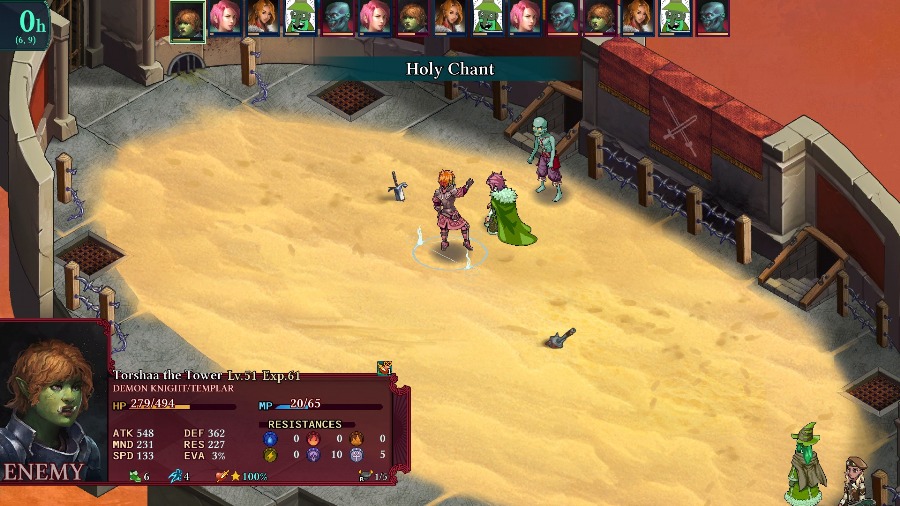
Torshaa’s a bit too close for comfort. Sophia’s the only teammate whose turn would be before Torshaa’s, so I have Sophia revive her as a last-ditch effort.
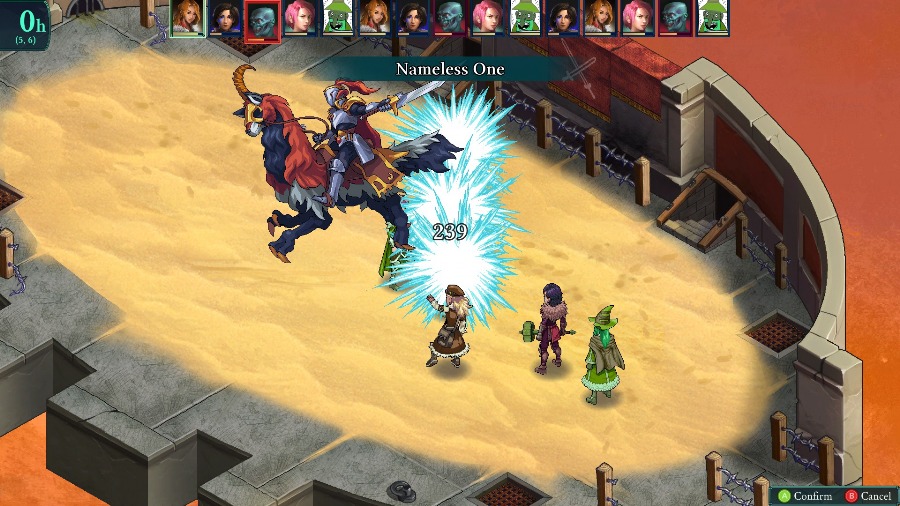
And Bobby and Hannah combine to just barely (literally within 20 hp) kill Torshaa before she slaughters everyone.
And from that point it’s just cleanup to kill the reanimated Azure.
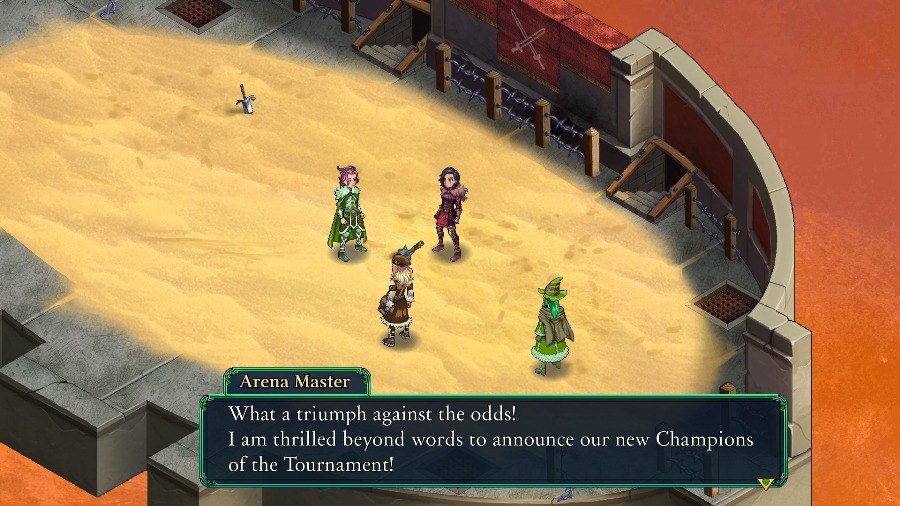
That was a really tough fight for me. I probably would’ve done a lot better if I’d just taken out Torshaa when I had the chance, but greed got the better of me and I very nearly paid the price. If nothing else, I’d say it’s a very fitting conclusion to the arena tournament series.
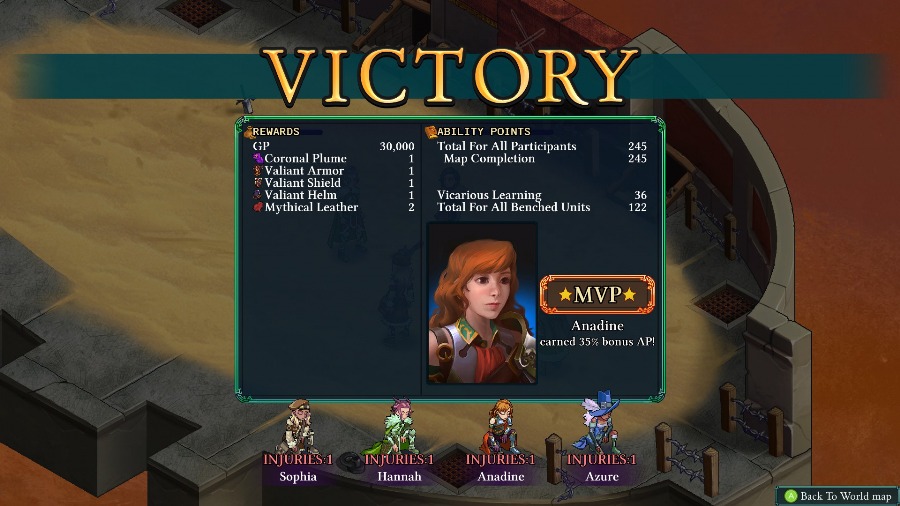
As a reward, we get two rare crafting materials and the Valiant set of armor. The Valiant pieces are either the best or nearly the best piece of armor in their class. The shield has lower stats, but makes up for it with a massive 15% evasion boost, while the helm has a good attack boost and crit chance.
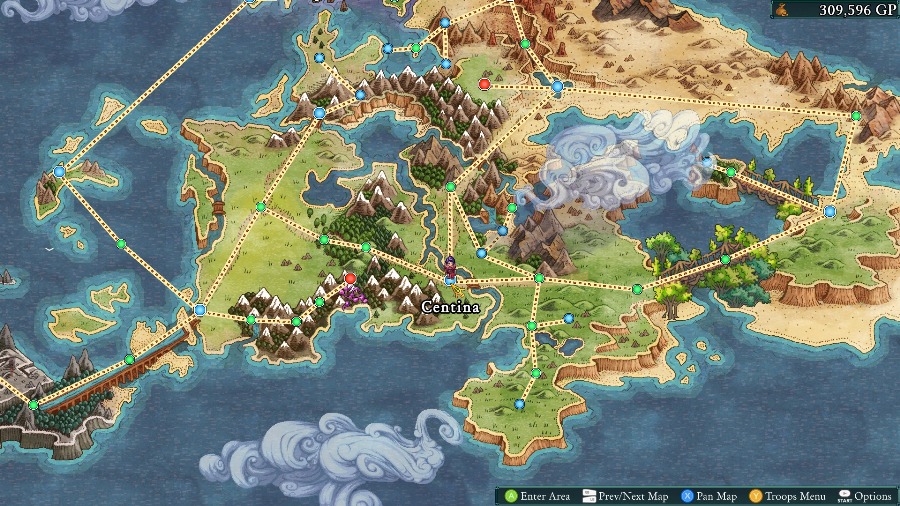
And with that, we’re put back on the world map. Next time, we’ll be checking out two small sidequests before we finally start in on the bonus dungeon!