Part 66: Ancient Path VI - The Gauntlet
Update 66: Ancient Path VI: The Gauntlet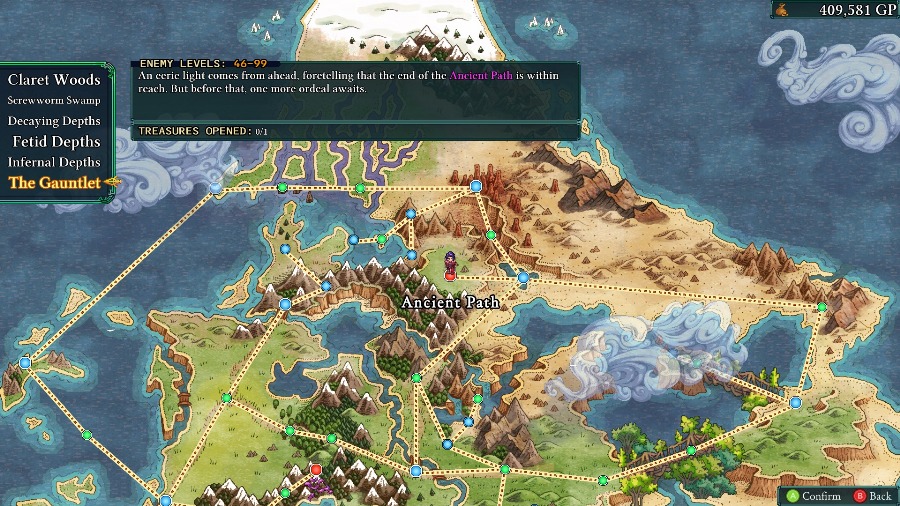
Hello and welcome back! Last time we fought what was in my opinion the most difficult fight in the game. This time we’ll be going through The Gauntlet, which is a very interesting map.
It’s another crystal map, but it has a pretty interesting twist.
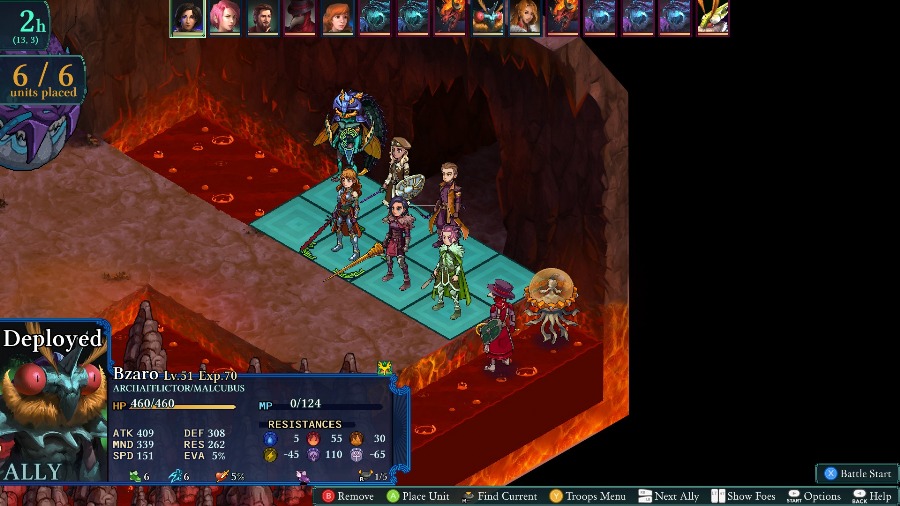
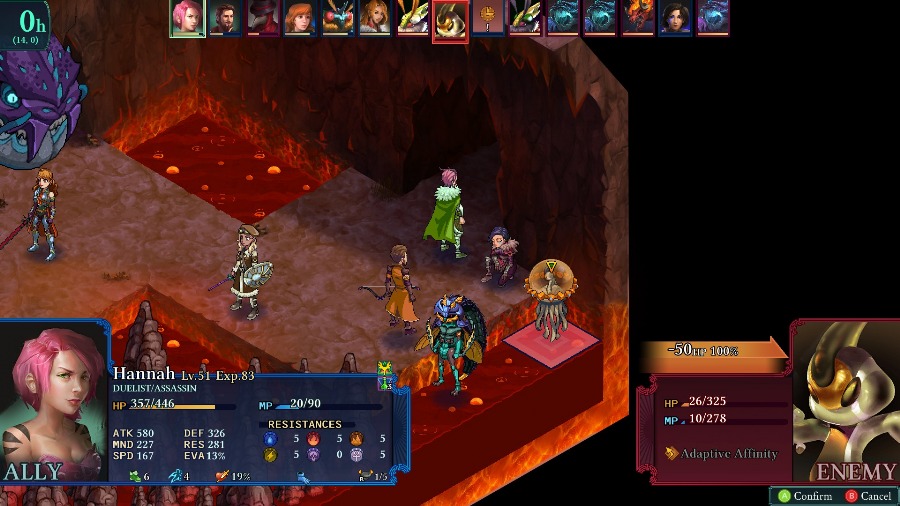
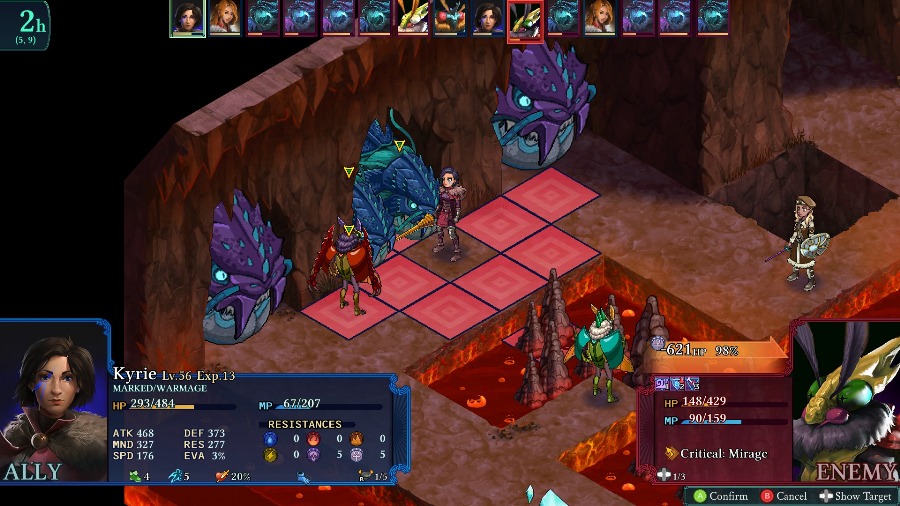
On my side, I have Bzaro for status conditions, Sophia, Reiner, Anadine, Kyrie, and Hannah.
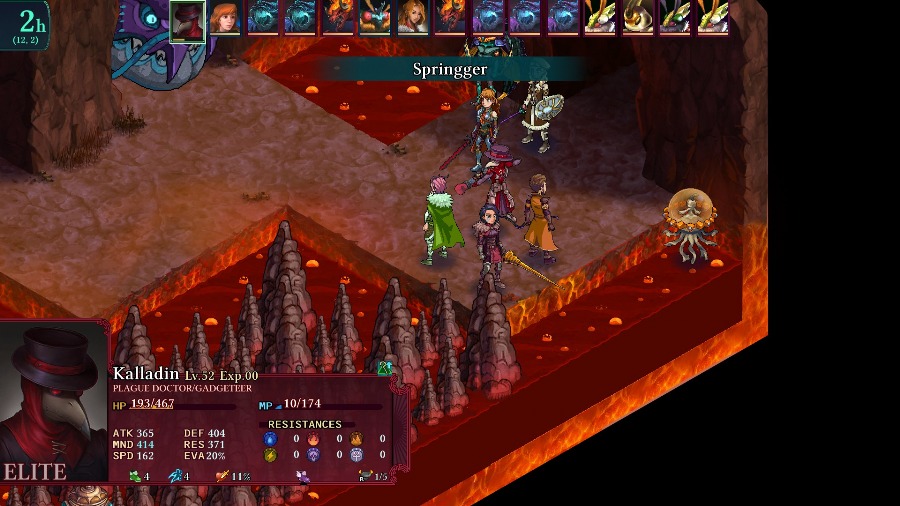
And against us are a Plague Doctor and Pekite,
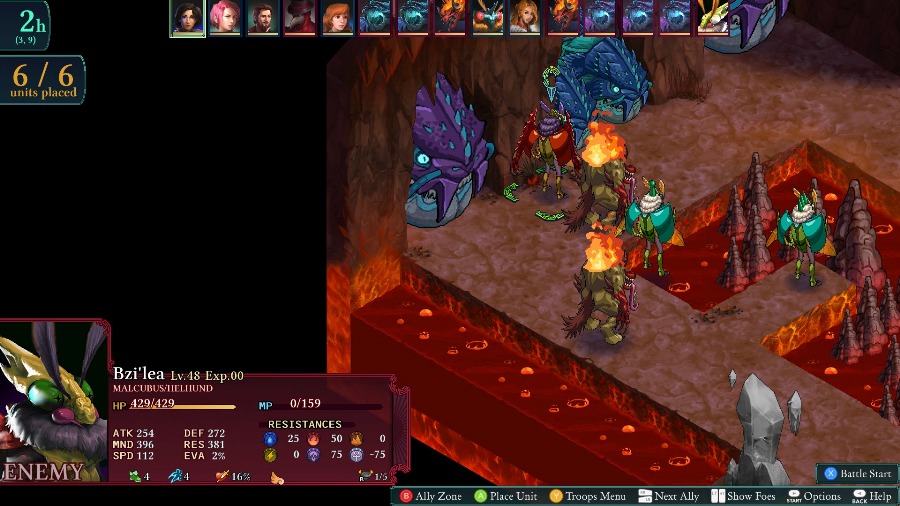
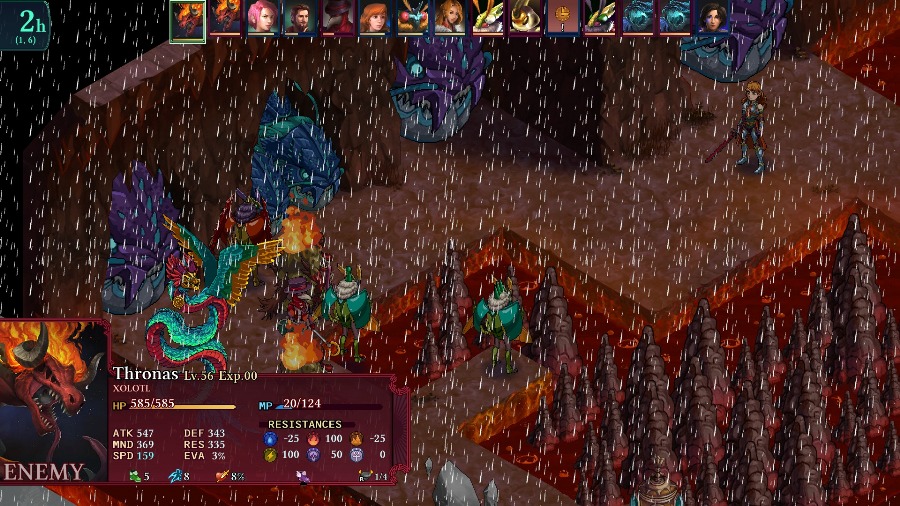
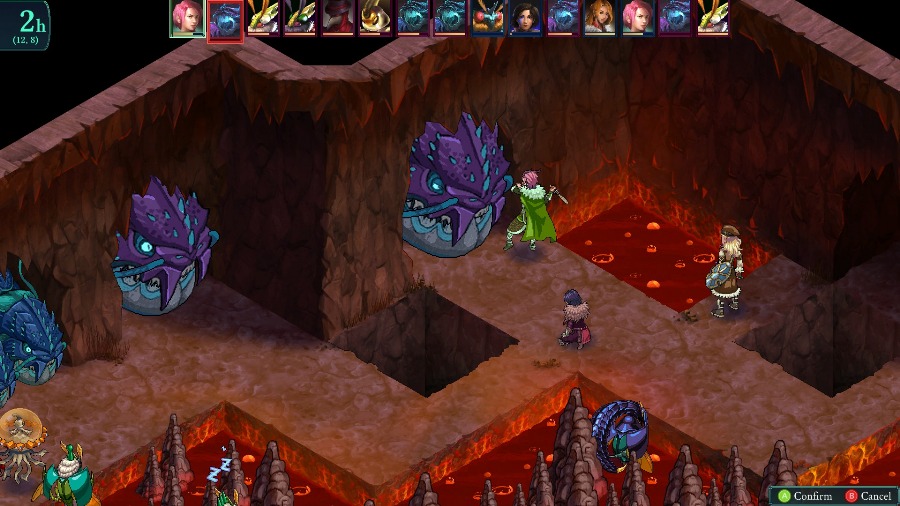
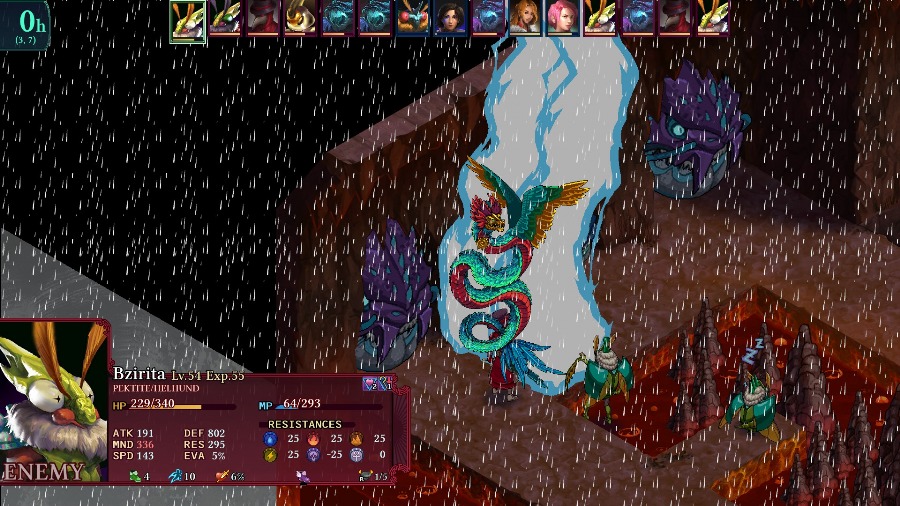
2 Xolotls and 3 Bzils, all of whom have the Helhund secondary,
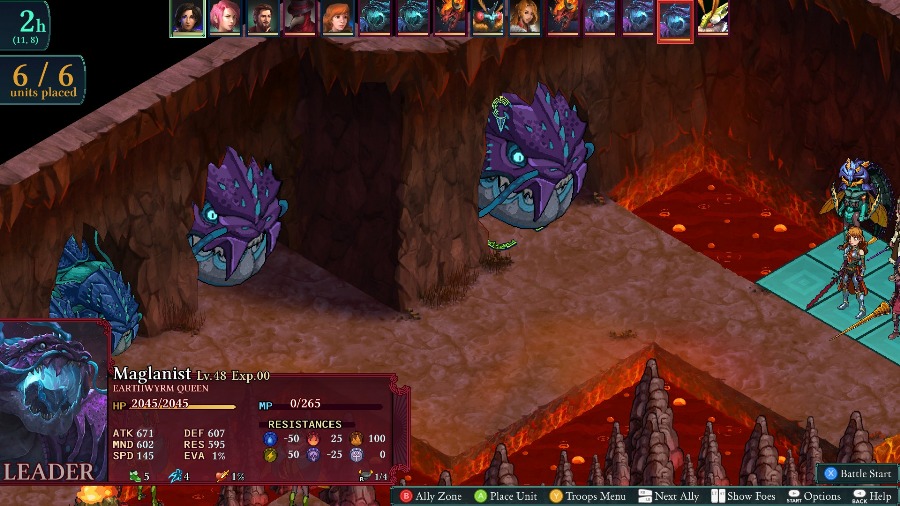
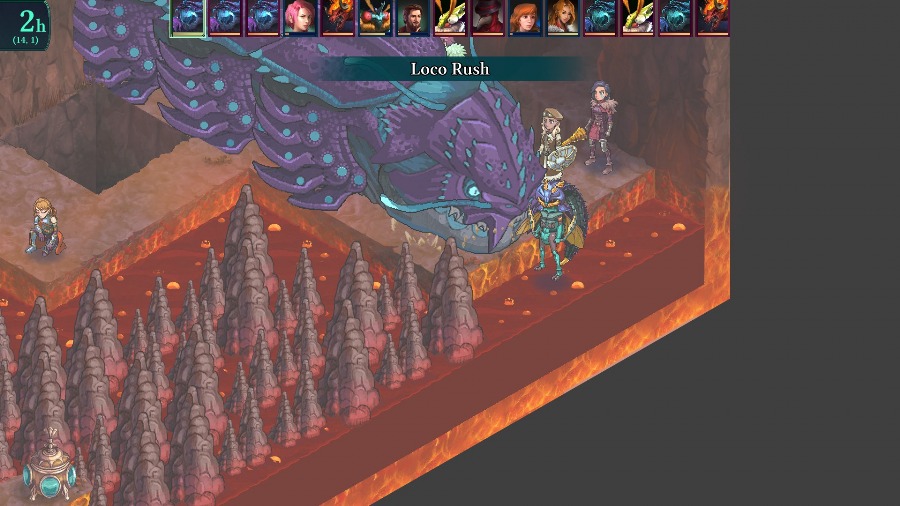
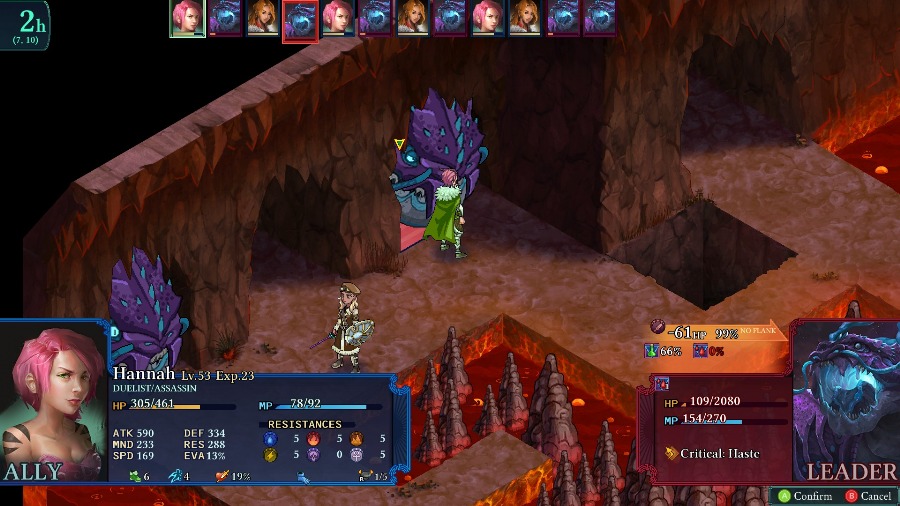
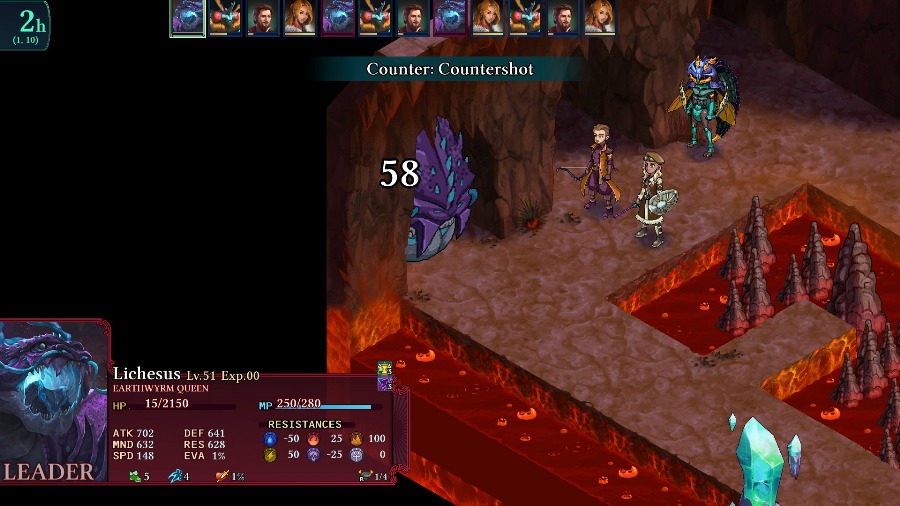
And then, just like someone told me earlier in the thread, we have a repeat of the Earthwyrms from the Occul Riverbed. However, unlike there, these don’t move out of their holes. Instead, there are a ton of them and their Quicksand has a boosted range so the Queens’ ranges cover almost the whole map. Other than that, they have the same ridiculously powerful Loco Rush if you stand in front of them, as well as the acid attacks they can use while they retract.
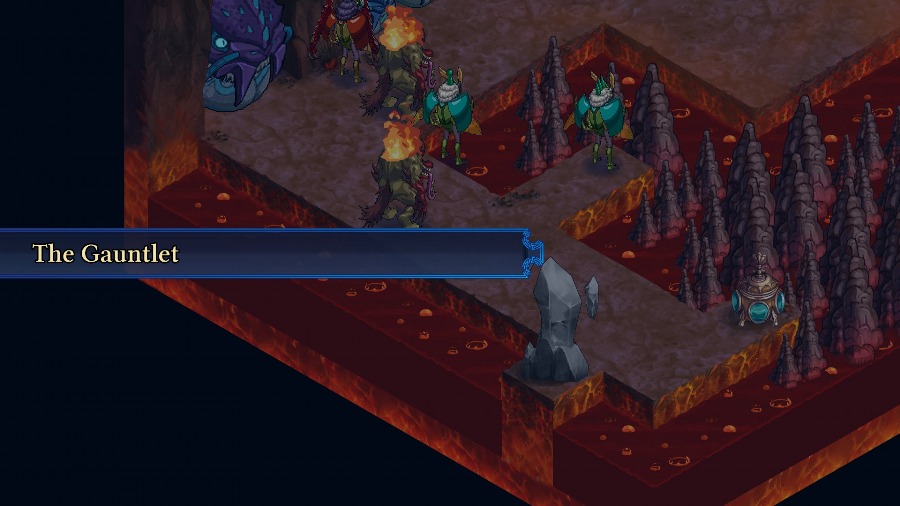
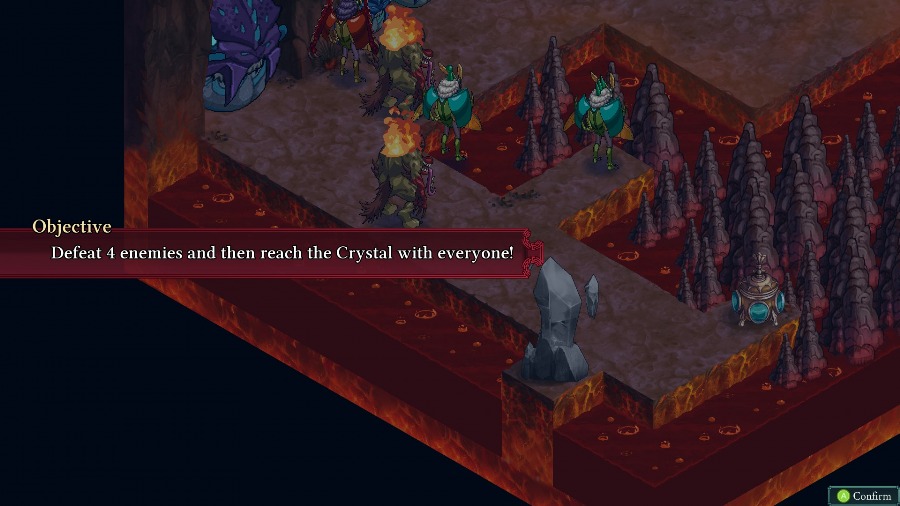
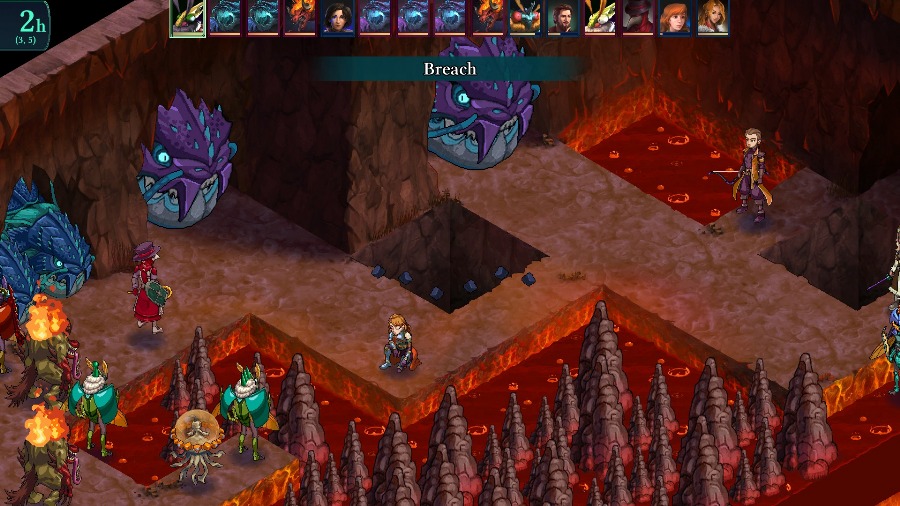
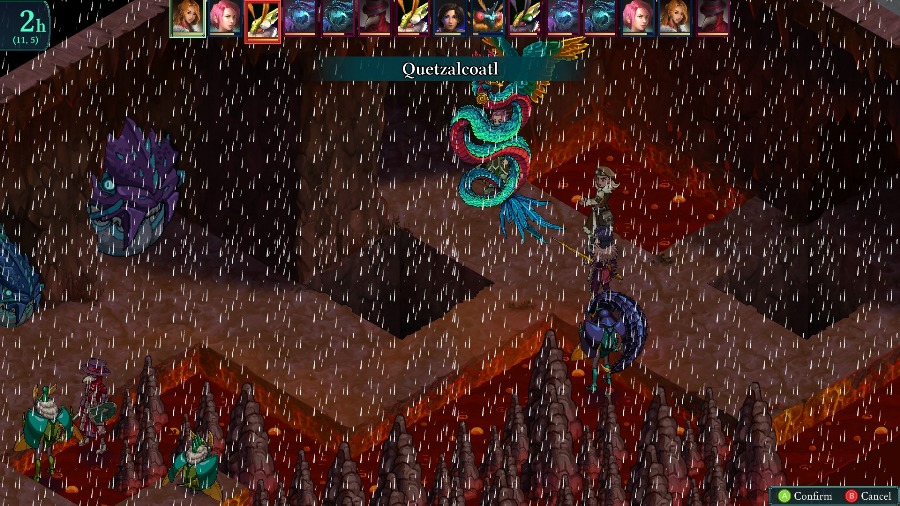
The general gimmick of this map is that the land is a “Gauntlet”. It’s a single relatively narrow path with the Earthwyrms dotted along the side and single or double columns of comparative safety between them. Then, to add on the difficulty, all of the enemies by the crystal know the Quetzalcoatl ability and love to spam it down the path, hitting everyone in the line. And even when you reach the end, the enemies are still full health and viable threats in their own right.
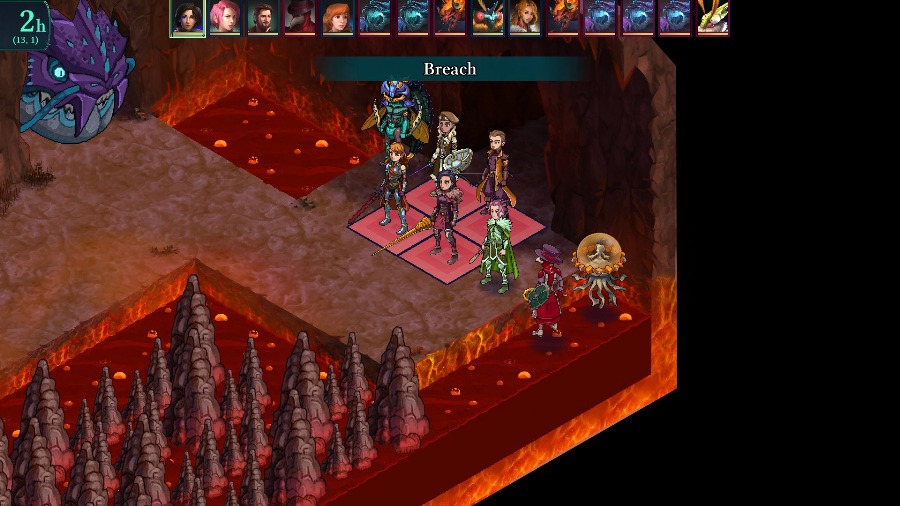
And then to make things even more claustrophobic, certain areas of the map are marked as targets of a Breach, which will destroy the tiles there and make it even harder to stay safe from the Wyrms.
Of course, there are 4 safe slots in the back and I have 2 people that can float, so I’m just going to cheese the hell out of this.
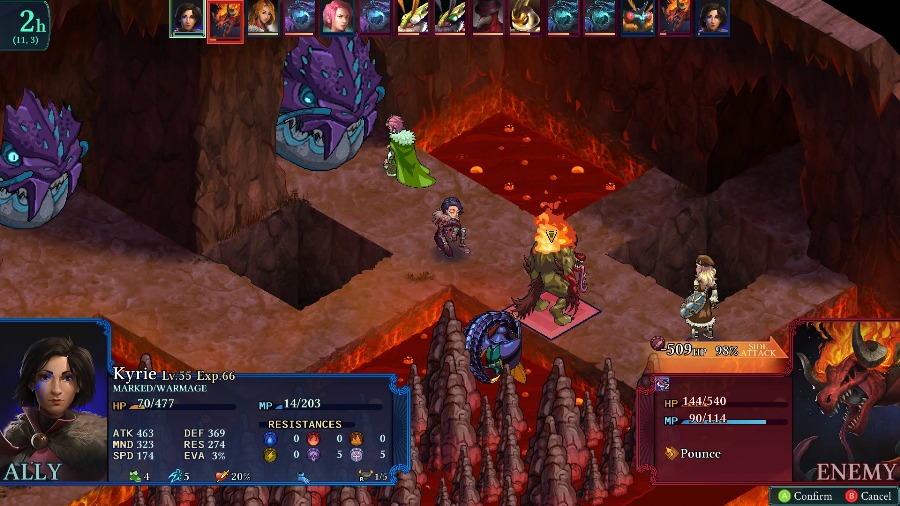
Priority number one is to take out the Plague Doctor and Pekite before they make things worse.
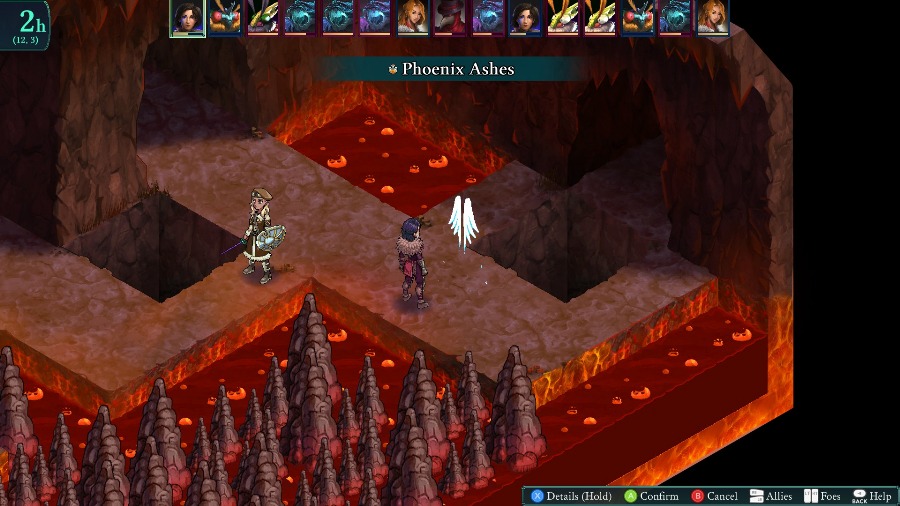
Hannah nearly gets dunked in the lava but dodges the attack.

And Anadine kills the Plague Doctor.

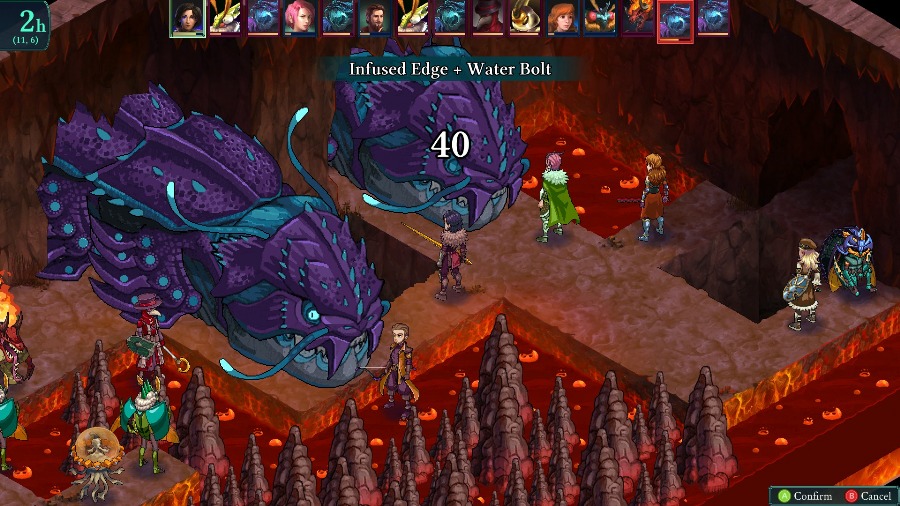
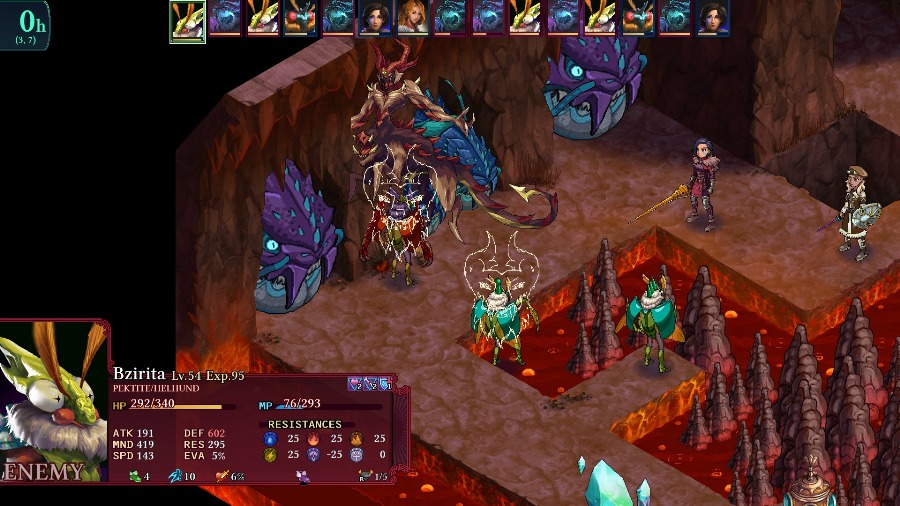
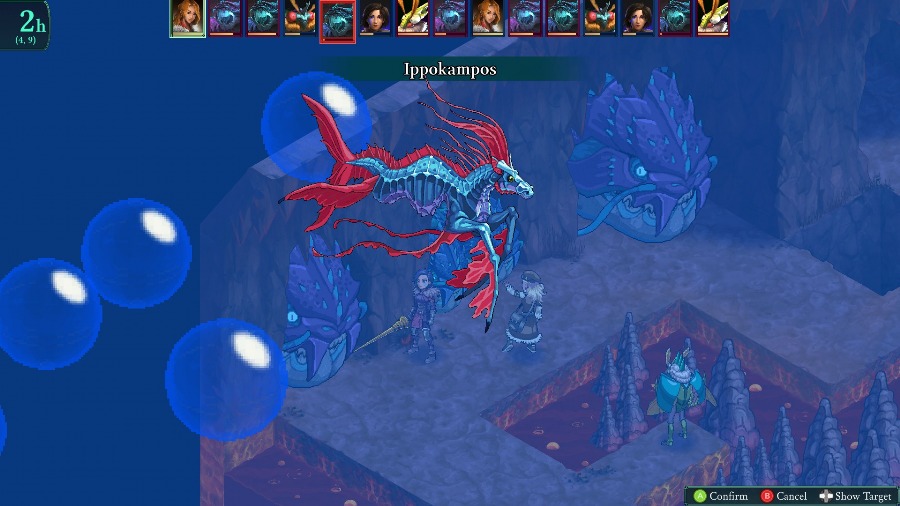
Just to show how absolutely ineffective regular attacks are against these Wyrms. One of my strongest attackers does about 1.5% of one of 3 Wyrm Queens’s health. The only real way to harm them is through status effects, hence my bringing Bzaro and giving Hannah status effect inflicting weapons.
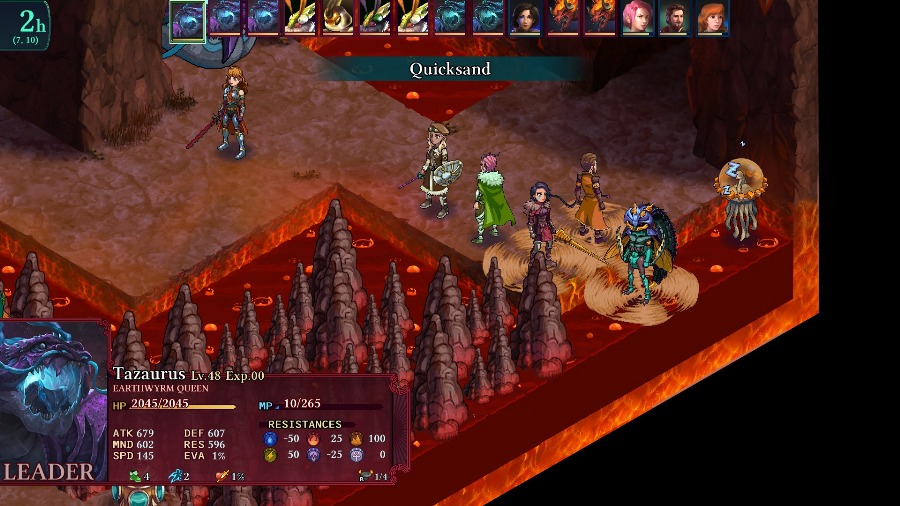
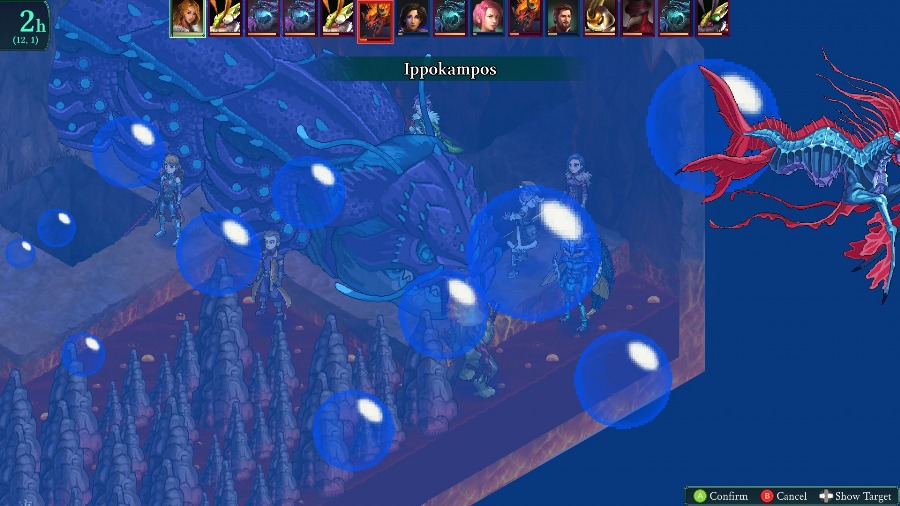
To demonstrate the range, this is from the Earthwyrm Queen closest to the Crystal. So they can really hit wherever they want with Quicksand.
There’s a barrage of those attacks that almost kills Kyrie, and then one of the enemies revives the dead Plague Doctor. That doesn’t really matter, since they’ll generally stick down in the back.
Kyrie gets to work on the Pekite.
Anadine gets blasted a few times by Quetzalcoatls, though she somehow dodges almost all of them.
And Hannah finishes off the Pekite with a rock.
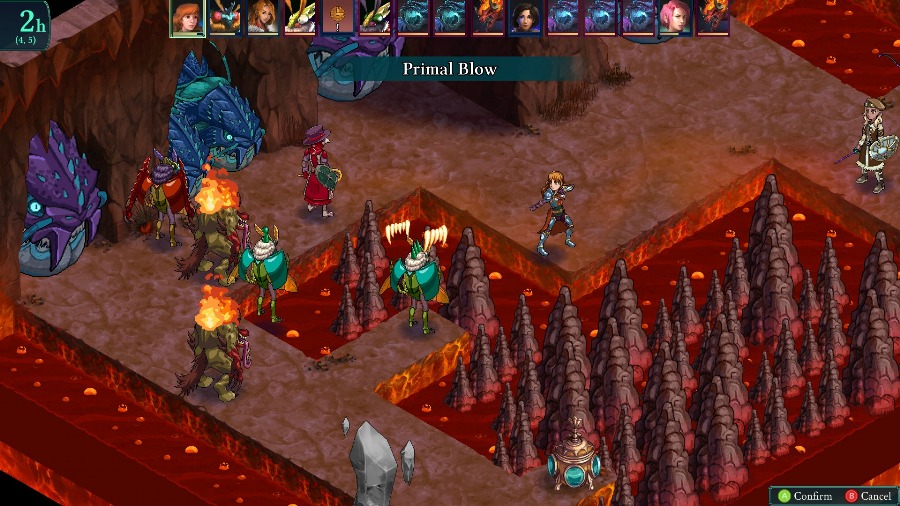
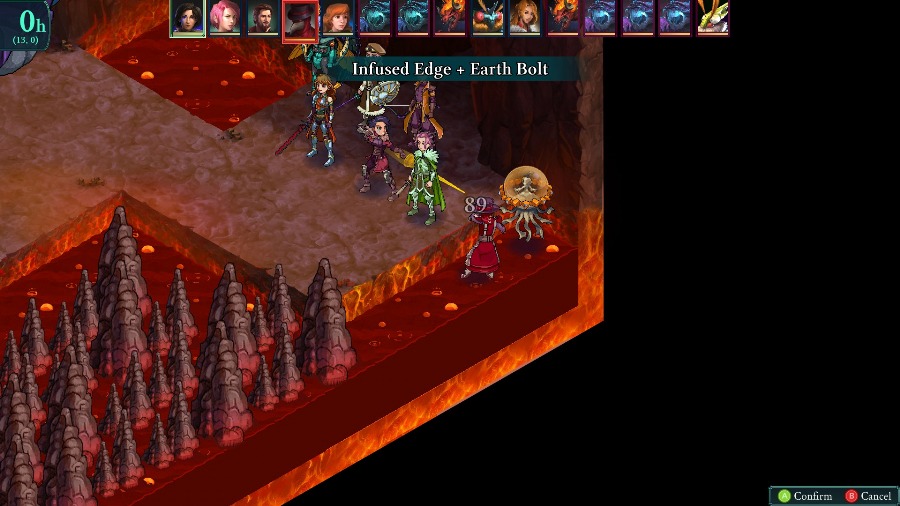
Anadine harasses one of the Bzil from range, then gets blasted and nearly killed by a Focus-Fired Earth II from the newly revived Pekite.
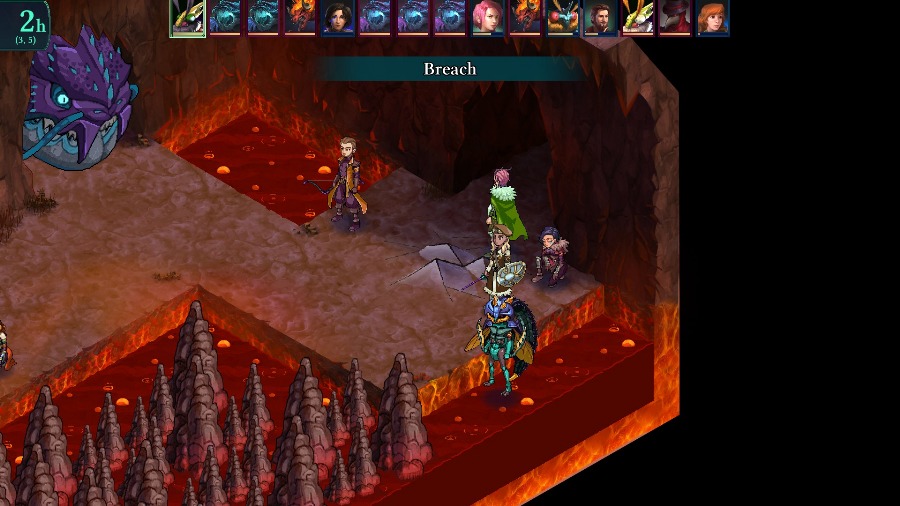
And Hannah somehow survives being on top of one of the breaching squares. She just gets nearly killed and shoved to the square behind Reiner.
There was also a second breach that took out the other large section of safety.
One of the Earthwyrms snaps at empty air and probably scares the heck out of Bzaro.
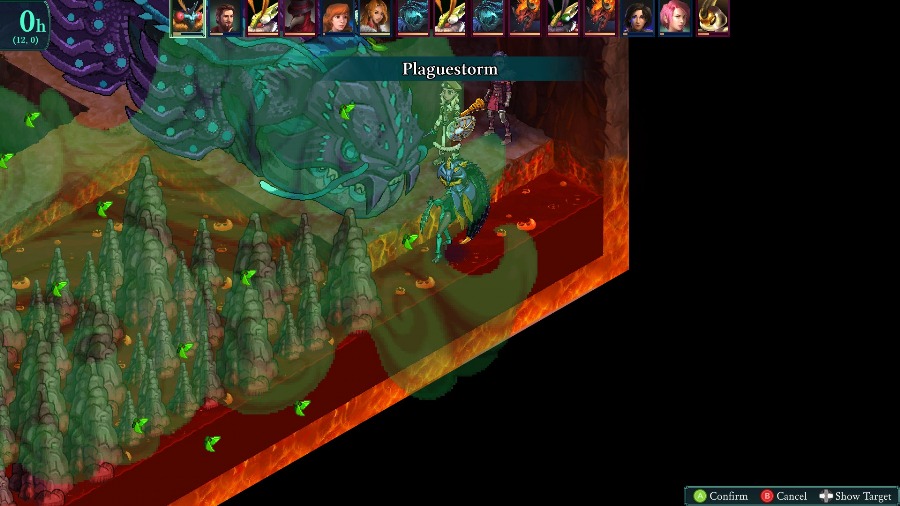
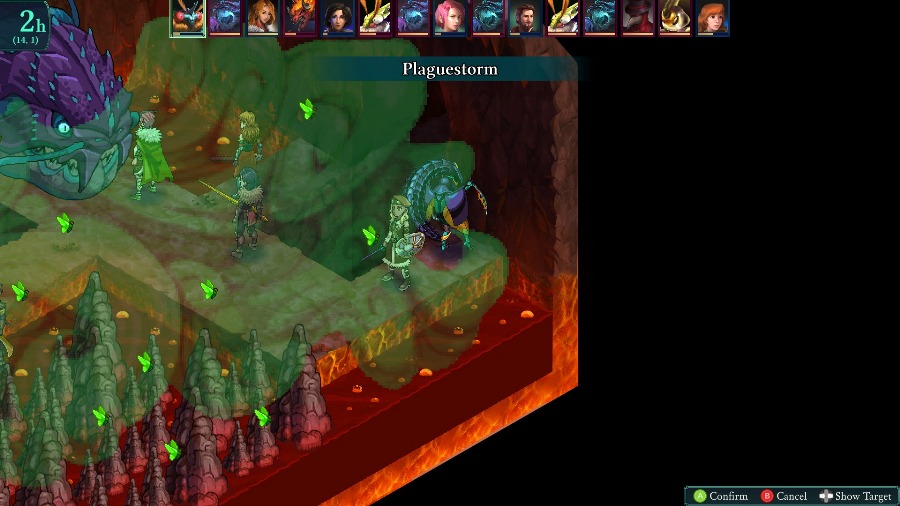
But he just responds by Plaguestorming everyone again.
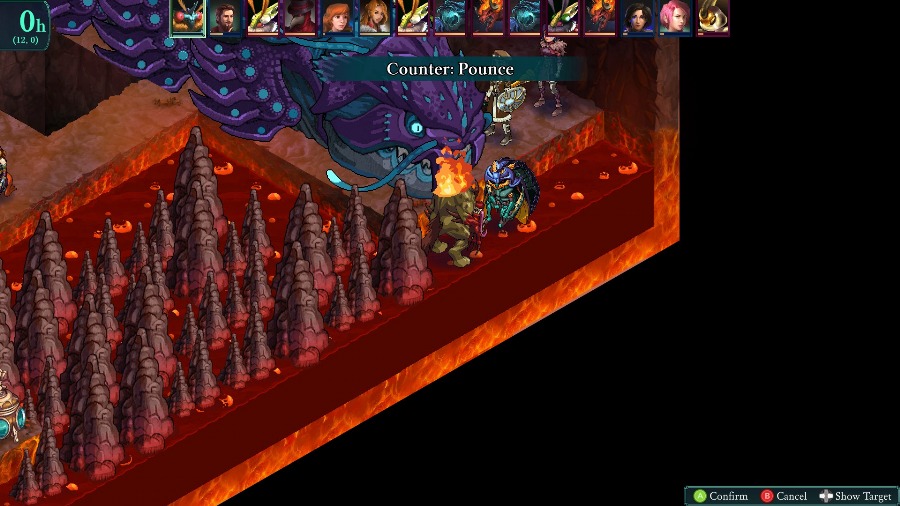
This also has a bonus of luring one of the Xolotls over thanks to its Pounce reaction.
Reiner and Sophia make pretty short work of them.
Now, just imagine that there’s a looooooong time of those three images repeating as I wear down the Earthwyrm Queens in relative safety.
Another Xolotl gets dragged over by its reaction to a Plaguestorm. It doesn’t last very long.
The closest Earthwyrm Queen falls semi-quickly.
And there’s a fun little scrabble over in the back as a few of the enemies get charmed and berserked.
Hilariously, this kills one of the other Bzil and opens up the crystal for me.
Sometimes Sophia shoots a Quetzalcoatl back at the enemies that aren’t immune to thunder.

And I do some dumb positioning and get both Hannah and Bzaro killed by a single Quetzalcoatl.
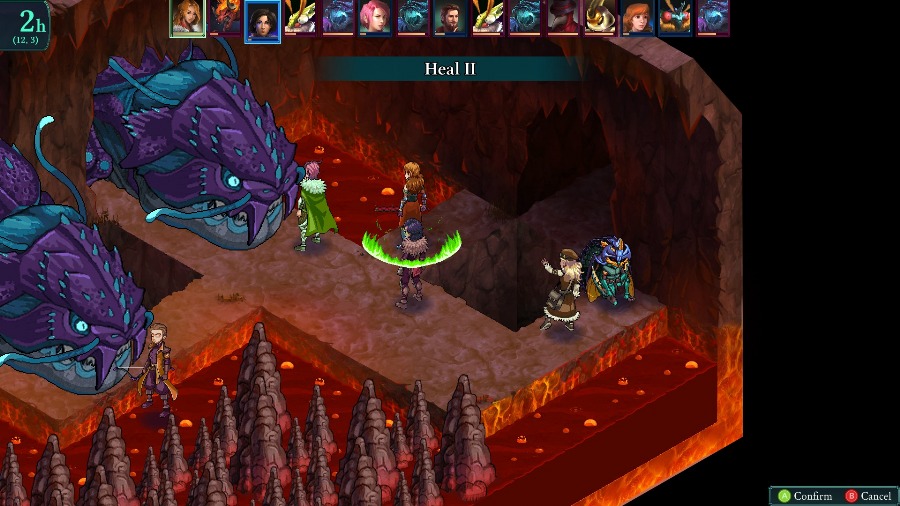
Though I bring them back relatively quickly.
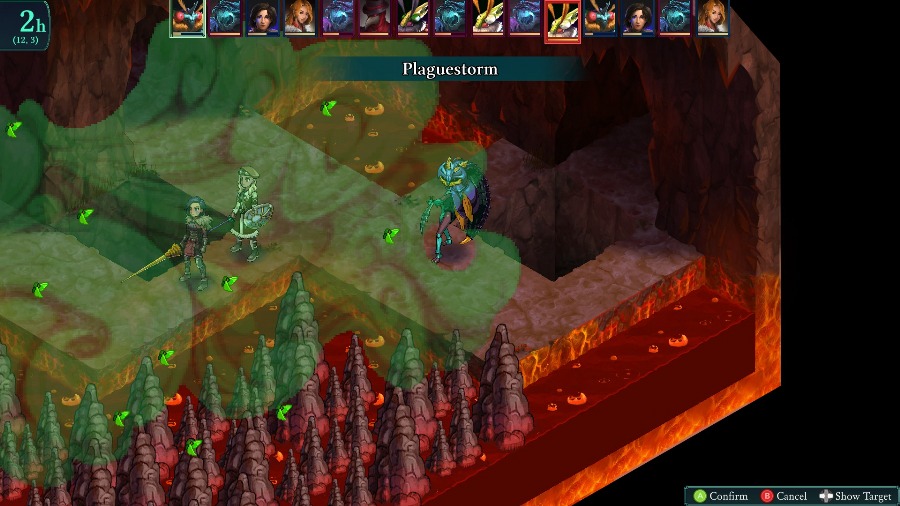
Bzaro gets back to Plaguestorming pretty quickly.

And Kyrie kills the Plague Doctor again.
Another charmed enemy gets another kill for me.
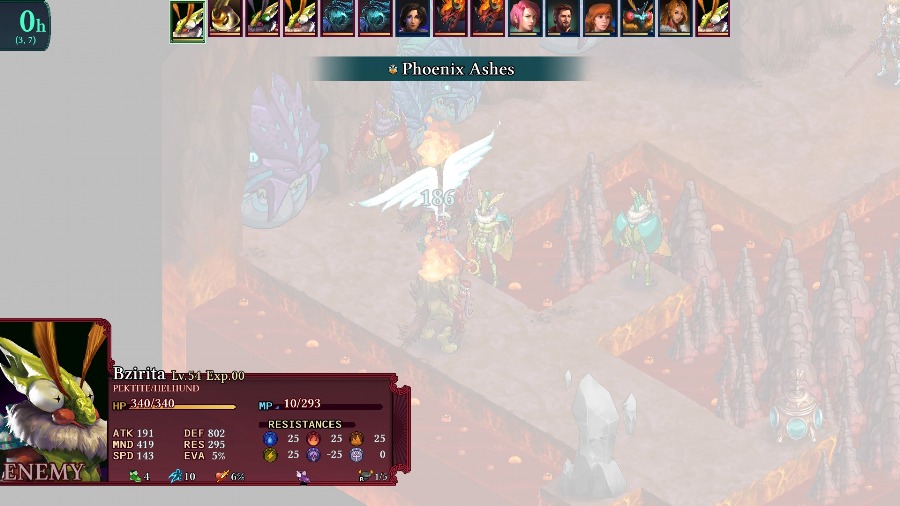
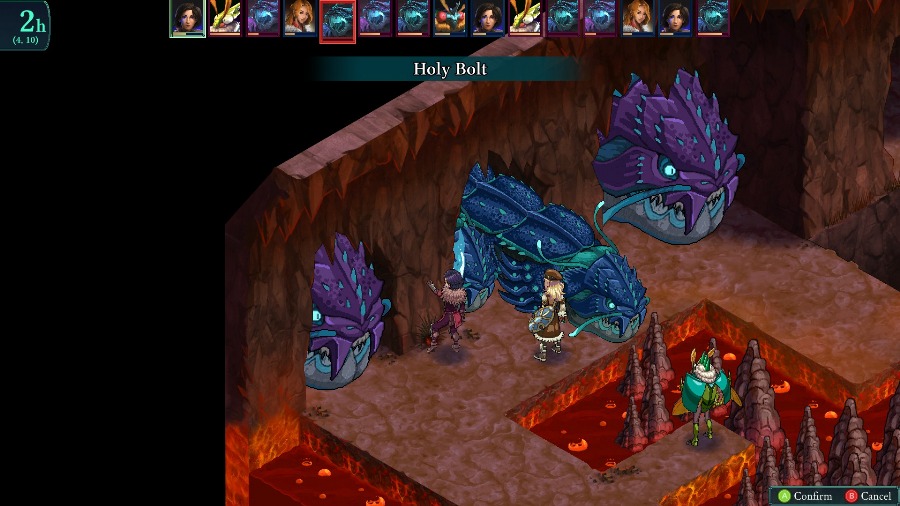
And Kyrie actually does a heck of a lot of damage to both the Bzil and the two smaller Earthwyrms with a Holy Burst.
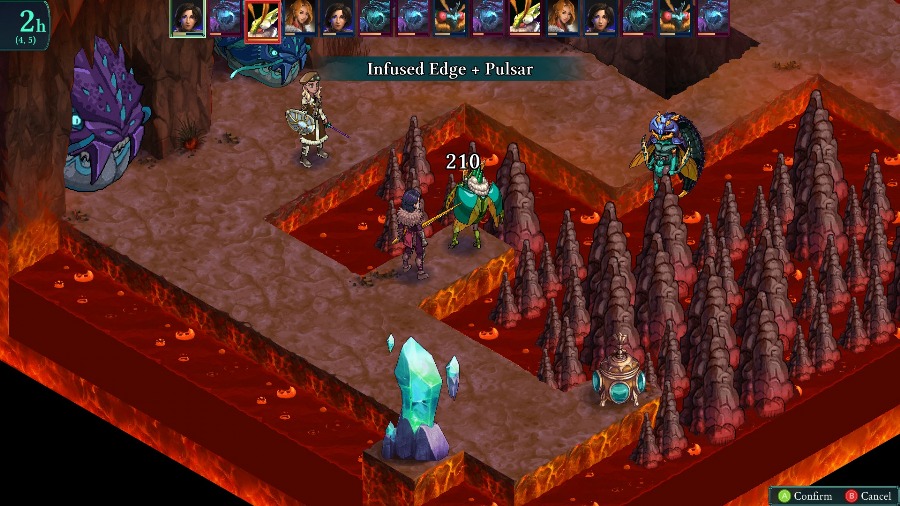
Since Sophia has the Shield of the Six, she’s essentially immune to the Earth Wyrms’ Quicksands so she moves up to help kill things too.
Kyrie takes out one of the small ones.
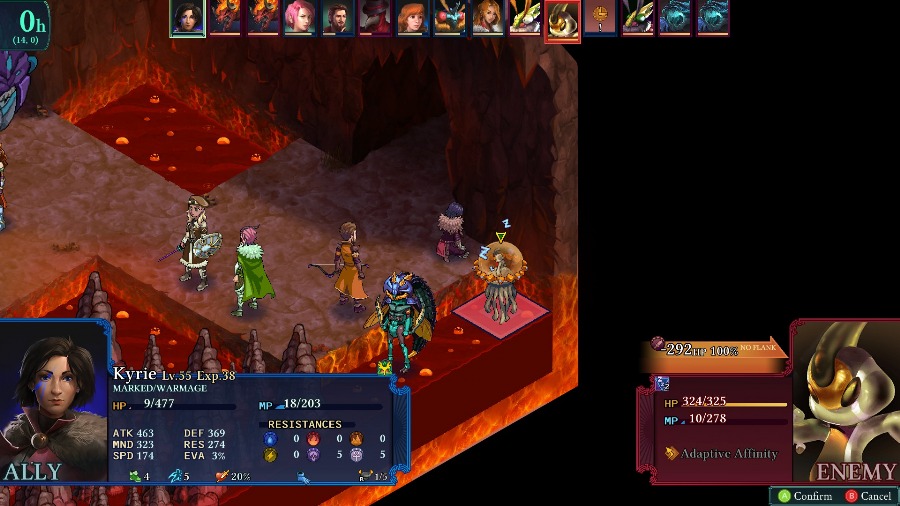
And then kills the final Bzil to basically finish the map. I still manage to get Bzaro killed again by a few Quicksands before Sophia could heal him back up.
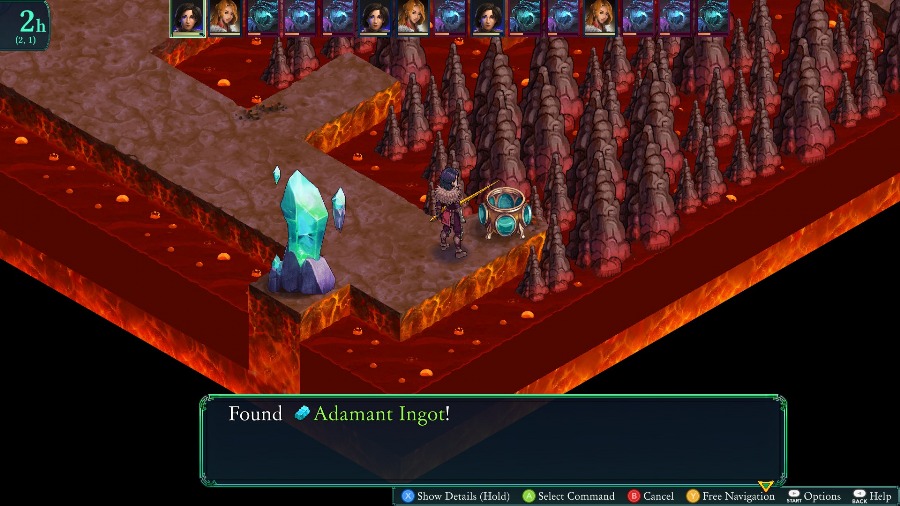
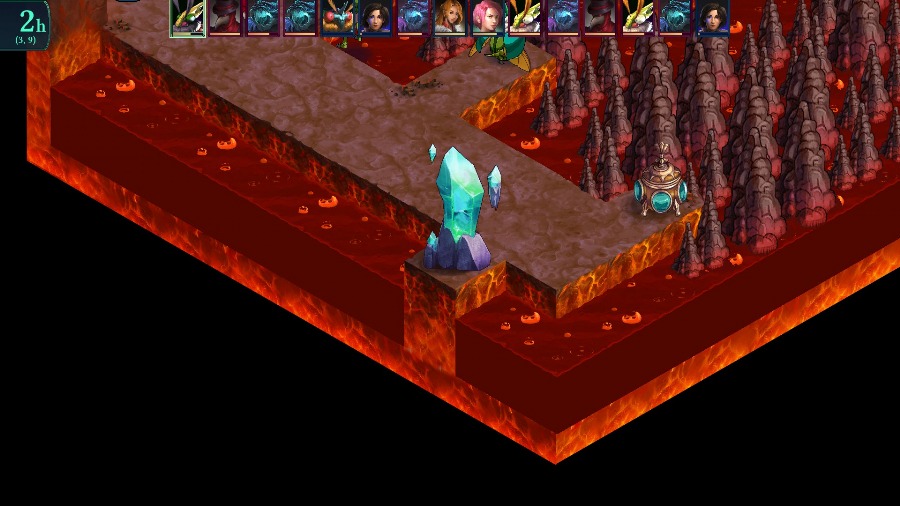
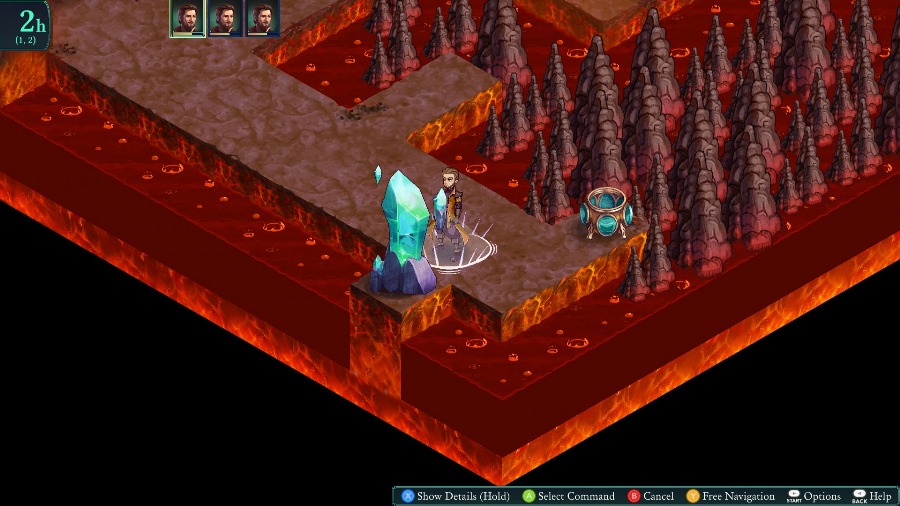
I have Kyrie run up to the end and open the special chest and then teleport out before she gets eaten by a Wyrm. Notably, this is also the final treasure chest of the game so if you’ve been diligent about grabbing them it’ll unlock an achievement.

I’d revived Hannah a bit back and she helps using status effects to kill the small Wyrm.
And then one of the big ones.
And I revived Reiner for the heck of it to finish the final Wyrm off.
Everyone teleports out shortly afterwards.
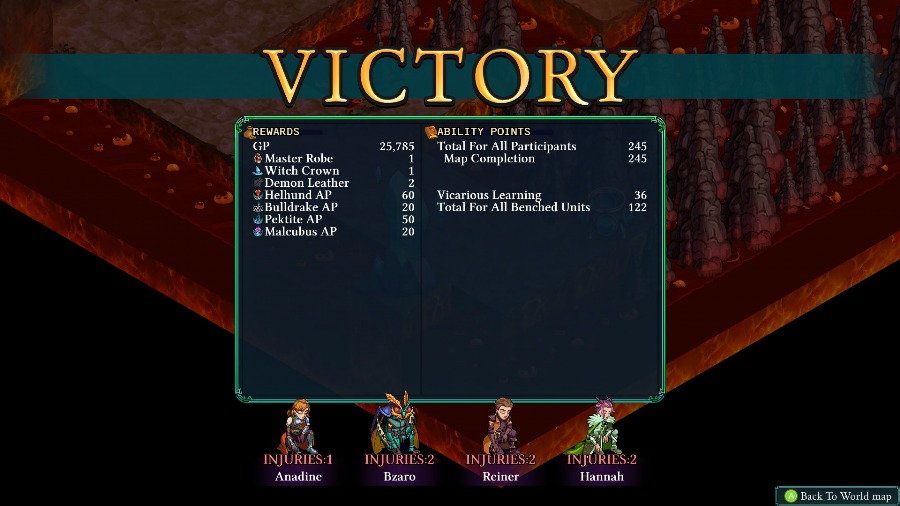
We get some pretty good rewards from this, with 2nd copies of both the Witch Crown and Maester Robe.
Overall, this map is a neat gimmick, but in practice it turns into a pretty big drag. Just like the 2nd map, there’s not much of an incentive to move forward and fight the enemies instead of just hanging back and blasting them with map-wide attacks. It’s cool to see the Wyrms again and I’m glad that they were reused, but 5 of them on one map is crazy and really makes it a pain to fight through. Other than the very beginning, I wasn’t ever really in danger of losing, just in danger of wasting time. Still, it’s a neat change of pace conceptually, there are just a few things I’d change about it.
Anyway, with that done we have finished the penultimate stage of the Ancient Path. Next time we’ll be entering the final stage of the bonus dungeon, the Ancient Tomb!