Part 3: Mystery! Who is this Stranger?
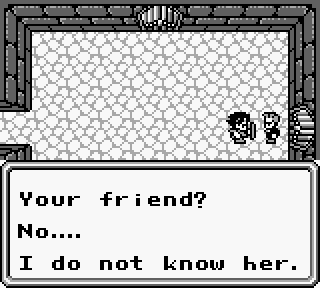
After discovering that Roll is missing, the man in front of the door. Not only did he not see her leave, he has no idea who we're talking about. Most suspicious.
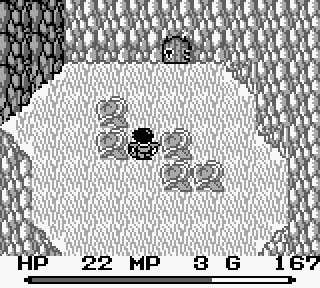
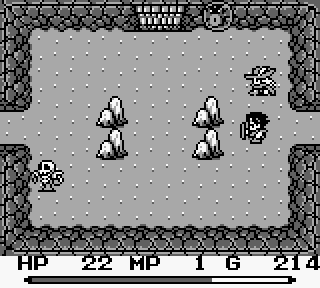
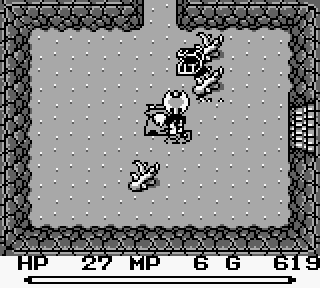
We've got a hot tip about some lizardmen and a nest, so let's investigate it. There's a ton of them scattered around here.
Just for reference, here's what the cure spell looks like. It'll heal us from near death to full HP at this point.
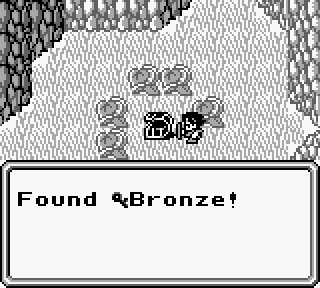
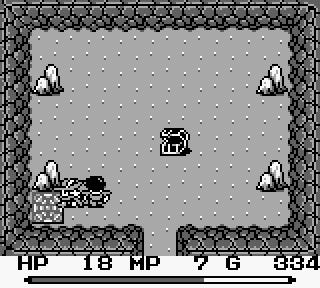
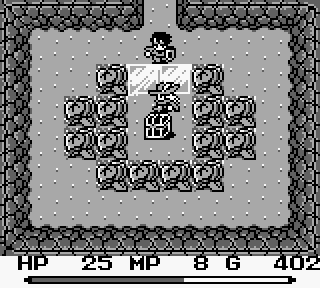
Once they're dead a chest containing a bronze key appears in the central area. Must have been pretty well hidden.
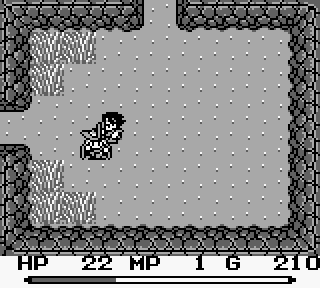
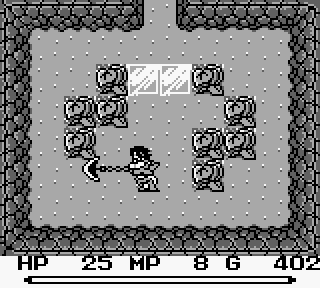
Whoever designed this cave was very neat about the entrance, that's for sure.
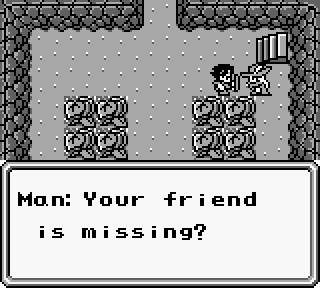
Once we're inside, this gentleman in his pimptastic outfit comes to talk to us. He really looks like a red mage to me.
 Many girls have disappeared from that place. They must be kept in the caskets at the basement.
 That's just all kinds of disturbing.
 Wait a second...how do you know all these details?
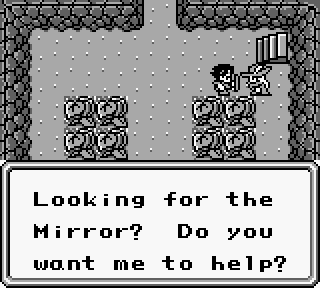
You can actually turn him down, but that would be a historically bad idea as we'll see soon. Naturally the answer is yes. Let's see what his ASK command gives us..
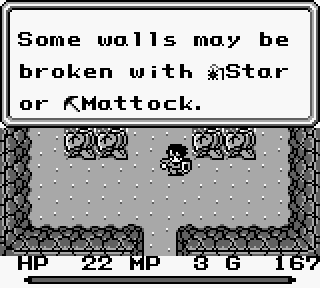
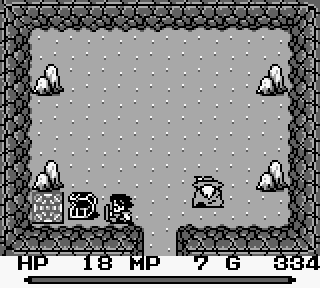
Those walls sound different when you hit them.
More precisely, they actually make a sound. Normal walls don't. You're not doing so good with this ASK thing here, buddy. I know teenage girls more useful than you.
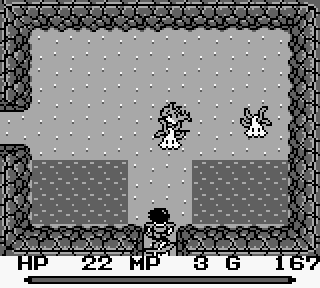
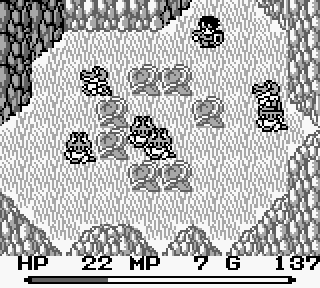
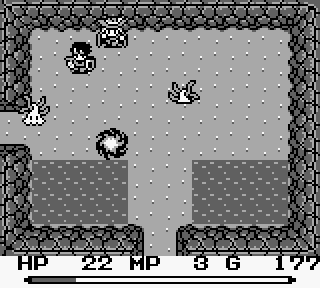
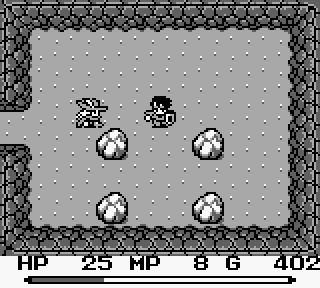
Proceeding north we've got a couple new enemies. The flying fish things are unremarkable, but the smiley snake-haired things can hide under the ground and are poisonous.
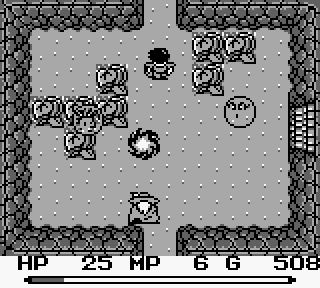
 So do these teenage girls you know fire seething balls of magical energy the size of a human at their enemies? Comment about your usefulness as compared to teenage girls retracted.
This is the reason that this character, identified only as Man, is so useful. He can hit enemies across barriers and there are some classes of enemy in this dungeon that can only be damaged by magic.
This is our first switch based mechanic. Stepping on this switch reveals a stairway, but we'll pass on that for now to do a bit more exploring.
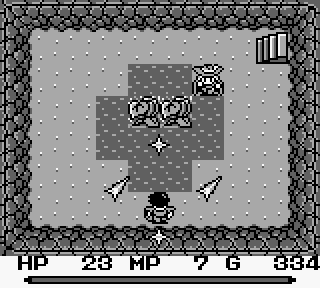
This is what the map looks like inside dungeons. Its not very detailed, but it can be fairly helpful if you get turned around.

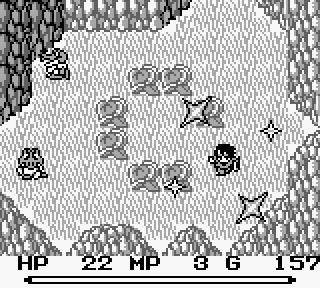
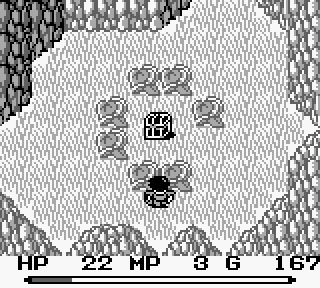
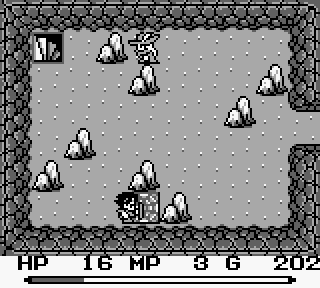
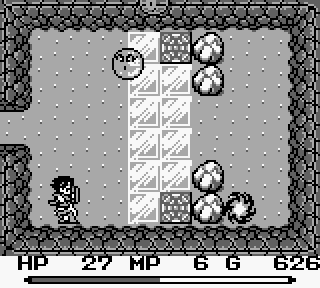
These bubble enemies are in the category that has to be dealt with using magic. The exit here involves using the mattock to break the wall on the west side, which is telegraphed by the grass. At least early on the game doesn't go out of its way to hide breakable walls.
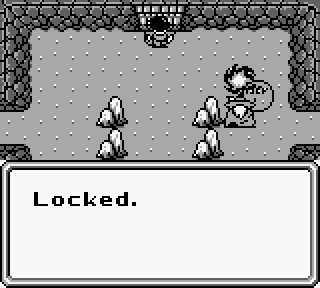
The skeleton enemies introduced here are only a minor threat. Also introduced for the first time in the game are locked doors. We'd need a key to open them, but we're short on that so we'll have to come back to this one.
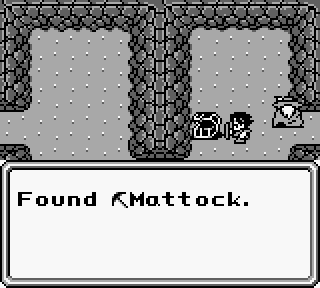
A note about the fish enemies and the floating bubbles is that they both drop mattocks. I'll have about half a dozen of the damn things by the time I finish this dungeon. As a note, this is about where I hit level 6.
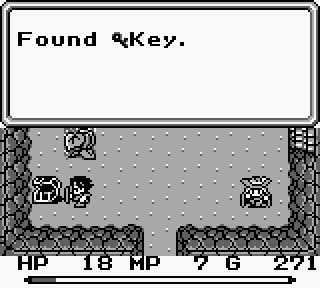
The skeleton enemies have keys as a droppable item, making them high priority targets. This is the end of the line for now, as the plants you can see are blocking further progress. Time to look into that stairway.
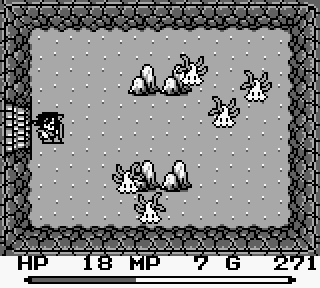
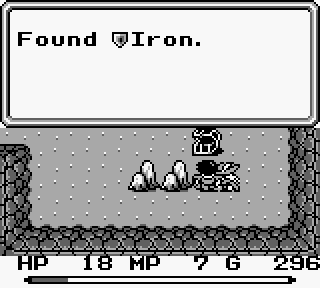
Before that, however, we can use the key on the door in the east wall. On the other side are a number of the crawlers, who leave behind a chest with an iron shield as a prize for beating them. This isn't exactly uncommon, so rooms like this are worth exploring.
Investigating the previous locked door we passed gets us into this apparent dead end. The switch here needs to be weighed down to work, but the game was kind enough to give us a solution in the room.
Unfortunately the only thing down the stairs here is a recovery spring that restores our HP.

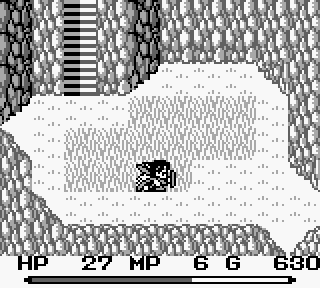
Returning to the previous stairway it unexpectedly leads outside. Originality is a plus.
Three guesses as to what we need to do in order to pass through this room.
The treasure chest is behind a sheet of ice that can only be traversed one way. This is standard practice for some items for a while.
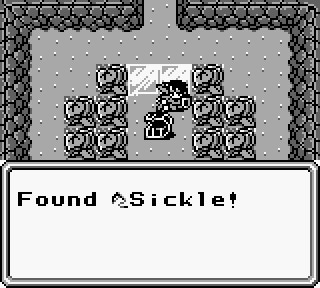
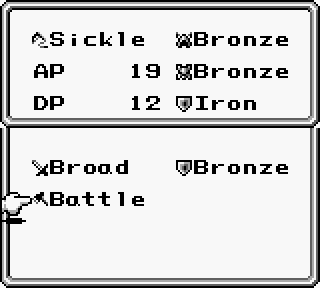
Inside the treasure chest is a sickle, which gives us a minor upgrade to our attack and can be used to chop down large plants.
It swings in a circle around the character and can hit enemies twice if you're lucky. With a full attack bar it simply swings out further.
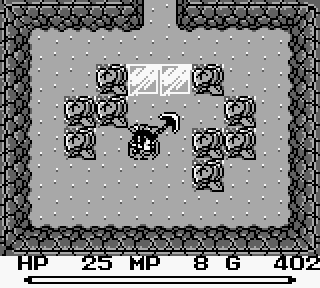
It's perfect to cut a path through this room and continue with the dungeon.
It's a good thing we've found a few mattocks, since they're making us use them.
Next up is climbing down a cliff using multiple vines. We're going through a whole lot for a mirror.
It's worth it to keep old weapons that clear obstacles around, just for the fact that you'll sometimes see the same obstacles again. The axe is perfect for clearing these branches out.
The final trick in here is this set of two switch plates. The ice won't let us get to the lower one, and the top one doesn't do anything. We've got to get on to the top one, use a mattock, and then use it again to reach the lower one which reveals some stairs.
Down the stairs is a little clearing area. This is a pretty good indication that something is coming up.
Boss Fight: DualHead Hydra
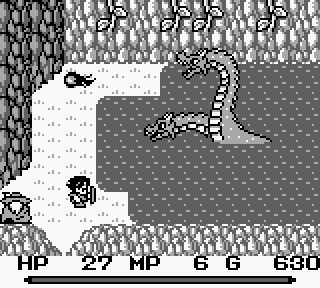
Dualhead Hydra
This guy looks intimidating, but he's limited to moving up and down on the screen and shooting fireballs at us. Our iron shield can block fireballs, and swinging the scythe through them will also stop them. The best strategy is to hit him from above using the tongue of land that sticks out at the top. Our partner will contribute a few shots, but it doesn't take too long to finish this one off. I've seen some recommendations saying you should be as high as level 13 to fight this boss, but I had no trouble at level 8.
Boss Theme 1
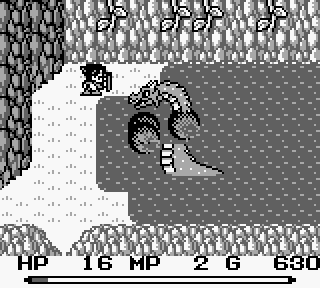
Eventually he explodes, maintaining the same mildly confused expression as his head is separated from his body.
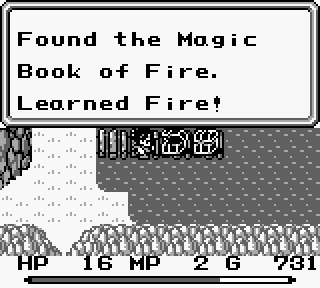
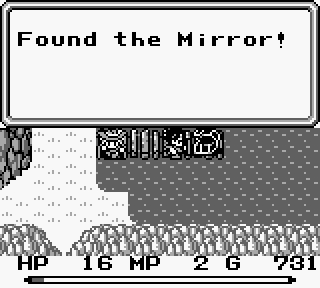
For our troubles we get a new magic spell and the mirror we've been looking for.
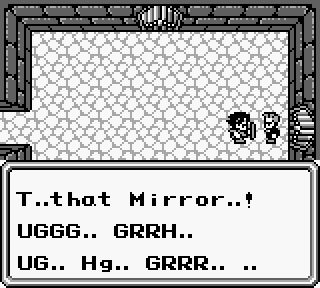
He'll scream and show his true colors!
Really, how do you know all of these things?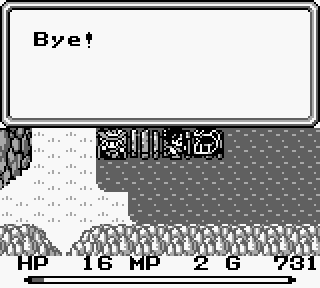
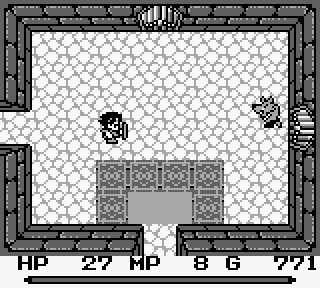
And with that he vanishes as quickly as he appeared and we're transported outside.
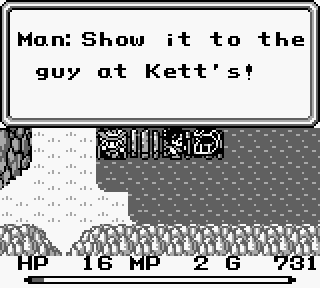
After a quick rest at Kett's, talking to the doorkeeper with the mirror in our item slot results in this conversation.
And with that, it turns out that he was a werewolf all along.

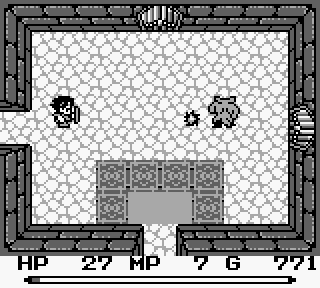
Time to test out the Fire spell. Fire is a really handy ability, since it auto-tracks on enemies and will curve around to find them if they're not directly across from you. A number of enemies can only be hurt by magic, and it's actually fairly powerful. The only caution I'd have for it is that it tends to head after the closest enemy, and will adjust if an enemy moves closer while it's in flight. A single shot puts an end to the werewolf, who's actually a bit tougher than any single enemy we've run into.
Next time: Chains, whips, and Rock and Roll.