Part 33: RPG That Awakens The Soul
30. RPG That Awakens The Soul
Our final ascent begins with a room that's easy to do, has no treasure in it and attempts to mislead you majorly.
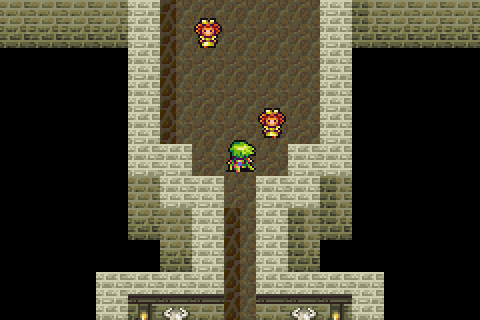
There's only two possible fights here, and neither can be escaped from.
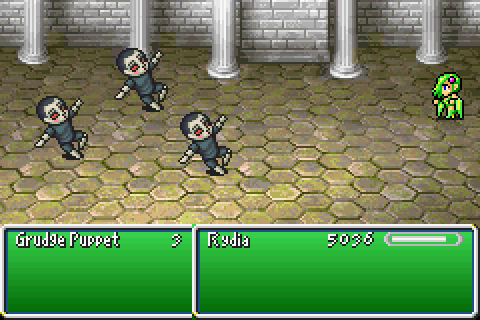
Grudge Puppets are the latest in the line of weak enemies that drop Decoys sometimes. They primarily deal remarkably weak damage via physical attacks.

They sometimes cast Protect too, but when they die in 2 Bahamuts no one really cares.
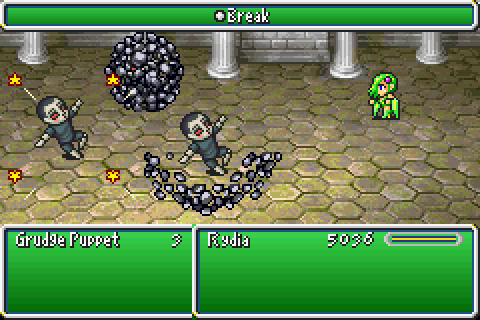
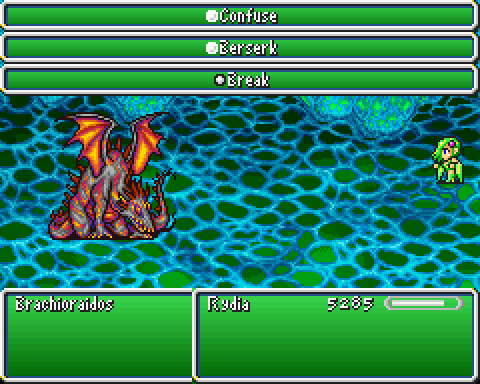
Or, you can skip all that and just cast Break.
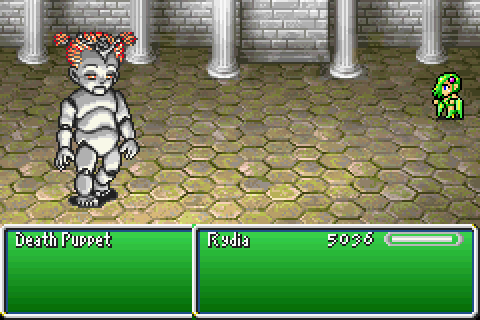
The other thing here is a reskin of Calcobrena and a lot less interesting.
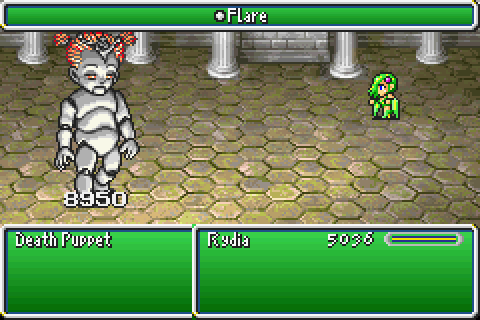
The game tries to pretend that she's a credible threat by giving her boss music, and the ability to attempt to resist Flares.
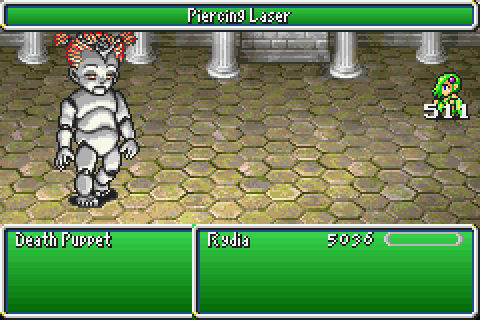
She also counters magic by using Piercing Laser. It still only deals damage equal to 10% of our max HP though. Her regular attacks deal very slightly more damage.
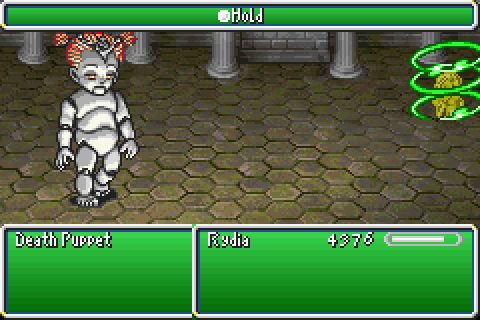
Also she has Hold. I guess that means points for trying.
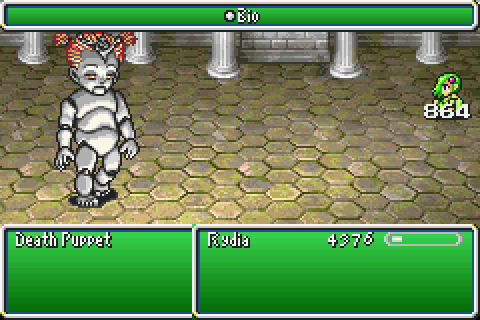
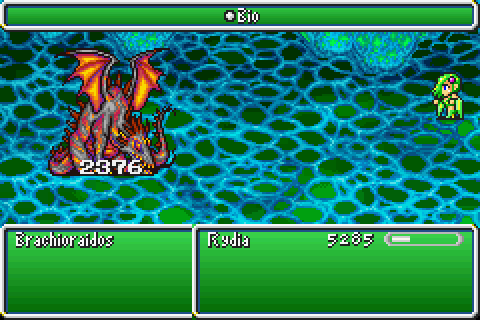
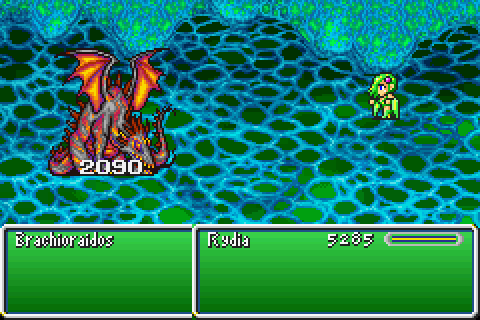
Last in her arsenal is Bio. It's better than everything else she can do, but that's damning with faint praise.
She takes a while to kill though, since she has a fair bit of HP.
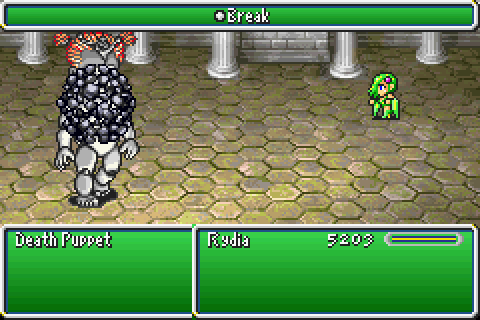
Or, you can skip all that and just cast Break.

The next floor is meant to be enemies that resist magic. The items here are almost all those dumb Fang things, almost as if it was made to spite you.
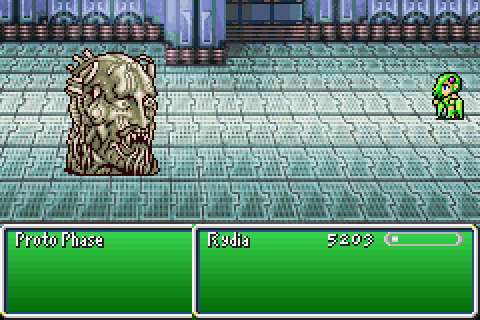
In terms of enemies, we have the Proto Phase. His claim to fame is being the Wicked Mask But Not As Good.
No, really, he's a downgrade.
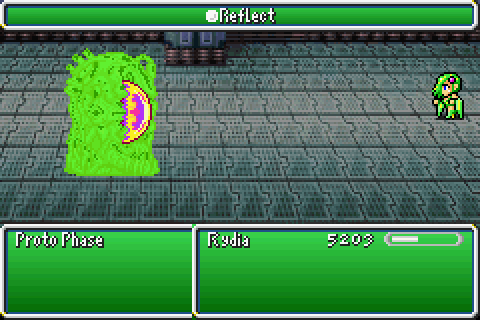
Like his bigger, scarier brother he opens up by casting Reflect. Fortunately, this is not the only way this floor pretends to be mage unfriendly.

If it was, we'd just Bahamut out way through it. We do anyway, but that's a different matter.
As you'd expect, the Proto Phase attacks by casting spells off himself. He never tries to Reflect you and buff or anything, so this is just sad.
Also that damage is pathetic.
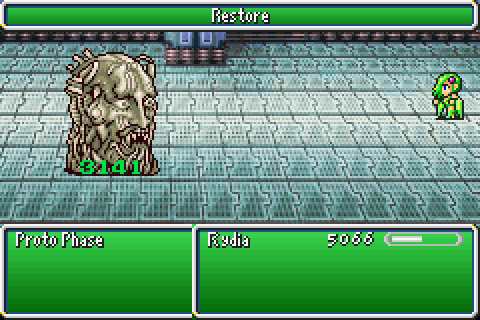
He tries to make up for it by having Restore, but... well, it's barely 3,000. Hardly worth the bother of even trying, all things considered.
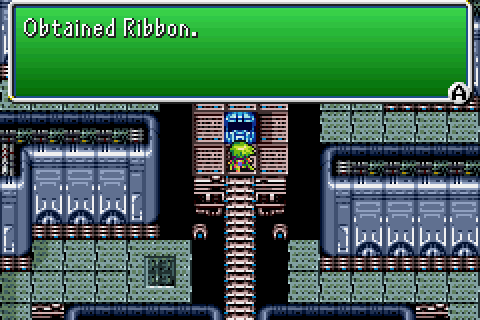
Oh, in the middle of the room there's a Ribbon. You have to go out of your way to get it, so I wouldn't bother. The 2 from the Lunar Subterrane are more than sufficient in even a regular playthrough anyway.
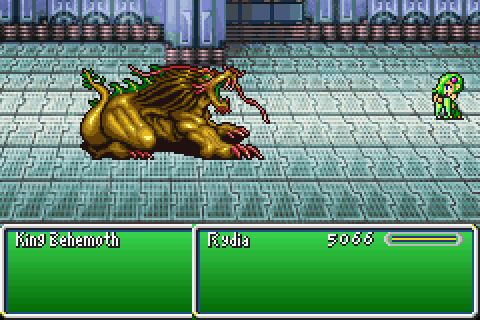
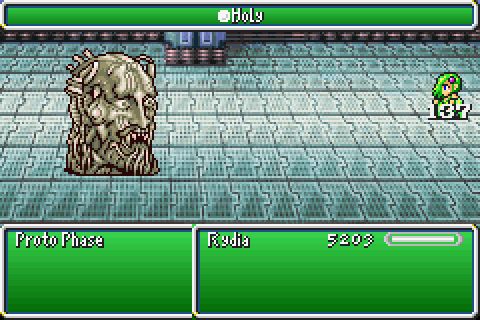
Ok, good. This floor's real reason for being anti-spellcaster is the King Behemoth.
See, his reason for being here makes more sense than the Proto Phase. Not only does he have 254 magic defense, but...
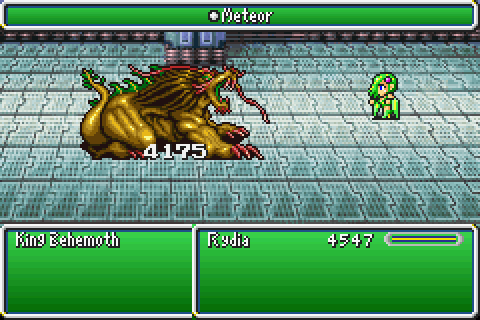
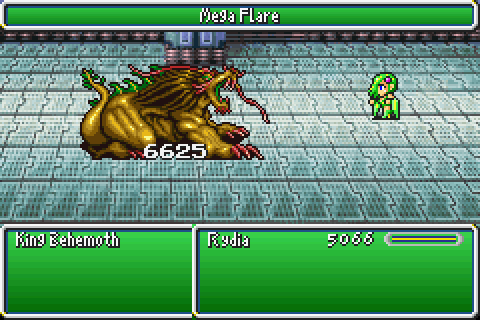
He resists Holy damage too. Unlike everything else, there's no sneaking around this one by spamming Meteor. Nice to see something finally have that benefit at least.
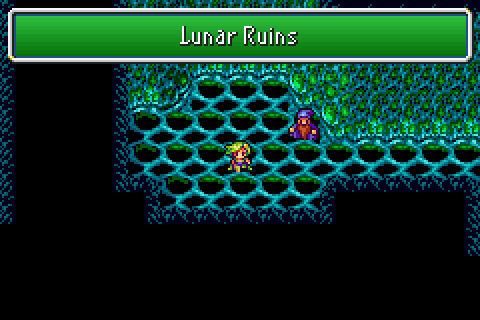
Our final floor is... special.

See, the only thing it has is that dragon. I'm sure it couldn't be that big of a problem, could it?
[Music: Battle 2 ~ Saitama Saisyu Heiki]
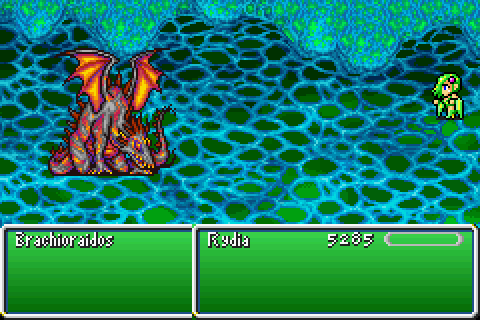
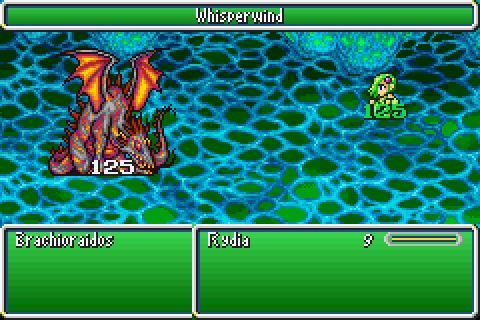
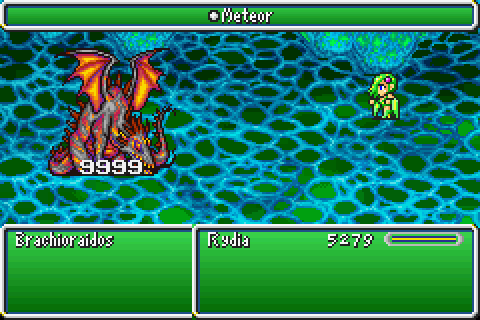
The Brachioraidos is our penultimate superboss. Compared to everything else we've seen before, he's actually pretty tough but that's not a high bar anyway.
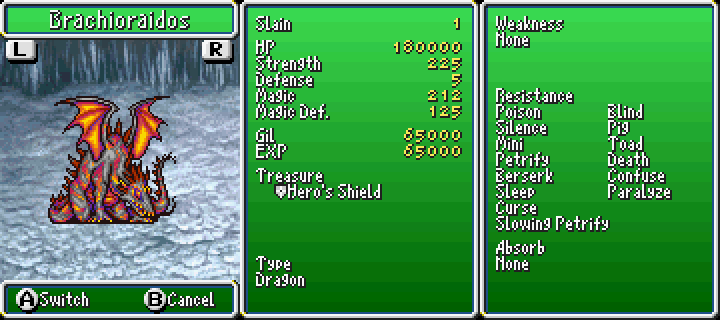
On paper, he's reasonably impressive but that lack of elemental resistance might be to its detriment. He has a quite a lot of HP, even compared to the Lunar Eidolons, though and his other stats aren't anything to sneeze at either. How bad could it be?
um... i... i don't...
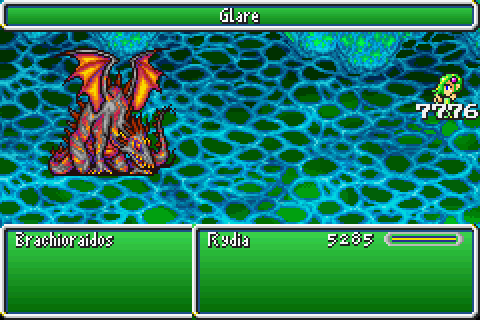
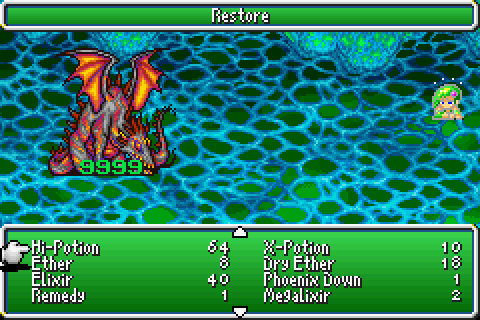
Okay so the Brachioraidos is actually really, really bloody difficult. Like, if I didn't stick the Protect Ring on then his OPENING MOVE would deal 9999 damage every time.
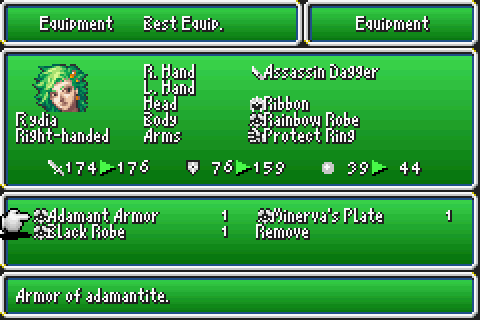
We aren't getting anywhere in this without the Adamant Armor, even with obscene grinding.
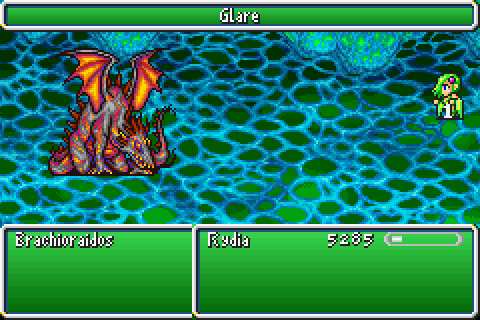
It helps perhaps a bit too much, but I'm not complaining. It just gets us past the first turn; it does not trivialise the rest.
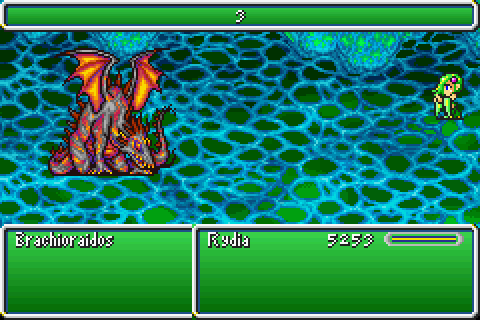
Like all good fights, he has more than just one overpowered attack. After a while, he begins counting down from 3.
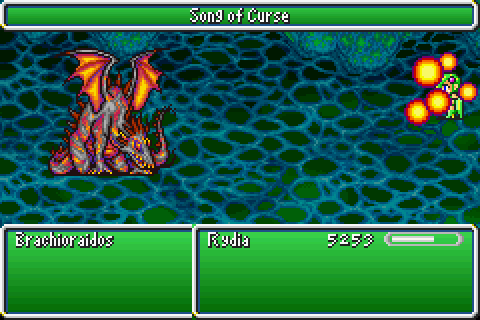
You can stop it by attacking him during it, which is a good idea. Mostly. Magic attacks just make him throw out a Song of Curse which does nothing.

Of course, you want to stop him from pulling off that Mega Flare anyway. 9999 damage is very not fun.
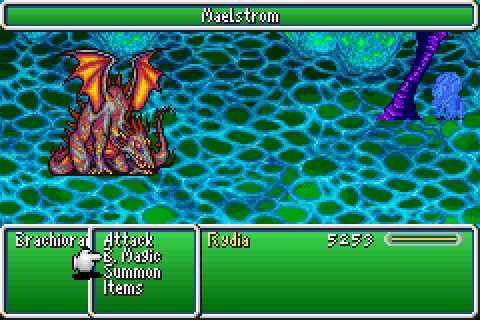
If you somehow survive past there, or stop it entirely, he'll eventually pull out a Maelstrom. Not that problematic in and of itself, and there's always plenty of time to heal up anyway.
...Just not with Sylph. Sylph is pretty much worthless here.
Of course he can heal too. More on this later, though.
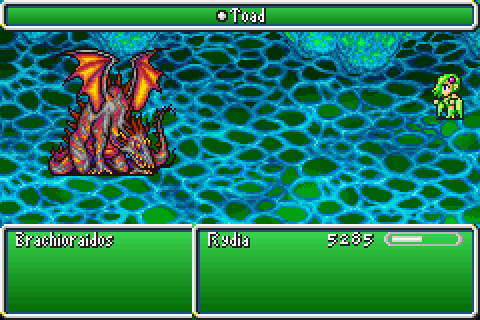
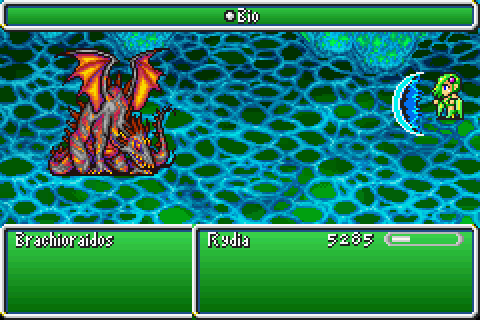
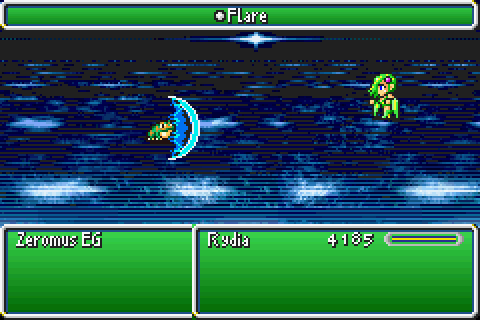
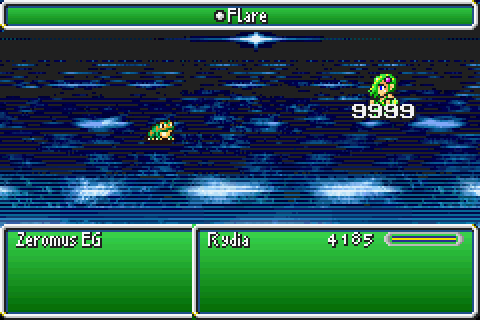
He's not out of tricks yet, either. He'll sometimes try and inflict Toad. It's a nice reprieve, but it's followed by...
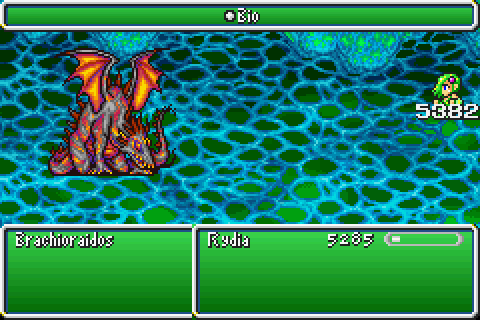
The most dangerous Bio ever cast. This easily deals more damage than we have max HP, which is kinda nuts. So we want some way to get around this too. Lunar Curtains do the job reasonably well, but... well, you'll see.
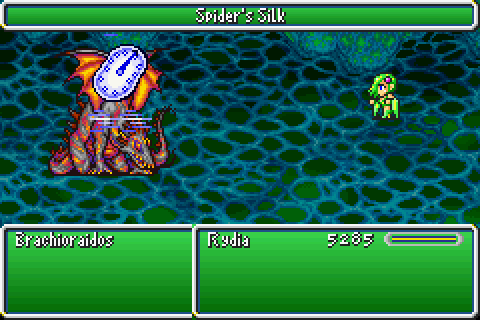
So, if we want to handle this seriously we need to start with some preparation. Finally using that last Spider's Silk we have helps give us some breathing room to begin with.
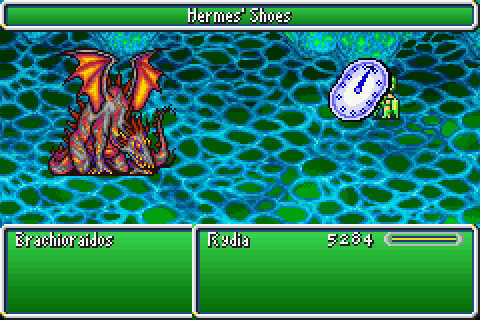
Then we use one of the Hermes' Shoes we haven't bothered with yet. This lets us frequently gain double his amount of turns.
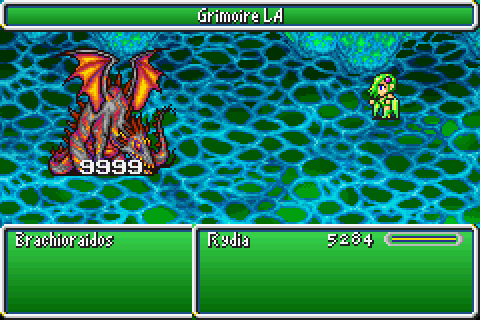
Next we unload all of the Lunar Eidolon grimoires. They all deal 9,999 damage guaranteed and it wipes out almost half his HP. Plus it looks really nice.


Much more important is that they're all non-elemental anyway. That means they'll do this to everything, though usually resulting in the fight ending rather than being maybe half over.
Meteor works flawlessly here as per usual, too. Flare frequently errs into the 7 and 8 thousands.
So, if we come back with a Lunar Curtain or 2 later we can get past his Bio. This should hurt him a ton since it oneshots us.
...Oh.

Yeah, his spells don't hurt him that much. Figures.
He also frequently multi-casts magic too after this point. Fortunately, none of them can even pretend to affect us but the threat is there.
UNfortunately, once he gets to this point (or below 100,000 HP whichever comes first)... something bad happens. Something very, very bad.

The fight changes pace entirely, and gets a lot worse. He begins to have an uninterruptable counter for every spell and summon.
It just so happens to be Restore.
Whilst not the best idea, what about our physical attacks then?
The damage is pretty okay considering we're on the backrow and all. It's still not great to say we have 99 Strength at this point (with the Adamant Armour at least) but it could be worse.

If he decides to start a countdown to Mega Flare and we interrupt it with a physical we just die. Unlike spells which now proc both a Restore and Song of Curse, he makes us eat a Globe 199 for our trouble.
It was at this point I said sod it, and ran to the next area. Even if we do manage to survive through this, he has more tricks to throw at us (such as putting up Reflect on himself, then triple casting a combo of Bio-Holy-Flare off of himself). Not to mention that we'd still be worrying about the Bio coming up that can oneshot us even at max HP. Even at level 99, and with 9999 HP, this fight would be really, really difficult and easy to lose.
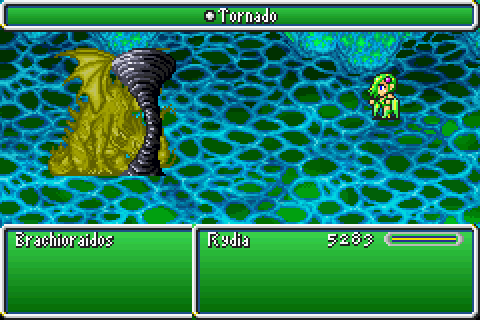
So, what about Tornado? That works on him.
...Except it doesn't. The spell does not work. The only way to do it is to hit him over and over and over with Abel's Lance (that one ignores resistance, you see). Which, of course, doesn't count as a means of winning in this instance because Rydia cannot normally equip any spear, let alone Abel's Lance.
I'm inclined to write this one off as our first legitimately unwinnable battle. It might be possible eventually, but I don't really feel like smashing my head against it any more. I spent several hours doing this and the best I got was in a permanent loop with him at 90,009 HP. The only changes that weren't immediately erased were increases from whenever I didn't deal 9,999 in a hit.
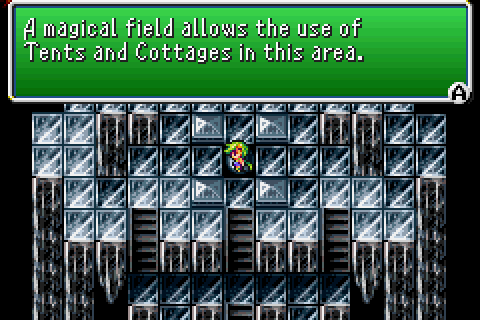
So let's just head on up to the final room, the final fight and the final save point.
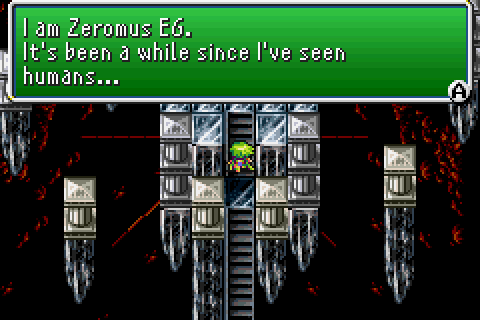
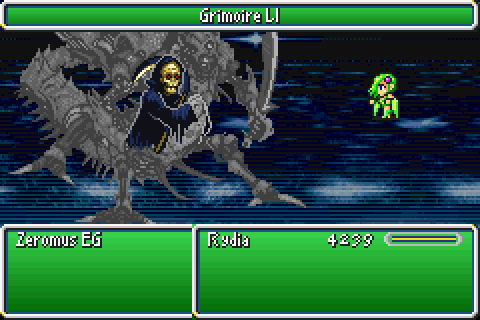
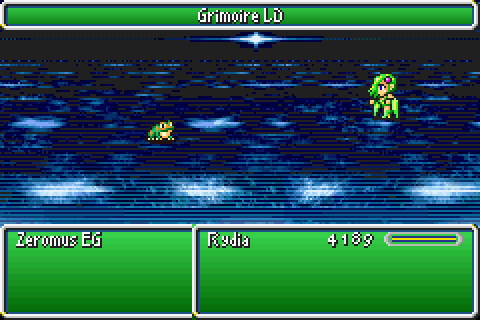
So, our final boss is... a Japanese pun. EG is pronounced/written the same way as "Easy" (as in the Easy Type release) you see. It doesn't mean anything in English, but you can pretend it stands for "Easy Game" or something.
[Music: Final Battle ~ Saitama Saisyu Heiki]
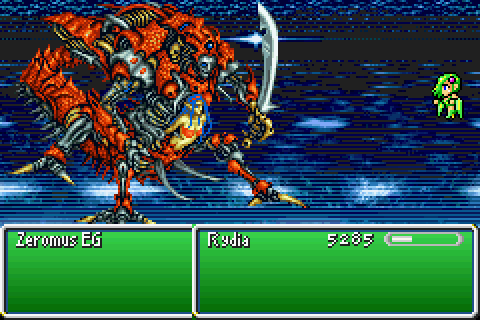
The pun is because of his sprite, and nothing else. It's the same one as from the Easy Type release. I don't know why it was changed at all, never mind into a giant centipede man with a curved sword and a random... blue haired... elvish?... lady.
Oh and the background does the same scrolling thing from the regular Zeromus fight. Just because.
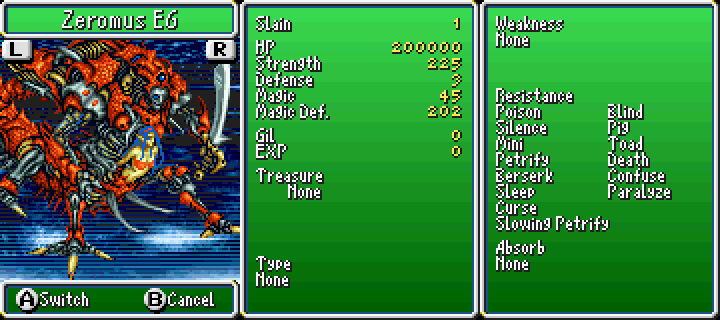
His stats are quite similar to Brachioraidos's, though he trades absurd magic power for a lot of magic defense.
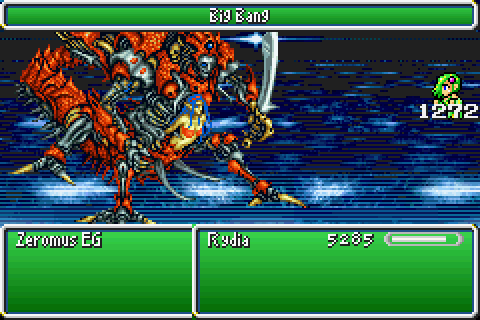
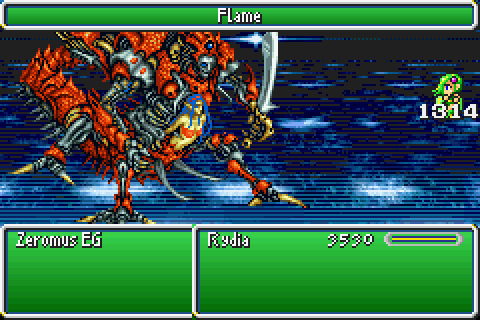
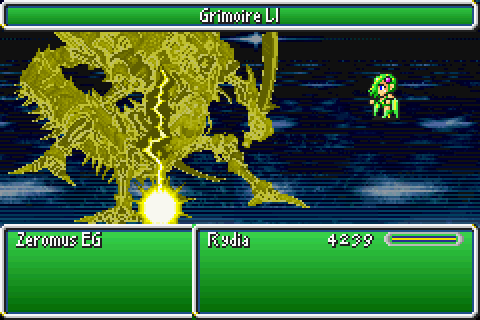
As you would expect, much like the original he absolutely loves Big Bang. I'm sure it doesn't matter that much though. The damage is reasonably low and only inflicts Sap.
...Except, Sylph is even more worthless here than in the Brachioraidos fight. That 202 magic defense is the cause of this one.
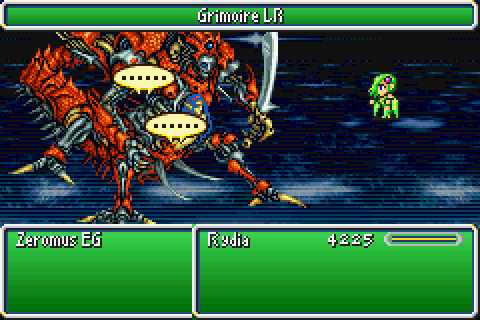
He also double, and triple, casts a lot. Not just to throw multiple ailments out at once, either.
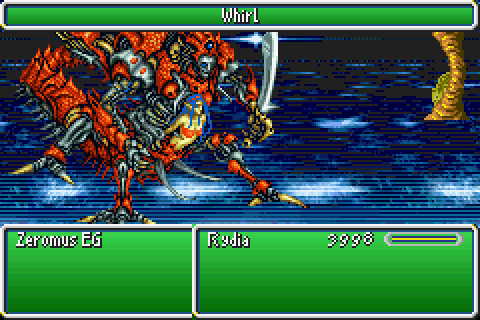
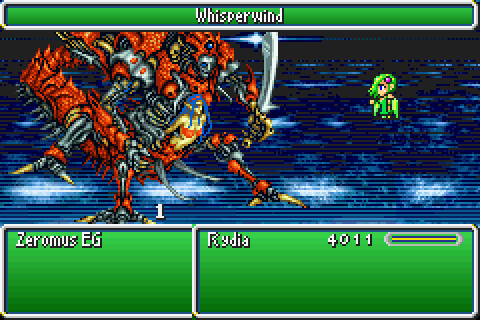
Not that he really needs anything else when shortly after Big Bang he has a tendency of using Whirl. That Sap isn't a big deal normally, but this makes it lethal.
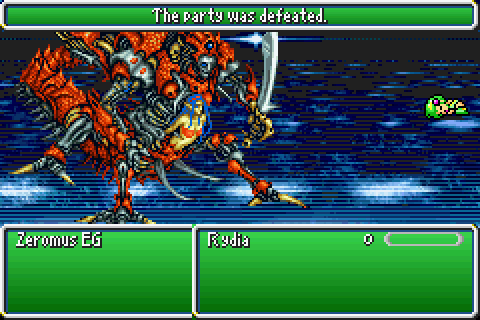
The amount of times I had to restart on his third turn is ridiculous. Sap takes off 2 HP consistently. 1 or 2 HP left from Whirl means it might as well just kill you outright for all the difference it doesn't make.

His magic defense presents another problem in that it makes our biggest attacks deal quite low damage. I'm speaking relative there, because he has 200,000 HP to cut through. Even if we were dealing 9,999 with every single hit, it would take a while to manage.
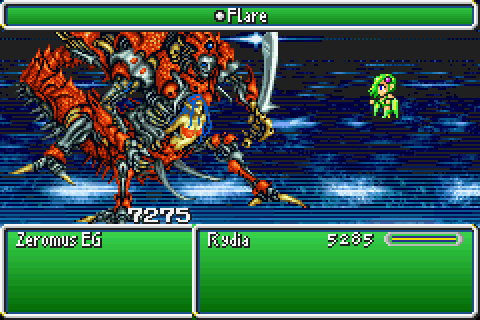
Flare ends up dealing roughly the same amount of damage as Bahamut for once, though this isn't a good thing. It seems good on paper, but...
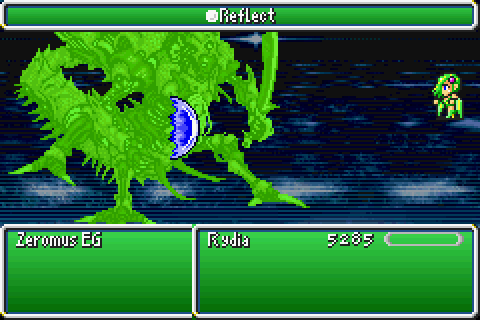
All spells, but no summons, make him counter with Reflect. This is of course abusable, via a Meteor or two, though.
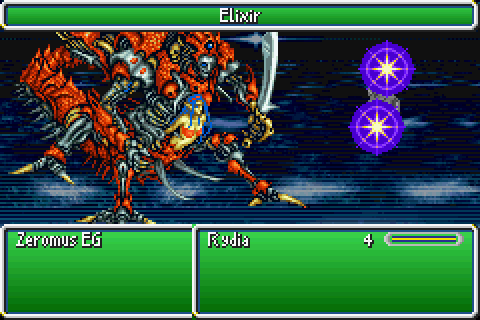
After finally having enough HP to survive after Whirl, it seems like a damned good time to use an Elixir all things considered.
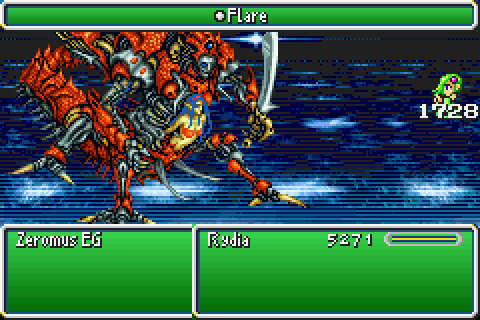
I mean, his spells aren't that great but he has them too. Flare's damage is about the same as the original's, though that makes it proportionally worse.
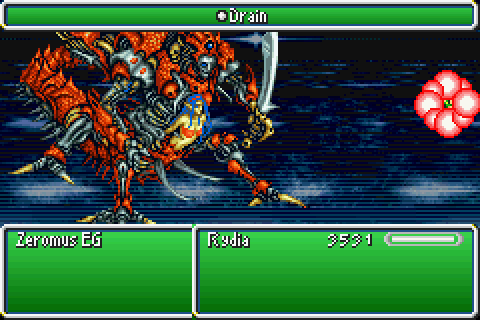
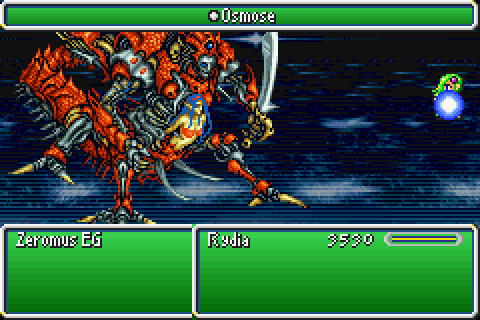
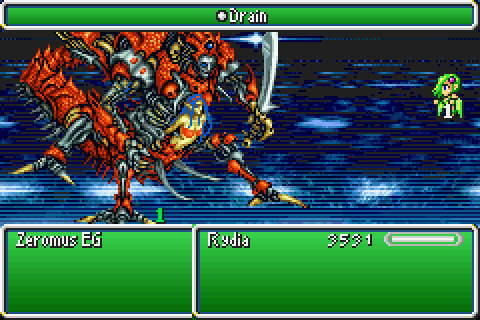
Then again he does double cast Drain, and Osmose, to try and heal (or annoy you) occasionally. This might make it appear to be more threatening than usual.
...Oh.
See, double/triple casts like this calculate it based as a single attack. If it did calculate each spell's damage on its own, then it would be quite threatening. But it doesn't.
There's a couple of good examples of this:
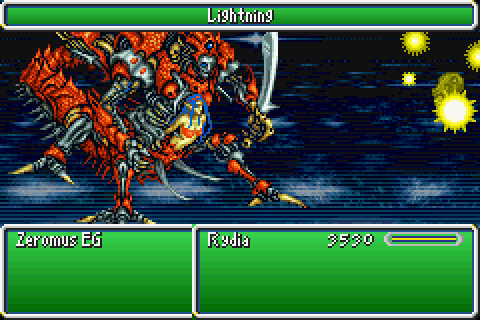

These three are all done as one attack, and the damage is as amazingly high as you would expect.
By which I mean barely higher than usual. It gets better, though!
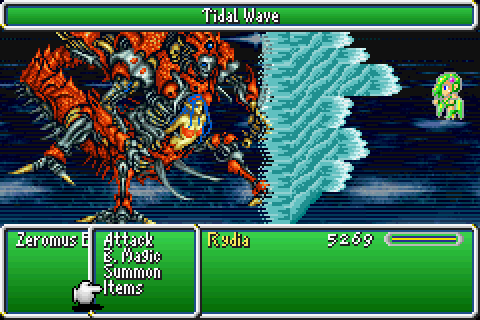

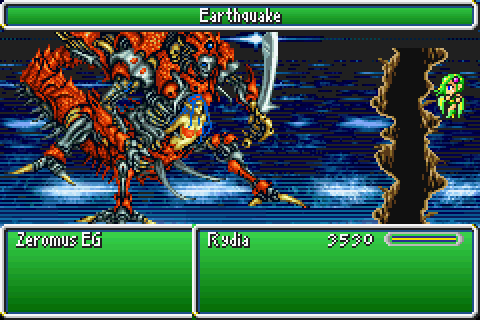
A Tidal Wave followed by the regular damaging Tornado (not the spell), should even with the weird calculation deal a decent chunk of damage.
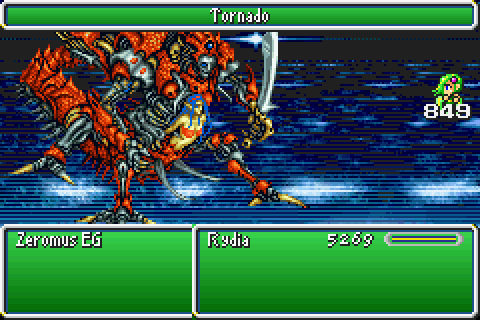
In practice, however, it works out as less than a Tidal Wave. By tacking Tornado on the end, it got actively worse.
...Needless to say, the PSP re-release made all these calculate each attack separately.
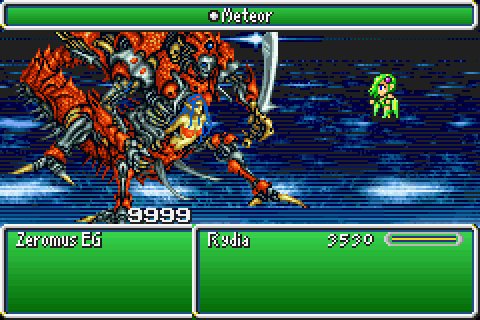
As you might have noticed, EG doesn't absorb or resist Holy. We can use this our advantage to spam the shit out of Meteor. Lots and lots of Meteors.
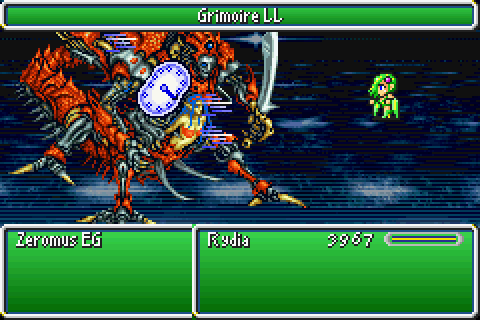
If you don't use the Grimoires before now, then most of them do unique things here. Some don't appear to do anything but those are the minority, despite whatever you read on GameFAQs.
Lunar Leviathan causes Slow. A few of these do trigger his Reflect counter (this one does, for example), but none are actually Reflectable. It's worth noting that this one is the only one that is kinda superfluous, since you could simply Slow him through other means too.
Lunar Ifrit does... something, but I'm not sure what exactly. I wanna say "poison with a weird animation," but everything I've read says Lunar Asura does that (which is wrong, by the way). Either way, he takes 9,999 damage on his turns after this one's used.
Lunar Ramuh is a lot simpler, thankfully. It's silence. Naturally, this is pretty damn good. Don't use it first, though! It stops his Reflect counter, and replaces it with one that makes him hit thrice (or more) in a single go. The damage for that IS appropriately high.
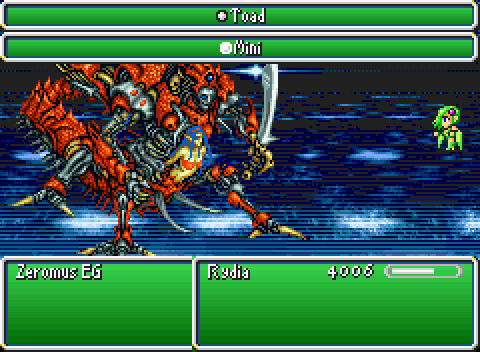
Lunar Titan inflicts Mini. Even if this wasn't really good, it'd be worth it just for gimmicky laughs.
Lunar Dragon inflicts Toad. Much like the Titan above, this'd be worth it just for kicks even if it wasn't useful.
None of these effects are permanent, by the way. They wear off after awhile, so they don't completely render the fight a joke. Just really give a fighting chance.
Shiva, Bahamut, Asura and Odin all do diddly squat, sadly, They have an animation that imply that they deal damage, but nothing actually happens.
...It's worth bearing in mind, of course, that if he does set up Reflect it probably hasn't had time to wear off yet.
Nothing like hitting yourself for 9,999 damage completely by accident.
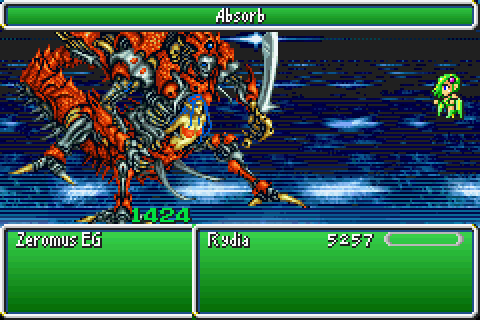
When Zeromus finally runs low on HP, he starts using Absorb to try and heal. Unlike Drain, it actually heals him for more than 1 HP. Like Drain, though, it's basically a waste of a turn.
It doesn't even damage us or anything.
[Video: Vs. Zeromus EG]
A successful fight isn't going to be short, because he has 200,000 HP... also a smarter person would stagger the grimoires rather than use them all at once. I might also be the most indecisive person on the planet, so that doesn't help either.
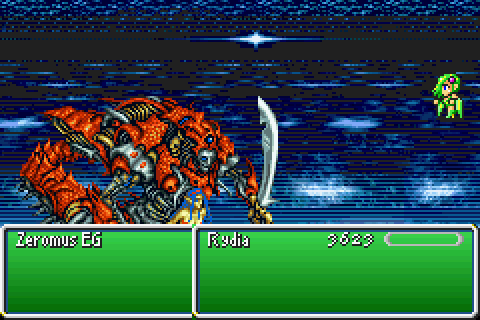
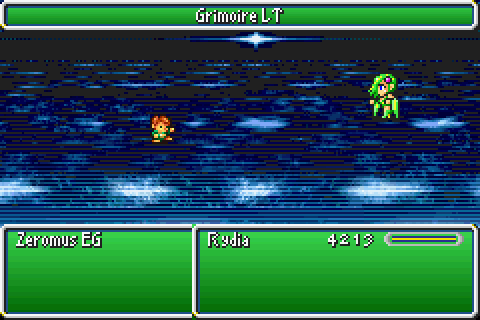
At this point, he's basically done for and dies almost immediately afterwards. If he drops below 10,000 HP and doesn't die shortly he can try a desperation attack and hit you with 10 physicals in a single turn. Fortunately, it doesn't happen too often.
[Video: End]
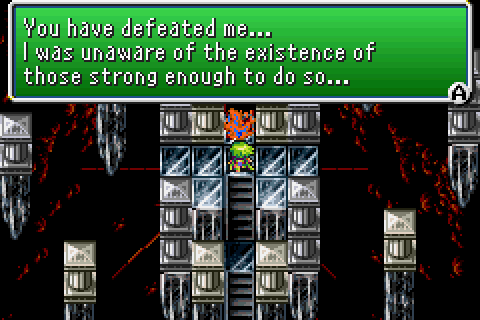
And with that, we've cleared out the Lunar Ruins more or less. Went a hell of a lot better than I expected, to be honest.
The reward for all this? Absolutely nothing. EG doesn't drop anything, there's no extra stuff after him, he doesn't even change the normal ending. All you get is the stuff from the trials themselves, and the Hero Shield if you can take down the Brachioraidos.
Beating EG just lets you leave through the "proper" exit. So that you can do it again and again and again. Forever. Hurray?

Optional Bosses Fought: 29
Optional Bosses Killed: 28
Success Rate: 96.55%