Part 16: Rydia's Challenge Dungeon
Rydia's Challenge Dungeon
Can't believe I'm going to be doing all of these. Ugh.
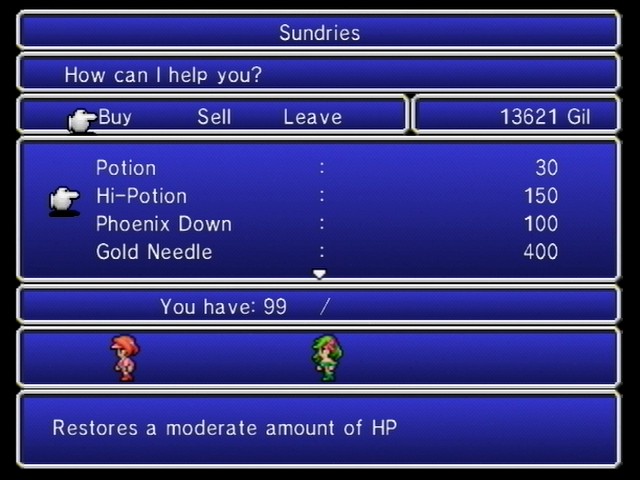
Definitely want to stock up on Hi-Potions. Enemies hit hard.
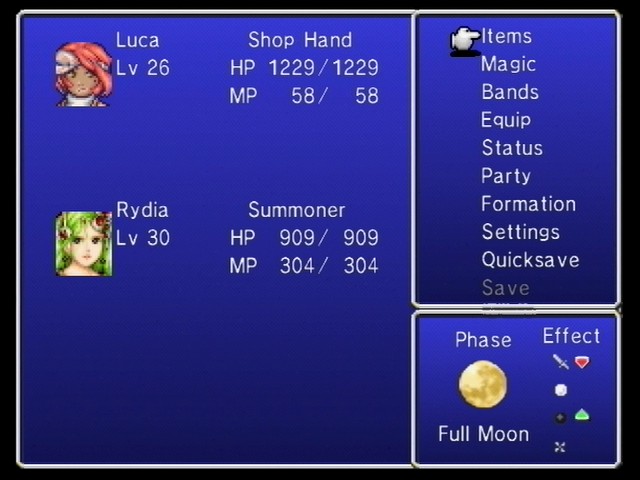
That's also why you want to enter on a Full Moon. Any other moon, and there's a solid chance you will die.
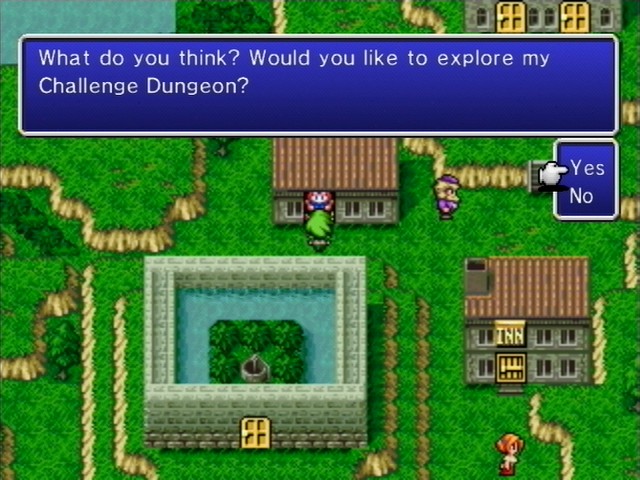
Again, just talk to Namingway, and he'll transport you to your Challenge Dungeon.
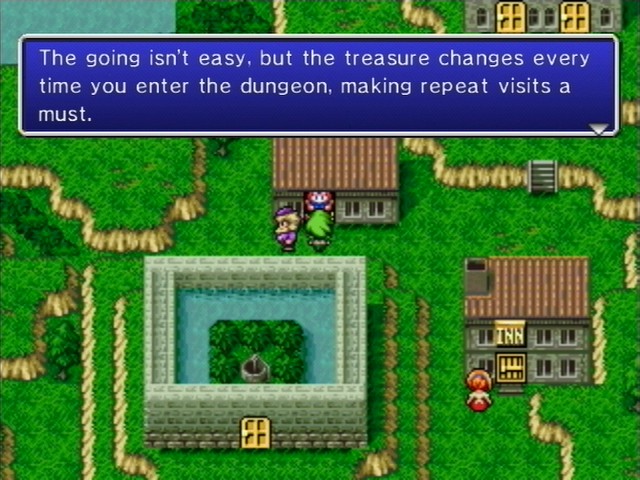
Oh, joy.
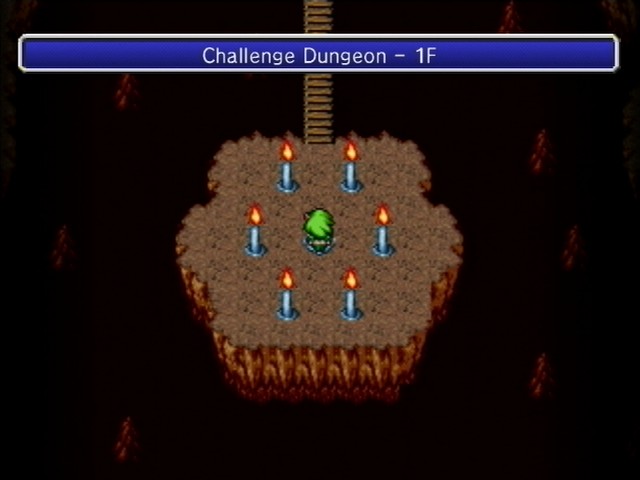

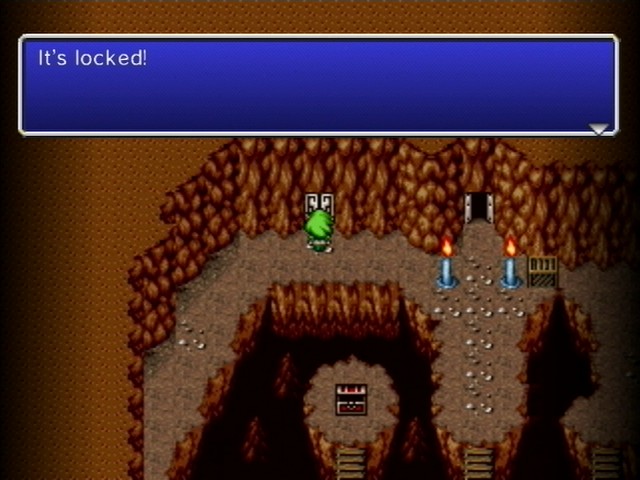
Each challenge dungeon is different for each character. Rydia's dungeon's gimmick is...
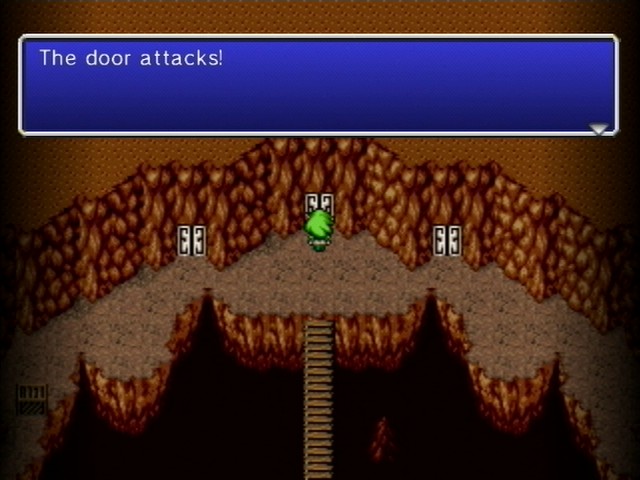
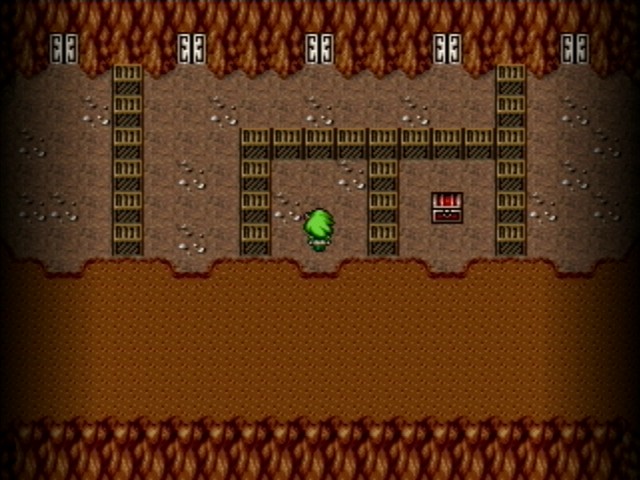
Doors. That's right, there's a ton of Trap Doors, some of which leading to a dead end. Of course, with Stop they're harmless and end up being the easiest monsters in this dungeon, but they're still tedious and waste MP.
The two side doors are dead-ends, so go through the middle.
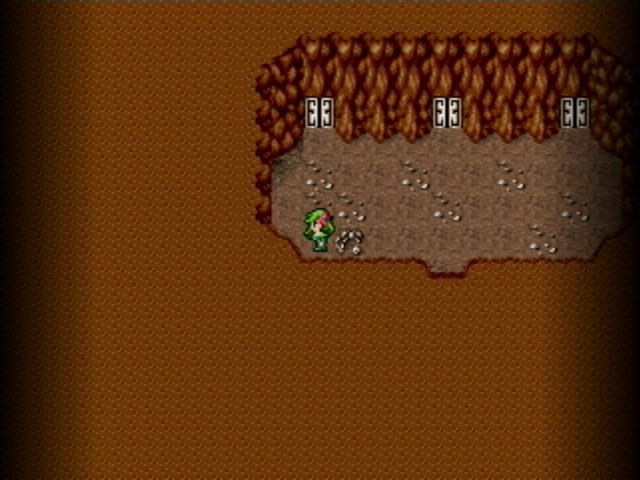
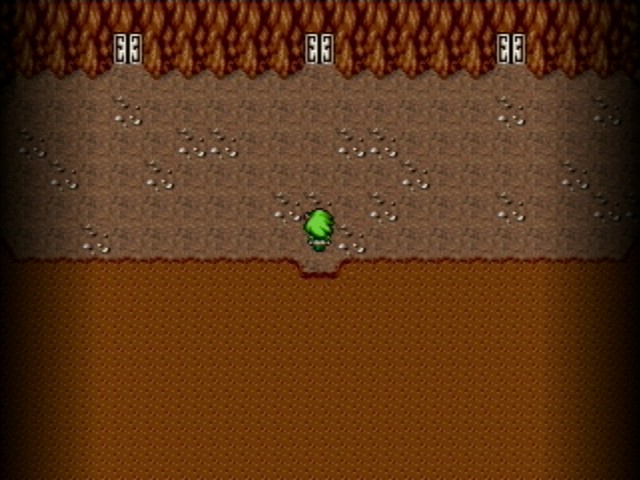
Next room. Right-most one lets you proceed, while the other two lead to treasure.
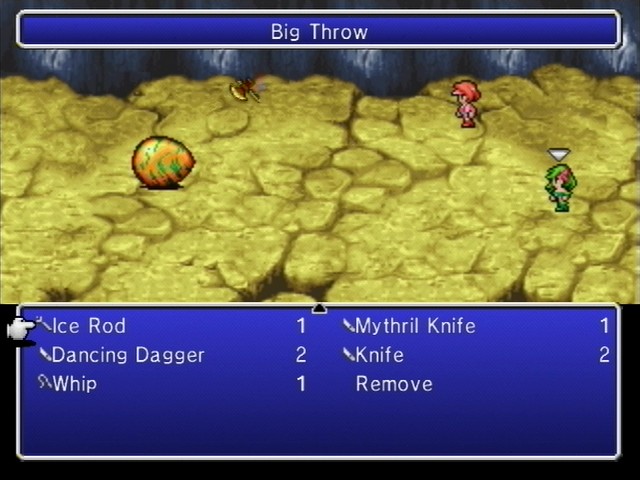
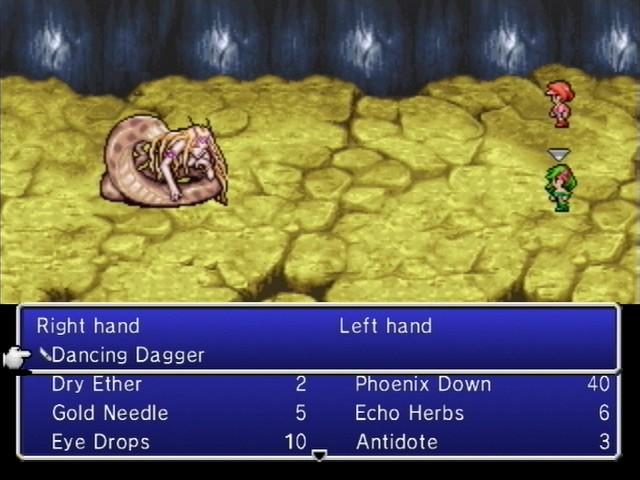
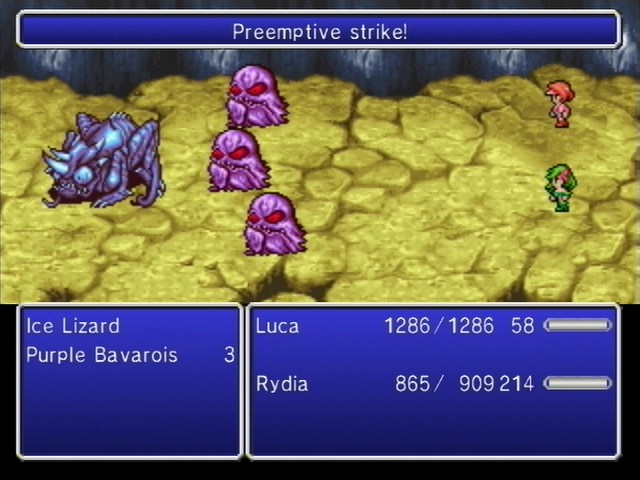
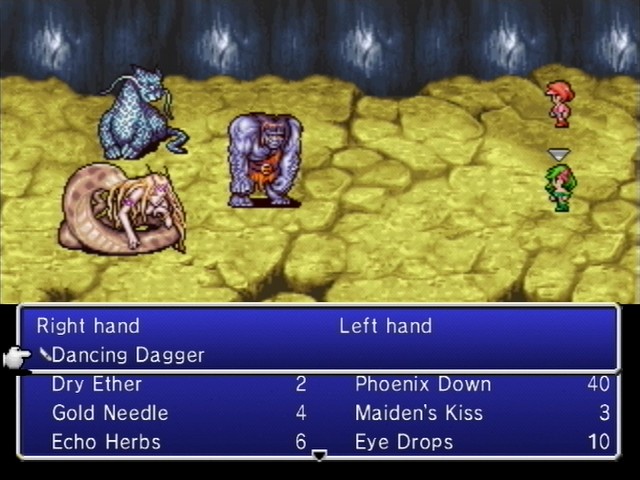
Mystery Eggs are back, and in this dungeon they hatch into Lamias. As long as you avoid physical attacks after hatcing it, you're fine, so Attack/DD/DD/Attack will take care of Lamias with little effort. If you do attack, they counter with Entice, which inflicts Confuse.
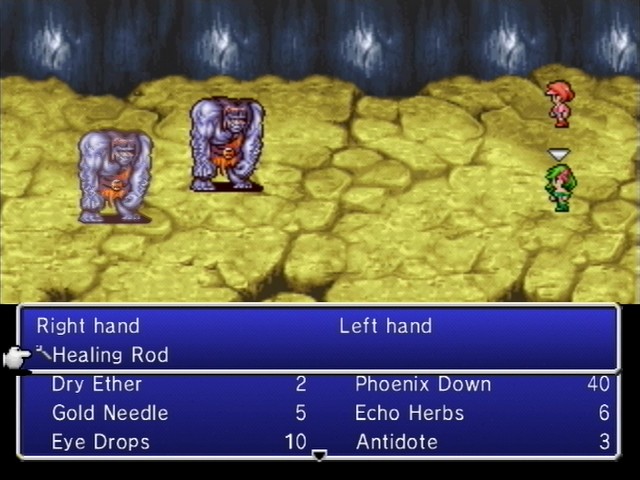
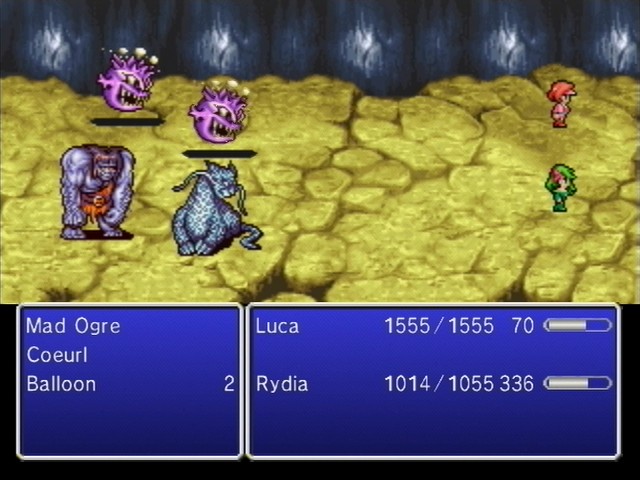
Mad Ogres are evil. They have huge magic resistance, so Rydia's useless against them. They have huge chunks of HP, as it takes 4-5 attacks by Luca to take them down. They're also fast and will get two attacks in to your one. Still, they don't hit much harder than regular Ogres, so they're more annoying than threatening.
"More annoying than threatening" is really the theme of this dungeon.
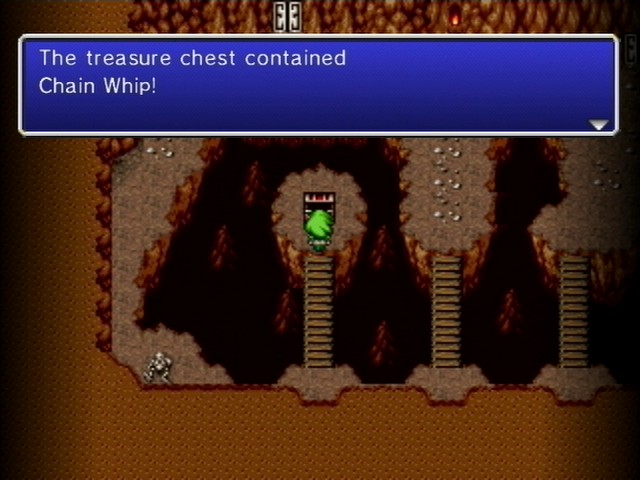
Rydia's strongest whip for this chapter. I never bother actually using it since DD is still stronger than Rydia's attacks, plus the whole "Full Moon weakens attacks" thing.
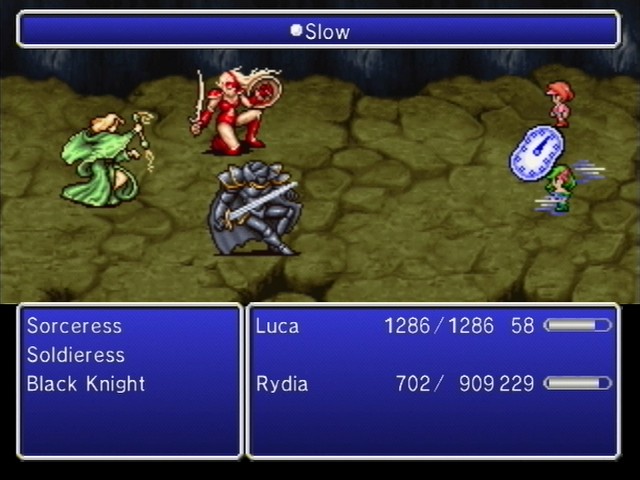
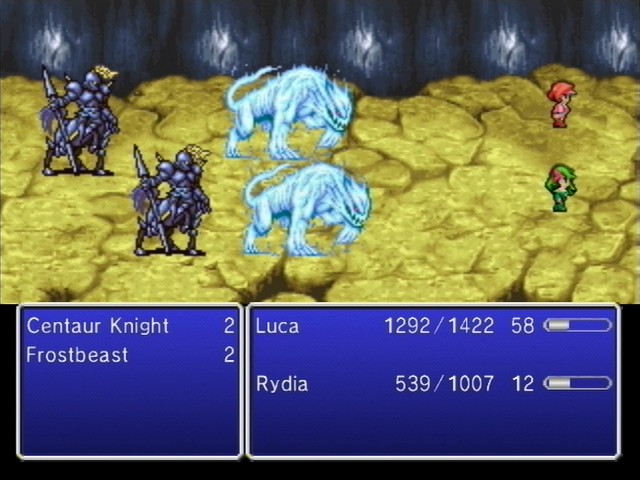
Sorceress leads battles with slow. The other two hit hard. Slow can screw you over here.
Sweet, enemies that easily go down to Fira!
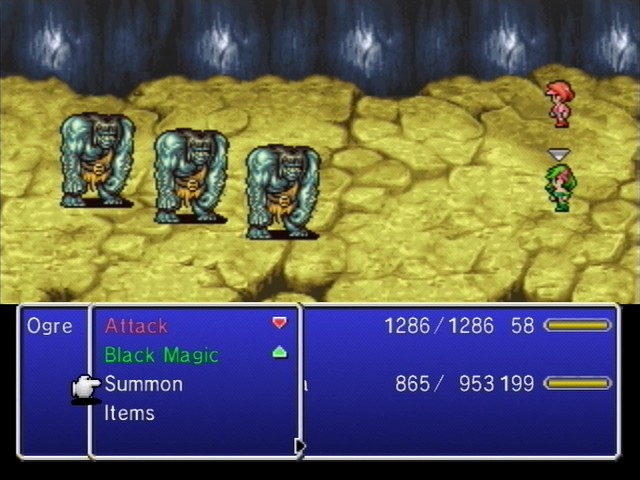
Ogres pop up in formations of three here, but since magic actually affects them, they're still much easier to take out than Mad Ogres.

I have no clue what Gremlins do, but they're in the dungeon too.
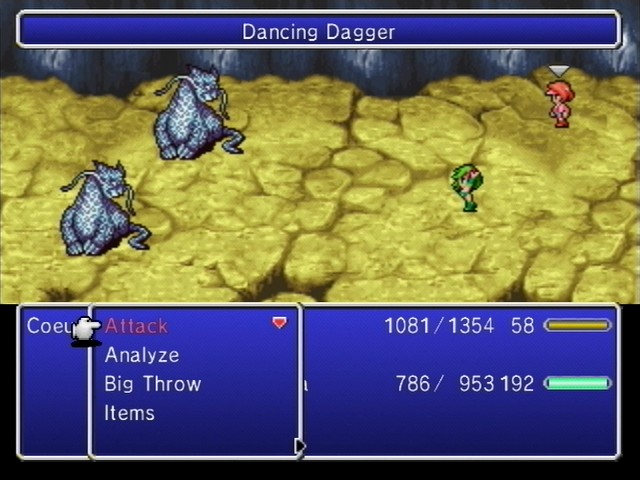
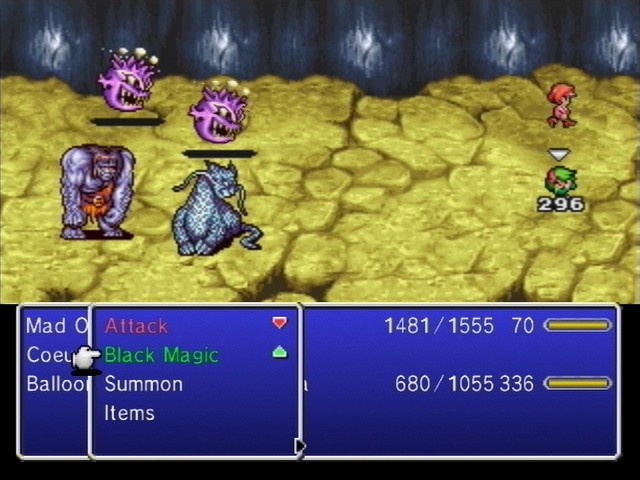
Coeurls love spamming Blaster, which can paralyze and maybe outright kill you. I don't remember if it will kill here, but I didn't bother trying to find out.
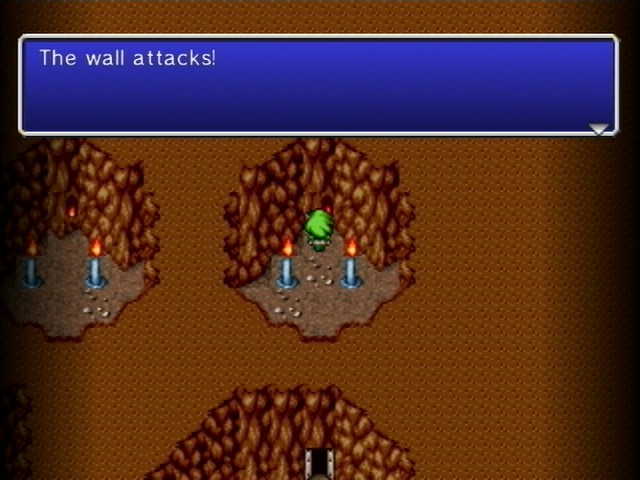
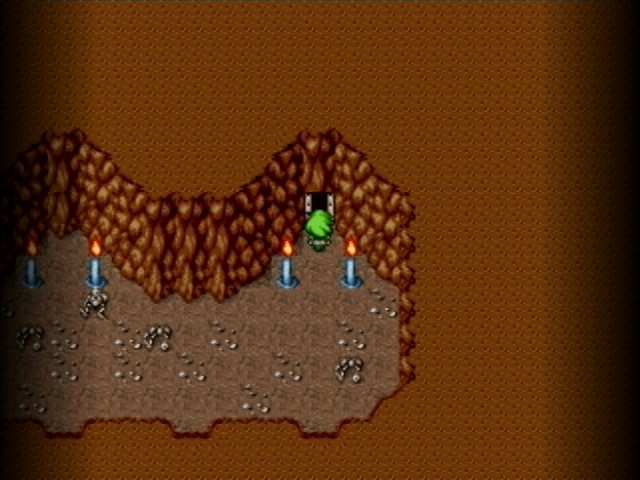
Take the right path, and there's another set of doors. Behind each door is a wall with a flame with it. Talk to the wall...
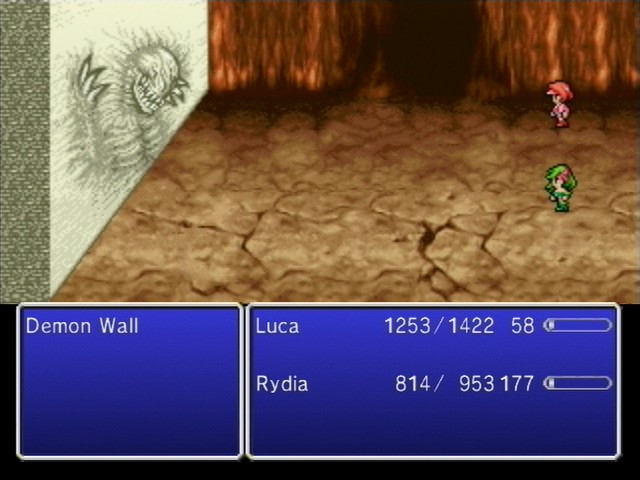
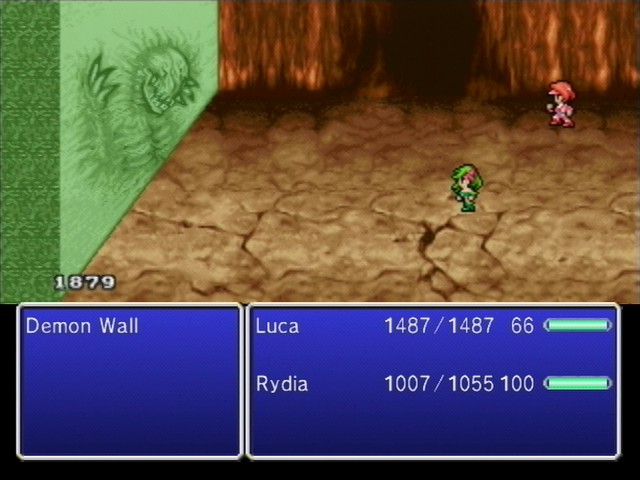
...and we run into an old friend! Demon Wall's a piece of cake, though, and as long as you're willing to burn some magic he'll go down soon enough. The biggest threat is gradual petrification catching up with a character, so having some Gold Needles here would be wise.
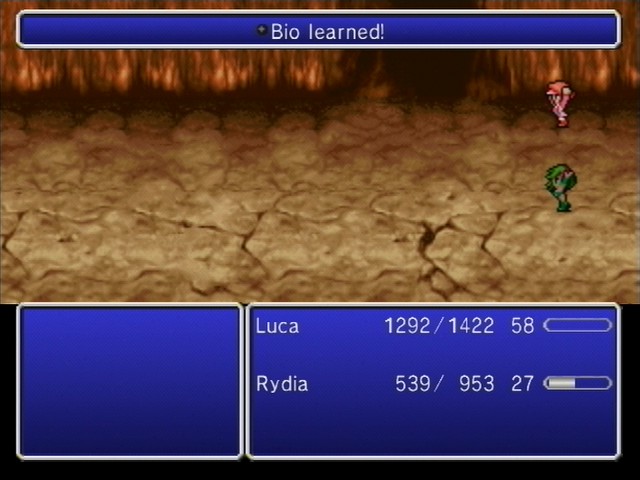
Anyway, I end up having to fight all three of the damn walls before finding out it was the center one that lets you advance. The good news though is that I finally learn Bio, Rydia's strongest spell in her tale.
Why is Bio so good? It's non-elemental, it's stronger than her elemental spells, it inflicts sap status on enemies, and it has no charge time whatsoever. All for 20MP.
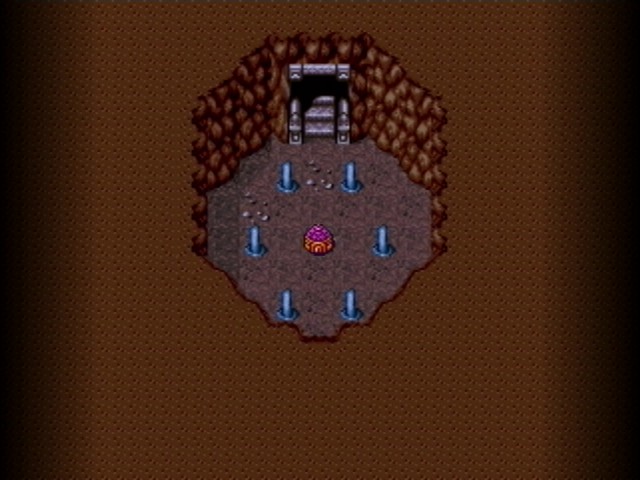
After you kill the right Demon Wall, you run into a much-needed save point. Make sure you bring some extra Tents along to skip back to Full Moon. The enemies just hit harder from here.
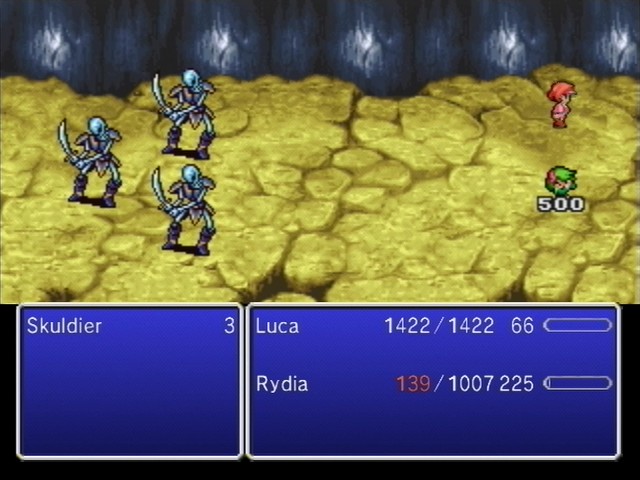
Skuldiers are horrible. Sure, a Fira will kill them, but good luck getting one off. I forgot which moon this was under, but they still hit insanely hard and you're probably better off just running away if you see them.
One of the wonderful gimmicks is that doors are sometimes locked, such as this one I backtracked to. So I have to wait until I beat the dungeon, and then come back on another run. Fun.
It's a Mythril Helmet or something that comes with two Mad Ogres and two other enemies I probably hate.
Time to move forward. Again, three doors to choose from.
Five? Crap.
Hey, stuff weak to Fira! I'll take it.
While stuff we've seen before, still not a fun encounter.
Hooray, a dead end!
Seriously, I hope you enjoy fighting Trap Doors, because every single one of these doors is one.
Unless they're locked, like one in this room leading to three treasure chests.
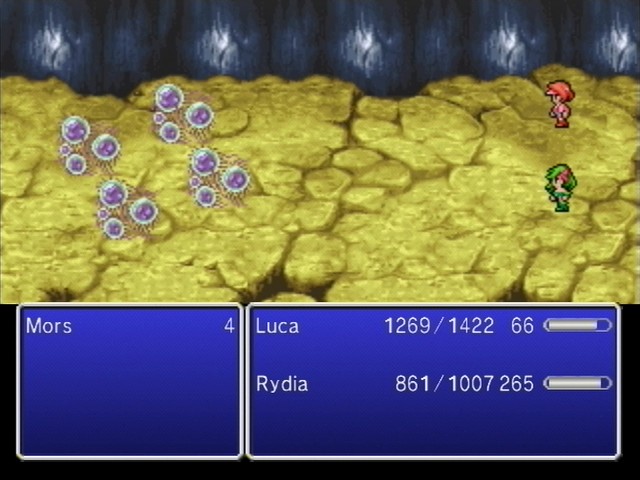
I still don't understand the gimmick for these guys, but I think they restore health upon counterattack or something and run away after a bit.
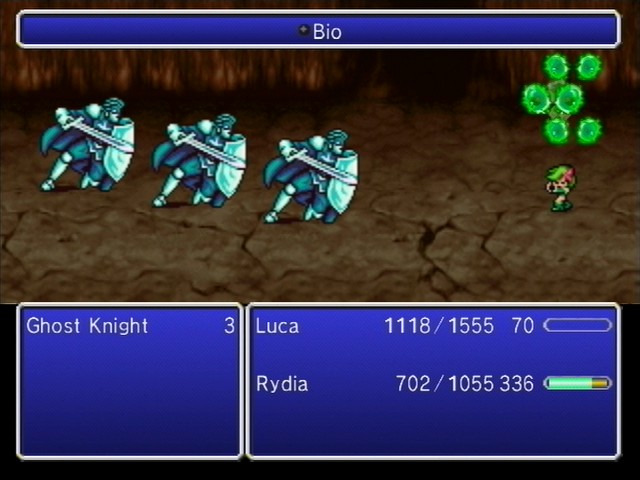
I love Bio.
Anyway, take out the right wall at the end to move to the next floor. Thankfully, they put another save point here.
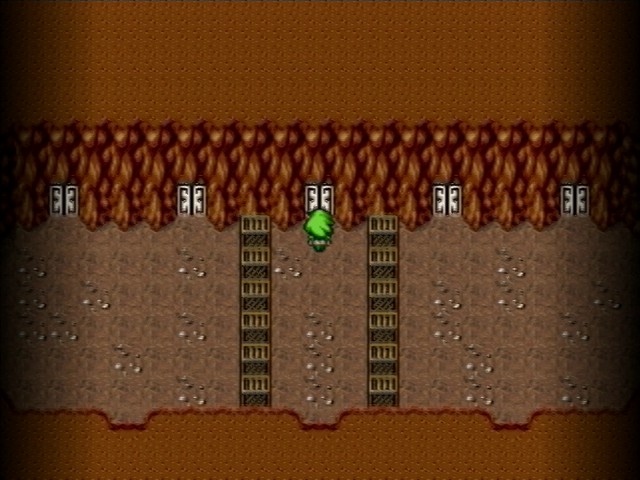
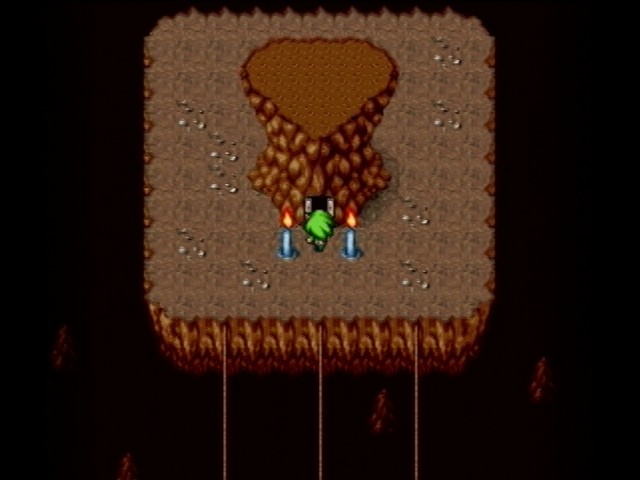
I forgot to cover the next floor, but there's wires connecting platforms to each other.
This next room has Balloons, who hit really, really hard. Balloons will flat-out destroy you if you're not careful.
Much harder than the 100-something damage most other enemies hit around here.
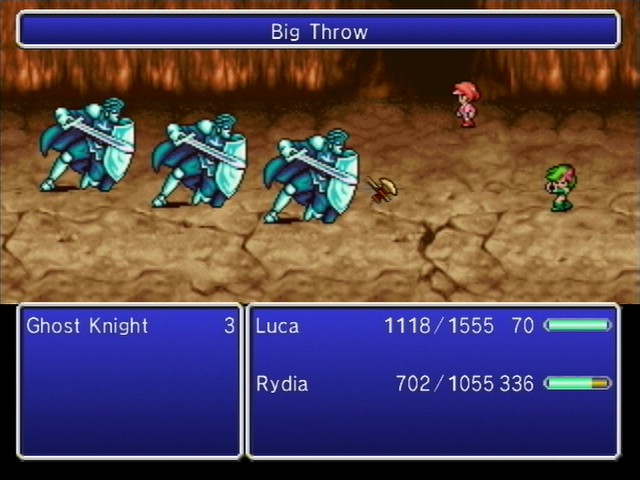
You can't run away from Ghost Knights, but luckily they're more annoying than strong.
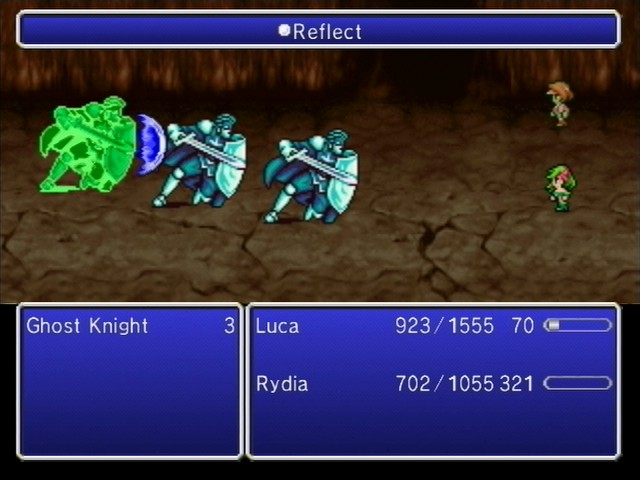
They counter physical attacks with Bio and magical attacks with Reflect. Dancing Dagger goes through Reflect, so it's your best option here.
Other than that, they don't hit hard, so at least you get some breathing room.
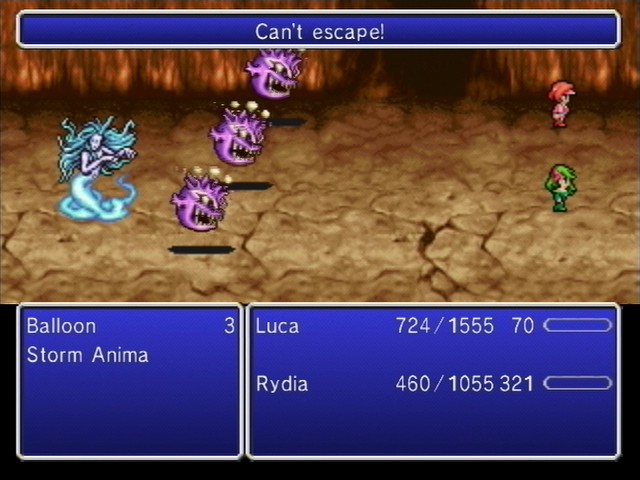
OH FUCK ME
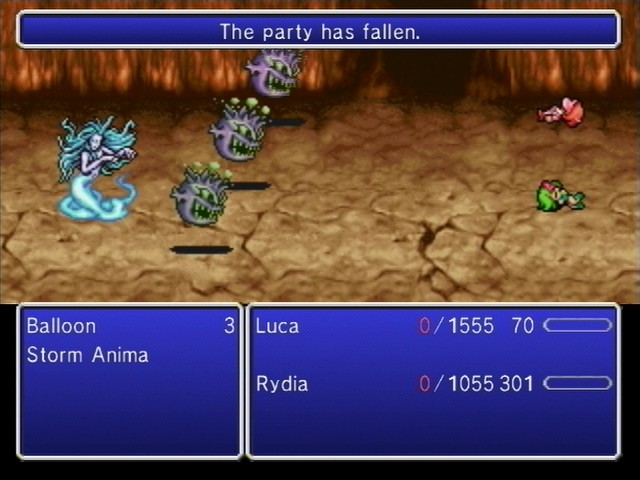
I hate Balloons.
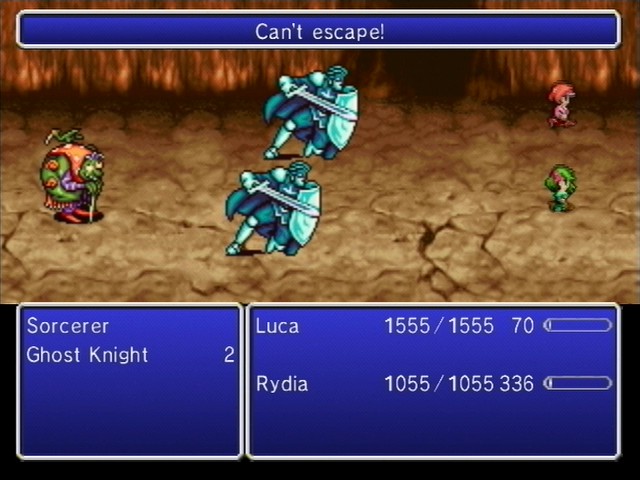
Sorcerer is a guy who summons more Ghost Knights. Not a big deal.
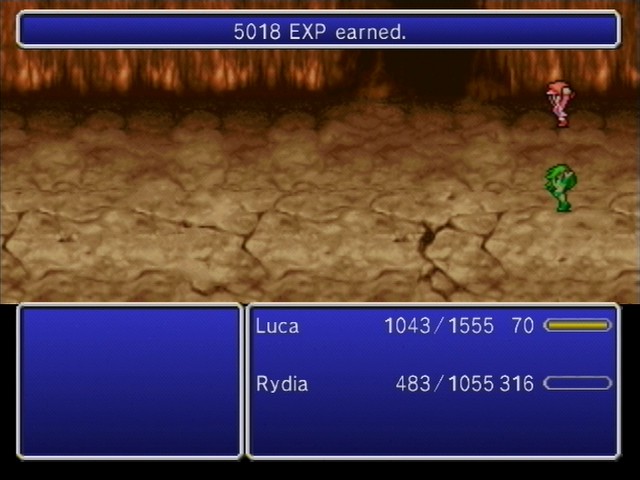
Well, I guess the EXP is.
I didn't stick around this floor longer than necessary, so I may have missed some enemies, and I definitely missed some treasure.
Go to the right and defeat that Demon Wall to proceed to the end. There's one last save point before the boss.
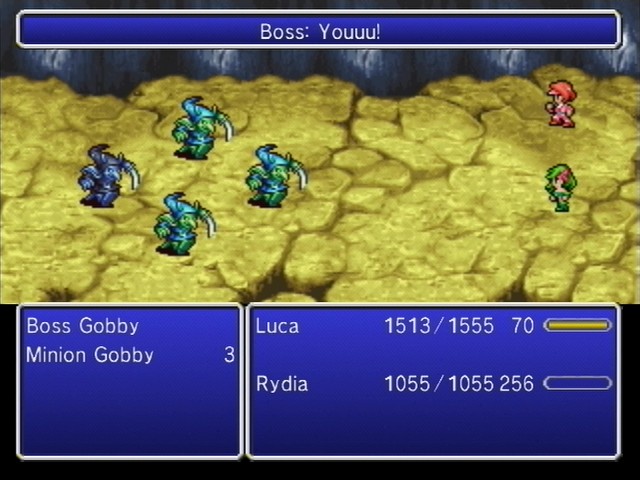
Meet the boss.
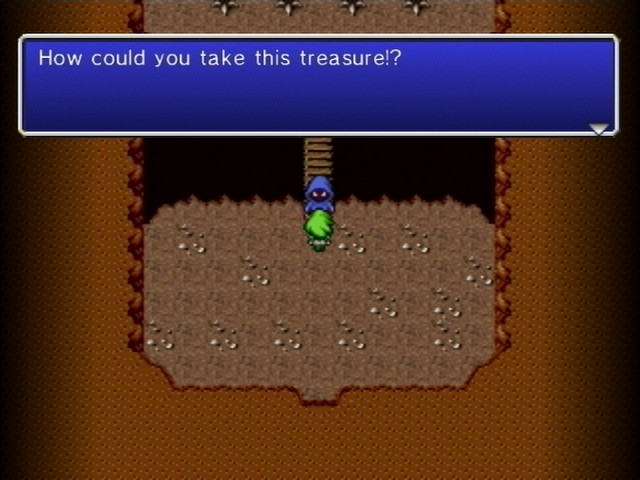
He's guarding the treasure in this dungeon.
I love this line.
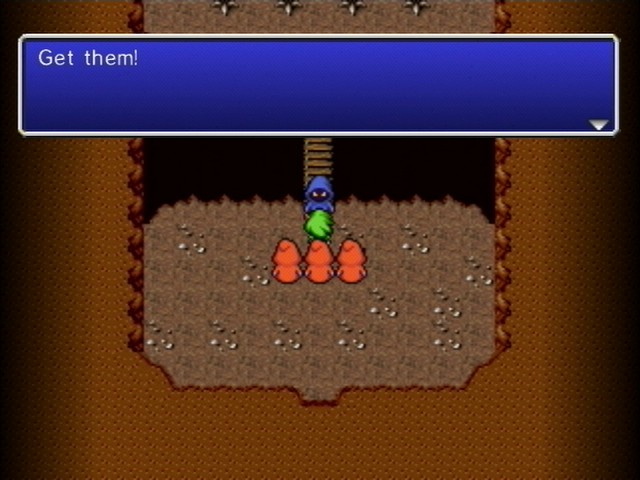
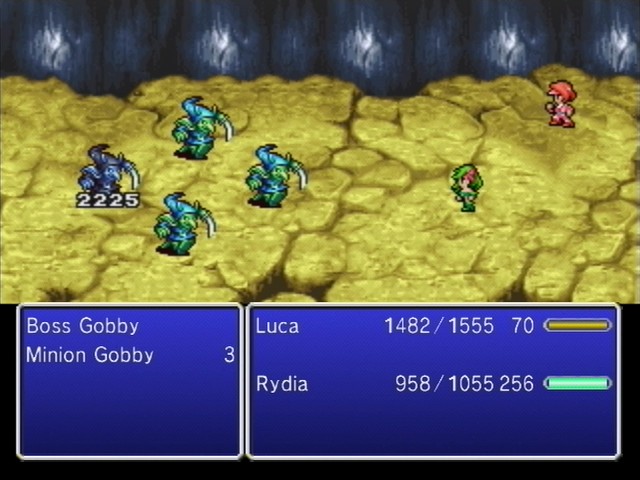
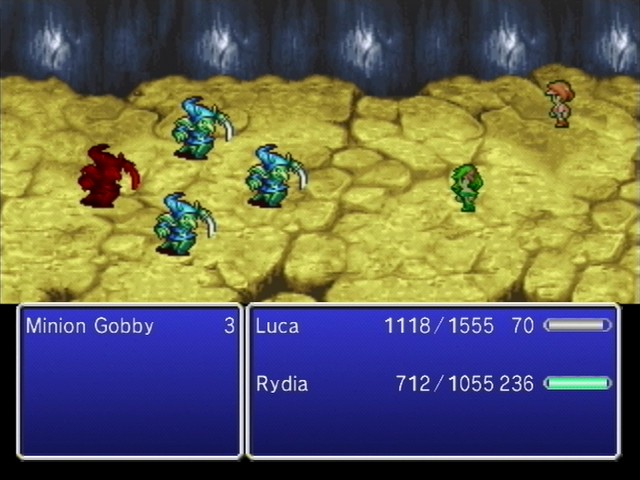
His lackeys join up for the fight.
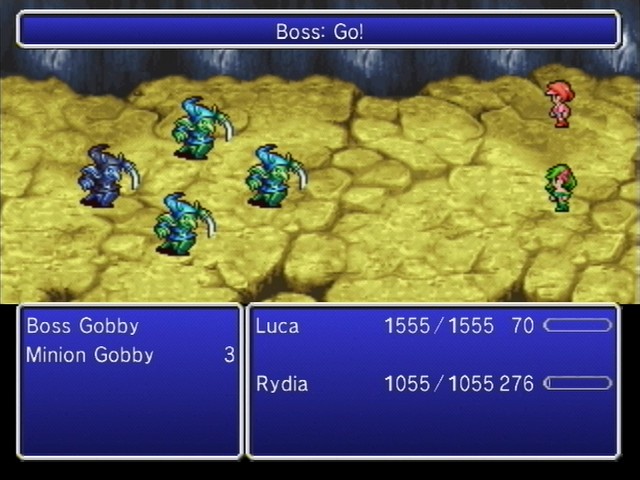

This fight is similar to other fights with a "leader" type, where the leader orders the lackeys to attack. His pals are weak as hell.
There are two ways this fight will go down.
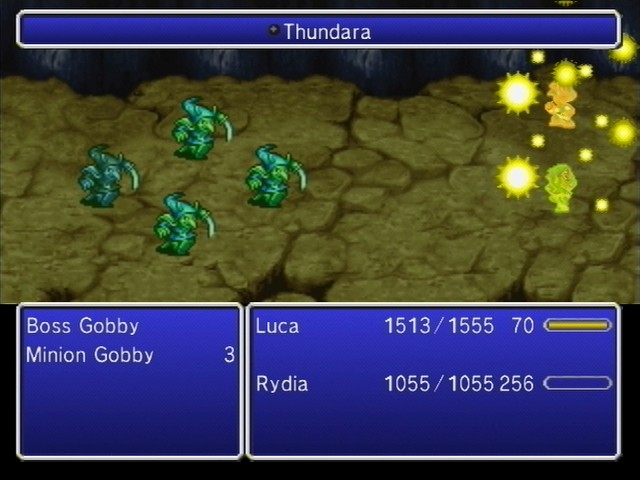
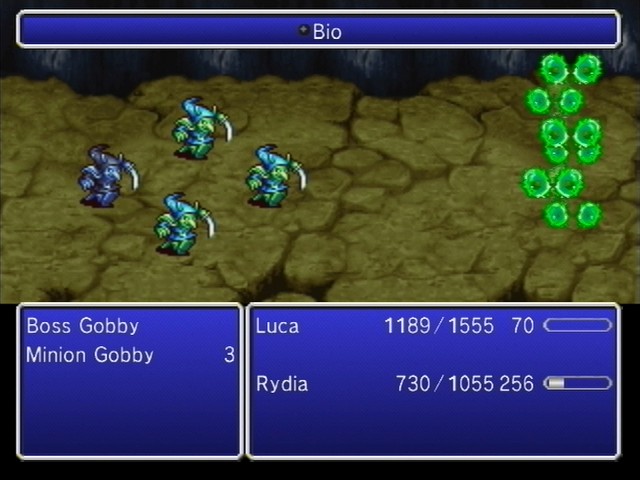
First, if you attack the Boss, he'll counter with some magic. Thundara hurts a little, Bio hurts a lot, and I never had him counter with Firaga but I imagine it would destroy me.
So, common sense tells you that if the Boss counters with magic, the smartest thing to do would be to take out the Minions, right?
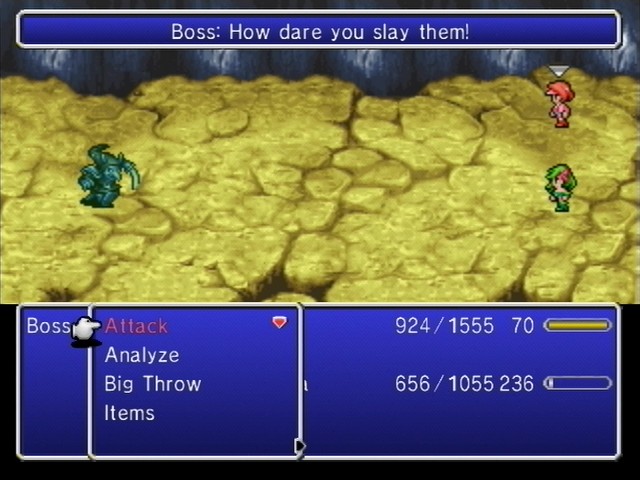
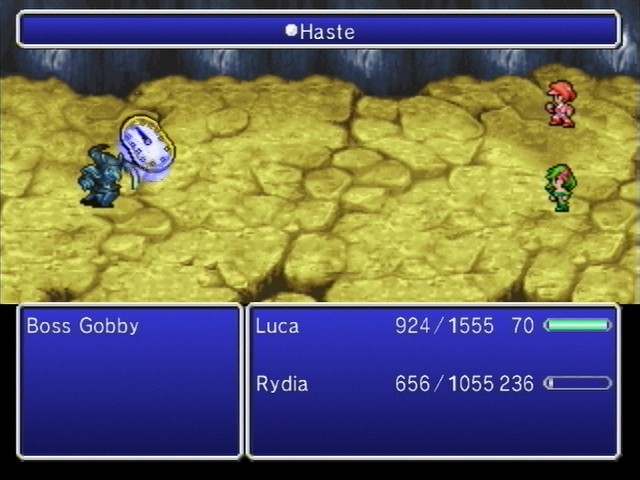
WRONG. The Boss goes crazy and casts Protect, Shell, and Haste on himself.
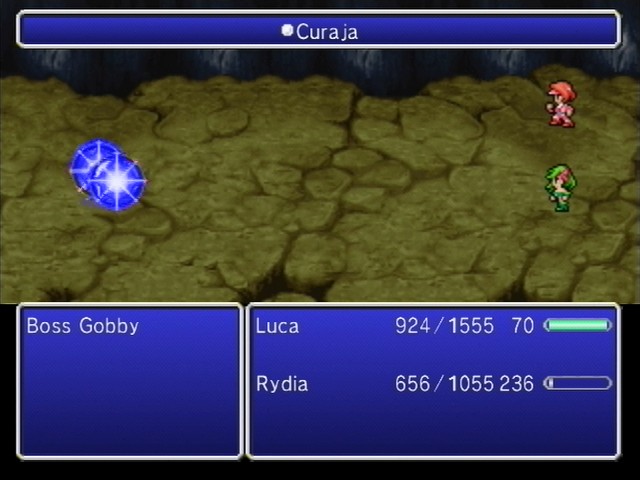
He also casts Curaja. At this point, he'll hit harder, and your attacks will stop doing as much damage. Plus he'll heal himself a lot, to the point where you can't get much done against him and it turns into a stalemate.
So instead, I restarted and left his goons alive, focusing entirely on him.
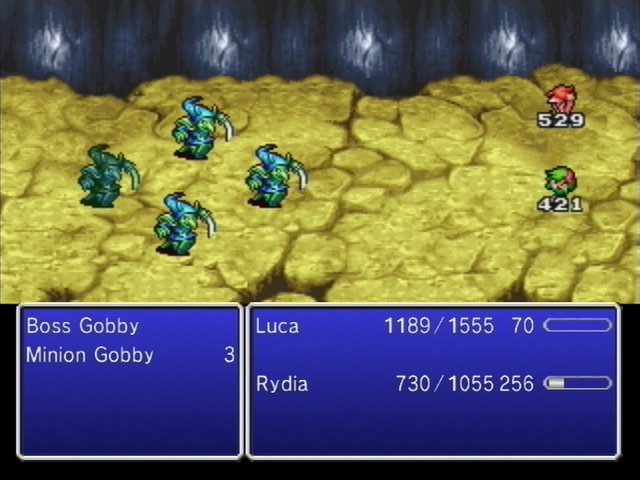
It's still a pain to do, though.
Luckily, the boss doesn't have much HP and goes quickly down. Unlike the boss, his minions don't give a shit about their leader dying and go down easily.
Alright, time to get our treasure! I wonder what it could be!
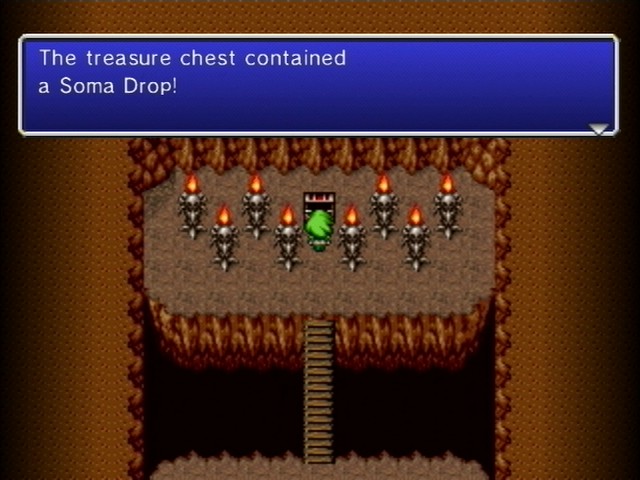
Oh.
At the end of each dungeon, there's a random treasure, which can be some good stuff. All things considered, Soma Drop's not that bad, but I'd rather it have been some equipment for Rydia or Luca. Oh well, I can always just go through the dungeon again.
Oh, did you know that the Doors and Walls all respawn after you finish the dungeon! Yeah, once you beat and return to a dungeon, you have to fight all those doors and walls all over again. They're still easy, but they're also still tedious.
This fucking game.

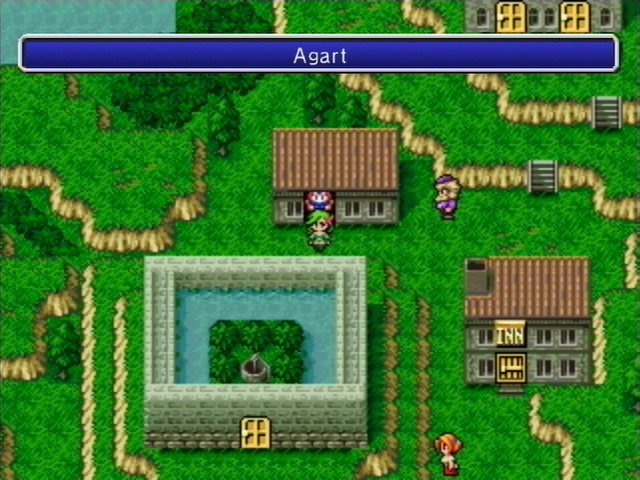
Get the treasure, and you return, all ready to do it again. You know, if you're a sadist.
That's it for Rydia's Tale. Or rather, that would be it if it weren't for one more thing I need to do. Something I really, really don't look forward to doing.
That's right. I'm going to grind for rare drops. Hooray!
