Part 59

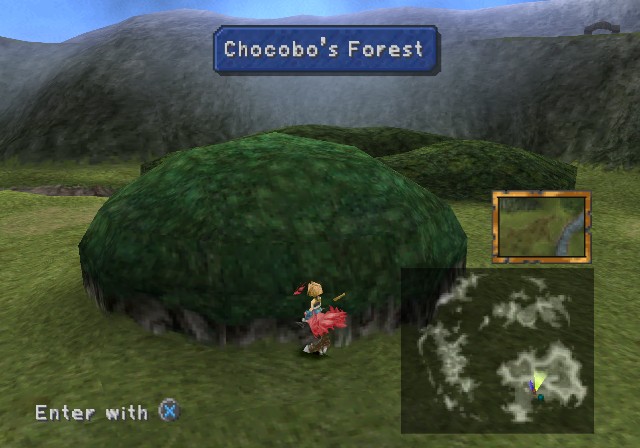
Today's going to be a short one, focusing exclusively on Chocobo Hot & Cold. Now that we have the Blue Narciss, there's actually a lot we can access now, including some amazing stuff.

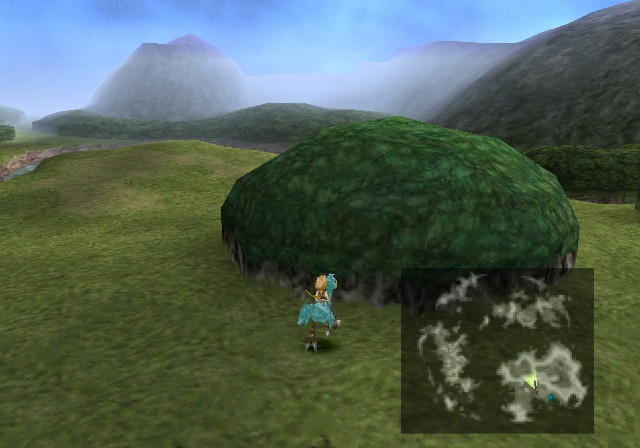
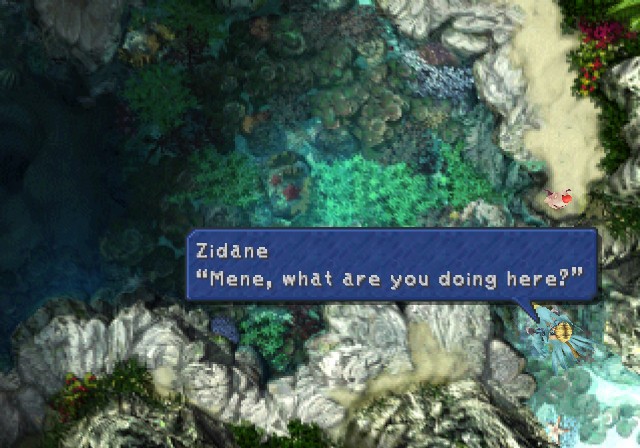
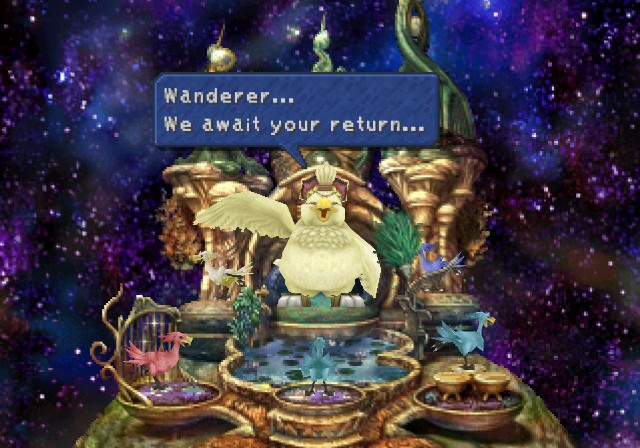
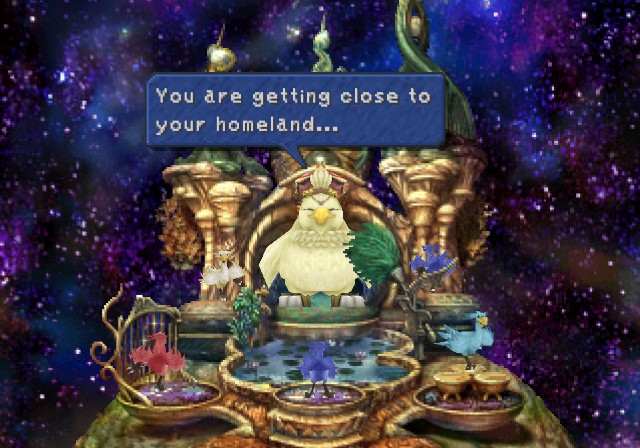
 Who is that chocobo, kupo!? Where is Choco!?
 I'm not sure what happened, but he is definitely Choco. ...You're right, kupo. But why...? Oh!!!
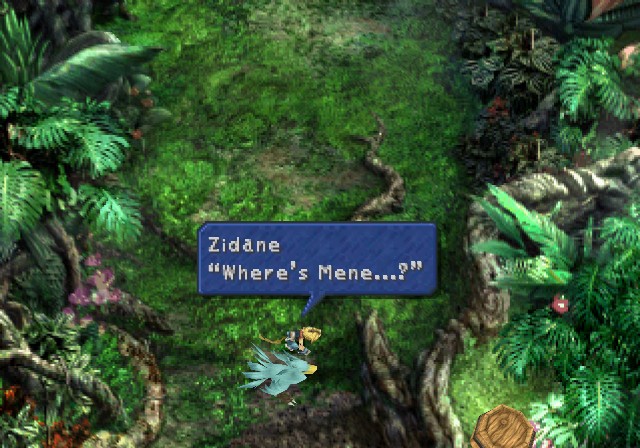
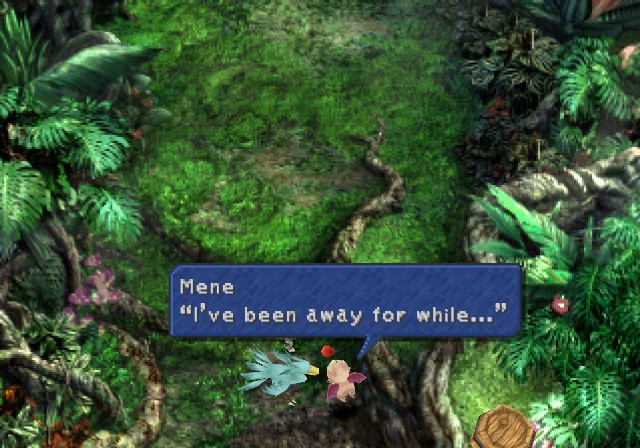
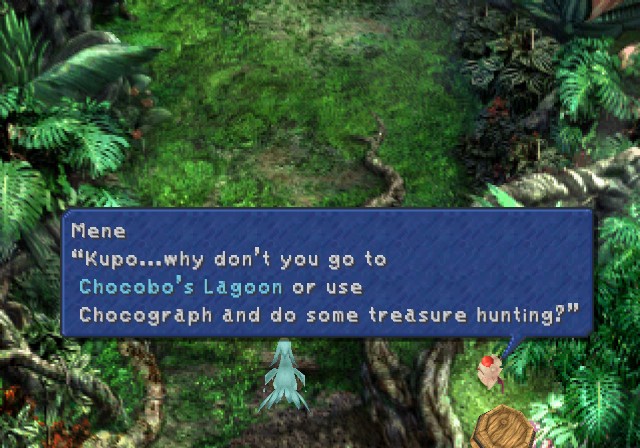
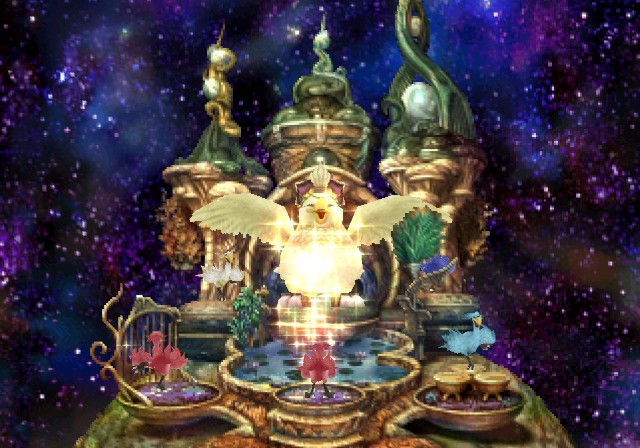
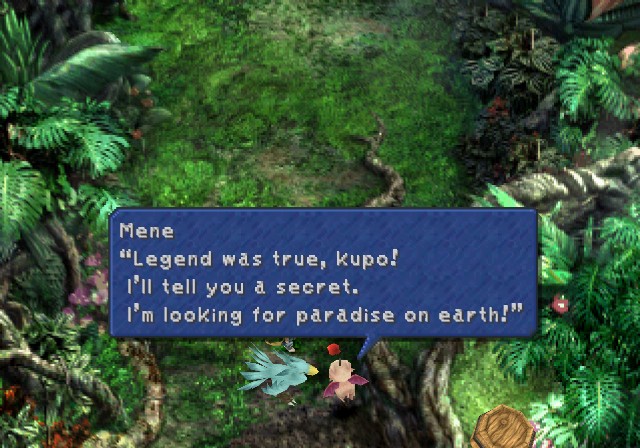 Only chosen chocobos can evolve and lead their masters to that paradise, kupo! Let's evolve Choco so that we can go to paradise! Kupo! So, where have you been? Kupo! I finally found it, kupo! There's place called Salvage Archipelago across the ocean southwest from here.
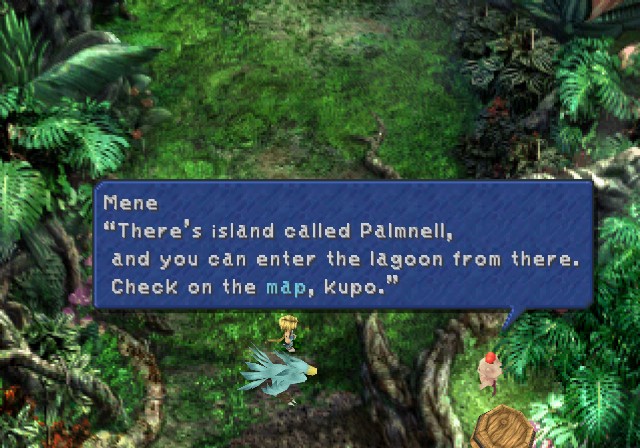 There's holy light in lagoon. It's very much like this forest! I'm sure we can find Chocographs there, kupo!
Before we get to that, one order of business.
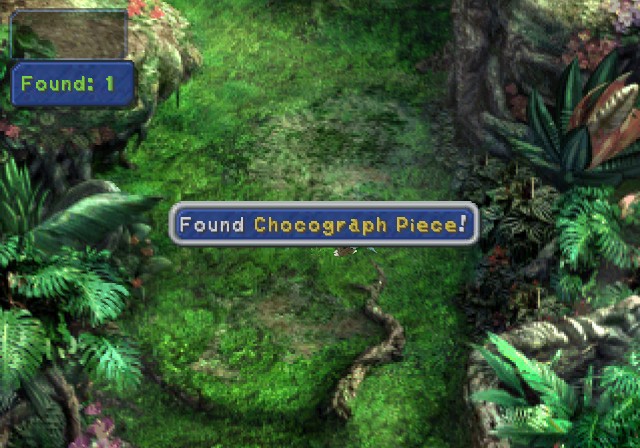
I was missing a Chocograph Piece from before. Up to two now, four to go.
There's no new Chocographs here at this time, so our only choice is the lagoon.
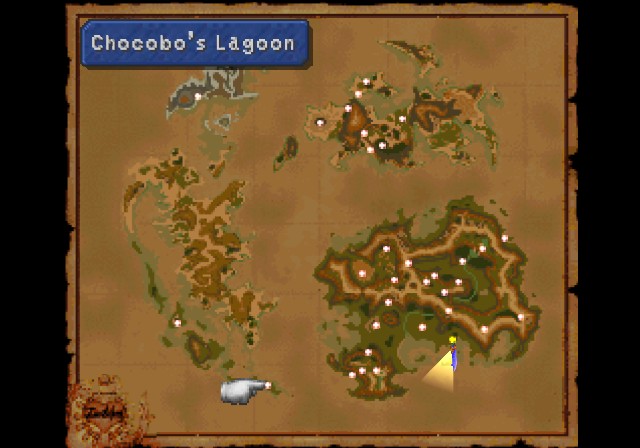
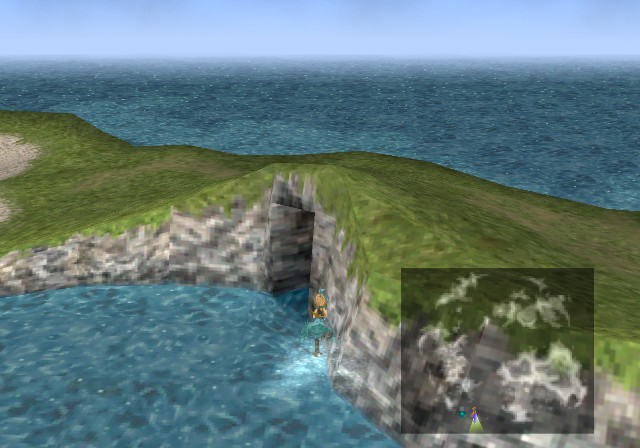
Chocobo's Lagoon is to the south of the large western continent. Since Choco can only cross shallow water, it's not accessible until now, since we have the Blue Narciss.
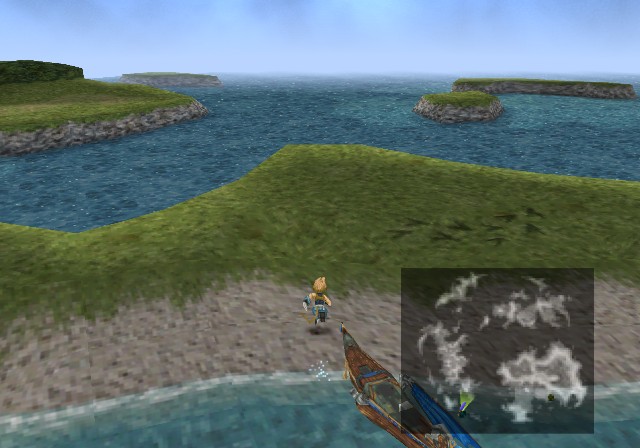
There's a nearby island with Chocobo tracks. We actually have to loop around the islands a bit to reach the lagoon. As you probably expected, we need Choco to have the Reef ability at minimum.
I do run into an enemy before getting there, though.

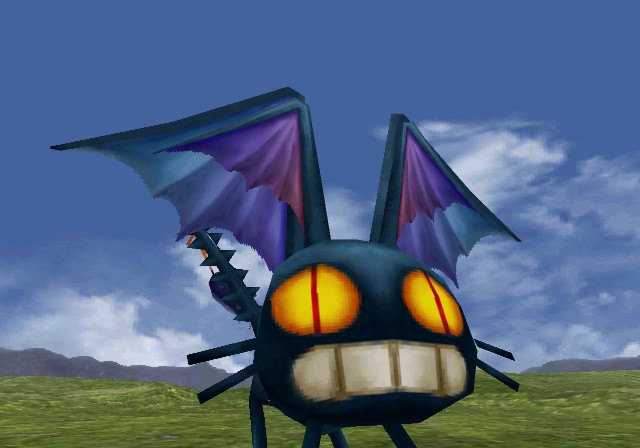
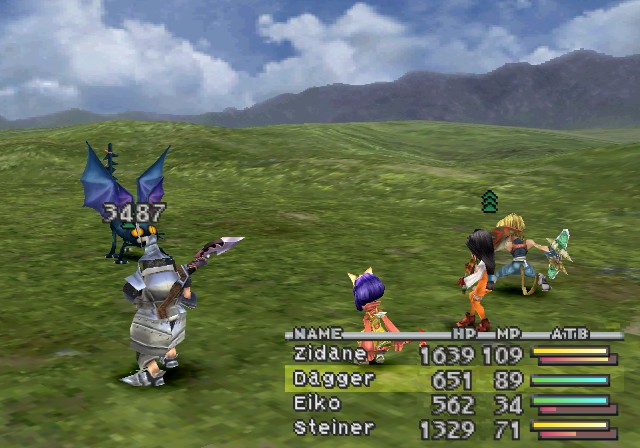
This is the Gimme Cat.
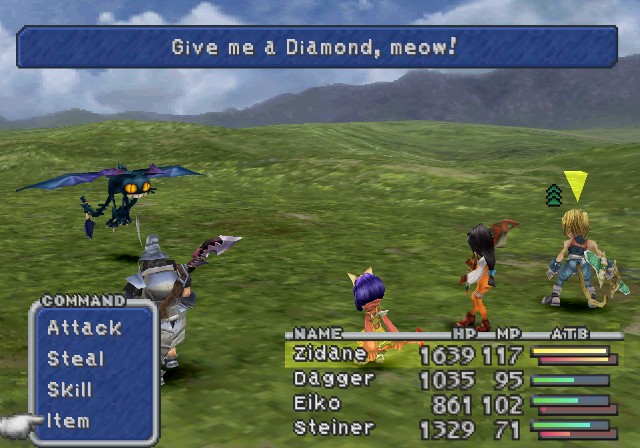
This one is like the friendly animals in that it asks for a gem. Unlike those animals, this guy is actually a regular enemy trying to con you out of a rare diamond. The regular battle music even plays.
Instead, I'll use this opportunity to show off Carbuncle because I keep forgetting to do so.
https://www.youtube.com/watch?v=OnMUCYfbpls
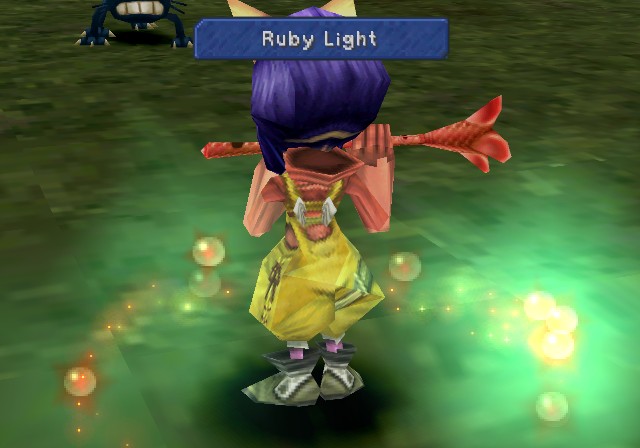
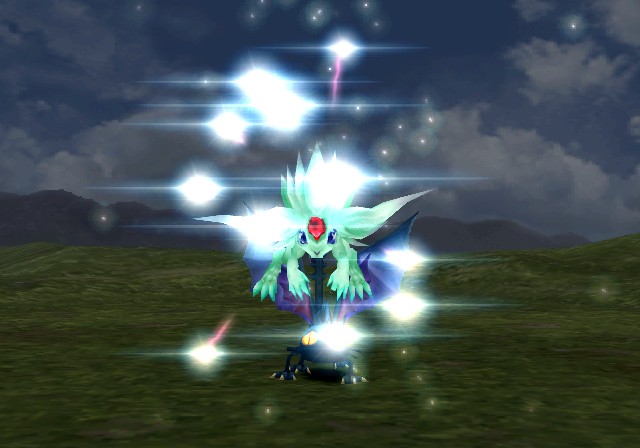
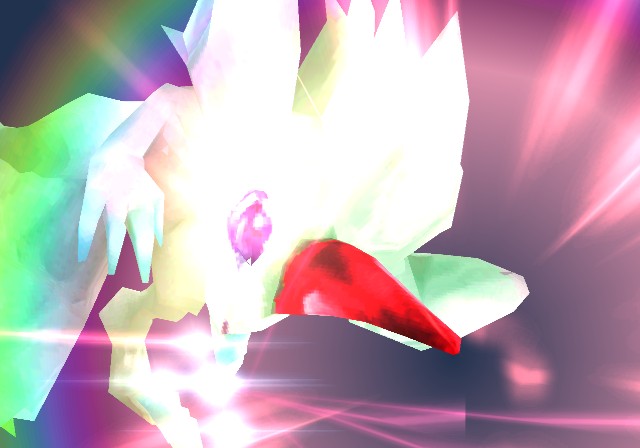
Carbuncle is another staple summon, originating from FF5 and appearing in numerous other FF games. It's the base pet as well in FF14 (and FF11 as well it looks like, though I'm not familiar with the game so I could be wrong) for Summoner-types.

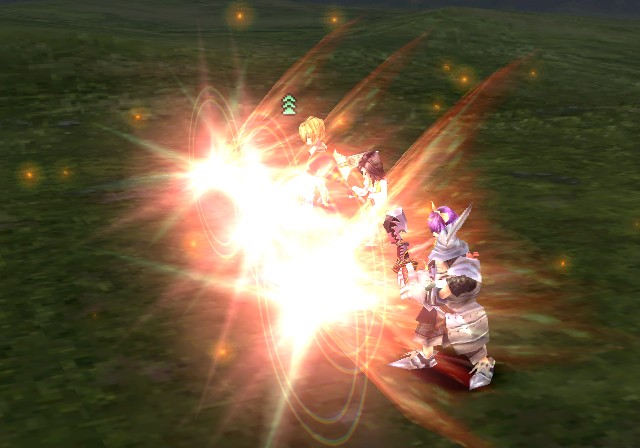
Unlike the other summons we've used so far, Carbuncle is about buffs. Its signature move in the series is Ruby Light, which gives the entire party the Reflect buff. This is actually kinda nice here since FF9 has specific abilities that mess around with the Reflect formula, though since it wears off quickly it's not as useful as Auto-Reflect (though Carbuncle also doesn't take ability slots put to better use for stuff like Auto-Haste).
Carbuncle's use extends beyond that, though. Equipping specific gems on Eiko changes Carbuncle's buff. Diamond changes the Reflect buff to Vanish, the Emerald to Haste, and the Moonstone to Shell. In addition, if the full animation for Carbuncle's summon is played out, Protect is added no matter what the other buff is. Thus Eiko has a good variety of buffs she can grant to the entire party, though really only one per battle since she can't change equipment mid-battle, plus she's sacrificing a valuable accessory slot for most of those buffs.
Anyway Thievery is starting to get nutso damage-wise.
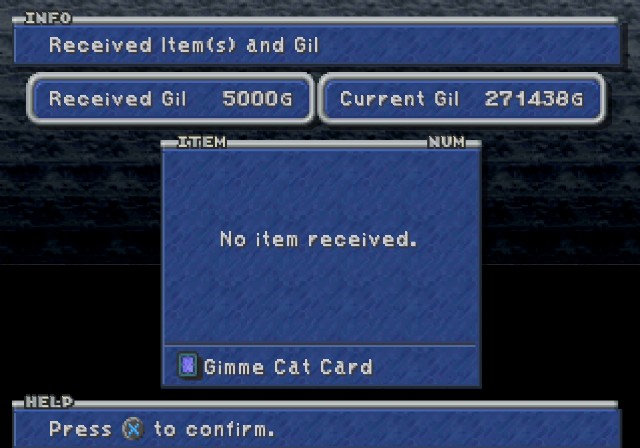
Apparently it drops the highest amount of money of any random encounter at 5000 gil. It's not too hard to beat-up, but at this point you can run the Cotton Robe trick as much as you want so there's no point in doing this.
Anyway, let's get back to the important stuff at hand.
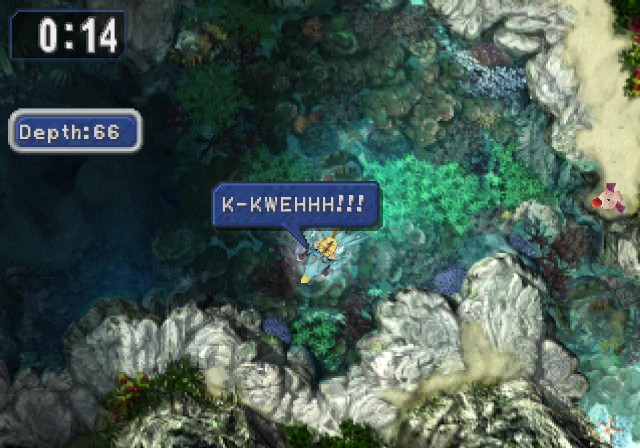
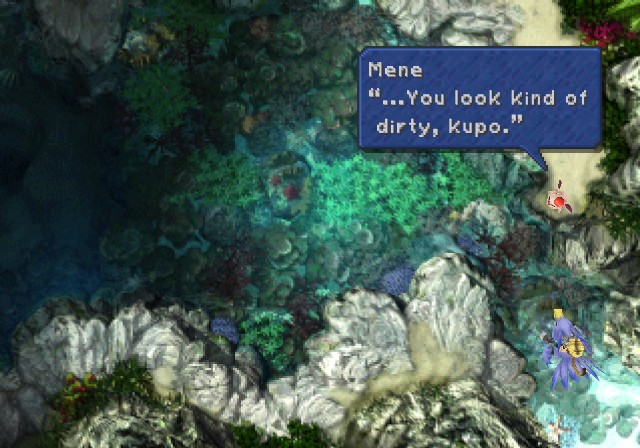
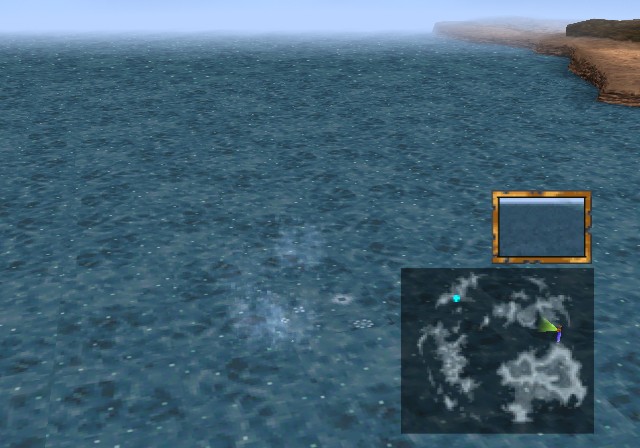
Welcome to Chocobo's Lagoon!
 I'm Choco's buddy, kupo! He knows what we need to do! Let's dig around some more, kupo!
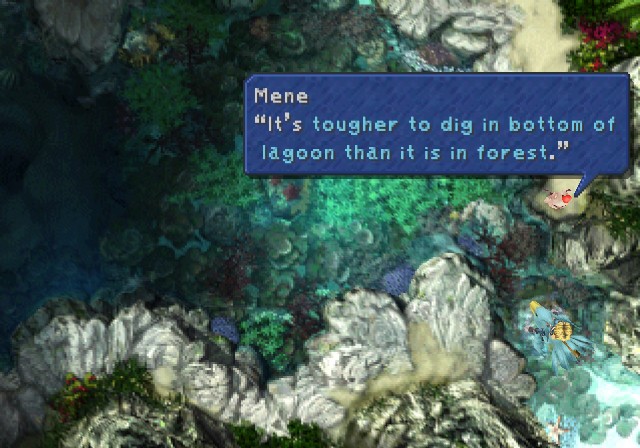
He isn't kidding. The depth for many of these items is around 60-80, or even 100 for stuff like Chocographs, and Choco can only do 10-12 damage per beak hit.
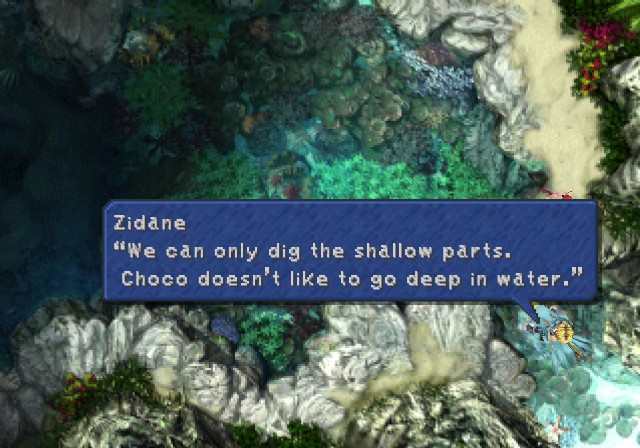
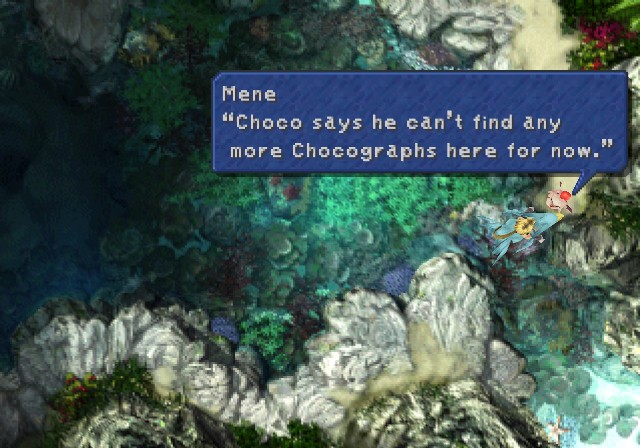
Also, Choco can't access the deep half of the lagoon yet, so we're basically restricted for now.
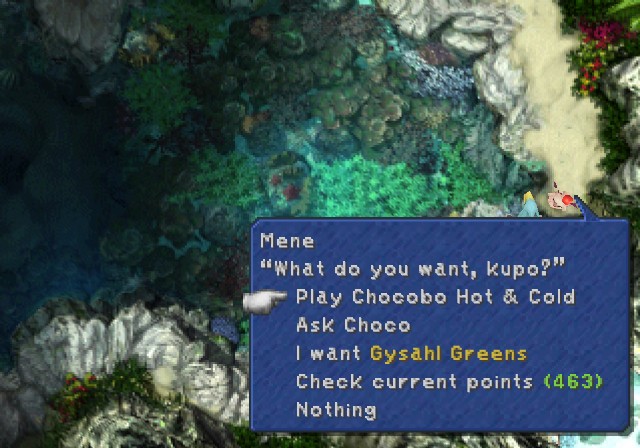
We can now ask Choco as an option, but all it does is let us access the menu and Chocographs.
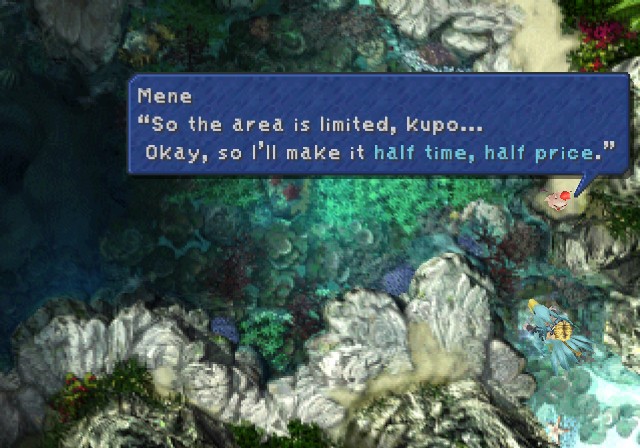
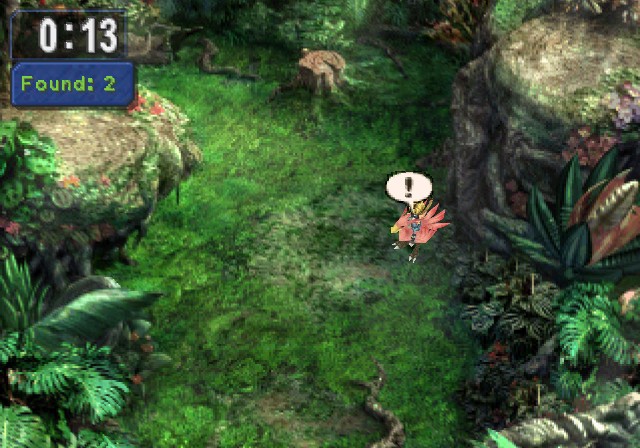
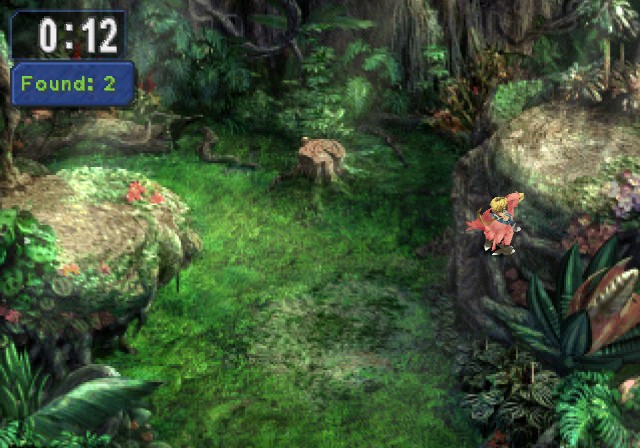
So yeah, other than things taking longer and having half as much time, it's the same as when we did this back in Disc 1.
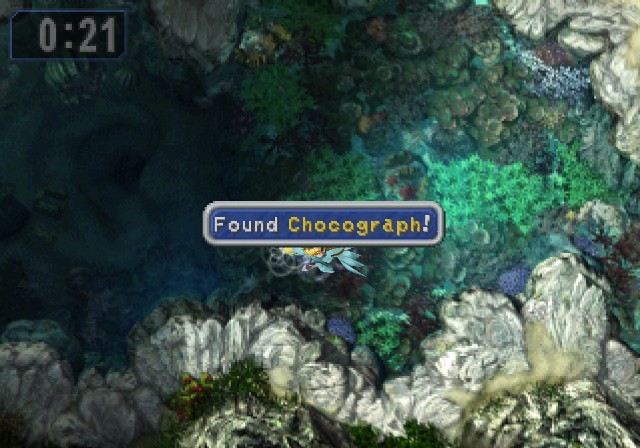
And of course, there's new Chocographs. I forget how many there are until you run out, but there's several.
I go until I clean the place out. Now it's time for the real fun!

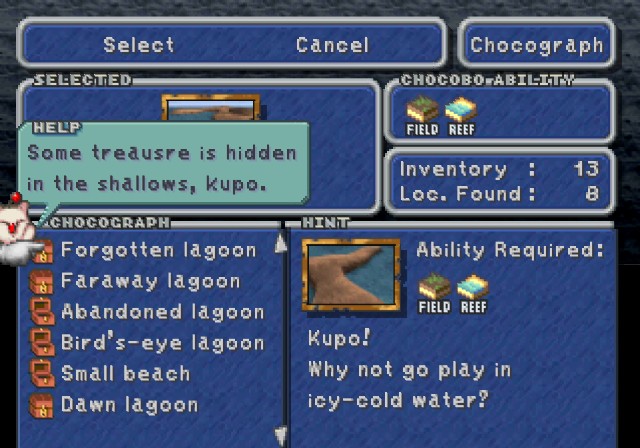
First off, this is one we got back in Disc 1. We couldn't access it before because it takes place in the Lost Continent. Otherwise, we don't even need the Reef ability for it.
It's pretty close to the southern beaches. Nothing too complicated.
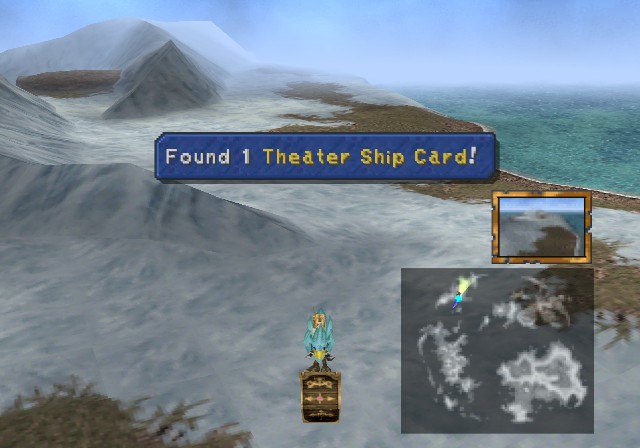
Which is fine because the rewards for this one suck anyway. 5 Echo Screens, 7 Hi-Potions, 3 Tents, and a Theater Ship Card. Big whoop.
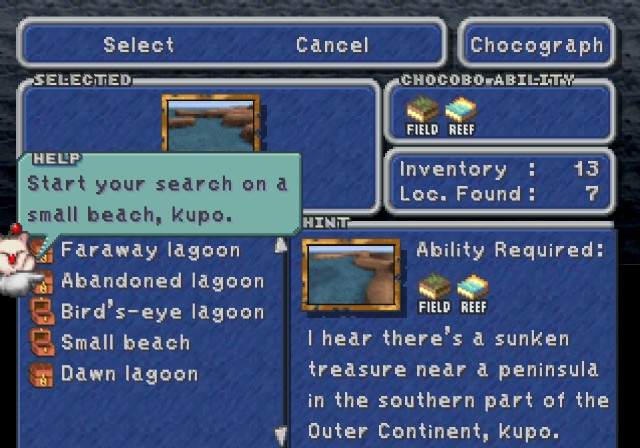
There's four with the reef ability we have access to now, one for each continent. We'll start with the Outer Continent.

To get this, we need to take the Blue Narciss to a southern beach just to the west of the one that gives you access to Conde Petie and the Qu Marsh there. We can't reach this Chocograph from the track on that area since the shallow water runs out. We have to go here instead.
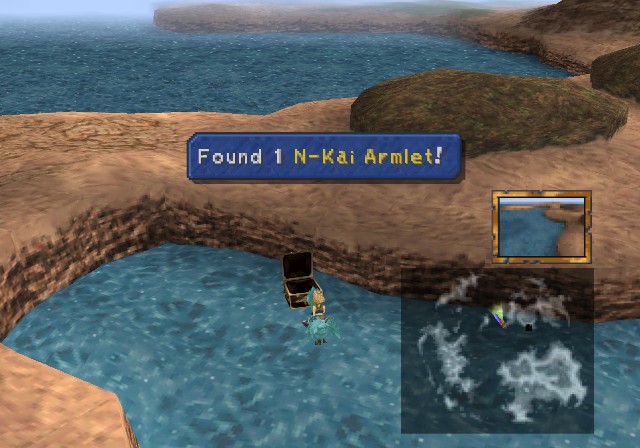
After that, it's a brief trek west until we find our loot.
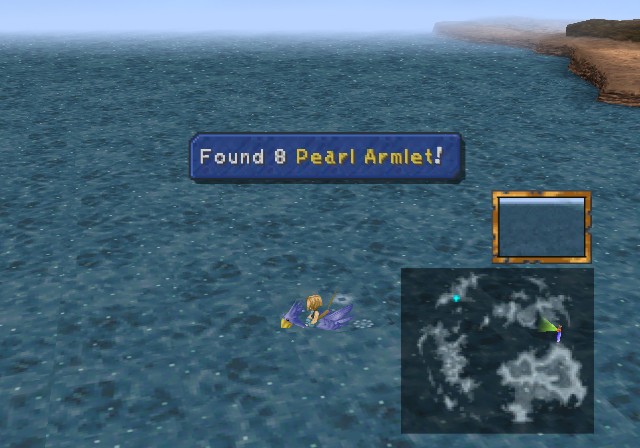
6 Softs, 4 Ethers, Feather Boots, and the N-Kai Armlet. This boosts spirit a small bit and teaches Bandit and Undead Killer, both old news. However, it also teaches the Water spell to Vivi, which is his strongest spell right now (a huge step up from Bio, twice as strong as Drain, only slightly weaker than the -aga spells he'll get soon), plus it's water-elemental, which is a pretty rare element to attack with. Nice grab.
The rare typo. As you may have guessed, this one is near the Lost Continent, though it's actually quite a march south from it. You'll get an idea once you see the map.
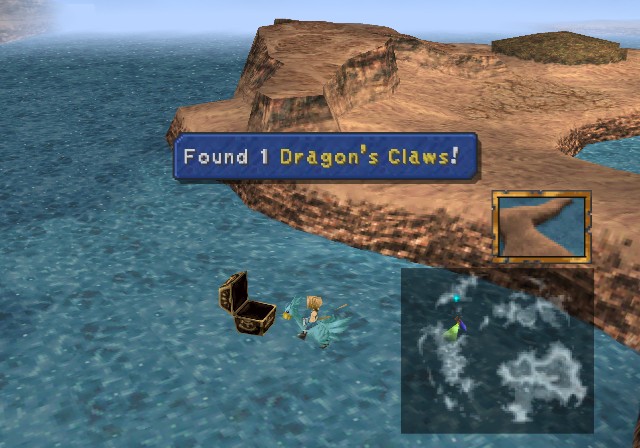
8 Gysahl Greens, 5 Ethers, 7 Hi-Potions, and Dragon's Claws for Amarant. They're water-elemental and teach Counter and No Mercy, a move that apparently simply does roughly 170% attack damage (before defense) for 12MP (while keeping the element of Amarant's weapon). It's kinda eh, though again it becomes multi-target when Amarant is in Trance. This is also one of a few items that is only found from a Chocograph.
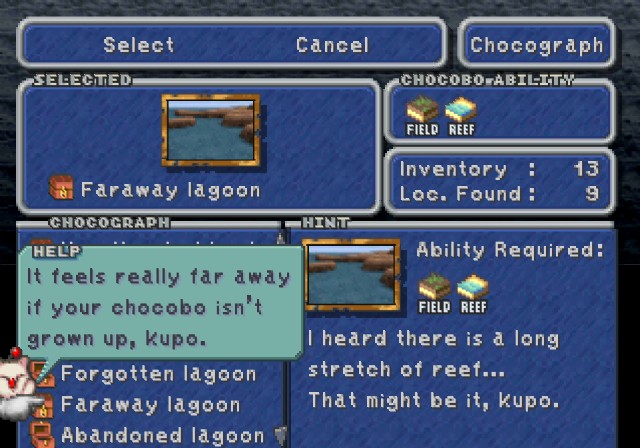
For this one, we land in one of the chain of islands south of the Forgotten Continent (the name of the southwestern continent, in case I haven't mentioned it yet) and make a decent walk to the north.
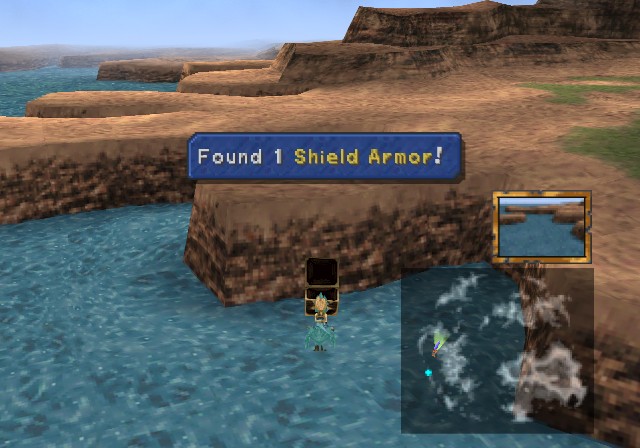
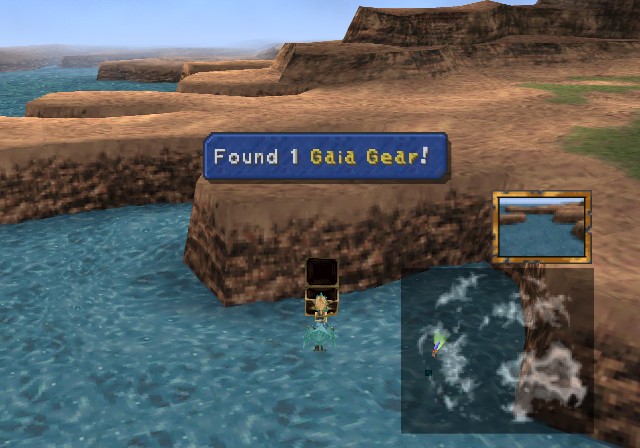
37 Potions, 6 Magic Tags, Shield Armor, and Gaia Gear. The Potions are kinda WTF. Anyway, Shield Armor is for Steiner and Freya, halving Fire/Ice/Lightning damage, boosting magic defense a decent bit, and teaching the Distract ability to help evade physical attacks. Everyone else gets the Gaia Gear, with both absorbs Earth attacks and boosts Earth attack damage. It teaches High Tide and Insomniac, again old news for both, but it also teaches Vivi Osmose, which lets him drain MP from enemies. Considering MP fuels his destruction, it's a very handy spell to have.
Last one we have access to now is in the outer edge of the Mist Continent, mainly right outside where Treno is.
Since we're starting to get stuff for Vivi, I swap him in so I can start gaining AP for him in the off chance I get into battles between walking to Chocobo tracks.
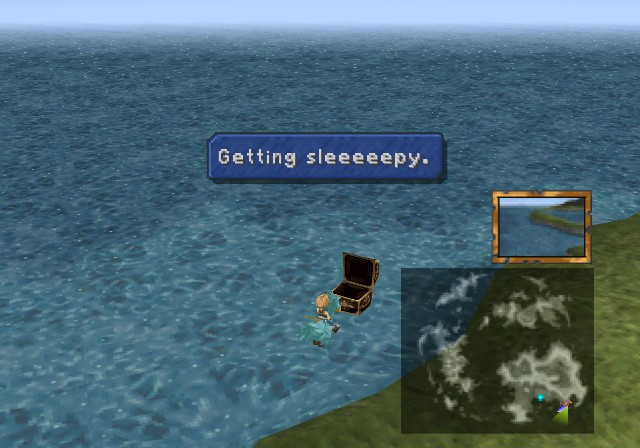
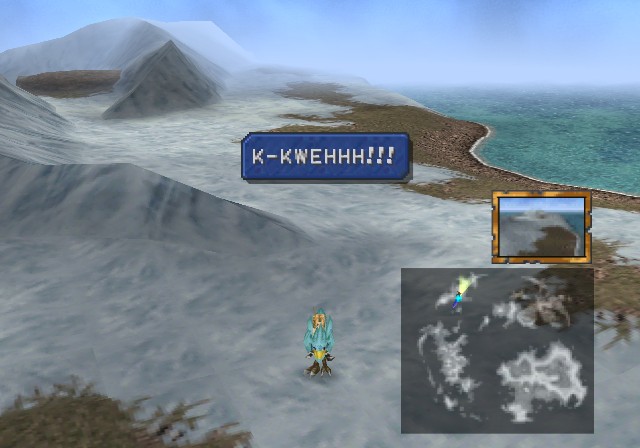
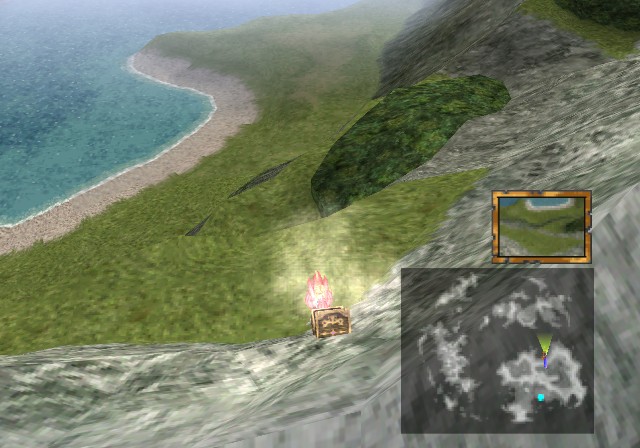
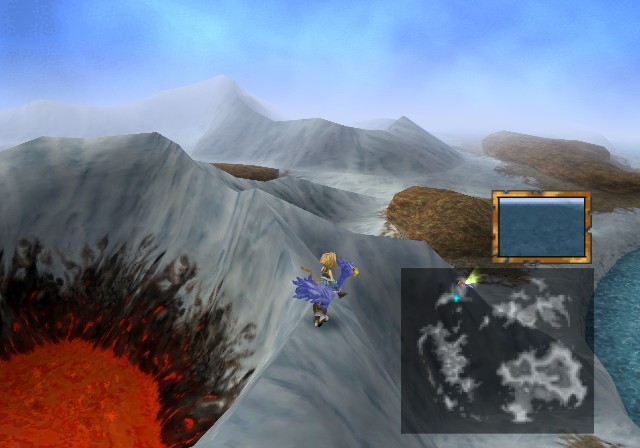
Since this is the last Chocograph treasure we can reach, it only makes sense it has smoke to knock us out.
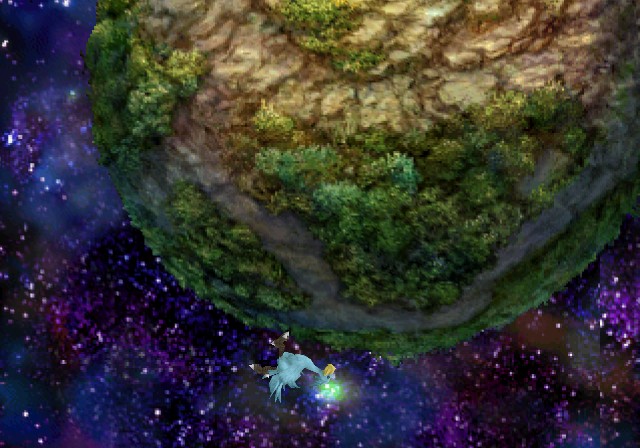
So it's time for another acid trip!
 Choco, you now have the ability to climb mountains!
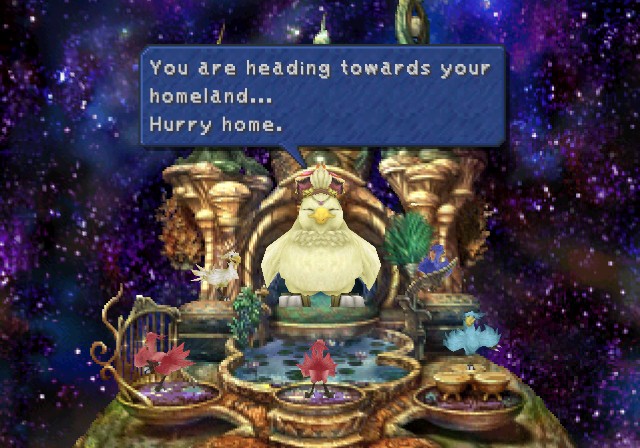
Choco can now climb any mountain, which makes moving around continents much easier.
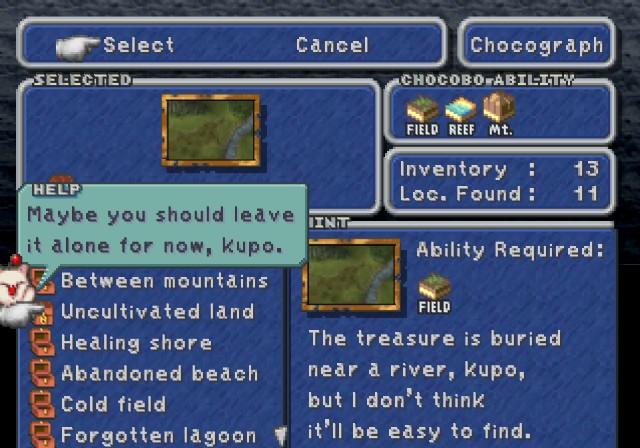
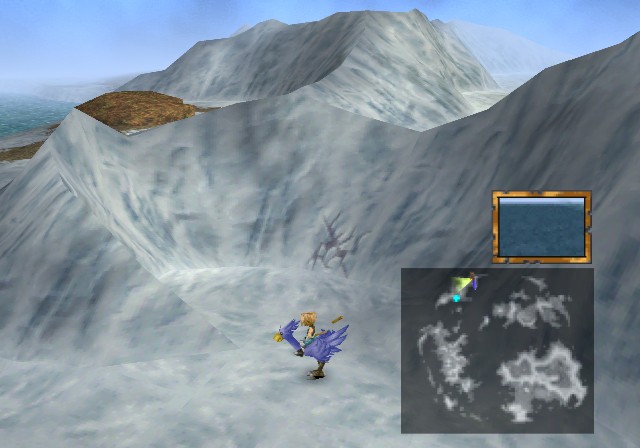
This one requires us to go all the way back to where the Evil Forest was. Technically we could get it without upgrades, but it'd be awhile longer before we'd be able to without the Mountain ability, so might as well put it to good use now!
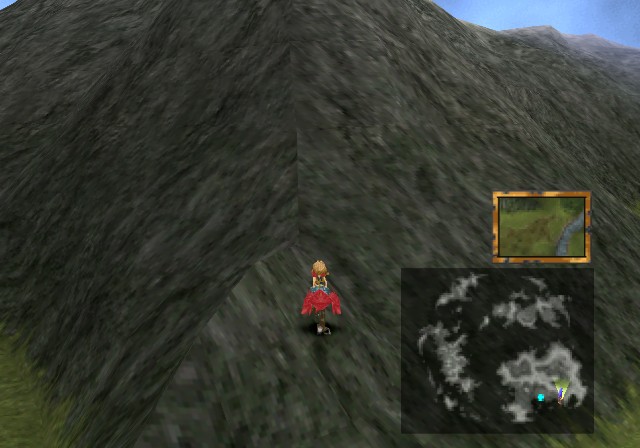
So yeah, we've pretty much got free reign on land now.
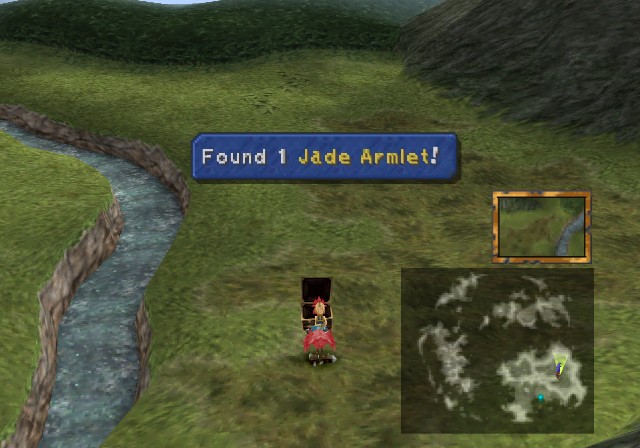
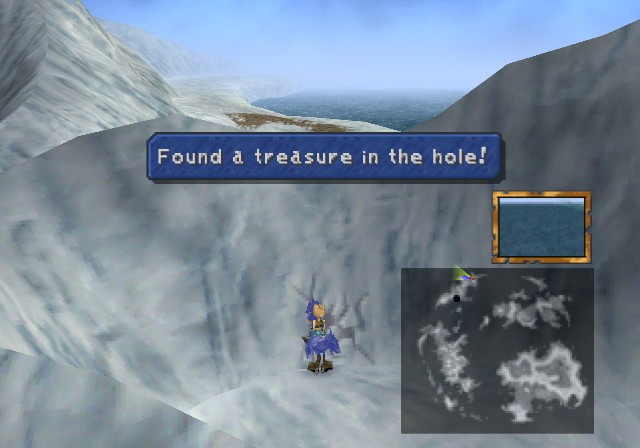
10 Antidotes, a Jade Armlet, 3 Wing Edges, and a Cargo Ship Card. Wing Edges are one of Amarant's throwing weapons, while the Jade Armlet boosts Holy Damage and teaches Body Temp and High Tide. Mainly useful for having the highest magic evasion of any bracelet in the game.
We're out of Chocographs now, but with the Mountain ability we can start digging more up at Chocobo's Forest.
Now we can move up to the ledges on the left and right. Treasure's usually not there so only use them as a last resort if you can't find them on the ground, since it takes a couple seconds to go up and down. Chocographs are still buried in the ground most of the time.
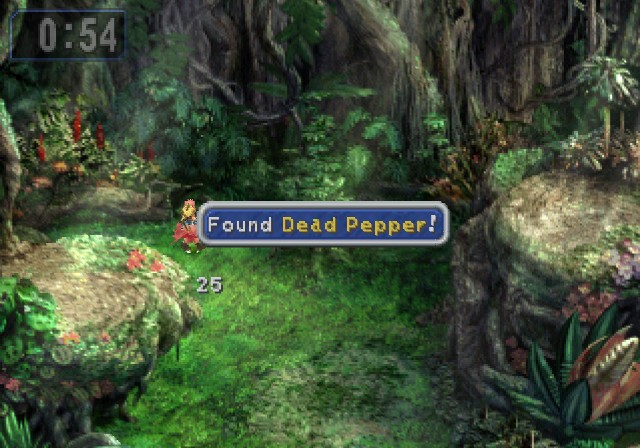
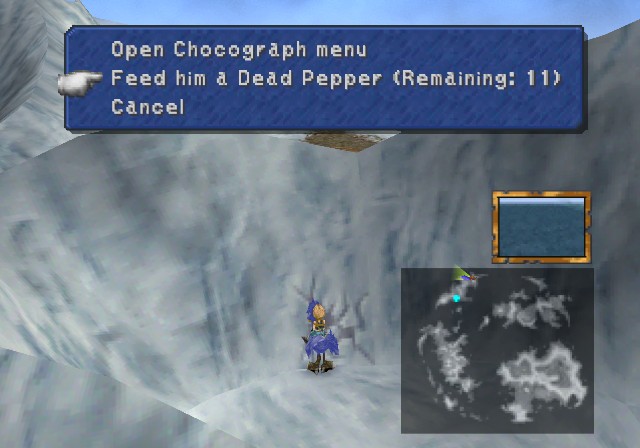
The Mountain ability unlocks Dead Peppers as a possible item to dig up.
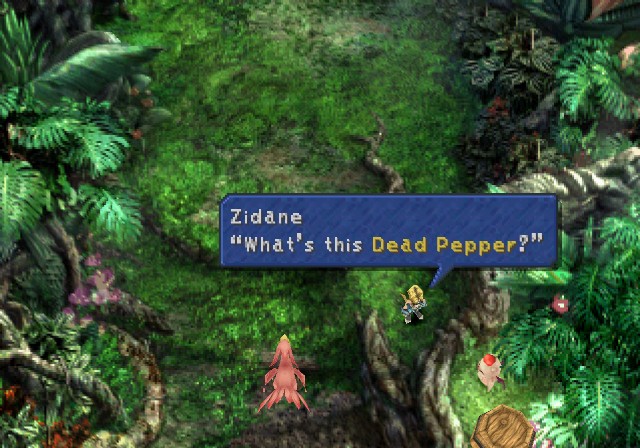 ...This is super-spicy pepper, kupo. It was precious seasoning long, long ago. The Mist wiped out plant that grows these peppers, though... You should keep it, kupo. It might come in handy.
It will, and I'll talk about them in a bit.
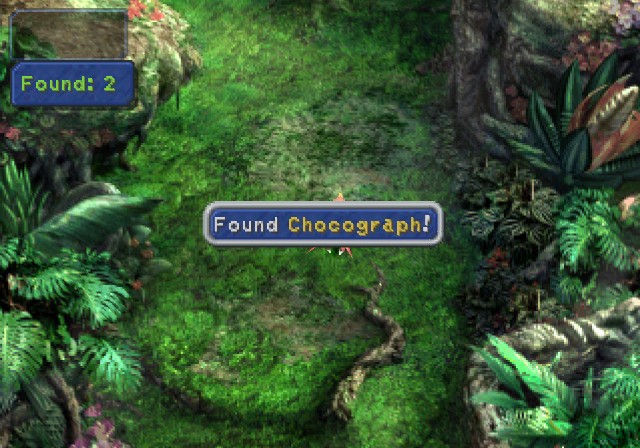
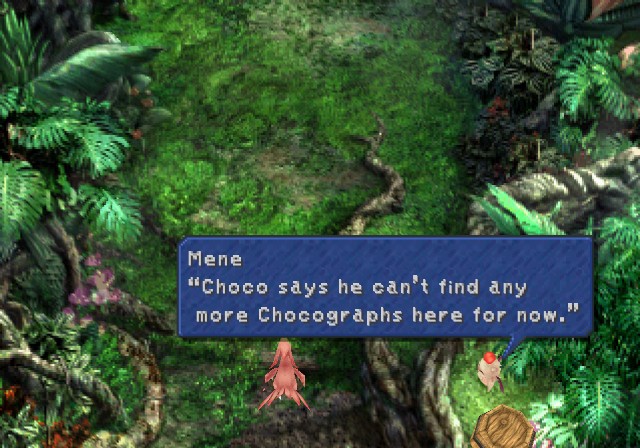
There's several more available now, and so I dig them all up. Time to get our loot!

There's only two we can make use of right now, though. The first is in this valley near Dali.
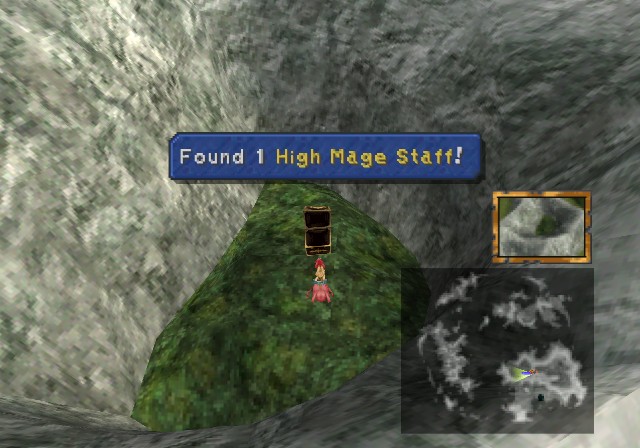
7 Ethers, 2 Elixirs, 10 Wing Edges, and a High Mage Staff. This is a wind-elemental staff that has a 15% chance of inflicting Silence as an attack. It teaches Osmose and Meteor. Meteor is the upgraded version of the Comet spell Vivi is learning with his current weapon, albeit Meteor affects all enemies and has a higher base power. However, both can miss (roughly 1/3 chance for Comet, Meteor dependent on target's Spirit) and do random damage, with the higher value generally not being too much higher than some spells.
Due to the damage formula for these (rather than using the regular formula of Base Power * (Magic + Small Random Variance), these use Base Power * (Random Number between 1 and (Magic + Level - 1))), level's more important for getting more damage with these spells. Then once you factor in their lowish base power for their randomness (Comet (56) is not a huge step up from Bio (42) and weaker than Water (64), while Meteor (88) isn't a huge step up from the -aga spells (72)), they end up not being as impressive as you'd want.
This is on one of the shelves on the north side of the continent, nearish to Burmecia.
This other chest has more bird drugs.
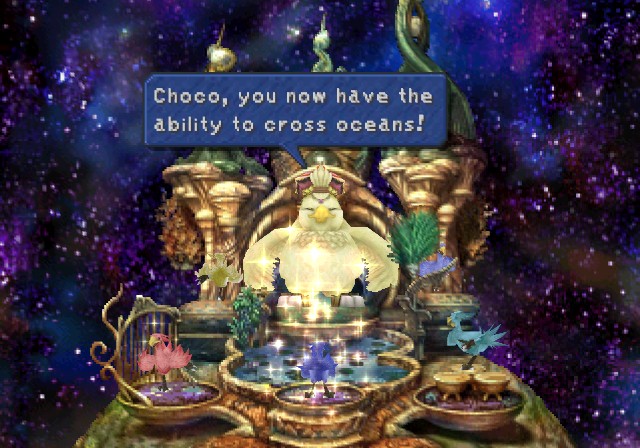
Choco has immediately upgraded again and can now cross all water types. It's mainly useful because now we can access all of Chocobo's Lagoon, and also since it makes travelling in water for Chocographs much less of a pain in the ass.
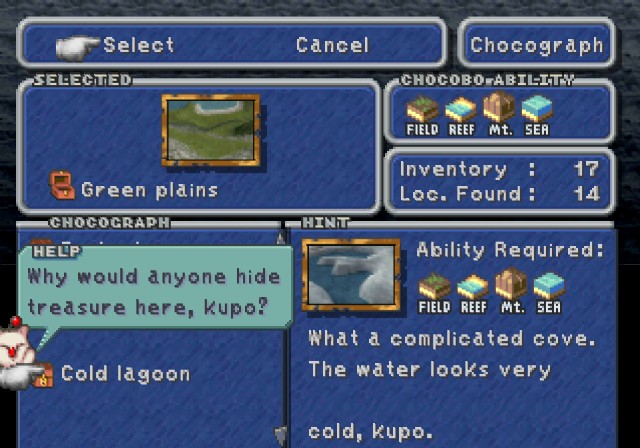
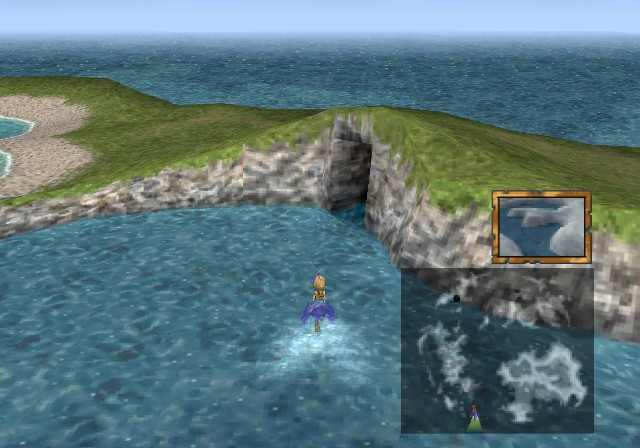
Here's one we can now get with Ocean. It's in the northern area of the Lost Continent.
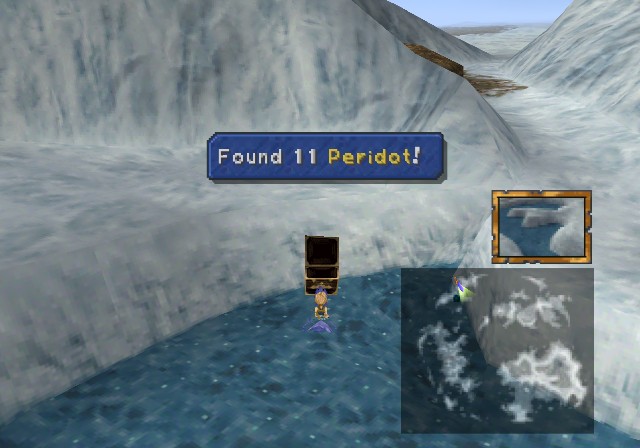
11 Peridots, 9 Opals, 15 Sapphires, 19 Topazes. Nothing special, but they do buff Dagger's summons a bit, which would be nice if we were actually going to use her "50% chance to do nothing" ass.
Nothing else we have can be gotten now, so let's get more from the Lagoon.
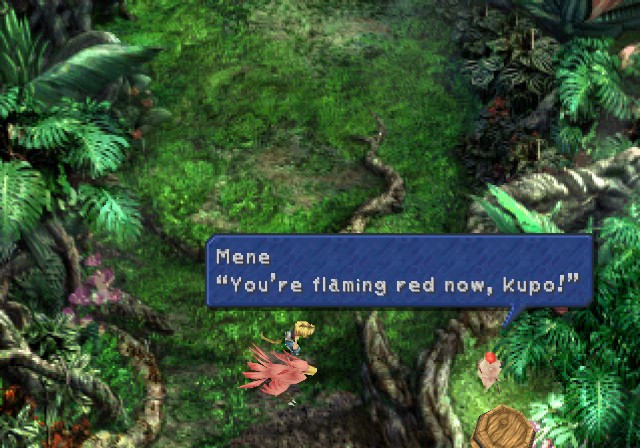
 Kwehhh... Did I hurt your feelings? I'm sorry, kupo. Well, it doesn't matter what color you are, kupo. You're still my Choco!
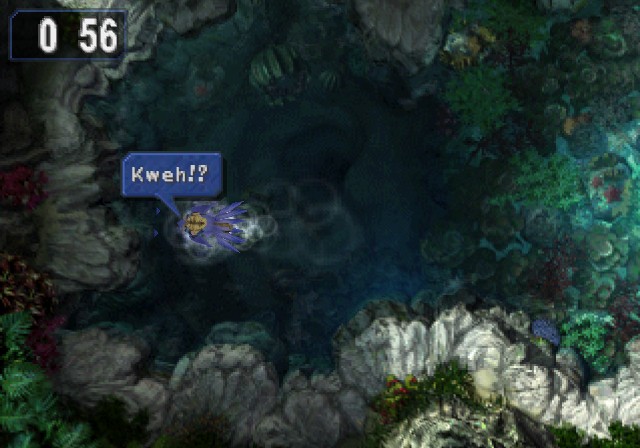
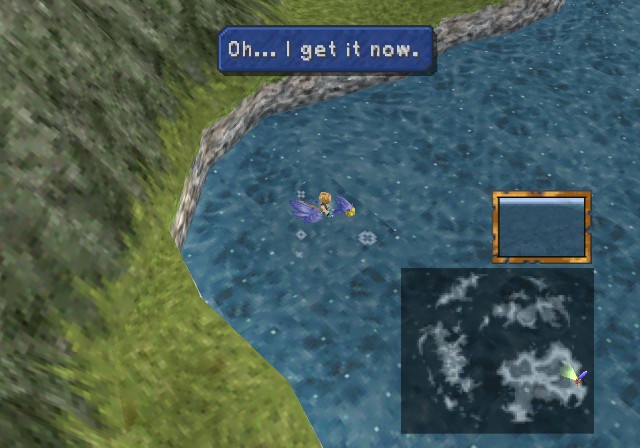
Here's Choco in the deep end of the kiddie pool.
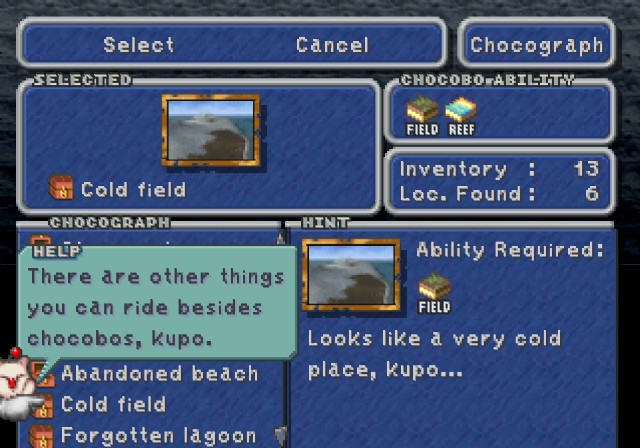
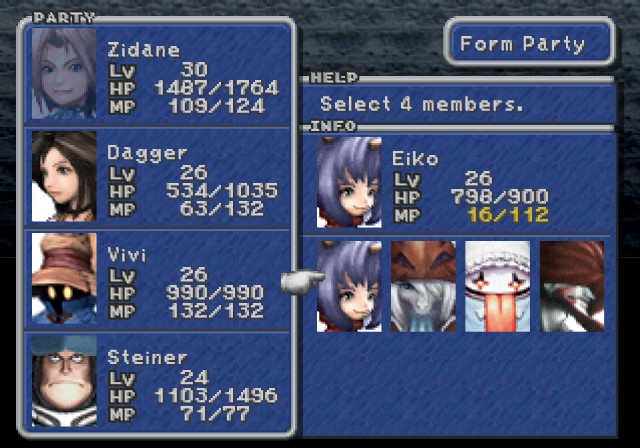
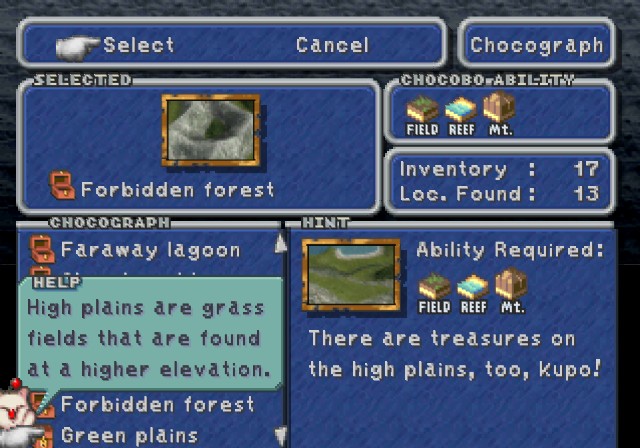
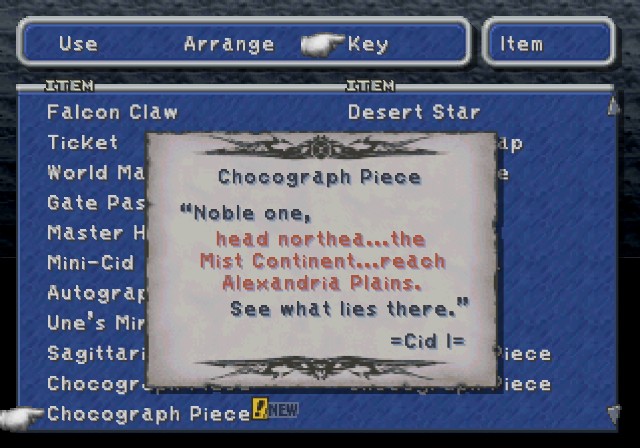
At this stage, you have a max of four out of six Chocograph pieces. Two in Disc 1, the third in Disc 3, and the fourth in the Lagoon. Let's look at what we have so far.
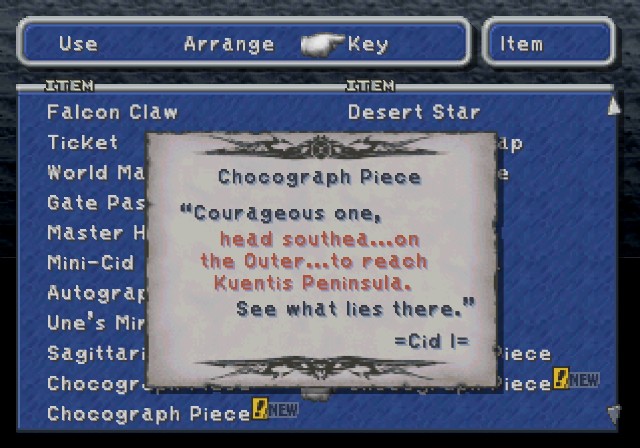
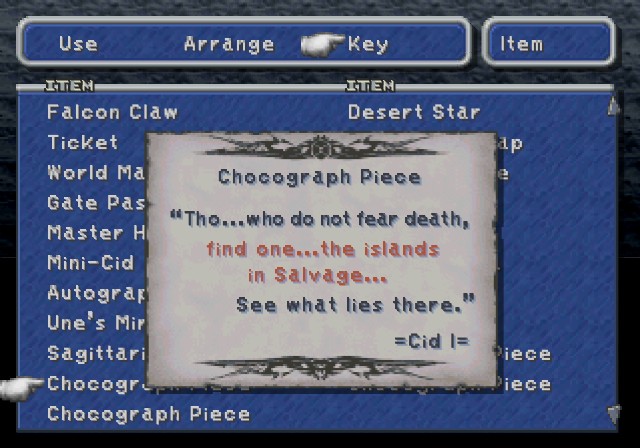
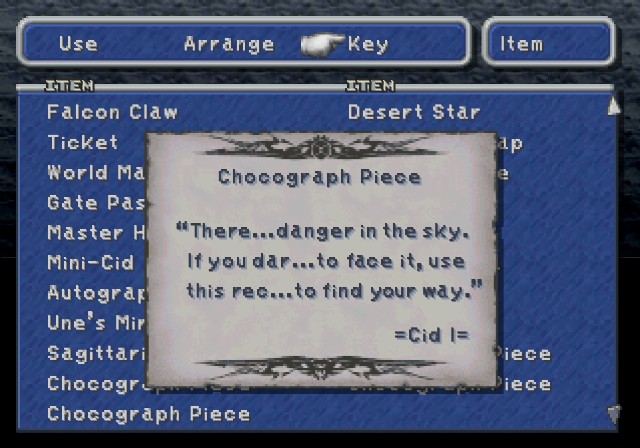
Alright, then. We won't get the other two until we advance the plot a bit, so they'll have to wait. We can still get other Chocographs, though!
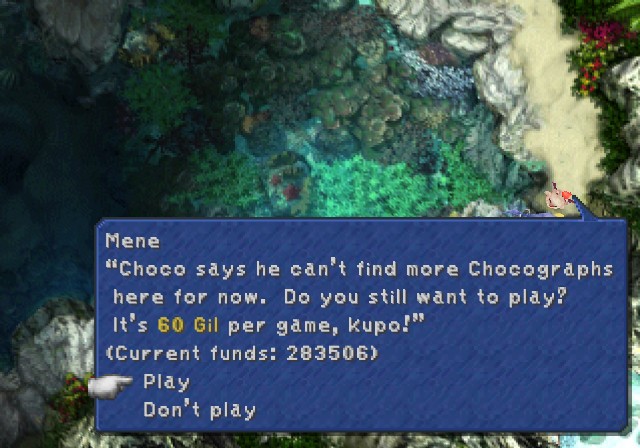
And we do. That's all the Chocographs we'll be finding this update, so might as well grab what we can now!
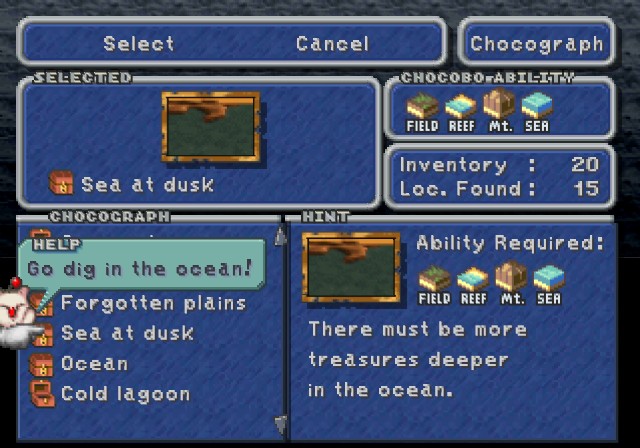
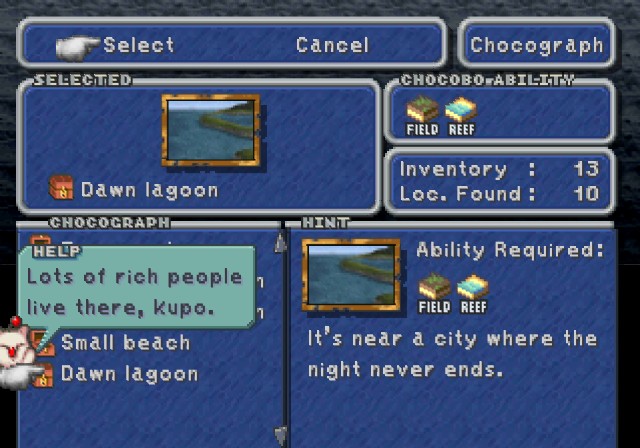
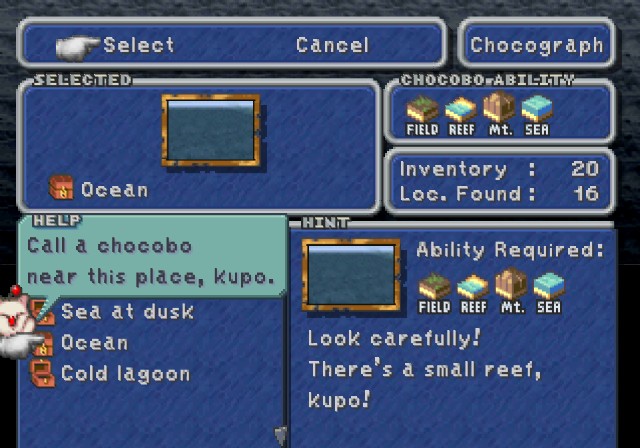
This clue isn't helpful. The name is actually the most useful part here, as anytime you get near the Forgotten Continent it always appears to be dusk. Thus this is around the Forgotten Continent somewhere, and rather than waste time going around the entire thing looking for this, I'll tell you it's in the center area of the eastern coast.
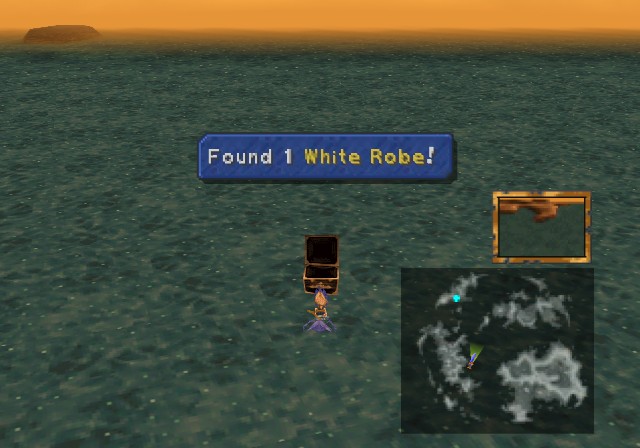
15 Phoenix Pinions, a White Robe, a Diamond, and a Masamune card. The White Robe for Eiko and Dagger boosts Holy damage and teaches Auto-Potion, Loudmouth, and for Eiko a little ol' spell called fucking Holy. Holy is usually the ultimate White Magic spell in this series, and it certainly is here as well. It does huge damage and will definitely be a huge asset for Eiko once we start using her again. Definitely one of the highlights so far.
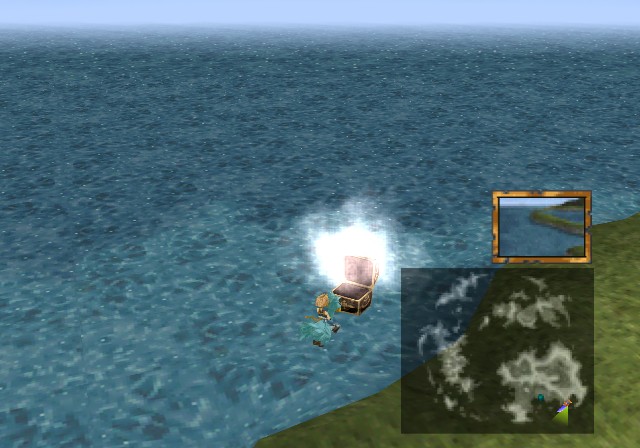
Yeah, good luck finding this one normally. It's near one of the islands in the archipelago to the west of the Forgotten Continent.
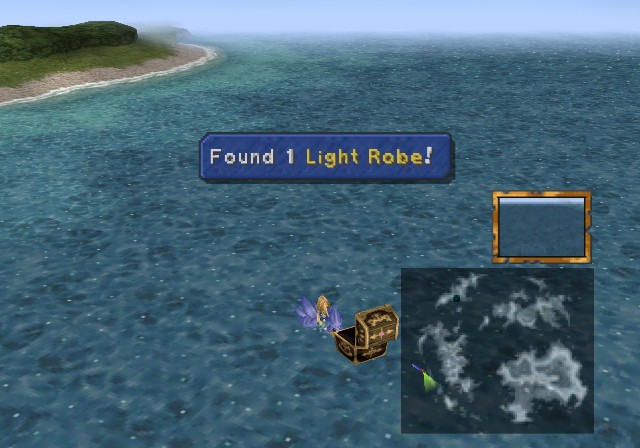
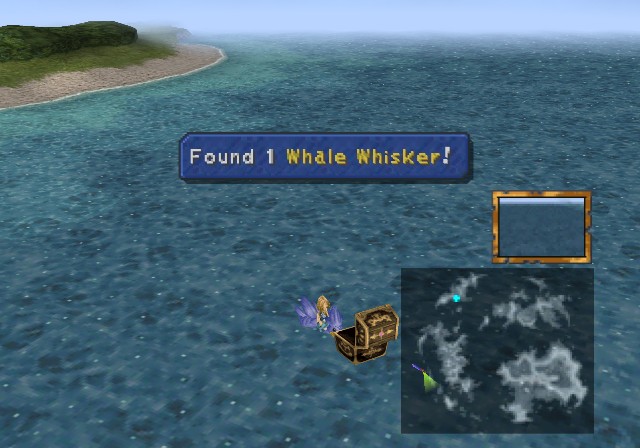
27 Ores, a Light Robe, a Whale Whisker, and the Alexander card. The Whale Whisker is Dagger's strongest rod weapon, mainly special because it teaches Dagger Curaga and Life. Meanwhile, the Light Robe for our four mages boosts Holy and Shadow attack and teaches the very valuable Auto-Regen, Half MP (halves MP cost of all spells), and for Eiko Full-Life, which revives a character with full HP. It also happens to be the second-best robe in the game defense-wise. Again, we're really getting to the good stuff here.
And actually, that's it for Chocographs. There are three we can't get right now, one on a remote island with no beaches, and two are on the Forgotten Continent, which has no beaches either. We'll have to leave those for now.
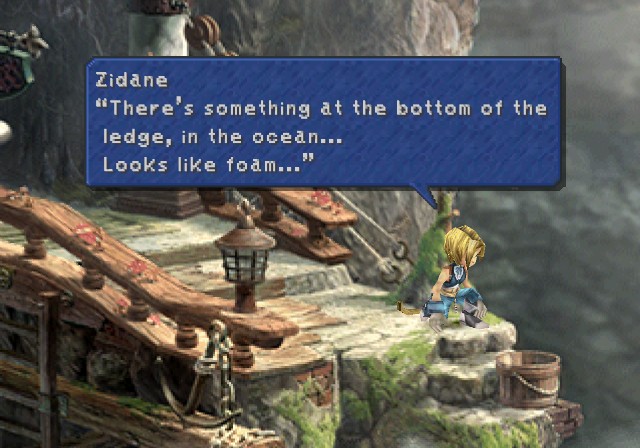
However, that doesn't mean we're done collecting treasures yet! We don't get clues for these until later on in the Hot & Cold quest line, but there are spots we can go to where we can use Dead Peppers to get treasures.
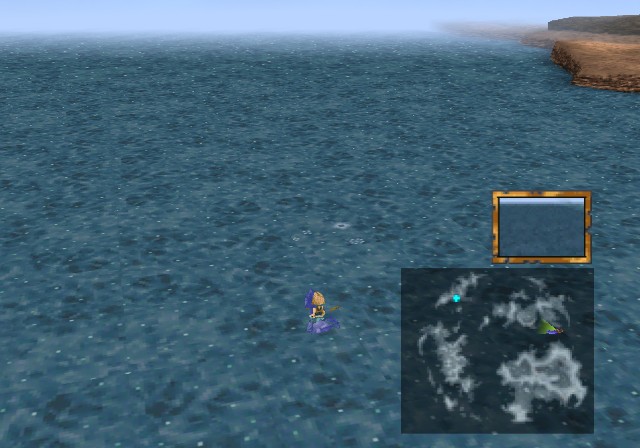
There are several cracks like this one around, for instance, though this one is the only one we can reach right now.
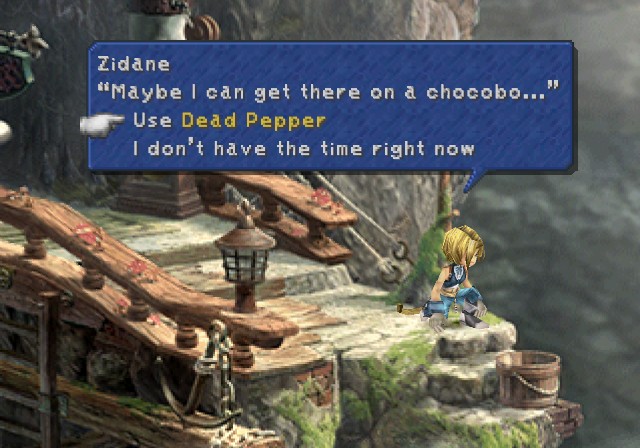
Once you have Dead Peppers, you can use them to attack these cracks and get the treasures within.

And there we go.
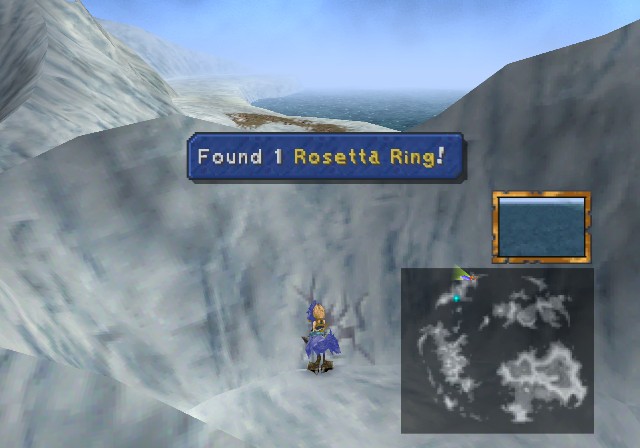
41 Lapis Lazulis, a Rosetta Ring, a Protect Ring, and a Airship Card. The Rosetta Ring absorbs Fire magic and teaches some rather interesting abilities. Level Up is obvious, while Concentrate boosts the amount of HP Dagger and Eiko's Cure spells recover by 50%, while also boosting the HP restored from Life and Phoenix (and also Full-Life apparently though it's kinda moot there). Reflectx2 is an ability only Vivi can learn, and with it whenever Vivi bounces a spell off a target with Reflect, it ends up dealing double damage. In earlier FF games you could do more damage bouncing a spell targeting the entire party off their Reflect statuses to do more damage to enemies, and this ability just makes that strategy even more nuts. It's actually pretty damn nice if you put in the effort this requires to set up.
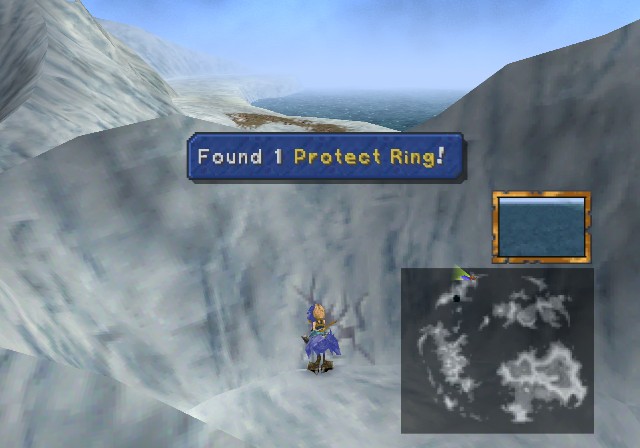
The Protect Ring is the most defensive ring, halving all elemental damage, and it also has some interesting abilities. First off, it has Half MP from the Light Robe. Long Reach lets characters attack for full damage from the back (and front) row, and also lets them attack targets out-of-reach (though this latter part hasn't really been an issue yet and probably will never be). Mag Elem Null renders all spells cast by Vivi to have no element. It's...not really worth it since elemental weaknesses are still pretty nice to hit, and we'll usually have other options anyway to get around this, including one we'll get in a minute.
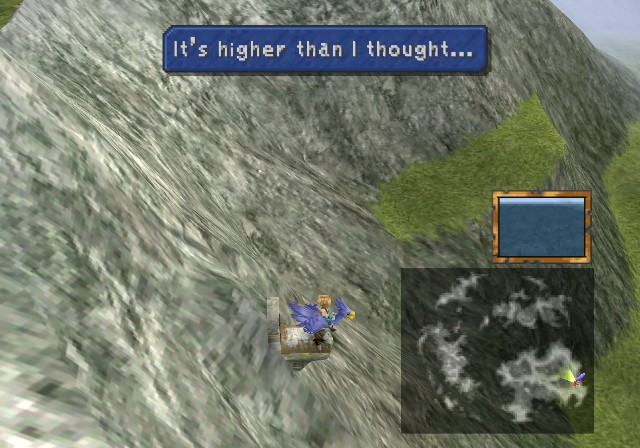
There are five dive spots we can use Dead Peppers on, though only four are available right now. The last one can only be gotten on Disc 4.
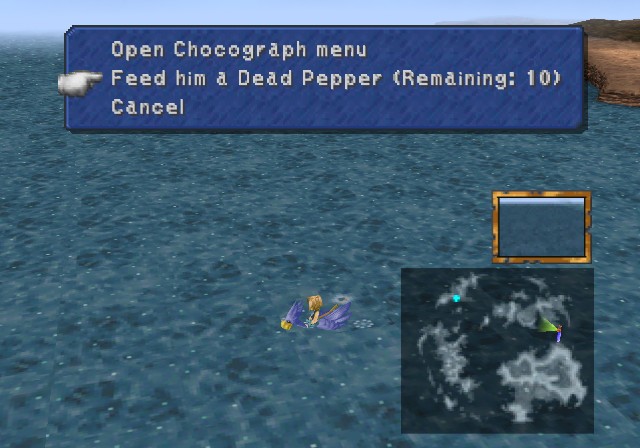
As before, feed Choco a Dead Pepper to access the treasure.

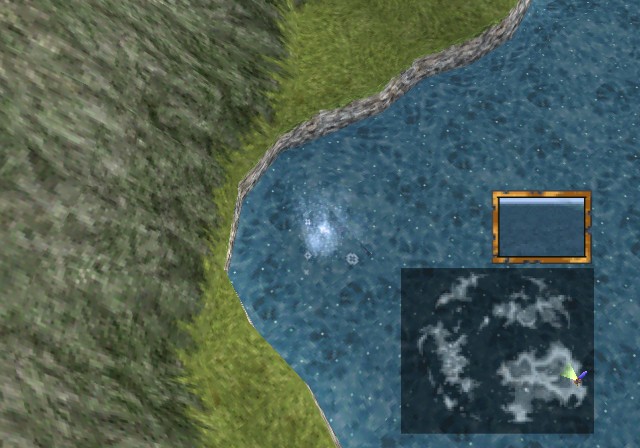
This is south and a bit east of the Outer Continent's southern coast.


This particular spot is a neat gimmick more than anything useful. As most of you probably know, this game was developed in Square's Hawaii studio, and this gear is a nice nod to that. It's not useful in any capacity, but if you want your party to be decked out in vacation gear and to kick back and relax, this is the way to do it.
Of course, we're missing a shirt, but unfortunately that'll have to wait until Disc 4.
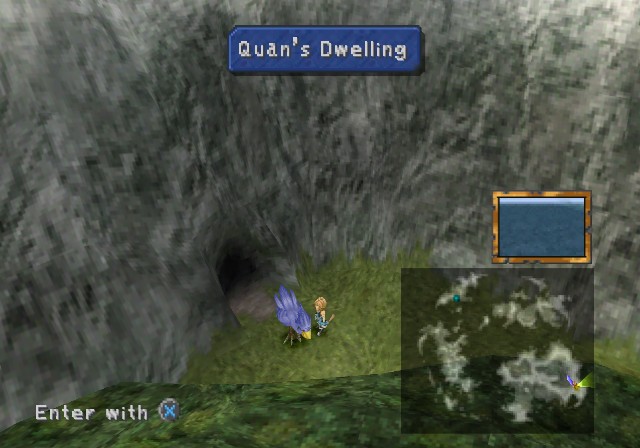
The next dive spot is actually best gotten at Quan's Dwelling.
Remember this spot?
It's actually a dive spot for treasure. You could get it from the actual spot here rather than from Quan's Dwelling, but apparently there's a low success rate doing it this way.

9 Ores, 15 Topazes, the Tiger Racket, and the Red Rose card. The Tiger Racket is the ultimate racket, though all it teaches is Dispel to Eiko. Better for its offensive capabilities, honestly.
Alright, then.
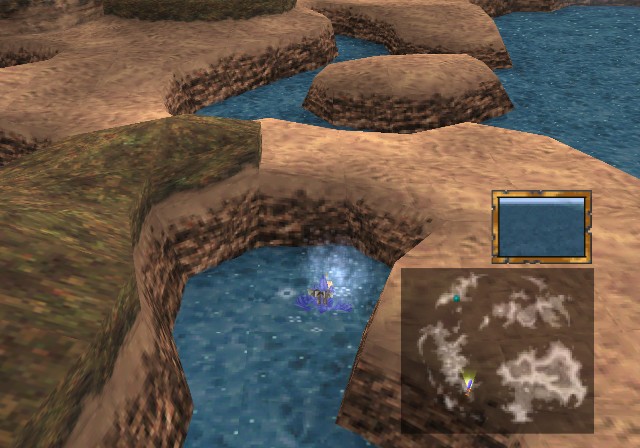
Next is this spot in the southeastern area outside the Forgotten Continent.
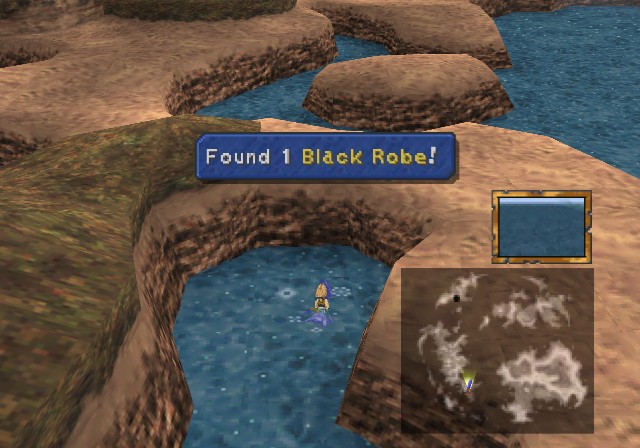
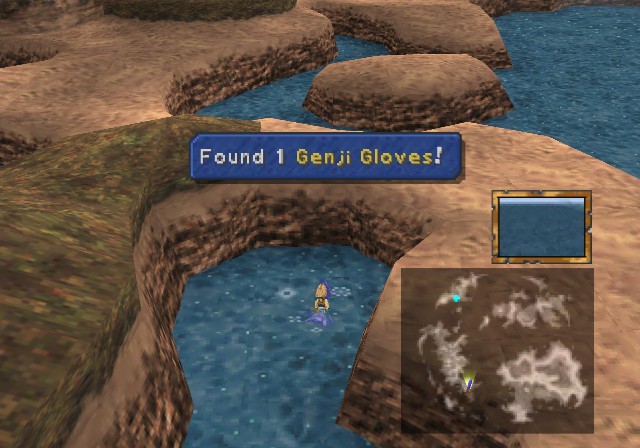
10 Remedies, a Black Robe, Genji Gloves, and the Blue Narciss Card. The Genji Gloves are gauntlets for Steiner and Freya that teach High Tide. Mainly useful for their nice evasion bonus. The real grab is the Black Robe for Vivi and Quina, though only Vivi can make use of its abilities. In addition to MP +20% and Reflectx2, it teaches Vivi his ultimate single-target spell, Flare. It's non-elemental and his most powerful spell as far as base power goes. If the enemy doesn't have an elemental weakness, it's pretty solid as a go-to spell and a fantastic get for this stage of the game.
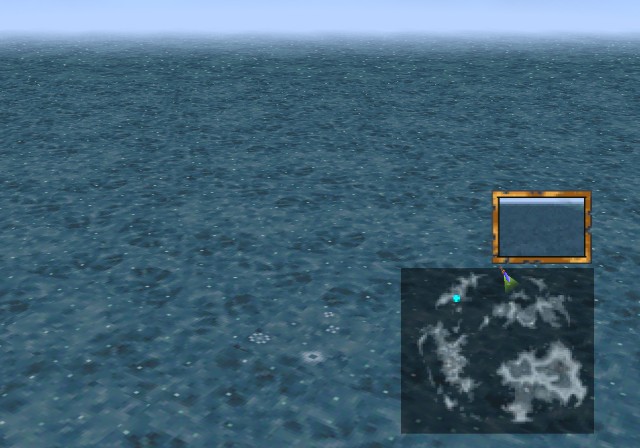
The last spot we'll access basically meets the arc of the two peninsulas sticking out the northern shores of the Lost and Outer Continents.
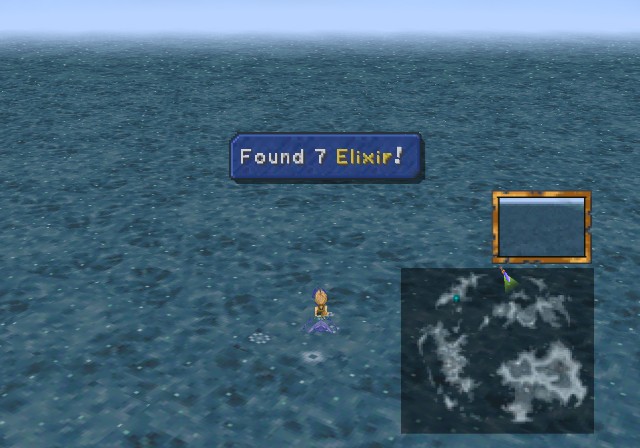
And after all the great shit we've gotten today, it's also pretty anti-climatic. 50 Potions, 25 Hi-Potions, 9 Ethers, and 7 Elixirs. That's it.
Yeah, I'm saying "That's it" to 7 Elixirs but I'm fucking spoiled now.
And that's everything we can do for now involving Chocobo Hot & Cold! Once we do some more plot stuff we can continue it further. Don't worry, it won't be nearly as large a gap as it was between Disc 1 and now.
Next time, we'll finish up side stuff by revisiting Alexandria and a few other areas. Then we'll finally get back to the plot.