Part 63


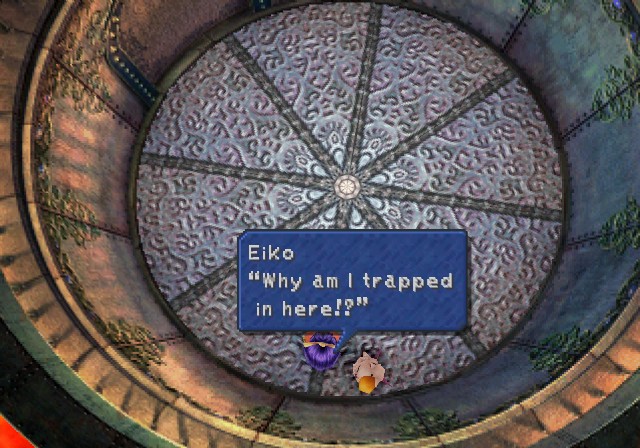
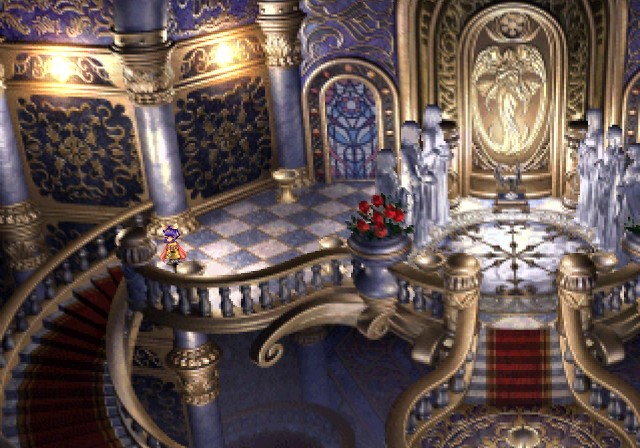
 This is no way to treat a lady!
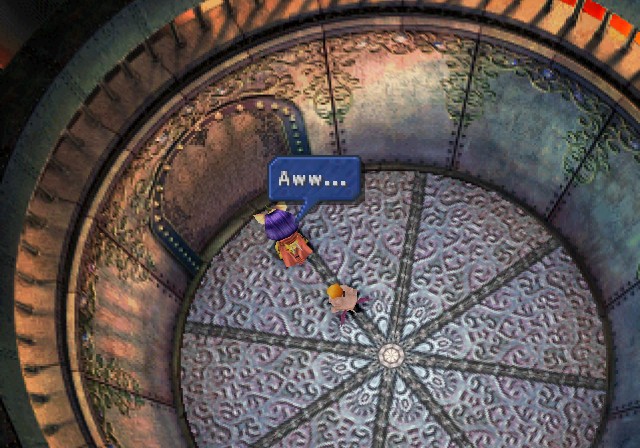 I hope Zidane and the others are alright... I'm sure they'll come back for me.
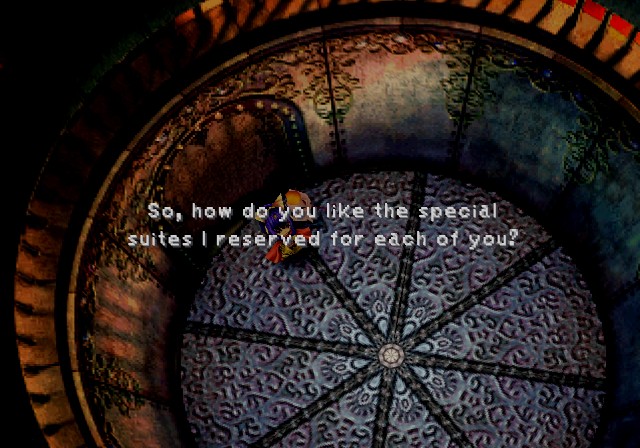
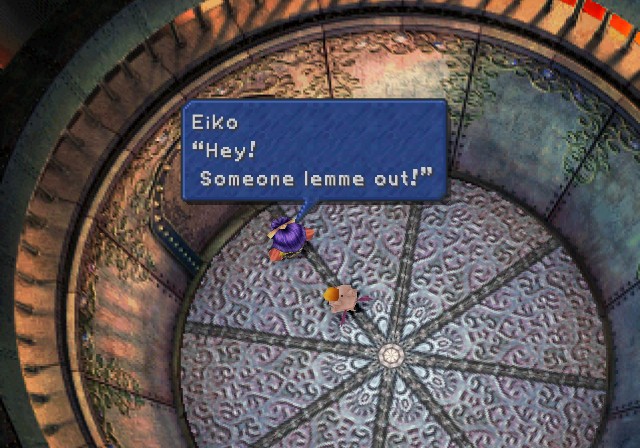
 By the way, Zidane is out running an errand for me in return for your safety. But I hate keeping promises...
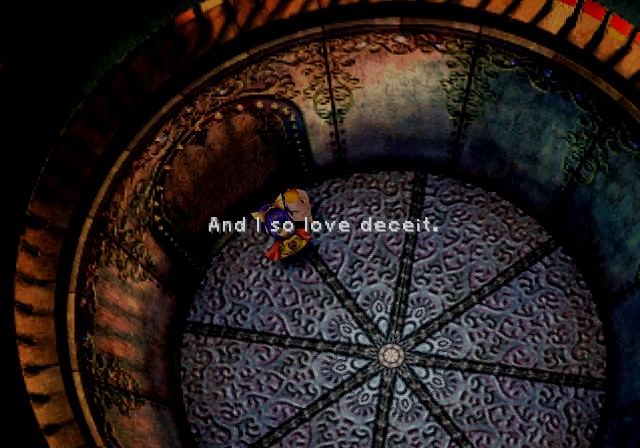 So, I thought I would give you a special death to remember me by.
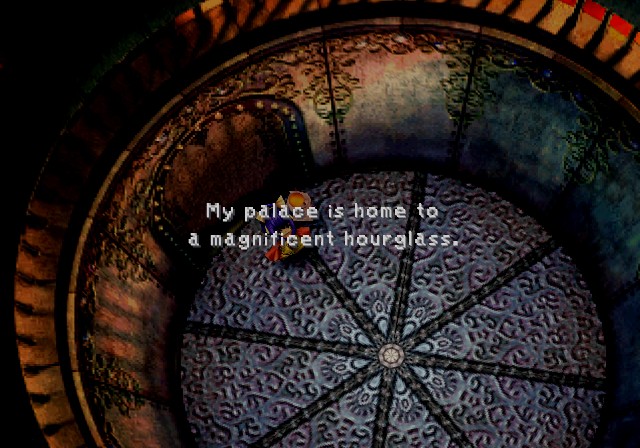 As its sands fall, the floors of your rooms slowly open. Well? Isn't it a fabulous idea?
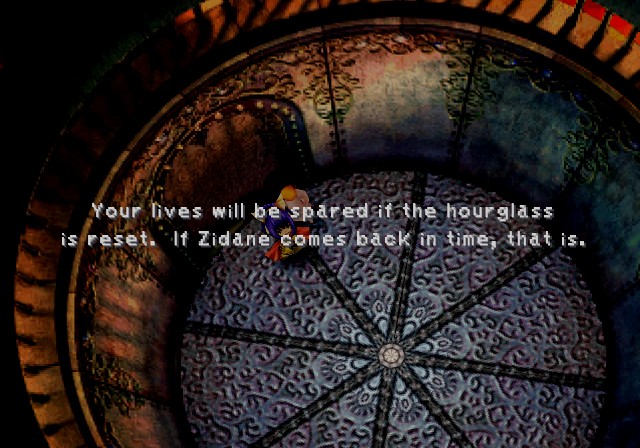 Oops, just ten more minutes. Better start praying.
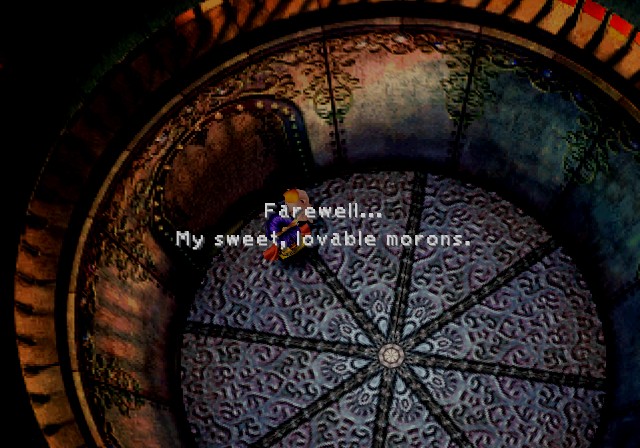

-----
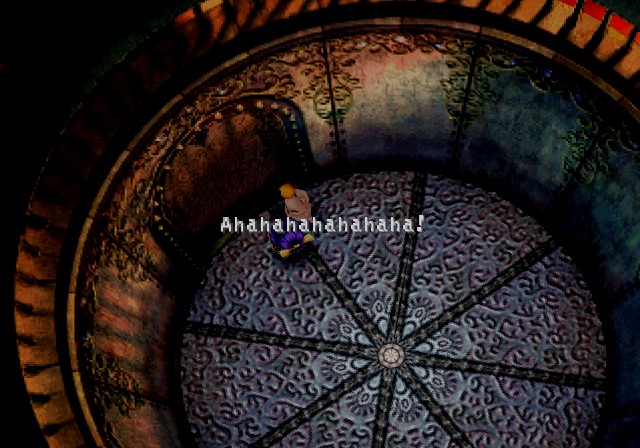
 Ahahahahahahaha!
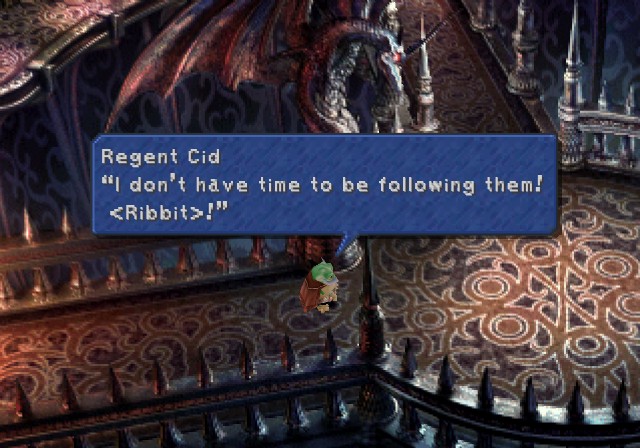
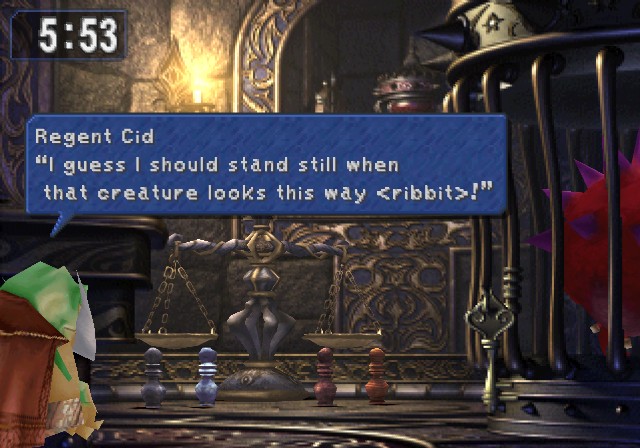
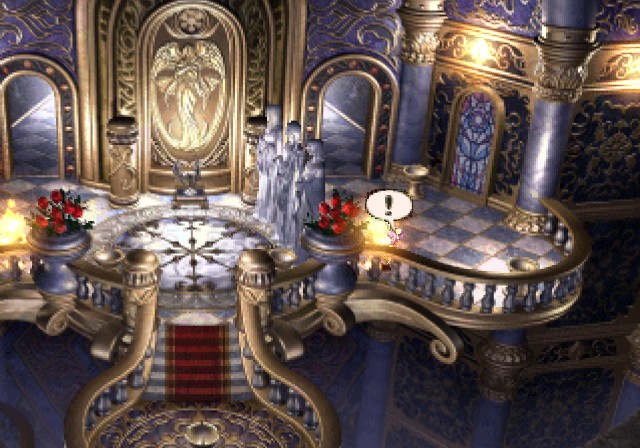
 That does it <ribbit>! If I don't save them, no one will!
 I reset the hourglass and locked it just because I was ordered to.
 Wait. Isn't that better than to stop functioning? ...... C-Come on, let's go back. Turning off that trap again? I still don't understand how you do it.
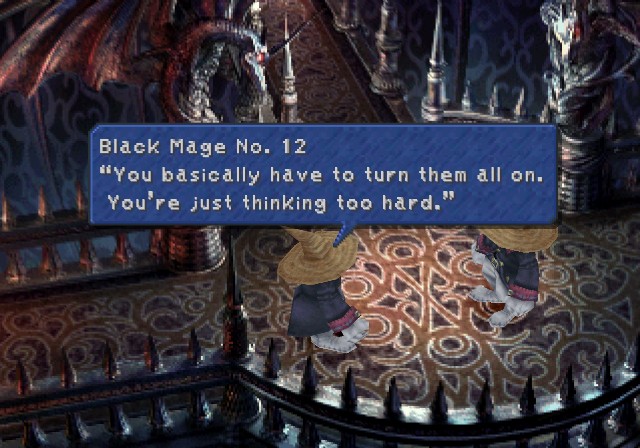 Let's go.
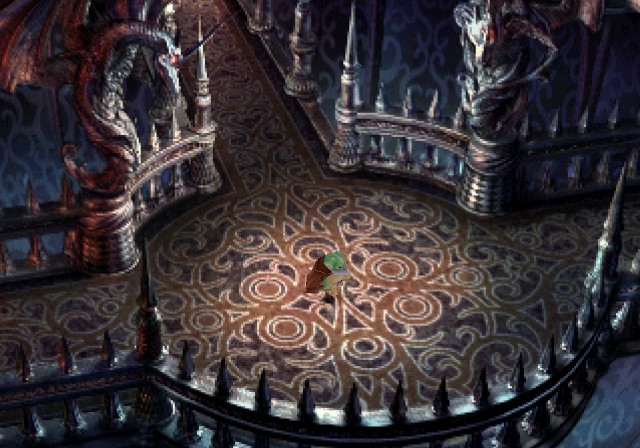
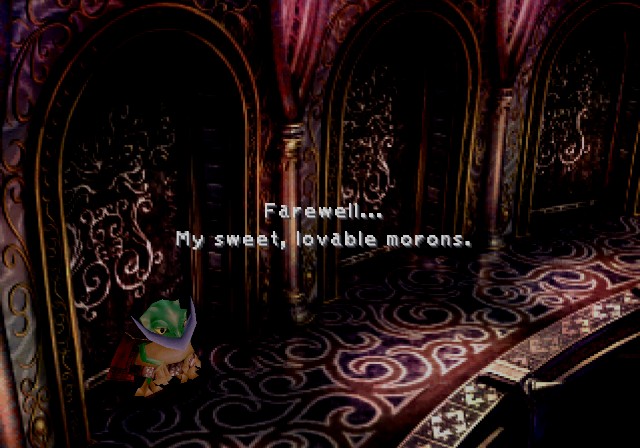
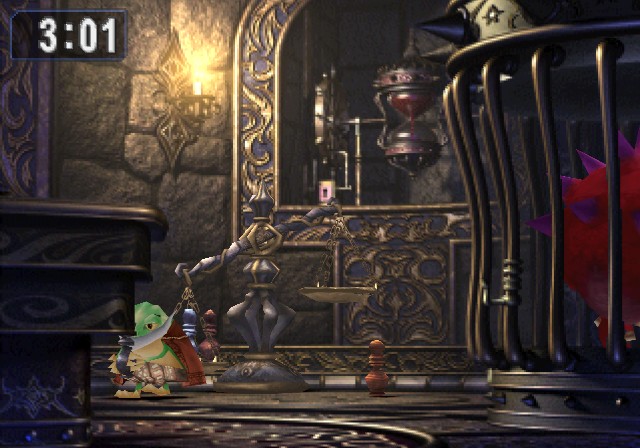
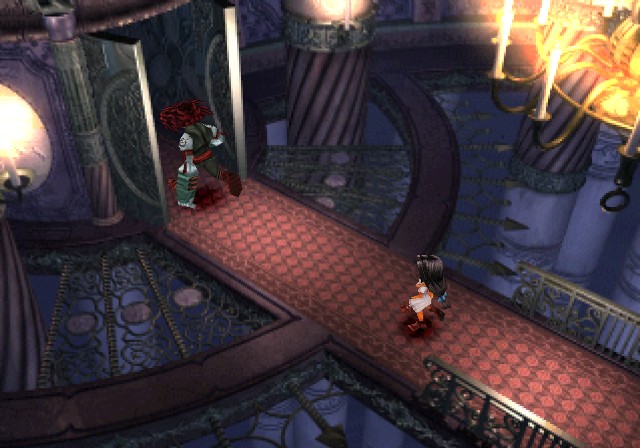
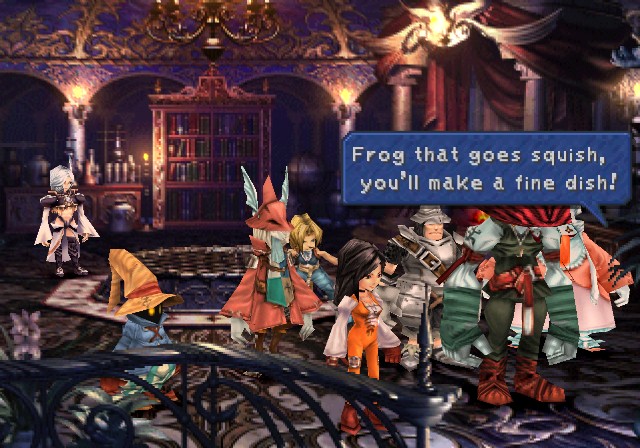
At this point on, we're playing as Cid. Yes, we're playing as a frog. The usual fare for a Final Fantasy game.
So we need to head east to begin a rather delightful minigame, complete with fantastic music.


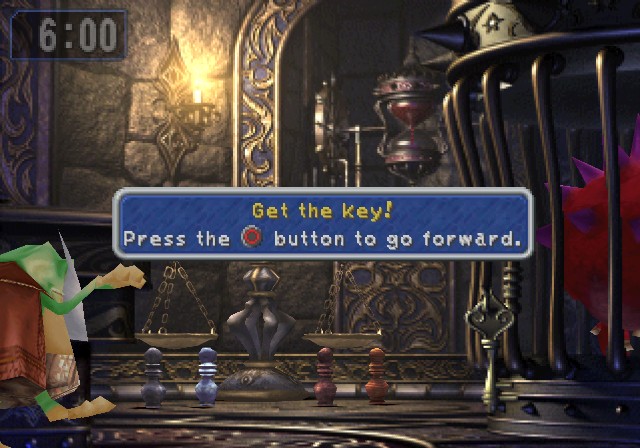
For this minigame, you spam the circle button. Each time you press it, Cid moves one frame closer to the key.
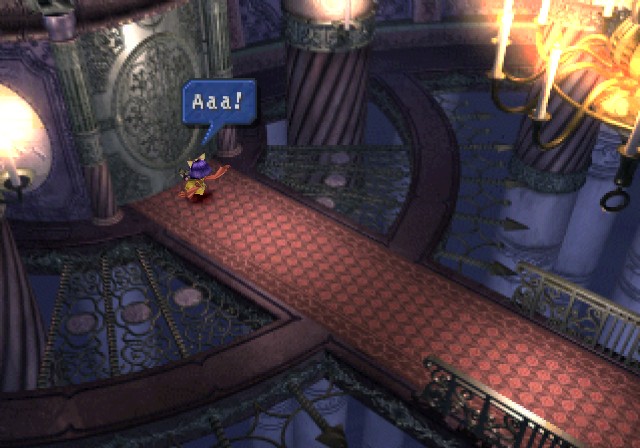
The trick is if the Hedgehog Pie sees Cid moving, it'll get pissed and Cid will run away like a coward. So you have to move while the H-Pie is not looking, and of course it'll constantly switch back and forth between looking. So be careful!
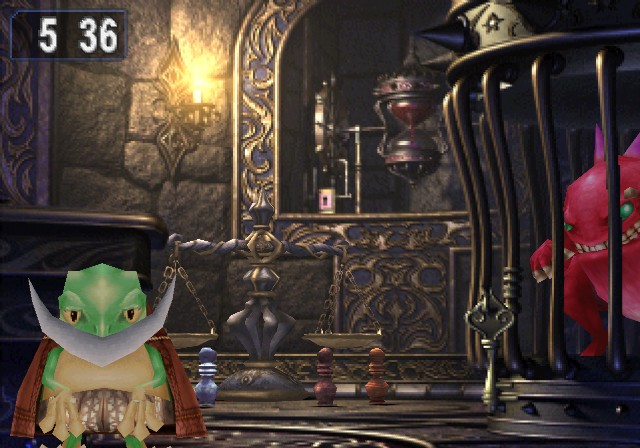
I liked this screenshot. But yeah, this is simple but pretty frustrating since it takes awhile to reach the key and it's easy to make a mistake and lose all your progress.
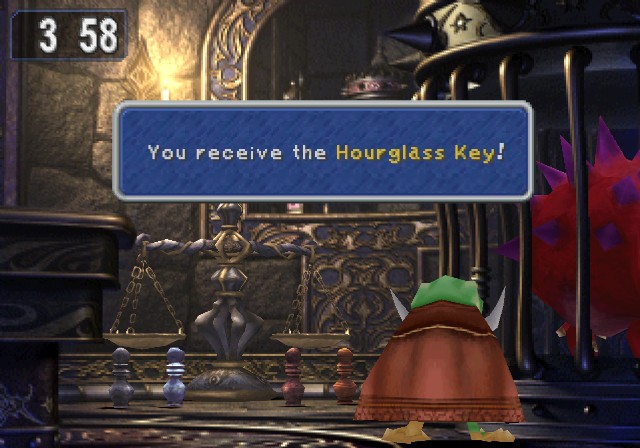
It takes me two minutes to reach the damn thing but here we go.
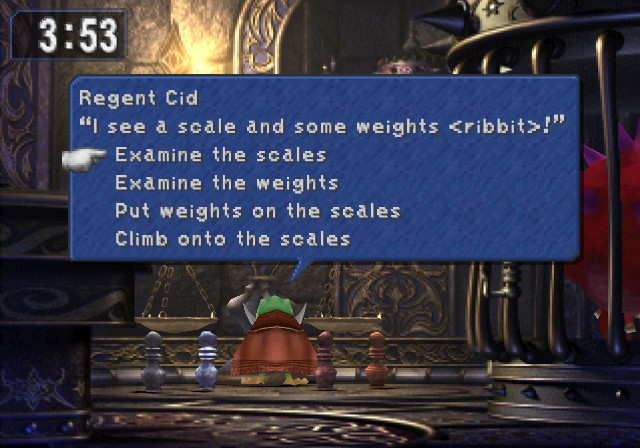
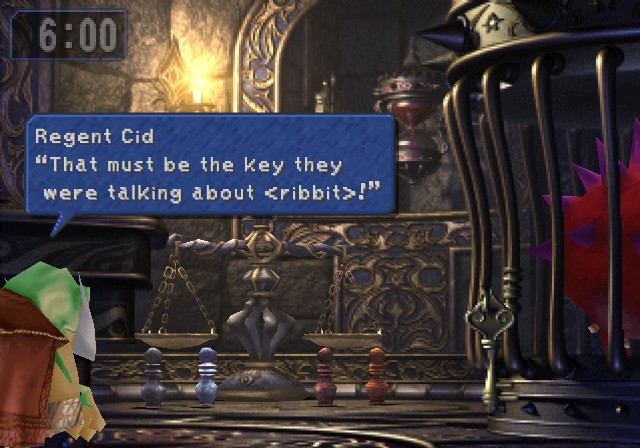
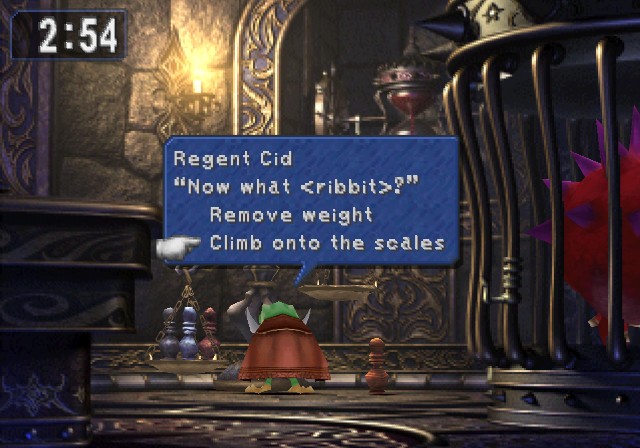
Let's examine the scales first.
These are huge scales <ribbit>. I could probably put 3 weights on a dish. I've got to climb onto the scales in order to reach the hourglass <ribbit>!Next, let's check the weights.
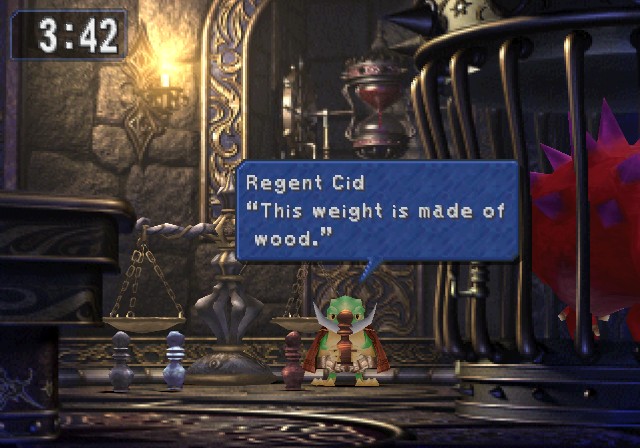
From right to left, each one is wood, clay, stone, and iron.
Now let's use the weights.
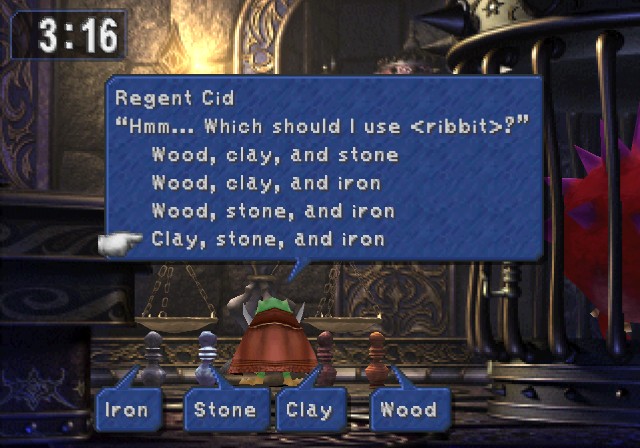
To call this a puzzle would be an insult. You literally take the three heaviest weights and put them on there. It's that simple.
Also note that Cid slowly picks up and places each weight, so hopefully getting the key didn't take too long!
JUST FUCKING SCALE THE SCALES ALREADY YOU DAMN IDIOT
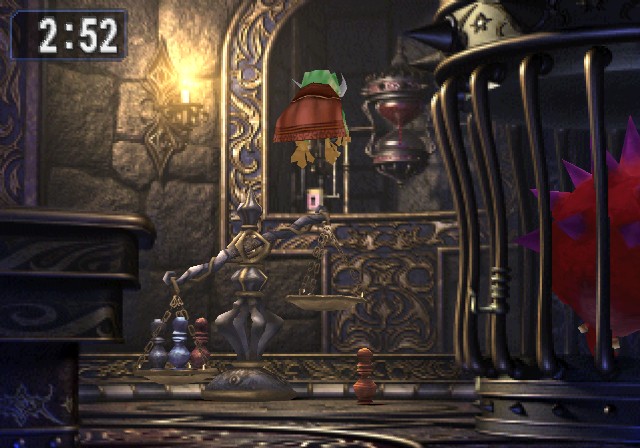

At least we're done now and never have to play as Cid ever again.
-----

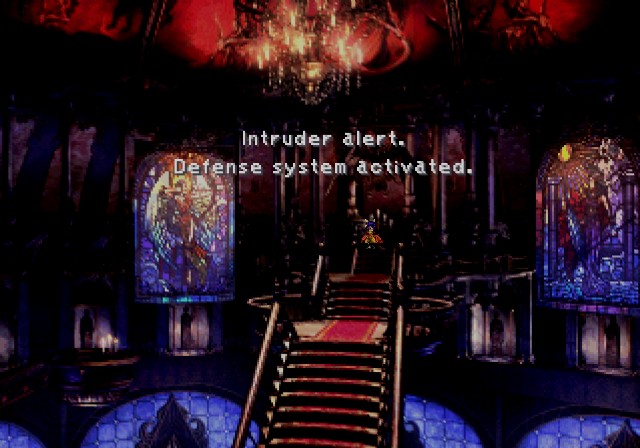
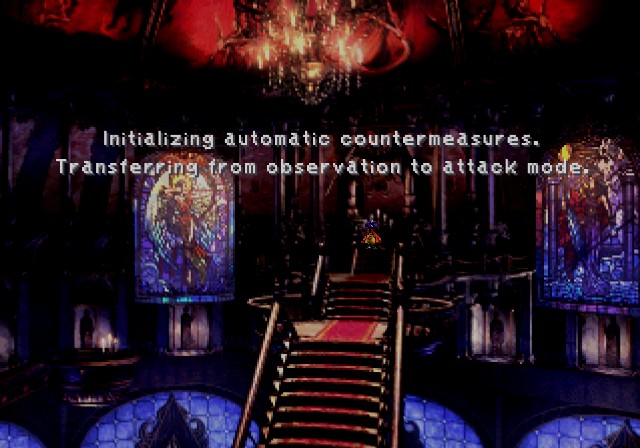
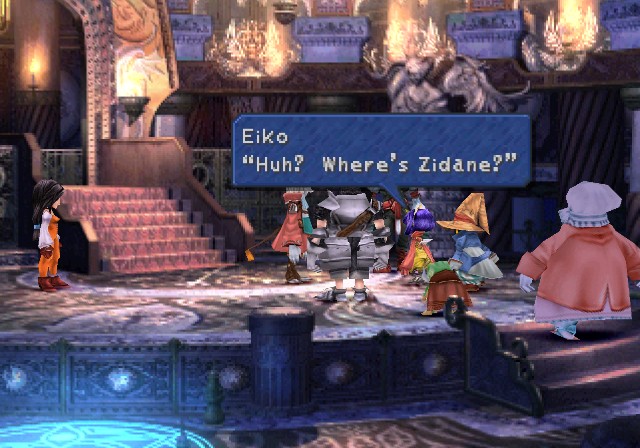
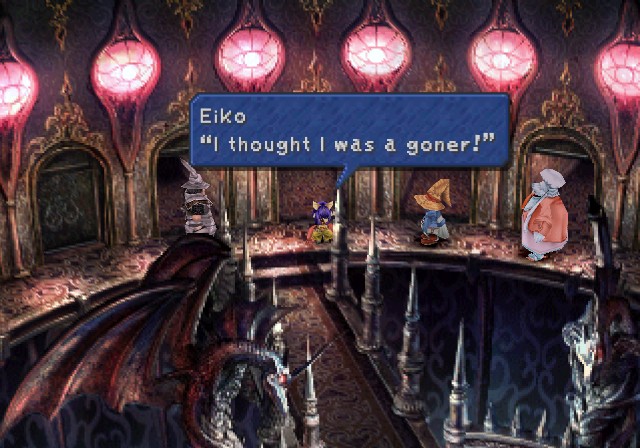 Thank goodness we made it!
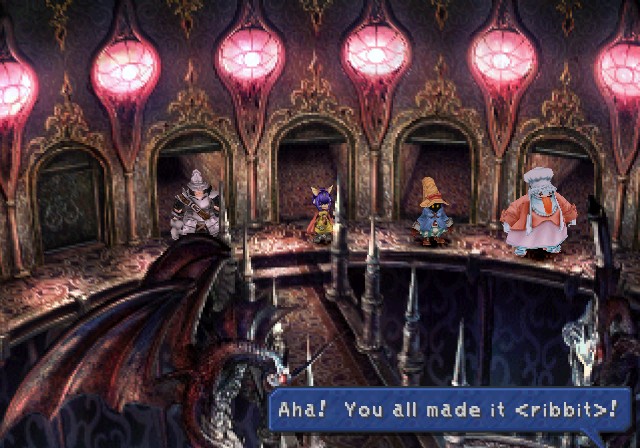 !?
!? And it wasn't easy, mind you... But we've no time to celebrate <ribbit>! I heard from two black mages <ribbit> that there's some kind of trap up ahead.
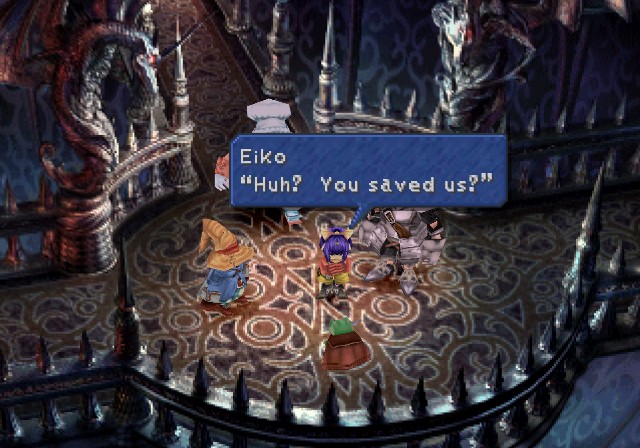
 That's right! We can't just rely on Zidane! We have to work together until Zidane gets back!
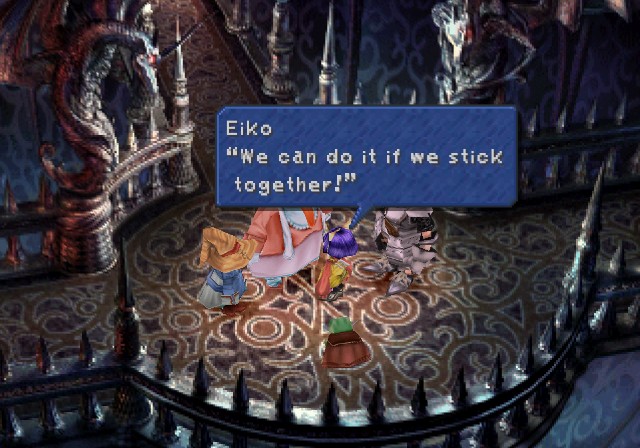
Again, the game defaults to Eiko being in charge if she's here, since she's the most like Zidane and thus the only other person actually willing to take a lead. There's no dialogue from the other characters here like there was in Oeilvert.
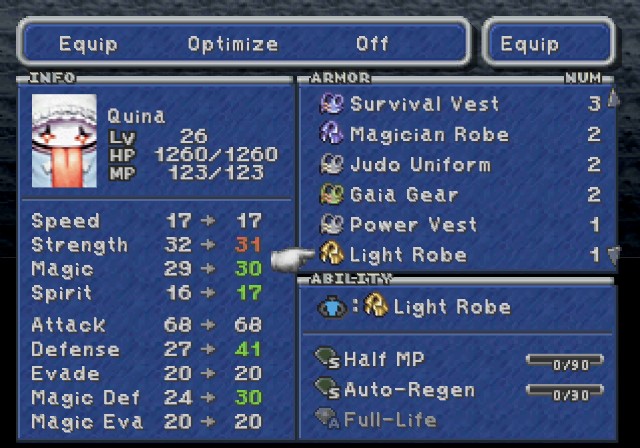
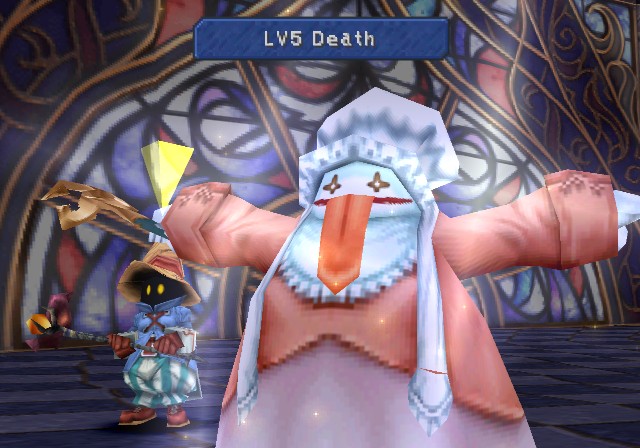
The most useful thing to do is give Quina the Light Robe if you brought Quina in. Everything here is vulnerable to L5 Death besides the boss, and Half MP makes trivializing all encounters even easier.

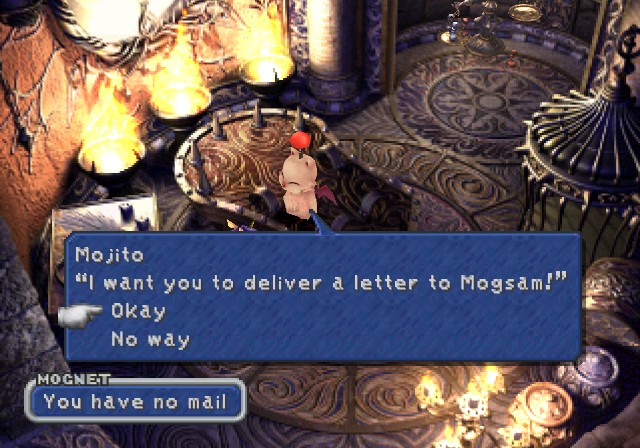
Back where the scale puzzle is, there's a moogle to do Mognet stuff with.
If we head west...
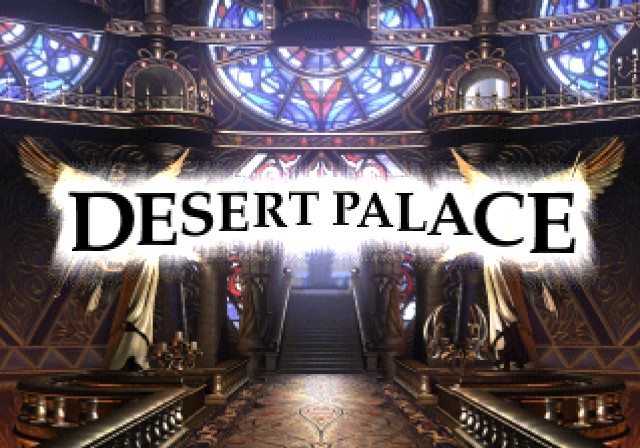
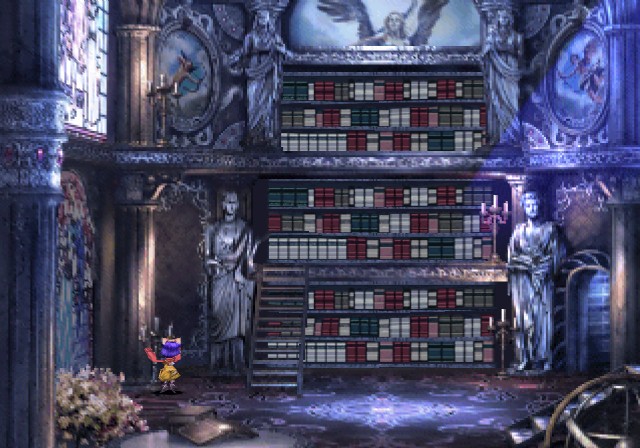
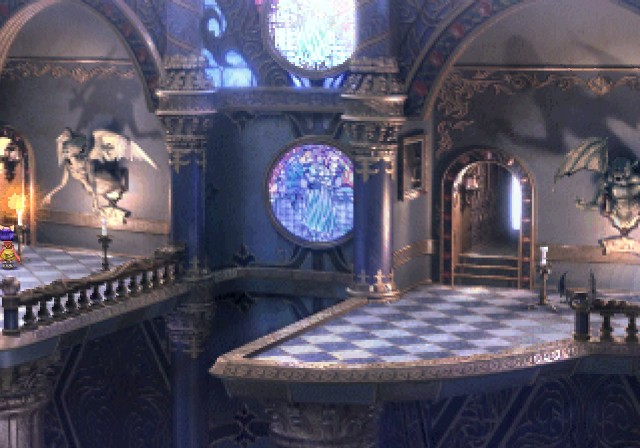
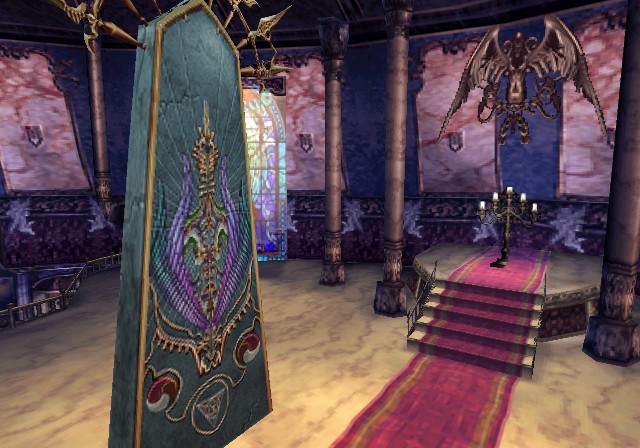
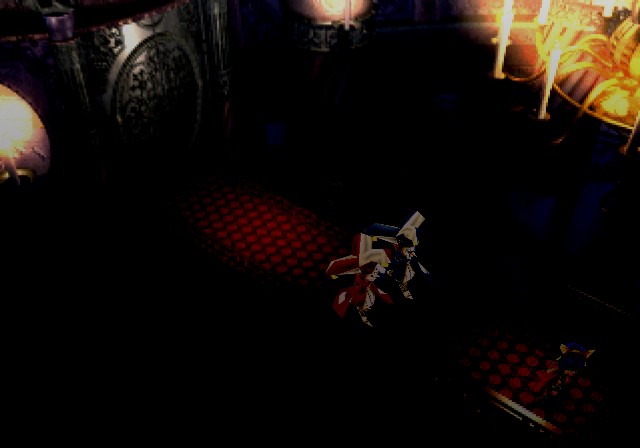
This dungeon is kind of a weird one, even for this game.
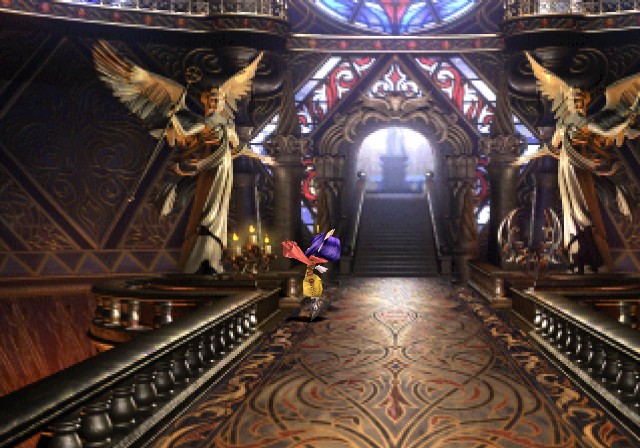
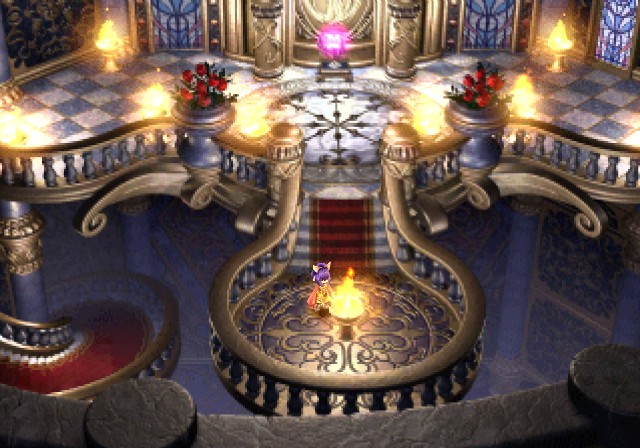
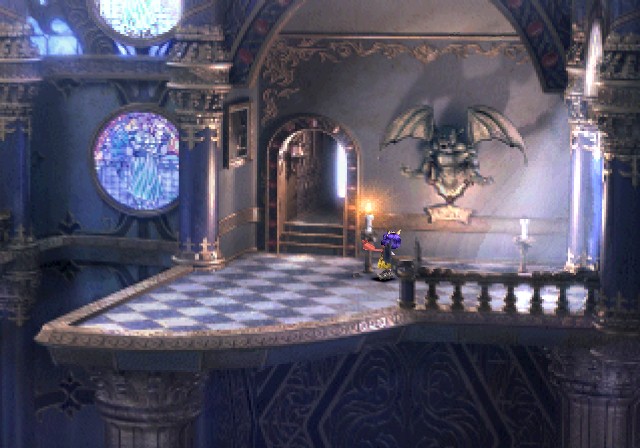
There are candles all over this place. You want to light them.
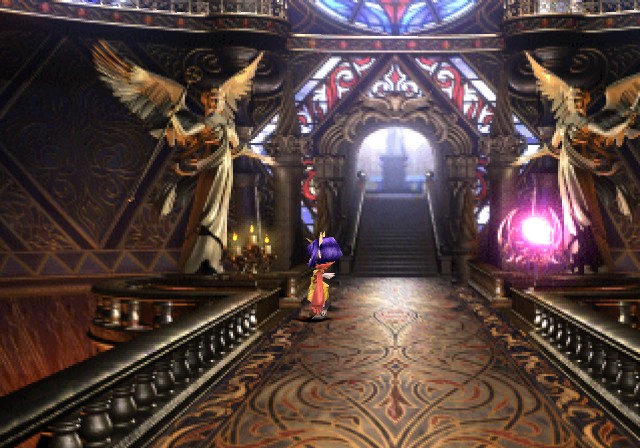
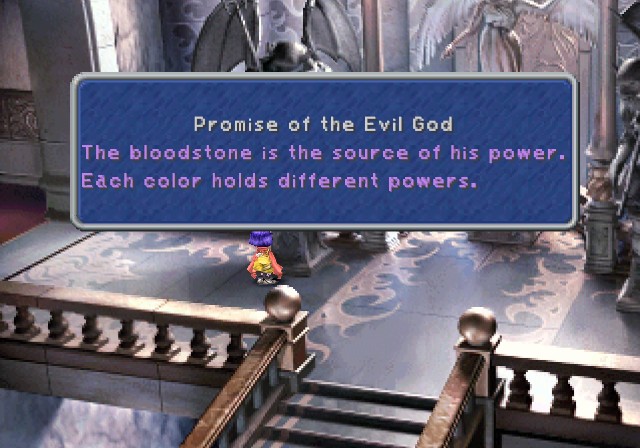
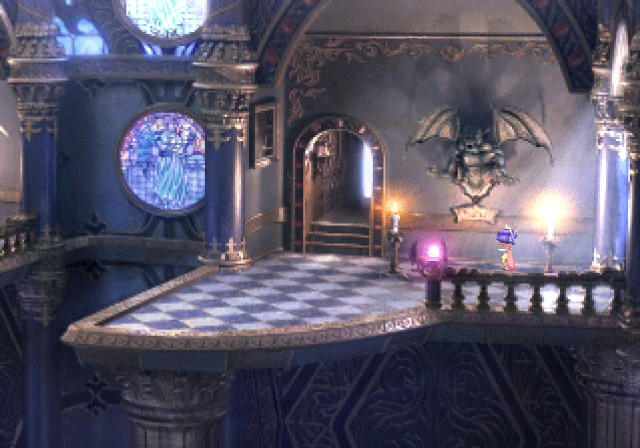
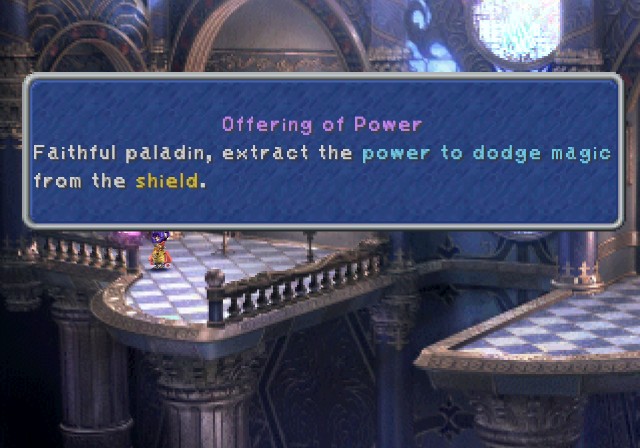
Doing so will usually activate bloodstones.
These bloodstones give power-ups to this dungeon's boss. If you inspect a bloodstone, it removes that specific power from the boss. Thus fully exploring the dungeon will make the boss significantly easier.
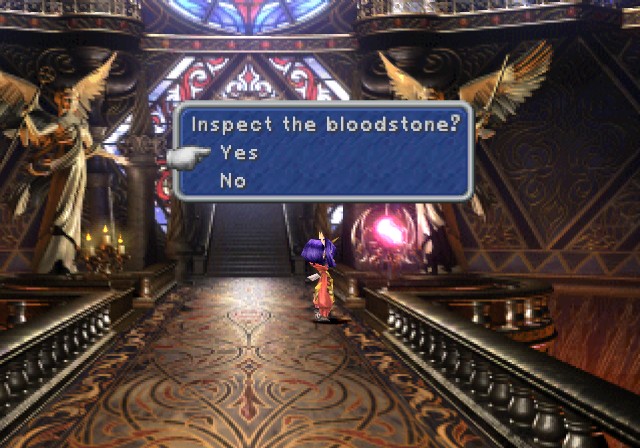
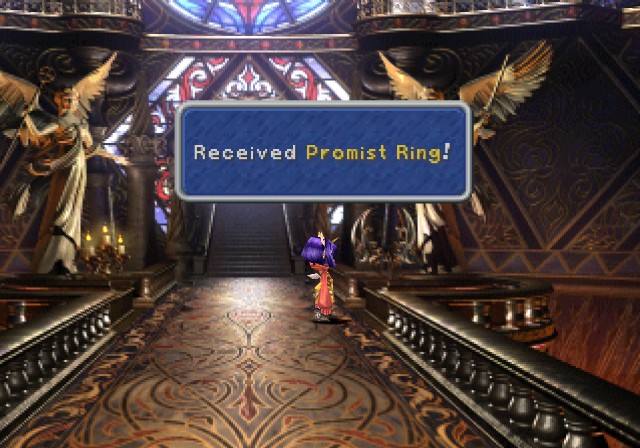
And if that wasn't enough, you also get loot from the bloodstones.
This bloodstone made the boss immune to all elements. Now it's vulnerable, which is kinda nice since it's weak to Wind and Water. It doesn't really matter though because Flare was better than a weakness-hitting Water when I fought the boss (spoilers I fight the boss).
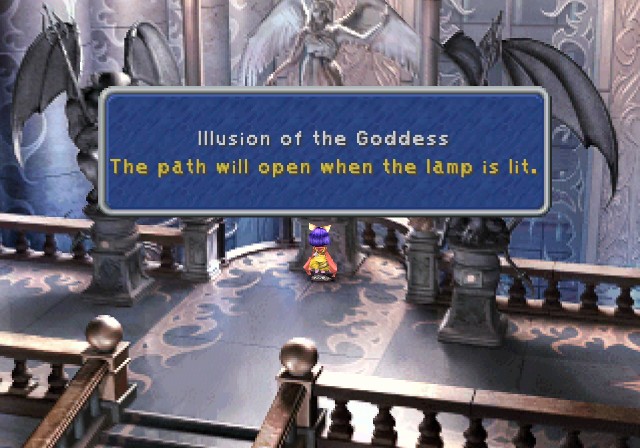
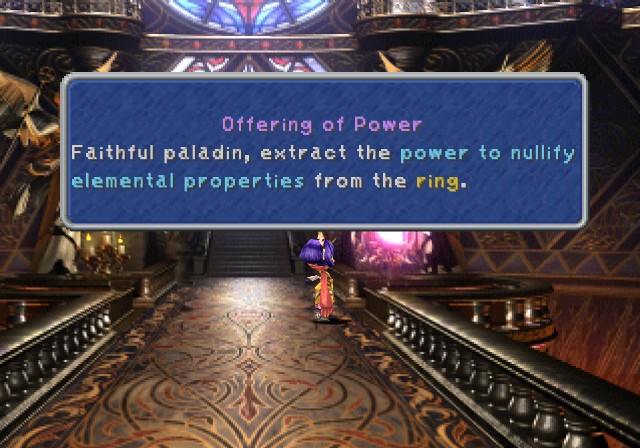
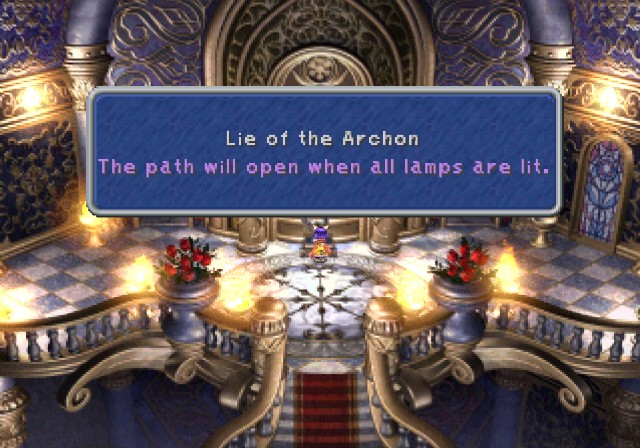
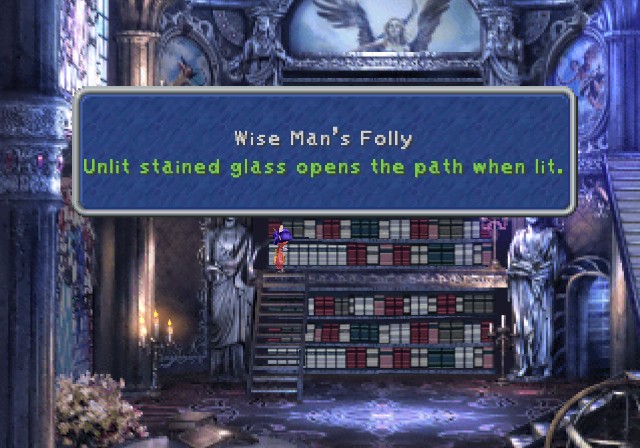
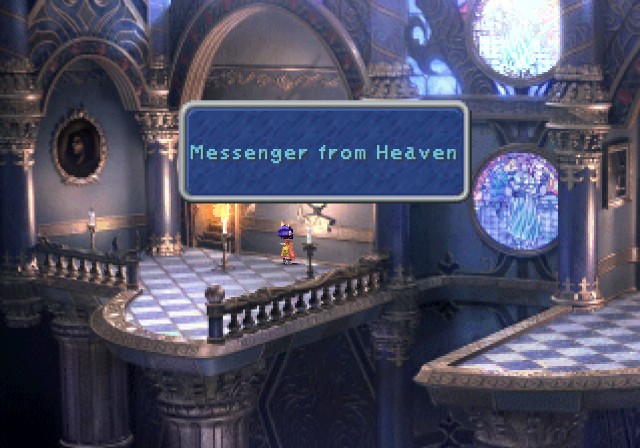
This clue doesn't apply to the passage that's about to appear here, since there's no lamp. This is more for the final puzzle of this dungeon.
Basically it's hinting that the bloodstones buff the boss and interacting with them will remove those powers. You know, what I just told you earlier. I'm too lazy to remove redundant information, though, so you'll have to live with your wasted time for the rest of your life.
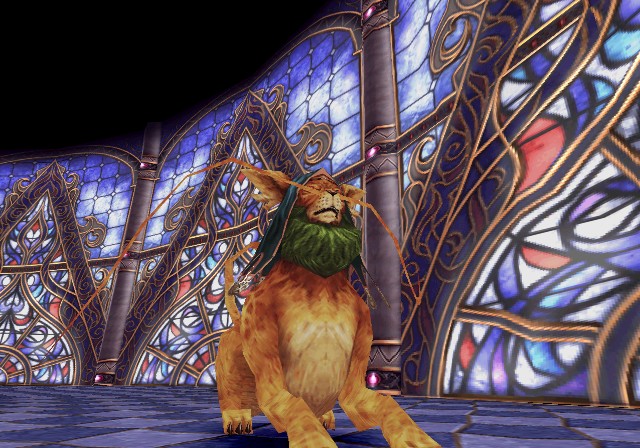
There's enemies here, of course. This is Torama, which is probably better known as the series-staple Coeurl. This guy's signature move is Blaster, which causes large damage and inflicts Stop. Pretty similar to other games, where it'll either paralyze or straight-up kill you.
It's weak to Water, so Vivi ruins it. Also you can completely neuter it with Silence. And L5 Death.
Really, this dungeon's difficulty comes down to whether or not you're using a FAQ.
When I try to take the left exit, this pathway appears.
This is Drakan. It's better known as another FF series staple, the Mindflayer.
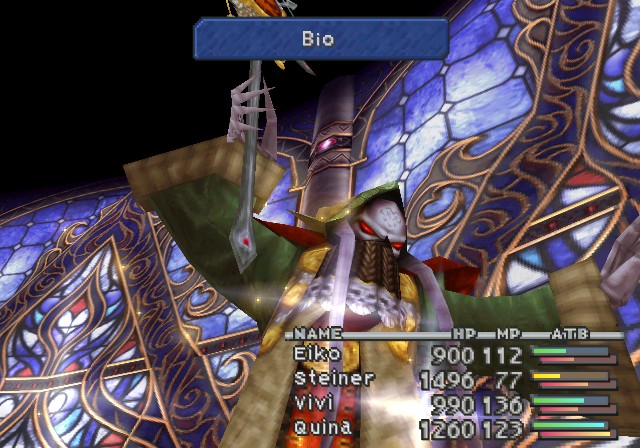
Its signature move is Mind Blast, which inflicts damage and Confuse on a character. Of course, it also has stuff like Bio, Freeze, Mustard Bomb, and a physical attack. Wind wrecks it, as does L5 Death.
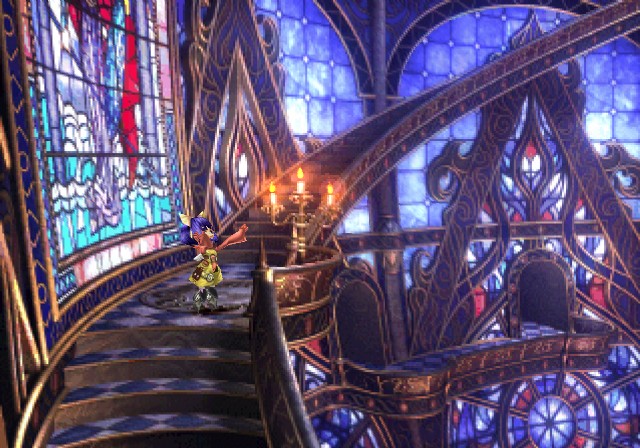
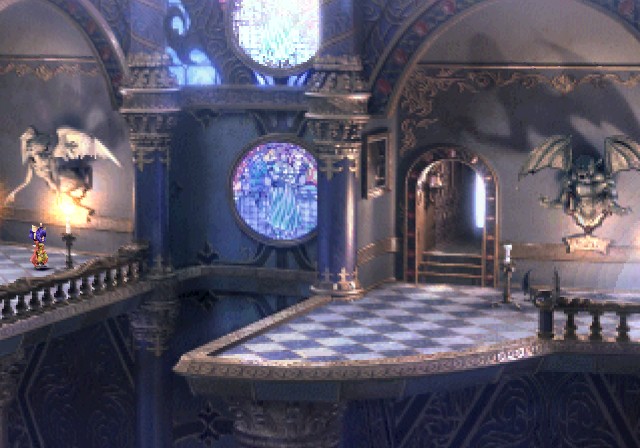
The path leads us to a candle upstairs. Then we move onward.
This for every battle.
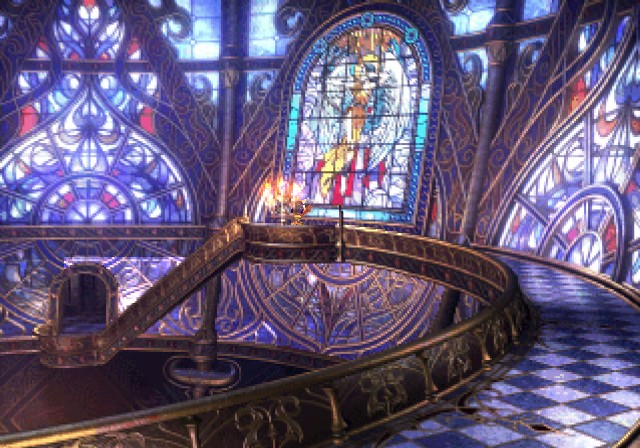
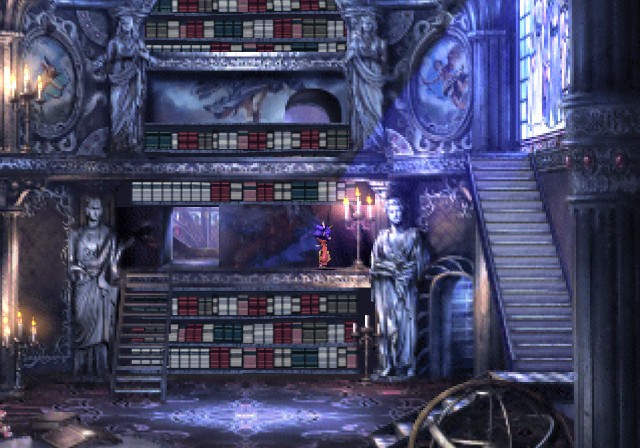
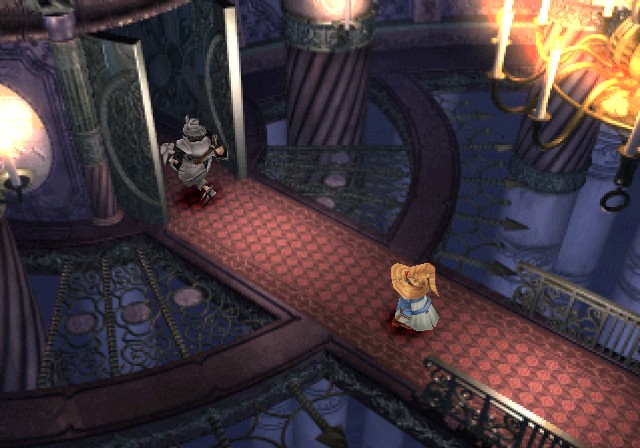
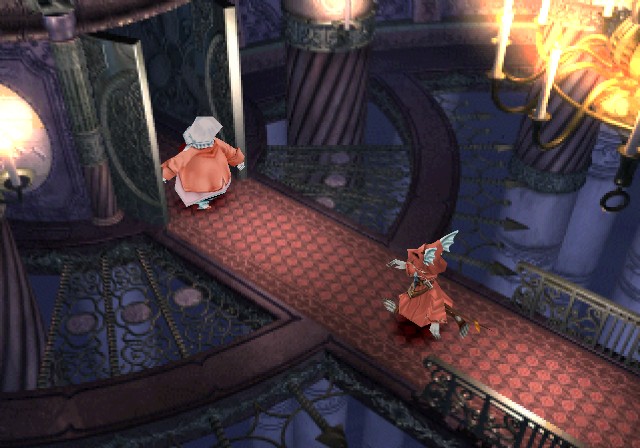
This next room is a puzzle. There are nine torches here to light.
The first three unblock the two windows on either side of the room, letting us move to the right side.
This one removes the left set of statues. Lighting the other two closes the two windows, so we'll leave those alone for now.
Then we can loop back, light the two upper-middle torches to remove the other set of statues, and then do the other torches.
That leaves just this torch.

This nets us an Anklet. We've also reduced the boss's magic power and opened up the path to the next section.

There's an easy-to-miss candle here.
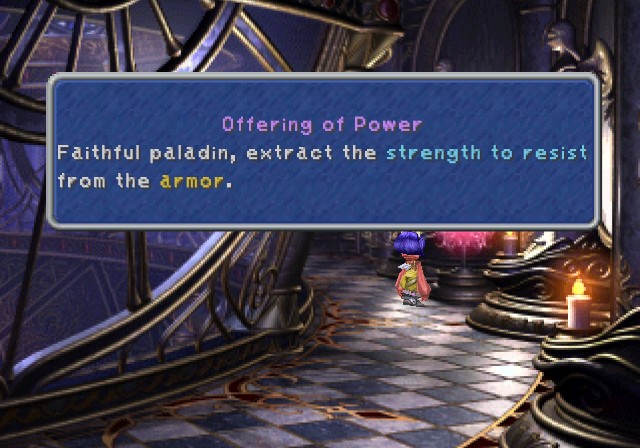
Shield Armor, and we've lowered the boss's defense.
Another candle here as we continue on.
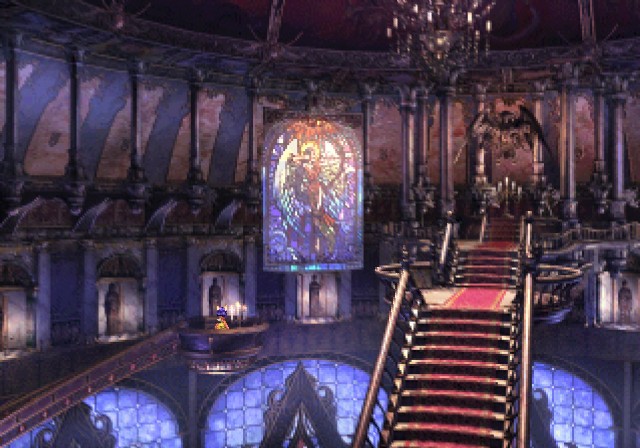
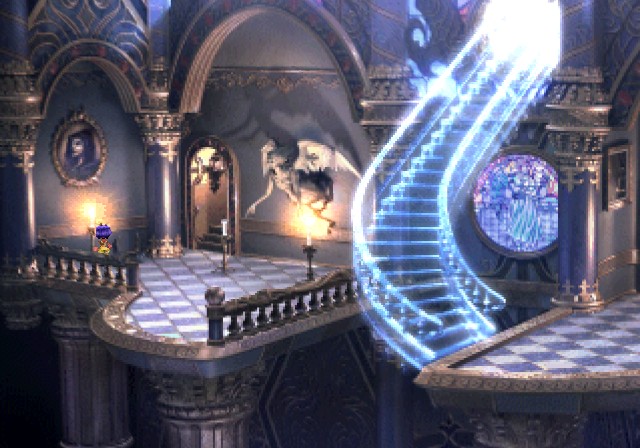
Ultimately we end up in this room. Light this candle to bring in a stairway.

This candle raises the bookshelf. The other two do the same, though we'll look at each floor first.
N-Kai Armlet. Reduces the boss's evasion, I believe.
More candles.
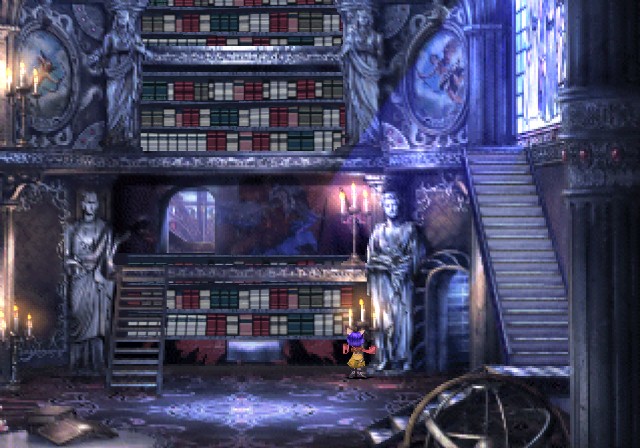
Finally, the bottom floor.
YEP. MORE CANDLES.
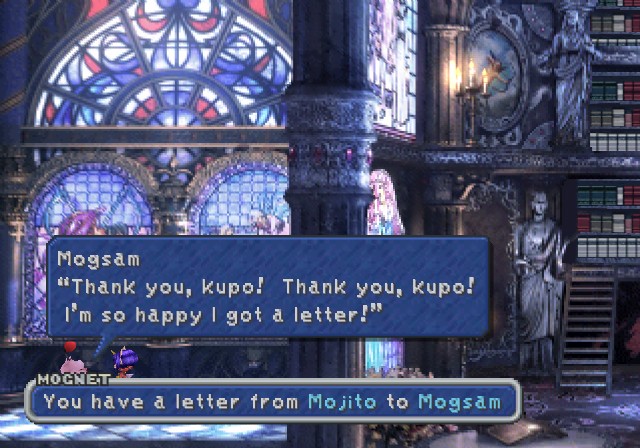
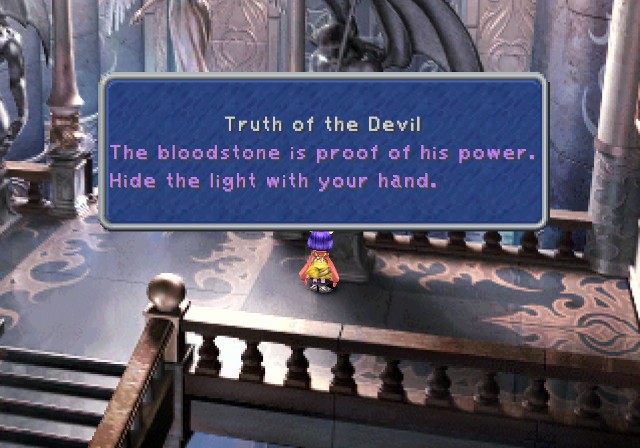
This lets us pass the glass on the left (hence the earlier clue) and find the other moogle here.

 There must be a reason, kupo.
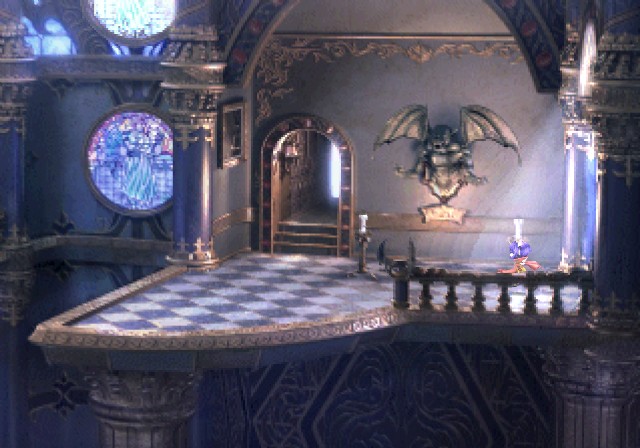
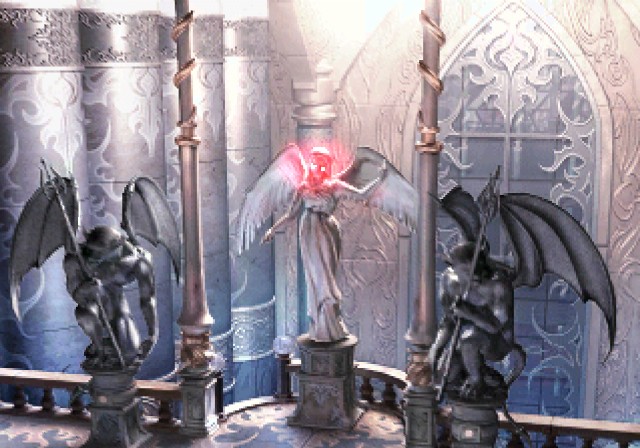
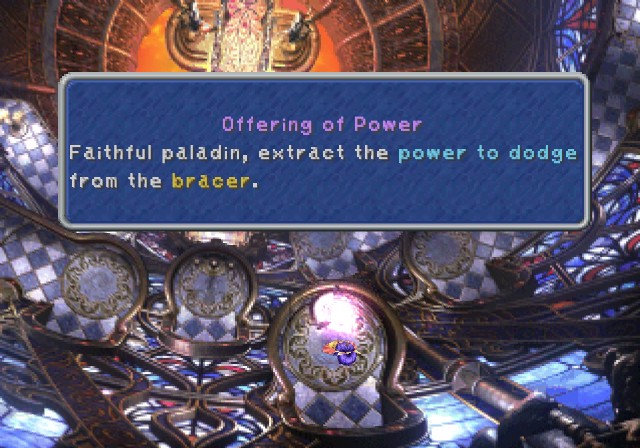
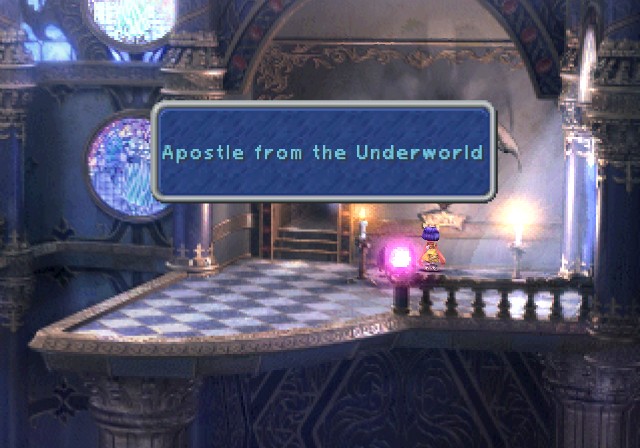
The penultimate room has a few things going on, namely a pair of statues.
The trick is each candle creates a specific shadow.
Lighting both candles for this one spawns a bloodstone.
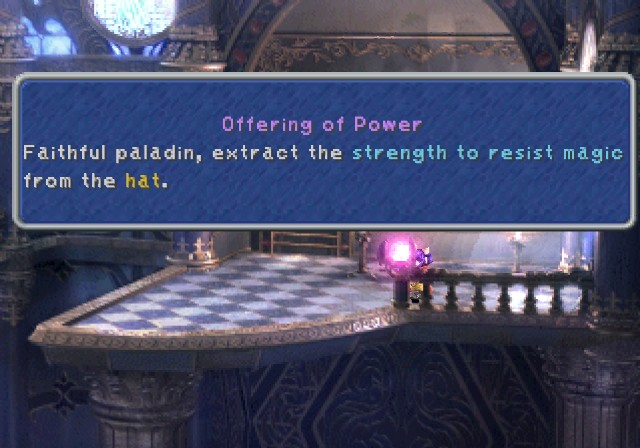
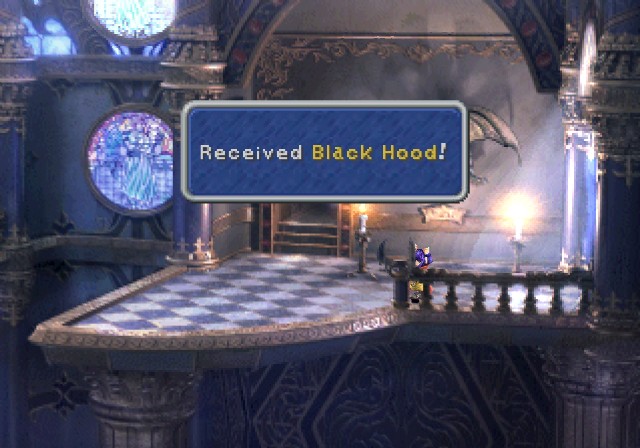
We reduce the boss's magic defense and get a new hat, the Black Hood. It halves Fire/Ice/Lightning damage and teaches Accuracy+ (Physical attacks always hit), Locomotion, and the Death spell for Vivi, which has a 35% chance of inflicting instant death.
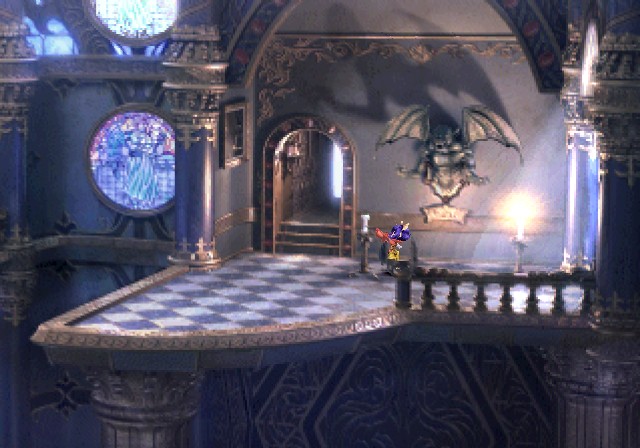
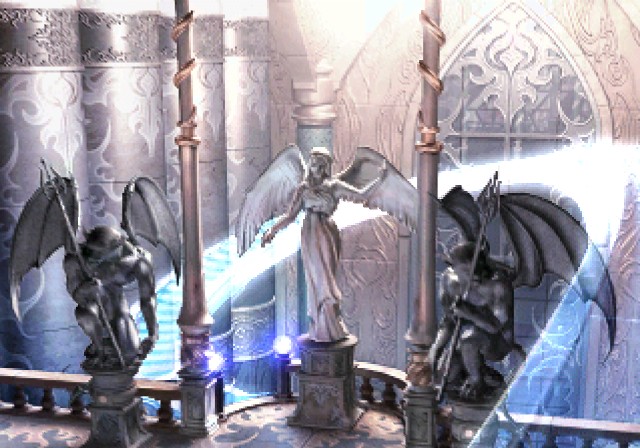
Next, we light only the right candle.
Then move over to the other side.
This unlocks another bloodstone.
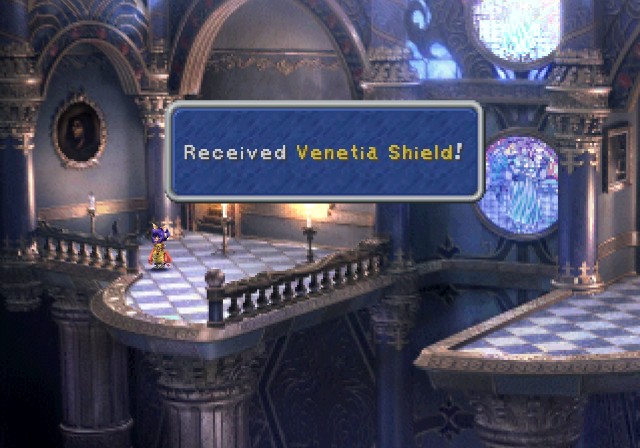
This results in the boss losing magic evasion and nets us new armor, the Venetia Shield. Gauntlets for Freya and Steiner, they teach Cover and Auto-Float, while also having minor stat boosts and the best magic evasion of any heavy gloves.
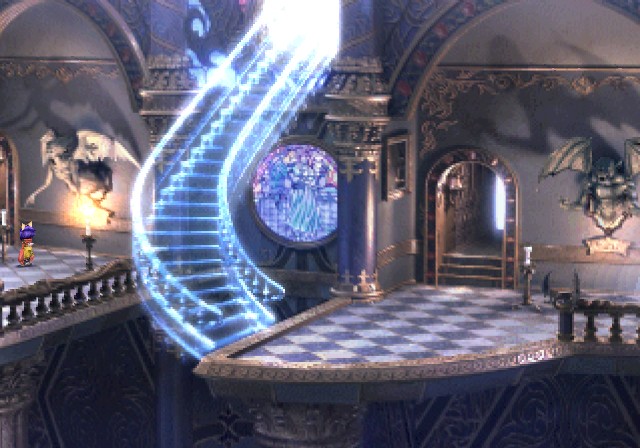
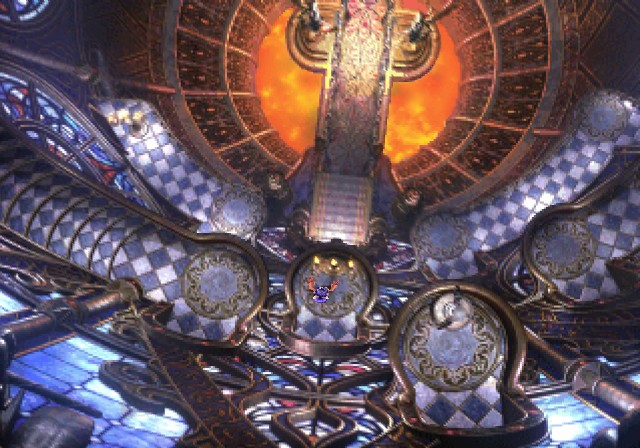
Having both right candles lit create stairs to the boss.
I don't know what this candle does though.
One last candle and we're done!
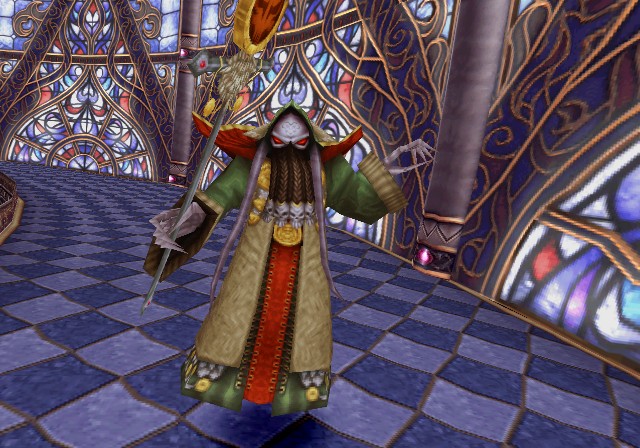
 Huh? That's not Kuja's voice!
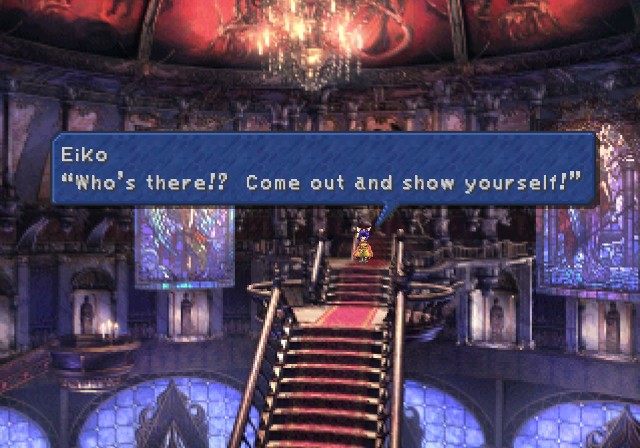


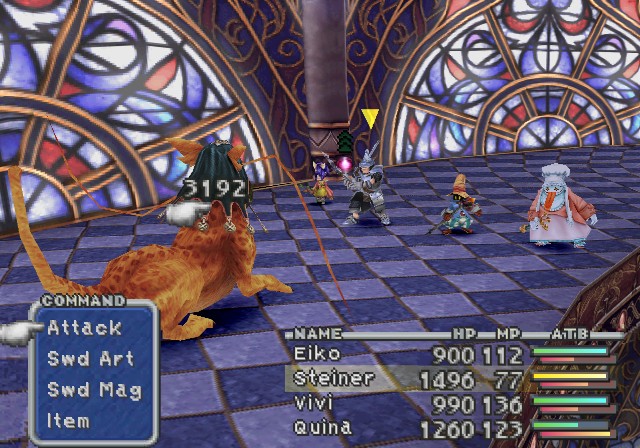
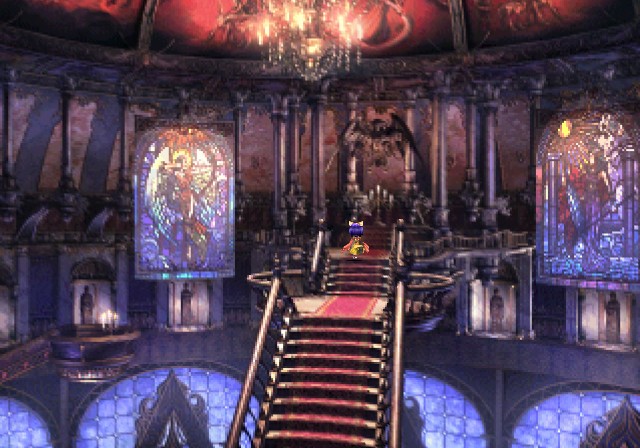
So the boss I keep bringing up? It's time to actually fight it!
This is Valia Pira.
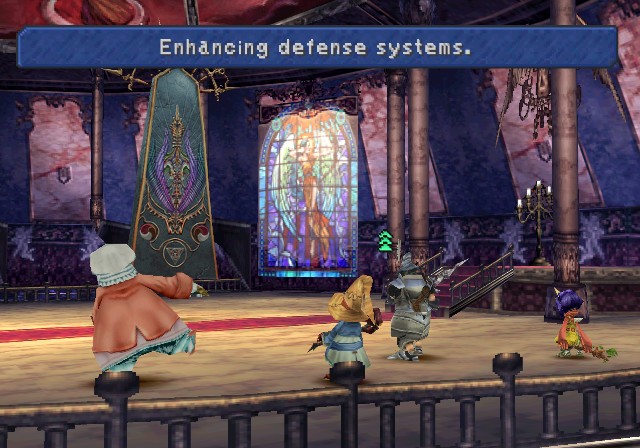

At this point, it'll look at all the bloodstones available. All of this pops up in red text.
Failed to disable Elemental Attacks.
Magic Power enhancement failed.
Defense enhancement failed.
Evasion enhancement failed.
Magic Defense enhancement failed.
Magic Evasion enhancement failed.
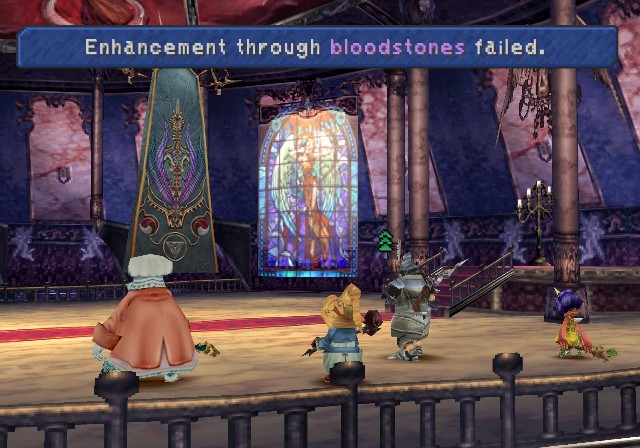
This means we thoroughly debuffed it. Otherwise it'd be a lot stronger and much more durable.
That said, it still has a lot of nasty attacks. The -aga spells, Holy, Flare, Mustard Bomb, Freeze, even Reflect.
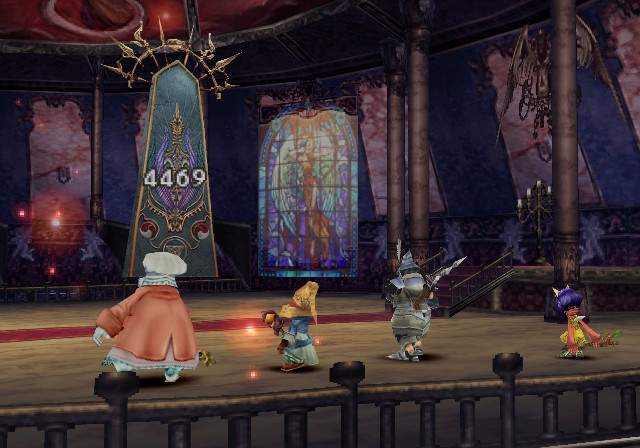
That said, so does our team. This guy has a measly 12k HP, and for once we don't have to stall time to steal. Thus I don't actually see its nasty attacks since Vivi and Steiner rip this thing apart in two rounds.
Fun Fact: You can kill it by depleting its 10k MP if you really, really wanted.
I also like how Water only did 2k damage to it despite hitting its weakness while Flare did 4.5k.
So yeah, this was easy because it's supposed to be. I'd rather have fought the hard version honestly but I also wanted the loot so...
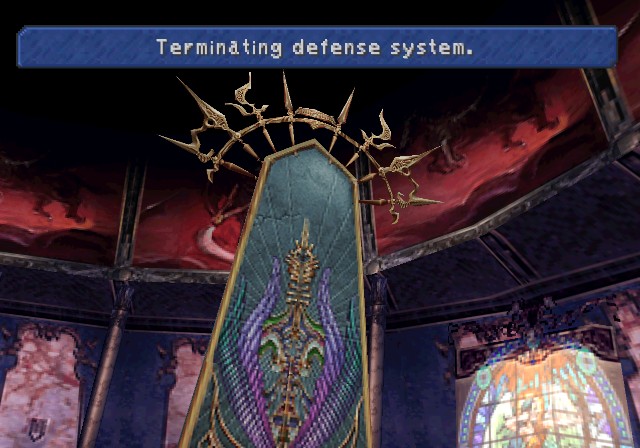
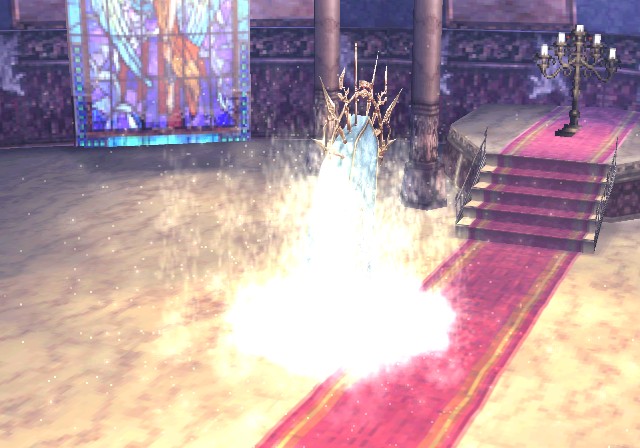
Anyway, light the last candle...
And teleport away.


 Well, no rest for the wicked! I gotta get movin'!
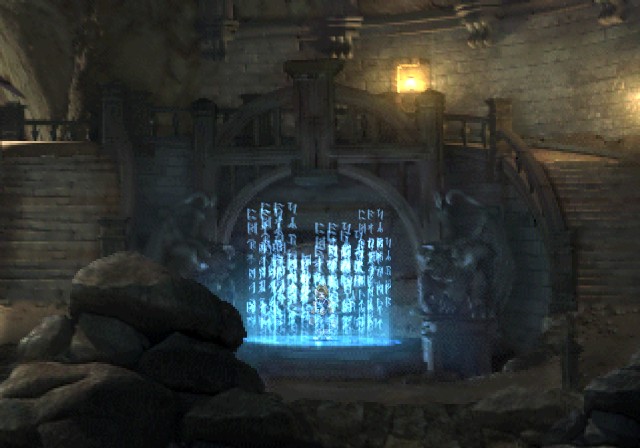
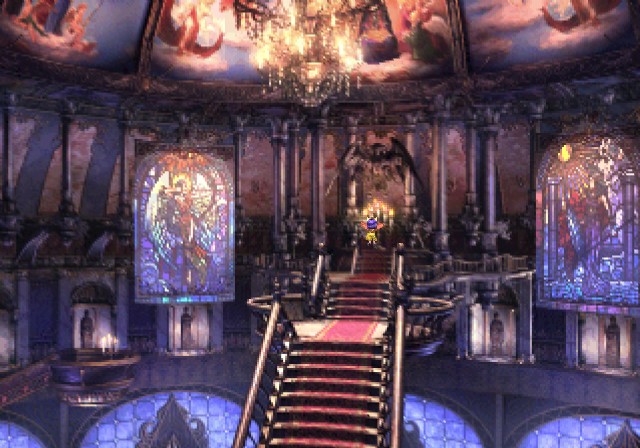
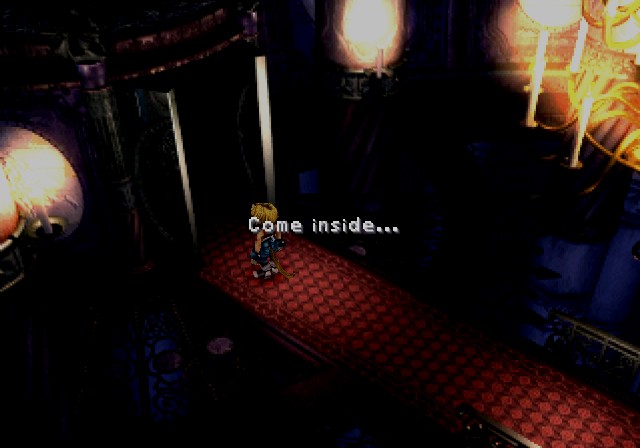
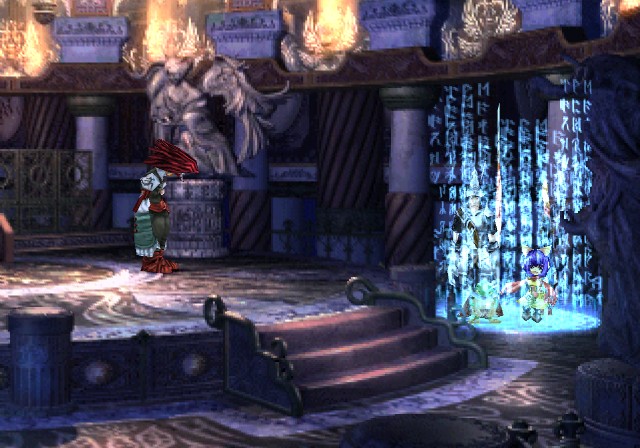
 Did I take a wrong turn?
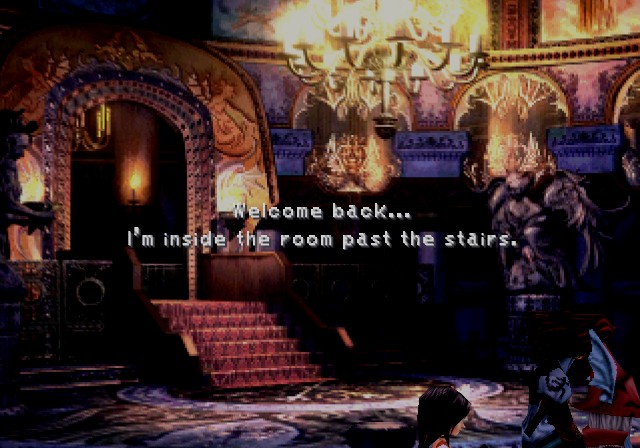 But I want you to come alone, Zidane. Alone.
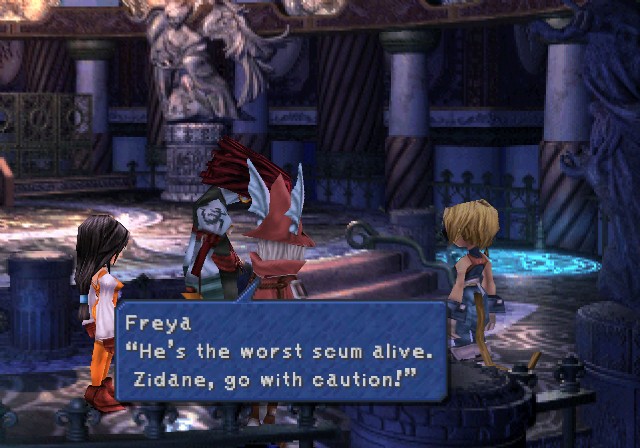
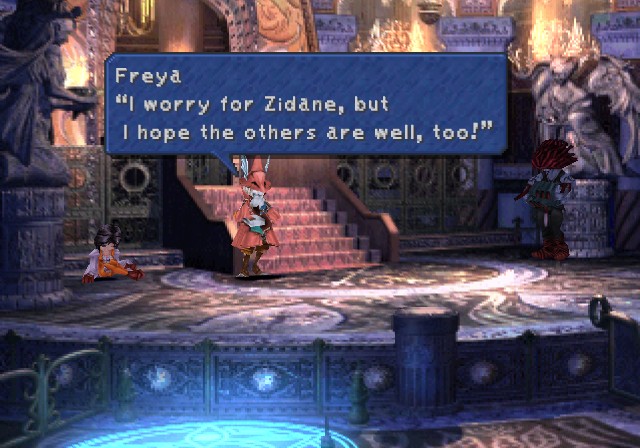
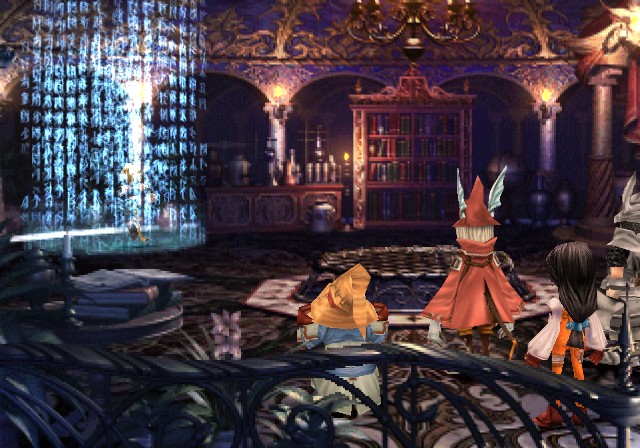
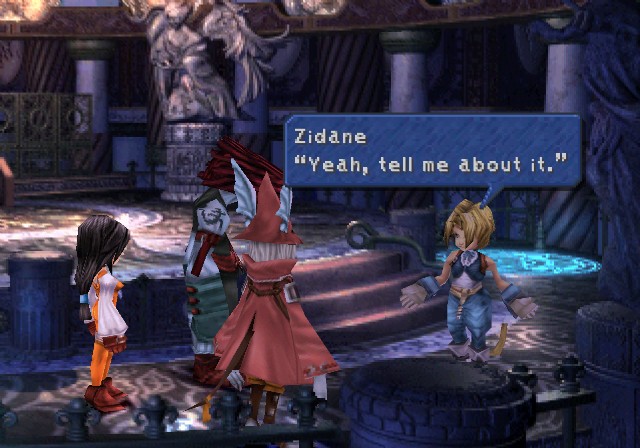 I'll be okay! You guys just wait here.
We can talk to our party again.
 You must exercise caution!
 Don't trust anything he tells you!
 ......

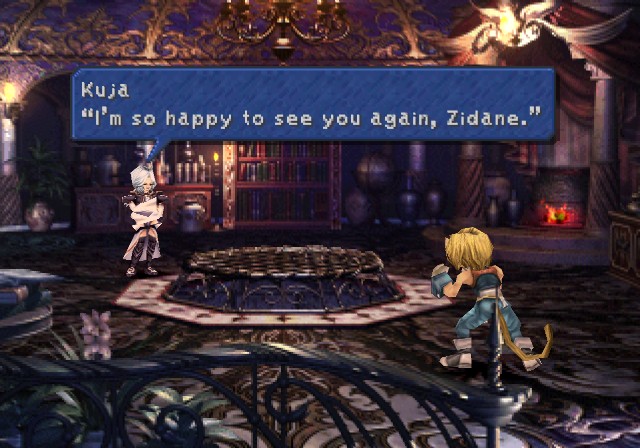 My friends better be alright! Oh my! Blunt as always, I see...
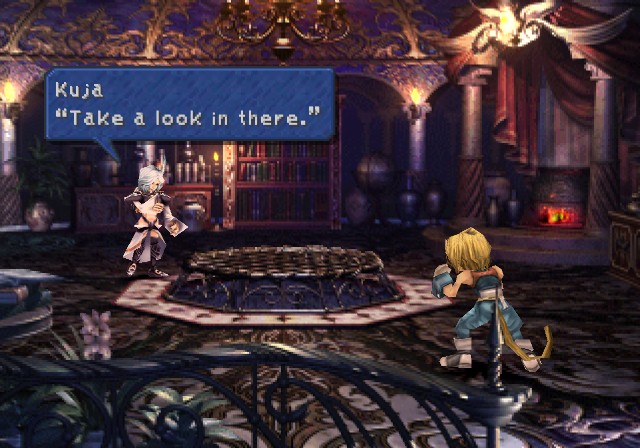
 No need to worry. They just needed some rest, that's all.
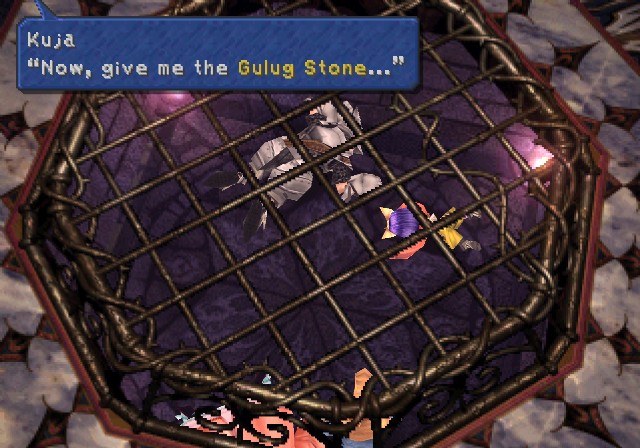
-----
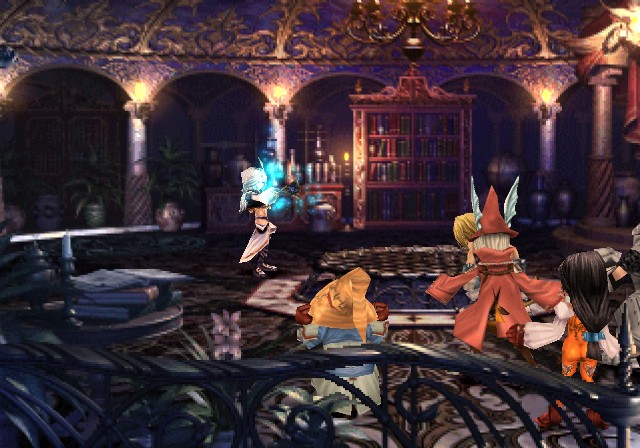
 He went forth to Kuja's domain alone. By what means did you escape? Actually...
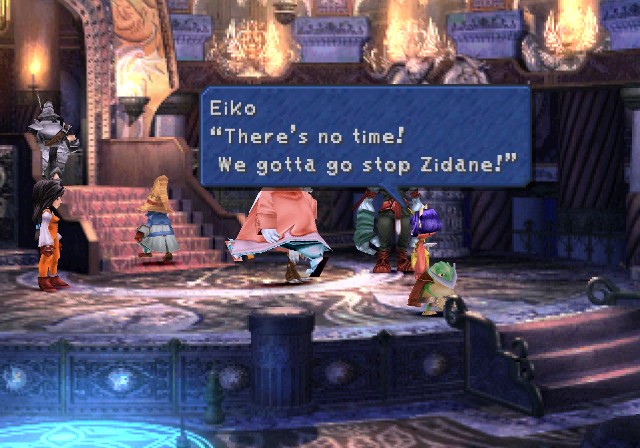
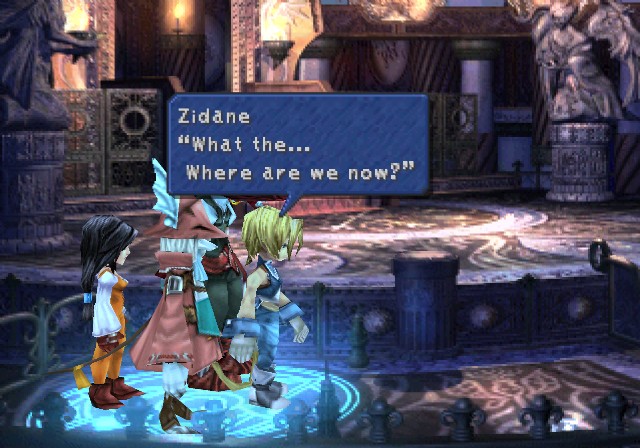
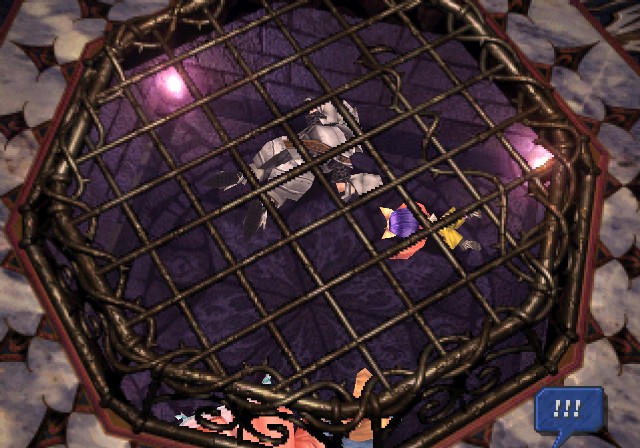
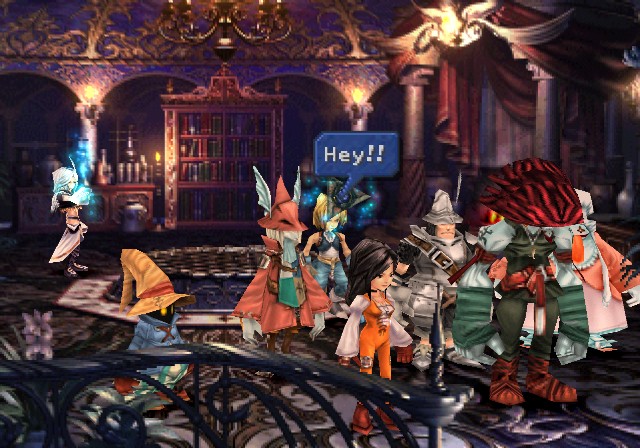
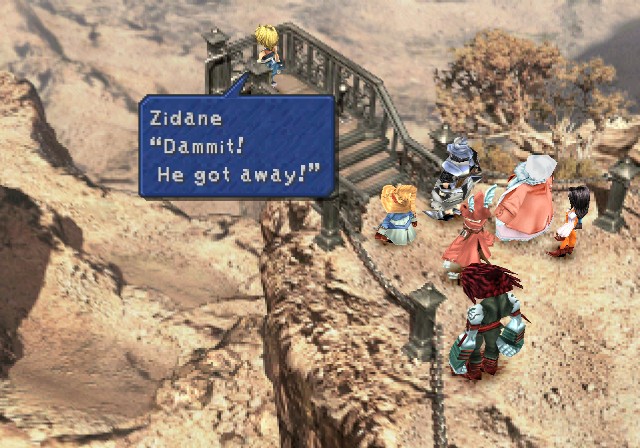
 What the heck!?
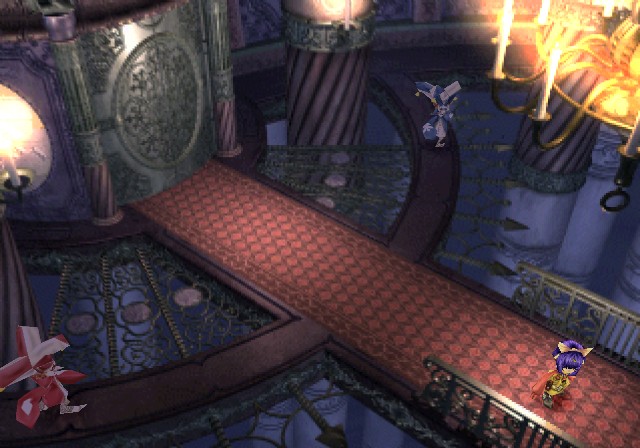
 You bastard! You're the worst scum alive!
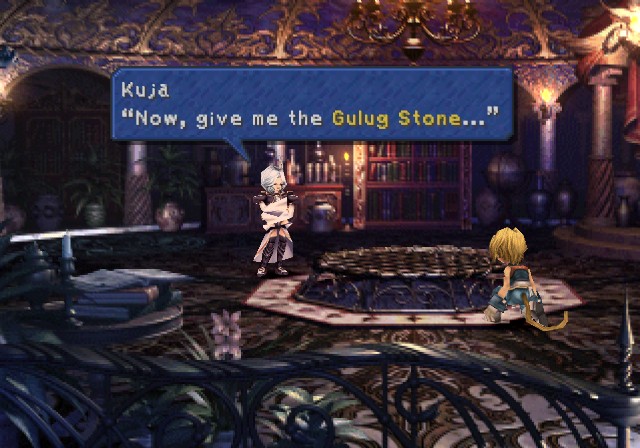
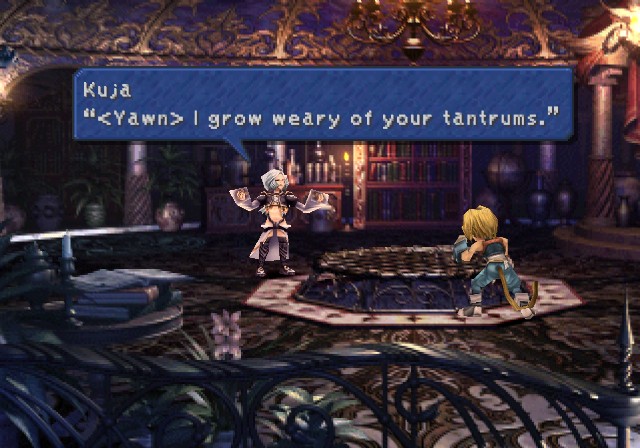 Well, will you hand it over or not?
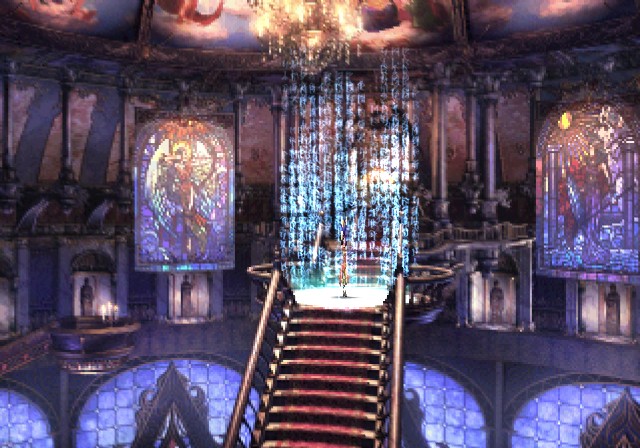
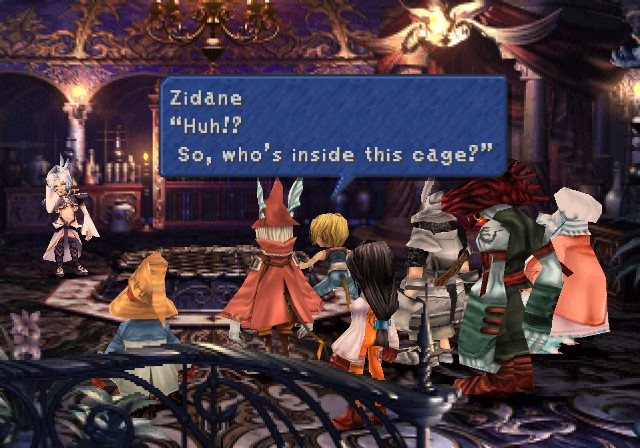 Oh dear, I wasn't expecting this. That's right, the ones inside are fake! But don't think you've won yet. What do you mean by that? Hehehe...
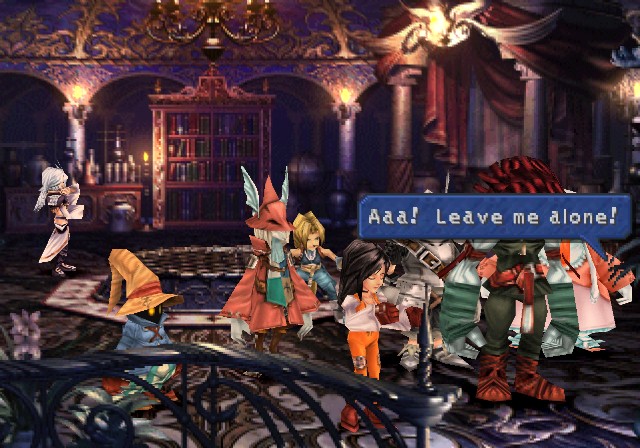 Eiko!
Eiko!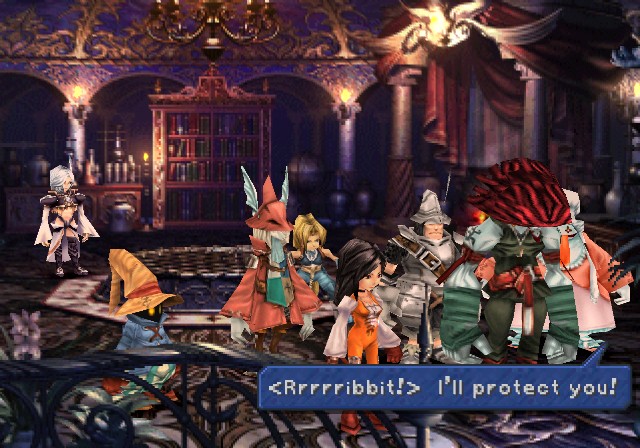

 ......<R-Ribbit>...
 I wanted to finish you off after getting the Gulug Stone and killing all your friends...
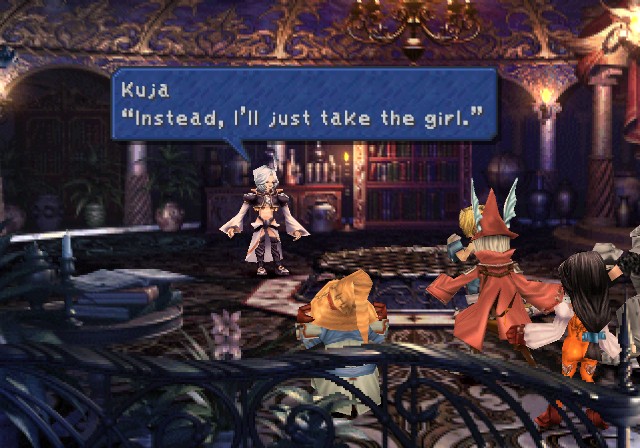
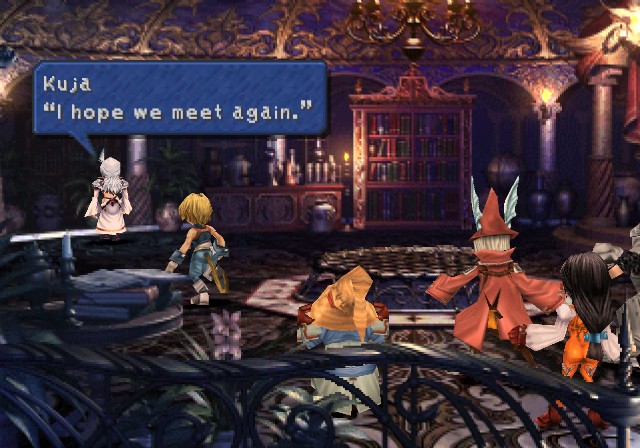
 He's gonna take that airship, Zidane! Let's get him!
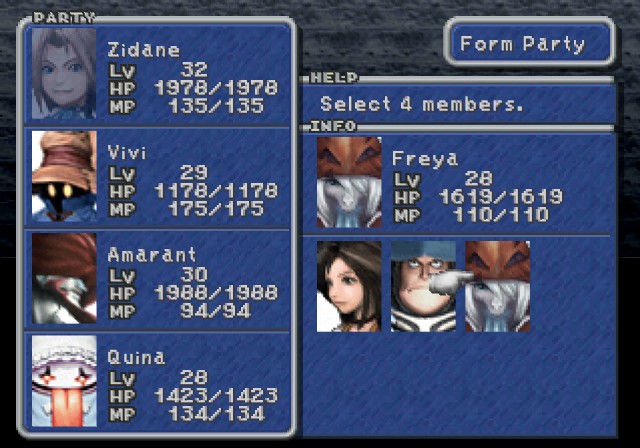
Welp. Eiko's been kidnapped, so we're down a person. I'll go with this team for now because why not. It doesn't actually matter here.
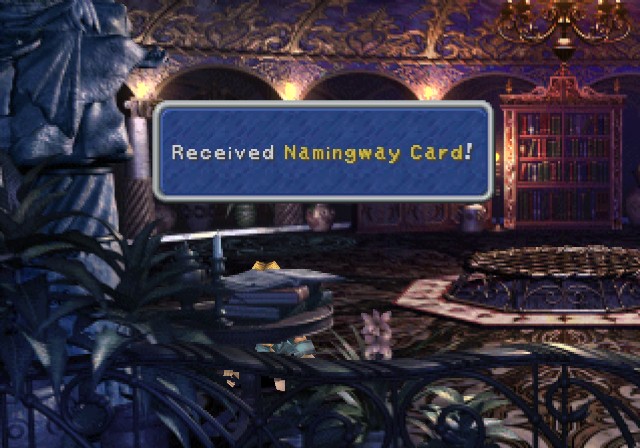
Before you leave, grab this. This is the only useful card in the game.
Go where the Black Mage was...
 We can still follow him on the Blue Narciss! Great minds think alike! Let's go, people!
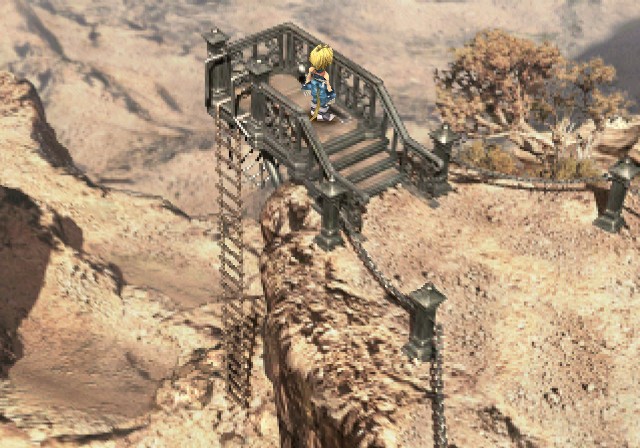
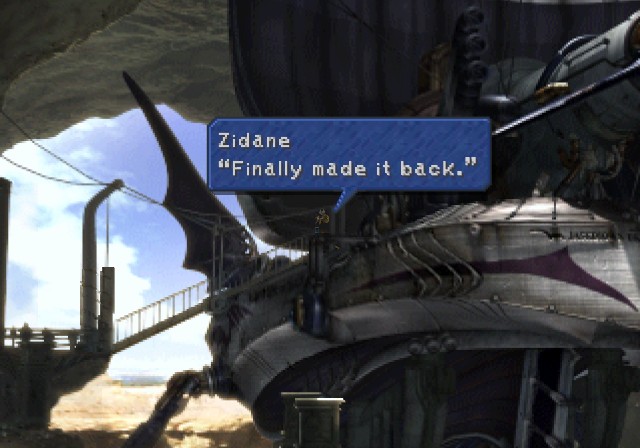
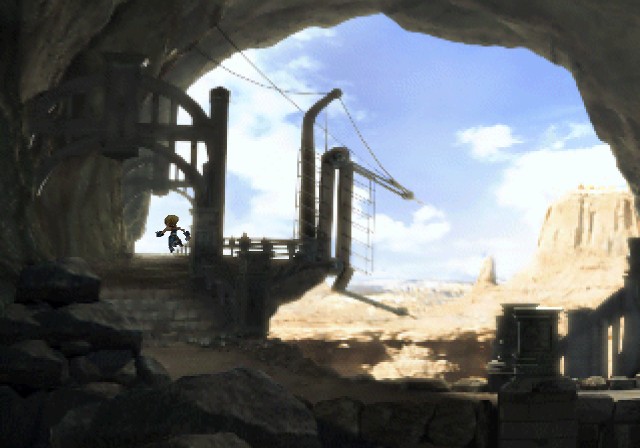
Once we exit...
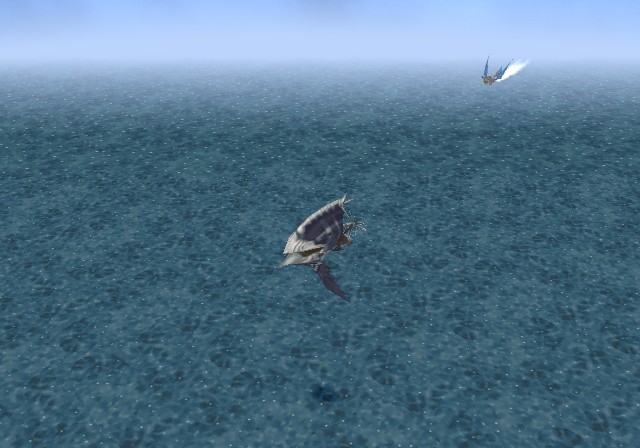
...we automatically give chase to the Hilda Garde 1.
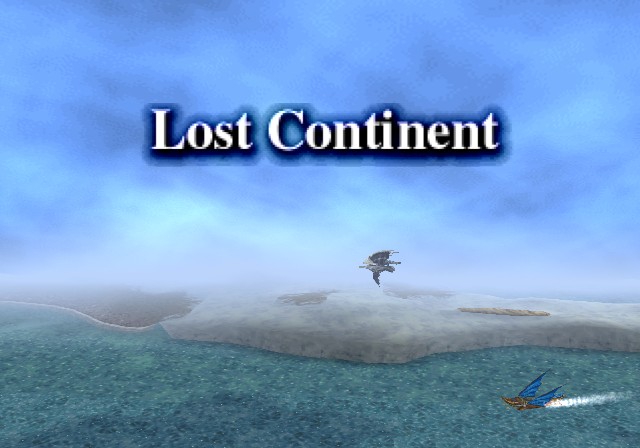
All the way to the Lost Continent, now with proper introduction.
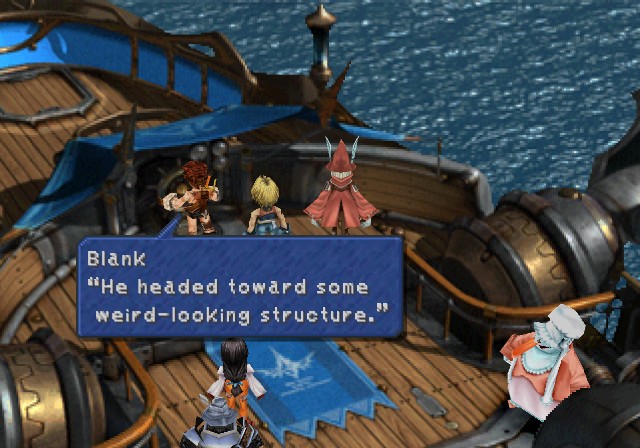 Is there something beyond there...? What the hell is Kuja up to...? Why did he take Eiko? His motives are unclear <ribbit>... That girl can summon eidolons, too <ribbit>?
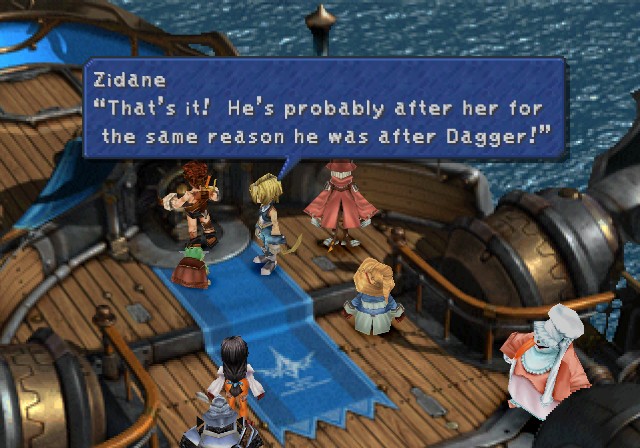 ...... Don't worry, Dagger... We're not gonna let him have his way.
Kuja got what he wanted, and now he's kidnapped Eiko. Who knows how this is all going to turn out? Well, besides me and everyone else who's played before, of course.
Next time, we head back to Esto Gaza and hopefully rescue Eiko and stop Kuja.