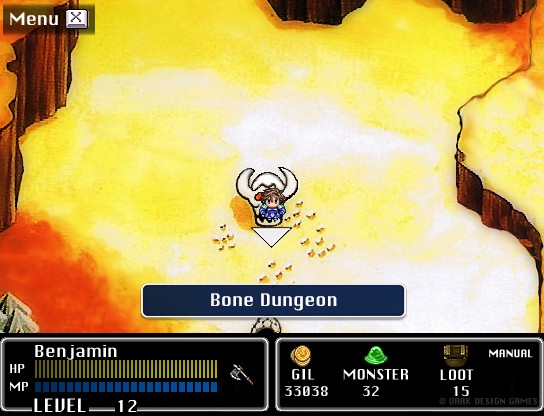
Part 2: Bone Dungeon
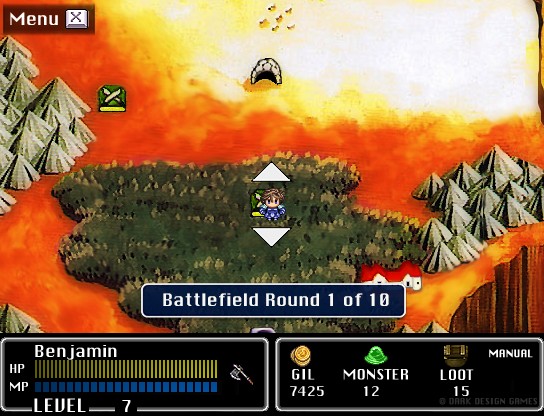
We've unlocked our first Battlefield! Even at his max level so far the enemies will wipe the floor with Benjamin, so let's get our next character.
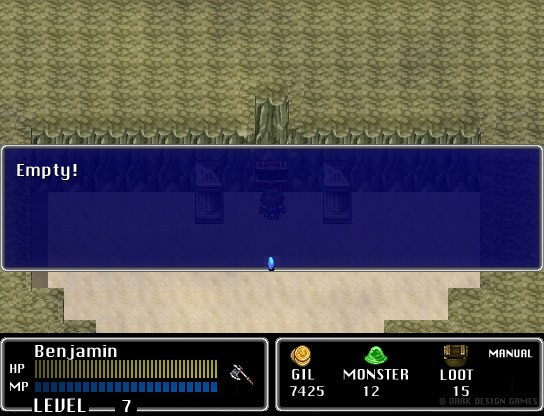
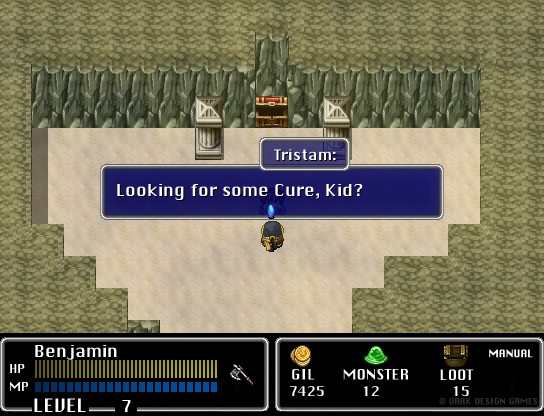
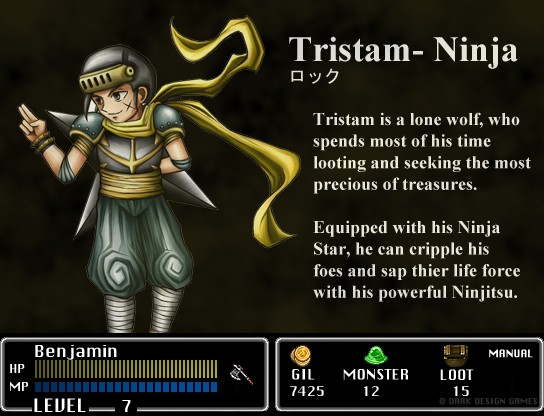
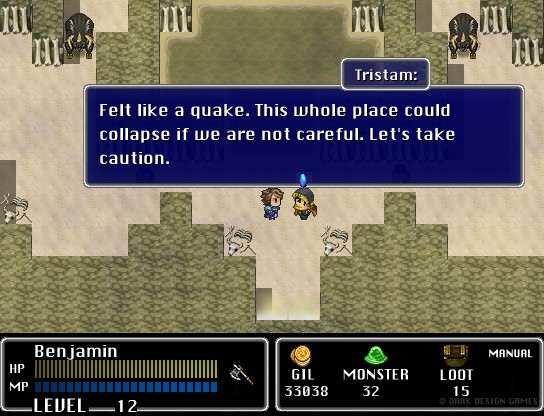
Tristam agrees to give us the Elixir if we go with him to Bone Dungeon.
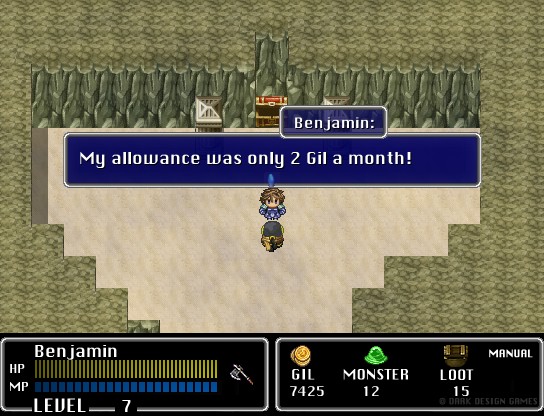
Your family is dead and you're loaded. Hell, Benjamin will break 100k gil by the end of this update.
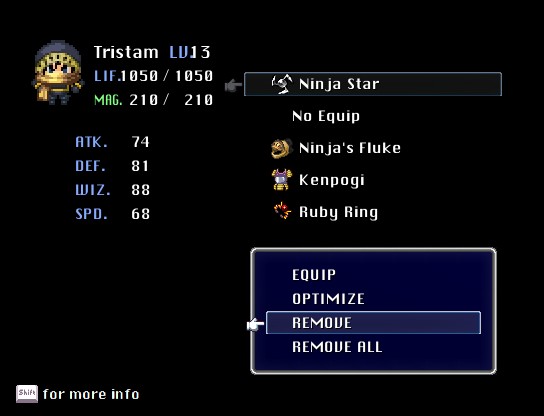
This time, I remember to loot Tristam's gear for Benjamin. The armor and ring are nice upgrades.
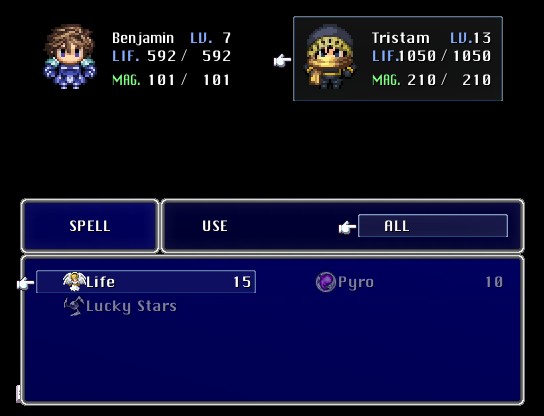
In addition to the Life spell, Lucky Stars hits all enemies for around half the damage of Tristam's normal attack, with the bonus of possibly inflicting a Defense Down buff. Pyro, oddly enough, is a Drain spell, and a pretty handy one too.

There are two enemies in the Battlefield (and one "boss" for the last fight).
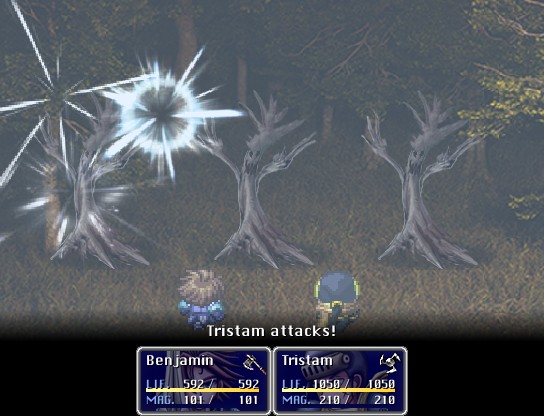
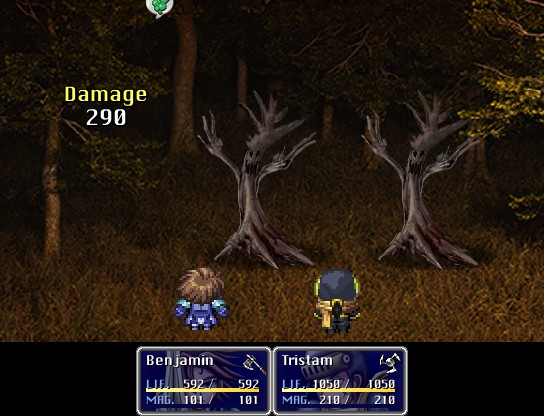
Mad Plants hit hard, to the tune of 200-300 damage an attack. Fortunately, they're by far the most threatening things we'll fight for awhile. An attack each by Tristam and Benjamin is enough to kill them.
Tristam's regular attacks have a chance of inflicting Poison, which is handy. Benjamin's Axe attacks do more damage, but unlike the original I think specific physical attacks won't do extra damage against specific enemies, like axe attacks against tree foes.
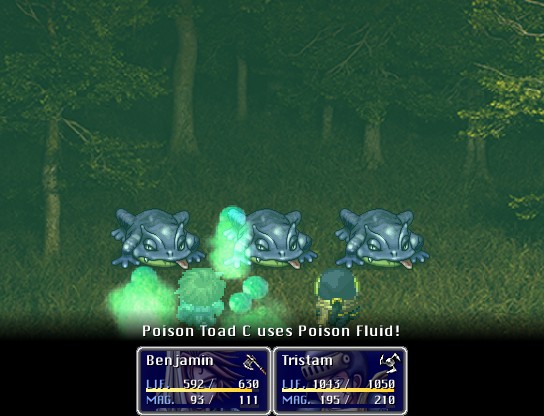
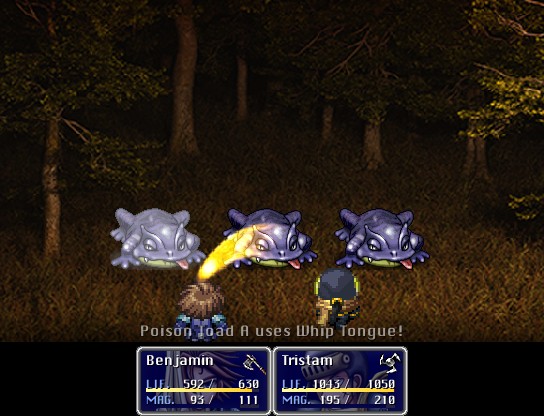
Poison Toads are less threatening but far more annoying. Whip Tongue is pretty weak, only dealing under a hundred damage at most. Poison Fluid has a decent chance of inflicting the Poison status, which we currently have no way of healing besides backtracking to the bed in Foresta. Poison does around 10% Max HP damage at the end of each round, so it can add up but isn't too overwhelming. Poison Fluid doesn't do anything else so the toads are minimal threat.
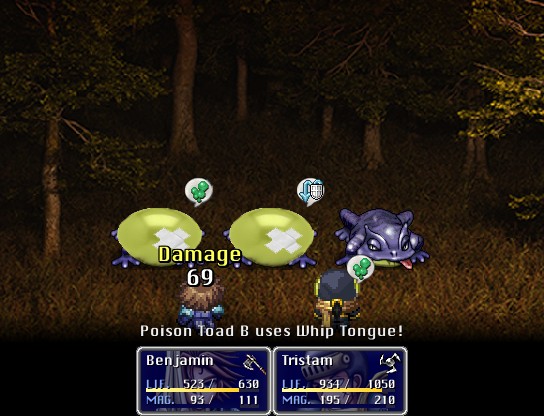
They're also one of the few enemies left to have a damaged sprite. Everything in the original game has a damage sprite, but this game uses its sprites from a hodgepodge of random sources so after the early enemies we won't get many of those nifty near-death indicators.
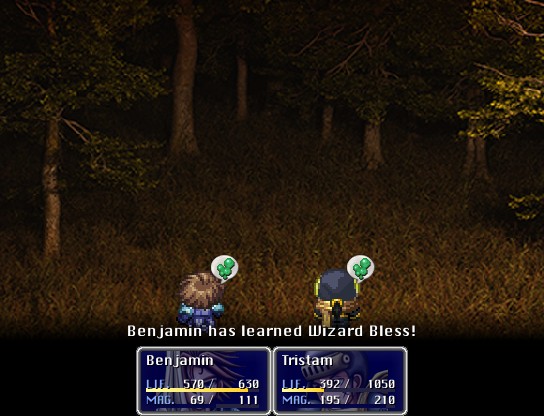
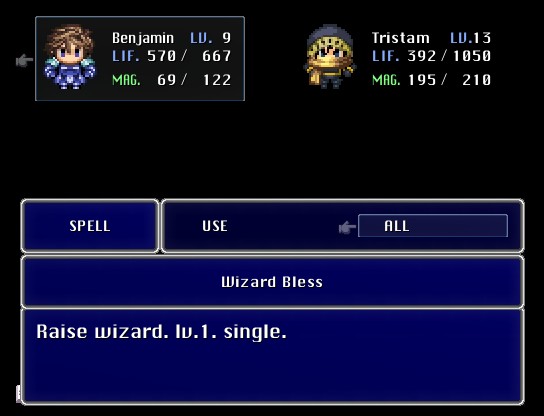
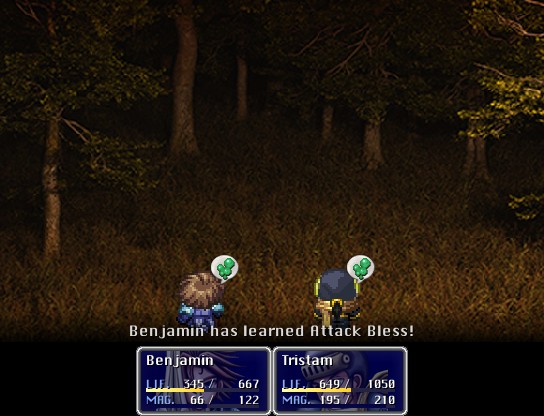
Otherwise, it's only combinations of these two enemies for the first nine battles. They do grant a good bit of EXP though. The Bless spell boosts a specific stat for a few rounds. Wizard boosts wizard (spellcasting stat), while Attack boosts attack.
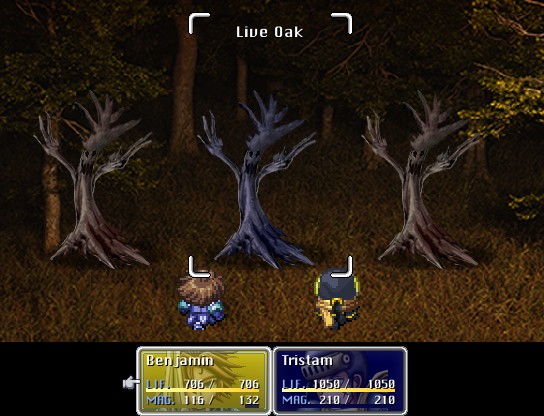
The last enemy is the Live Oak, which is simply a Mad Plant with a bit more HP.
Like the original, you get rewards for clearing out a Battlefield, though due to mechanical changes they're different here.
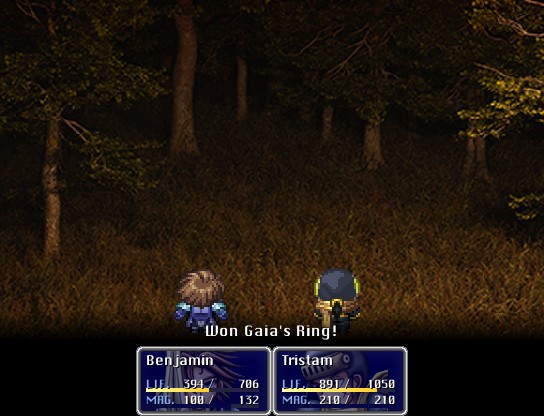
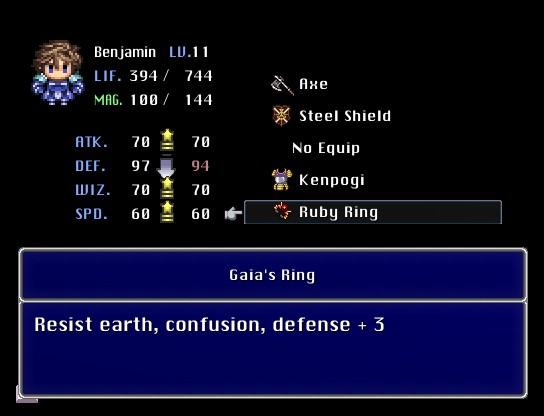
Gaia's Ring is very useful for the next dungeon since the boss and an enemy or two will use Earth attacks, while another enemy will inflict Confusion. I give it to Benjamin.

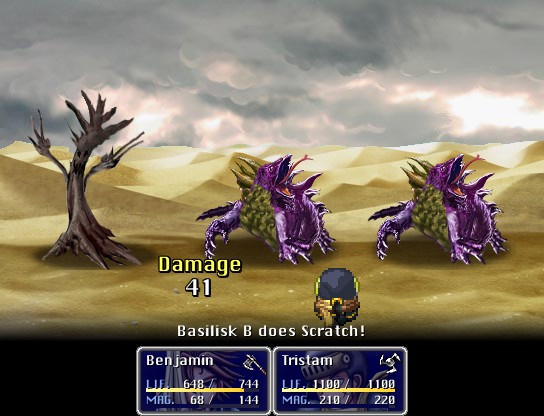
This battlefield has the same enemies as before plus a new one, the Basilisk. These guys are a bit hardier, but have very weak offensive capabilities, so if anything this battlefield is slightly easier.
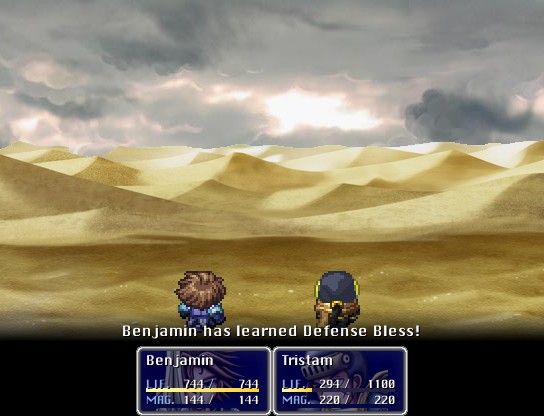
I finish off the stat buffs with Defense Bless.
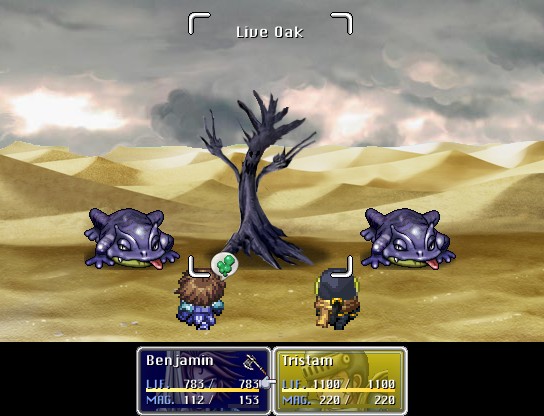
Again, Live Oak as the last boss.
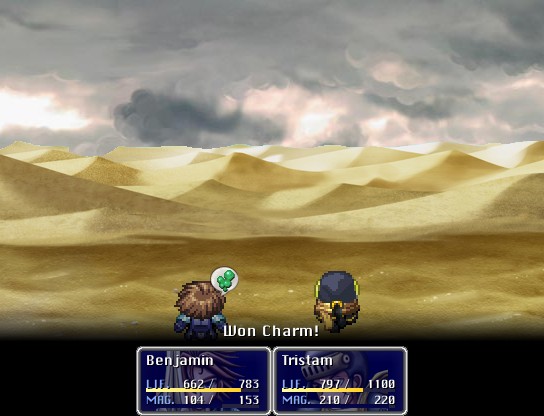
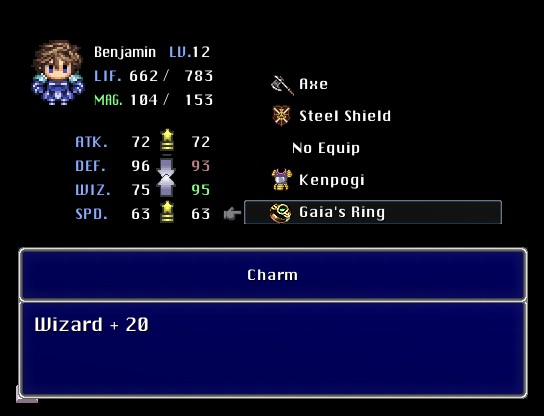
The Charm (which is actually also the reward in the original) is another accessory that gives a large spellcasting bonus. Pointless for Benjamin since all he has are healing spells and buffs. In retrospect, this might have been good for Tristam's Pyro spell (seriously why is the freaking Drain spell named like it's a fire spell), but I manage without using it. It'll probably be more useful later on.
I'm pretty sure the world map artwork was actually taken from a sketch done by someone on the original team, so it isn't just a crude drawing by whoever made the remake (or someone the creator stole it from).
This never comes up again.
In the original, you could kinda move parallel to moving sand to reach areas with treasure. Here, you just sloooooowly slide along. Chest is simply a Phoenix Down.
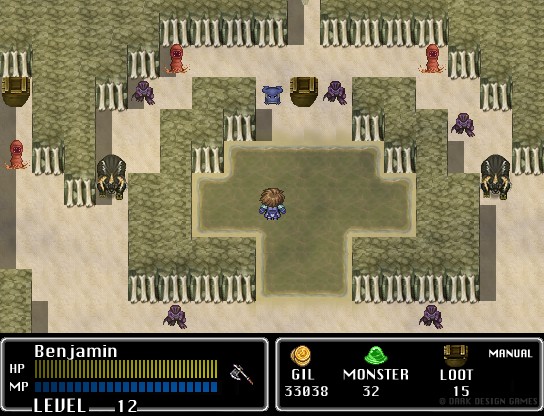
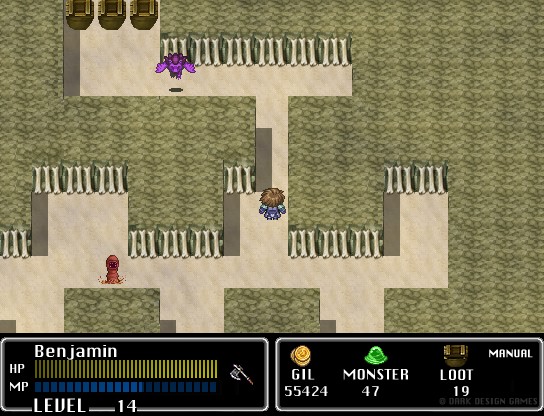
Poison Toads and Basilisks are prevalent here, so let's check out a couple new enemies.
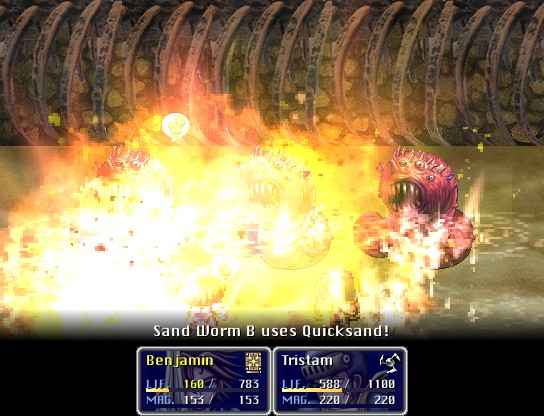
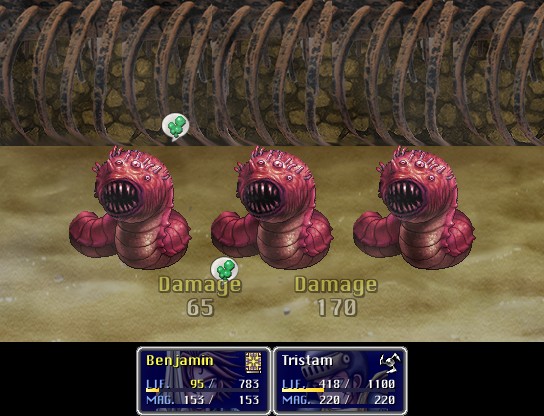
Sand Worms have three attacks. Scrunch is a standard 100ish damage attack, Poison Fluid is as annoying as the toads' version, and Quicksand does decent damage to both characters, though the Gaia Ring resists it. They're also pretty durable, so they can be a bit challenging to handle.
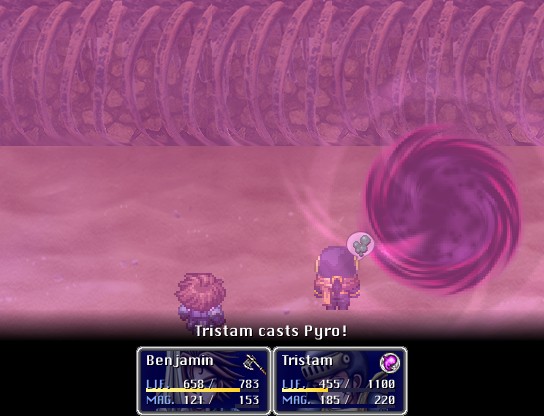

Pyro is a very solid spell for this dungeon, as it lets Tristam do damage (more than his standard attack!) while keeping healed, meaning less wasted turns from Benjamin casting Cure or throwing potions.

Gorgons are our first boss palette-swap, doing 100ish damage with Rapier and a chance of inflicting paralysis with Glare. Paralysis is pretty annoying if it hits since your character is stunned for a random amount of turns.
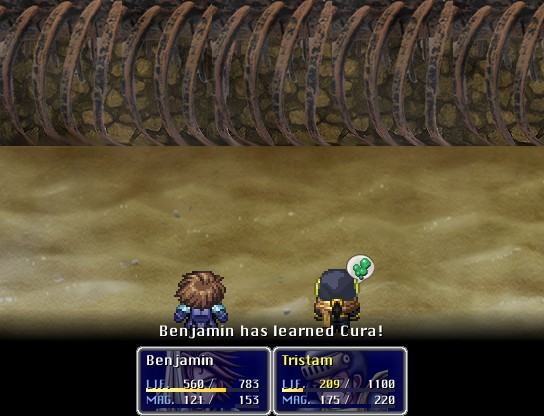
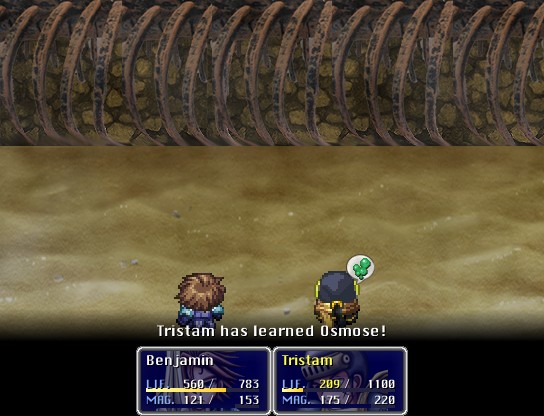
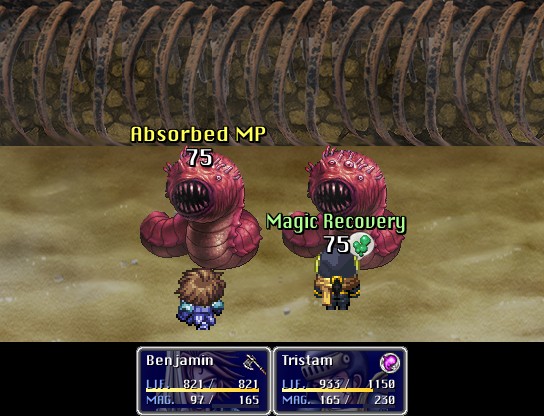
Two major spells learned here. Cura heals a lot more than Cure of course, but is also twice as expensive (16MP vs. 8) at a stage where Cure still heals over half someone's HP, so it'll be useful later on but not so much now. Osmose is what it says, lets Tristam drain MP from monsters (assuming they have any, since quite a few in this dungeon don't), which means Pyro spam is much more viable.
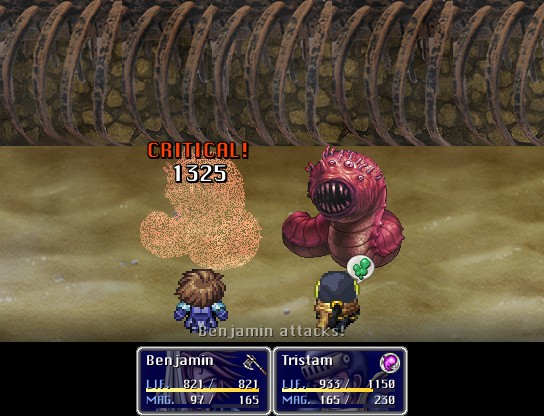
Benjamin starts getting some criticals at this point, which are very potent when they land.
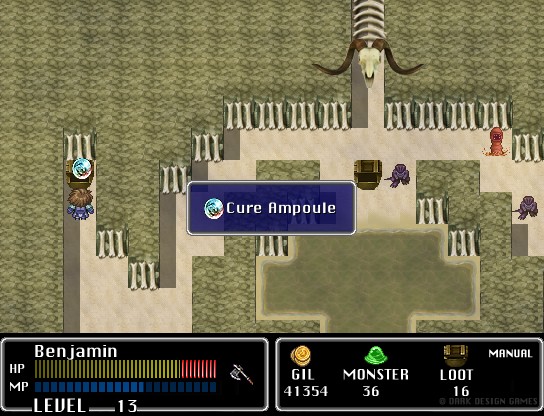
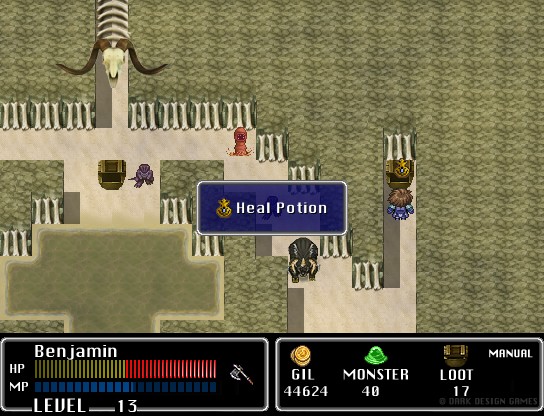
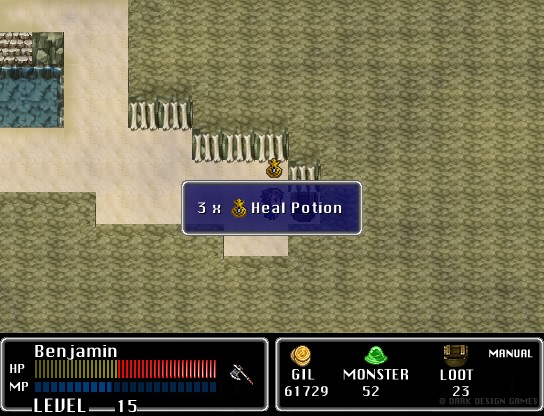
The Cure Ampoule only cures Poison and Blind, while the Heal Potion cures all status effects. We get a few more Heal Potions later on, but just the one Ampoule. We can't buy either in town, and Benjamin doesn't learn the Heal spell until L15, which is halfway into this dungeon, plus it's rather pricey at 16MP a pop.
Poison is too prevalent in this dungeon to bother healing with limited supply items since you can just cure through it, though this also eats up your resources pretty quickly. It's not that big a deal later on in the dungeon, but if I was going to redesign this section I'd replace the pointless Cure Ampoule with a Seed (MP recovery item we'll see later in the dungeon) and give Benjamin the Heal spell much earlier, though keep the cost the same or slightly reduced. This would let you manage Poison while still making it important to manage your resources, since you just can't throw Heal Potions after every battle to fix it. The Seed would give you a bit of leeway in healing away Poison, but the game would also encourage you to use it and thus put in that mentality to use your freaking items.
I complained about the whole Poison thing earlier, and after finishing the dungeon I'm not as sour on it since I did enjoy the rest of the dungeon somewhat, but I ended up having to backtrack to Foresta to heal after clearing this room, and I think a bit more care and thought in game design could've encouraged me to move on without doing so. There is a balance between that and gaming Heal Potion chest respawns in the original game.
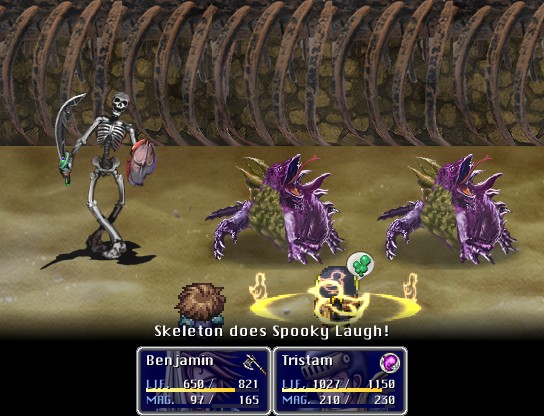
Anyway, Skeletons can Headbutt for 250ish damage and inflict Confusion with Spooky Laugh. Benjamin is immune thanks to the Gaia Ring, and that's a good bit of game design there in encouraging trying out the Battlefields to make life in dungeons easier outside the obvious EXP gains. I think an interesting redesign twist is to eschew the EXP rewards entirely and make it all about surviving a gauntlet to get a valuable reward that makes your life easier in the future, so if you skip it you'll end up expending more resources mid-dungeon but aren't totally screwed. As is you kinda need the EXP just to keep up in this game.
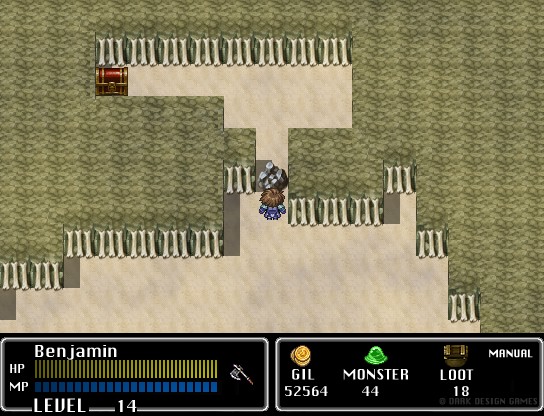
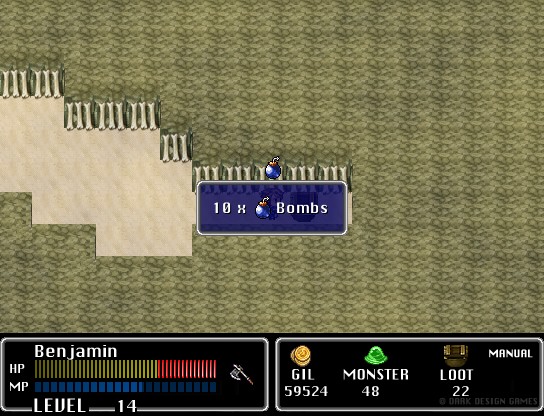
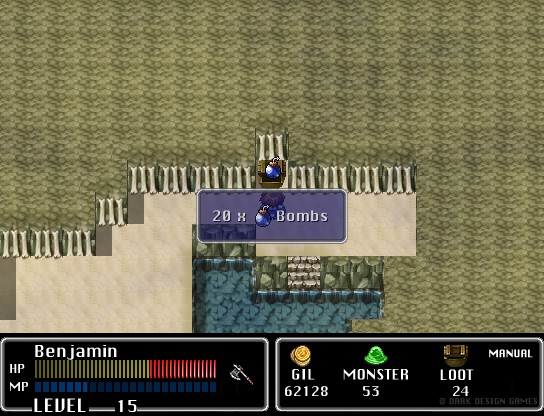
Anyway, time for Bombs.
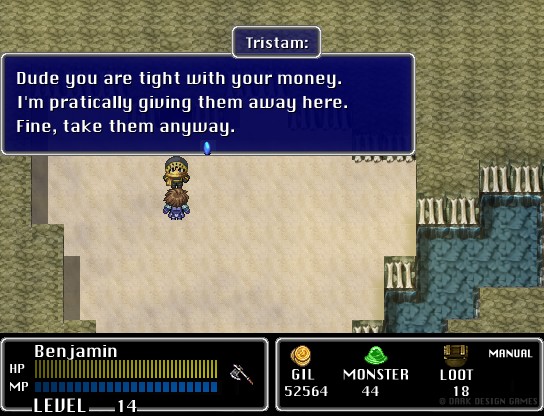
This time, you can simply get the Bombs for free by refusing rather than pay a discount (though we're already pretty damn loaded).
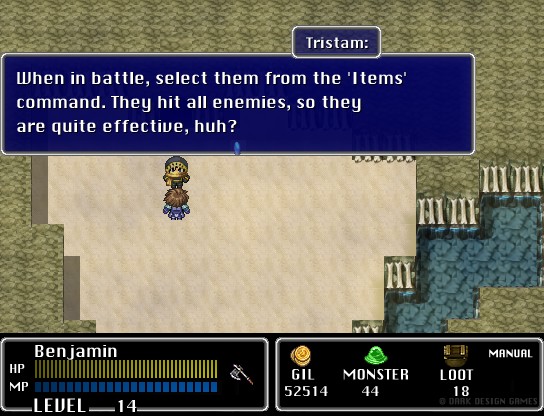
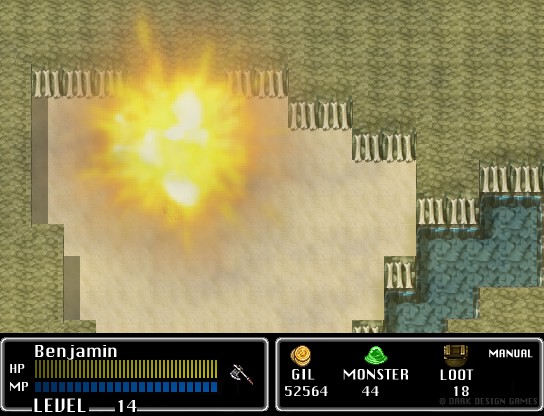
Rather than a weapon, they're an item we can use to damage all enemies. I never bothered using them, but maybe I will later. Of course, we can also blow up rocks on the field.
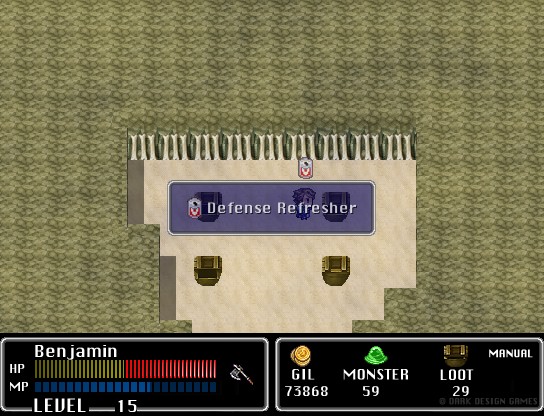
A simple defense boost, but still not too shabby.
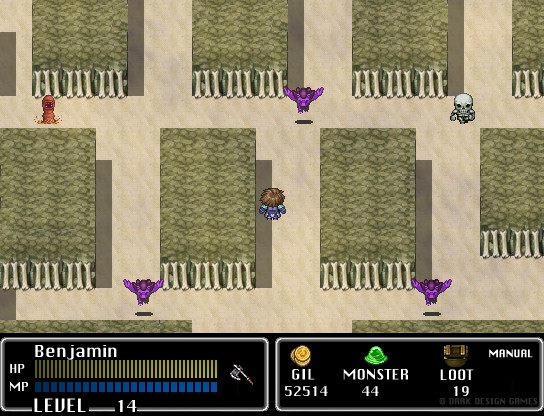
I don't fight all the monsters in here yet, but I do fight a new one.
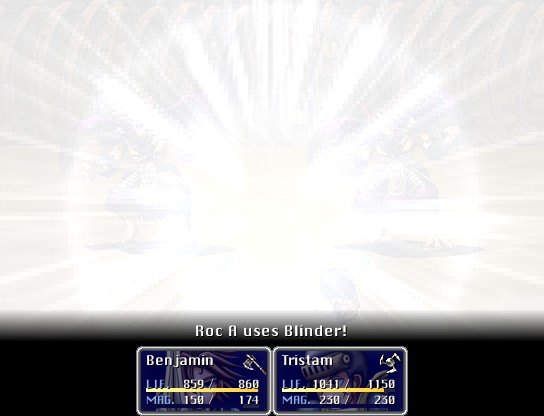
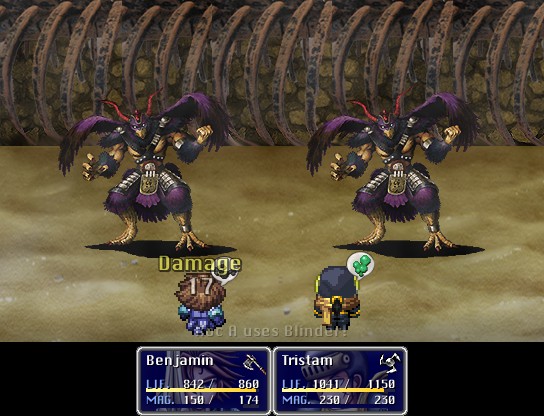

Rocs are the most threatening monster in this dungeon. A weak Rapier attack, plus Blinder which does really low damage and can inflict Blind, which makes you whiff on a lot of attacks. Then Aero does massive damage. They have some hefty HP to boot. It takes a bit of luck to not get multiple Aero attacks, but you can always retry the battle upon death so at least RNG-gaming it isn't too terrible a chore.
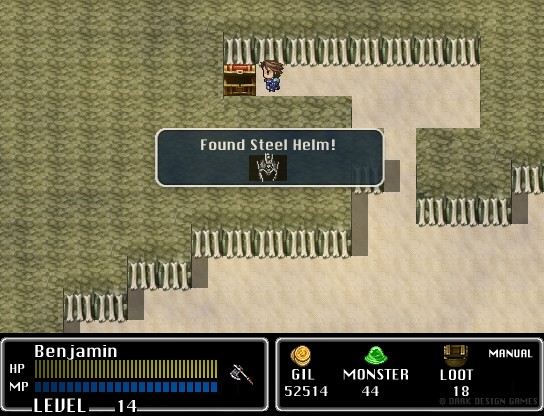
Those three chests contain an Attack Refresher (+3 Attack), Health Refresher (+100 Max HP), and a Seed (Restore 150MP), all very great things to have.
There's also a couple chests to replenish bombs.
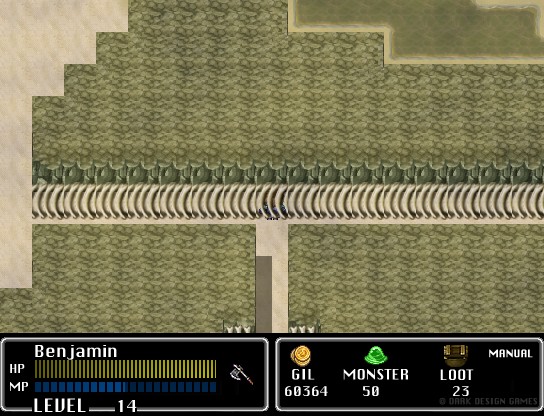
In the original, you had to bomb this skeleton to progress with a rather nifty explosion effect. Here, you just...walk into it.
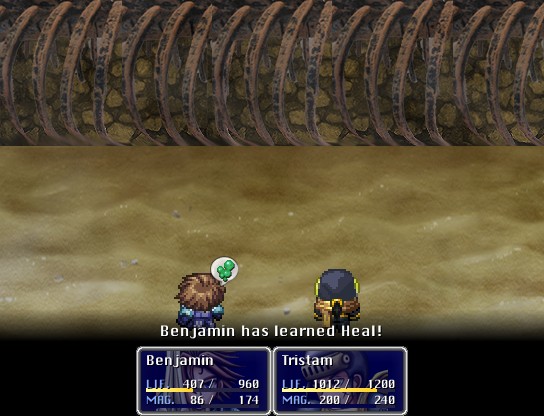
Heal is pretty expensive at 16MP, but very handy and useful now that we have Seeds.
The secret room to the right has some handy goodies as well.
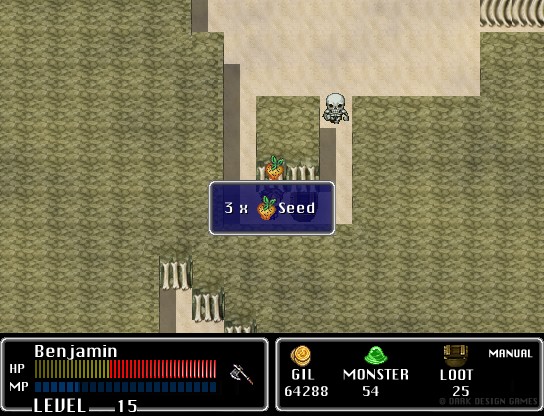
Also our magic issues pretty much go out the window with these. We get one more later, too.
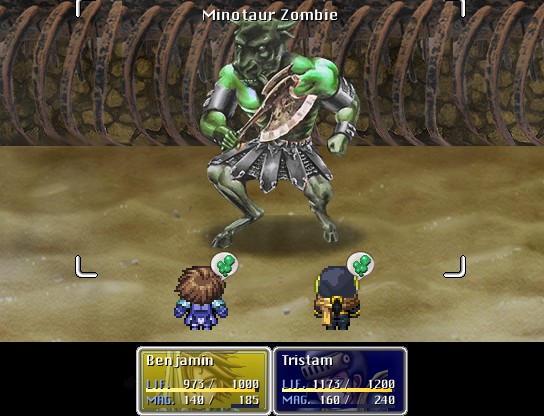
Minotaur Zombie is the last new enemy besides the boss. He does his Slice and Dice from before, to minimal damage.
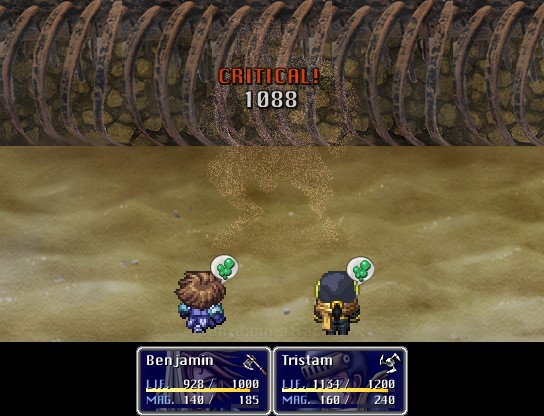
Benjamin then one-shots him with a crit.
At this point, things go rather straightforward. This is the last notable loot item for now.
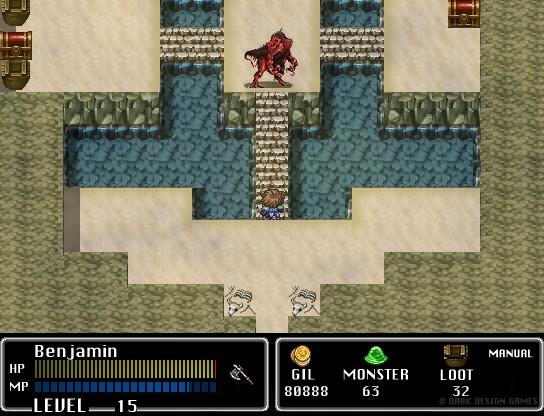
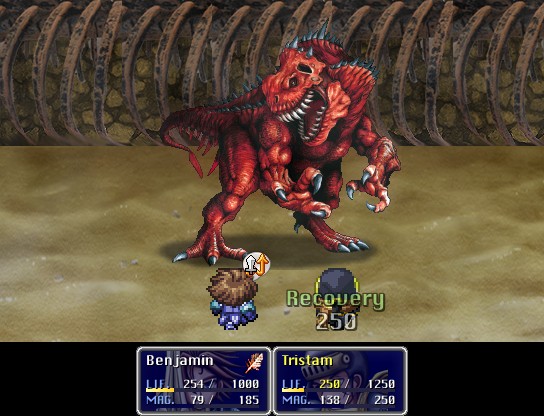
So finally we reach the boss.
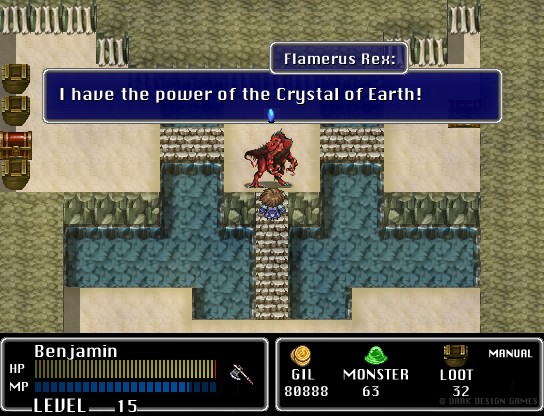
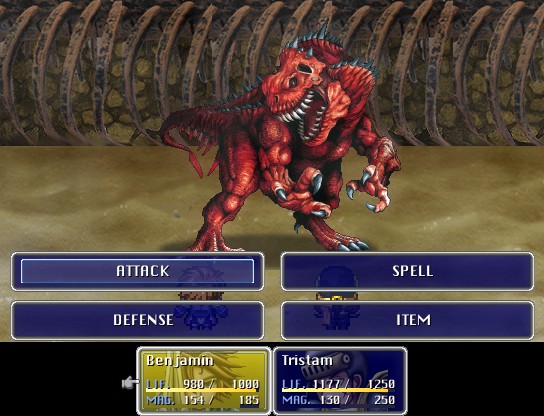
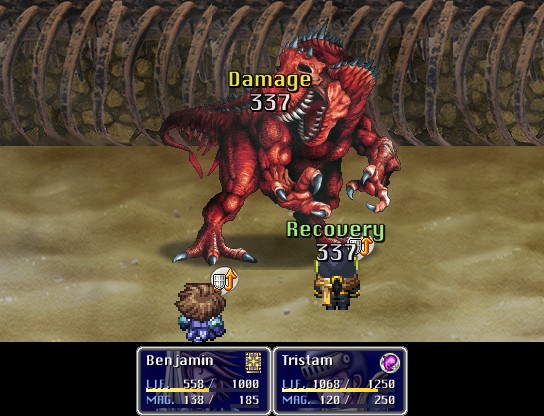
Flamerus Rex is pretty tough in this iteration. No multi-tier damage portraits either, so you have no idea how you're doing. I really wish more games implemented the damage system like Mystic Quest, just that simple indicator can influence your strategy on whether to keep playing defensive or to go all-out in hopes of finishing the boss quickly, plus gives you a heads-up that the boss might be changing its attack patterns soon (not that the original really change attack patterns outside the final boss, sadly, and this seems to be true for the remake as well).
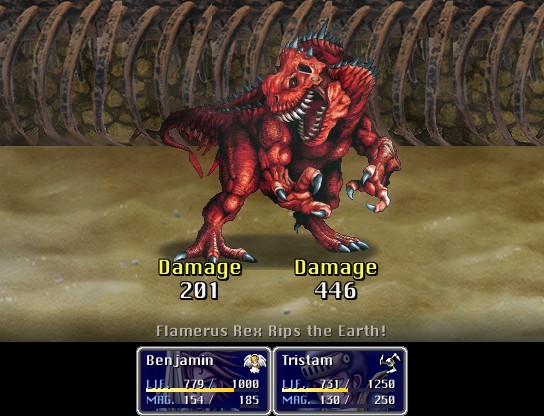
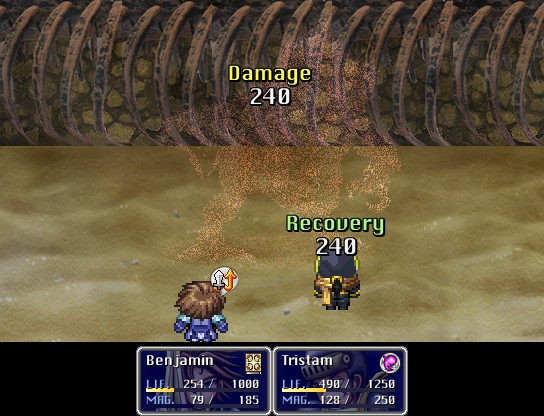
Rip Earth is the nastiest attack. The Gaia Ring here is invaluable, saving a couple hundred damage.
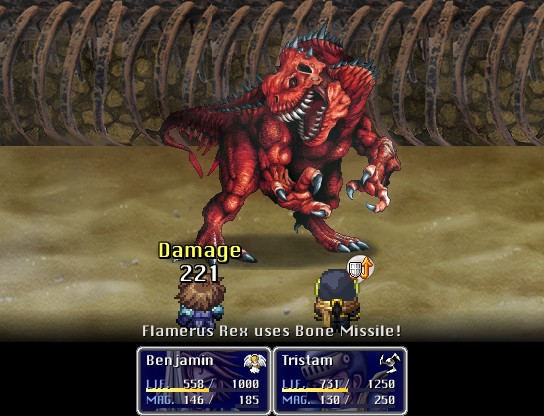
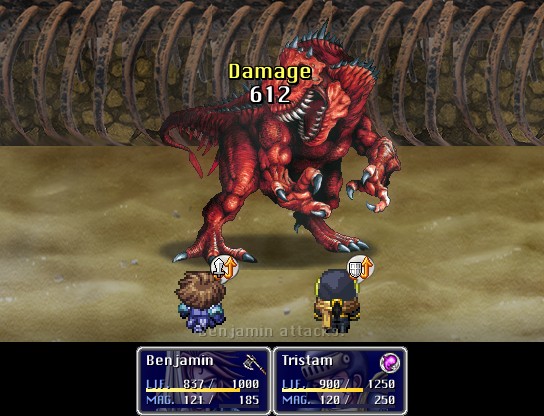
Bone Missile is a hard-hitting single-target attack. I have Benjamin focus on spamming Defense Bless to start.
Pyro spam is invaluable, of course.
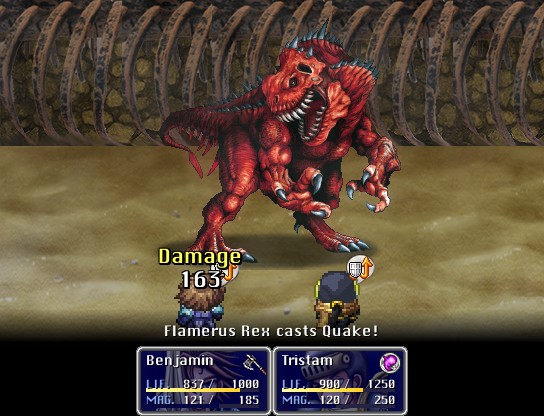
Quake is single-target, it seems, but also does solid damage (or would if Benjamin didn't resist it).
Benjamin does over double damage with the Attack Buff. It wears off, but even wasting a turn healing if necessary and casting the buff ends up being worth the investment for this fight.
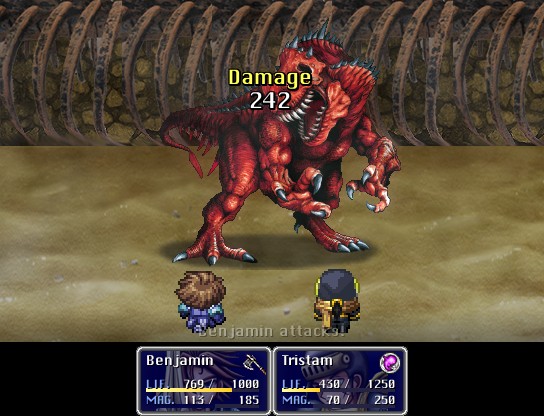
It actually gets pretty close in the end, as I throw a Phoenix Down to rezz Tristam (at low HP) and have to pray I don't get hit with something nasty.
But it turns out Flamerus Rex was one attack away from death. So...hooray?
Honestly this was a pretty solid fight, I had to effectively juggle healing, attacking, and buffing the entire fight and got close to a wipe. Hard to ask for more in a generic jRPG.
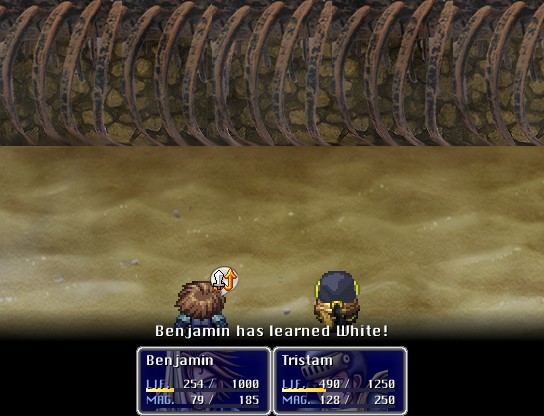
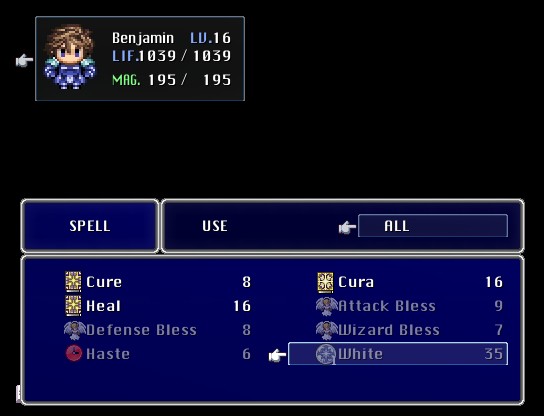
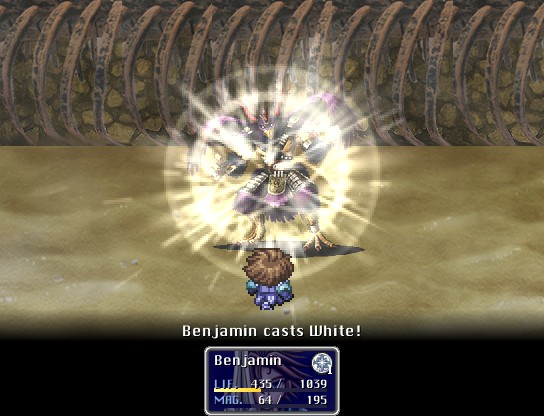
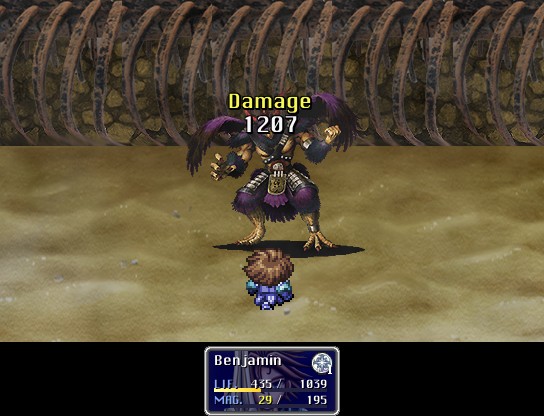
It also ends in Benjamin learning White, a very powerful holy-elemental attack spell (like over 1000 damage powerful), though it's also very expensive at a whopping 35MP cost.
With that, we free the crystal.

Uh...cool, I guess.
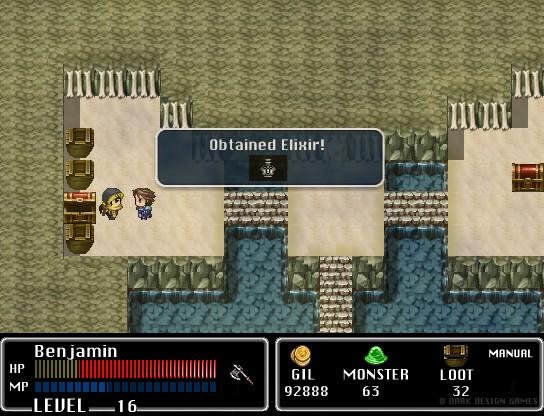
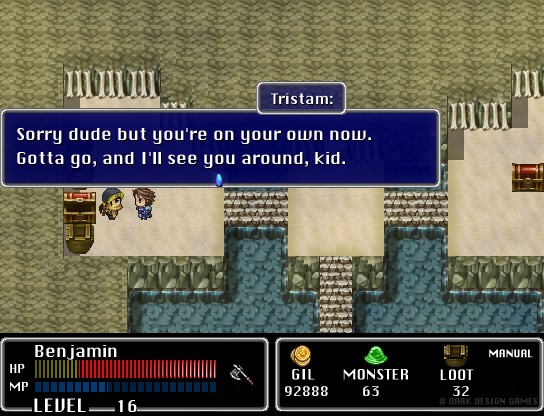
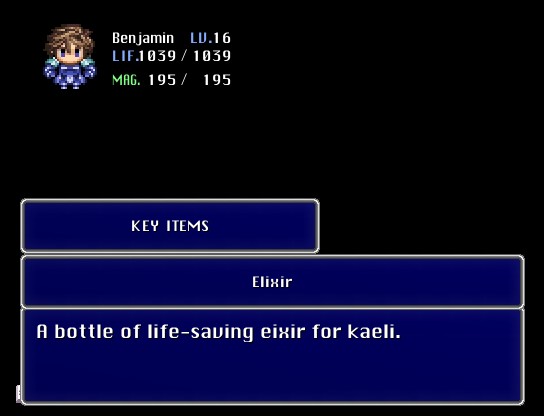
We get the Elixir, and Tristam leaves us.
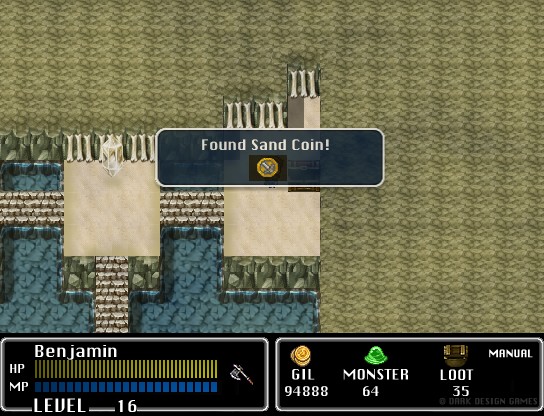
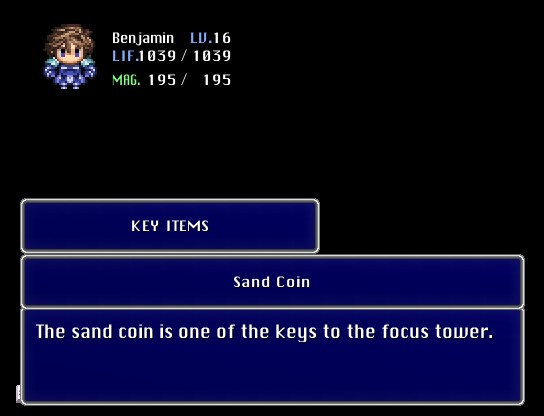
We also get the Sand Coin, needed to unlock the next area we'll be exploring.
Yep.
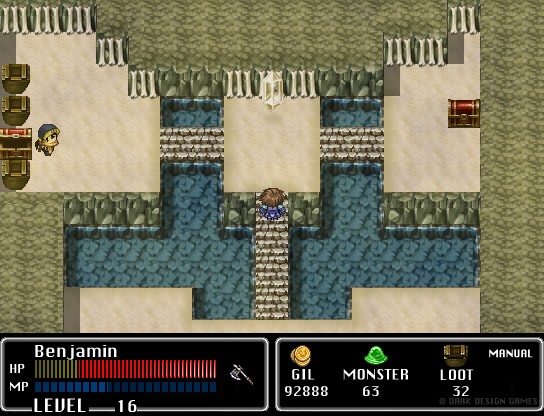
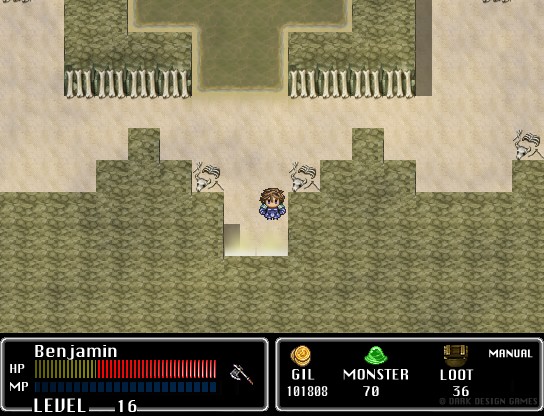
I decide to wipe out the remaining enemies with Benjamin, and at this point he can finally actually handle fights solo.
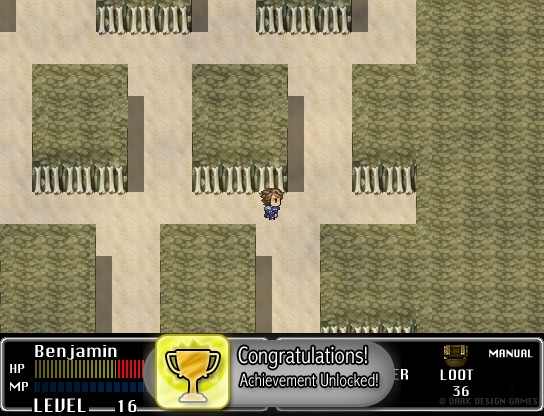
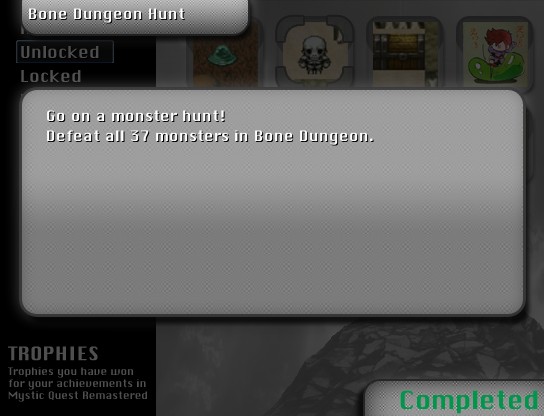
I kinda mocked the achievements before, but they're handy for making sure you clear out all enemies and treasures in a dungeon.
Next time we bring the eixir back to kaeli and move on to the next region.