Part 4: Ice Pyramid
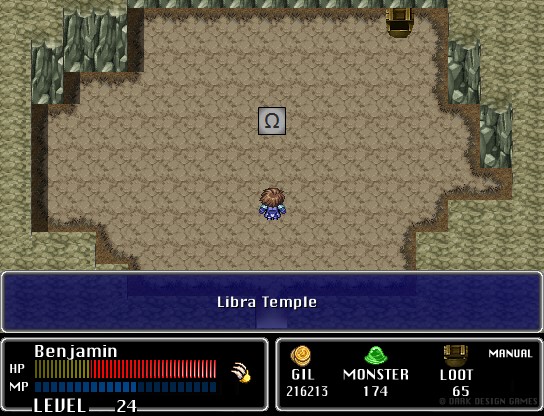
We got the Libra Crest, so now we can revisit the Libra Temple and get stuff.
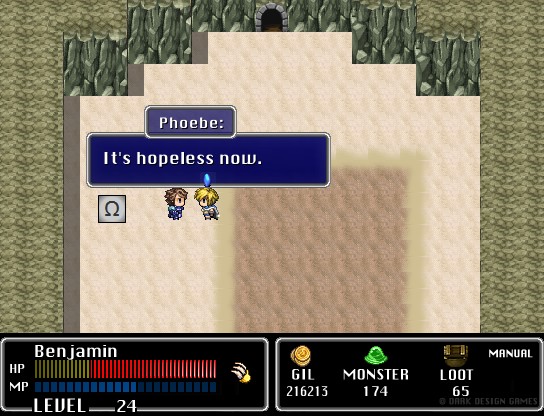
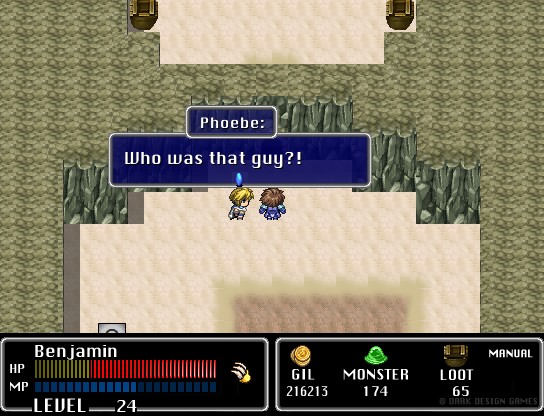
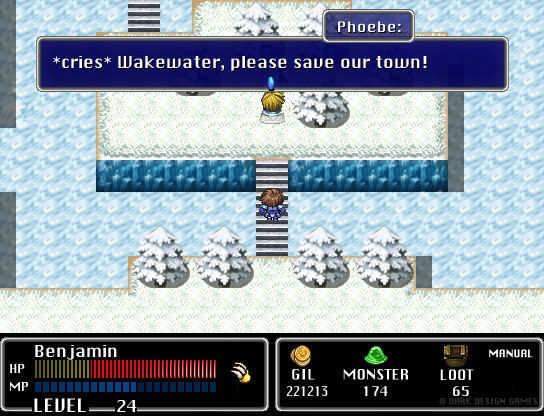
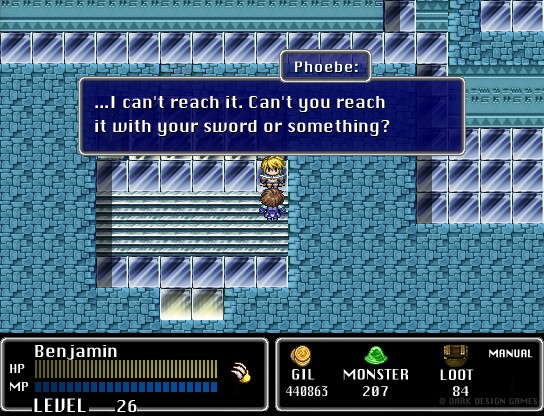
The spring water we need dried up, so Phoebe's back to pessimism mode.
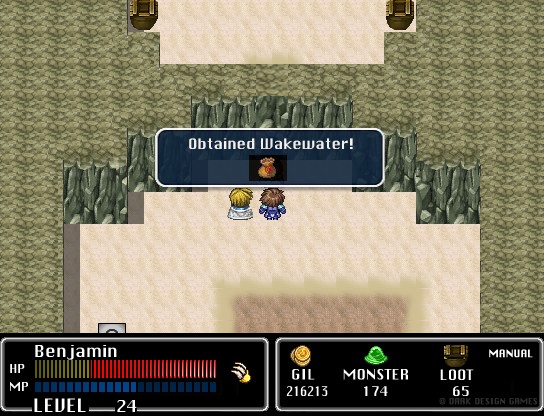
Old man shows up and gives us Wakewater, which isn't useful other than to unlock progression in this version. In the original, using the Wakewater let you buy Cure Potions from Aquaria, but since they're already on sale in this version...
This is the point where the creator starts adding their own dialogue.
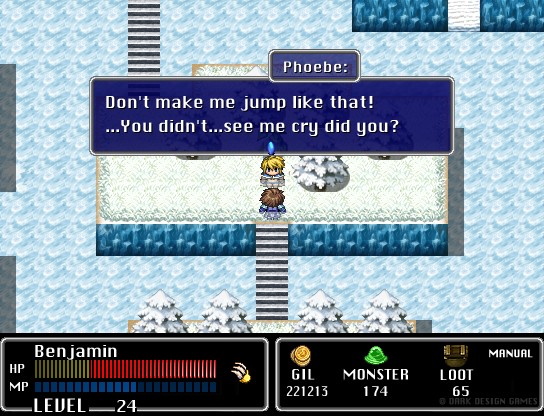
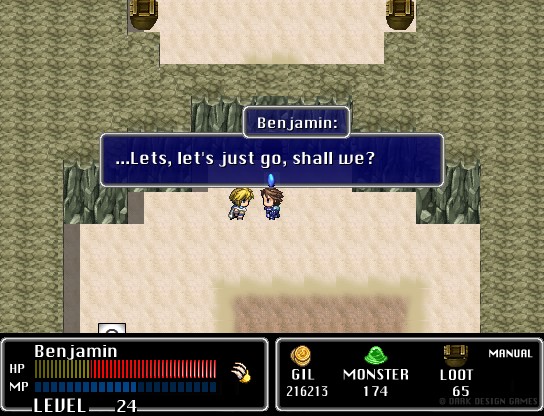
All that changes is Phoebe goes off to herself to cry. I can kinda see it since she's such a downer at this part of the game, but at the same time, it's a tad weird that the script has pretty much gone unchanged until now. If I was going to make one edit to the script, it probably wouldn't be adding a scene where Phoebe cries. But it's pretty minor in the grand scheme of things so whatever.
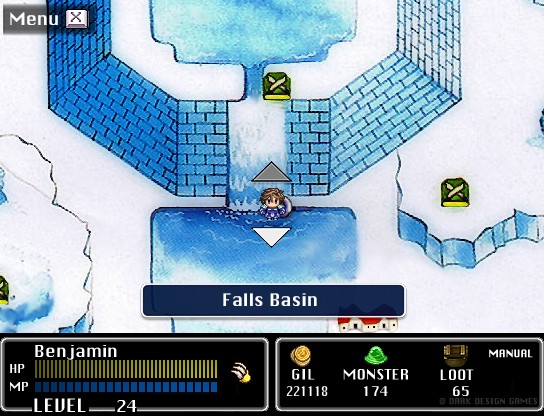
In the original, Falls Basin was a dungeon that was heavily focused on jumping puzzles, namely moving statues so you could jump between higher areas. With no jump, this version is obviously different.
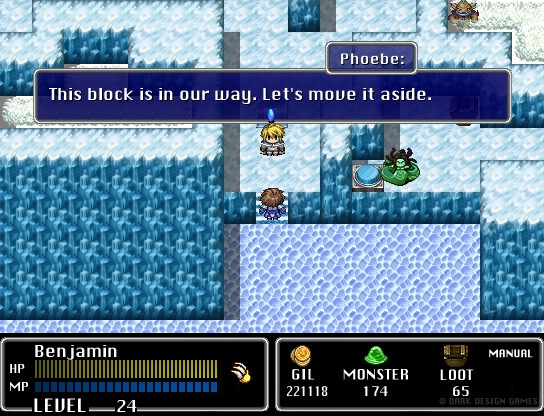
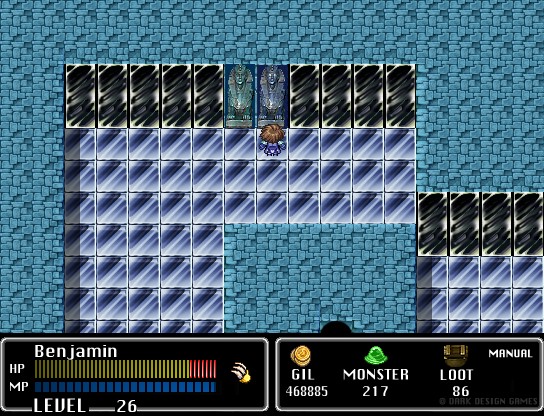
These got replaced with "push the block on the button" puzzles. There's two, and they're both pretty basic as far as these things go.
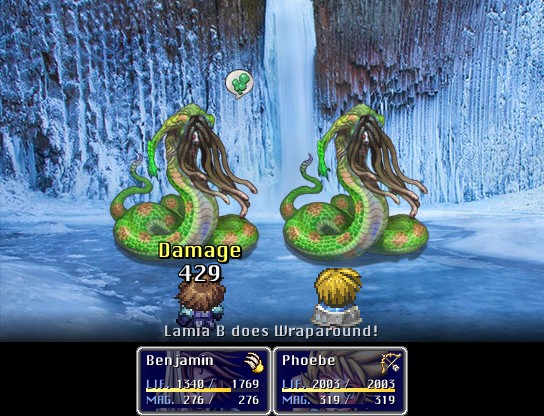
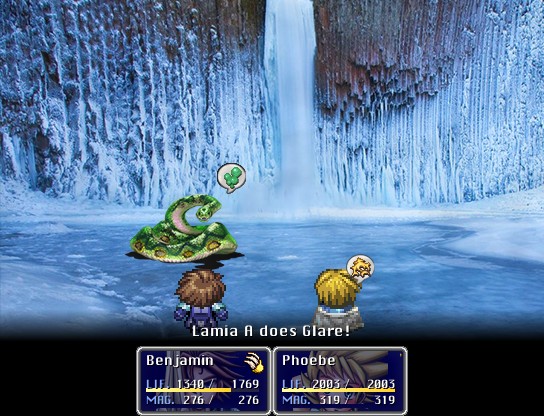
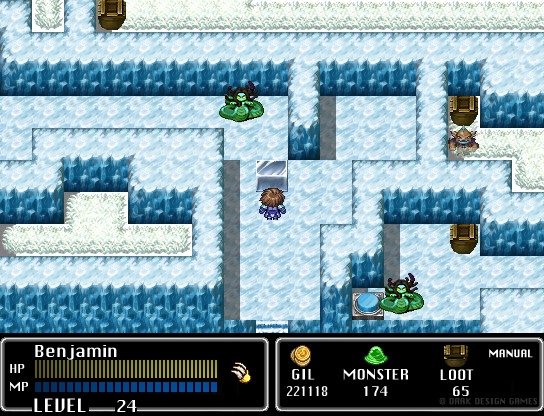
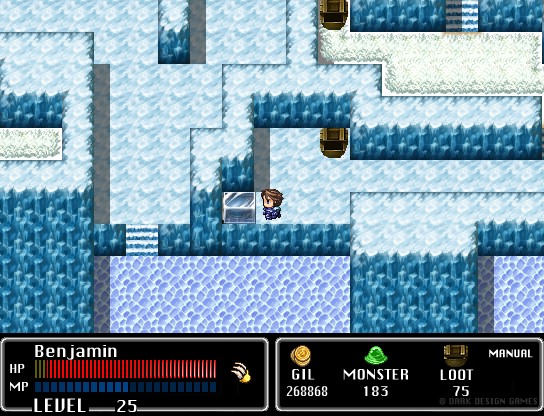
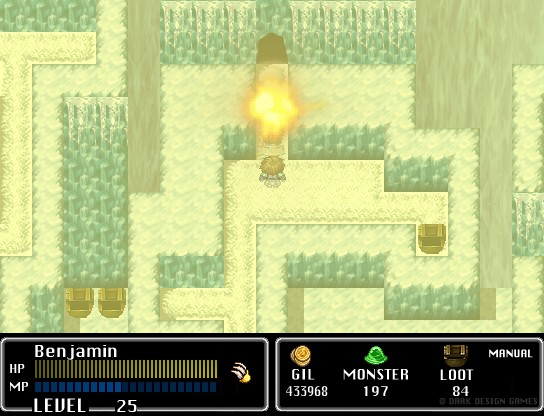
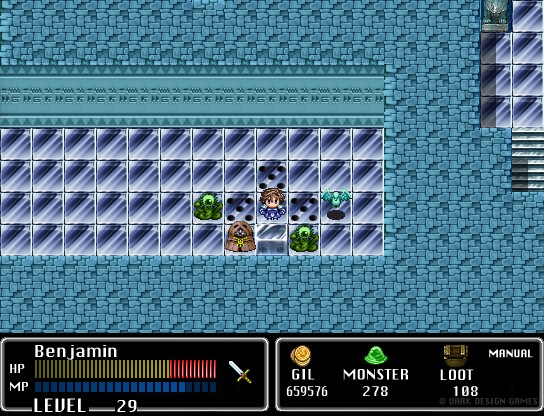
This dungeon has only two enemies. Desert Hags, which we saw last update, and Lamias. Lamias are pretty sturdy, with a lot of HP, and can do pretty large damage as well as inflict Confuse and Sleep. They're weak to wind magic, though.
This block goes here...
...and this one goes here.

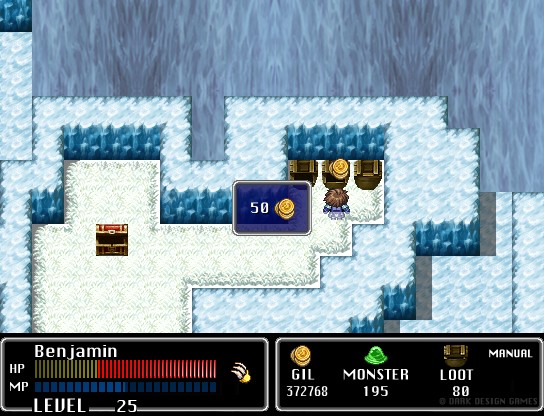
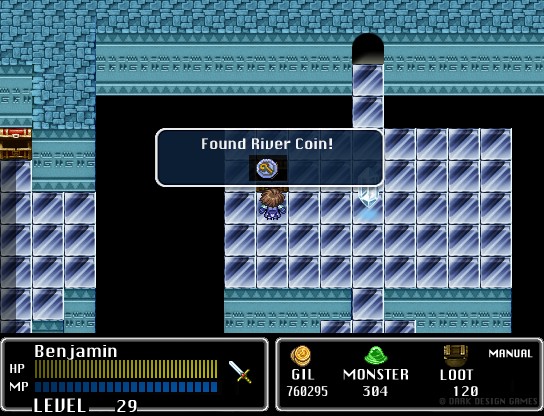
The one nice treasure chest merely has gil. A lot of gil, but considering how much I already have it's disappointing.
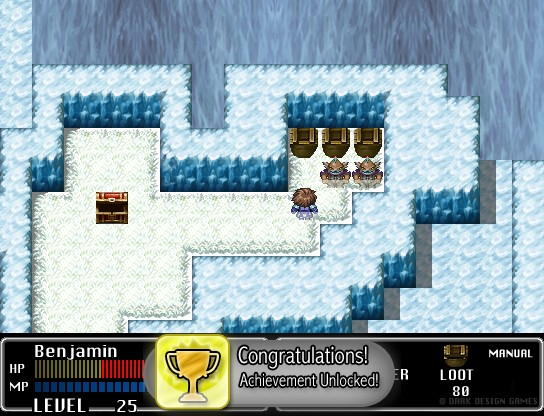
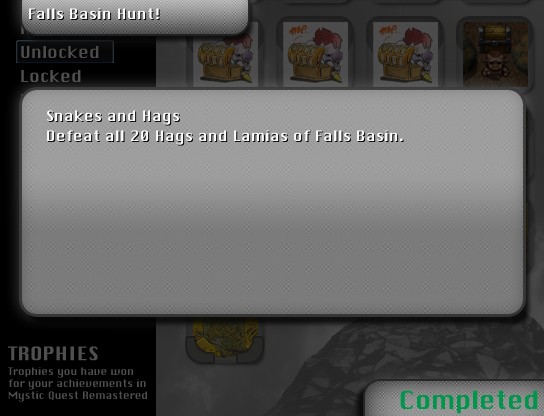
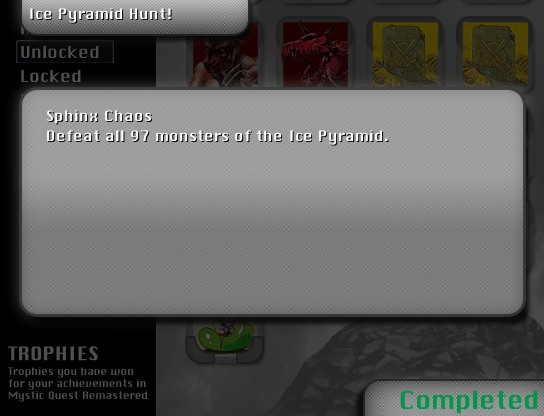
I also unlock the "wipe all monsters" achievement despite there being three non-boss encounters left. Oh well!

are you kidding me here

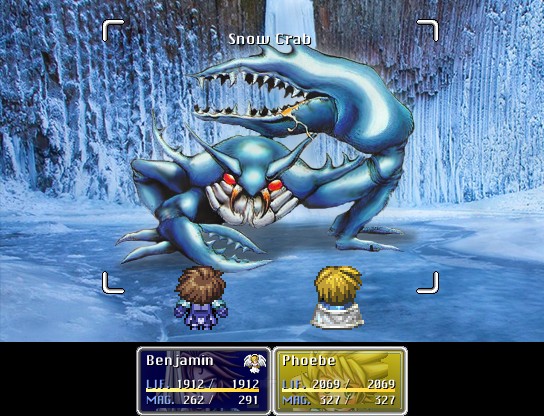
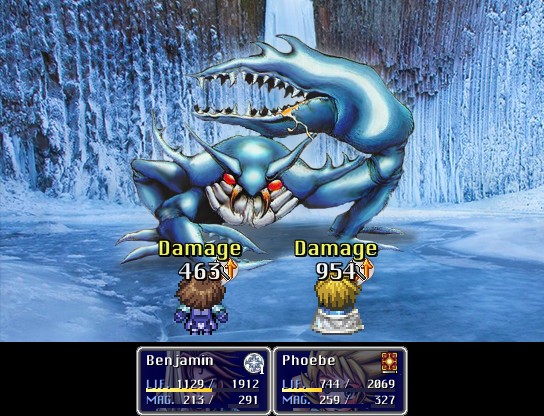
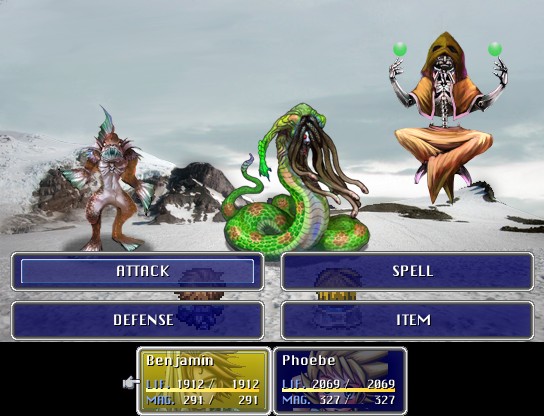
The boss is the Snow Crab. Icy Foam does moderate ice damage, and it has the bog-standard physical attacks.
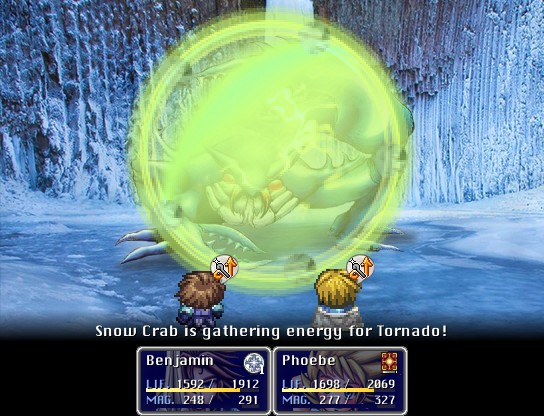
It takes two turns to cast Tornado, which is pretty powerful. I had it charge one round and do something else the next, oddly enough.
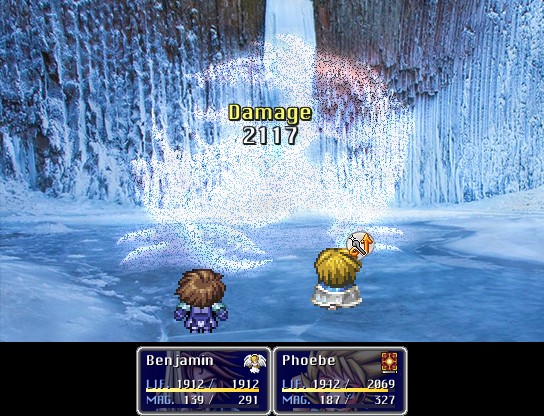
Fira and White spam win the day.
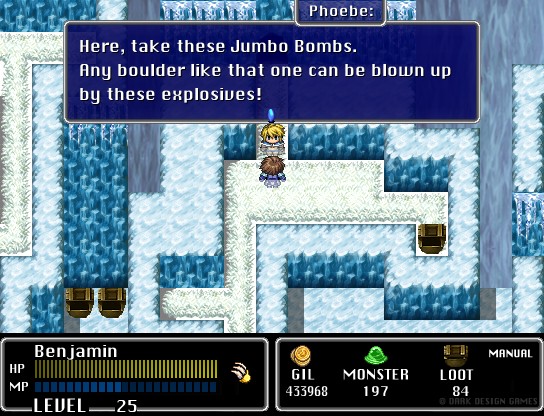
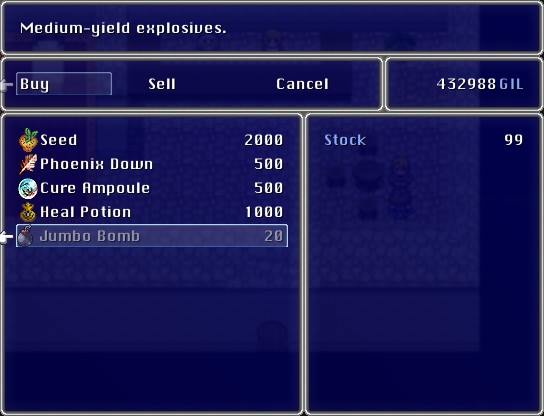
Like the original, we get our bomb upgrade here. They do around twice as much damage as the originals, maybe a bit more, so they're handy to have.
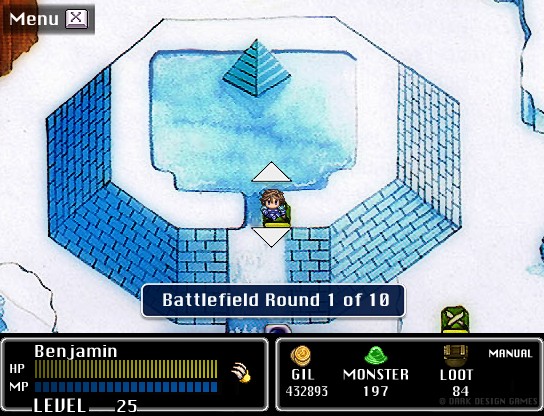
Another battlefield. Mages cast Fire, Blizzard, and Thunder, as well as Cure on themselves, and rarely Osmose, which can be annoying if Seeds weren't so cheap and plentiful. Otherwise, no reward for completing this one.
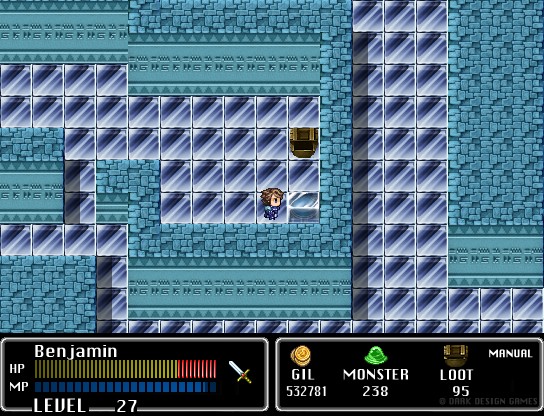
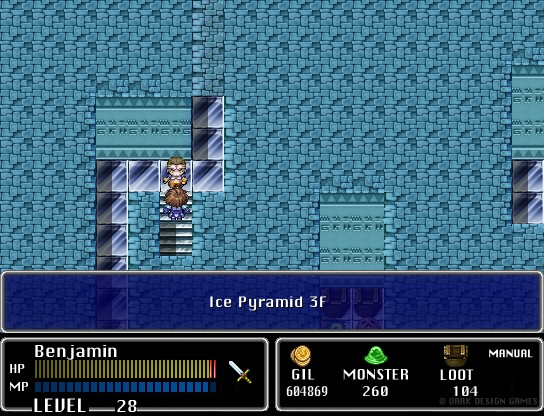
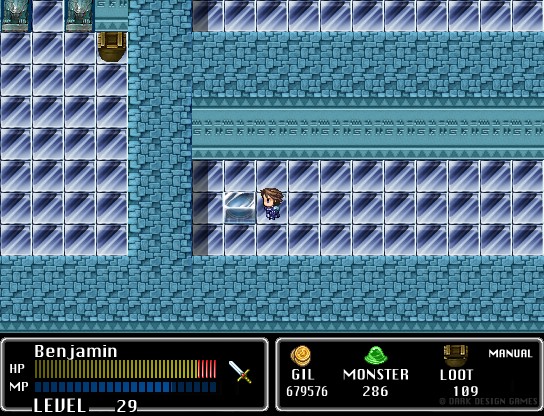
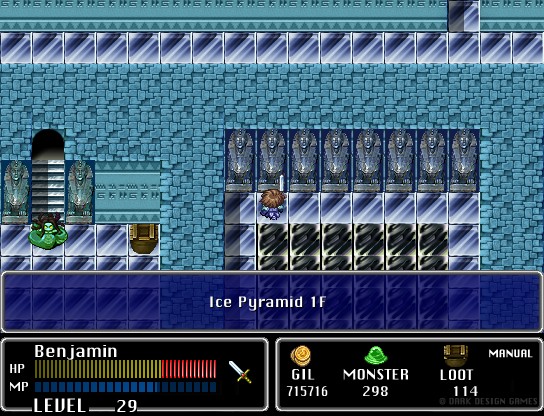
That leaves the main event for today, the Ice Pyramid.
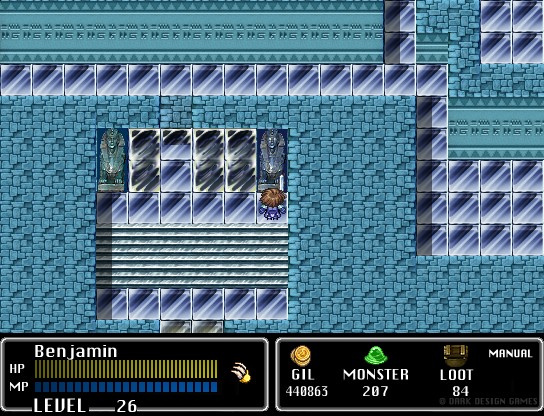
The statues where you activate them with your sword still exist. You don't even need to have your sword equipped!
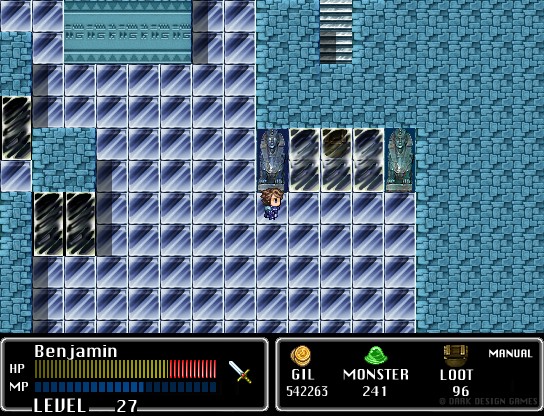
Like the original, the gimmick is that enemies are invisible until you find the Magic Mirror in this dungeon.

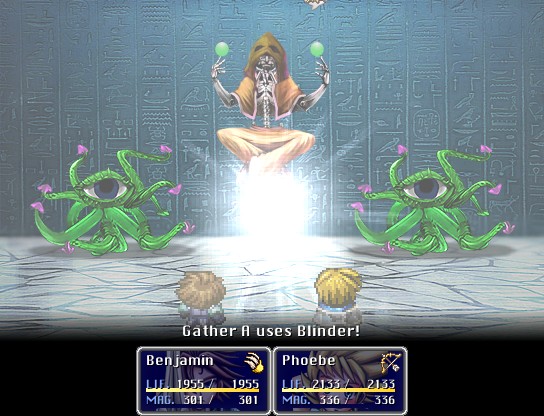
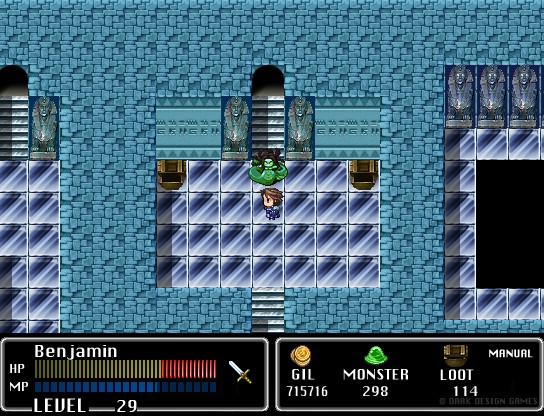
Gathers can cast Thunder, inflict Blind, and do large physical damage. They're still weak to bombs.
There's a couple block-pushing puzzles here as well, though again they're rather benign. They're not actively annoying, at least.
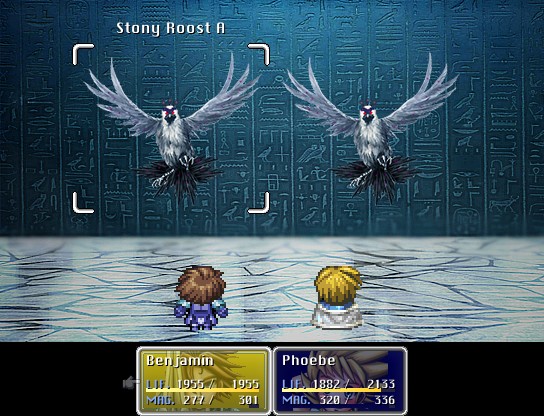
Stony Roosts can Dive and cast Blizzard for decent damage, but otherwise are pretty fragile.
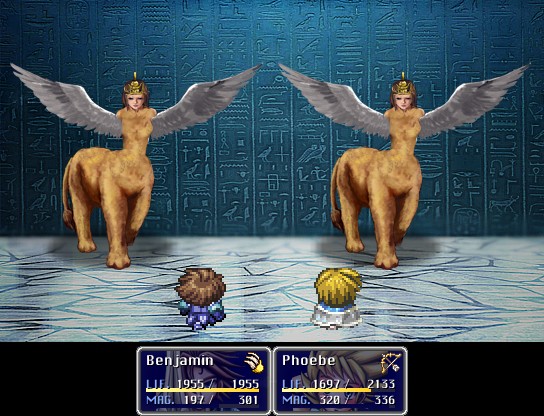
Sphinxes are pretty simple, using an Ice Breath attack, a weak physical, and can inflict Confuse.
Honestly I don't know what half these switches do. I just stab whatever I see, which to be fair is good life advice in general.
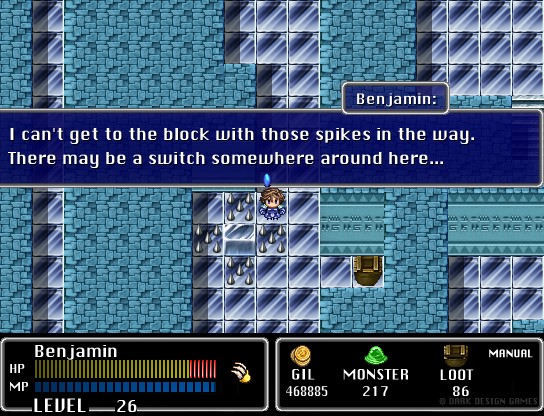
To access the block, we need to find the switch to deactivate the spikes. It's not exactly impressive dungeon design, but I can't knock it either. It's perfectly functional for RPG puzzle design, but at the same time there should be more innovation on that front. I might just have too high standards for a fan project, though.
Anyway, this statue unlocks the spikes. Probably. Sure, why not.
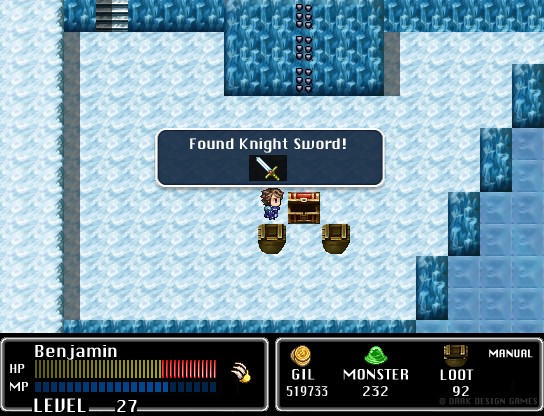
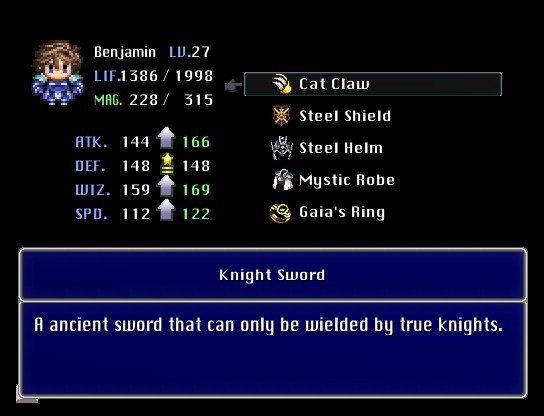
The bottom path leads to a nice weapon upgrade, the Knight Sword. It has some solid stat buffs and makes Benjamin a much more capable attacker.
It also has a chance of inflicting a one-round stun. It's not as nice as the paralysis from the Cat Claw, but that stun is enough that I opt for the Knight Sword for this dungeon.
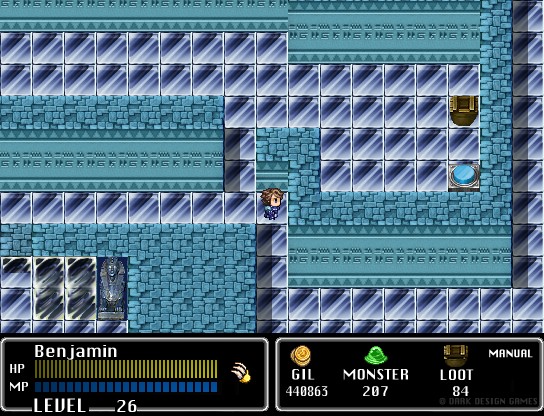
Upstairs is a dead end.
Anyway, I push the block on the button.
Which opens up this path!
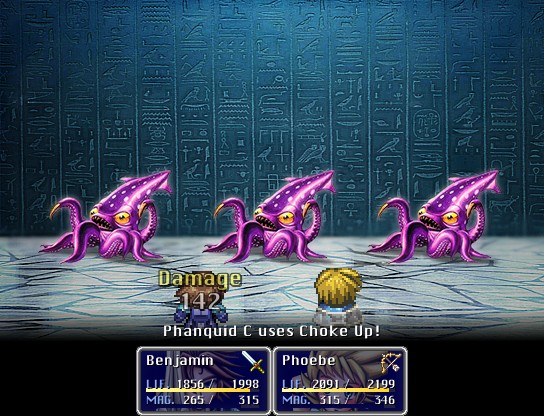
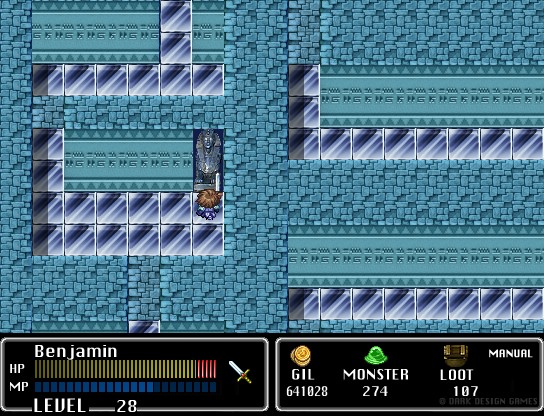
Phanquids have a weak physical attack, can cast Thunder, use Ice Breath, and can inflict Blind with Ink.
Because of the branching nature of this dungeon, I skipped the path that leads to the Magic Mirror. I'll backtrack later.
This chest has three Full-Potions, just so you know.
We'll get here in a bit.
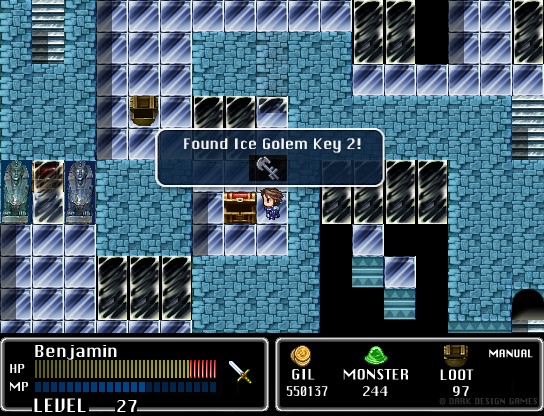
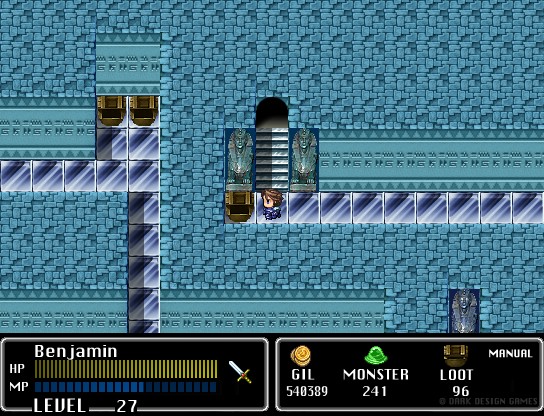
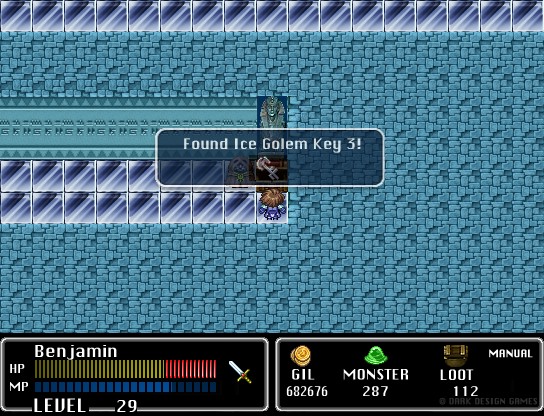
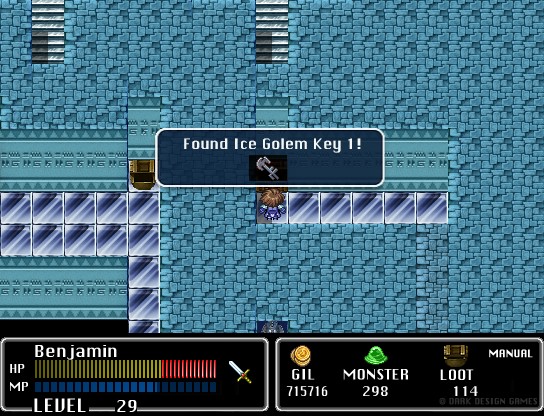
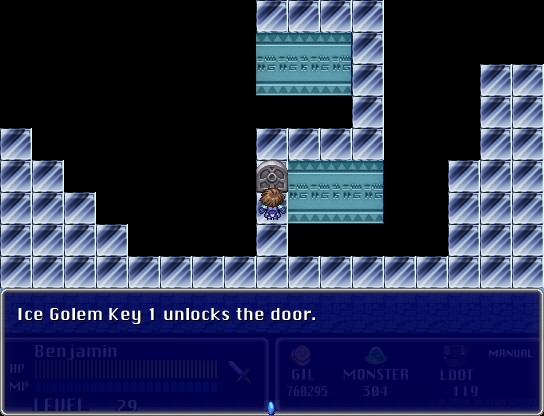
We need three keys to reach the boss, so we're making progress on that front.
Continuing on leads further into the dungeon. In a clever bit of game design, there are two paths to the third floor that eventually converge into each other. Don't remember if that was in the original or not.
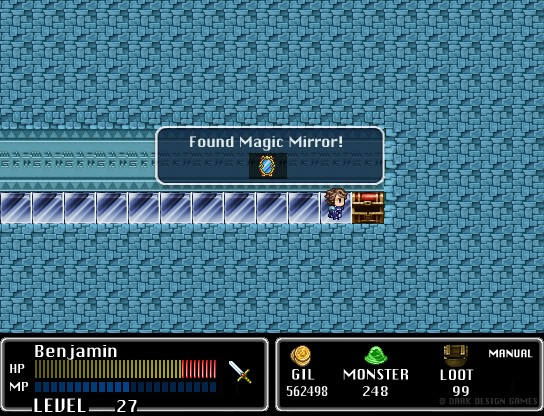

Instead, I backtrack to check this path out, and ultimately get the Magic Mirror. Now all enemies are visible on the map.

The southwest corner has the second path to progress in the dungeon.
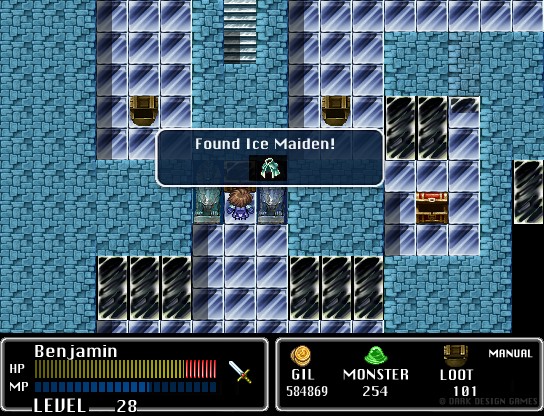
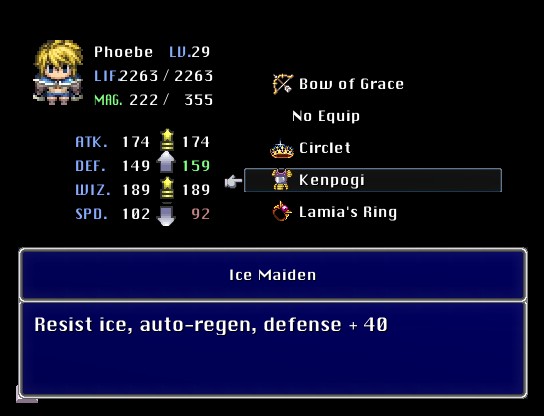
The Ice Maiden is a really nice upgrade for Phoebe. Ice resistance is good, but the Auto-Regen heals a bit over 100HP a round, which isn't much by itself but adds up enough to ease up on Cura spam post-battle. Gotta save those ~40 seeds somehow!
oh nevermind
If we came in from the other way, we'd eventually take the fake path down to here.
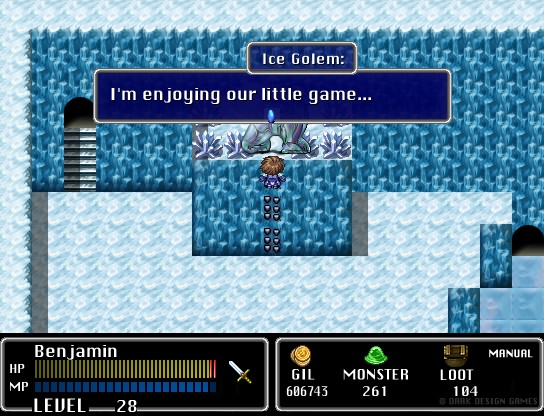
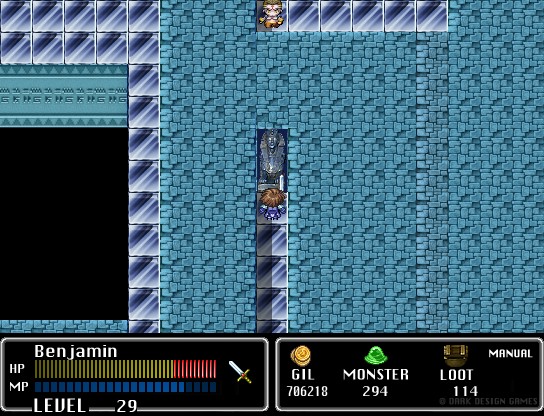
That said, I do a lot of exploring and bumbling around, so I end up backtracking to the Ice Golem. He just teleports away to where we'll eventually fight him.
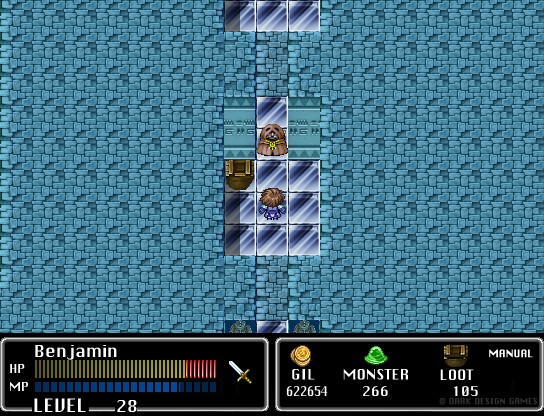
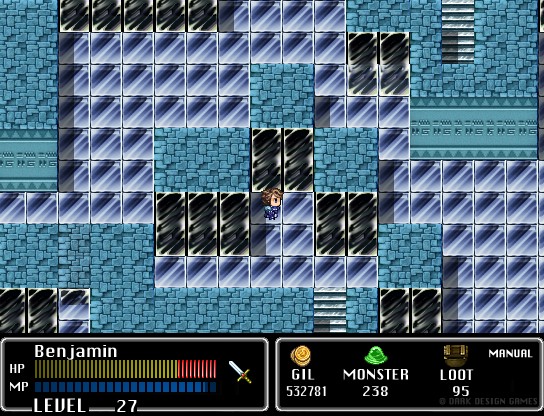
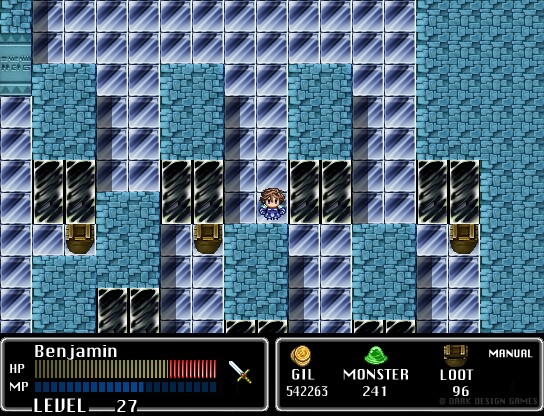
Floor 4 is huge, in the most annoying way possible. You start at the southeast end and have to make a looooong walk north then west.
There's two paths next to each other leading south. The western path is blocked, but there's a switch to unlock treasure on the eastern path.
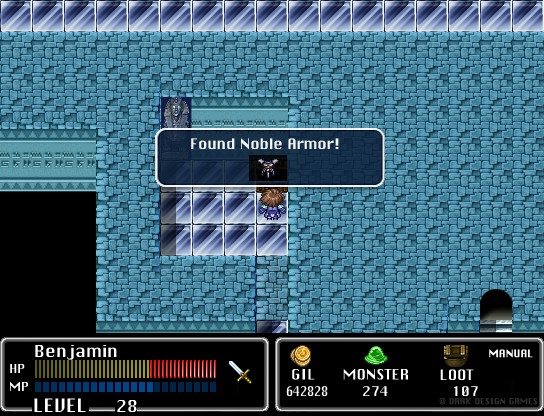
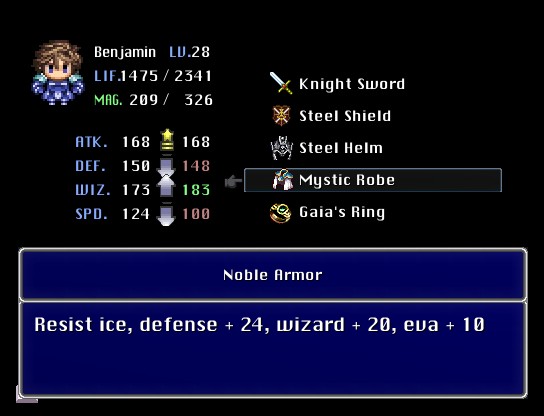
Namely the Noble Armor, a nice upgrade for Benjamin that boosts ice resistance and some other stats.
This hole leads to the boss, but we still need two more keys.
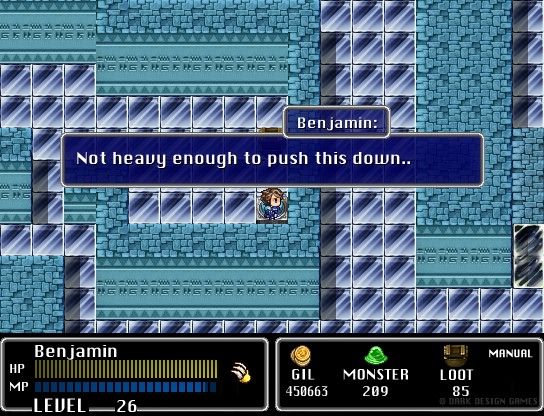
I accidentally push the block to the wall, preventing me from finishing the puzzle. Luckily the position resets if you leave the room (and also mercifully, if you push the block on the button it'll stay there, at least the creator didn't screw that up), but unfortunately it's a long winding path to get back to the northern path and a further long walk to exit the room, then come back to this part. It really didn't need to be this long.
I do all that and unlock the western path.
If we go east from there, we get another key. There is a southern exit to the last key we need.
Neat little glitch, doesn't really do anything though.

I spent a good bit of time trying to unlock this chest, but I don't think there's a way to do so, at least currently. It might be a chest you later warp into like the original sometimes had you do. I still got the "Get All Treasures" achievement so I assume it's intentional or the creator forgot to remove this chest or whatever.
This unlocks a path...
...to the final key. We're pretty much done now!
Fall all the way down...
...and climb all the way back up.
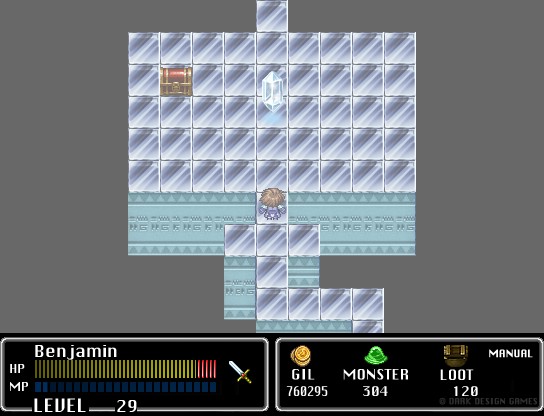
This dungeon took me two hours. Trust me, don't be a completionist.
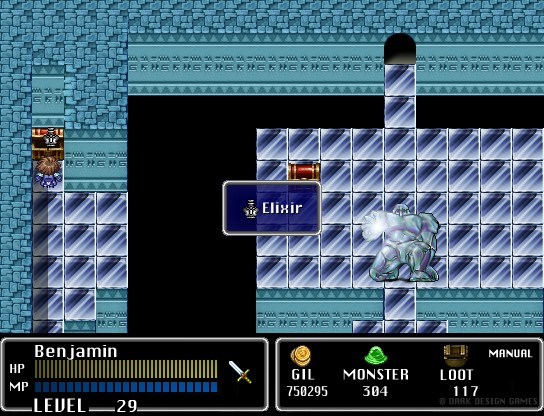
Our first Elixir (well I guess second since we gave one to Kaeli earlier), it does the standard "Restore all HP/MP" thing.
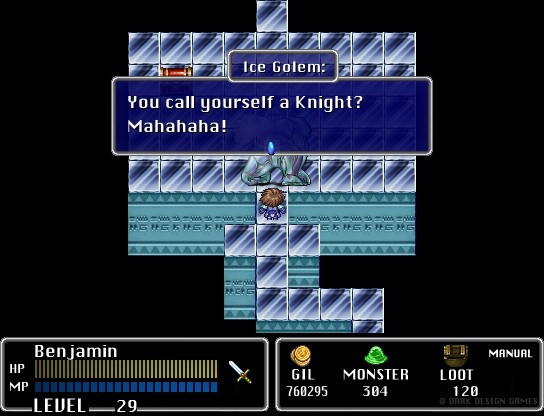
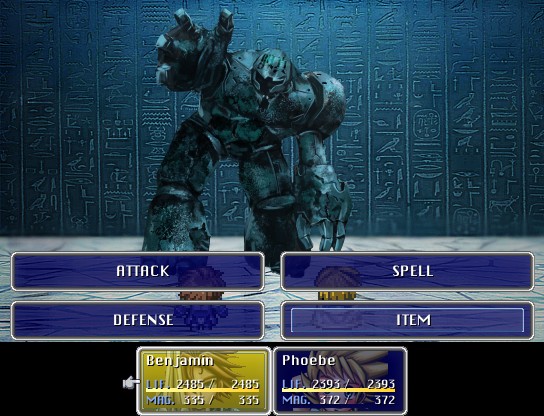
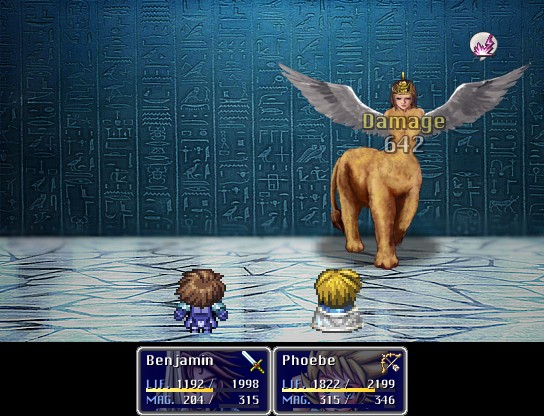
Due to all my fighting, I'm a bit overleveled now, so this fight isn't that difficult. Not gonna blame that on the creator though, you kinda need that in a game with limited enemies since if players miss a few, they shouldn't be screwed.
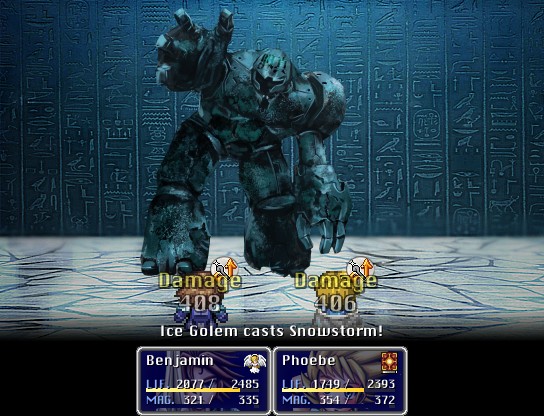
Anyway, obvious ice attacks (which, remember, both characters resist), usual physical attacks, and a powerful multi-target stomping physical. As a bonus, sleep debuffs.
At least this boss has damage portraits!
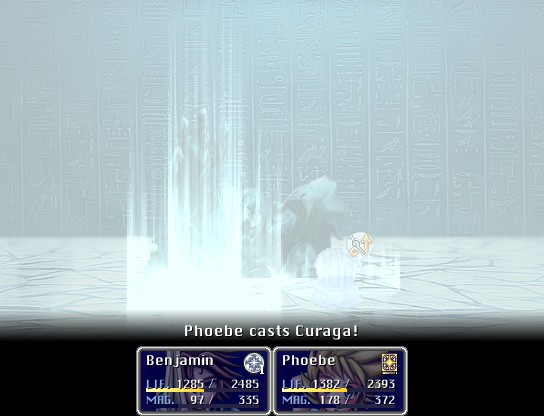
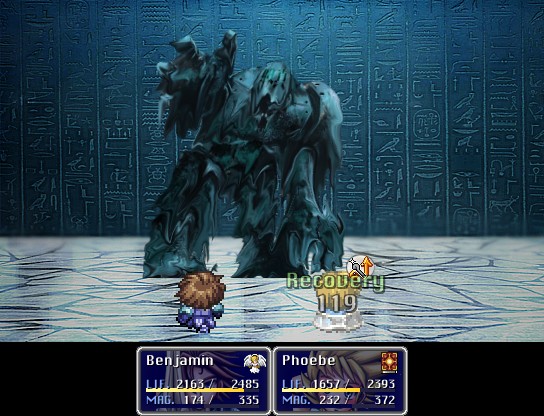
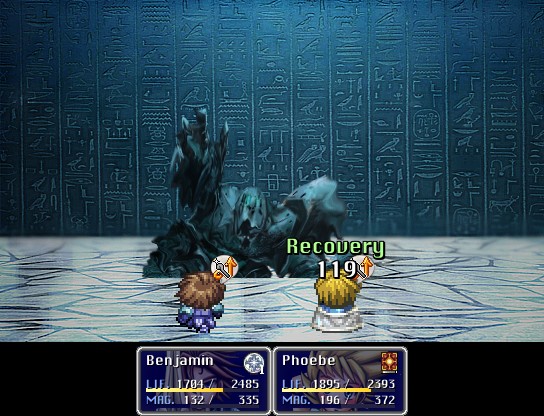
Oh yeah and I picked up Curaga sometime this update. It's as expensive as the other -aga spells and heals the party.
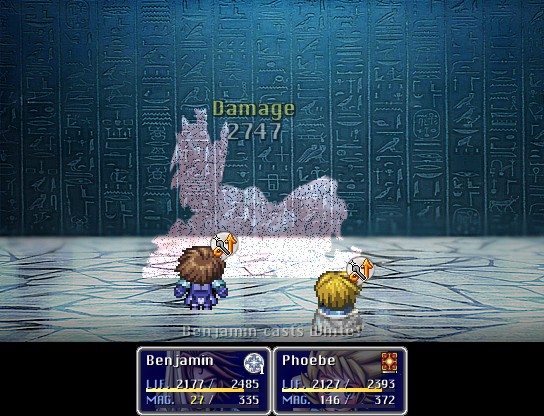
Otherwise, Fira and White wreck its day.
Two crystals saved!
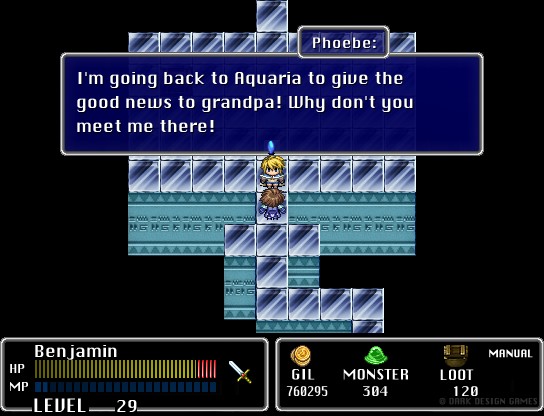
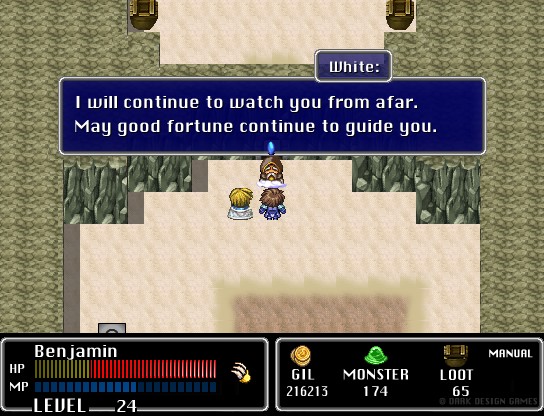
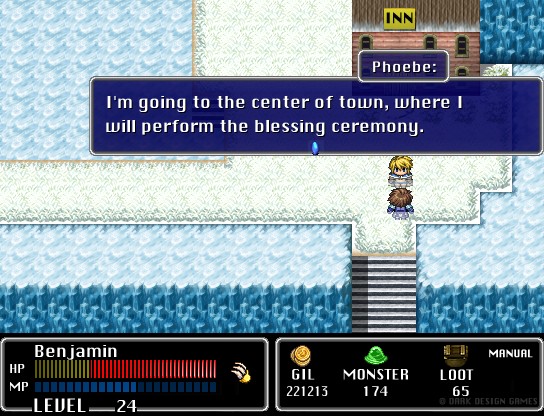
Then Phoebe ditches us like in the original.
And there's our ticket to the next area.
So next time, we revisit Aquaria and make our way to the next area.