Part 15: Sea Shrine and Library of the Ancients

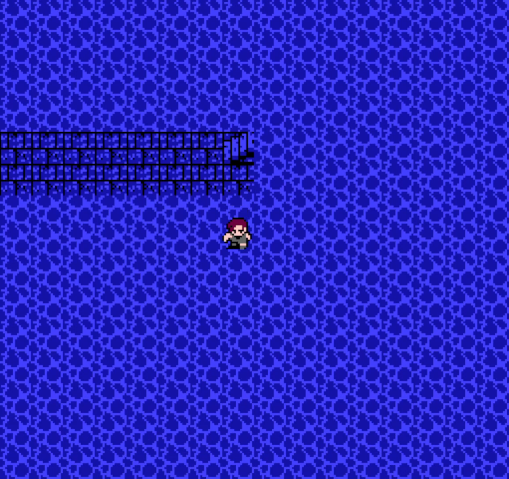
Oxyale in hand, we can enter this submarine and enter the Sea Shrine. We won't ask who built a sub nor how.
The Sea Shrine is pared down a bit from its vanilla counterpart, making it a more streamlined experience - though still a challenge.
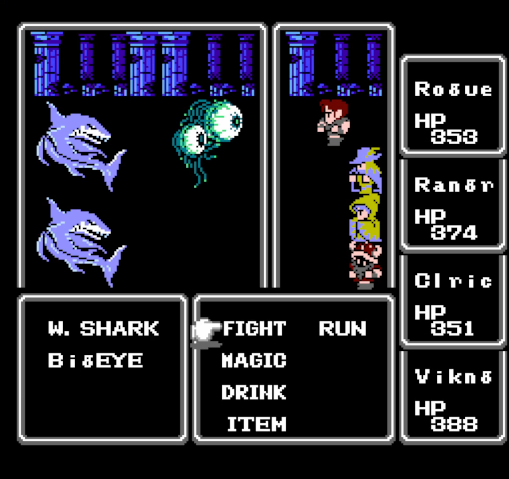
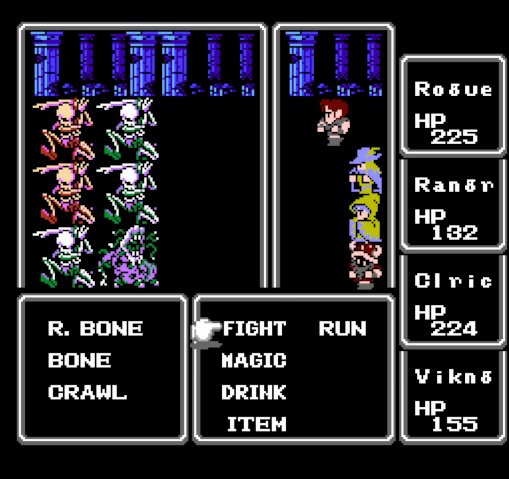
This encounter is relatively common. Big eyes open with STOP, then move onto BOLT to start doing damage. They're a top priority when they show up.
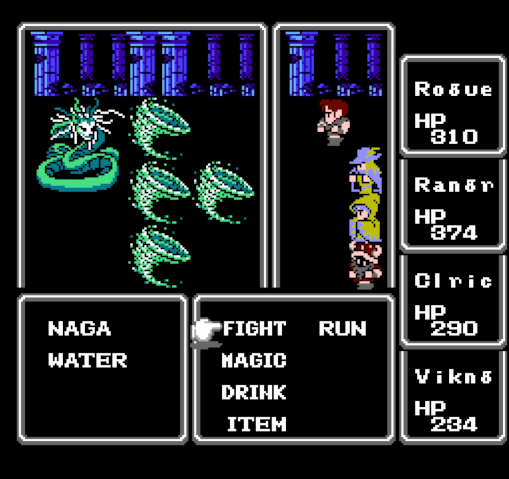
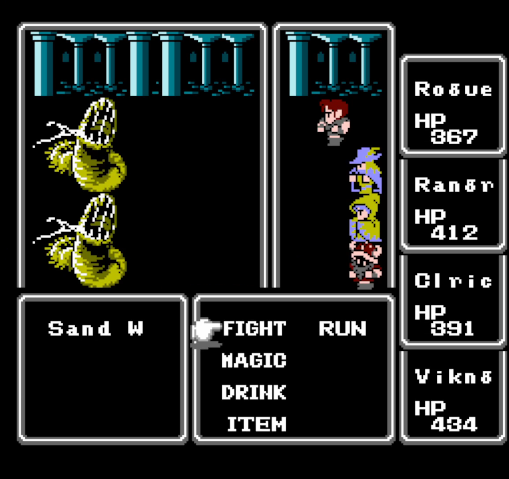
Nagas are spellcasters whose attacks can inflict mute, but waters are the most obnoxious enemies in the Sea Shrine. They appear in groups, are fairly durable, and hit like trucks. They're vulnerable to both lightning and ice, but like nagas, their attacks can inflict mute.
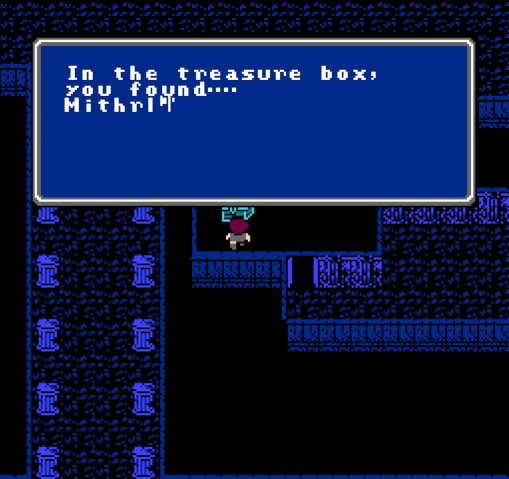
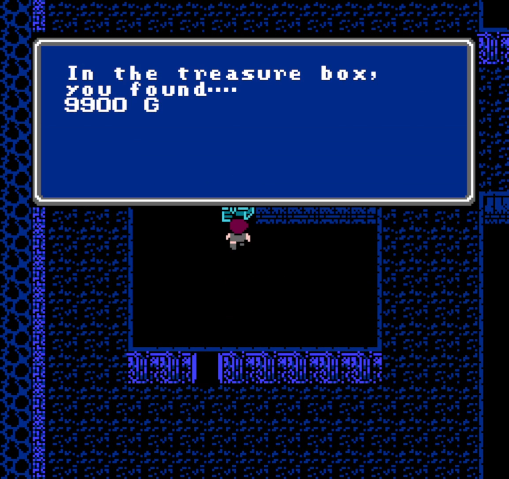
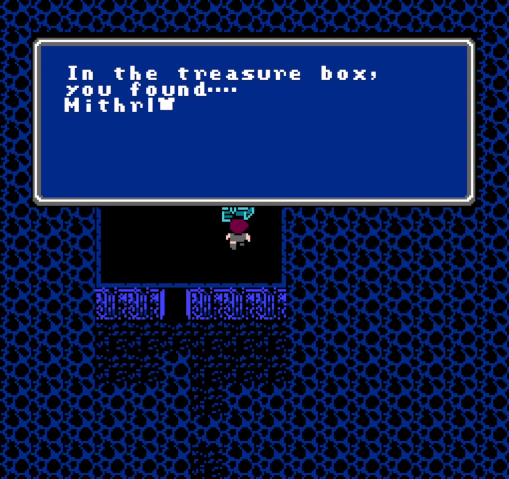
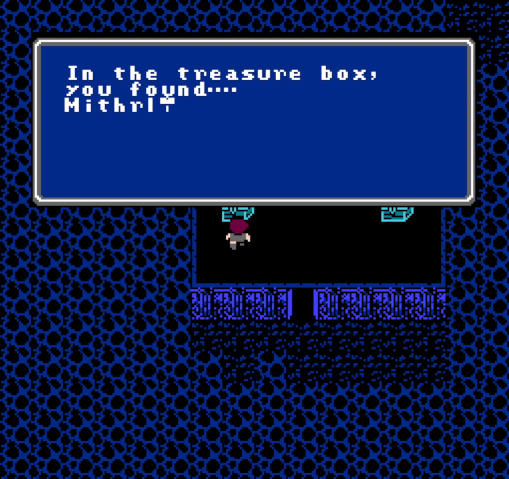
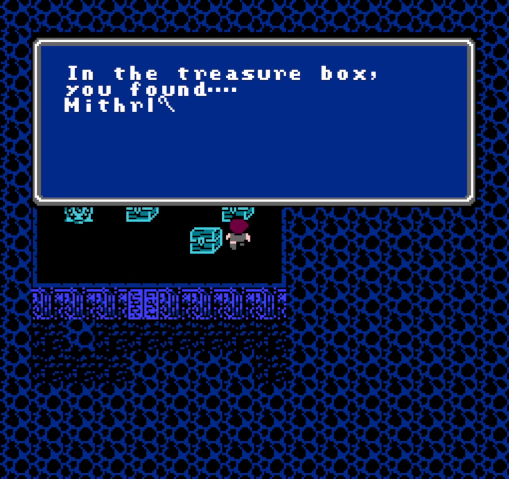
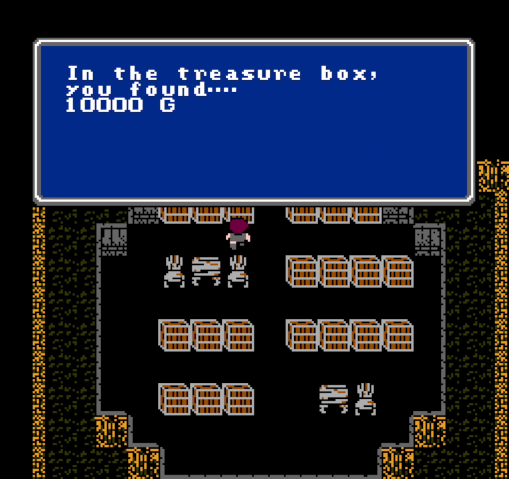
The first floor of the dungeon has two rooms containing treasure chests. The mithril axe is an excellent find for us.
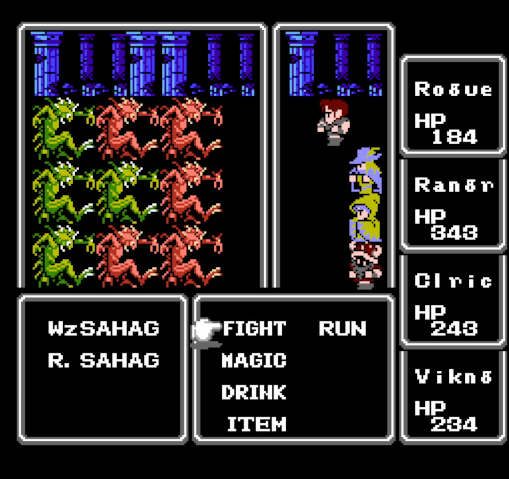
The red sahags are joined by spellcasting counterparts. Wizard sahahgs cast about half the time, and open with HSTE followed by TPR3; if any enemy gets both buffs it can be come quite dangerous.
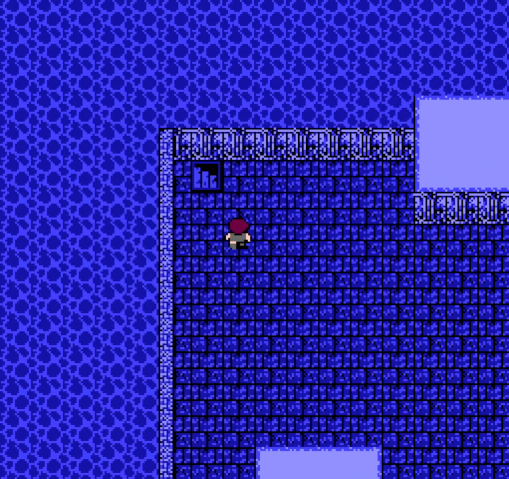
The stairs down are in the northwest corner.
The second floor of the Shrine looks like something out of vanilla, but there's a big twist here:
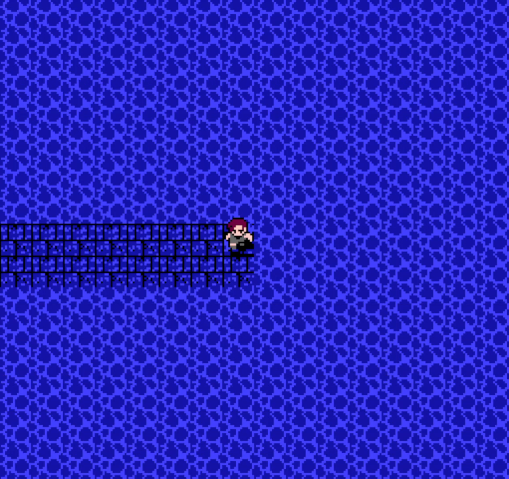
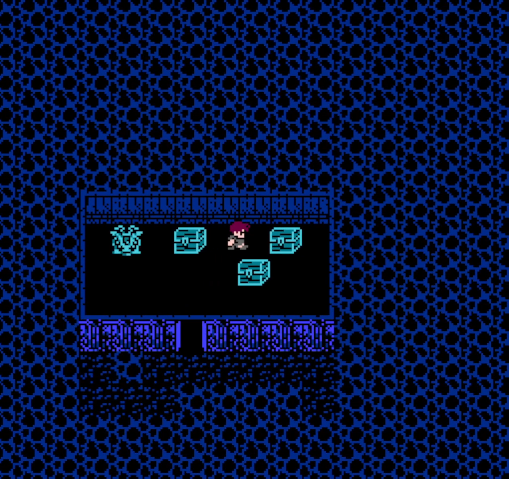
The water is traversible. With no walls except around the rooms, this floor can get confusing pretty quickly.
The easiest way to navigate it is to go south to a room, then east, then south, then east, then north. This is a quick way to find all the treasures and the exit.
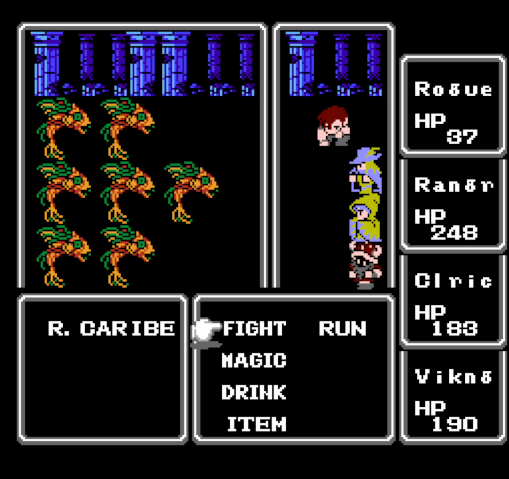
Waters might be the most obnoxious enemies here, but red caribes certainly compete for the title. Though fairly fragile, they come in large groups and often get surprise attacks. Rogue was at nearly full health when this fight started.
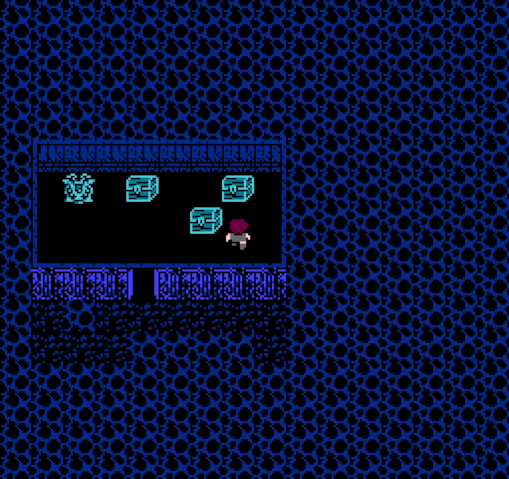
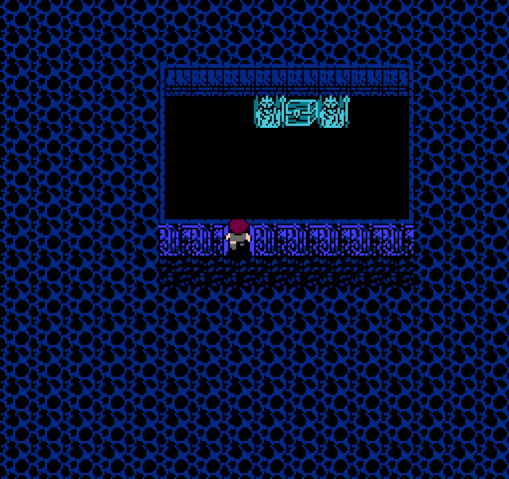
The upper right chest here is protected in an unusual manner.
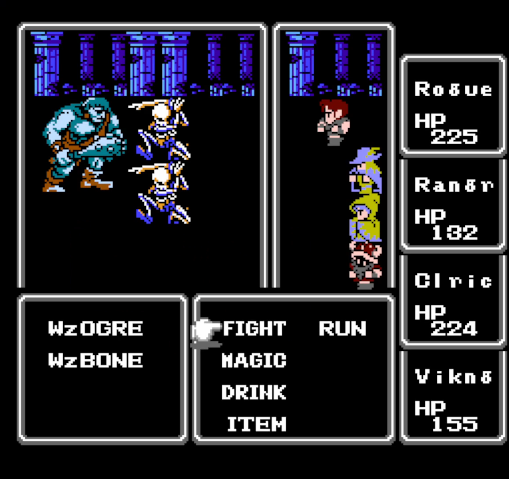
Step on the space to its left, and you get this fight against wizard ogres and wizard bones. Wizard bones are immune to MUTE and cast BLND, followed by BOLT. Combined with the wizard ogres' fondness for IVS2, and BLND becomes an actual problem, making the enemies nearly impossible to hit.
The southern space is also spiked, but with a fight from the Marsh Cave. At this point it's absolutely no problem.
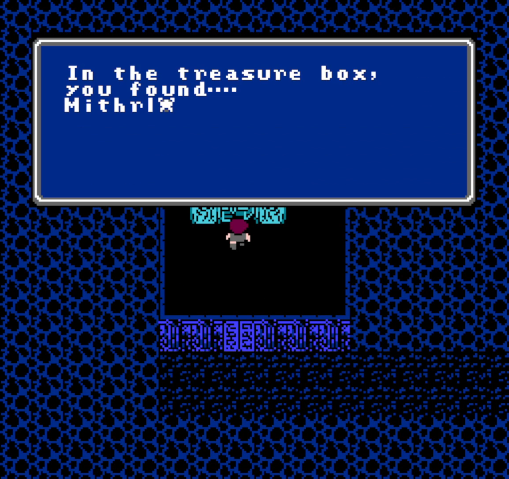
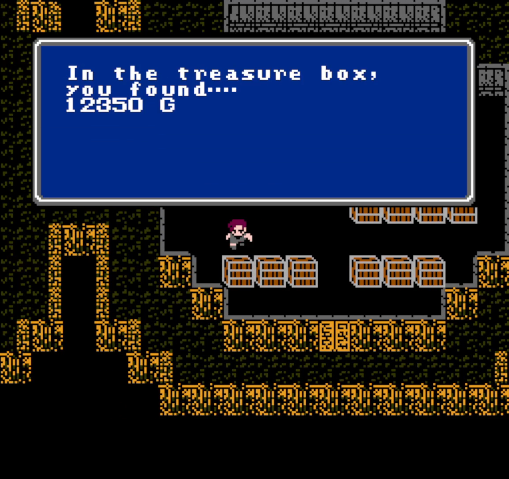
The prize is a mithril staff, by the way. More money for us.
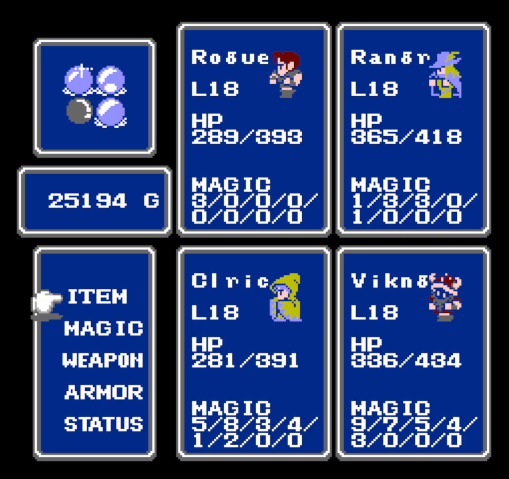
After this bit of treasure hunting, our party was kind of getting its ass kicked, so we go back to the entrance and do some grinding, reaching level 17, then 18, which gives Cleric level 7 spells and Ranger level 5 spells. Since there are magic shops in Onrac, we fill out Cleric's spell slots with CUR4, IVS2, and HEX. Ranger can wait; his level 5 spells won't be too useful here. After that, we head back in.

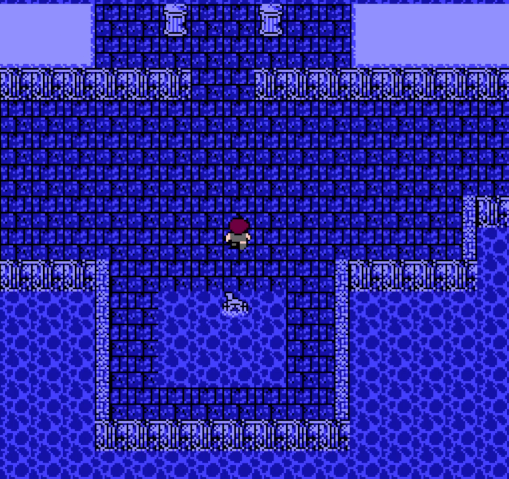
The stairs to floor 3 are right outside the teleporter room. The final floor is another open one, but it's dominated by one huge room so it's not hard to navigate.
Going north and west from the stairs leads to this room, which contains the floor's sole treasure (guarded by a spiked tile of waters).
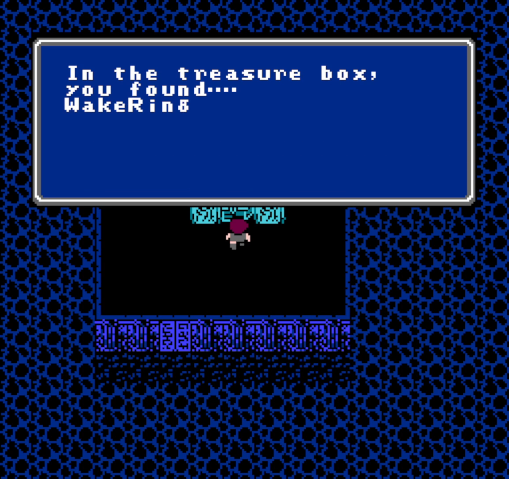
The WAKE Ring is a solid prize that can help get rid of paralysis when Cleric is out of commission. Since Viking is in the last party position (and thus the least likely to be paralyzed himself), he gets it.
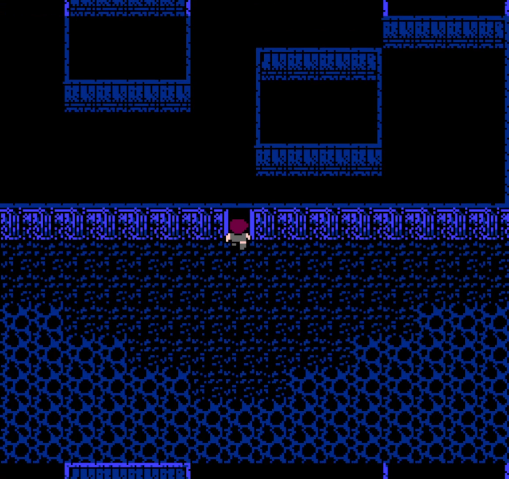
This is the floor's main room, and I hate it. It's filled with random spiked tiles, all containing fights with waters.
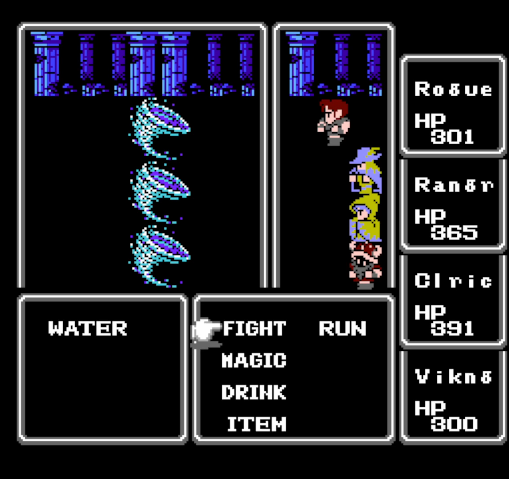
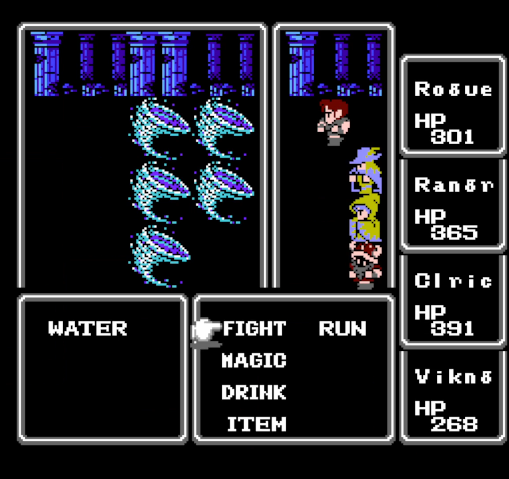
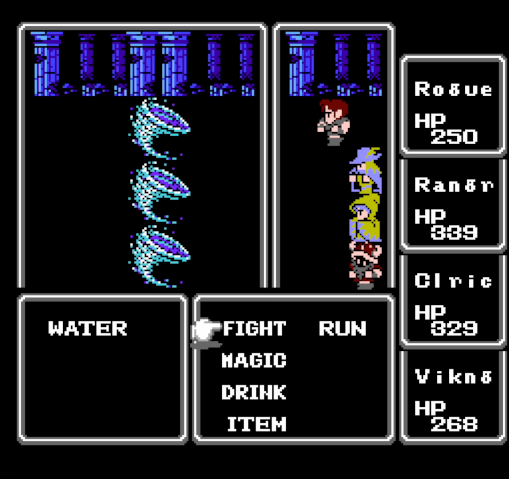
SO. MANY. WATERS. I ran into seven fucking fights in here, in a space that should have had maybe 2-3 random encounters.
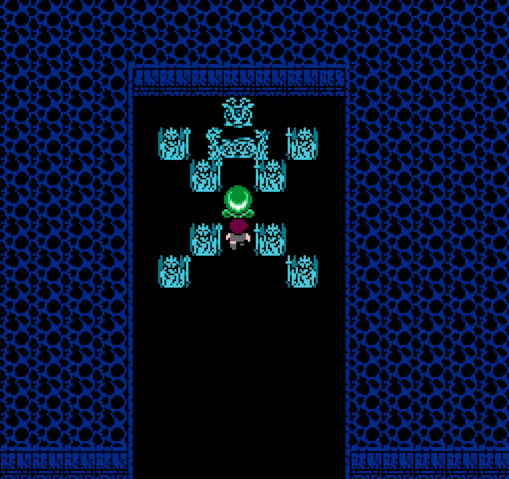
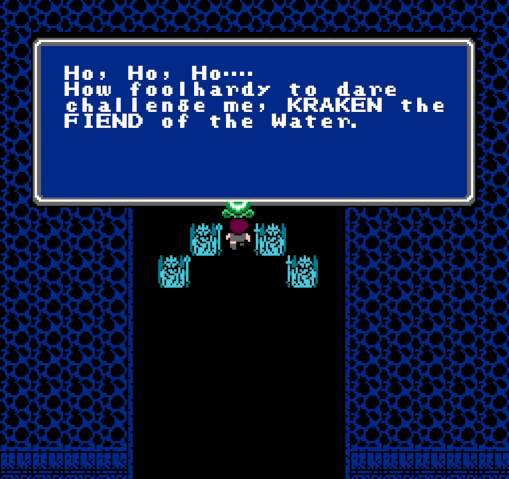
At the north end of the room awaits our main target.
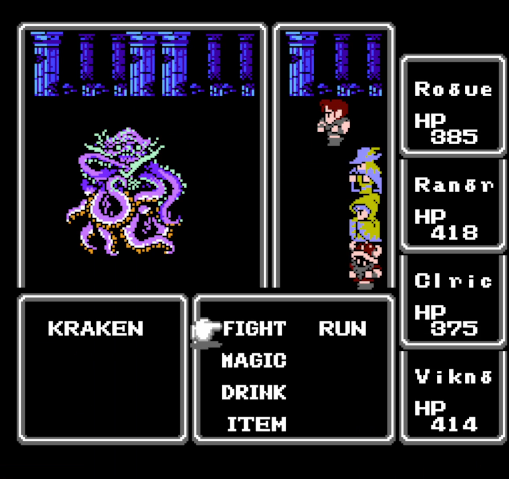
Kraken is somewhat similar to vanilla, acting primarily as a strong physical attacker. There are some significant changes that have been made, though.

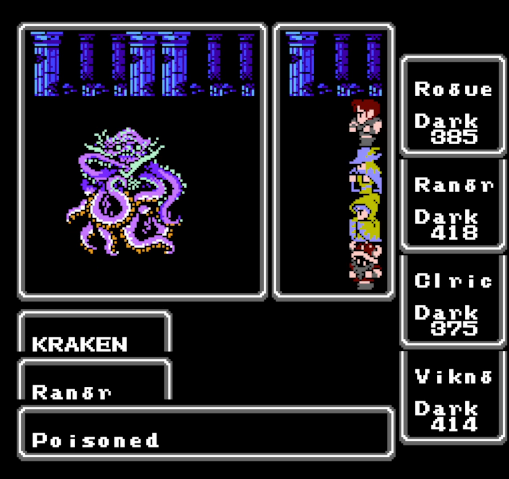
For example, his attacks inflict both paralysis and poison. WILL helps to block it, but he can hit up to 8 times so it's going to land eventually.
(EDIT: He can actually be hit with SLOW as well, but I completely forgot about that during the fight.)
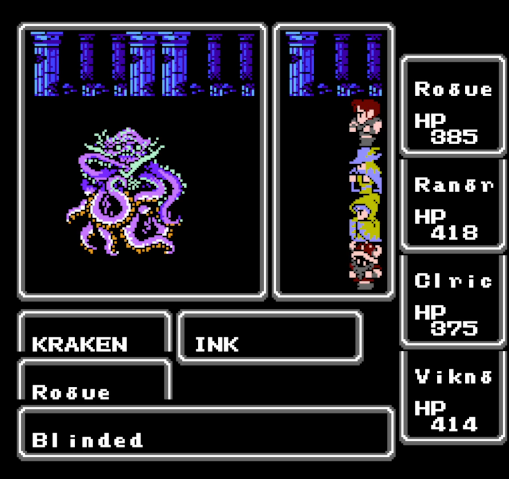
He still has his Ink ability from vanilla, and it's still his least dangerous action.
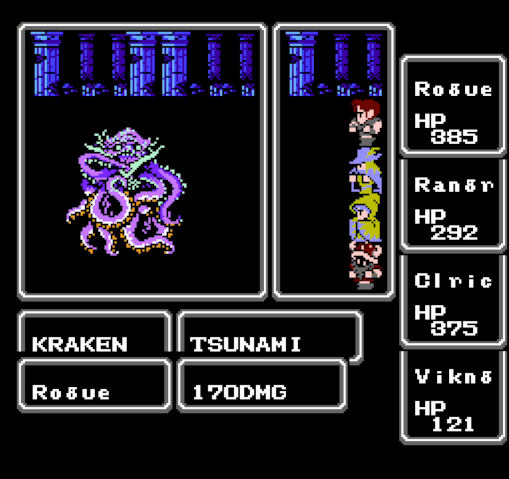
He also has Tsunami, a water attack that hits the whole party. This damage is after SHEL.
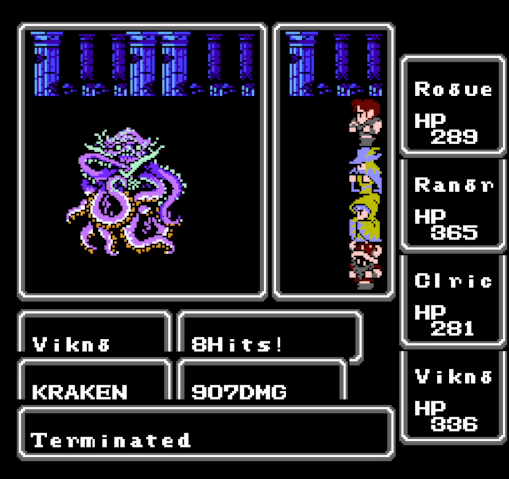
Still, like any boss, he does eventually go down. Viking's damage is closing in on Rogue's despite the gap in their weaponry.
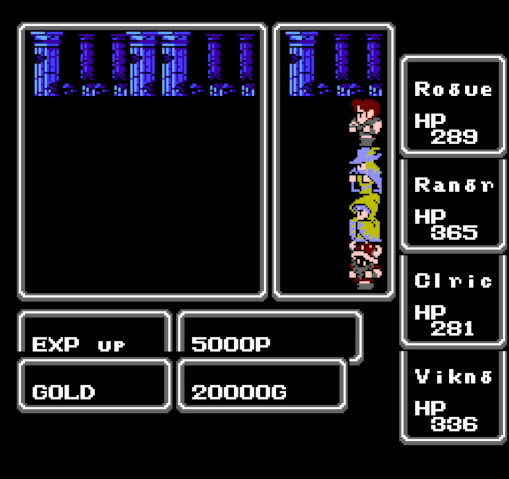
Like all fiends, Kraken gives some nice EXP and GP.
We've lit our third orb - but that's not all we're doing today.

Our next stop is this little island, which sits northwest of the Temple of Fiends.
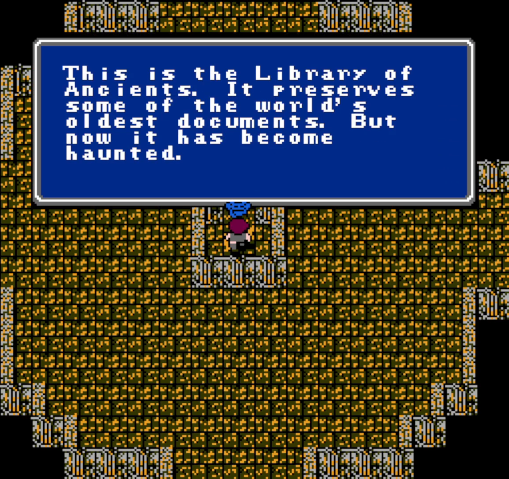
Inside is the Library of the Ancients, a short dungeon that was alluded to in an earlier update.
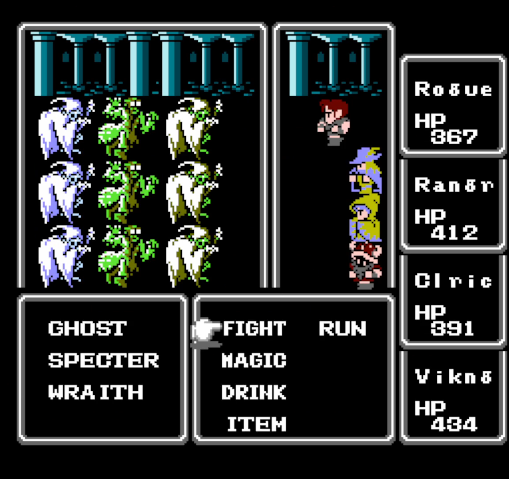
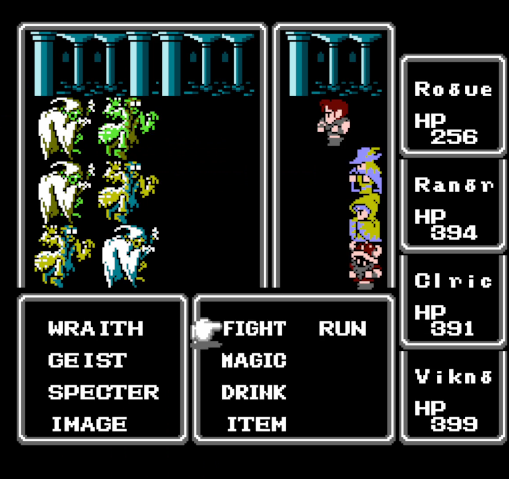
That guy at the entrance isn't kidding. Undead make up the bulk of encounters here. They include ghosts, the strongest form of shadow/image/wraith.
There are also sand worms here. Not sure how they got in.
The library is divided into four branches, one each in the north, west, east, and south. The former three each have a bunch of bookshelves, one of which contains a nice amount of gold.

The south branch contains our goal. If you know vanilla, you probably recognize that sprite.
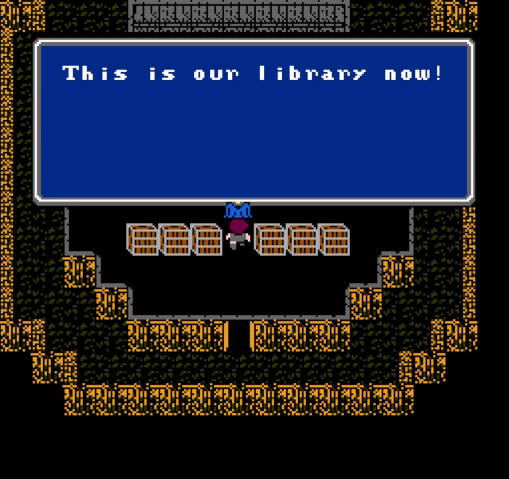
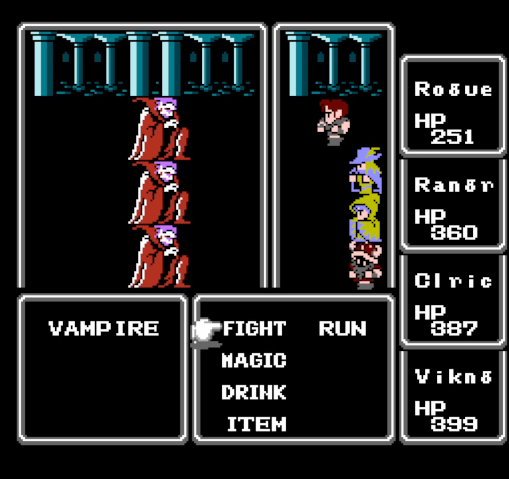
The vampires come in a set of three and deserve to be treated as a boss fight. They hit hard, have a special attack that can paralyze characters, and have lots of HP, which is bolstered by the fact that they regenerate 10% of their maximum each round. For that reason, it's best to focus fire on one at a time.
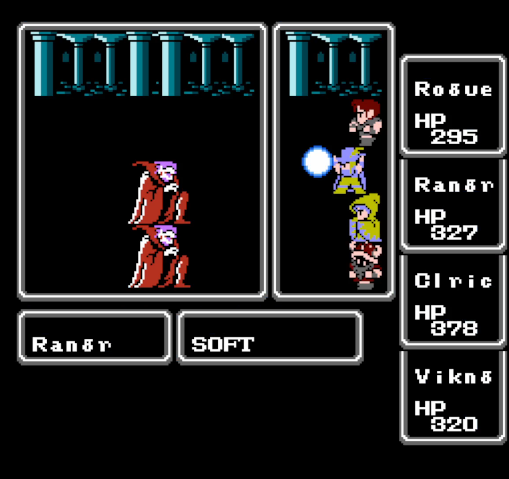
Except, none of that is important, because in this very run, I learned that there's another way to take them down.
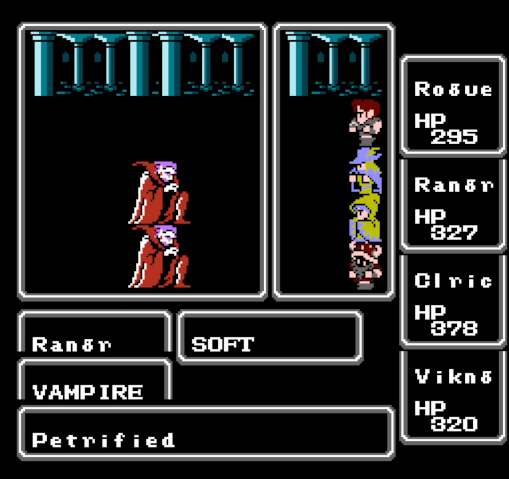
SOFT: still broken.
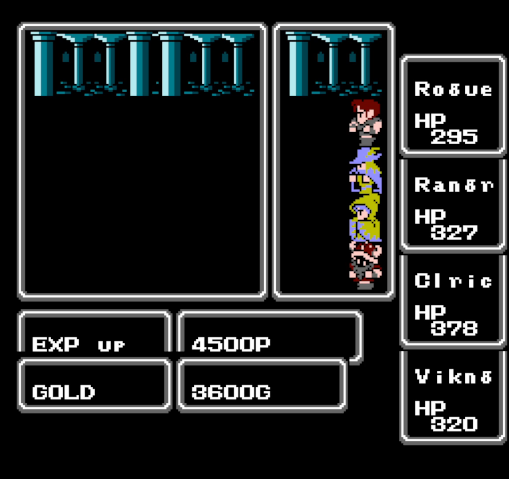
The vampires give a ton of EXP, enough to get us to level 19.
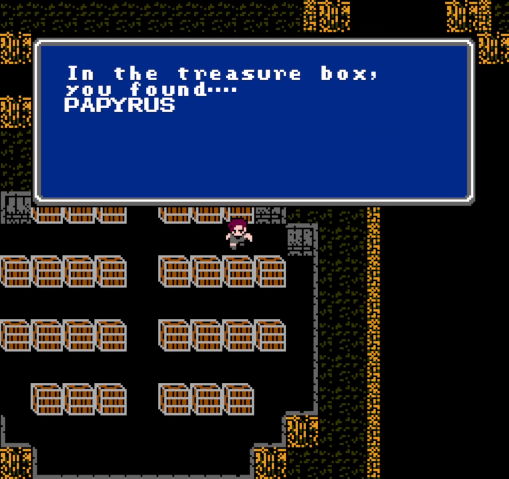
This bookshelf contains what we're looking for: the papyrus. Once we have it, we can leave and head back to Melmond.
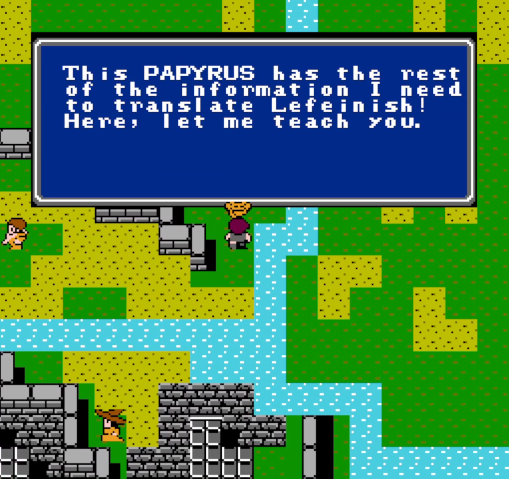
The papyrus replaces the slab from vanilla, allowing us to learn Lefeinish. Given that, you can probably guess where we'll head next.