Part 16: Lefein, Mirage Tower, and Sky Castle
Now that we've learned Lefeinish, it's time to head to Lefein.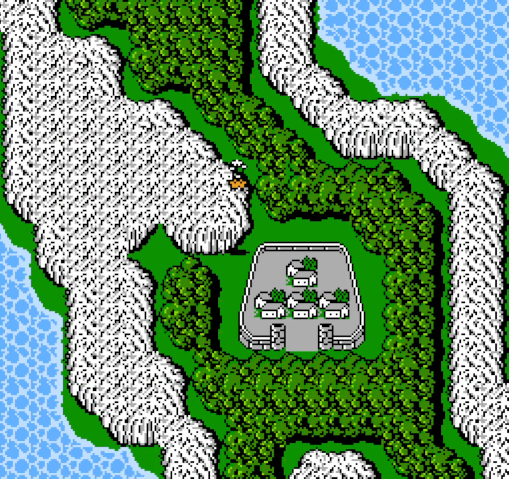
As in vanilla, the town is surrounded by forests, so landing next to it is impossible. The area is also surrounded by mountains, so we can't dock the ship near it either.
The closest spot to the town is north of it. We'll have to walk from here. Apart from frost wolves, the monsters en route aren't too threatening at this point, so the trip is fairly easy.
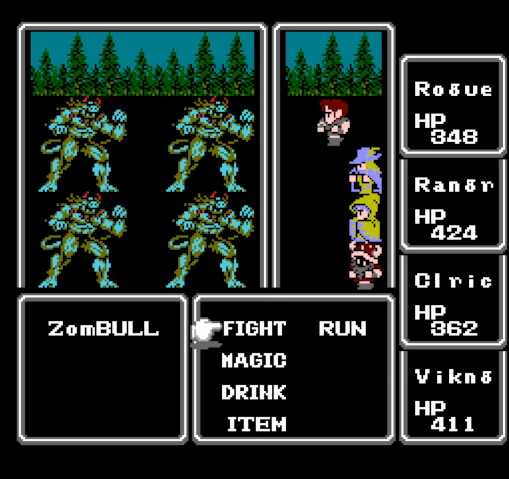
I encountered zombulls earlier while grabbing Sting but didn't talk much about them. They're basically bulls, but stronger and undead. Their paralyzing attacks are annoying but not too dangerous.
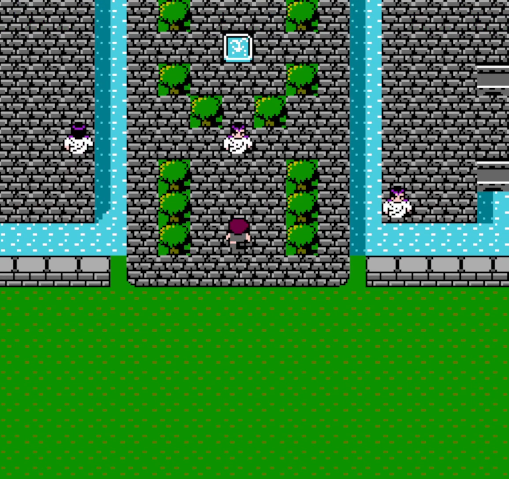
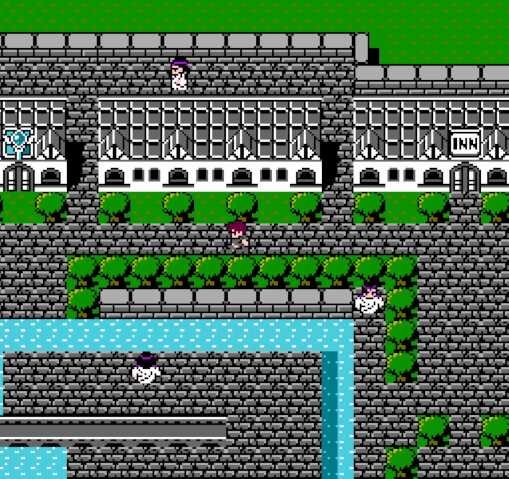
Lefein looks a lot like it did in vanilla, but there's an inn now, and the magic shops have been placed in more obvious locations. They're clearly not meant to be hidden.
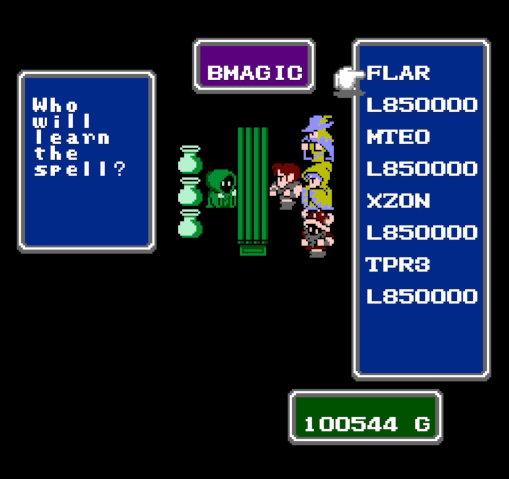
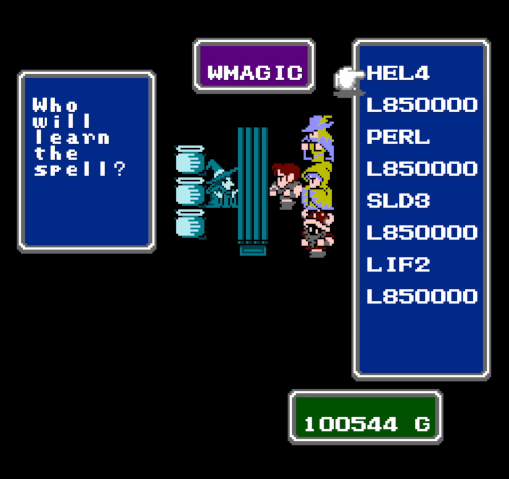
Speaking of, this is the only town in the game that sells level 8 magic. As has been the pattern for a while now, we can't actually cast any of these yet, but we'll definitely be coming back for them.
This guy is clearly friends with that one NPC in Gaia.
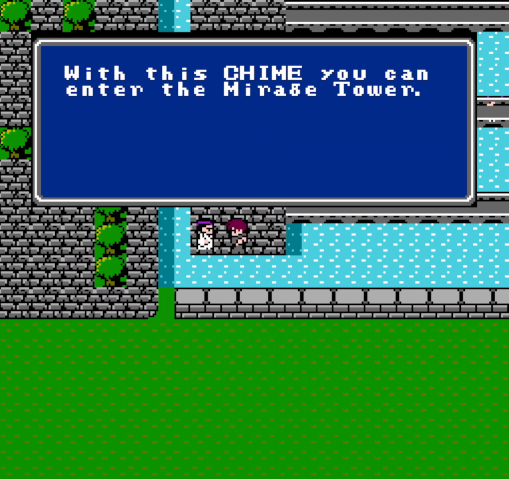
For now, this is why we're here. With this, we can enter the penultimate (mandatory) dungeon in the game.
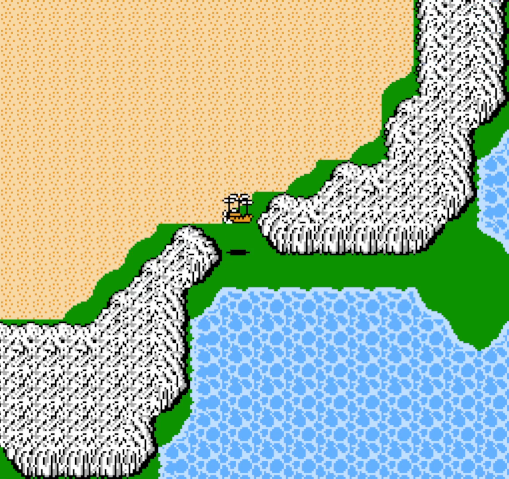
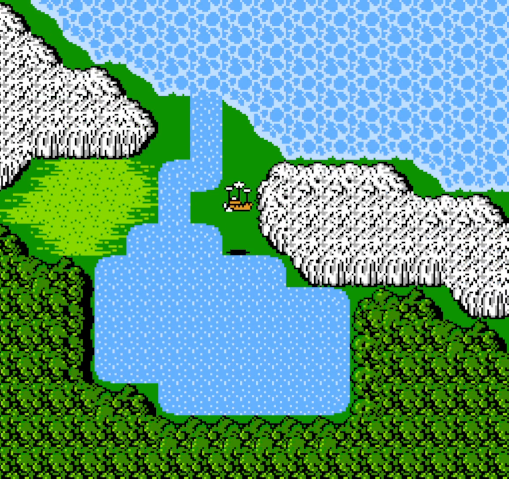
There's no strip of grass east of the Mirage Tower. Instead, we have to land or dock here and hike north. The trip isn't much longer, but it does mean more chances for a nasty encounter.
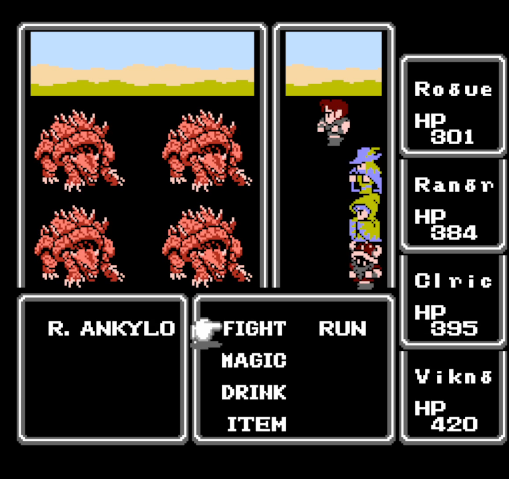
Speaking of. Red ankylos are similar to the regular ones: very tanky foes with strong attacks. They're worth decent EXP, but without strong offensive magic they're not worth our time.
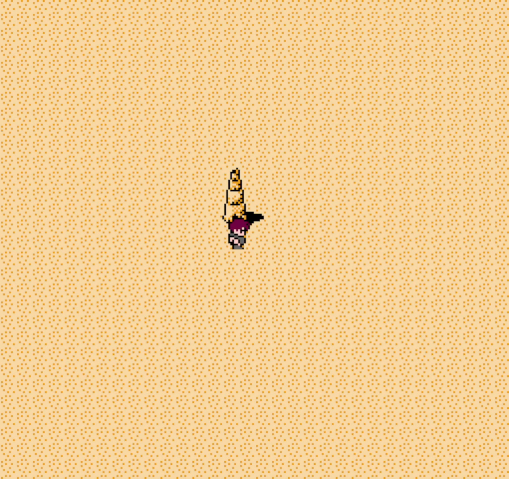
As in vanilla, you can reach the tower as soon as you get the airship, but it can't be entered without the chime.
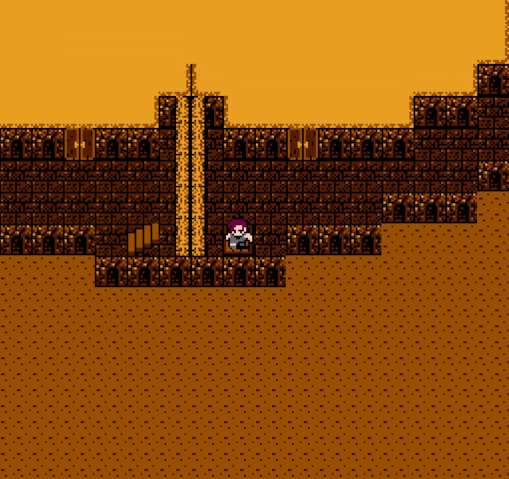
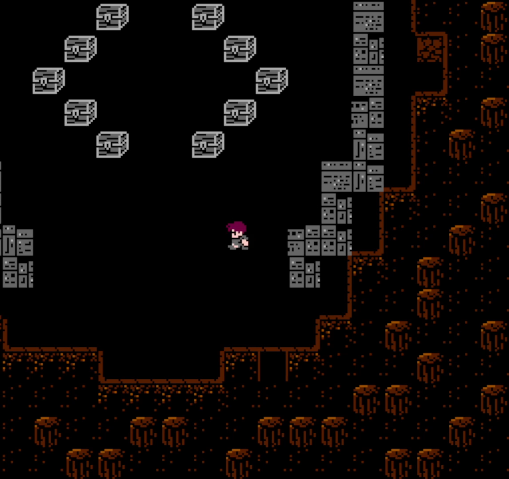
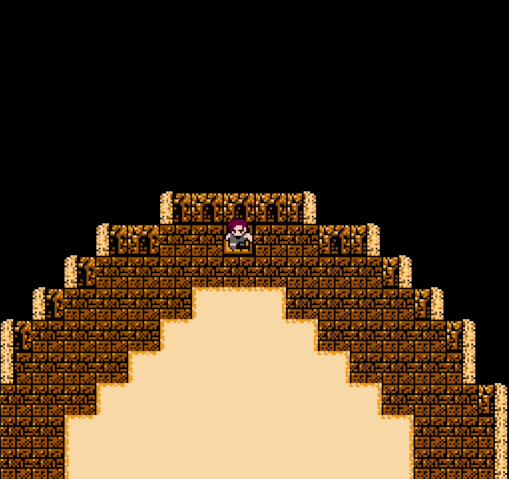
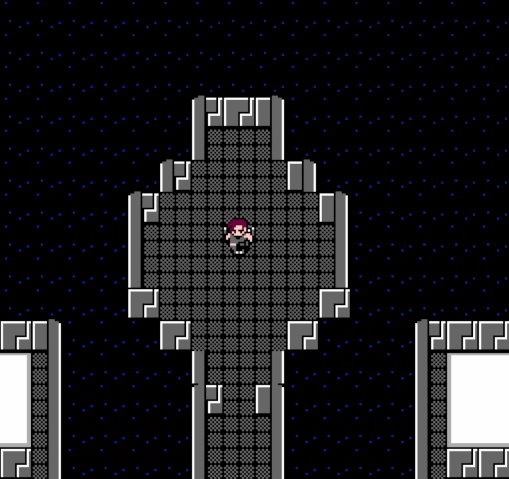
The first floor is dominated by a huge room containing a bunch of pillars. It's a pain to navigate, but otherwise isn't noteworthy.
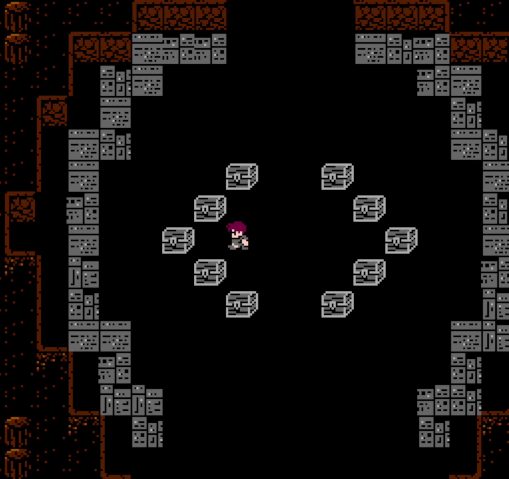
The second floor is a little bit of a maze, but it doesn't branch much so it isn't horrendous to navigate. Reaching the central room requires us to navigate counter-clockwise to to about 10 o'clock, then reverse direction back to the door.

Basilisks roam this floor as random encounters. They're a real pain, especially because they can't be fled.
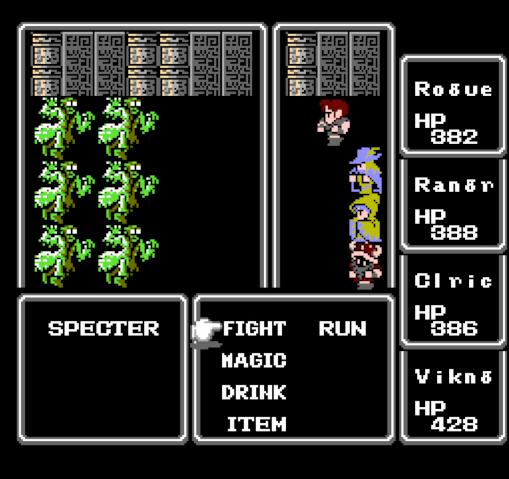
Haha, fuck this noise. This kind of fight is insanely threatening.
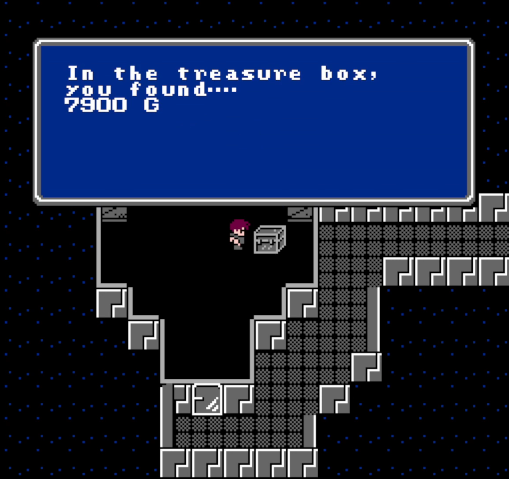
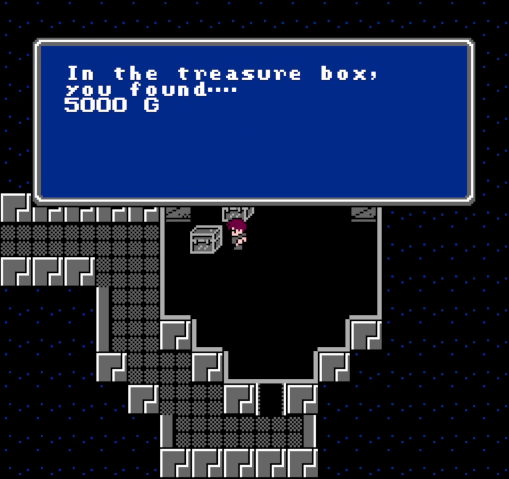
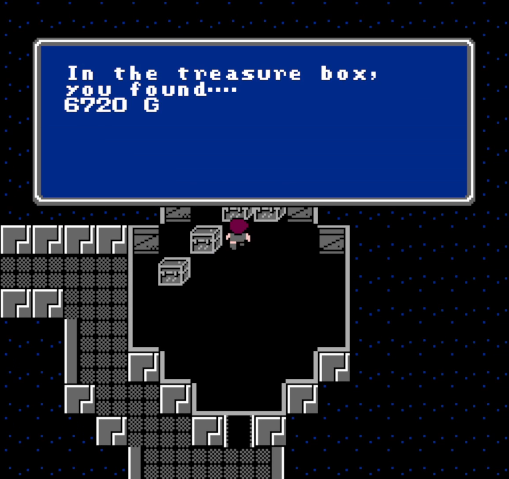
The central room contains a set of 10 treasure chests. The two on each "point" are, of course, guarded by spiked tiles.
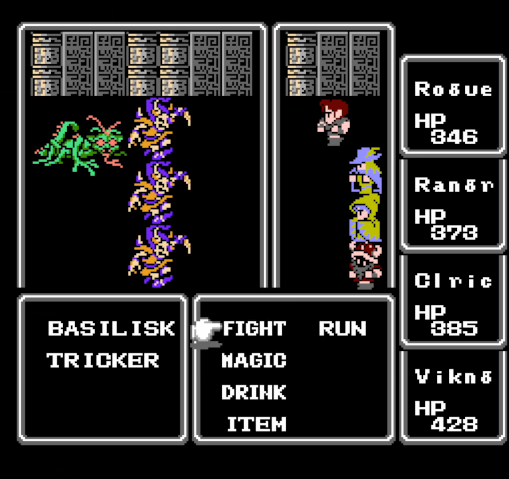
The basilisk here is still a threat, but with MUTE the trickers are again reduced to a simple annoyance.

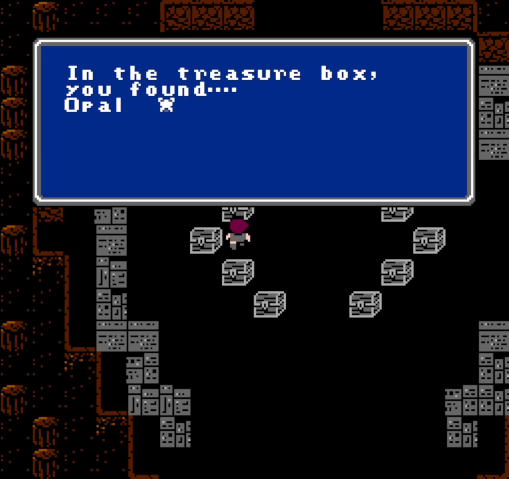
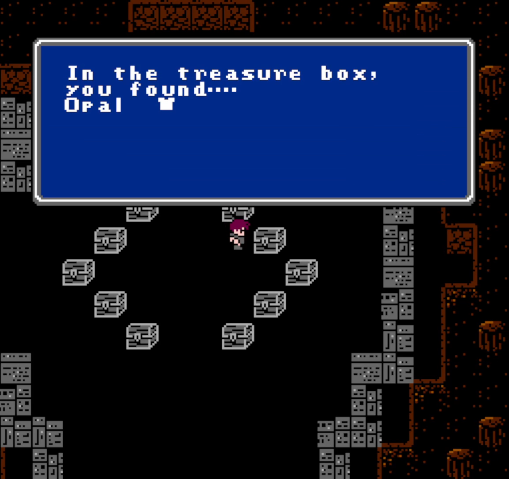
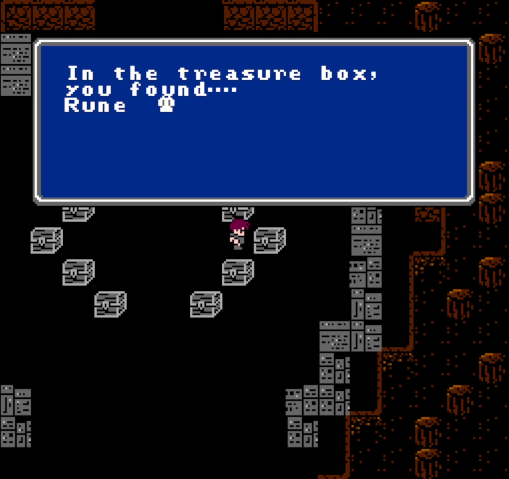
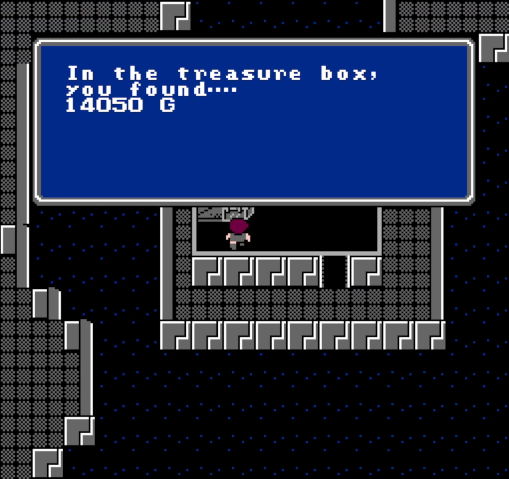
The prizes here are nice: a set of opal armor (and its cloth equivalent, the rune robe). These are all unique and a nice find.
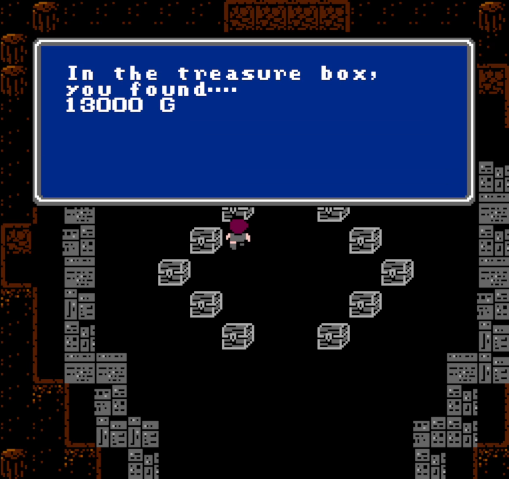
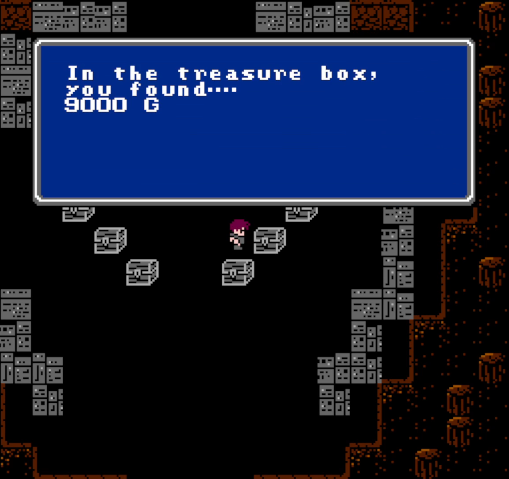
The monetary rewards here are also really good.
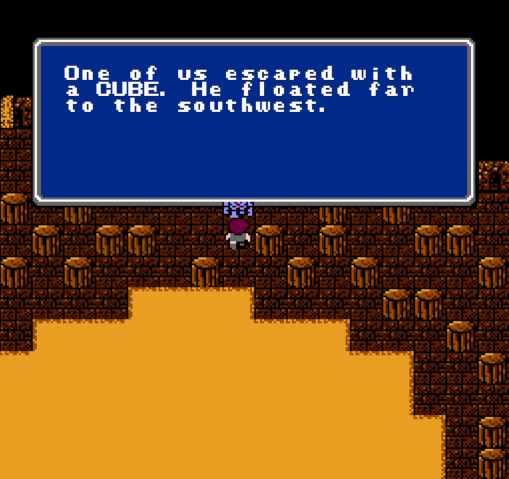
I've mentioned that the Waterfall Cave is gone, so you might think that this is another red herring. It's not. It's actually a clue to a hidden area we'll be seeing in a few updates.
The top floor of the tower is the same as in vanilla.
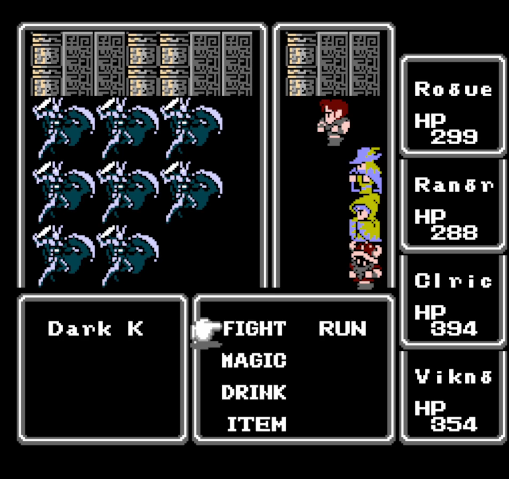
We have our first encounter with dark knights here, though they roam all three floors. They often strike from ambush and come in groups, but aren't super dangerous. Having fully embraced evil, they're vulnerable to HOLY spells.

If you're familiar with vanilla, you know what's coming.
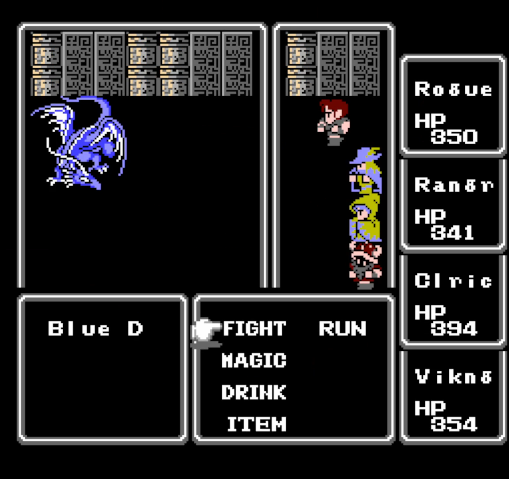
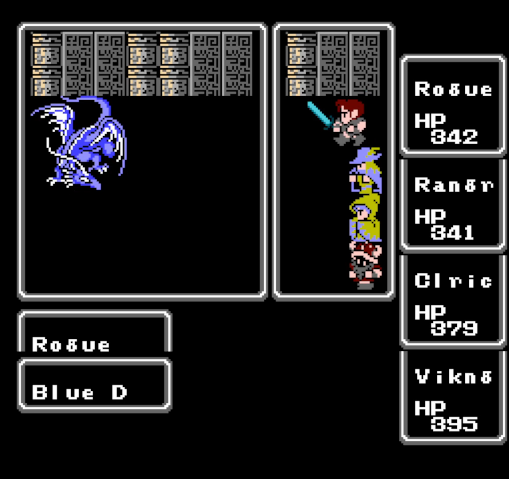
There's only one blue dragon encounter in the game, and it's here. It's sort of a mini-boss: tough, but not boss tough.
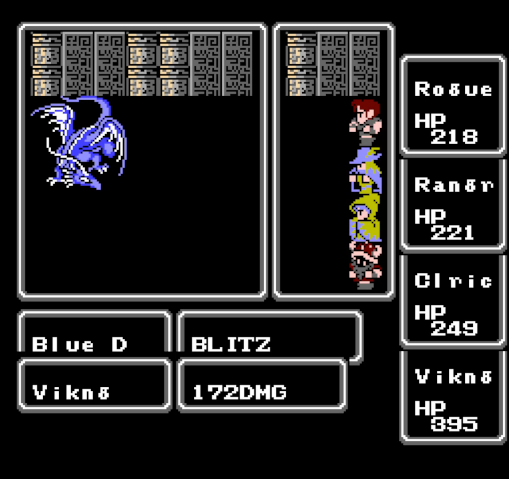
Besides physical attacks, its main offense is BLITZ, which deals lightning damage to the party.
Once the dragon is slain, we can take the teleporter. Unlike in vanilla, there's no need for the cube here - as long as you can enter the tower and get here, you can take the teleporter.
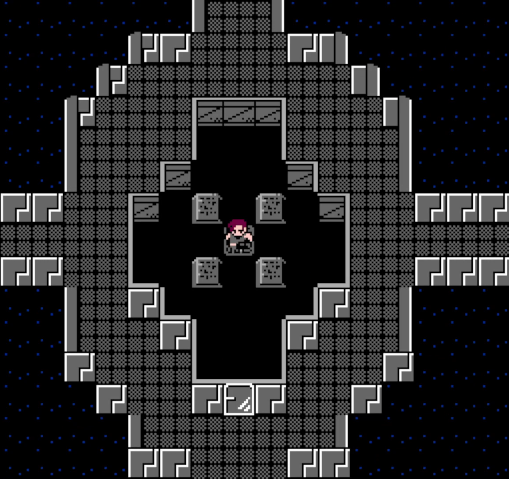
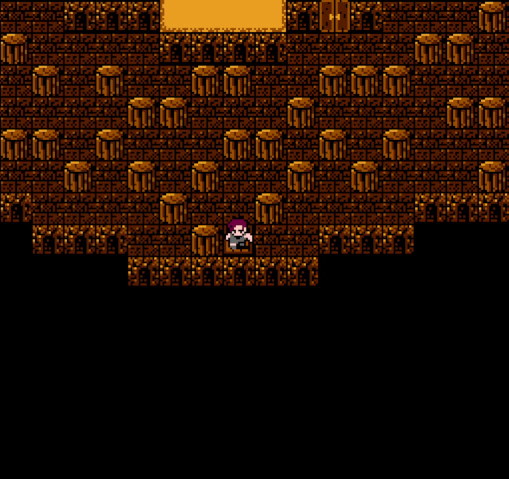
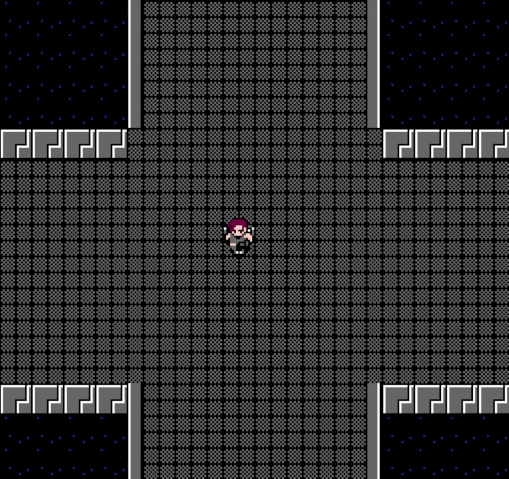
And we find ourselves in the Sky Castle, which is functionally the last 2/3 or so of the dungeon. This initial floor has branches in each of the cardinal directions, similar to the Library.
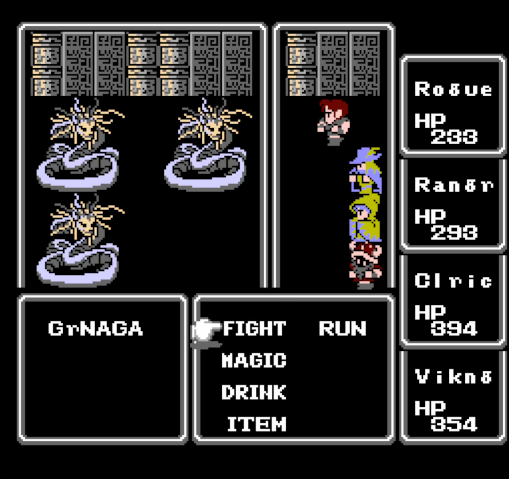
Gray nagas start showing up in the Sky Castle. Their attacks can inflict mute, but they're also potent spellcasters, leading with CHKR, followed by SHEL, then AERO.
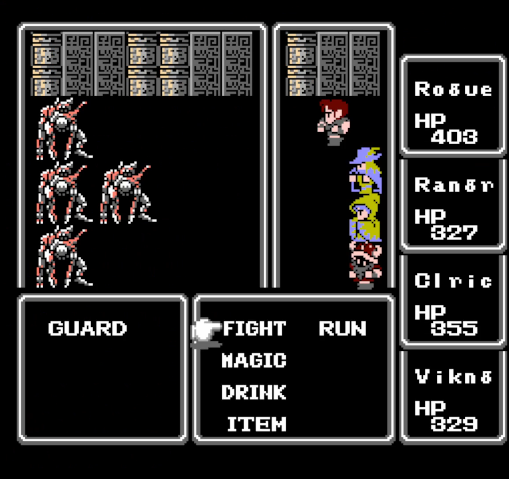
Guards also show up here. Being robots, they're weak to lightning, but are pretty strong offensively.

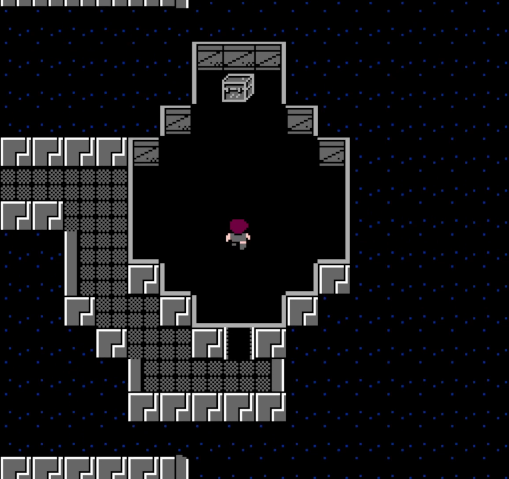
The southern room is our first destination. It has the teleporter, but also a chest containing the best treasure in the dungeon. And there's a curious aspect to it.
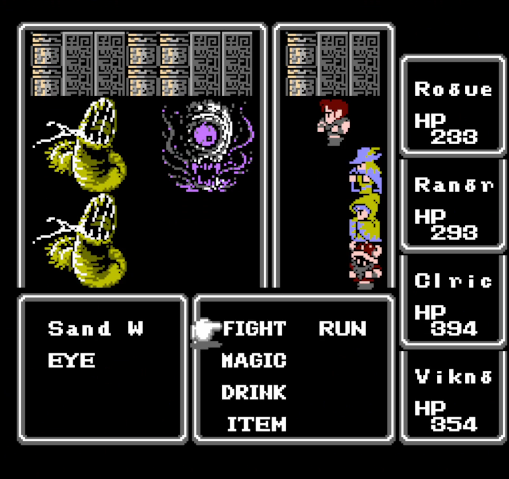
Approach it directly, and there's a spiked tile. This fight isn't nearly as dangerous as it used to be, but eyes can still ruin our day if we're unlucky.
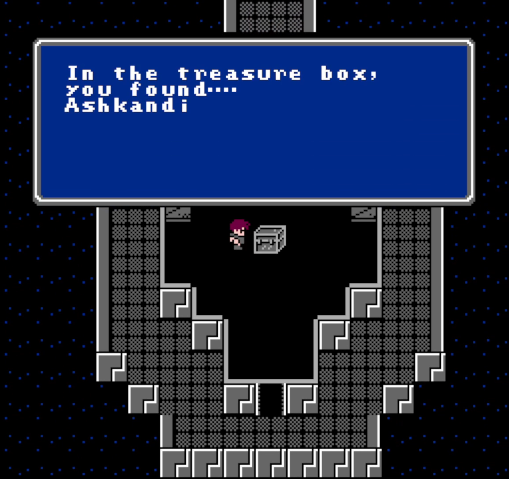
The tiles to the left and right, however, are unprotected, allowing us to bypass the guards. The Ashkandi is a World of Warcraft reference, as are the other weapons found here. It's a sword that's not only strong, but hits a surprisingly large number of weaknesses, making it potent even in the endgame. Since Rogue already has Sting, it goes to Ranger.

Unlike most swords, which are just recolors of the basic sword's sprite, some effort seems to have been made to make Ashkandi look like its namesake.
Compare that to Sting, which, for an ultimate weapon, looks rather plain.
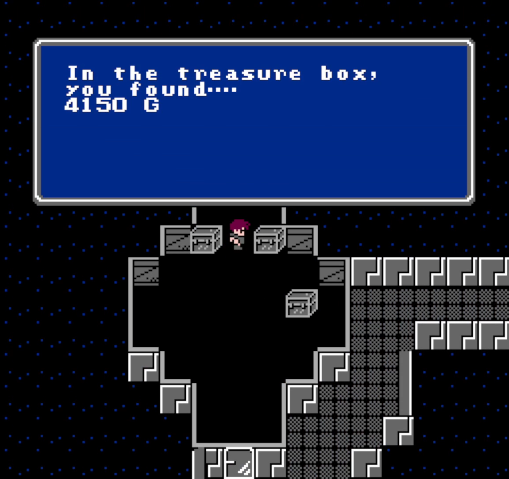
Apart from the sword, this floor is mostly just cash. After looting these chests and hitting level 20, we leave, heal up, rest, and return. Houses make the process incredibly convenient, as there's no need to go marching back to the airship.
The second floor of the Sky Castle is also identical to vanilla, with either rooms in a circle around a central area.
The cash here is even better, but it's of secondary importance.
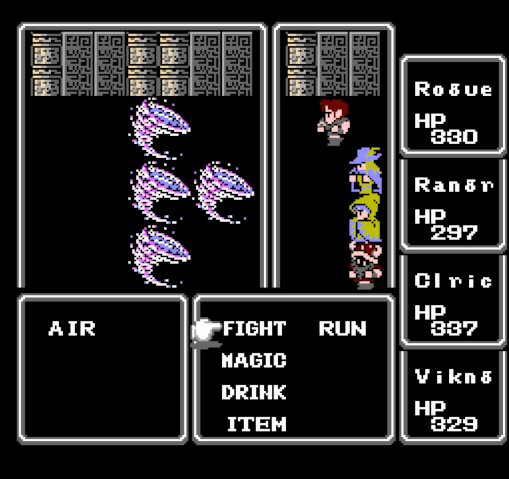
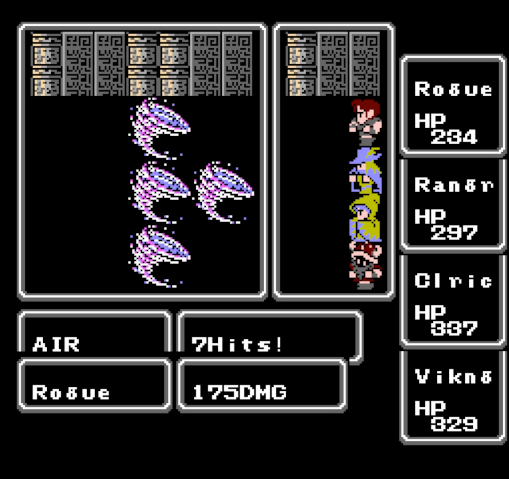

Airs are probably the most dangerous enemy here. They can hit up to eight times, proc paralyze on a hit, and deal a ton of damage. They are absolutely not worth fighting.
The east room of this floor holds one of its two main prizes. It is, of course, protected.
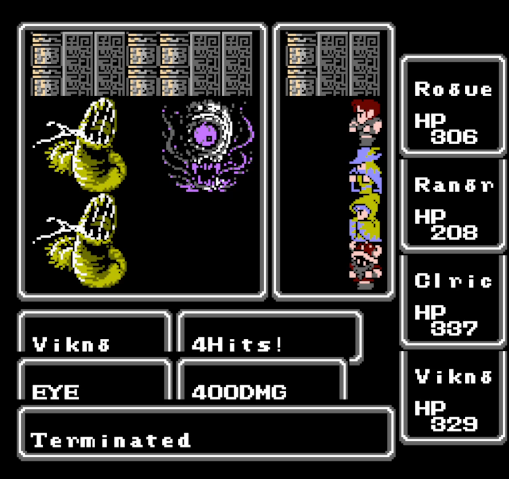
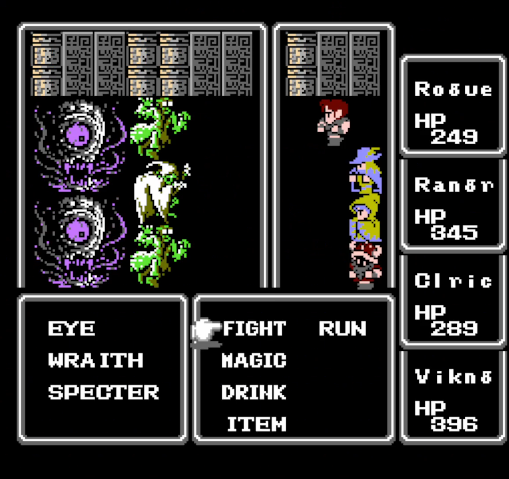
This was the first action of the round. Eyes have gone from major threats to something Viking can kill with a single attack. Feels good.
Our prize is another WoW reference, though it's a staff, so our party is out of luck. It doesn't even sell for anything, so we just drop it. The opal plate and rune robe are the same, unfortunately.
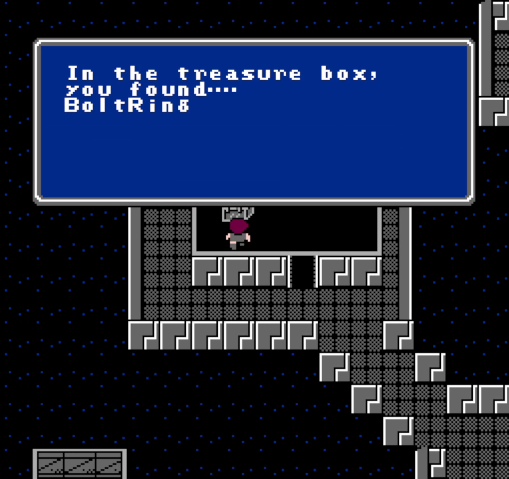
In the northwest room is the other unique treasure on this floor, the BOLT Ring. At this point in the game, BOLT is pretty lackluster, so it's probably the least useful ring in the game. Still, we'll give it to Cleric. Maybe she can get some use out of it.
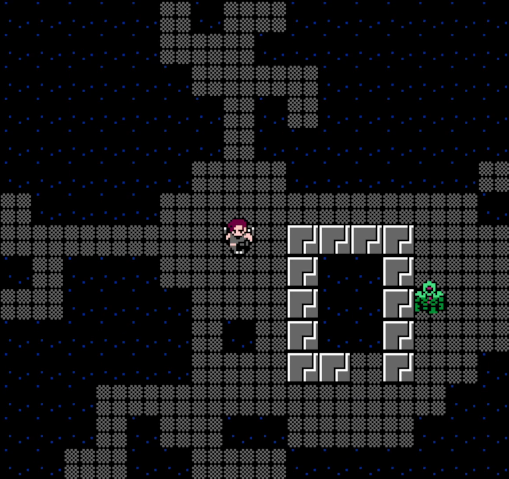
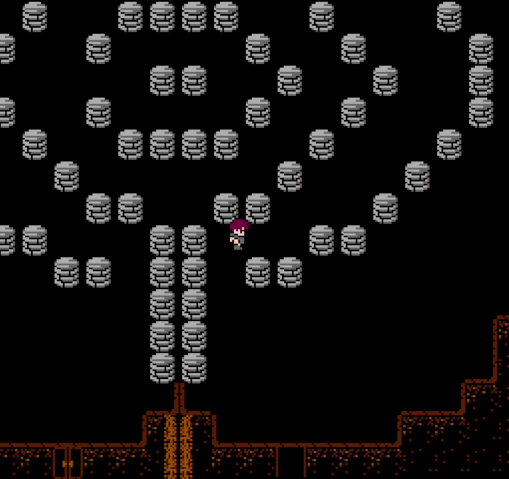
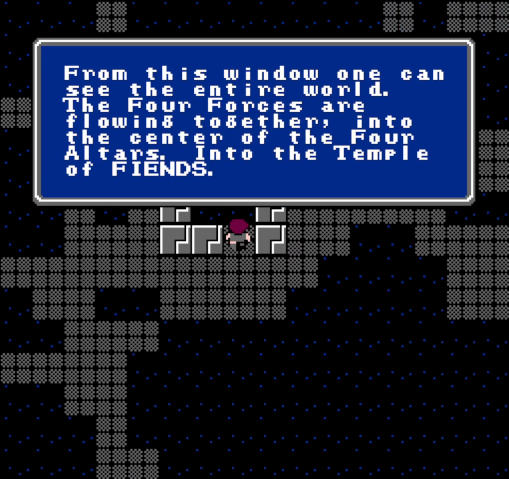
Floor 3 suggests that we might be among the stars. It's still lots of broken walkways leading to rooms in various directions.
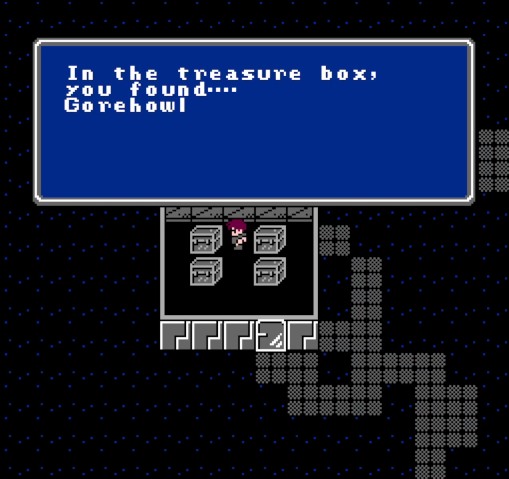
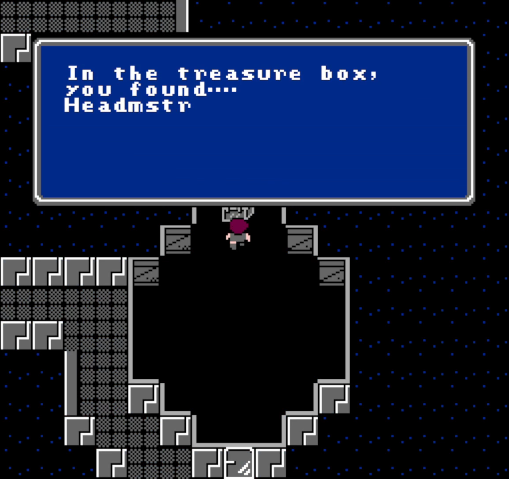
To the north is another guarded room containing the unique axe, Gorehowl. It's a nice upgrade for Viking.
Unfortunately, its appearance is just a recolored axe sprite.
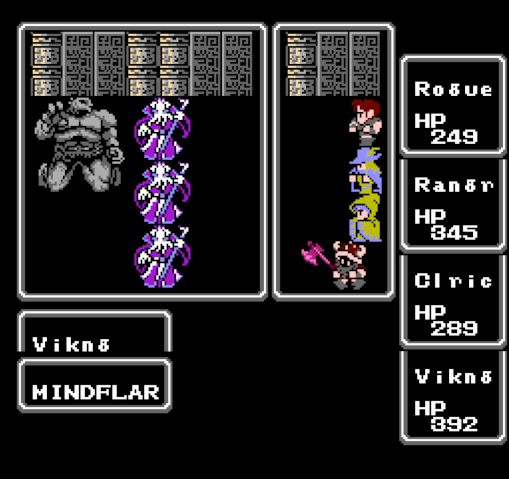
This fight wasn't spiked. This is a random encounter here. Between this and the airs, Sky Castle is fucking dangerous.
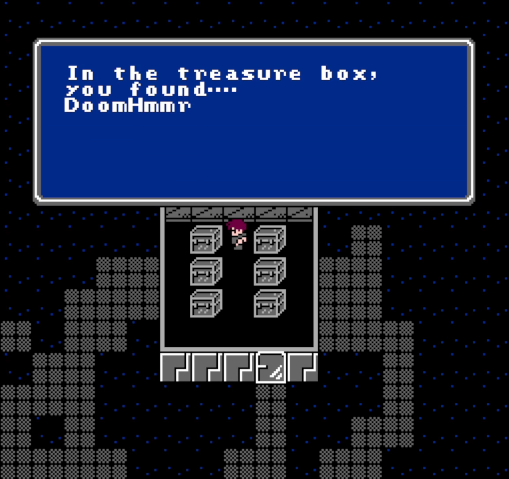
To the east is the last unique weapon here, the DoomHammer. It's not terribly strong, but it's still better than what Cleric currently has.
Like Gorehowl, it's just a standard recolored sprite.
Nothing new here. This feels like a missed opportunity to point the player toward the new bonus dungeons.
This room is to the south of the entrance to this floor. There's no treasure here, but I think it's a cool touch.
Floor 4 is identical to vanilla: head two intersections either up or down and either north or south to reach the teleporter.
Floor 5 is also the same. The encounter rate here is quite high, which can make it obnoxious if you start running into airs.

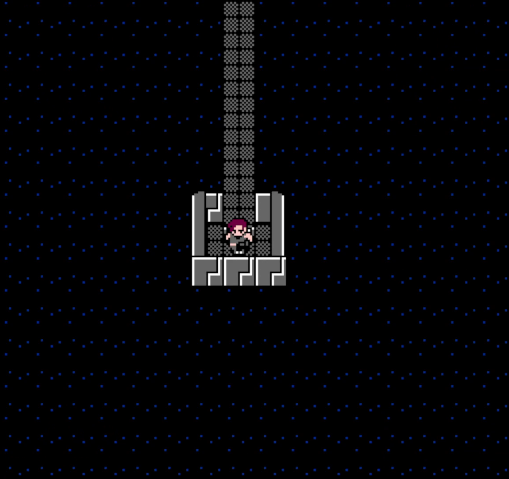
Finally, we reach the rather impressive-looking final room.
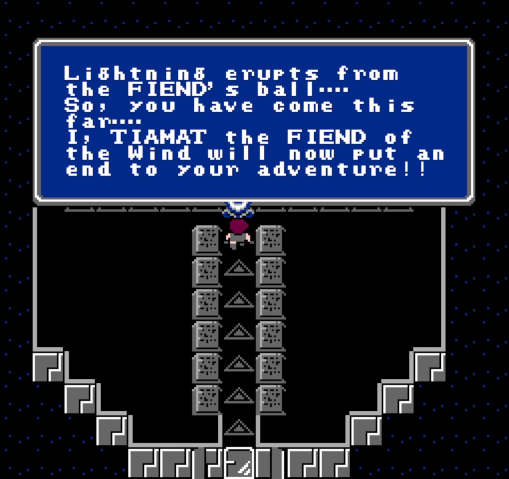
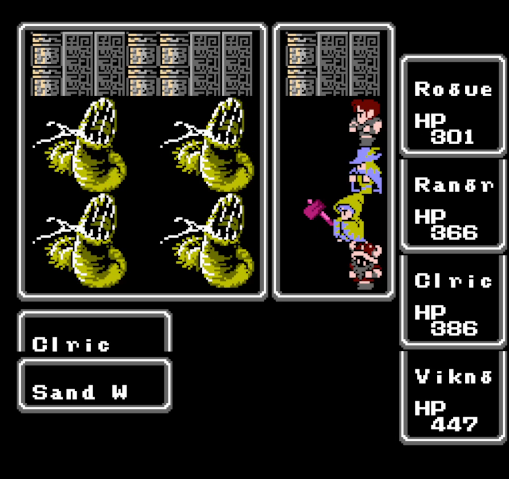
After making her threats, Tiamat attacks.
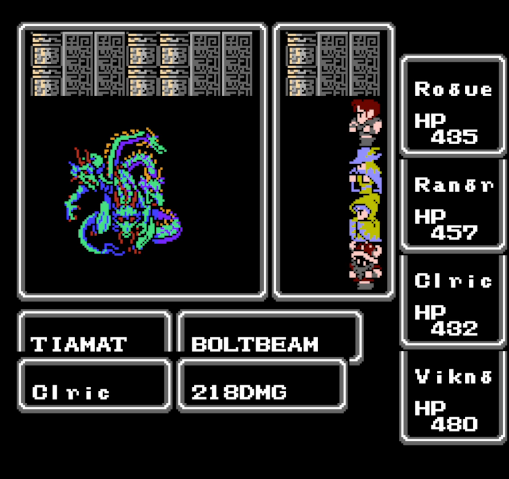
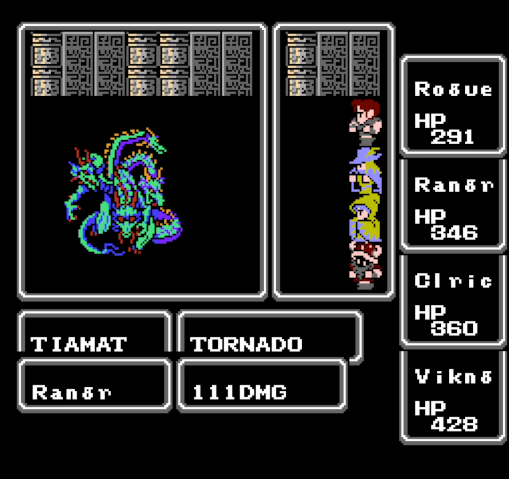
Besides the blue dragon's BLITZ attack, Tiamat also uses BOLTBEAM, which hits one target for huge lightning damage (the shot I took is after SHEL was applied), and TORNADO, which hits the whole party for pretty high wind damage.
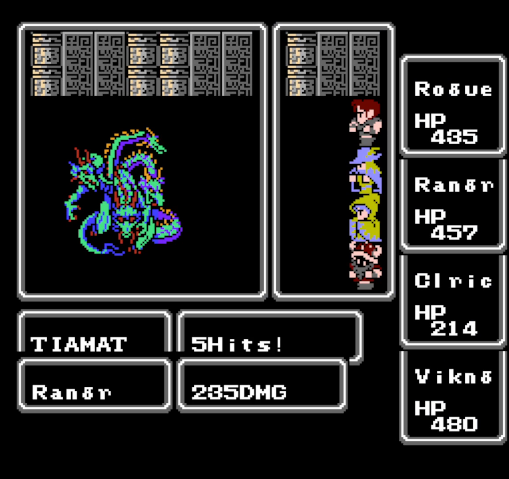
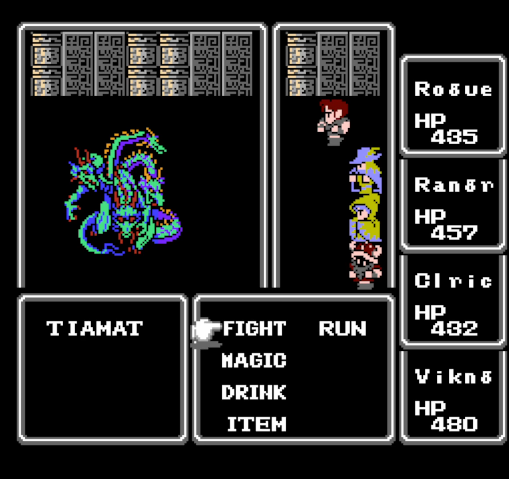
Her physical attacks are also no joke. She doesn't do anything besides deal damage, but everything she does is dangerous.
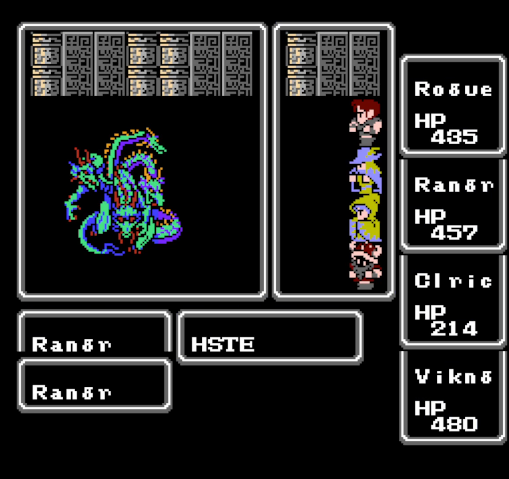
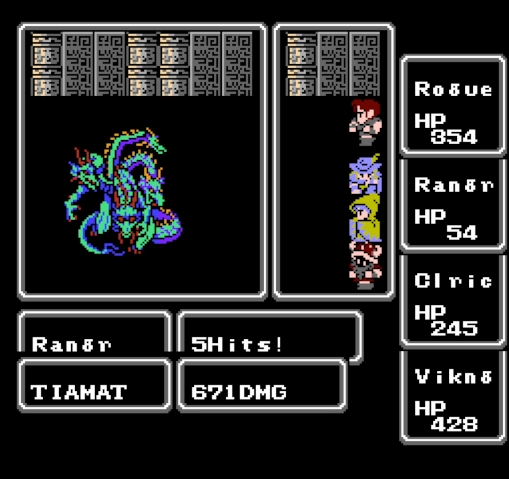
This is one of the few fights in which I'll have Ranger HSTE himself rather than Viking. Ashkandi does extra damage to dragons, turning him into a wrecking ball.
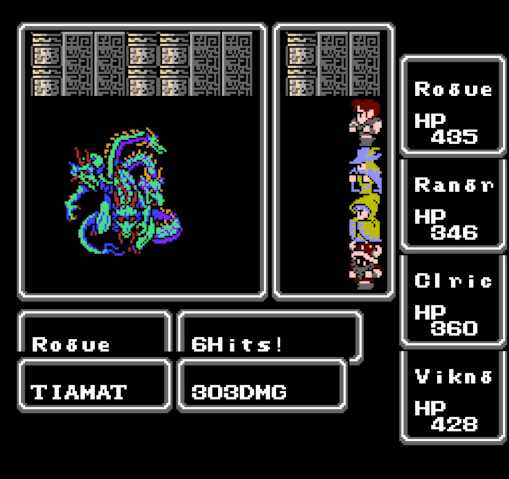
Rogue's damage output is pretty lackluster by comparison. I'm wondering whether I was wrong about Sting dealing extra damage to dragons.
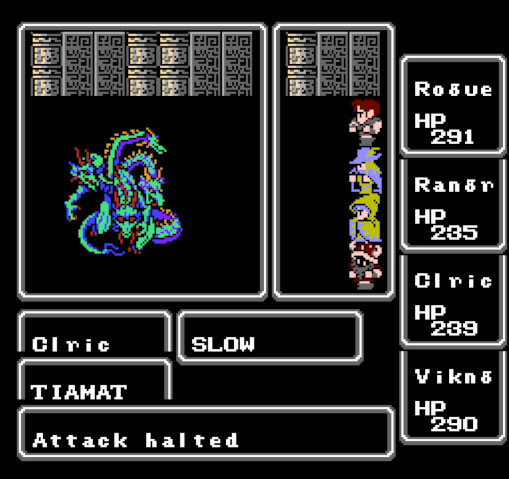
It took me way too long to do this. Don't be like me. Do this early in the fight.
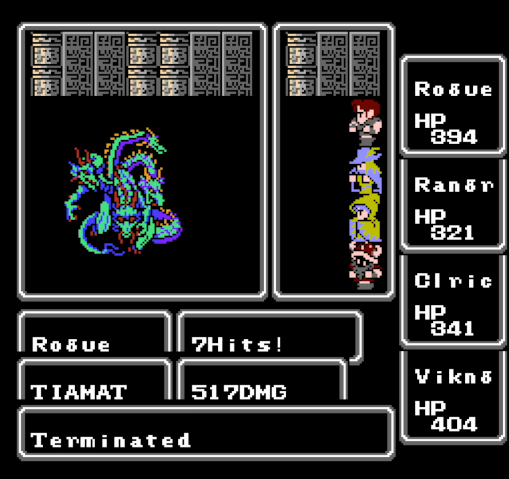
With consistent healing, we're able to pull through with no real problems. Rogue takes the kill.
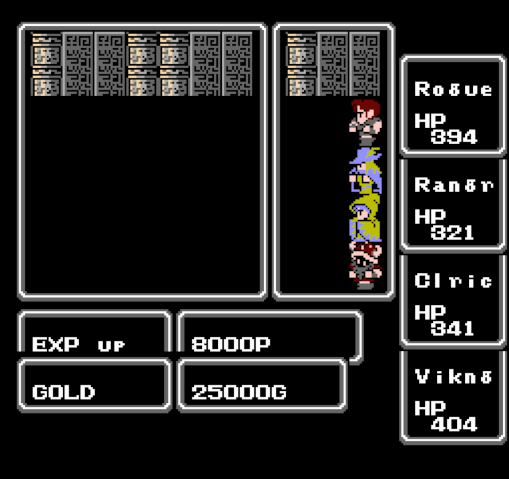
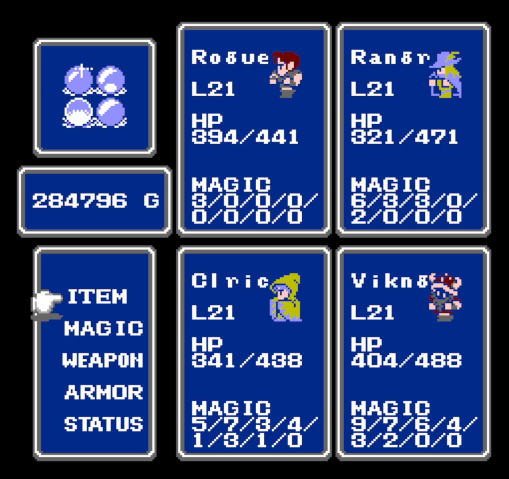
Sweet, sweet rewards. This raises us to level 21, which unfortunately is still not high enough for Cleric to get 8th-level spells.
With all four orbs lit, we could go fight Chaos, but there's bonus dungeons to do!