Part 23: Temple of Fiends Redux
Well folks, we're finally here. We've killed the four fiends, killed the four other fiends, and prepped ourselves as best we can.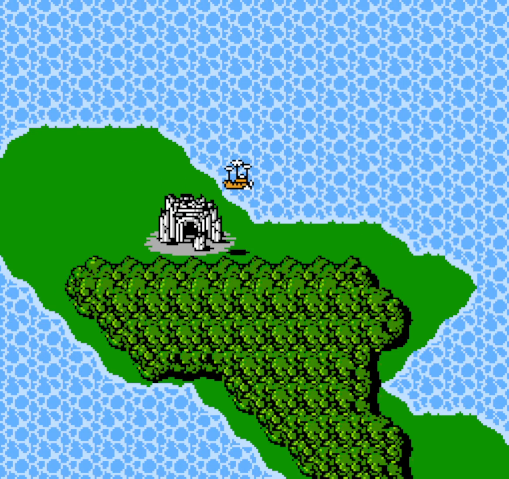
Let's go kill Chaos.
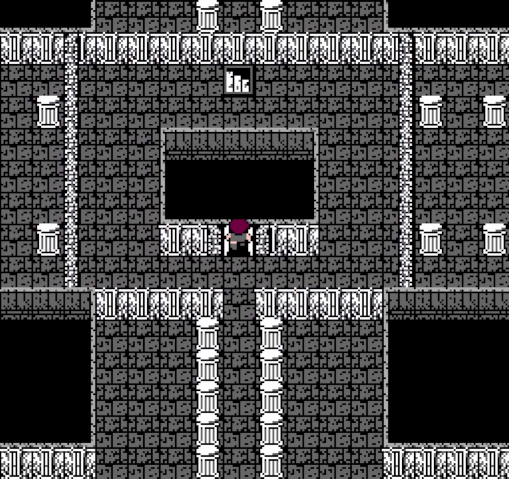
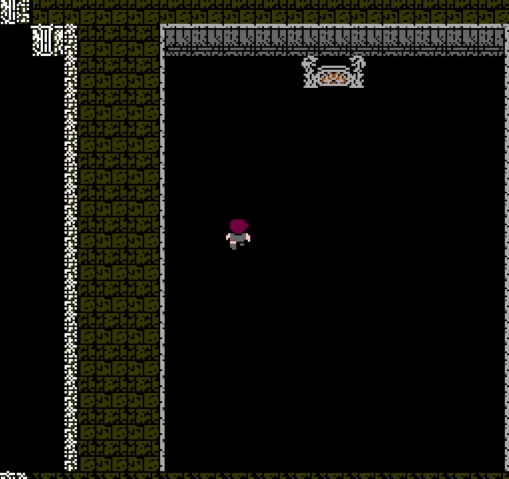
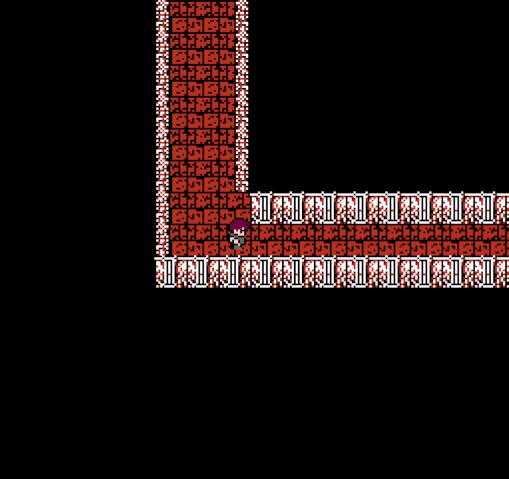
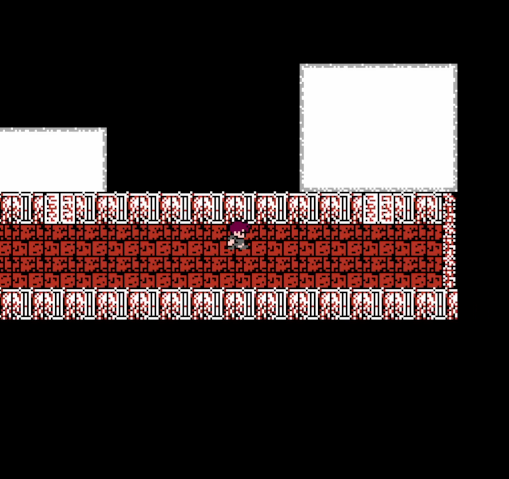
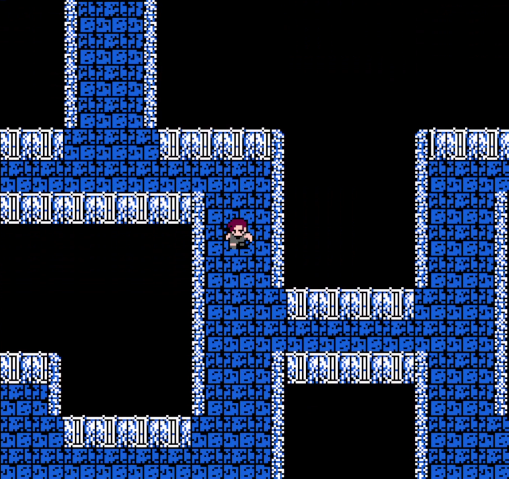
The mysterious barrier that was here when we came to fight Garland is gone, making this much more convenient.
Nothing new here.
Let's do this.
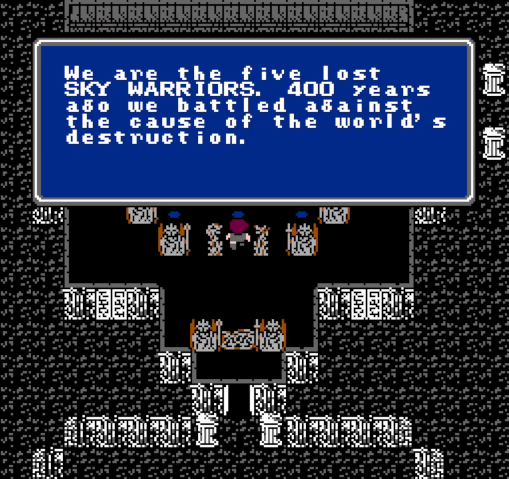
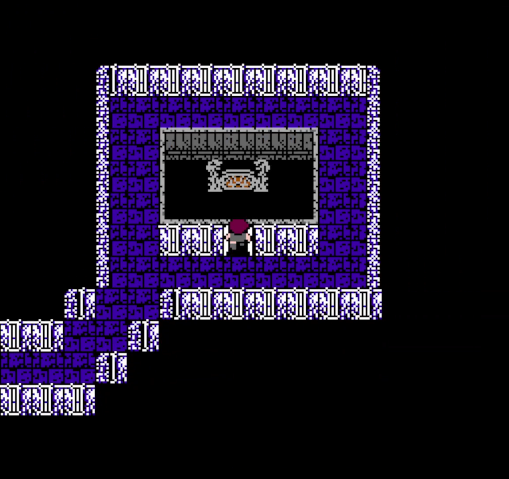
Notice that there's a teleporter here in the past as well. Any party can leave the Temple via this exit.
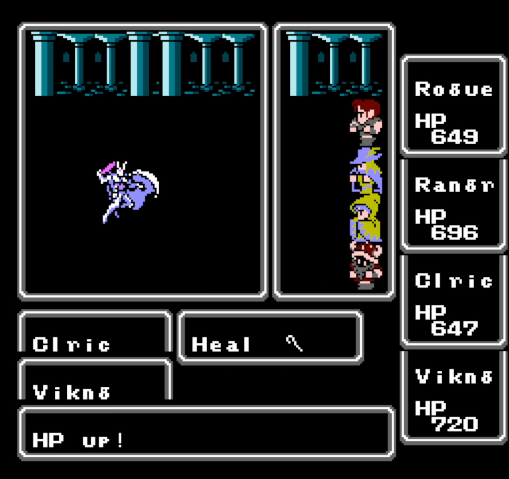
This is just a reminder that we have the HEAL Staff. It won't get mentioned a lot, but be assured that it's seeing frequent use.
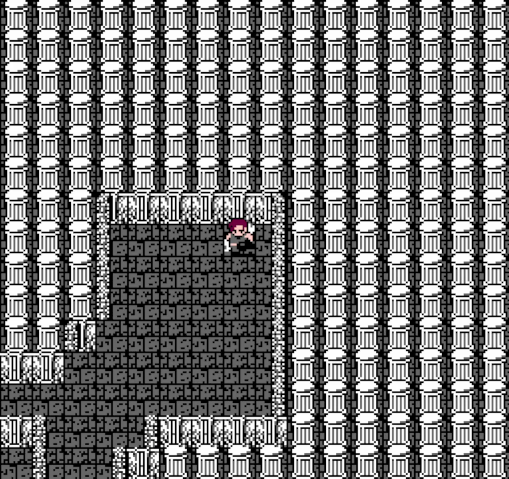
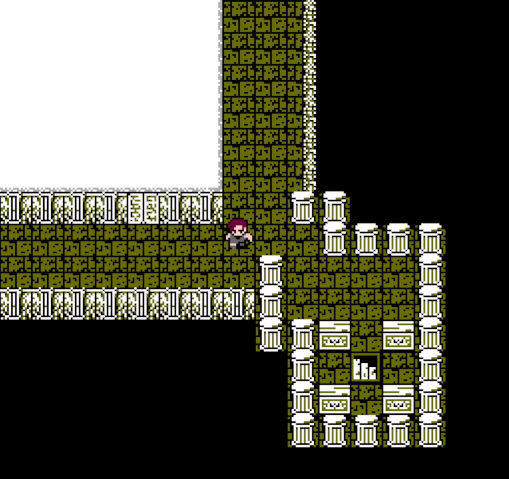
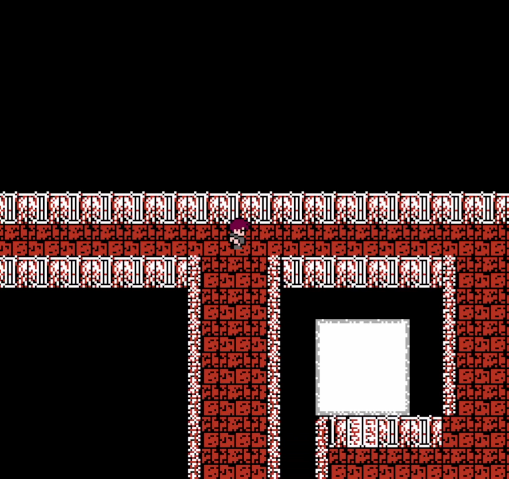
The first set of stairs we need is at the southeast corner of the level.

They lead to the center of the next level.
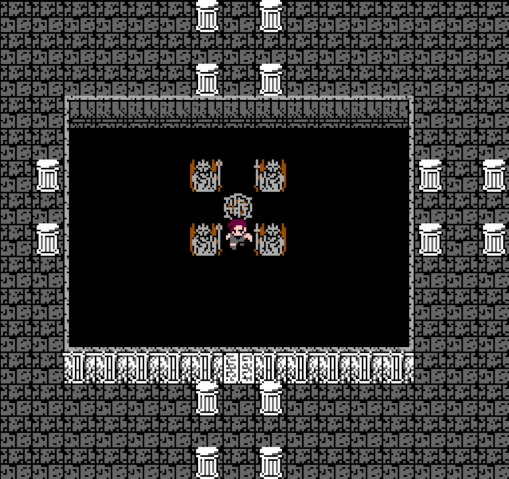
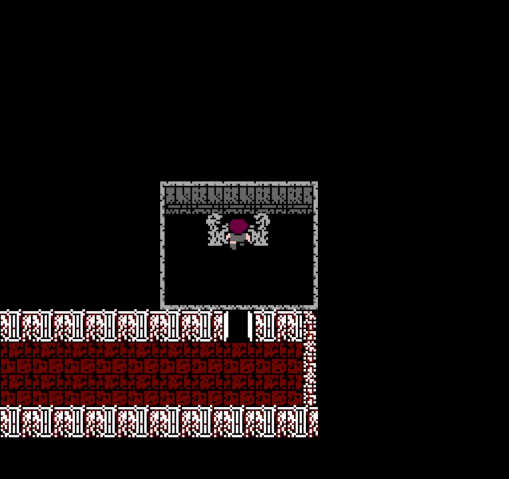
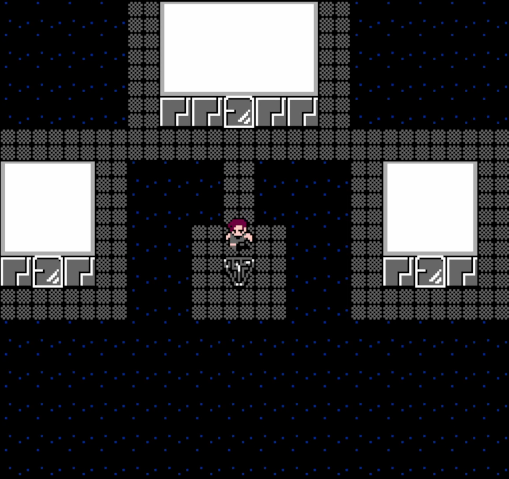
No, there's nothing in the middle room.
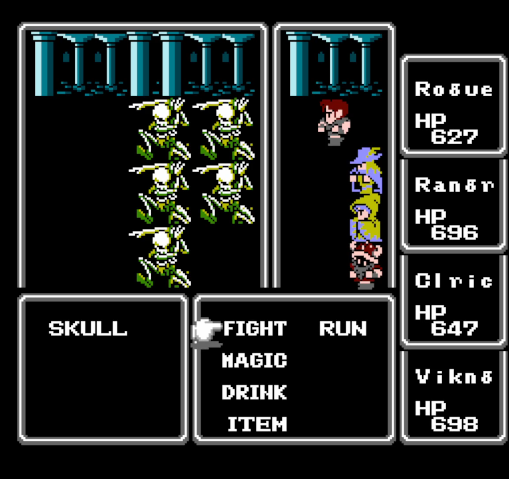
There are quite a few new monsters in the Temple of Fiends, some of which I probably missed in other dungeons, but a few have to be new. Skulls are durable skeletons that hit twice. This gives them a higher chance of scoring critical hits, but otherwise they're pretty much entirely nonthreatening.

T. Rexes aren't new, but I am intensely curious as to how they even fit inside this building.
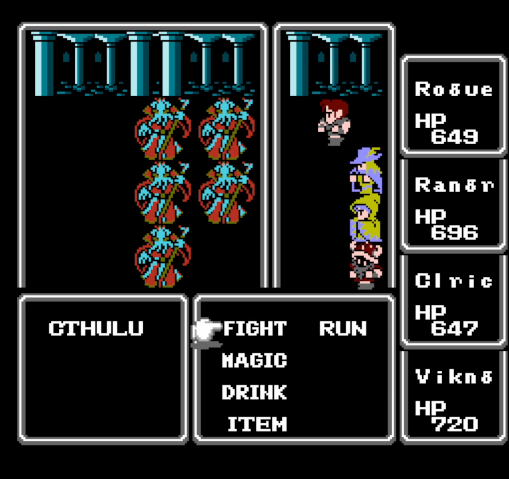
Cthul(h)us are new, and they can be dangerous. They can hit up to 8 times and can inflict every status ailment except death and petrification (so silence, sleep, paralysis, blindness, and poison). They don't hit hard, but they can lock you down while poison drains your health.
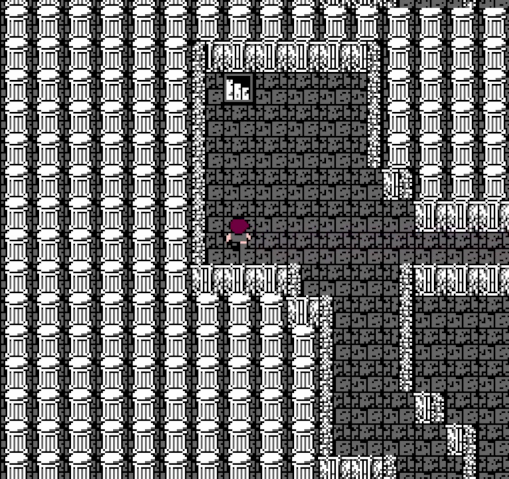
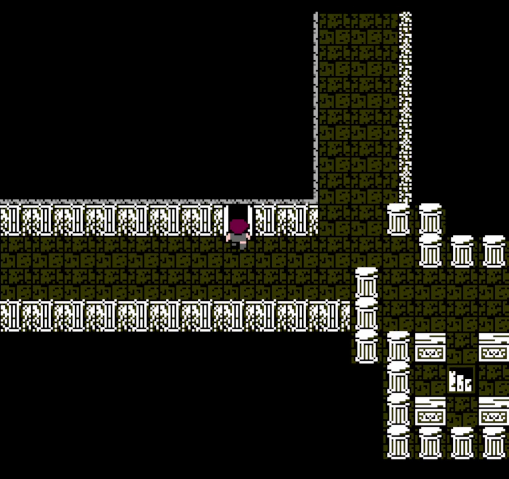
In the northwest corner of this floor are the stairs leading back down. Reaching them requires going south, then counterclockwise to this corner.
They lead back down to the northeast corner of floor 1, which is walled off from the southern half.
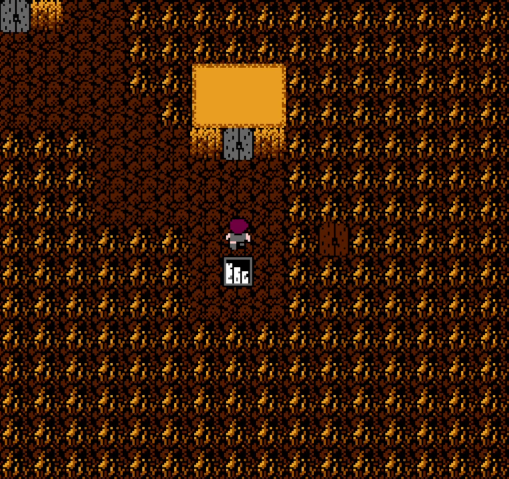
A quick trip to the west takes us to the stairs leading underground.
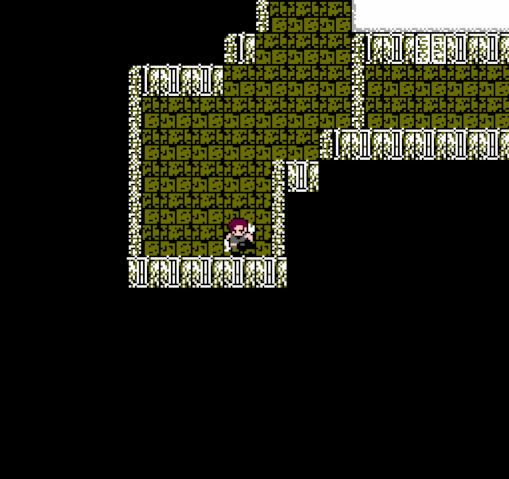
The four elemental floors are still here, but now they're color-coded to give them some personality. The enemies here aren't those from the Earth Cave, however, but instead other earth-themed monsters like sand worms.
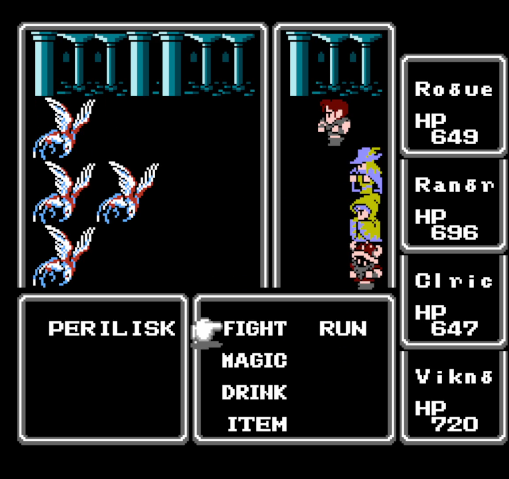
They include perilisks, which are not earth-themed. Their name is probably a bastardization of pyrolisk, a D&D monster that replaces the lizard parts of a basilisk with dragon parts. These critters never hit me with petrification or death, but they do have BLAZE, a fire attack that hits the whole party.
The stairs down are still in the southeast, but we're not going there yet.
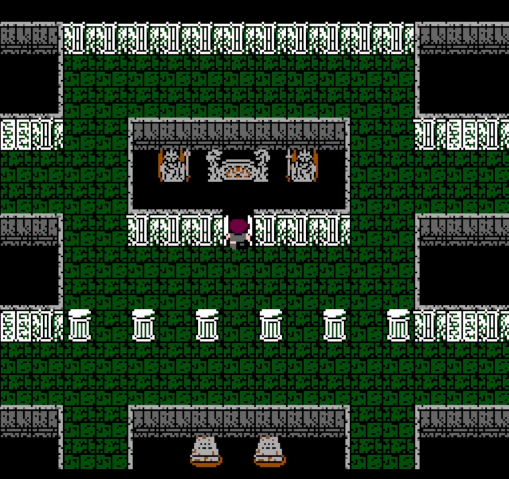
The two big rooms in the middle contain nothing of note in vanilla, but that's changed for UCE.
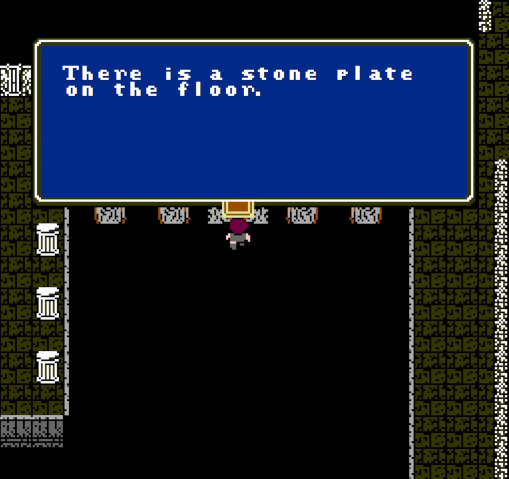

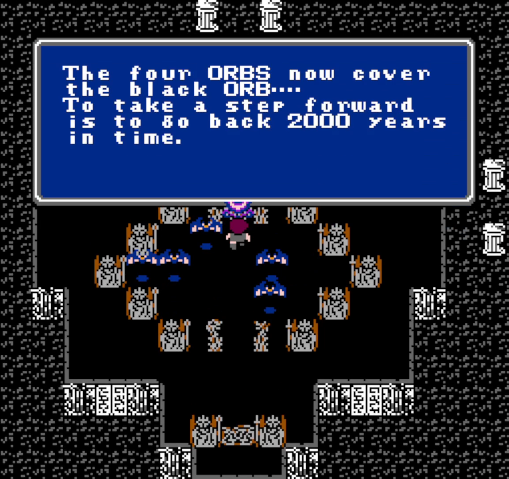
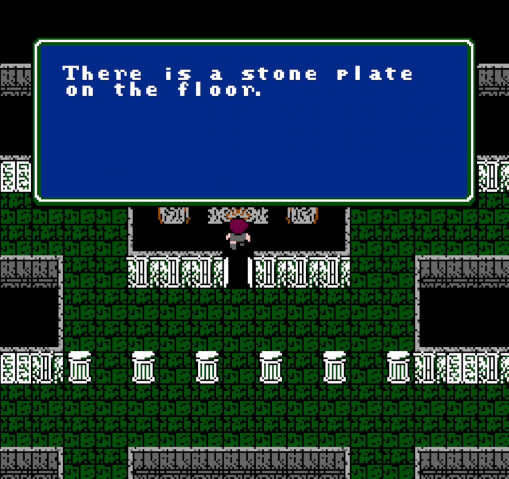
This stone plate is supposed to be removable by the Rod, but it's not. The author says this is a bug, but I strongly suspect it's a mistake on his part, as you'll see later.
Fortunately, we can hop over to the next room, where an unblocked teleporter awaits.
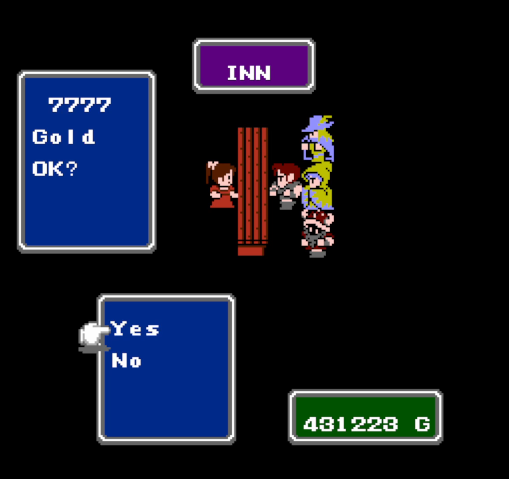
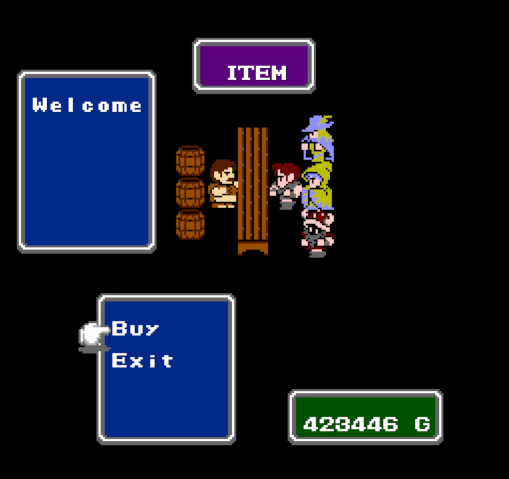
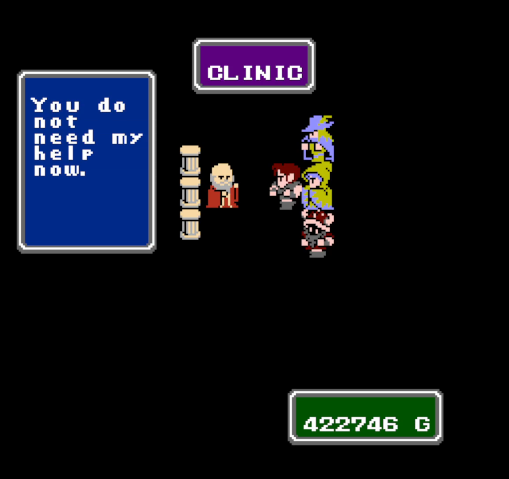
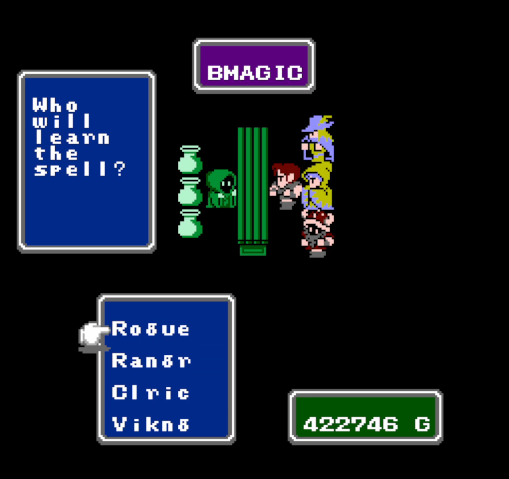
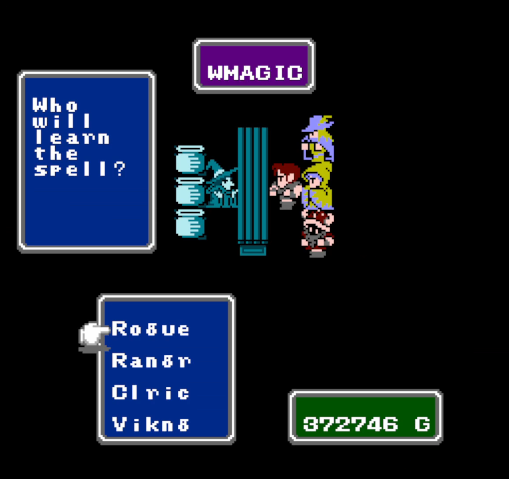

It leads to a small town, which contains an inn, an item shop, a clinic, shops selling level 8 magic, and an exit back to the surface. Since we have a disgusting amount of money, I round out Ranger's spell list with HEL4, MTEO, and TPR3. He'll never be able to cast them, but I always like looking at a filled spell list, and we have very little on which to spend that cash.
After resting at the inn, we head back out.
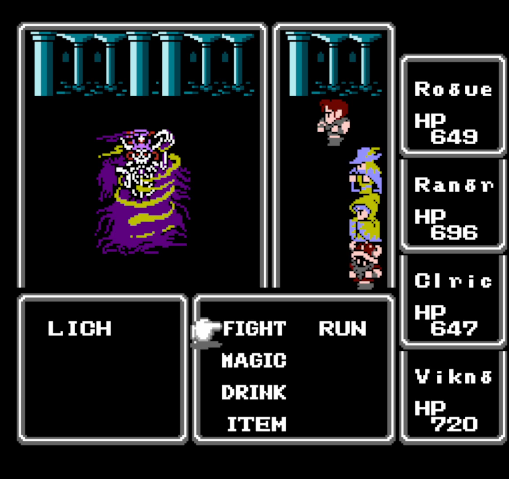
Guarding the stairs is Lich. He's been updated with more powerful spells, but his vitality hasn't increased proportionately.
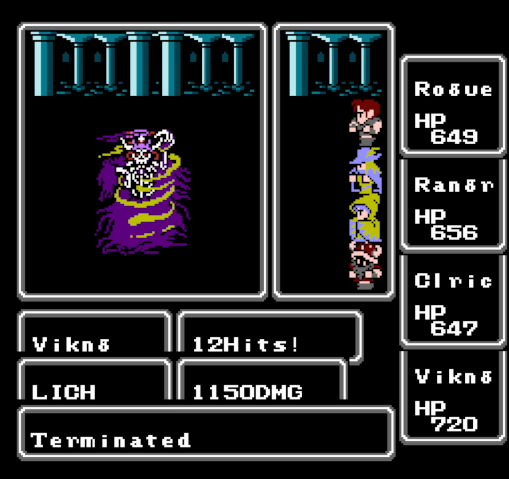
As an undead spellcaster, Lich takes extra damage from Anduril, Mjollnir, and Hereward. He went down on round 2, after making two physical attacks.
Next up is the fire floor. This floor actually has something interesting!
If we go south of the stairs down, then west...
...we can go around this corner and back to the east, to a small room...
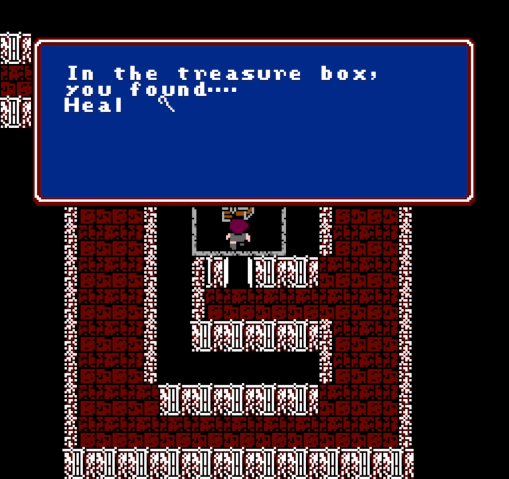
...containing a second HEAL Staff! Ranger takes this one - he's the weakest fighter apart from Cleric, and he can use it when we're trying to flee since he's terrible at running from fights.
South and east from the stairs down is another room.
But first, we gotta fight some Sages. I ran from these guys on round 1, but not before all five of them hit the party with BLT2, killing Cleric and seriously injuring everyone else.
Anyway, inside is another town, offering the same amenities as the first.
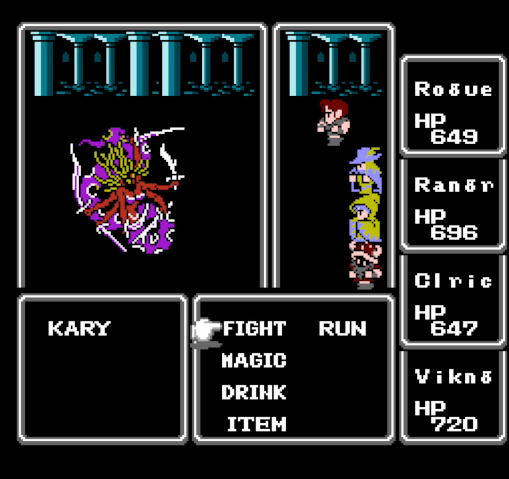
After resting up, we head back to the stairs to fight Kary.
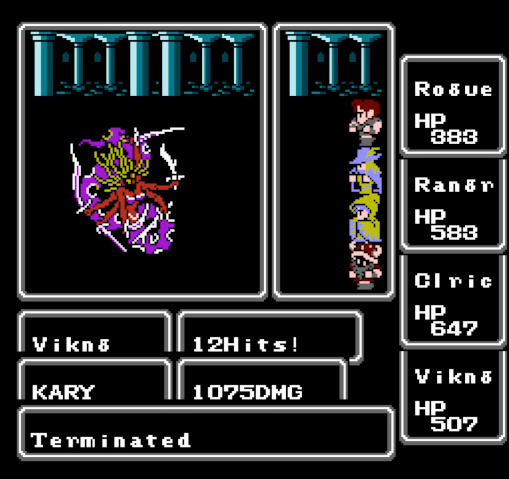
She lasted one round longer than Lich and did nothing interesting. She did get us to level 31, at least.
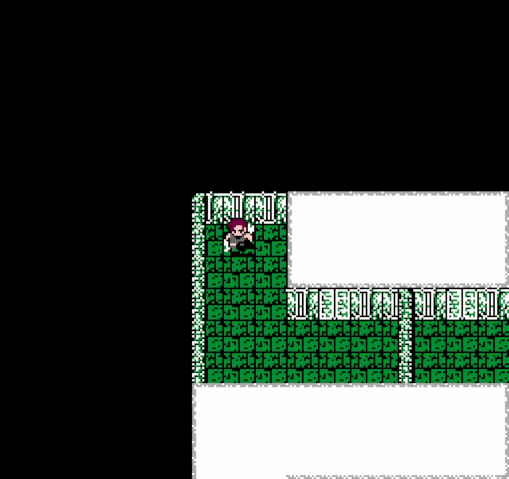
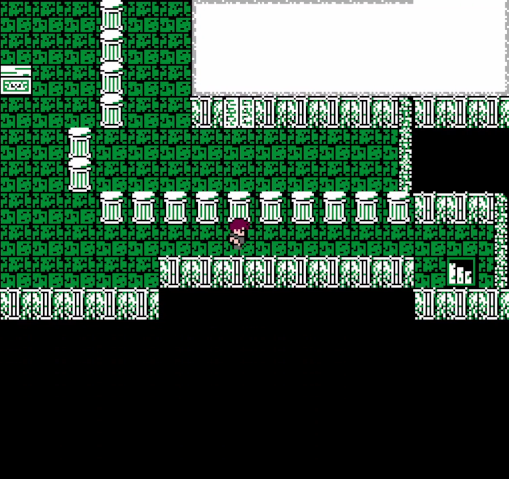
The water floor has a very pleasant sea green color.
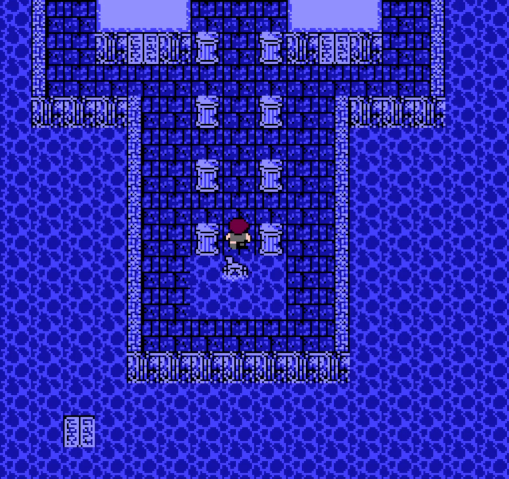
In the central room is another teleporter with a stone plate on it.
The Rod does work on this one - I suspect it's improperly coded to work on the wrong plate. This one is intended to be removed by the Lute, but come to think of it, I'm not sure whether that works. Regardless, parties that can't remove the plate can find another town on the east side of the floor.
The water town is a callback to the Sea Shrine, which makes me wonder how the human shop owners even breathe.
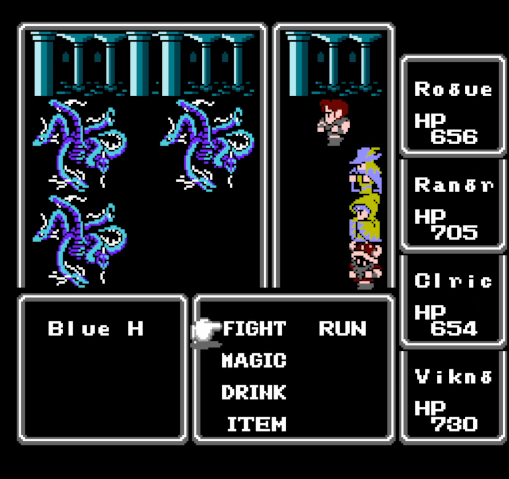
The water floor also contains blue hydras, which I believe can be seen in the Ice Cave, but I'm not sure. They have a FROST attack, similar to frost wolves, but otherwise aren't too scary.
Fun fact: the four elemental floors each have the boss of one of the bonus dungeons as a rare encounter. I didn't run into any of them in this run, but in my first game I encountered Hyudra on the water floor, which was quite the surprise.
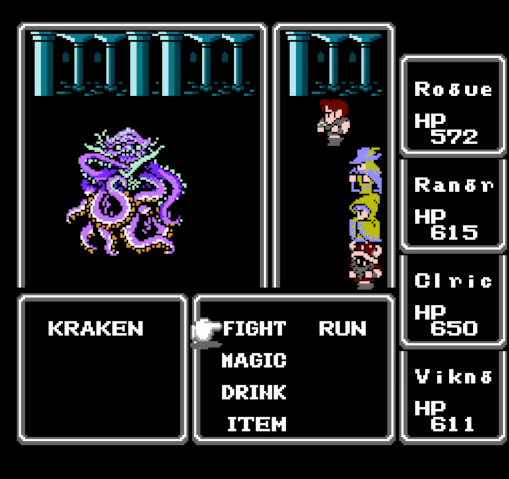
The corridor at the south end of the floor leads to the stairs and is guarded by Kraken.
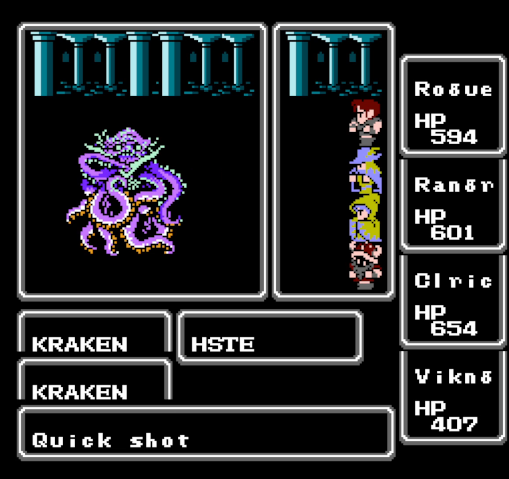
This incarnation of Kraken is more dangerous than the original on account of being able to HSTE himself, allowing him to potentially hit up to 16 times. I also don't believe he can be SLOWed. Killing him quickly is your best bet. (I'm ashamed to say that I failed to capture the killing blow.)
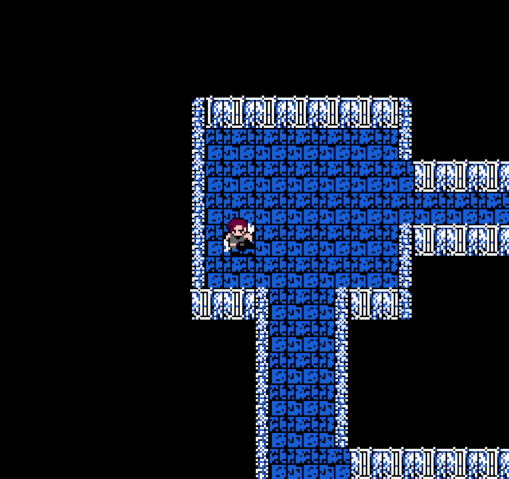
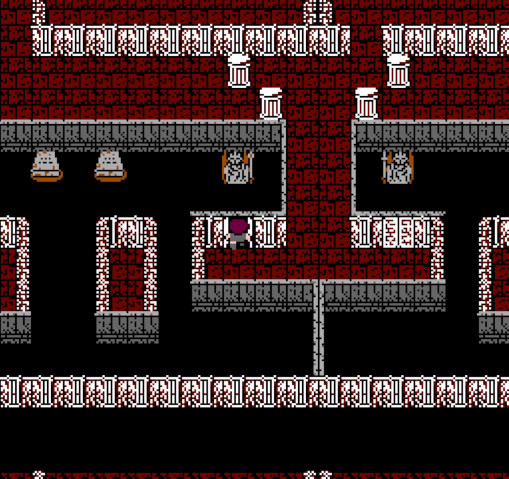
Finall,y here we are on the air floor, which has another lovely color palette.
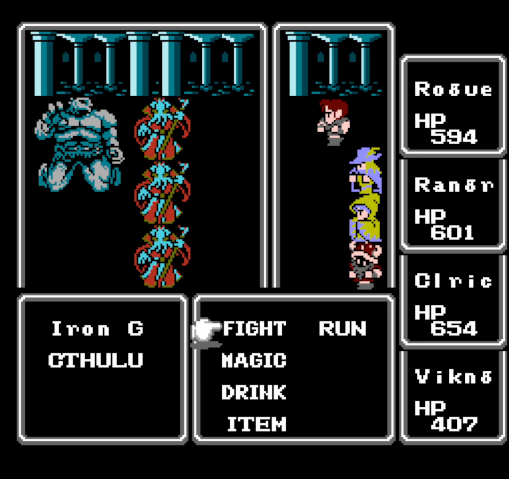
The encounters here are less lovely. Iron golems are the strongest golems (aside from the Holy Shrine's gold ones), with high defense and decent power but not much else.
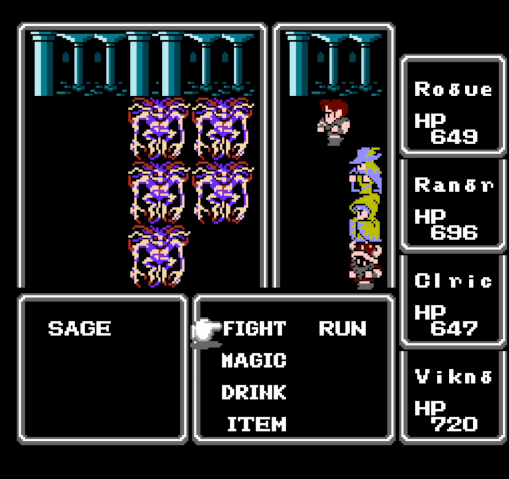
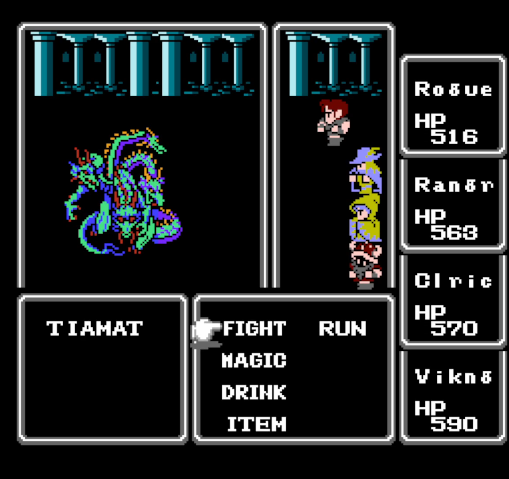
This fight can also pop up here. It's by far the most dangerous thing on the floor, with Tiamat being the only possible exception. Woe to parties that can't deal with it.
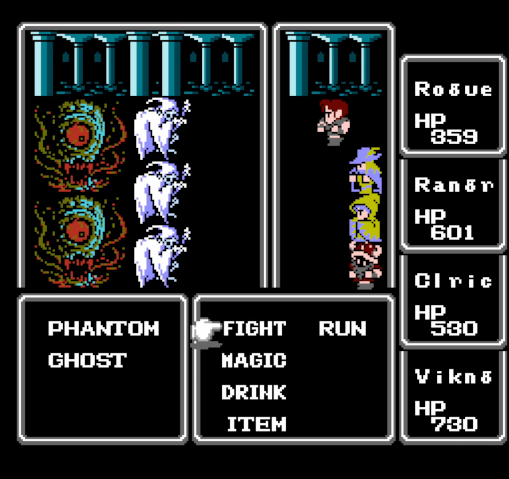
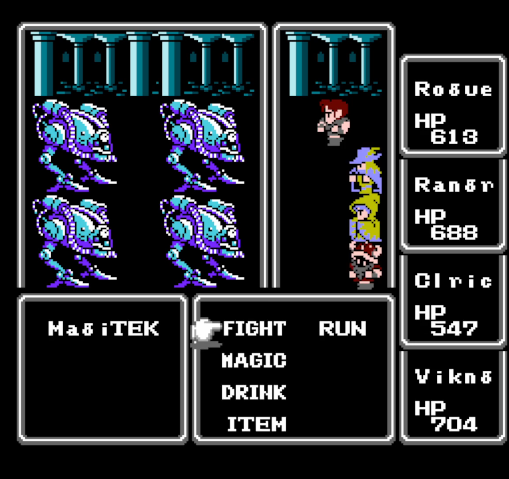
Phantoms are also extremely dangerous enemy spellcasters. They open with COMT and then switch to MTEO, which will wreck your shit without SHEL or WALL up. They're only less dangerous than MagiTeks on account of the fact that we can run from them.
In the southeast part of the floor, where the Masamune is found in vanilla, is the air town. It's only accessible with the Cube, and it's the last place to rest up before the final boss.
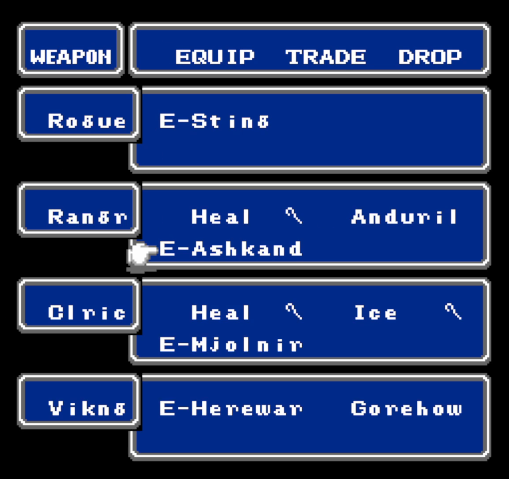
For the Tiamat fight, we're switching Ranger back to the Ashkandi. Unlike Anduril, it deals bonus damage to dragons, making it the superior choice.
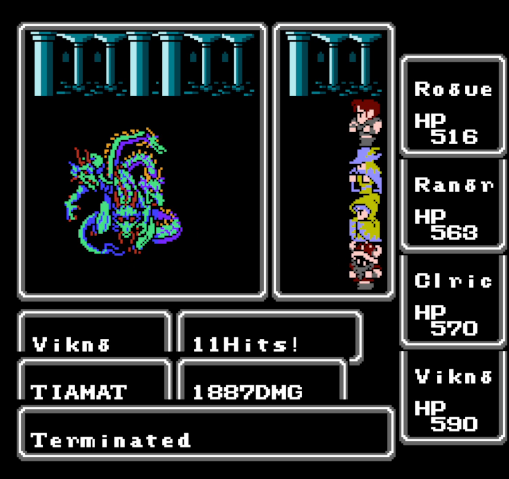
It paid off too. Tiamat went down in just a few rounds, with nothing to show for it save a few BOLT and BLT2 spells and a couple attacks. On to the final floor.
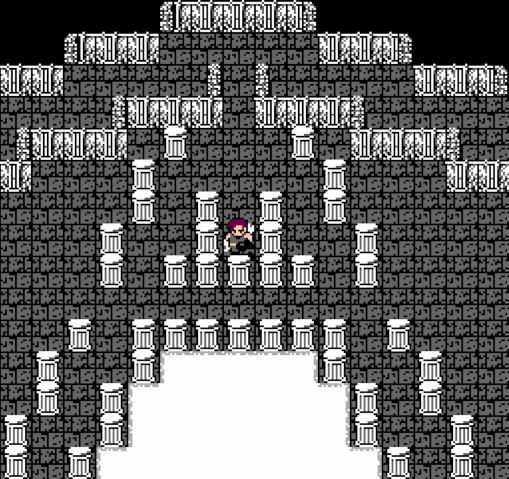
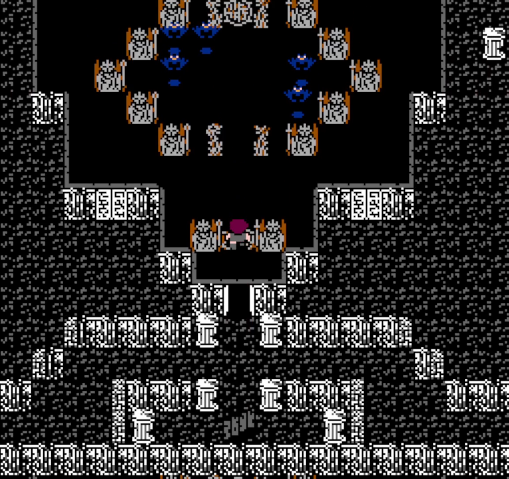
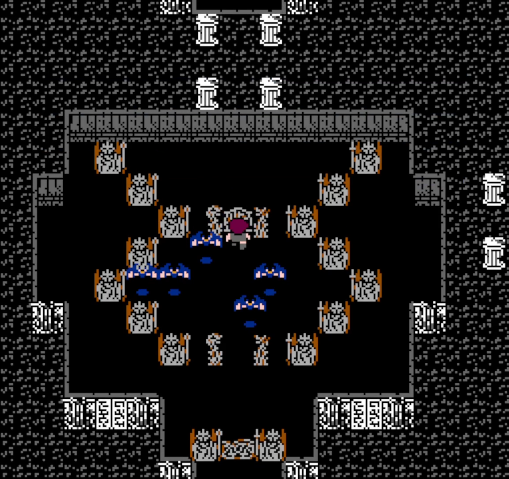
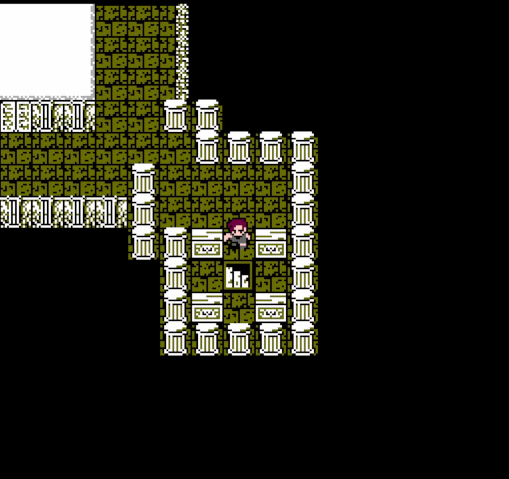
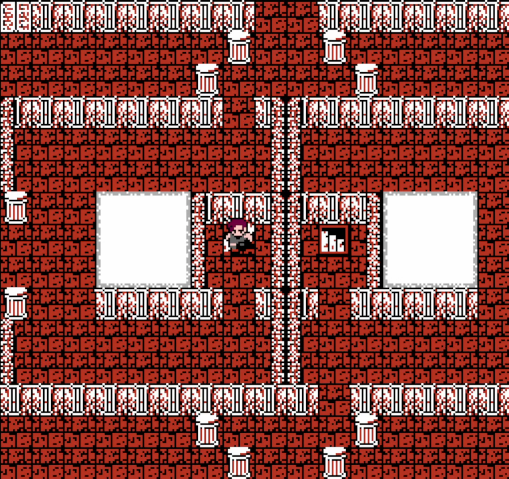
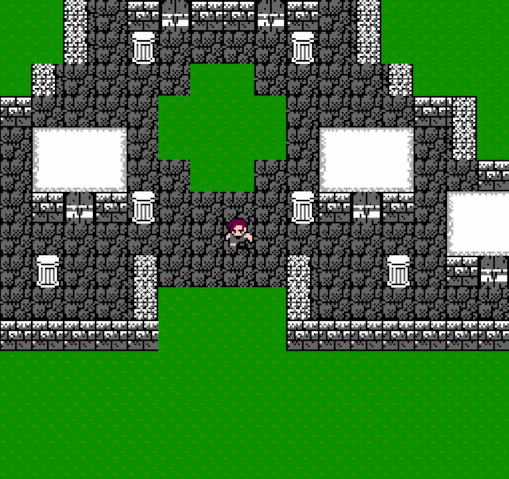
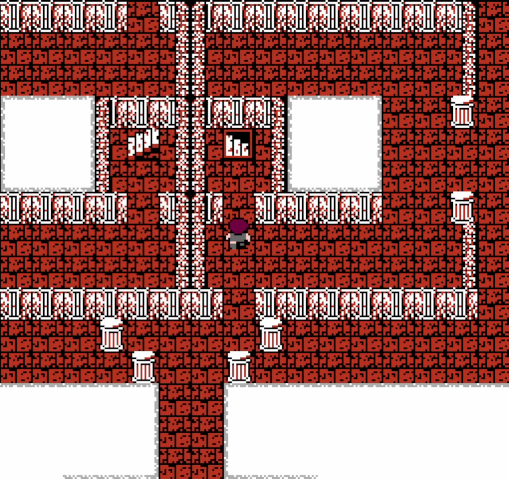
The last floor still has a bunch of pillars in a pentagram pattern, but it also has an outer ring.
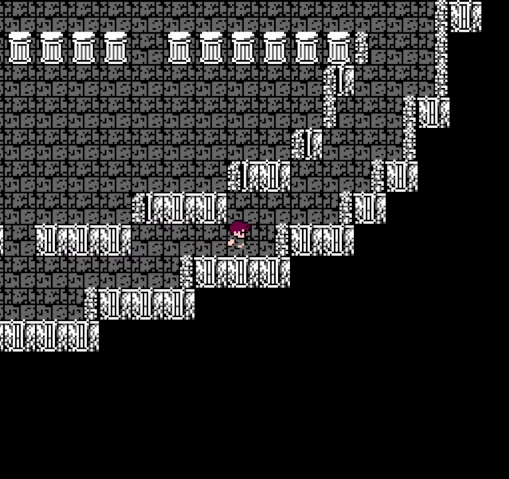
That outer ring actually has random battles. They're spaced very far apart, but with enough walking...
...you will encounter a random boss other than Chaos himself.
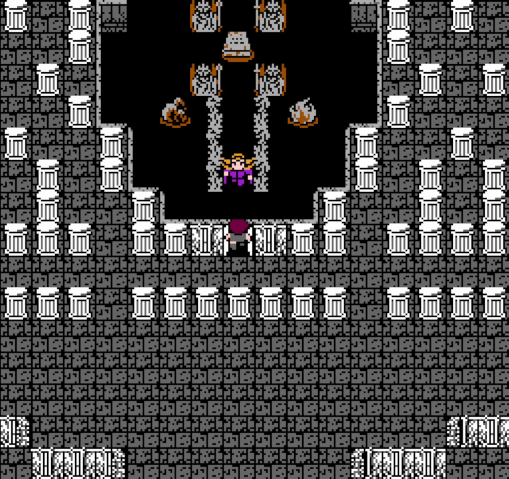
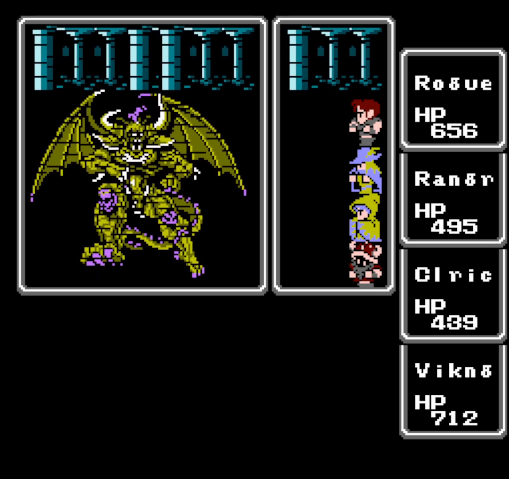
Okay, motherfucker, let's do this.
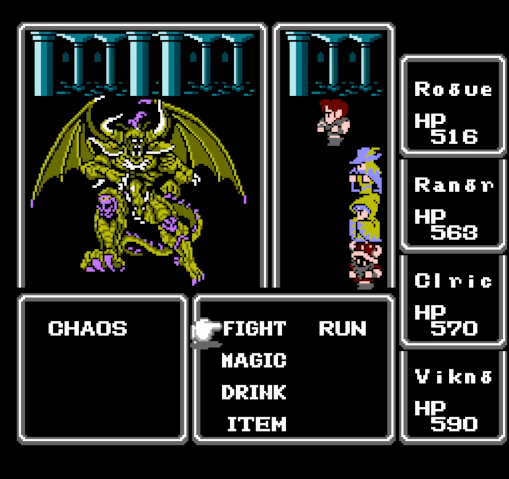
So, here we are: Chaos. UCE Chaos is a different experience from vanilla, dropping all his special attacks in favor of stronger physicals and frequent spellcasting. This fight can come down to RNG: Chaos will eventually cast CUR4, followed shortly by QAKE, which can very easily result in a party wipe. Killing him before he can heal himself in by far the best way to win, but if he casts a lot of spells quickly you might be in for a rough time.
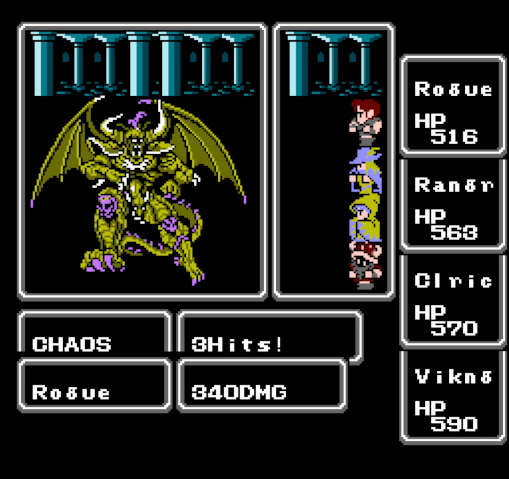
He doesn't score many hits, but his physical attacks are brutal nonetheless.
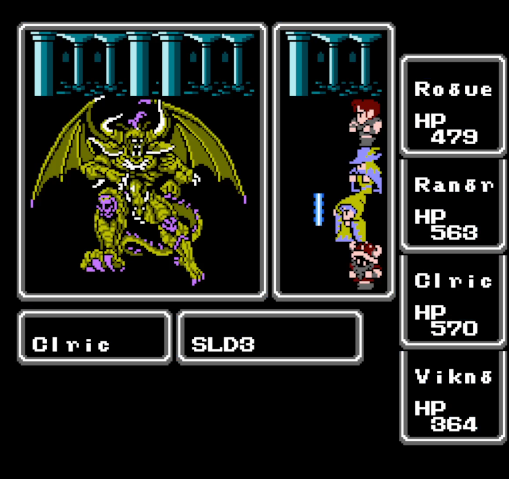
Luckily, we have Cleric, who has the best counter to that.

Seriously, SLD3 is amazing.
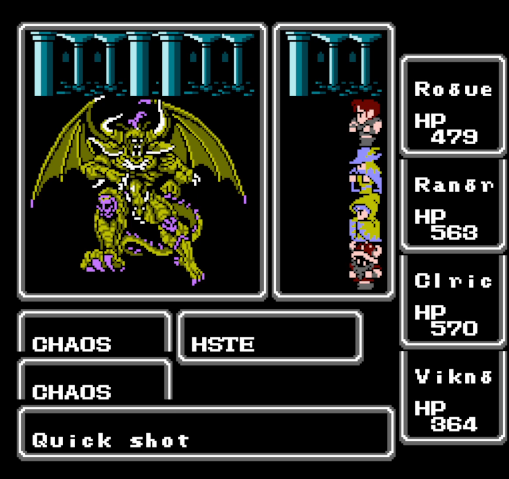
Unluckily, Chaos's first spell is HSTE, which can't entirely overcome our increased defense, but it does make him much deadlier.
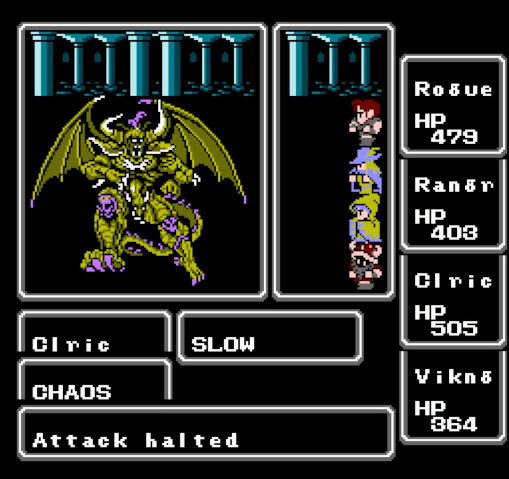
Happily, he can be SLOWed relatively easily.
His next spell is HEX, which can be horribly debilitating if it hits too many characters. In this run, only Ranger was affected, which didn't slow us down much.

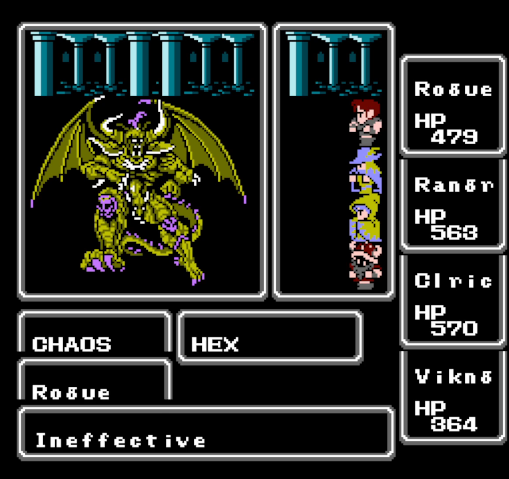
Next up is TPR3. With both this and HSTE, and without defensive buffs, his physical attacks can be overwhelming.
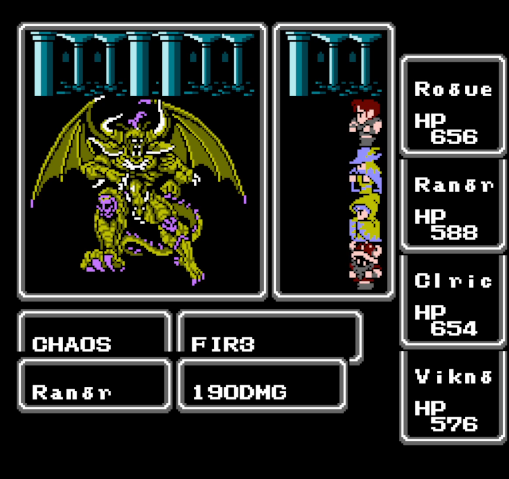
Not negligible, but nothing too dangerous.
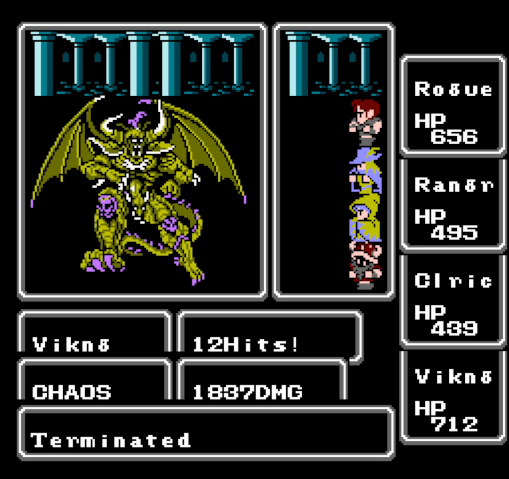
Surprising no one, Viking lands the final blow. I believe Chaos' next spell is CUR4, so this was some down-to-the-wire timing.
We did it.

It's over.
We won.
The world is safe.
We've killed Chaos.
Final Thoughts
I love this hack. The huge number of character combinations makes every run a different challenge, and the changes it makes keep it an entertaining, wonderful experience every time. It's not perfect, but it mostly does what it does extremely well.
Rogue was the hero of the midgame. Her early access to her final weapon made her a real powerhouse for a while. While his attack power fell off a bit in the late game, he made up for it with reliable magic resistance and his talent for escaping from the more dangerous (and obnoxious) random battles.
Ranger fit his role of jack of all trades nicely. He tanked, he hit reasonably hard, and his spellcasting was a huge boon in a lot of circumstances. Like Rogue, his power felt a bit lacking by the end of the game, but his spellcasting more than compensated for that.
Cleric was probably this party's MVP. Between her heals, her defensive buffs, and SOFT, she likely made more difference, especially in boss fights, than any other single character. She was even pretty consistently good at running from battles. Still, no one is an island, and without the fighters she wouldn't have managed much.
Viking was pretty consistent through the whole game. Though he felt like a third wheel for a bit after Rogue got Sting, he caught up fairly quickly and never looked back. My go-to physical fighter in most battles, he also deserves a ton of credit for easing the pain of the late game bosses.
And that's about it! I had a lot of fun doing this LP, and I hope you all enjoyed it too. I appreciate everyone's enthusiasm and input, and even the folks who just lurked have my gratitude for sticking with me. If the hack looks fun, give it a go!
I suppose that's all there is to say. Which makes this, at last...
