Part 40: Reina vs. Omega
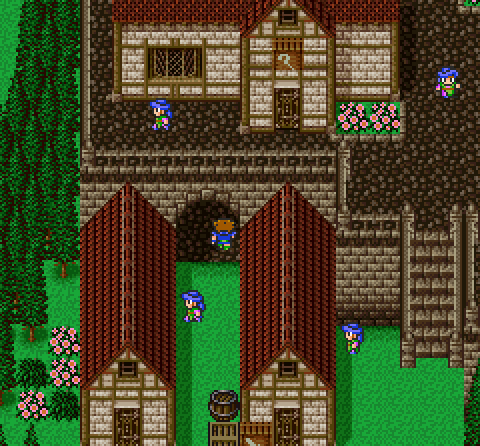
So, uh, I kinda forgot to show off a particular enemy in the last dungeon. This is none other than series-staple Tonberry, in his first appearance no less. The reason I'm showing him off now is that he has probably the most unusual name in the entire game. Yes, even worse than "Soccer" and "Y-Burn."Prepare yourselves.
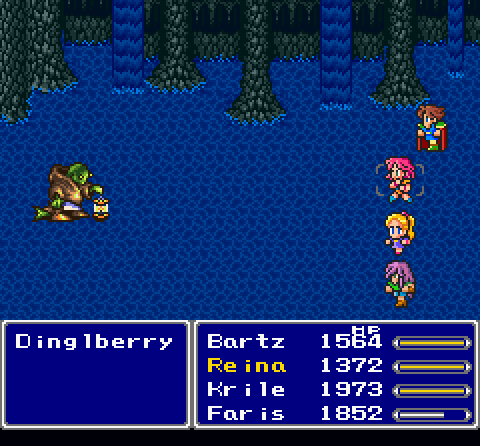
Meet...sigh...Dinglberry.
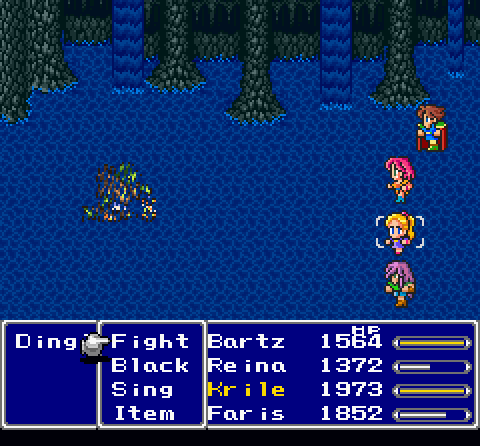
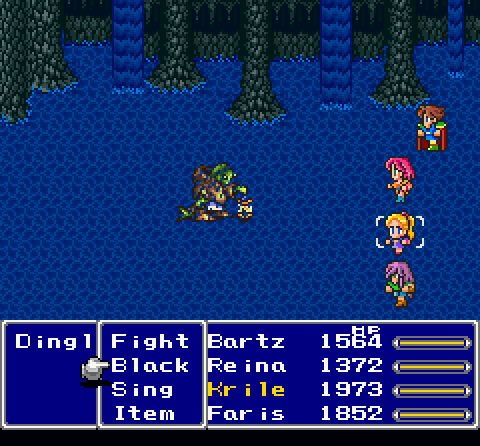
He will slowly advance towards you. He also likely does huge damage, though I kill him before he does anything too threatening.
What the fuck were they thinking.
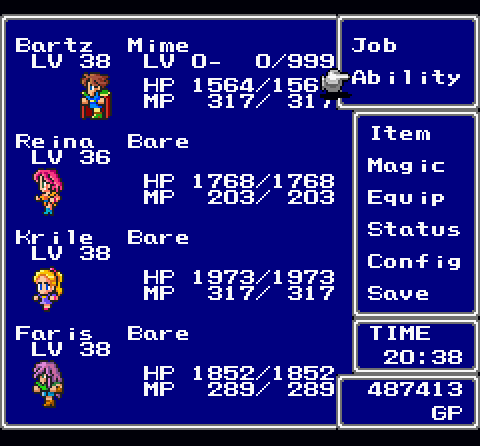
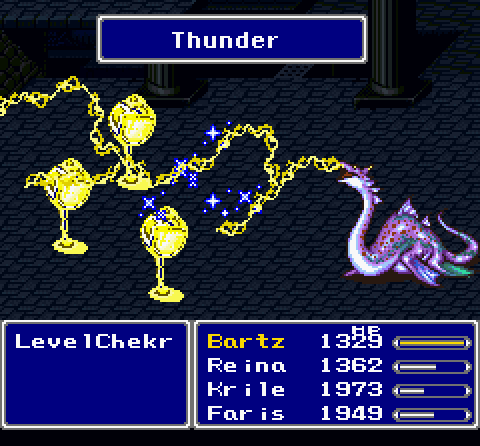
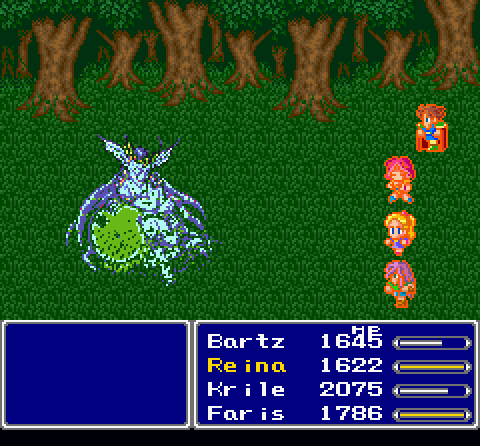
Anyway, back to the present. The status screen doesn't really have as much relevance anymore since everyone's mastered their jobs, but I might as well show it to let you guys see level progress and how far along Bartz is in Mime.
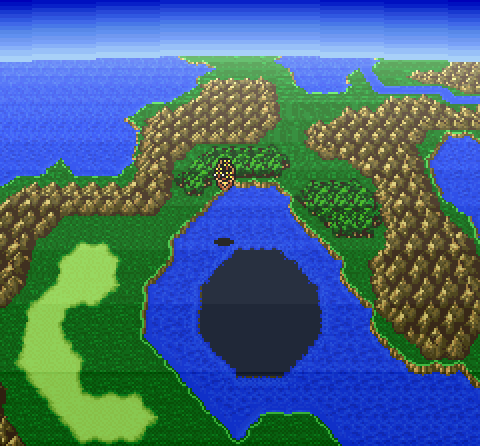
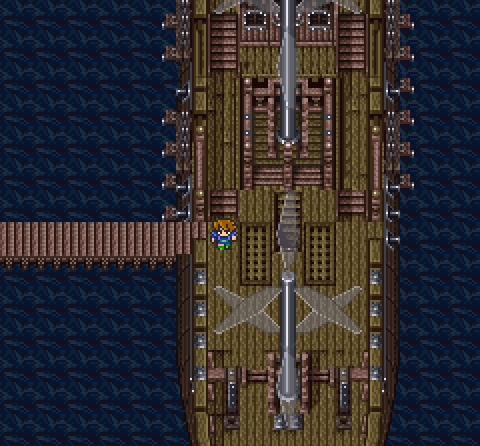
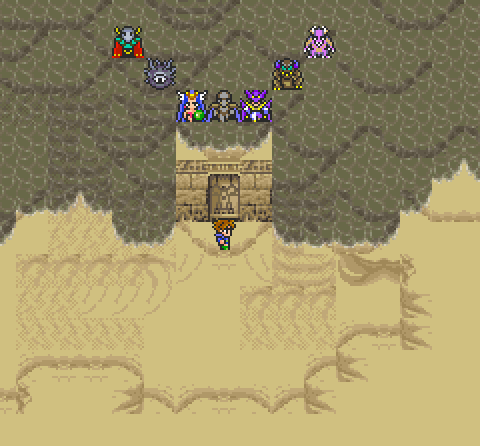
We've done everything there is to do, so it's time to go to the final dungeon. To get there, fly on the airship to where Tycoon Castle used to be.
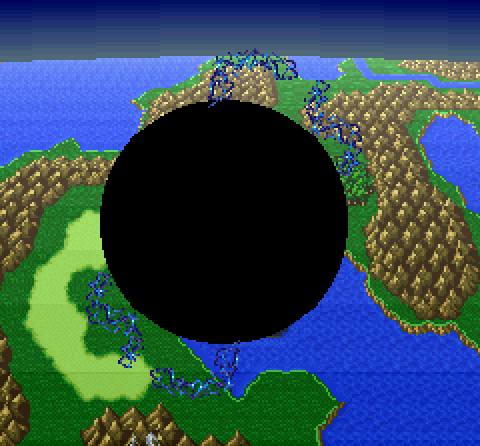
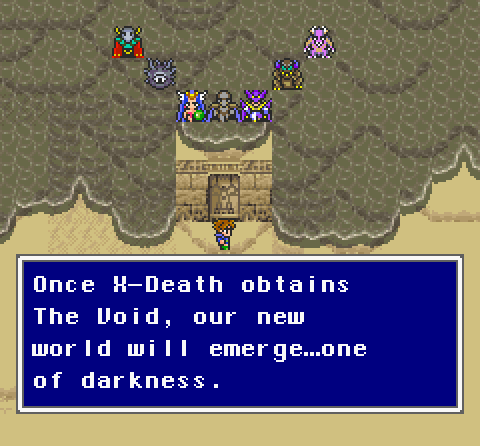
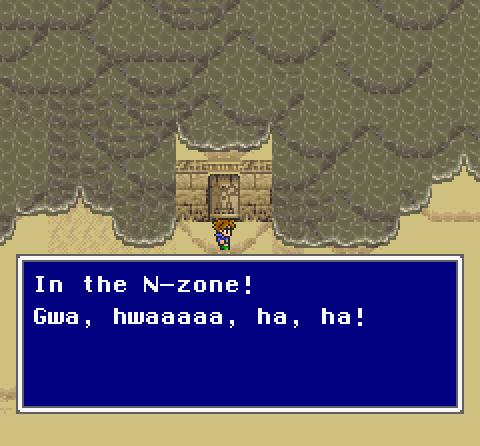
 The N-zone!
 D'arr! we're bein' sucked in!
 We're going in!!
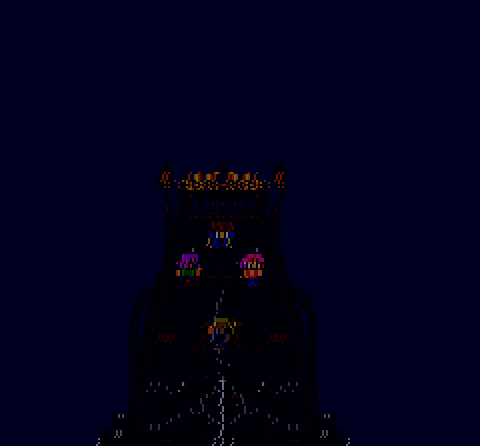

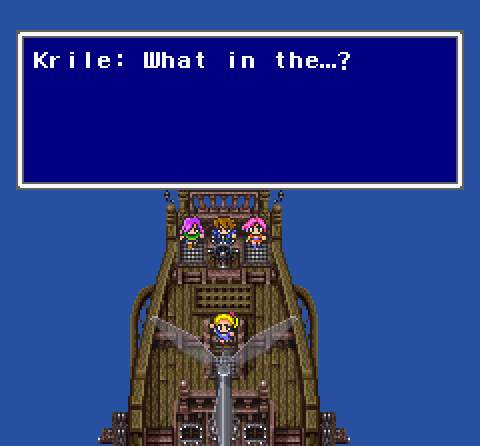
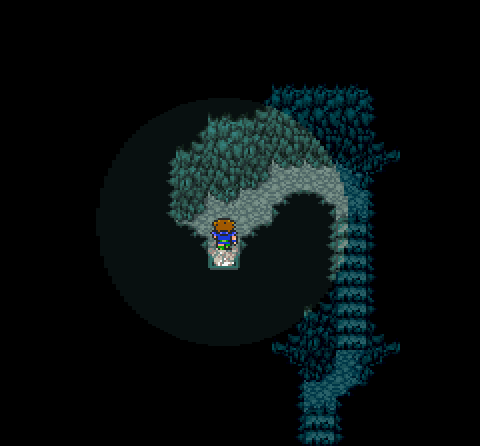
We get a neat wipe effect to fade out and in. Nice way to show that we're in a whole new place.
And that place?


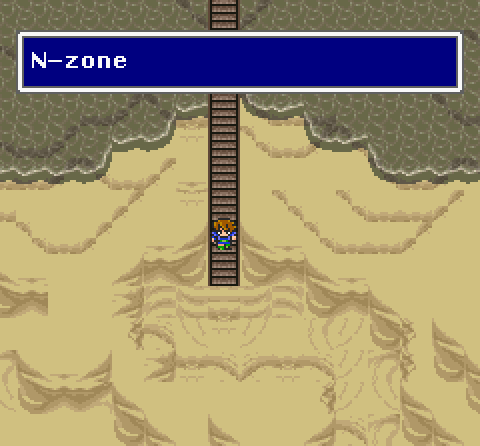
Welcome to the N-zone, the game's final dungeon, complete with awesome final dungeon music.
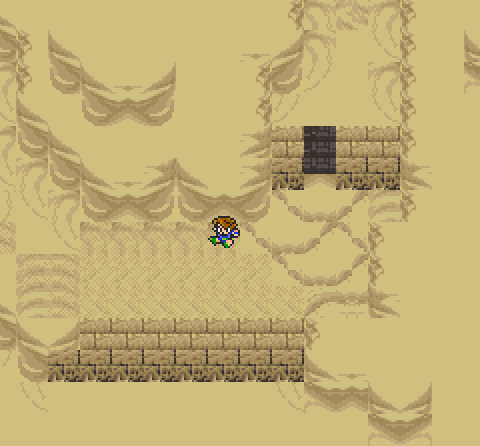
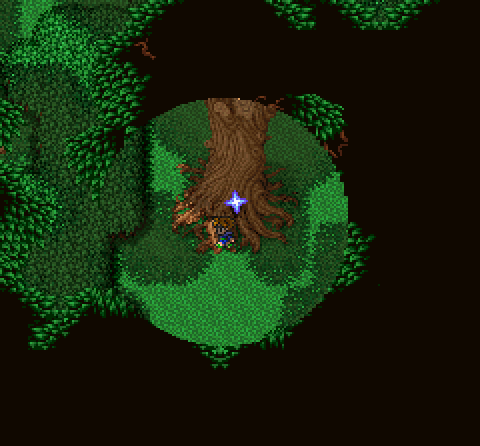
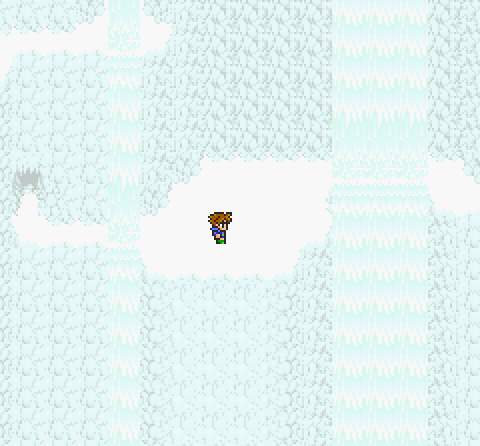
The dungeon is one of the most diverse of the series, using all sorts of different area types. The first is the desert, complete with moving sands to push you around, though it's still very linear.
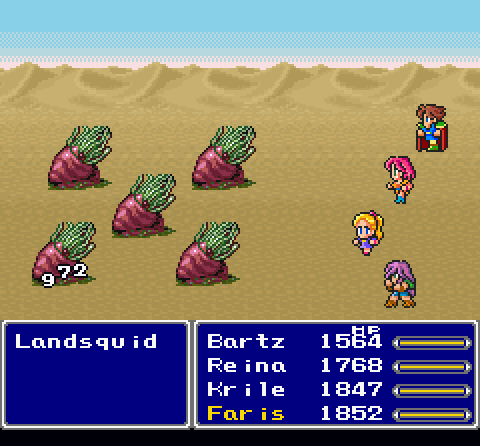
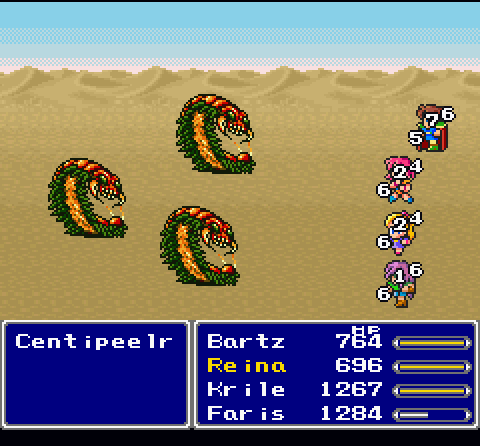
This area just has enemies from the desert with North Mountain and Phoenix Tower. Centipeelrs can wreck your day with Earthquake, though, so Float's a good spell to have.
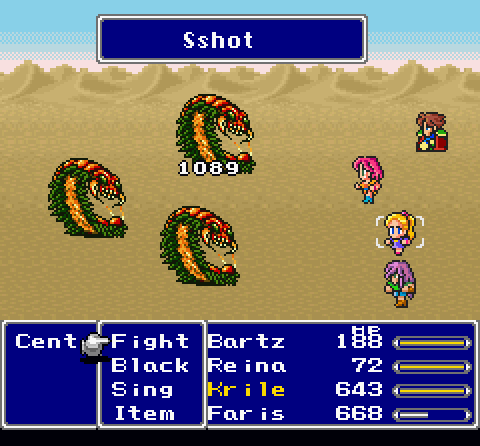
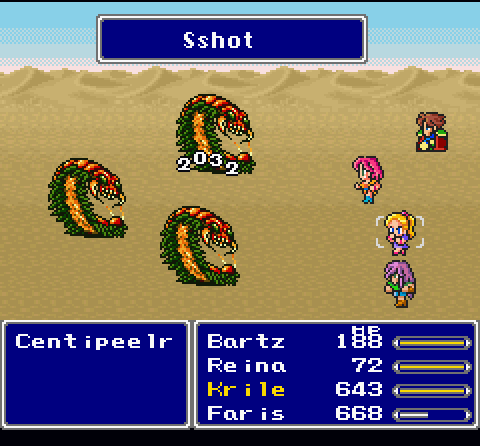
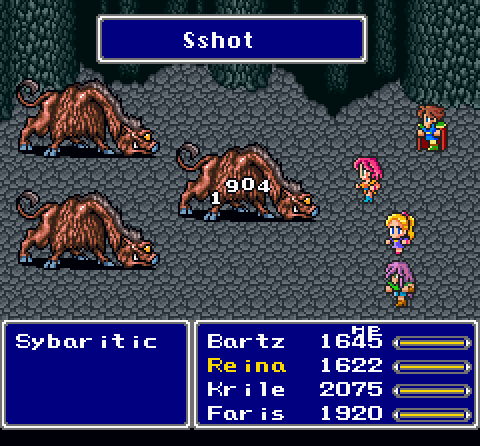
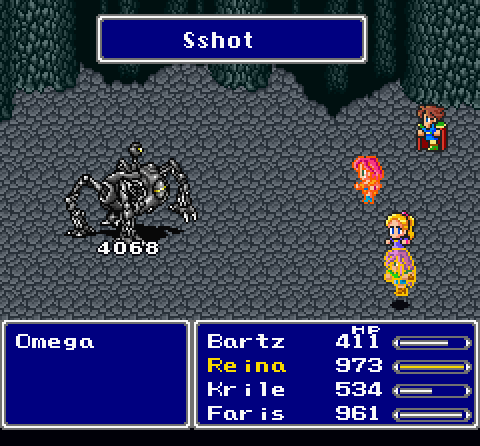
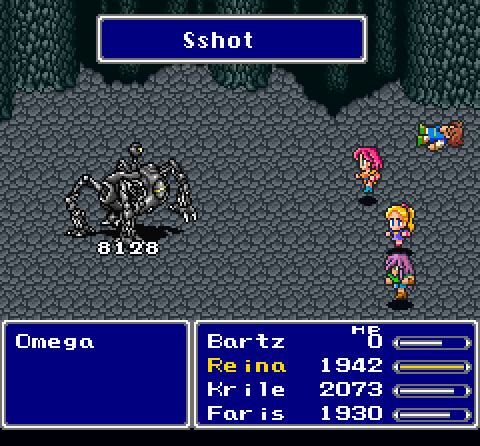
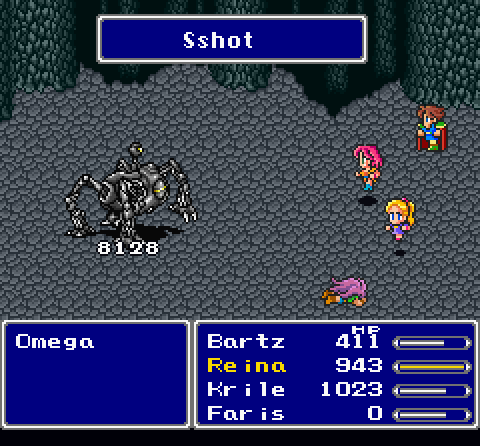
So, Sshot + Dual-wielding. Reina attacks eight times, attacking with both weapons for each random target. That second number is the maxed-out Chicken Knife, which adds Speed to its damage equation, thus doing a ton more damage than the Excalibur. Normally, the problem with the Chicken Knife is that it has a chance of forcing the party to run away, but certain abilities like Focus, Mug, and of course Sshot, ignore that property.
So yeah, 3000 damage a hit (half that to back-row enemies, but hey) with four hits per turn. I love it.

Meet all the wonderful bosses we're going to humiliate.
We won't be fighting anything here, though.
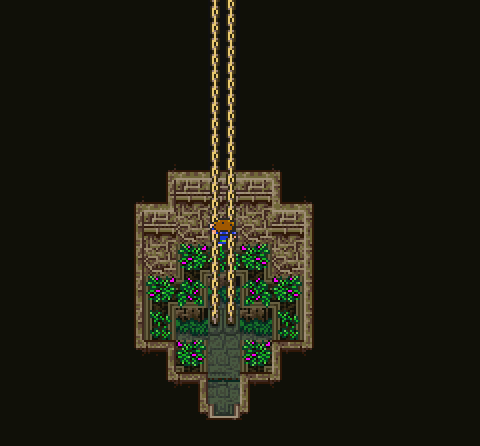
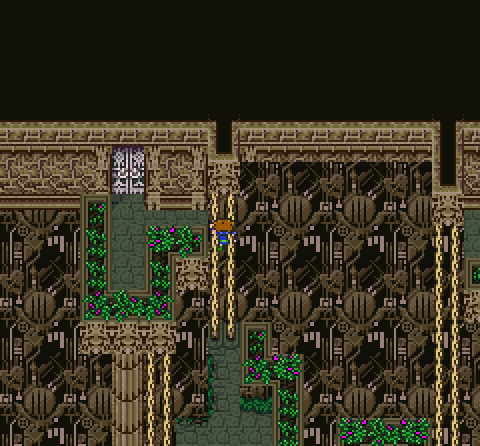
This next area resembles the Floating Ronka ruins, though here you'll be using revolving chains to navigate. It's actually pretty straightforward compared to many of the mazes this game likes to use.
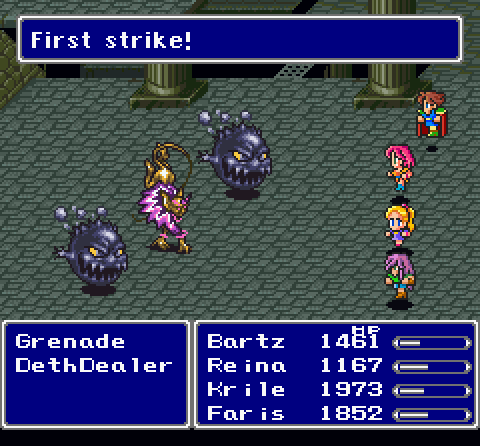
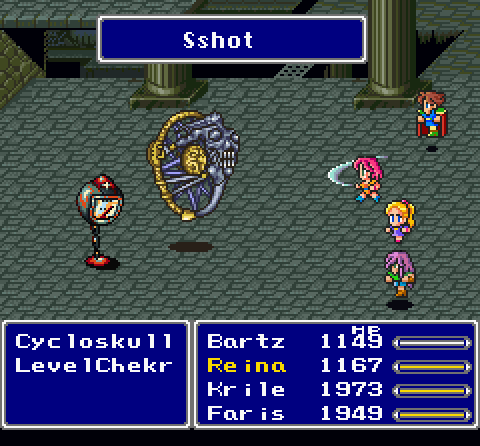
These enemies mostly die too quickly to show what they do. LevelChekr targets people occasionally, but that's pretty much it.
Reina's too random to reliably kill everything, and Krile and Faris simply can't match the damage with their still-impressive ~1500 hits. That's why Bartz is there to clean everything up. Hydra will annihilate everything.

Kinda useless this late in the game.
The next area is the town of Mirage, with only one significant difference.
Everyone is frozen in place. You can't buy anything or even play the piano. Everything is frozen in time, a nice callback to how Mirage used to be in the N-zone frozen in time before X-Death messed up everything.
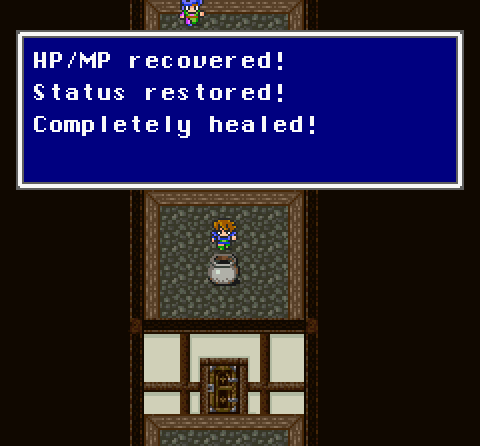
Free healing, though!
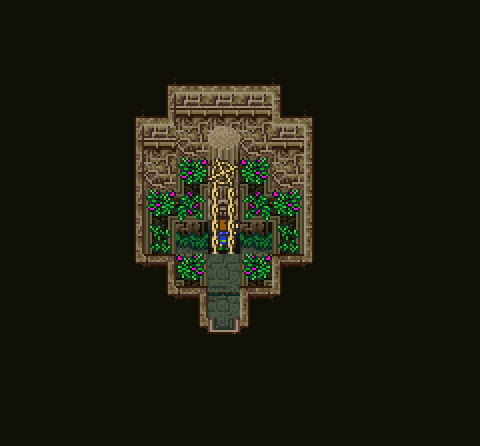
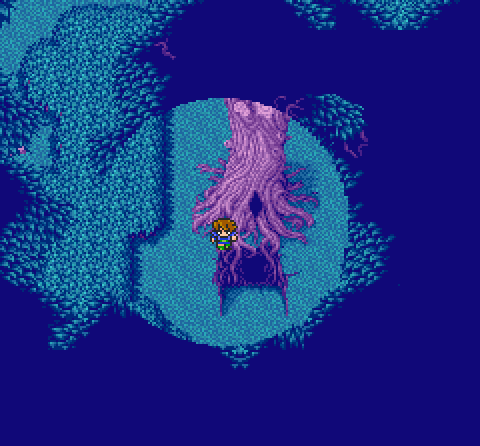
Next up, the Forest of Moore!
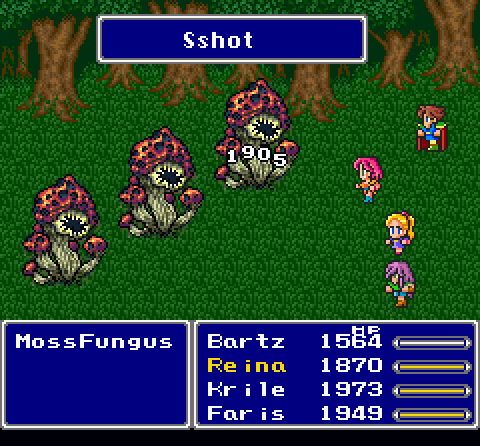
MossFungi aren't dangerous, but they're quite a bit beefier than other enemies.
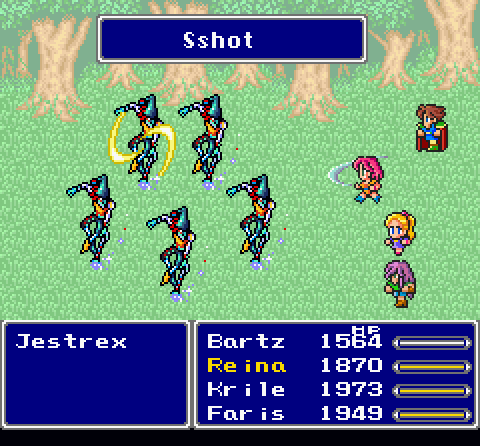
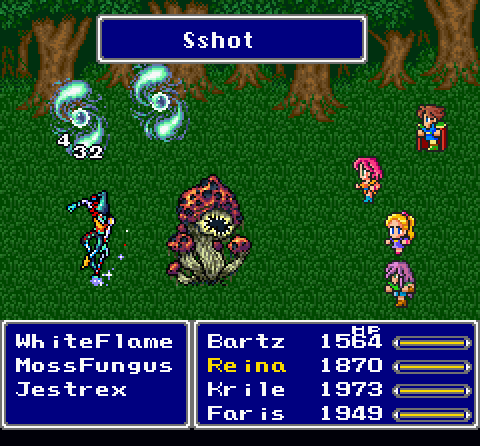
WhiteFlames absorb holy, while Jestrexes...probably have something interesting to them that isn't "Dies to Hydra."

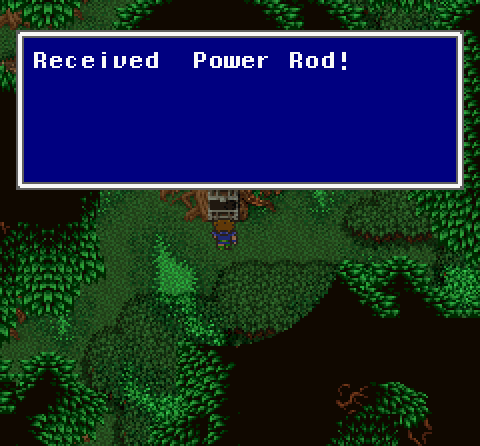
A fourth Ribbon. Hilariously, Bartz, who mastered Dancer, can't equip it as a Mimic. Guess he'll stick with the HairOrnament for half MP.
This doesn't boost elemental damage like the Magus Rod, so pass.
So my plan is to have Bartz use Magus Rod to boost his summons and the Sage Staff to boost Holy. The thing is, since he doesn't have access to Item, he can't switch mid-battle, which I forgot about. Thus I'll need to remember to have him use the Sage Staff for boss battles, which are (mostly) all solo, while he uses the Magus Rod to clean up random encounters that the girls don't end themselves.
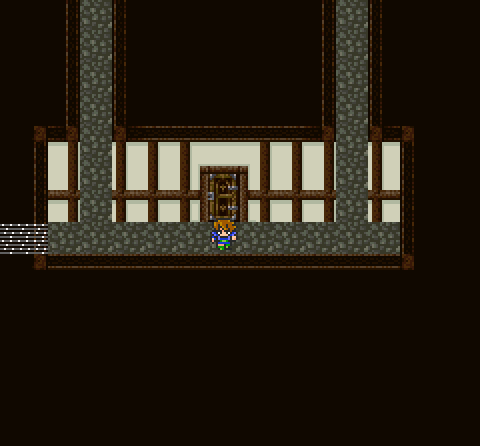
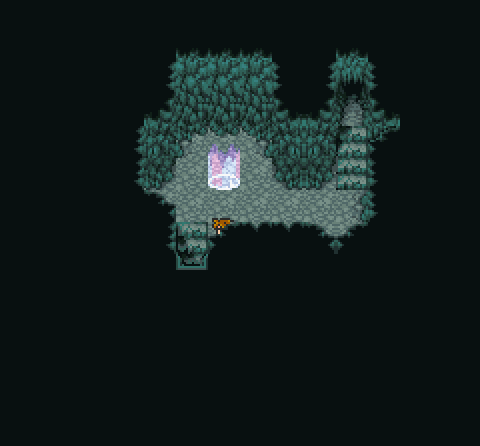
Here's the entrance for the next area.
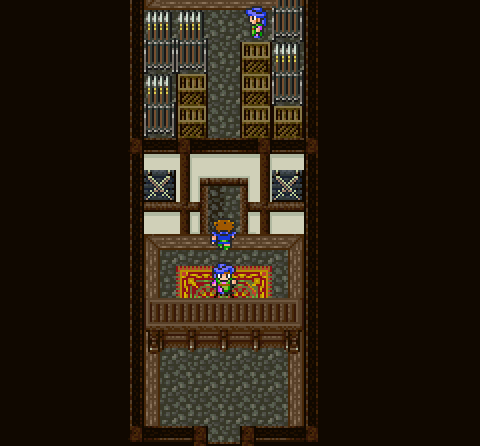
And also our first boss fight here!

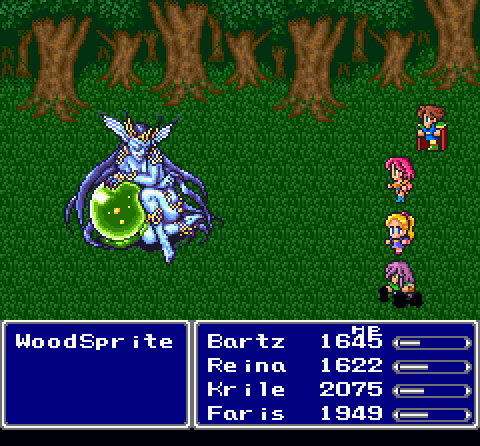
Known as Calofisteri in the other versions, here she's WoodSprite.
Heh, that only minorly inconveniences Krile.
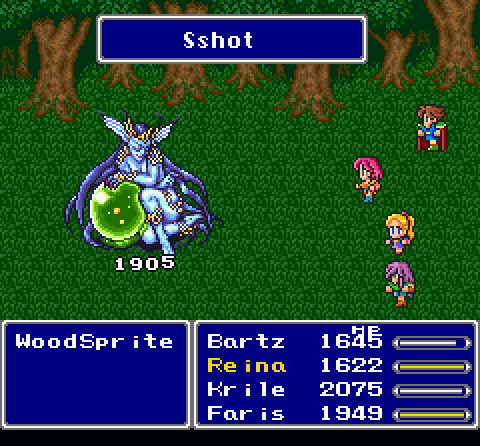
Reina can still burn through all that.
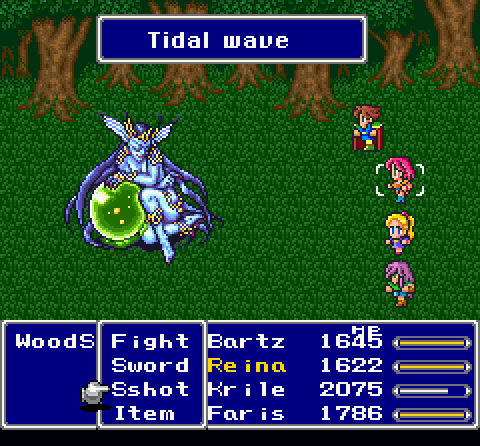
Here's Leviathan, just to show it off. Unfortunately, the Magus Rod doesn't boost Water, so he still pales to Hydra.
I...I might've killed her too quickly there. Just one round and she's done.
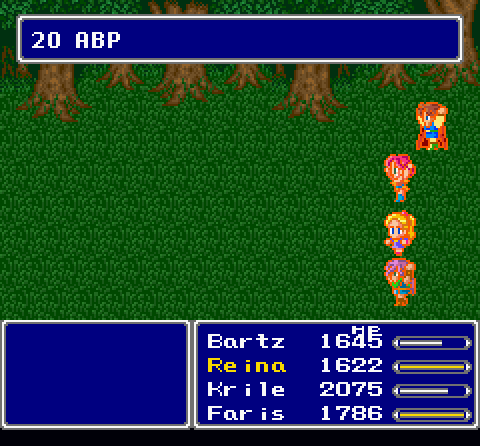
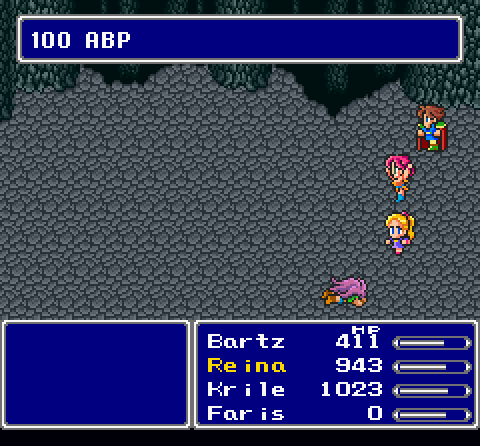
Free ABP, though.
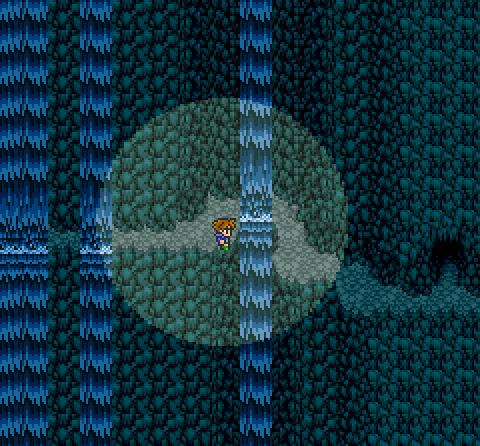
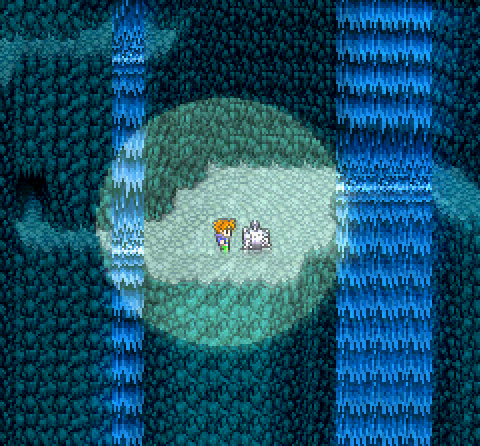
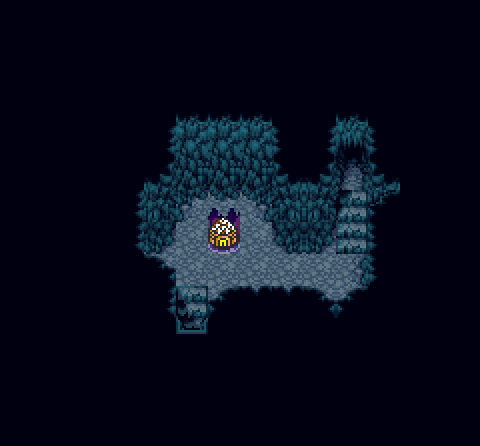
Next up, a cave with a few scenic waterfalls.
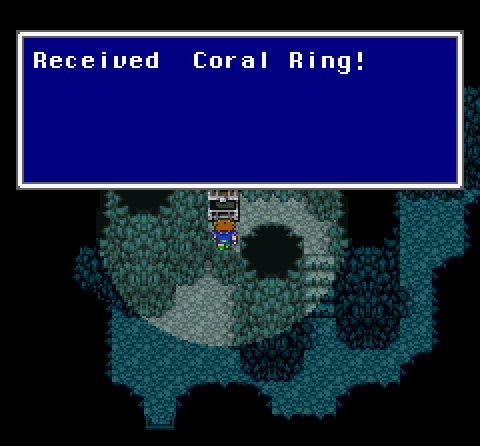
Also, a Coral Ring to absorb water. This can be handy.
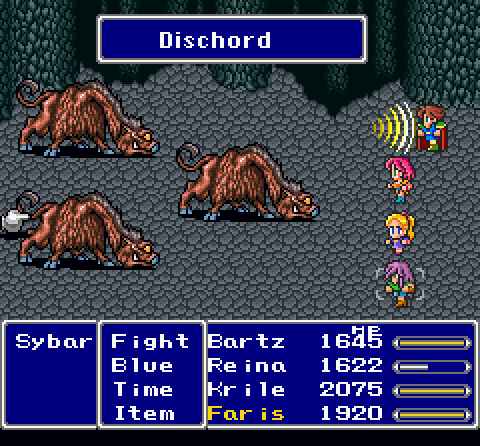
These jerks counter attacks with Dischord, the level-halving attack.
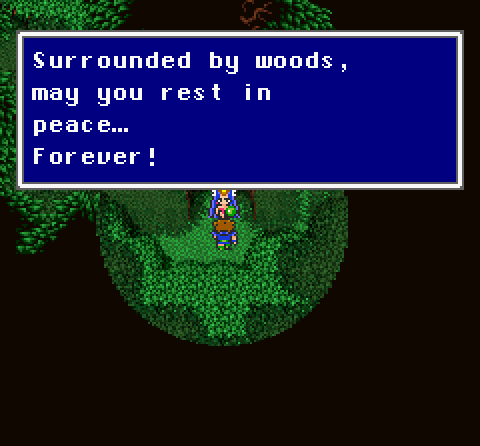
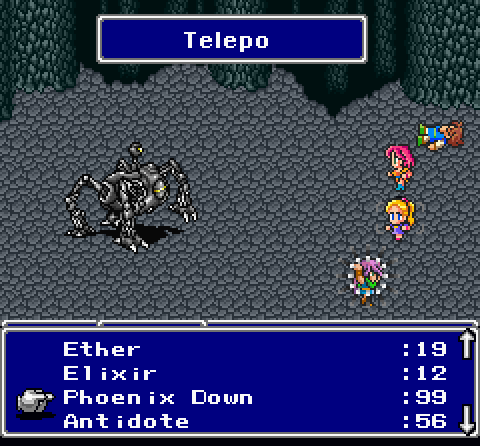
Our first save point! This is very important, because...
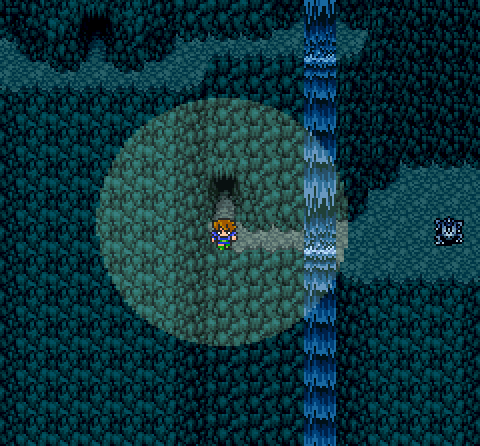
...this is where the first superboss is.

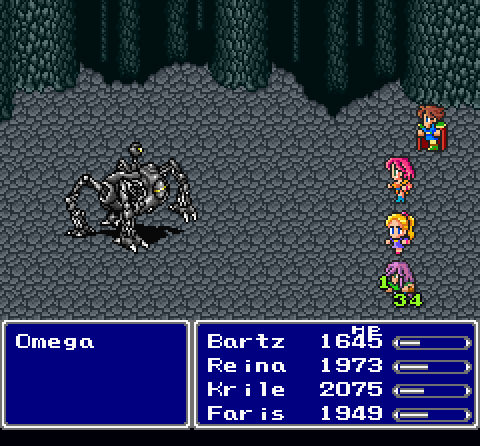
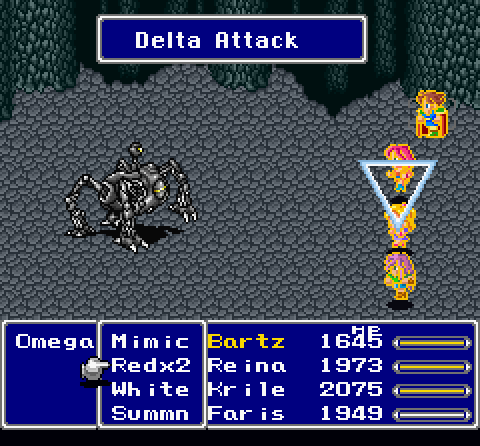
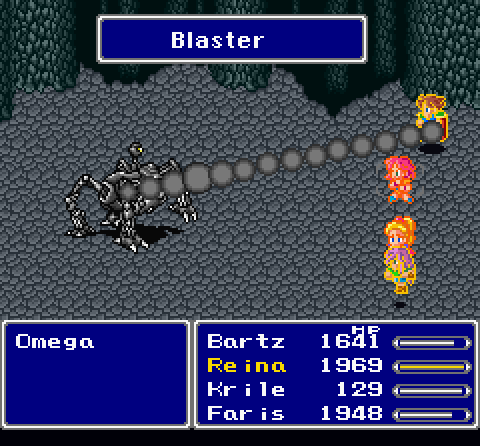
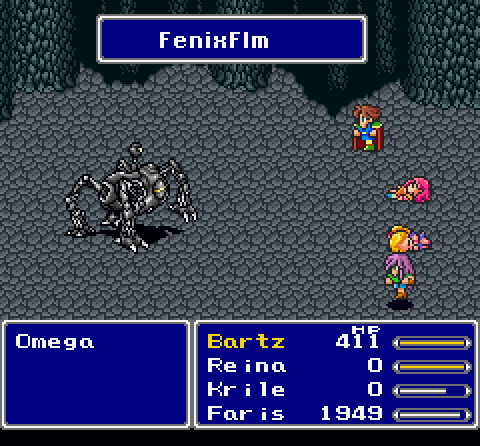
Meet Omega.
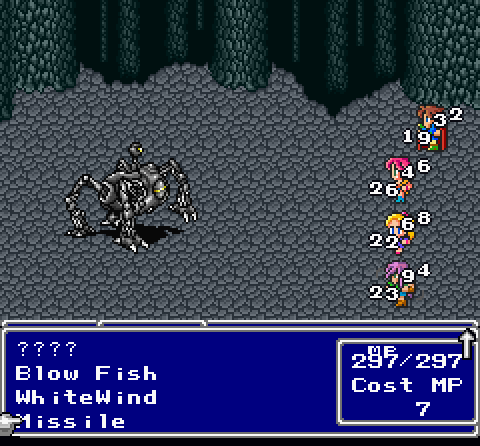
Yeah.
Omega has very powerful attacks and very high defenses and evasion. There are only a few ways to really take this guy down.
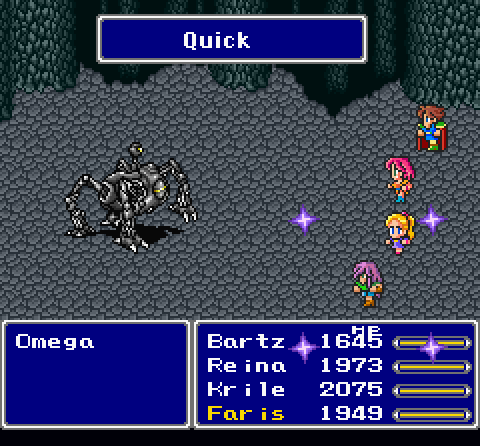
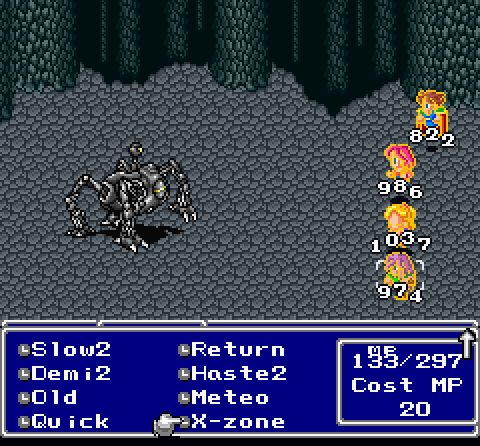
Fortunately, I've got the best way. First, Quick to layer Haste2/Guardian immediately.
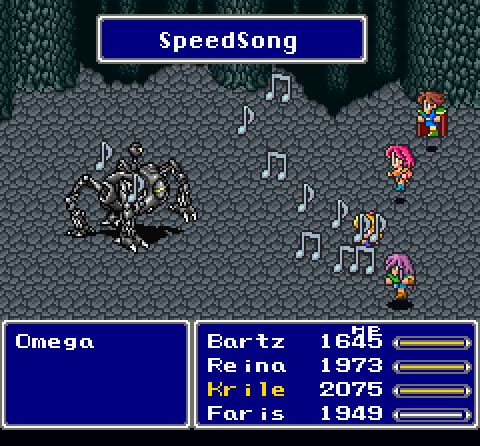
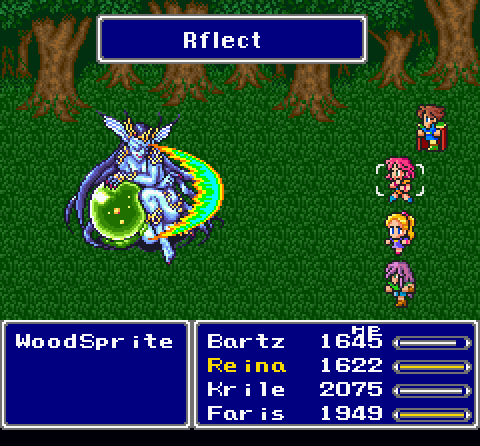
And Speed Song, since he can use Reflect and since it's a long battle,
If I didn't have Ribbons, this would petrify me.
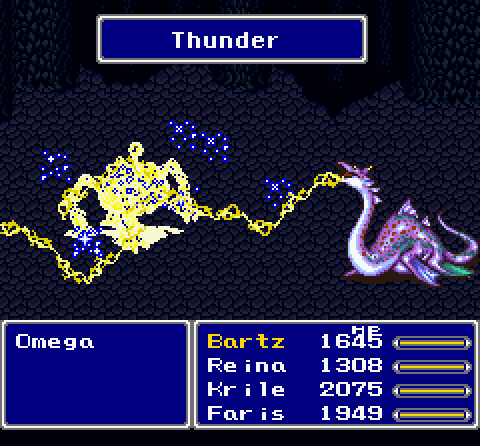
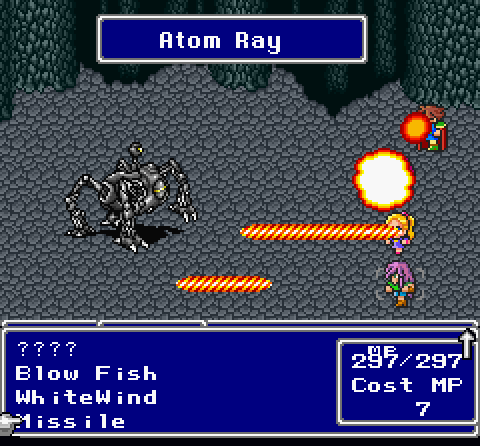
Did I mention Omega absorbs all elements but lightning? Fortunately, lightning is the one element he's weak to.
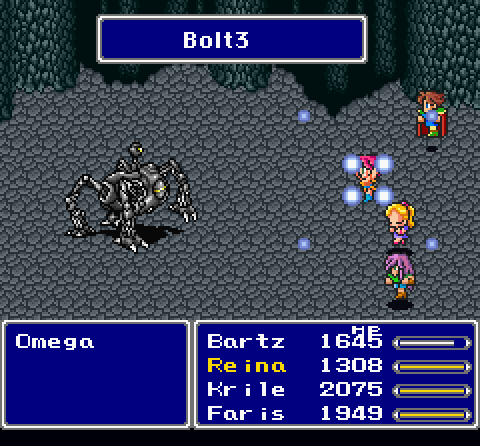
This run is all about Reina, as she has all the necessarily abilities.
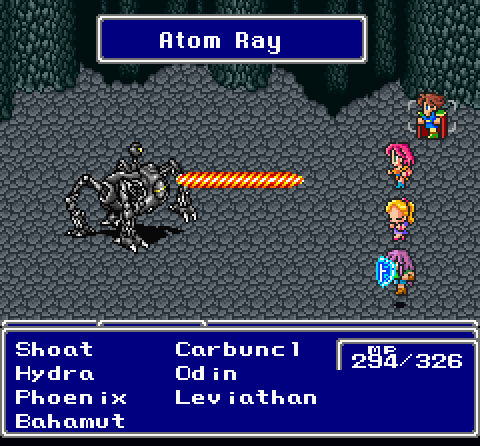
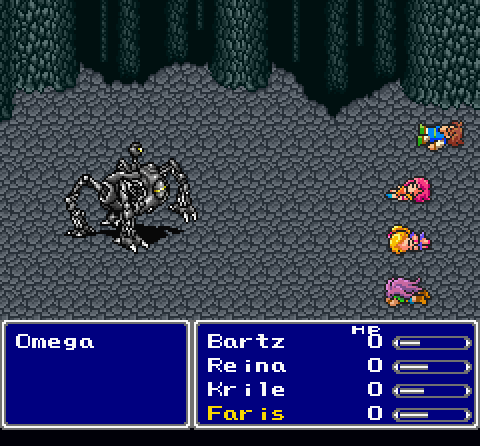
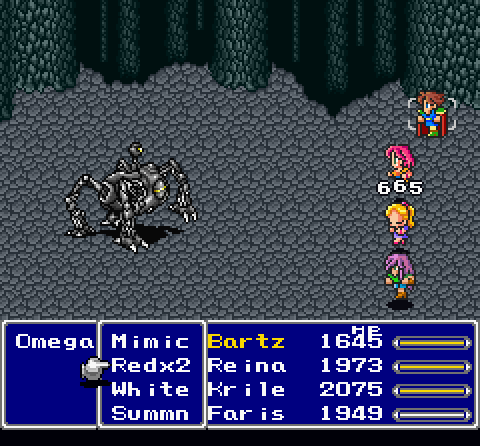
Of course, Omega is a fast and powerful fucker. SoulCannon inflicts Sap, not a nice thing to have.
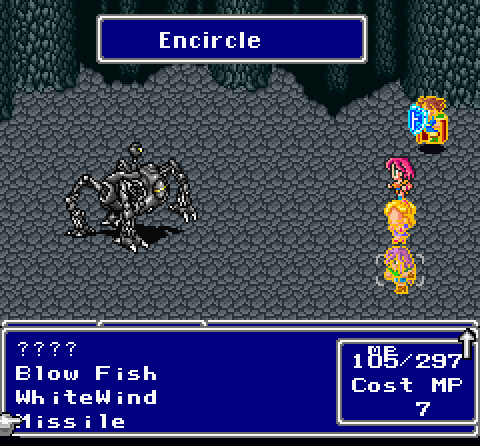
Encircle removing a party member would really be bad.
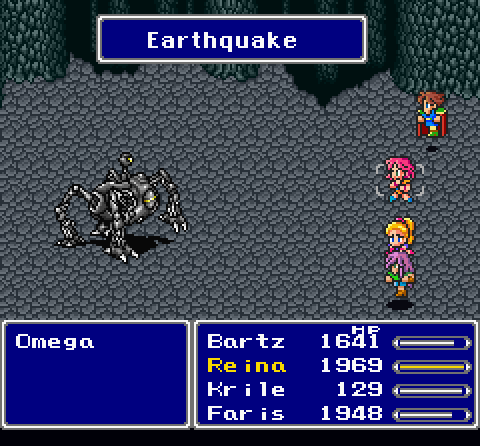
Good thing Guardian casts Float! Too bad Float wears off when someone dies.
And Omega did both these moves in one round. Yikes.
Here's Phoenix, dealing fire damage and fully healing a person. It's also the most expensive spell at the game at 99MP. Meh.

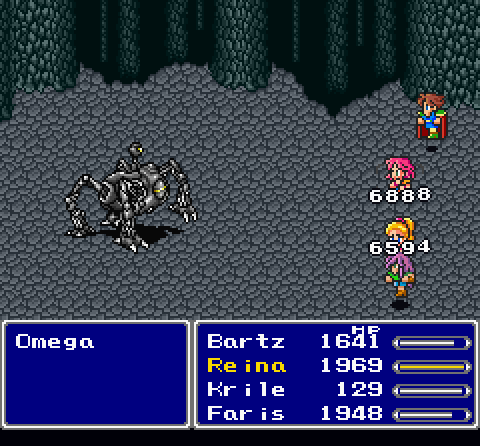
Why Reina is the most important character in this fight:
* Magic Sword lets her use Bolt3 on her weapons. When hitting a weakness, Magic Sword will instantly kill non-Heavy enemies (i.e. most non-bosses). When hitting a Heavy-type, it quadruples the attack of the weapons and sets the foe's defenses to 0. Omega's defense? 190.
* Sshot obviously attacks four times to deal even more damage, but more importantly, it ignores Omega's 95% evasion because Sshot always hits. It has an inherit Aim to it, so it'll pretty much always hit.
* Dual-wielding just lets me hit it more.
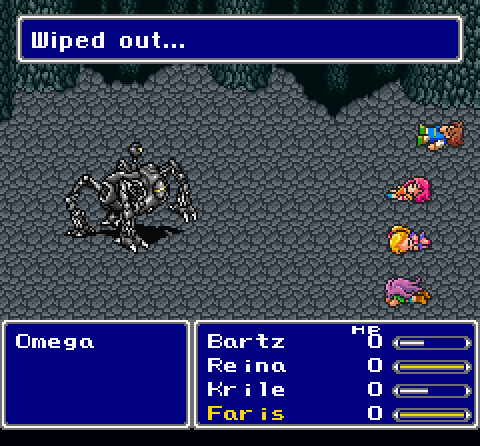
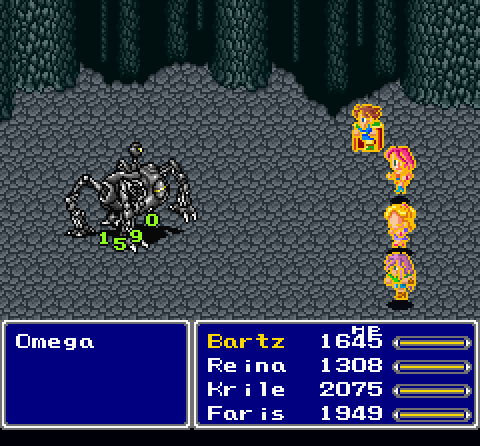
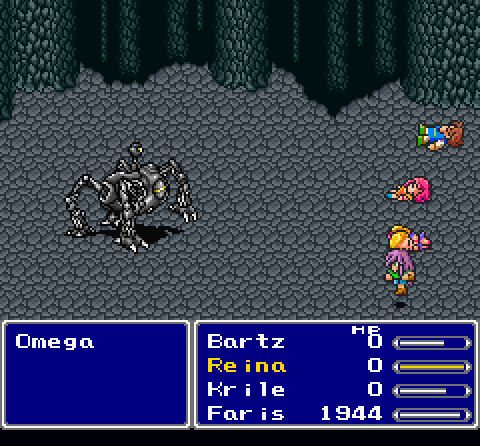
That said, one round of ~52000 damage fell just short of his HP, and he wiped me before I could finish him off.
Chicken Knife is weaker here because Krile wasn't casting Speed Song the entire fight this time.
A second Sshot later, Omega goes down.
And thus I've already beat one of the game's two superbosses.

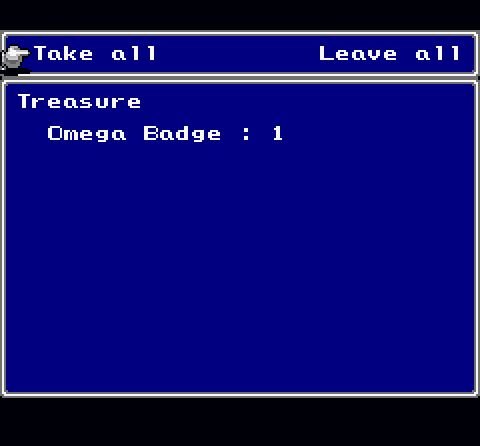
And the rewards are pretty nice. The Omega Badge actually doesn't do anything. It's just proof that you kicked Omega's ass.
And then the screen flashes and shakes violently, for we just blew up a freaking god robot.
Next time, more dungeon and more bosses that won't be nearly as difficult as Omega.