Part 101: Part One Hundred and One: Battleship Island
Part One Hundred and One: Battleship Island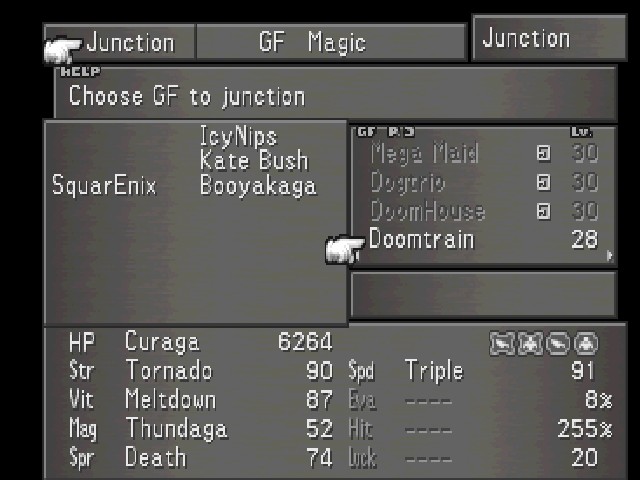
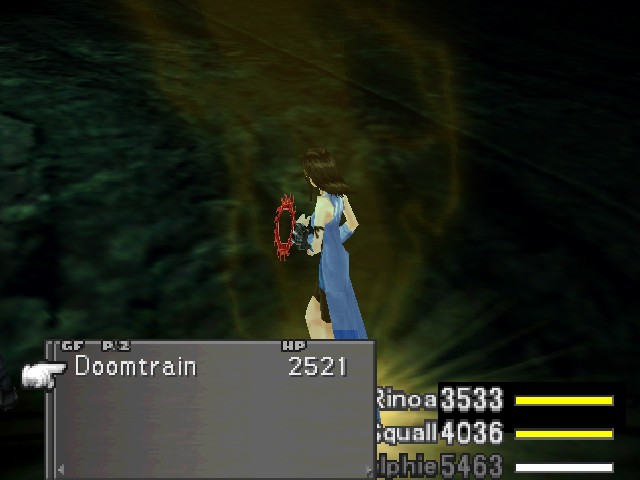
Now that I have Doomtrain, I make sure he is junctioned to Selphie. It's the right thing to do.
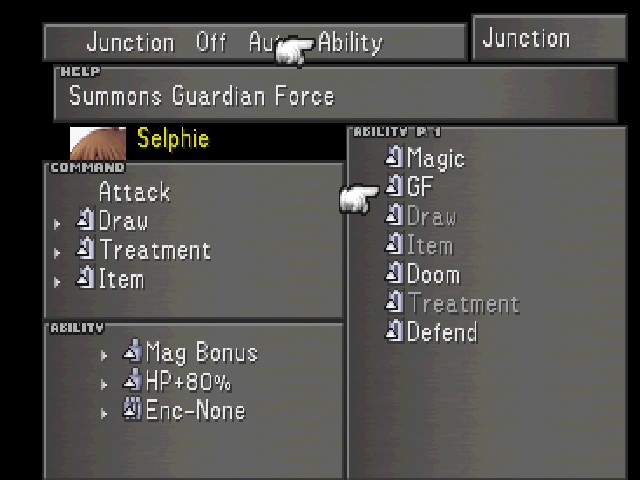
I also make sure she has GF equipped.
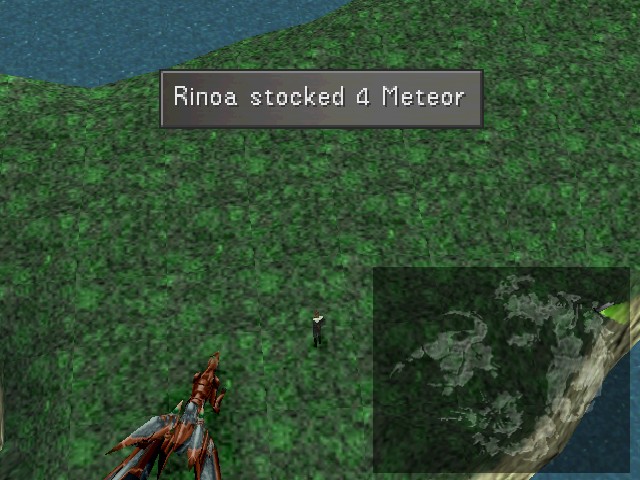
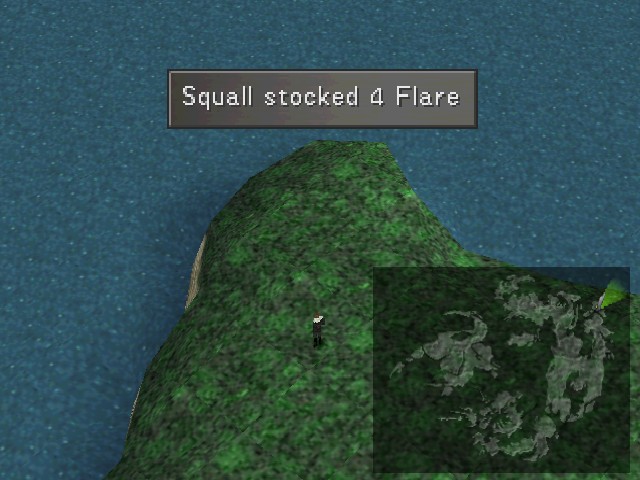
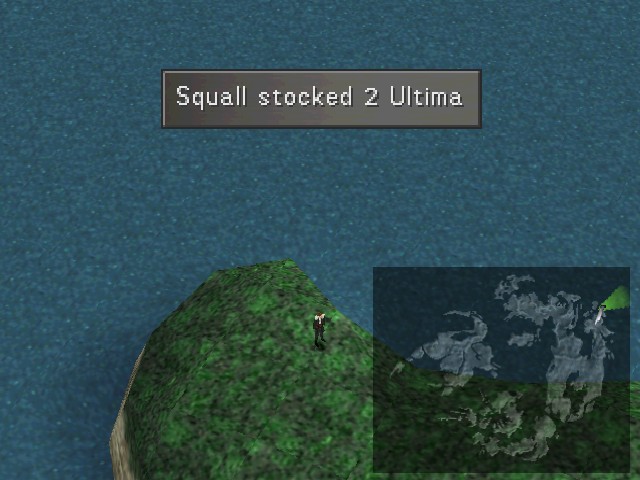
Then, before I left, I did a quick tour around the Island Closest to Heaven to grab some spells. Draw points on the world map only give up to 5 spells per draw, which isn't great but can be useful if you just need a top-up. There are also Full-Life, Tornado, and Quake spells around here.
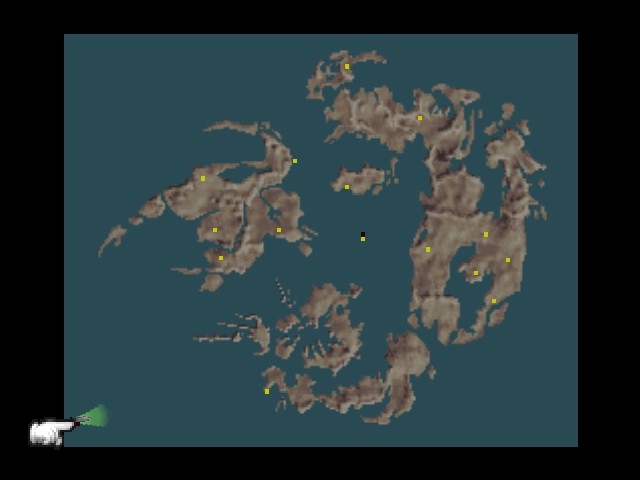
The next destination is another one you need the Ragnarok for, over in the corner of the map.
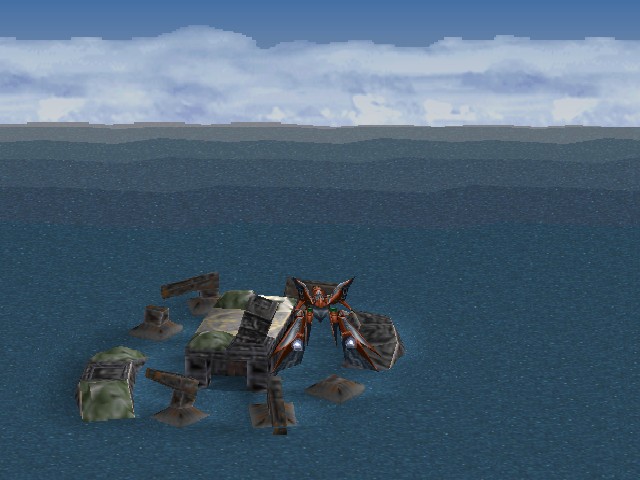
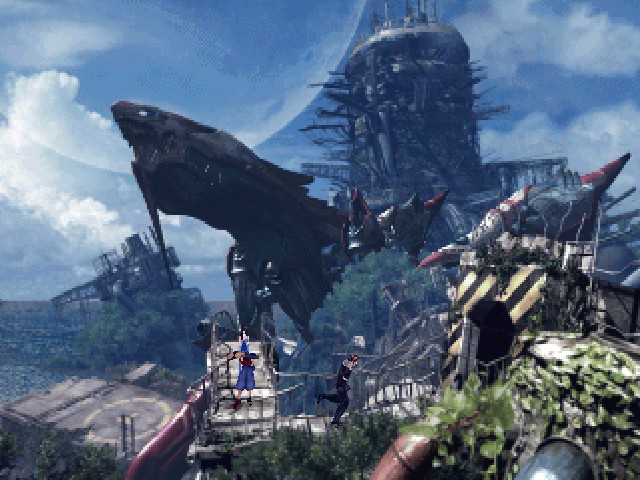
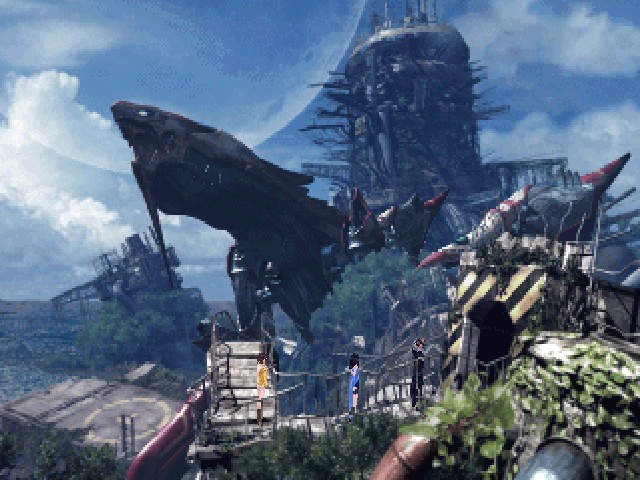
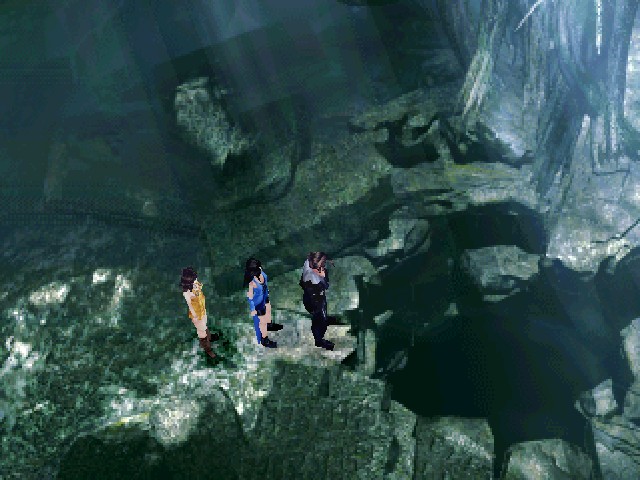
Should we fly there, we can find these ruins. While we could have come here with the Garden, it wouldn't have done anything. We need to land on top - there's actually a helipad, but it's partly obscured in this picture.

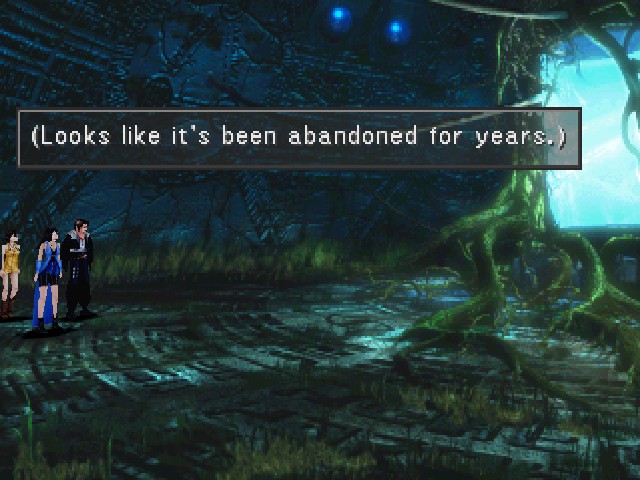
When we do land, we can see that this place is in pretty rough shape.
 : Guys, what is this place?
And the obvious question is asked.
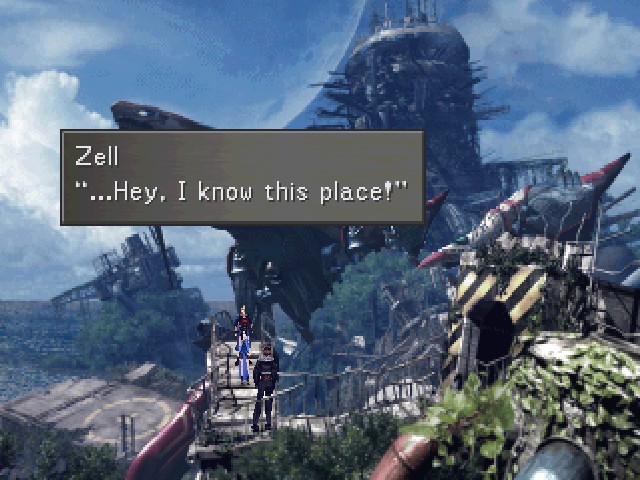
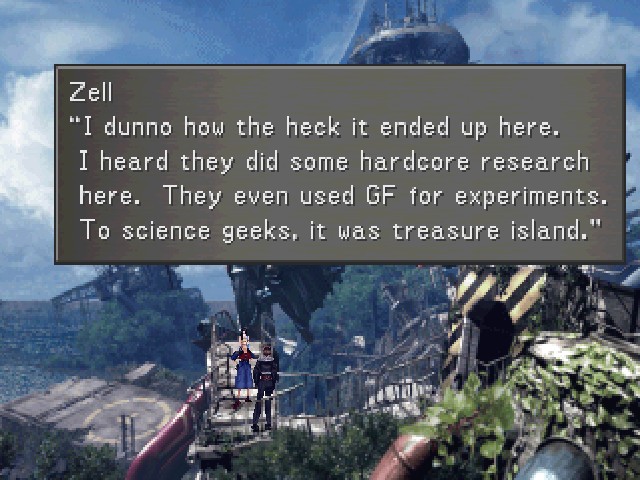
If you bring Zell along for the trip, he happens to have an answer.

Just like when we were going to Timber, Zell knows a bit about the lay of the land. And just like when we were going to Timber, we can ignore him.
 : Forget it.
 : C'mon, I know you wanna hear... Ohhhhh... I get it.
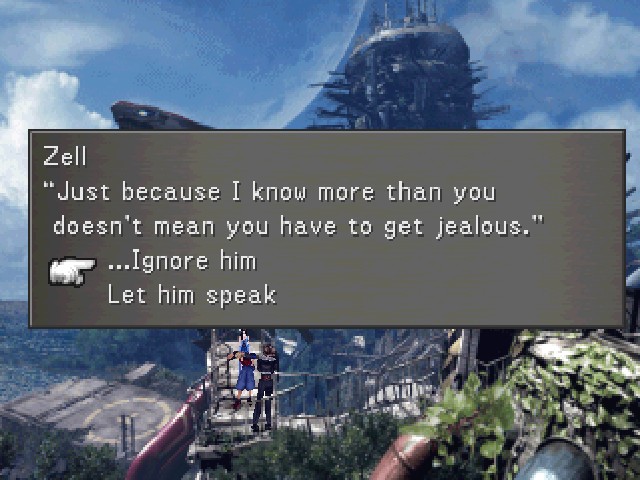
Like a lot of dialogue options in this game, the negative one takes us to another option.
If you choose to ignore Zell the second time, Squall realises Zell has owned him so thoroughly that all he can do is flee.


What a cool-headed, unflappable leader...

Or we can be a polite human being and let Zell tell us about lore. It's the same whether you do it here or at the first branch, by the way.
: Let's hear it.: Ok, here it goes. This island's most likely that mobile research facility.Mystery solved!
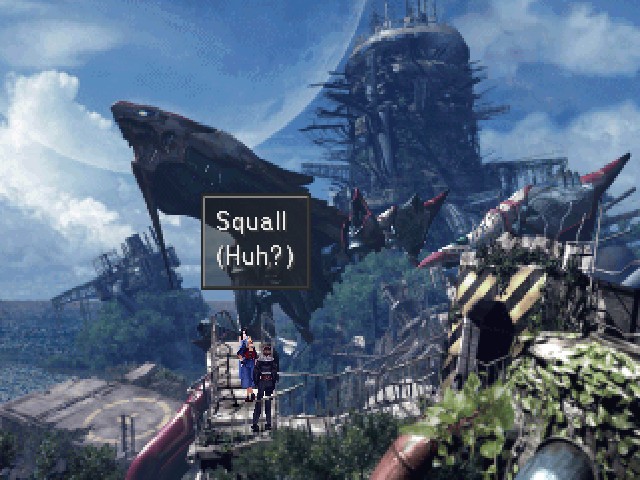
Squall doesn't know what Zell's talking about.
: A.k.a "Battleship Island". Battleship Island is probably a reference to Hashima, which is an abandoned island near Nagasaki. It was deserted after the coal mine on the island was depleted.: ...So what did they research?
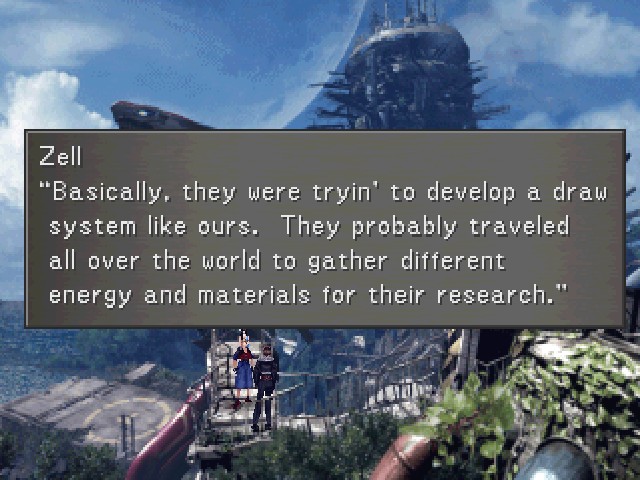
This is interesting to me, as a bit of world-building. It doesn't actually tie in to anything in particular, but I like it.
: ......I also like Squall's muted reaction, since he didn't know any of this.
 : ......Hmm.: What? You think I'm BS-ing?: No...
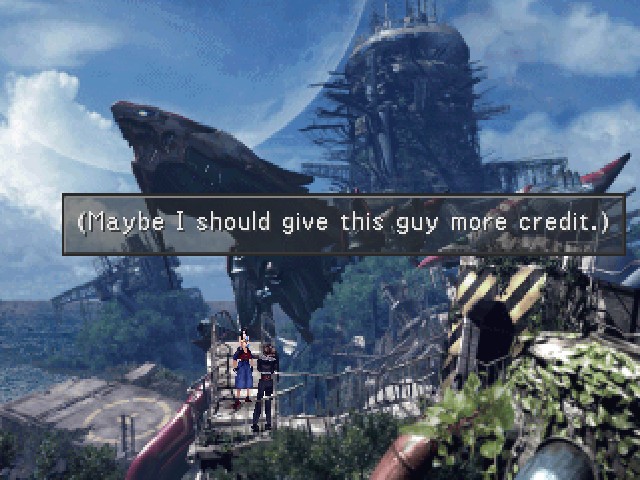
It's usually lost behind Zell being imprudent and screwing things up, but the guy is fairly knowledgeable. Like I mentioned before, he gives a little bit of info about Timber on the train there, and there are hints in the background that he knows a lot about machines. He might not be the best in the field, but Zell's not just some idiot.
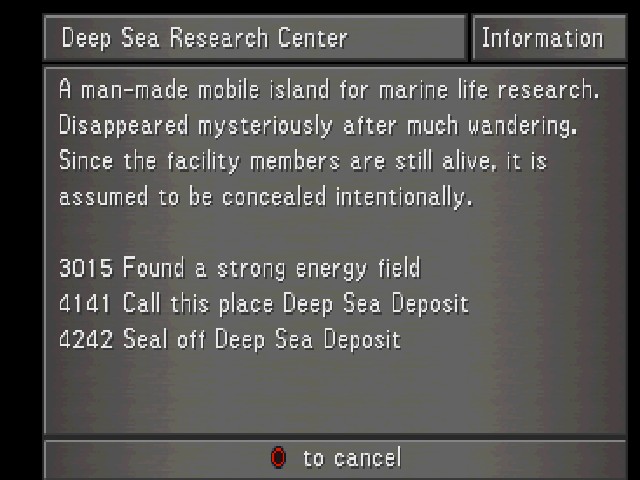
If you listen to Zell's explanation here, you also unlock the Deep Sea Research Center's page in the Information section. I don't know what exactly the numbers preceding the last three lines mean, but they're probably time stamps of some sort, and the entry implies that whatever it was the researchers found, they decided to leave pretty quickly. There's almost nothing here, but I'm a sucker for the idea that the sea is full of fucked up horrors. That kind of fear of unknown spaces is probably one of the oldest ideas in fiction, and I think it can be very interesting if it's done right. Unfortunately, that's not really what we're here for today.
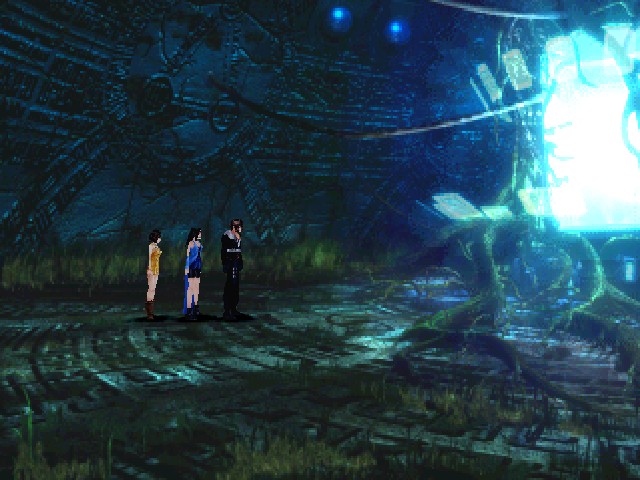
Jumping back to another timeline, if you don't bring Zell, there's no dialogue upon arrival. You can just walk in.
Either way, you get this line.
: (...What is that big blue thing?)The eternal question.
: What is that light? : This is freaky.
Squall's not alone in his interest/concern.
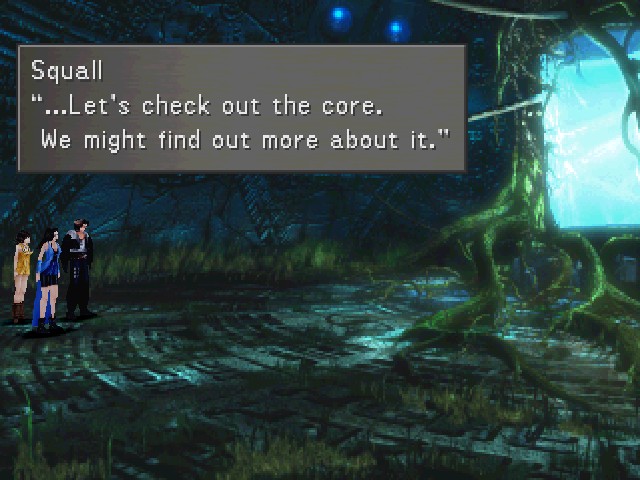
But we gotta check it out, right?
But we gotta.
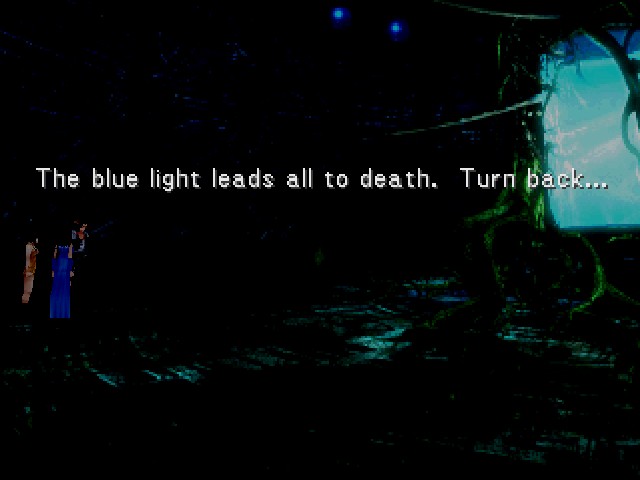
The disembodied voice is serious about the blue light meaning danger, by the way. The light pulses on and off, and if you take a step while it's on, you're immediately thrown into a battle.
There's nothing special about the battles themselves. Odin can show up, you can run away, you get experience at the end. The enemies aren't that tough, either, but it's annoying if you don't work out the puzzle and you end up in a lot of fights. It's also annoying because the game seems a little strict on what "taking a step" means and you can end up in battles while you finish moving after releasing the analog stick or just for brushing it lightly.
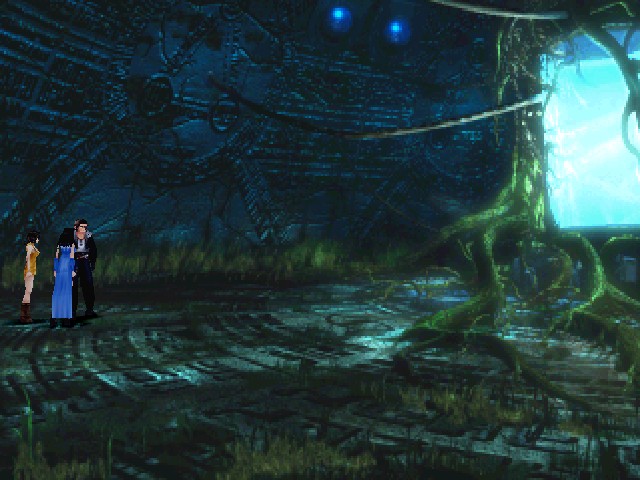
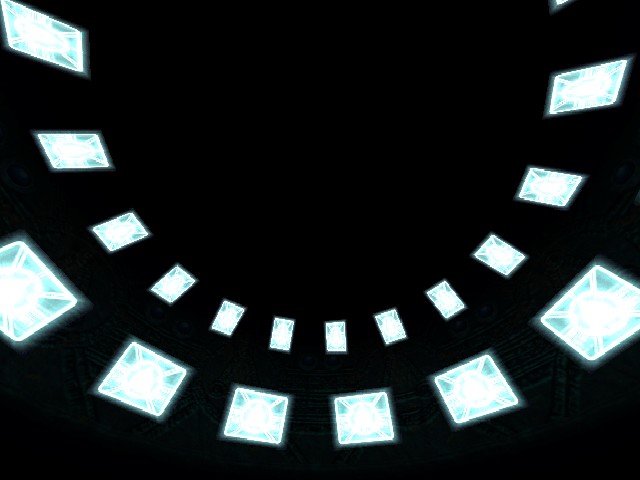
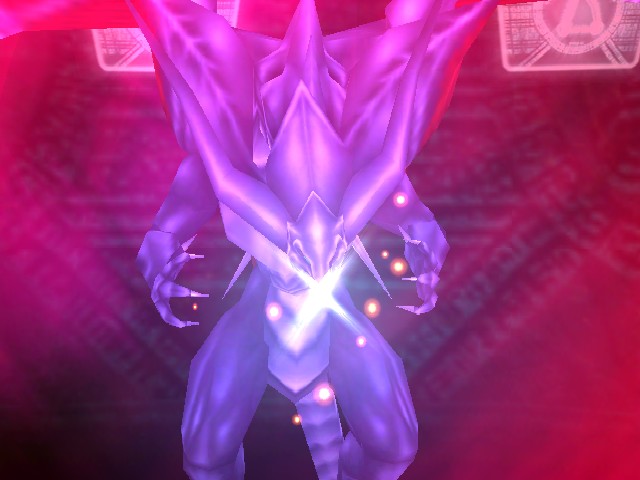
This is what the core looks like when it's not lit up, by the way.
And this is what it looks like when it's fully lit up. Those weird rings fade in over time. I like the look of the core, at least, even though I don't care for the puzzle surrounding it. It's just this big, glowing thing in an overgrown room.
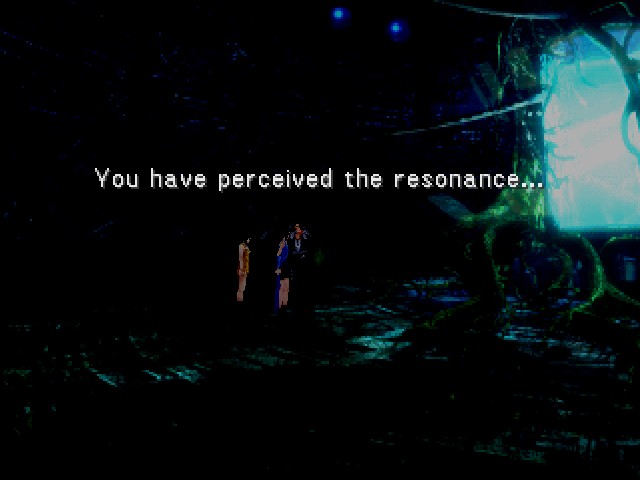
Getting a bit closer, the disembodied voice chimes in again. I don't think we're alone here...
It's a bit of a hassle because of how the path is laid out, but once you get all the way up next to the core, it decides to quiz you. The first question is easy.
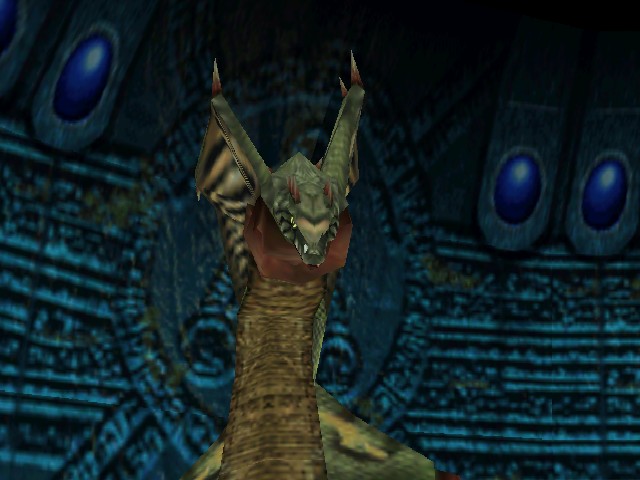
And the reward is a fight against a Ruby Dragon!
Underwhelming to say the least.
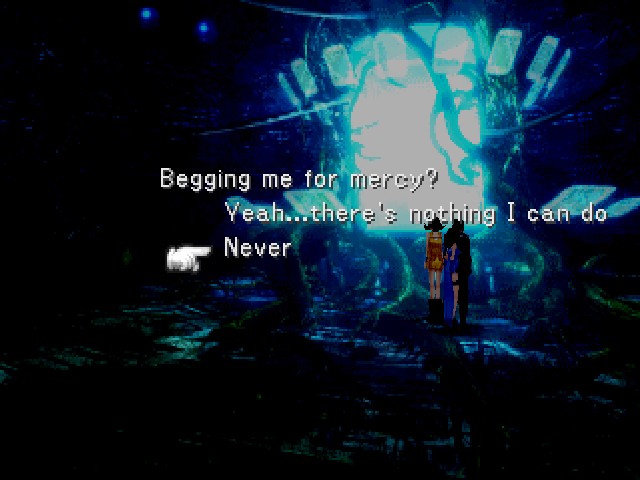
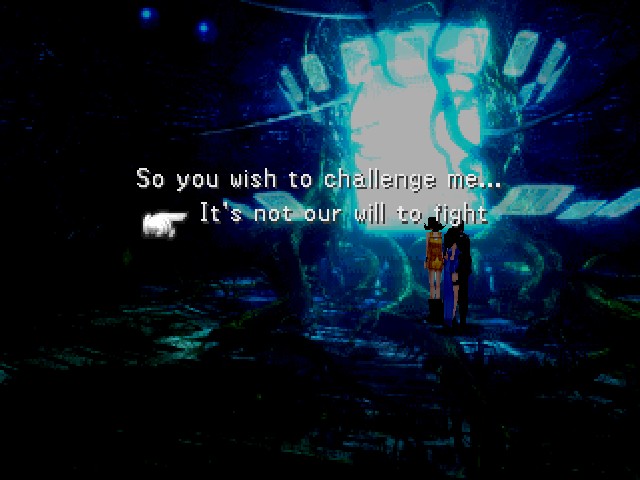
The second question introduces the twist of actually having multiple options for answering it. You have to let mysterious talking lights know that you're not afraid of them.
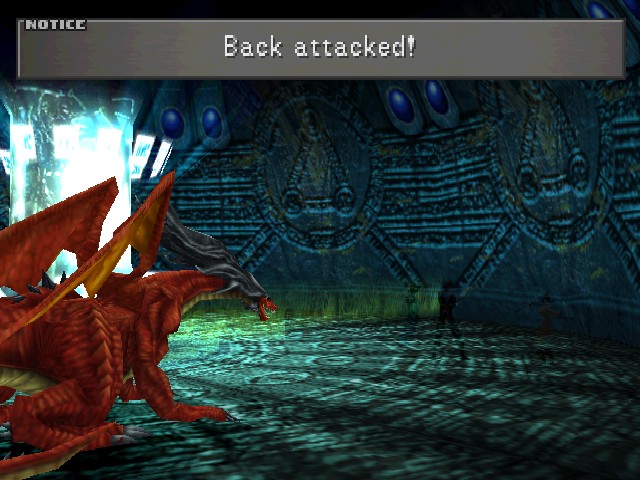
Again, you end up in a fight with a Ruby Dragon. This one is a scripted back attack.
Ruby Dragon's not a boss.

This is the Ruby Dragon's rare drop, by the way. I'll want to pick up several Energy Crystals at some point, so it's nice to get one here.
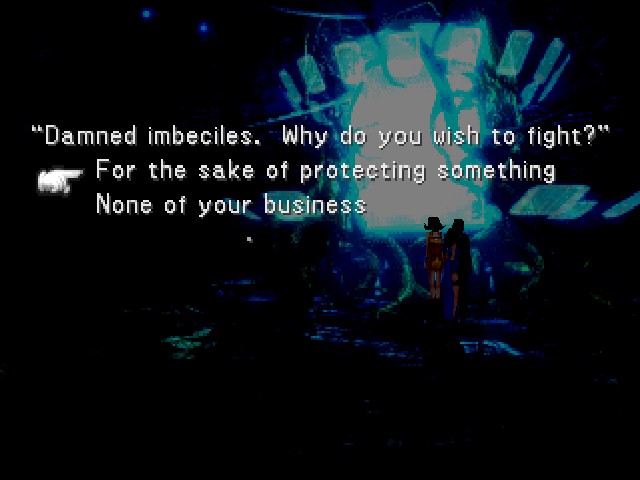
For beating two Ruby Dragons, you get to answer the last question. If you answer one of these questions wrong, you still fight the dragon, but you have to answer the question again.
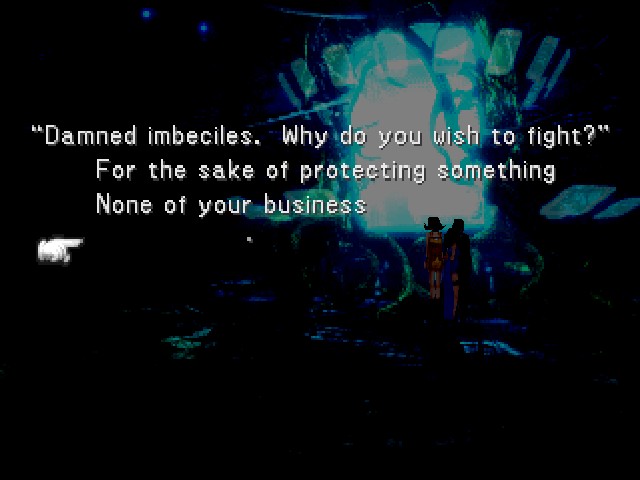
This one is trickier. I could definitely see someone picking either of the above options, fighting the dragon, ending up back at the answer selection, and getting pissed because they didn't know there was a third choice.
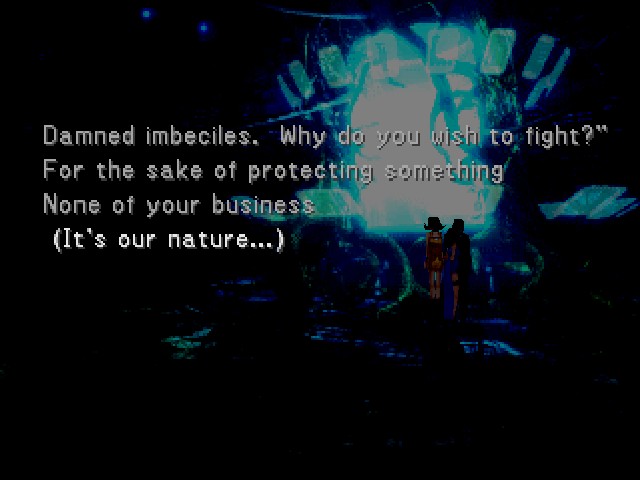
But the third choice exists and that's the one you want. Once you choose it, you get to see what it is.
: (There is no real reason... Maybe we were born...only to fight.)Mystery voice: I see...interesting...

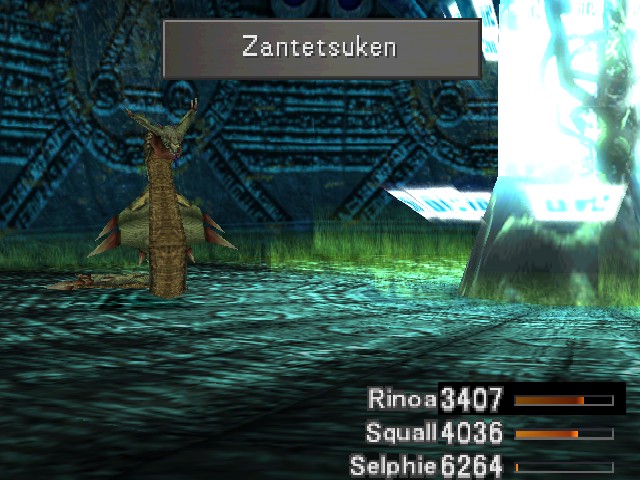
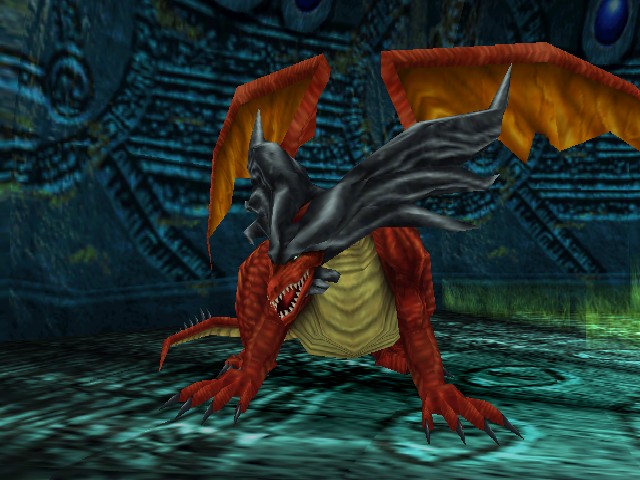
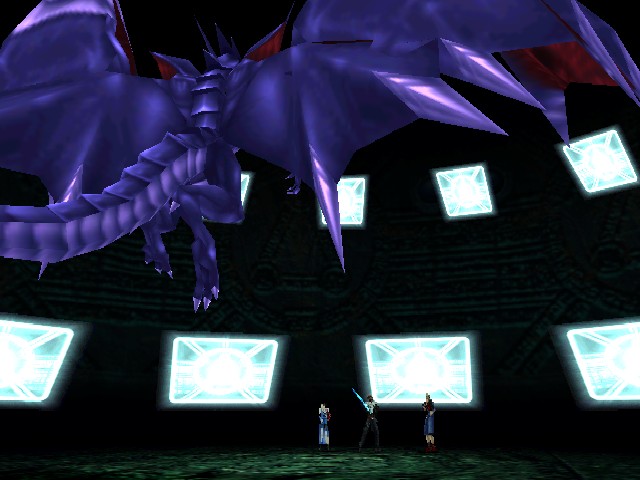
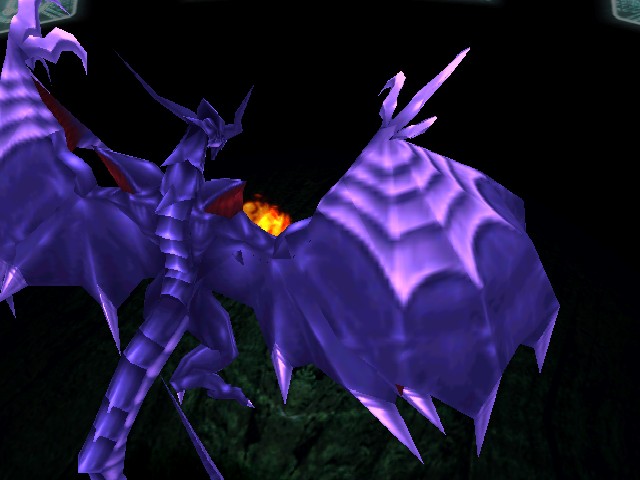
Answering the questions right takes you into a battle with both a different background and a different kind of dragon.
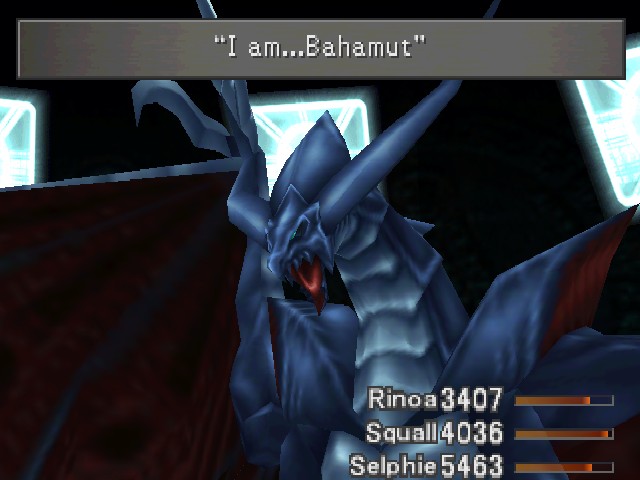
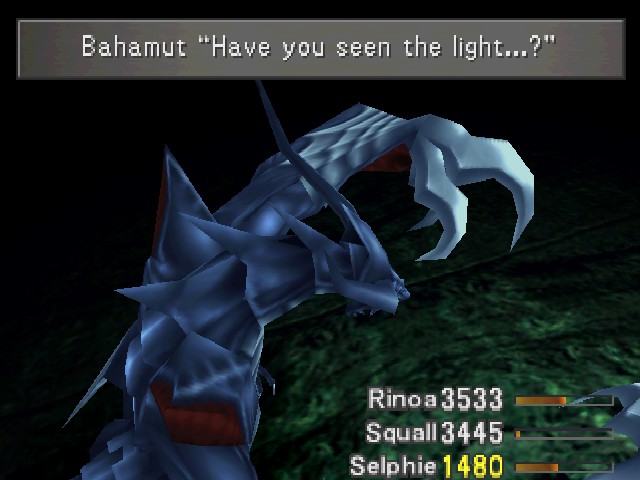
This is a very special dragon.
: The great GF... Bahamut.Bahamut: ...GF? I...? Using my powers... ...It is you humans...I fear...
So apparently Bahamut is known to humans and vice-versa.
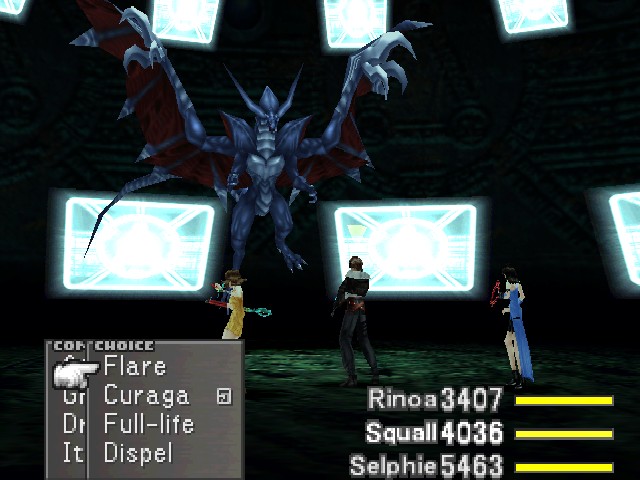
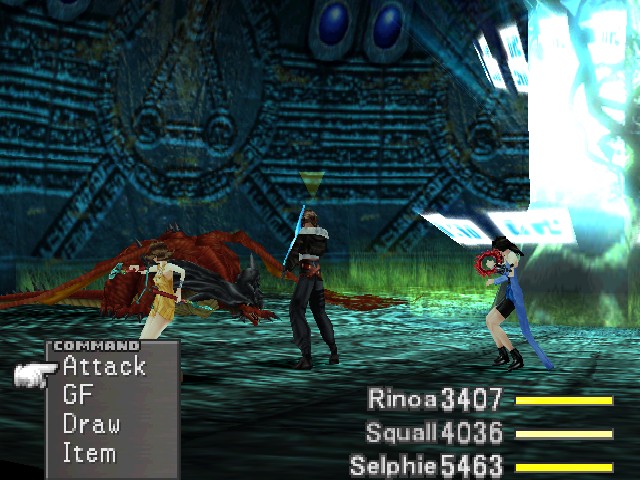
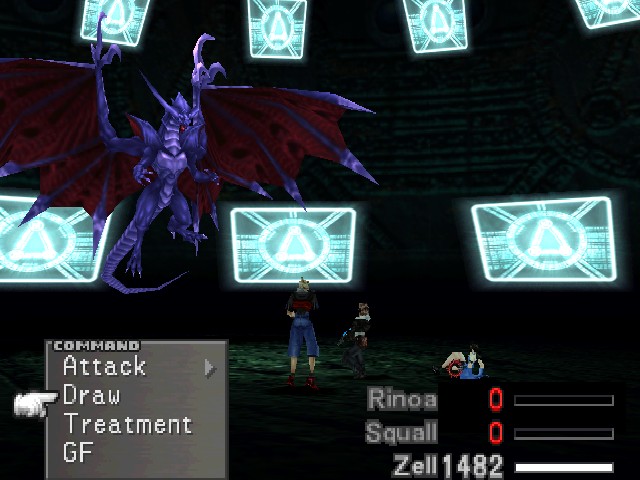
Anyway, once that little exchange is done, the battle starts in earnest. And as these sorts of things often do, it starts with me looking at Bahamut's draw list. The most important thing on there is Full-Life. Full-Life is very useful, and it wouldn't hurt me to collect some. Hell, it would even give me a chance to show off Bahamut's moveset, right?
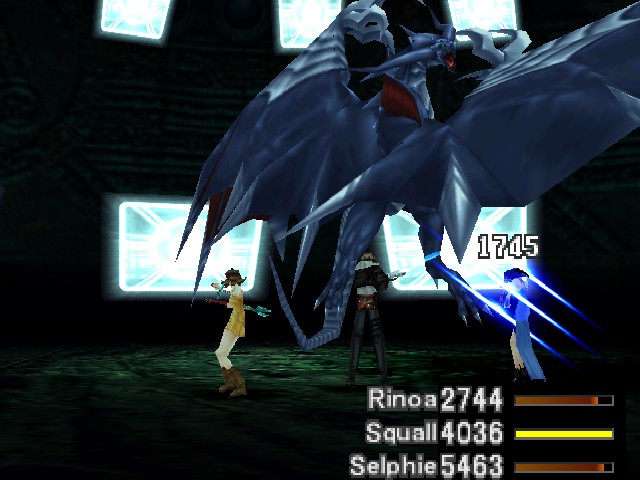

Well fuck me, I guess, because while I was doing that and waiting for Bahamut to do one of his actually interesting moves, all he did was attack Rinoa over and over. His physical attack is pretty powerful, but it's not exactly the main attraction.
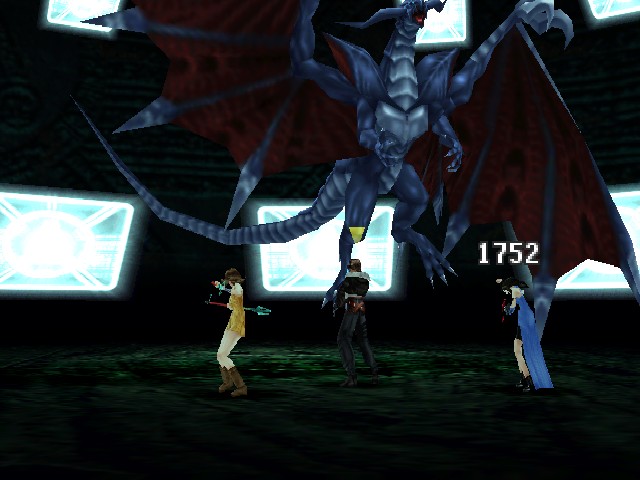
That went on for a while. Selphie and Squall both filled up on Full-Life. Rinoa was busy healing herself, so she didn't quite get 100.
I waited and waited, and he wouldn't do what I wanted him to do.
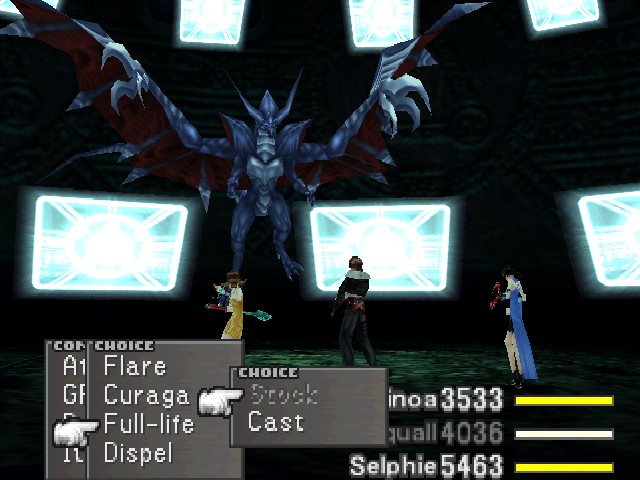
About the only interesting thing he did do in this fight was, once I queued this summon, he smacked Selphie and got a crit and knocked Doomtrain out.
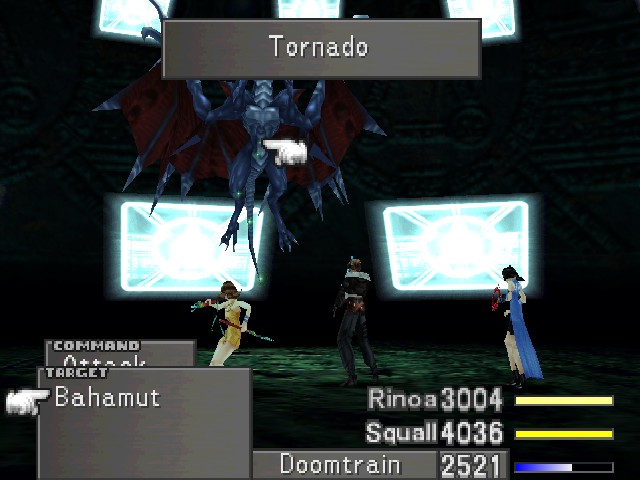
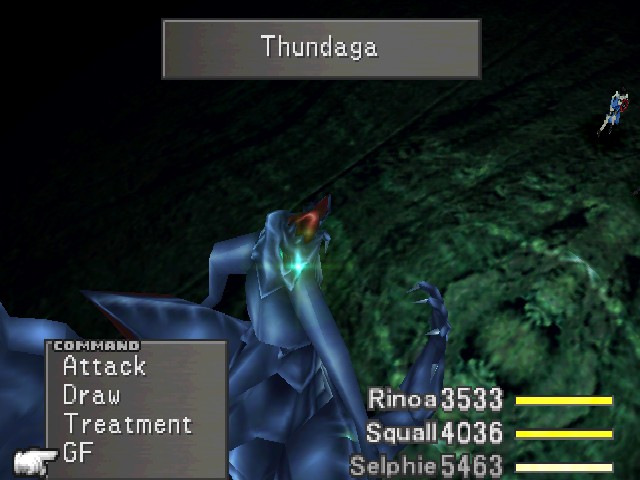
Right after he cast Tornado, he did that.
Bahamut is much more threatening than this! He has a move that makes Tornado look like shit! But for whatever reason, he absolutely refused to do it on this run. I waited, I drew things out, but no.
On a different run, when I brought Zell to see if he had any special dialogue for the interior of the area, Bahamut finally did his special move. After I put the controller down and waited for five minutes. I don't know what the fuck his deal was.
(PS, Bahamut's looking a bit purple here because I put Vit 0 on him.)
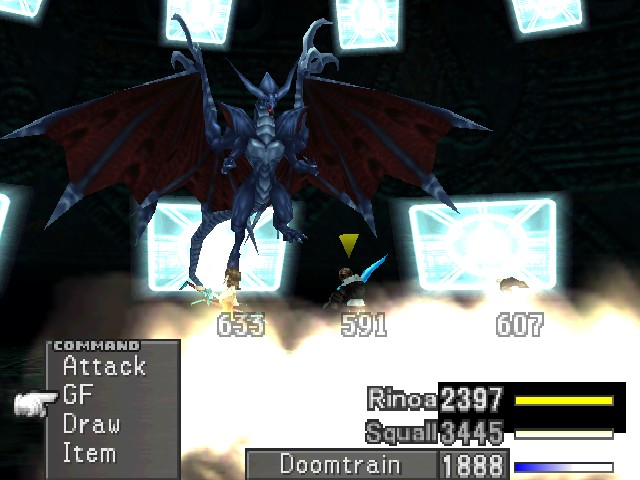
Bahamut's most threatening (and interesting) attack is also his most famous, Mega Flare.
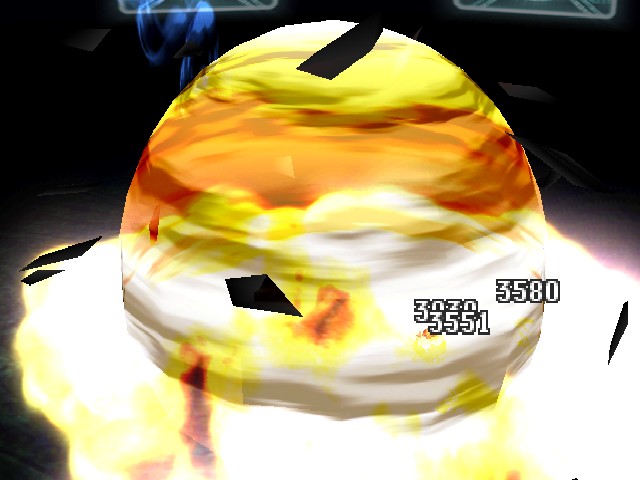
Mega Flare hurts! It ignores Spr entirely, so it can really fuck you up if you don't have a lot of HP.
Zell only survived here because he had HP+80% on, Squall and Rinoa were wiped right out.
If he does use Mega Flare, Bahamut can be a pretty nasty fight. If he just sits around and sometimes attacks Rinoa, though, you can cut through him pretty easily - his HP caps out at 90,000, which is really not much. Oh, I guess it's worth noting that Bahamut has an unusually high Eva value, maxing out at 17 at level 100. On the other hand, he's slow as hell, topping out at 50 Spd. Bahamut's alright, I guess, but the fact that he wouldn't do Mega Flare really annoyed me.
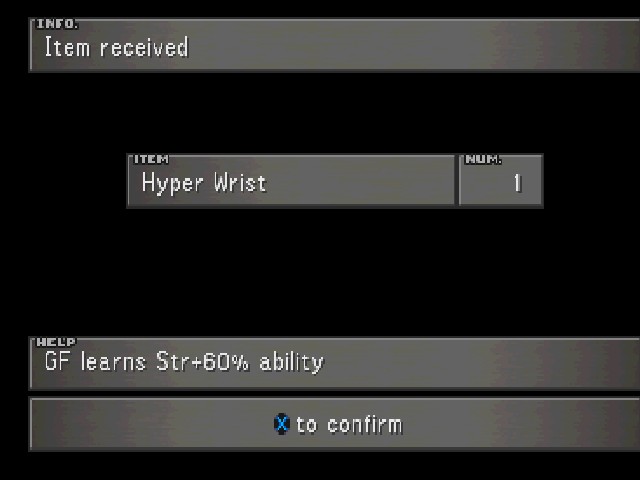
Hyper Wrist is an okay drop.
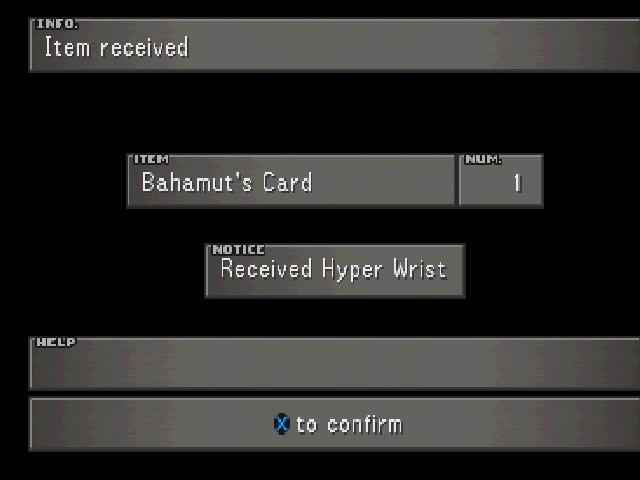
His card is also interesting. It turns into 100 Megalixirs, if you want to have way too much healing on hand.
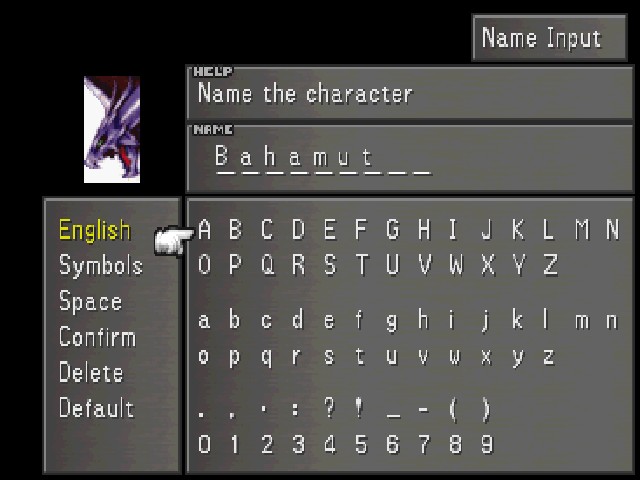
Of course, the real reward is that he joins the party as a GF!

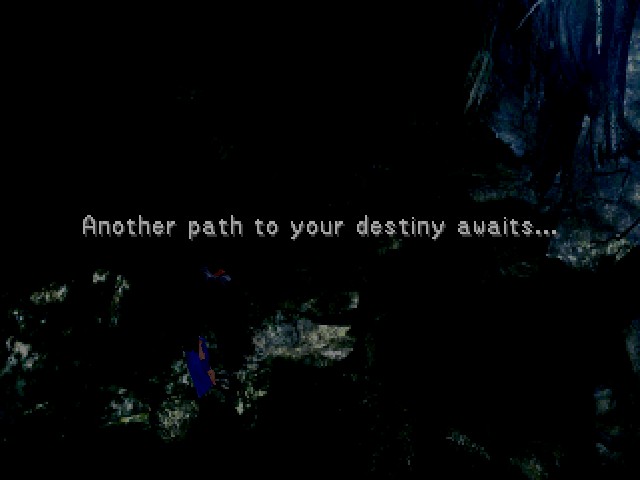
Bahamut: You are indeed an interesting one, brimming with passion...
Bahamut is probably the chattiest GF in the game, offering us these final words of encouragement.
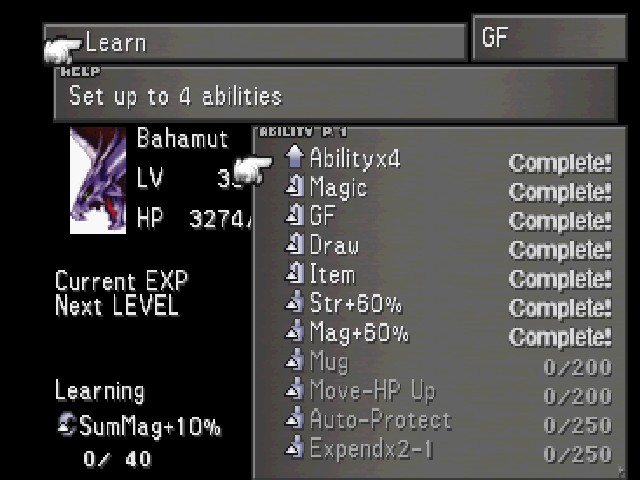
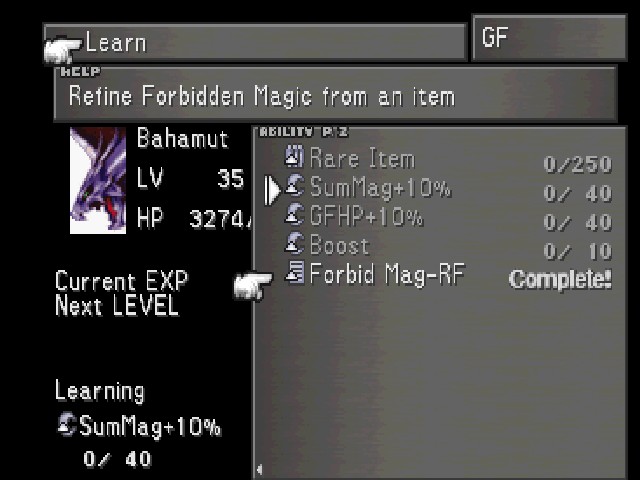
Now that he's on our side, let's take a look at Bahamut's move set. He starts with some handy ones, like Abilityx4 and Str/Mag+60%. He's also got a second Mug, which can be somewhat useful but isn't worth grinding for. Expendx2-1 I might have discussed before, but it lets you use a spell twice for only one "charge" if you have the Double status on. It's filler. Bahamut's refining ability, Forbid Mag-RF, is better on paper than in practice. It lets you make two spells, Ultima and Meteor. Both are good spells, but neither comes at a good ratio. You can get 3 Ultimas from an Energy Crystal if you like grinding Elnoyles, I guess. There is one item in the game that refines into 100 Ultimas, but it's not worth the hassle to get them that way.

While we're here, I also wanted to talk about Rare Item. It says it makes you more likely to get rare items, but this is only partially true. See, the way that item drops work is that each enemy has four slots. What Rare Item does it is reduces the probability of the first (most common) item being dropped, and (approximately) doubles the rate for slots two and three. Unfortunately, this comes at the cost of slot four, which has the enemy's rarest drop in it. If you have Rare Item equipped, the item in slot four can never drop. That means that the ability that is fucking called Rare Item prevents you from getting the rarest drops in the game. Great.
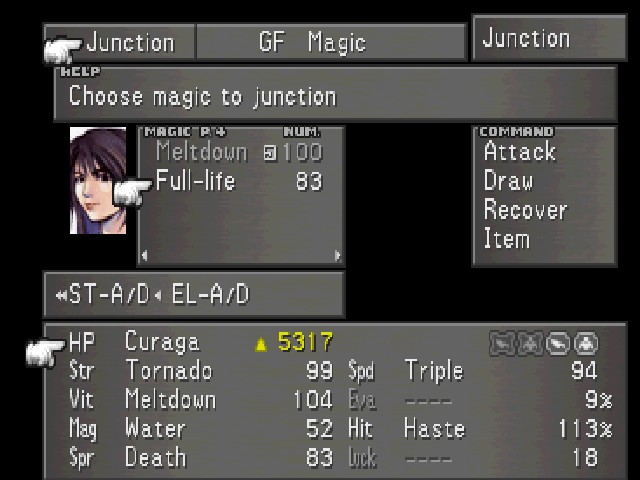
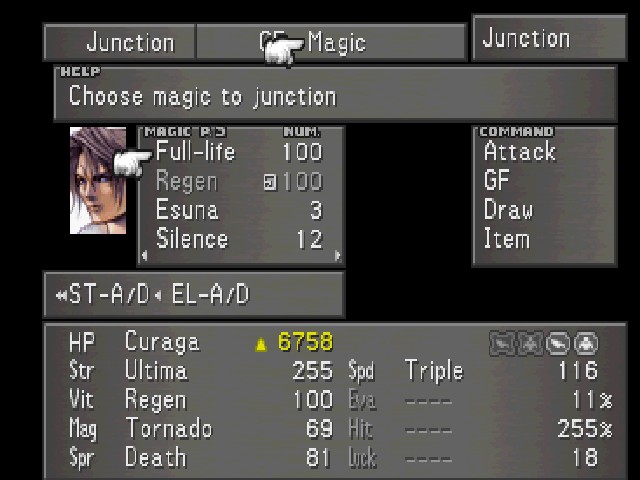
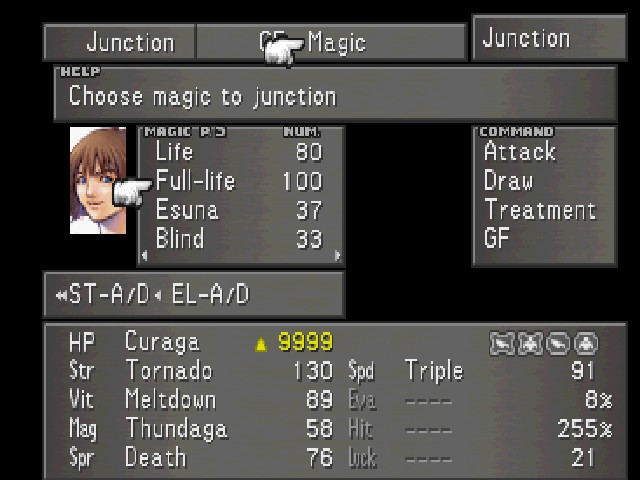
This is the other reward from the fight, a huge number of Full-Lifes. Full-Life junctions for 48 HP per spell, or 4,800 for a full set. The only character to get more than 4,800 HP naturally is Seifer, so Full-Life more than doubles anyone's HP. If you're meticulous about levels, you can combine Full-Life and HP Bonus to get every character to 9,999 HP without needing HP+ abilities. It's a good junction.
Finally, after the battle with Bahamut, the core must have blown up or something. There's just a hole in the floor now. But we can't do anything with it, so I guess we're done here.