Part 109: Part One Hundred and Nine: The Crystal Pillar
Part One Hundred and Nine: The Crystal Pillar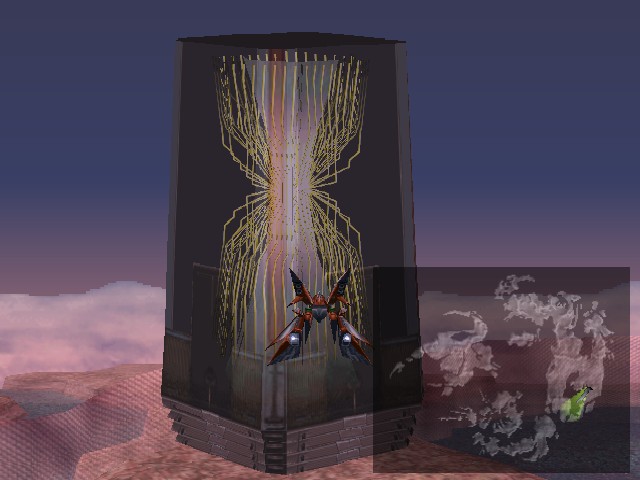
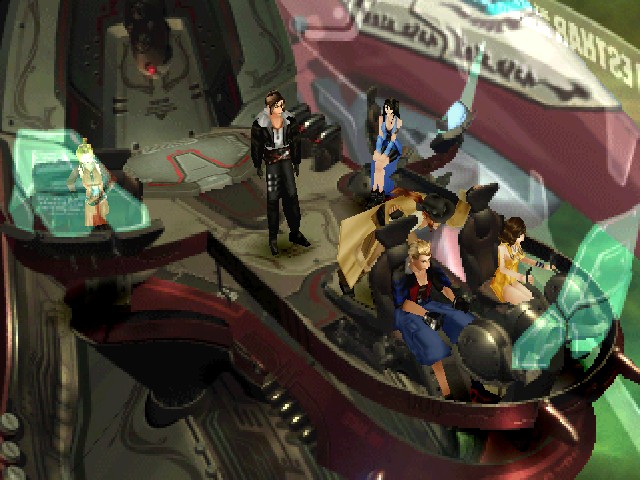
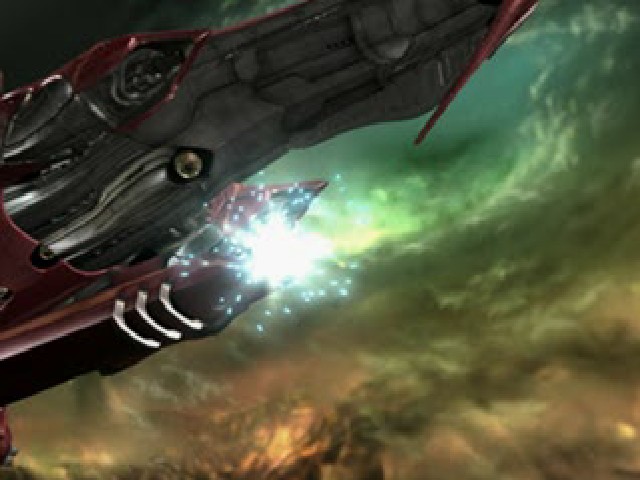
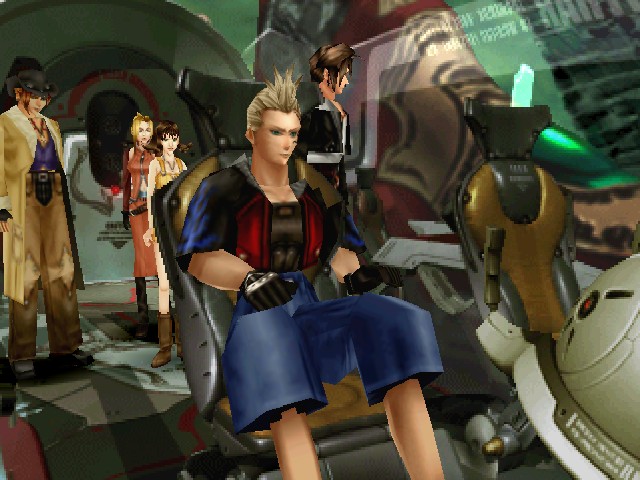
As we push in towards Lunatic Pandora, the scene cuts to the Ragnarok's cockpit. The sky is weird in this shot - it's not red like it has been near Esthar, it's green.
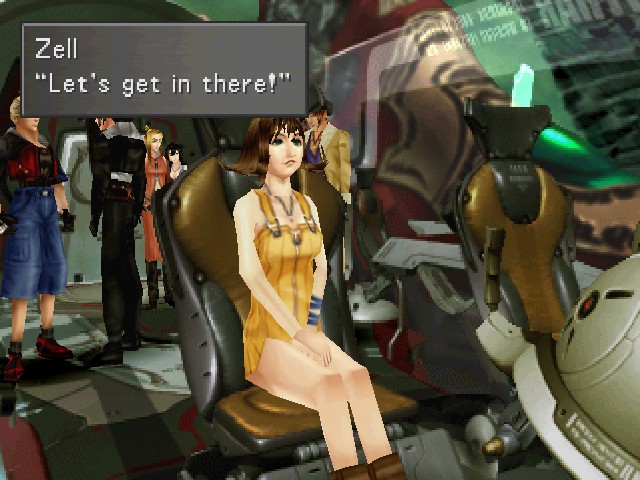
 : Here we go! Let's bust in there!
 : I wonder if we can get through.
 : Ahh, don't worry about it.
You know, Laguna never really did explain this part. How is the Ragnarok gonna get inside?
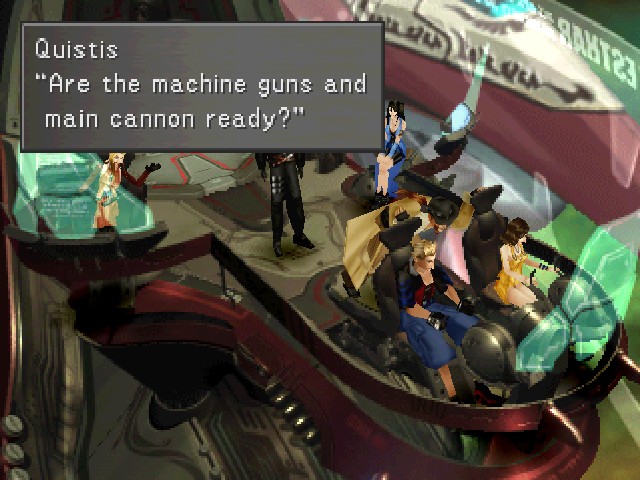
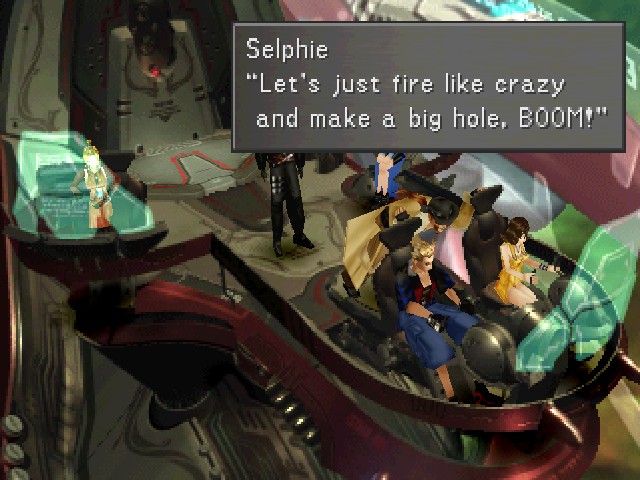
Ah, of course. Selphie obviously put a lot of effort into this plan.
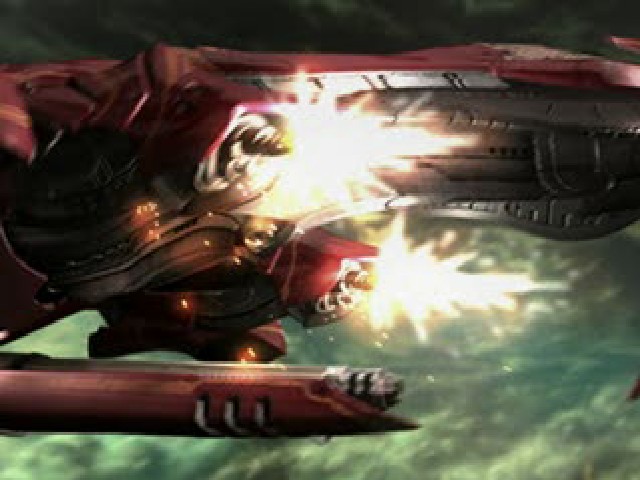
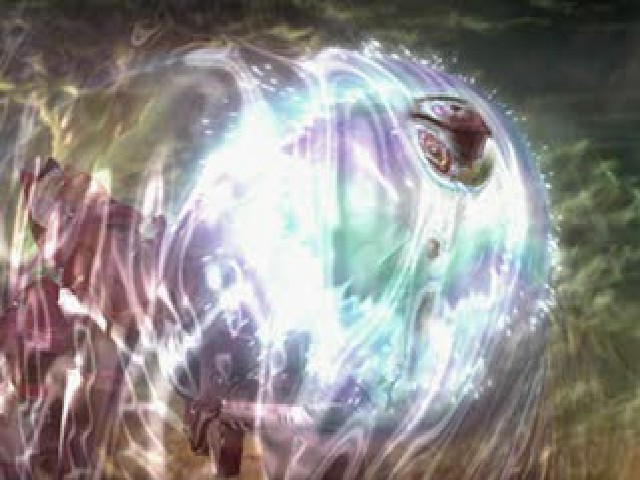
The Ragnarok opens fire on Lunatic Pandora.

But the bullets are deflected by some kind of force field, which the ship promptly rams into.
The shock from this is shown by the green flash on the screen. I guess Selphie's taking it easy on the accelerator, since the sudden stop doesn't end up with Squall splattered on the walls.
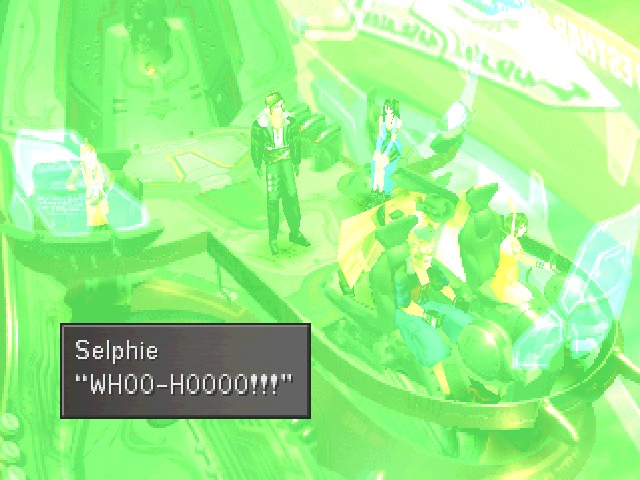
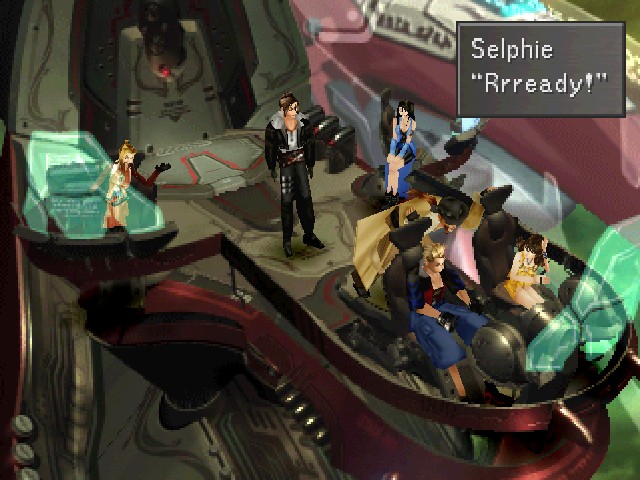
Selphie, by the way, is having a great ol' time. She lives for this kind of thing.
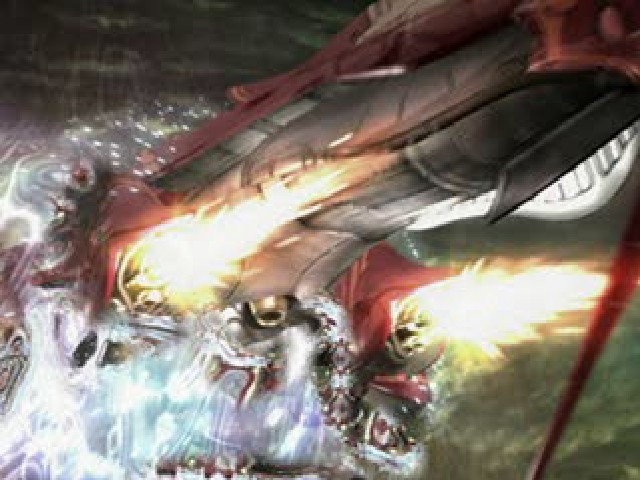
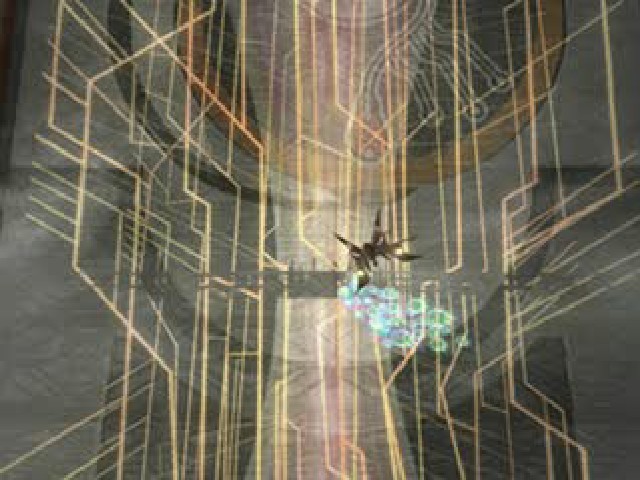
Soon enough, the combined force of the machine guns and forward thrust gets the ship through the shield.
The shots from the machine guns aren't doing much to the armour.
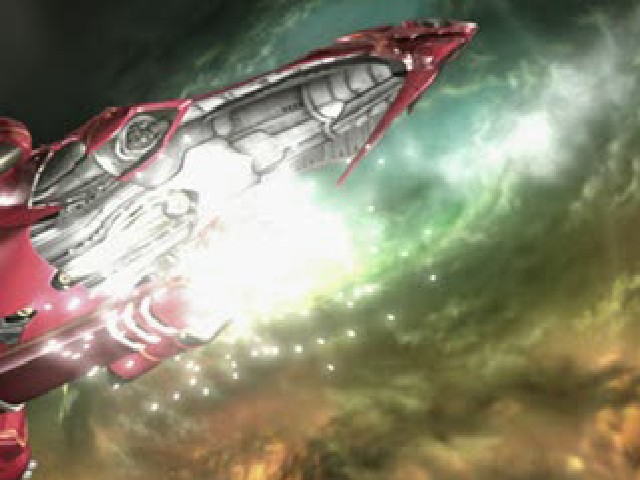
The main gun's a little more effective.
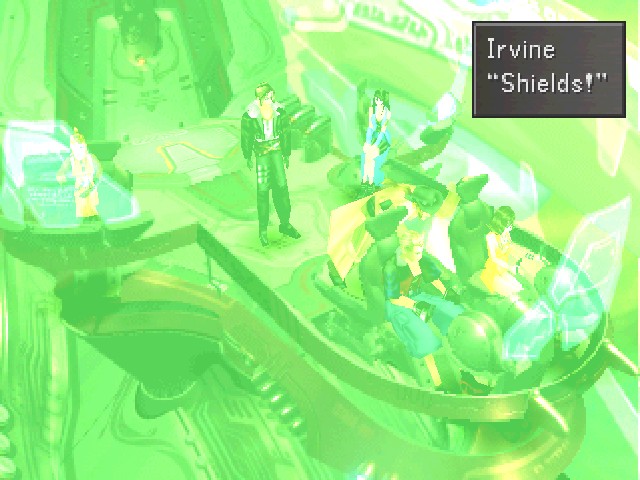
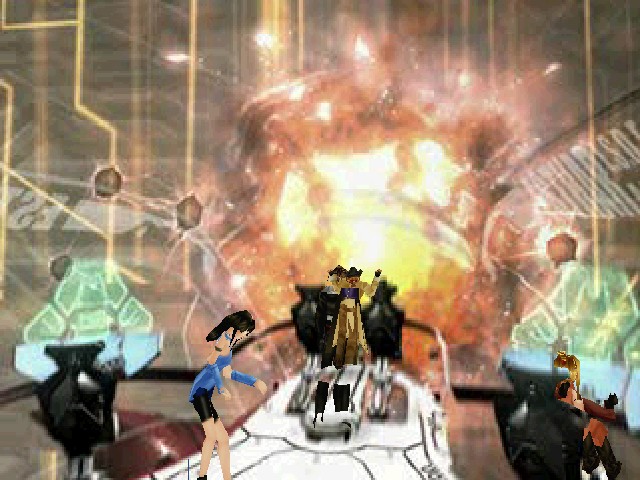
You get to control Squall while you watch the final entry.
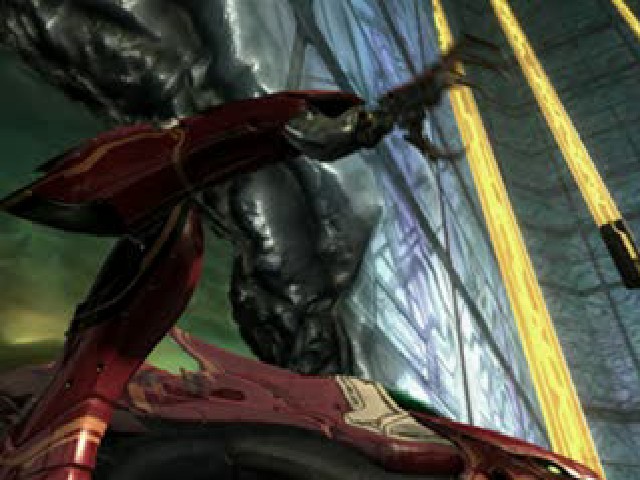
To stick the landing, the Ragnarok's ridiculous hands are used as anchors, and we're "in".
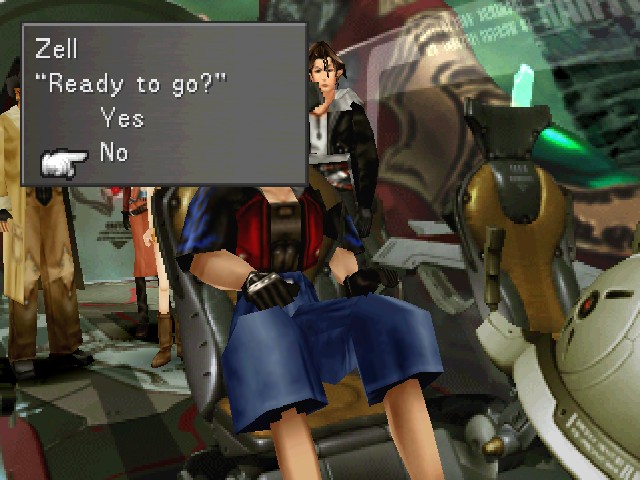
Note, though, that this is not the point of no return. It seems a little bit silly that you can just turn around and leave again, but what do I know?
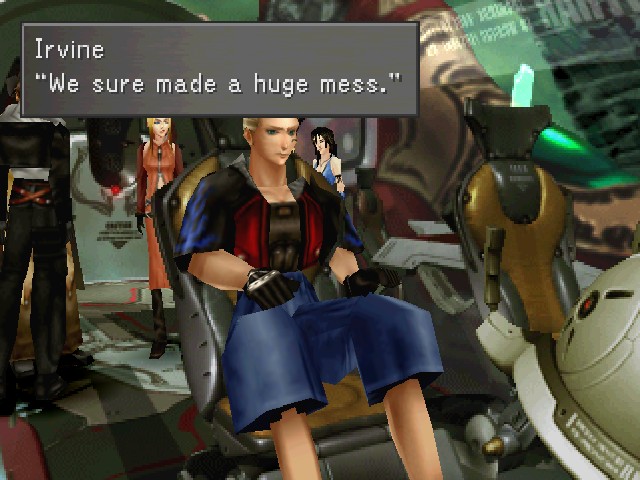


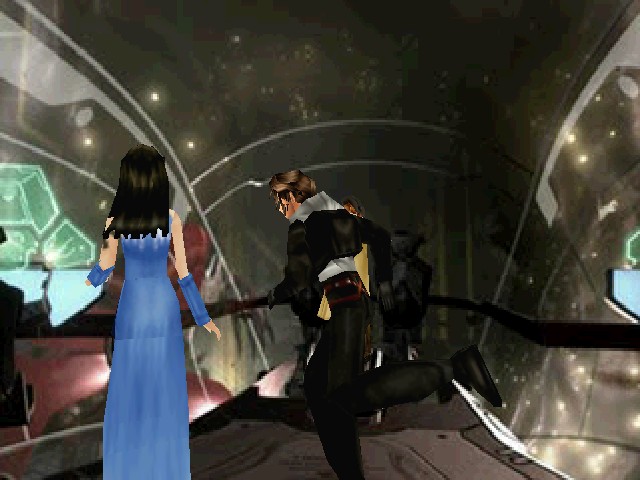
Everyone except Selphie has a line here, none of which are particularly informative.
Unfortunately, you can't check in with Laguna's crew, since this door just doesn't work.
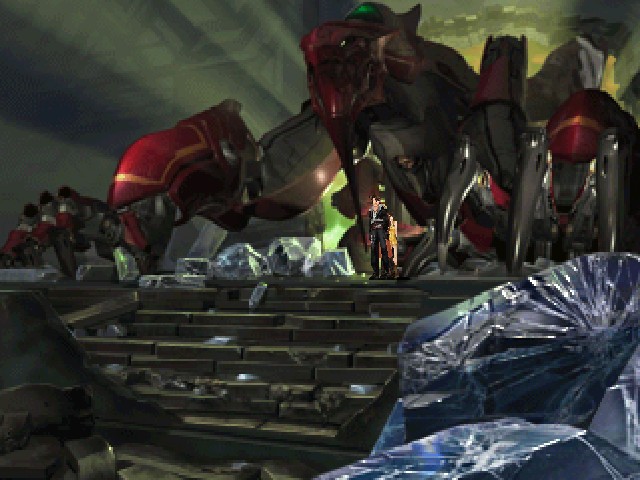
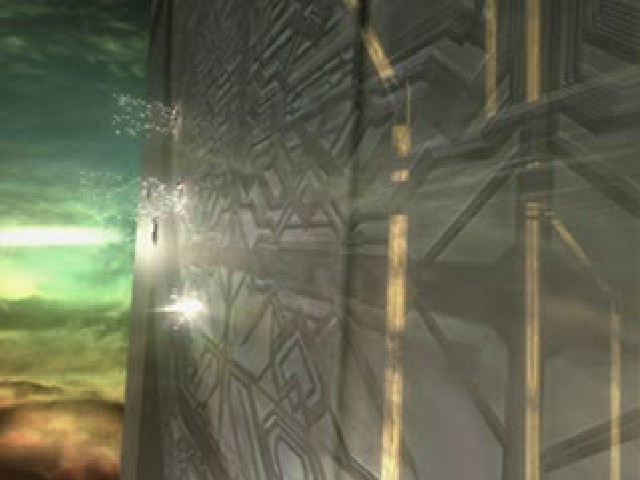
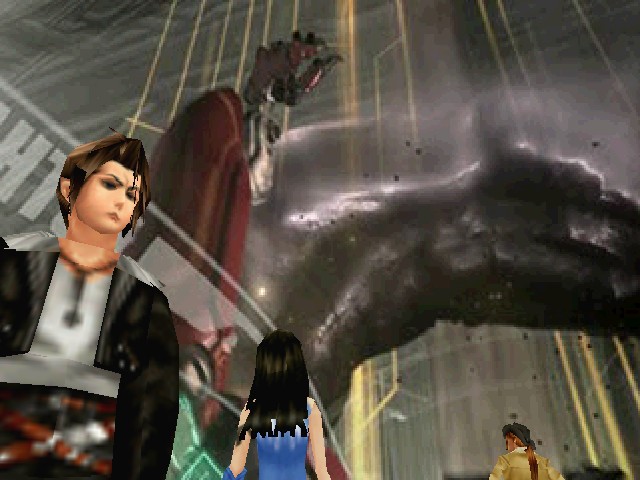
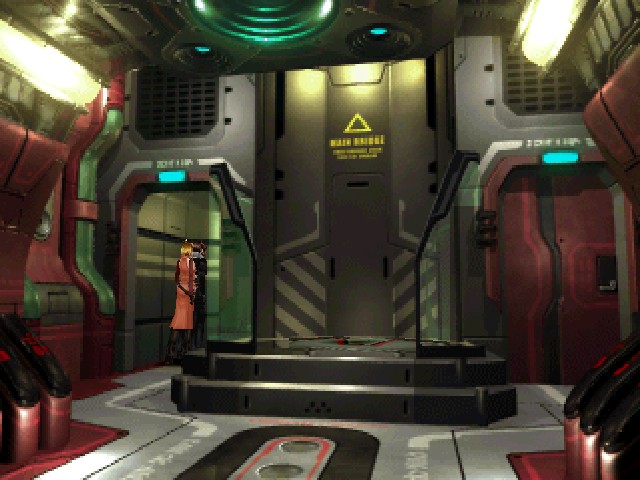
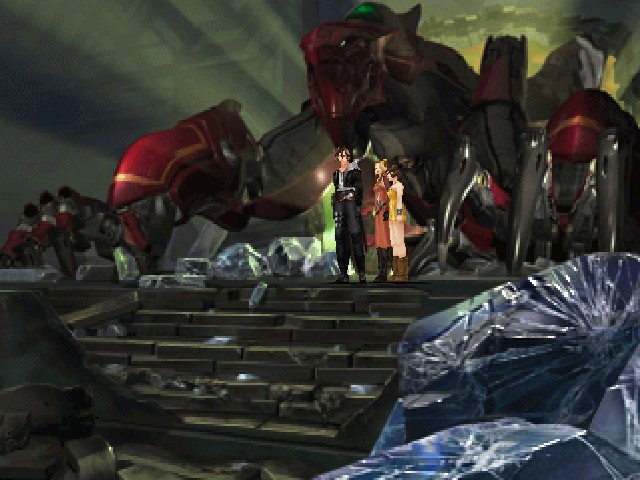
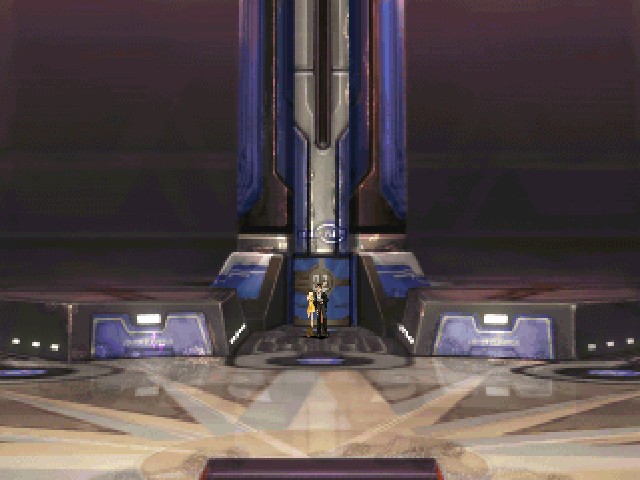
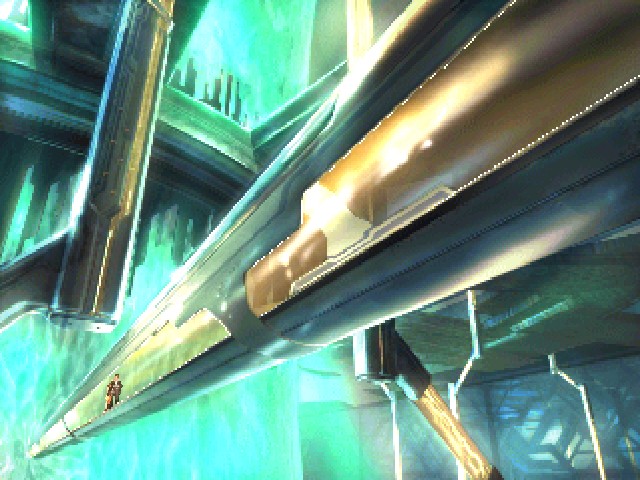
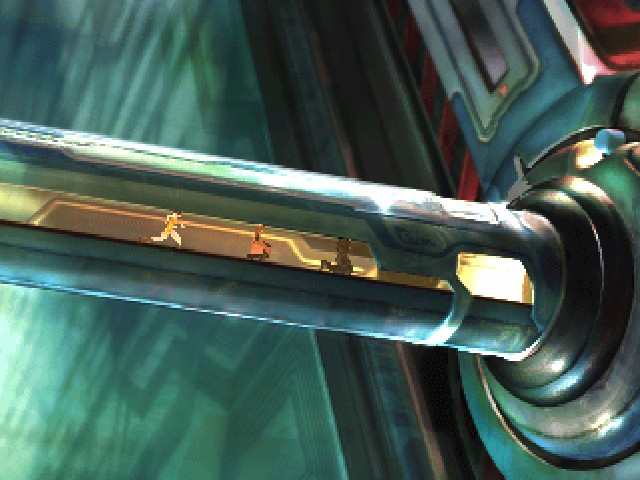
That's enough screwing around. Let's get on with it. This is the first screen after entering Lunatic Pandora, and it's one I really like. Goofy arms aside, the Ragnarok looks pretty cool with the light coming in from behind it, rubble all around.
Now that we're properly in the place, here's the music:

This also plays when Zell visits, but since he gets kicked out so quickly, I didn't include it in that update.
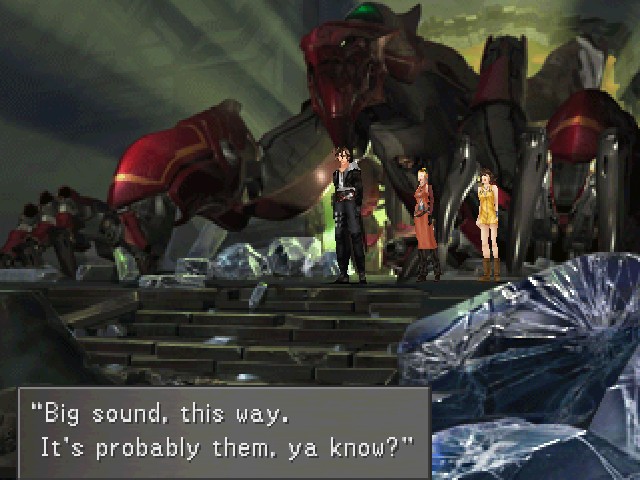
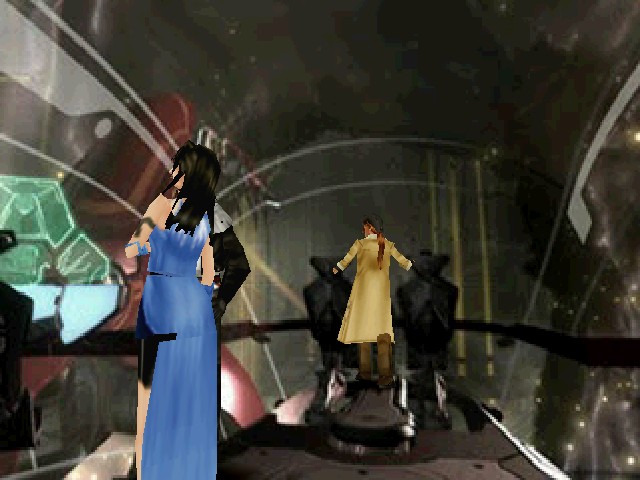
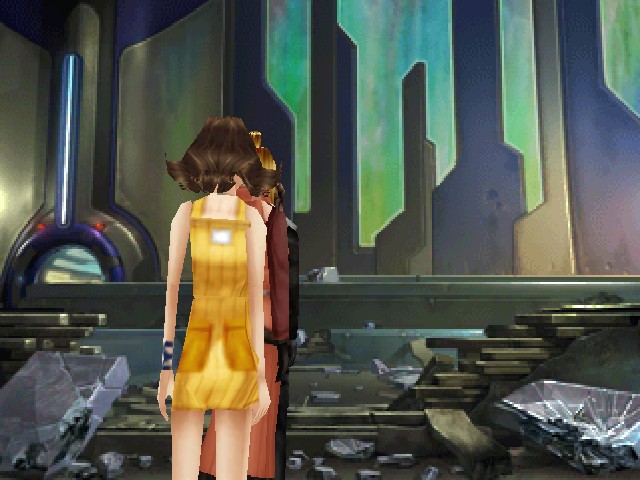
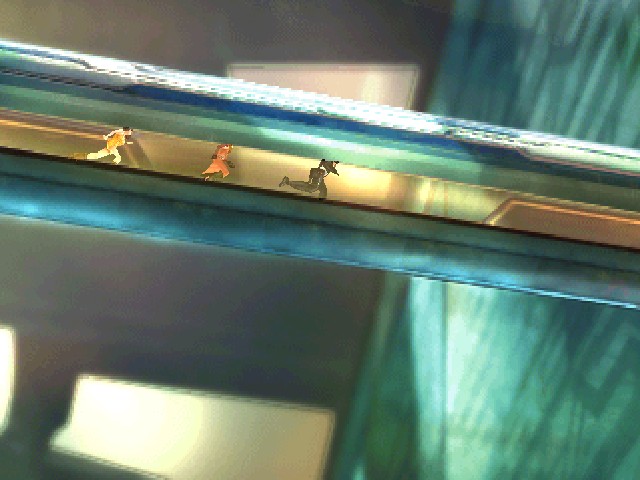
 : (That voice...)
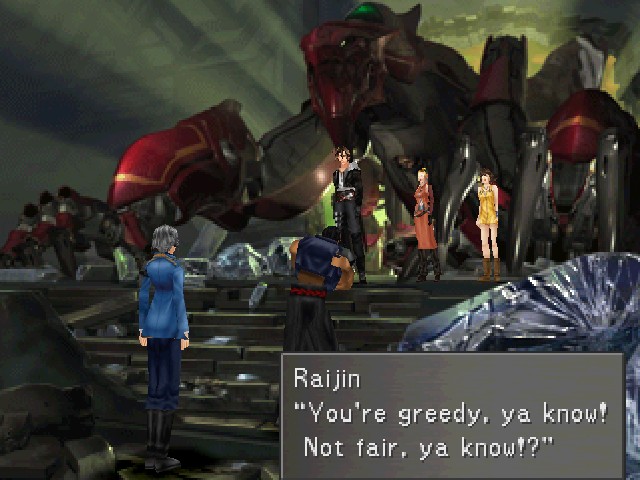
The party hardly goes two steps before "hearing" some familiar voices.
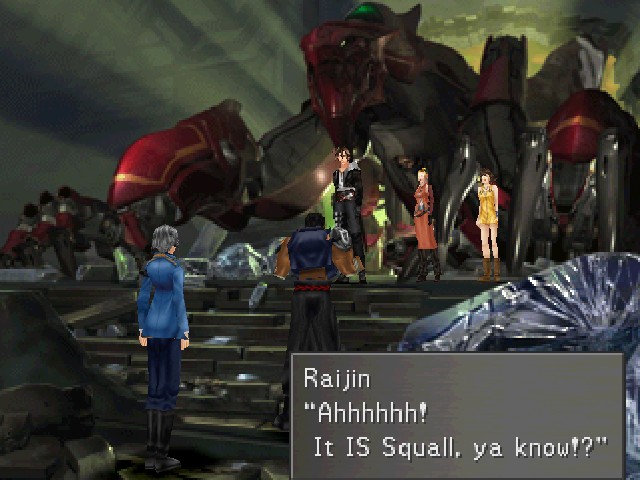
We're going after Seifer here, so it's no surprise that we'd run into his posse.
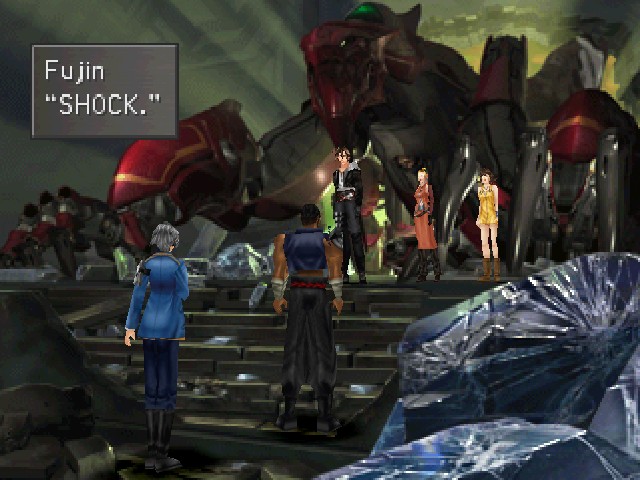
I can't read this line as anything other than sarcasm.
Fujin: GOOD. CONVENIENT.
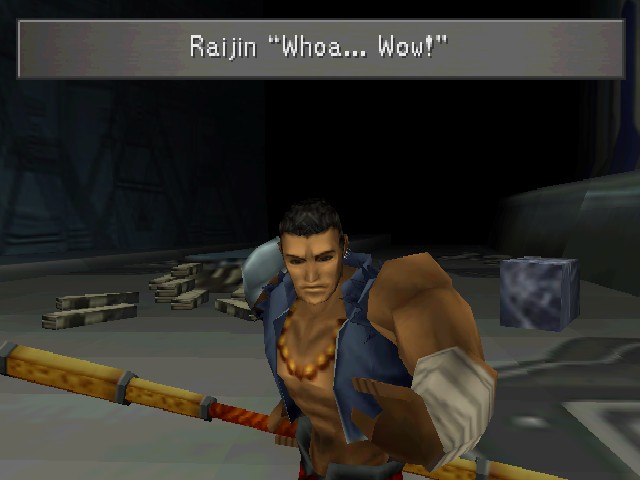
Raijin: That's right. Hand over Rinoa, ya know!?
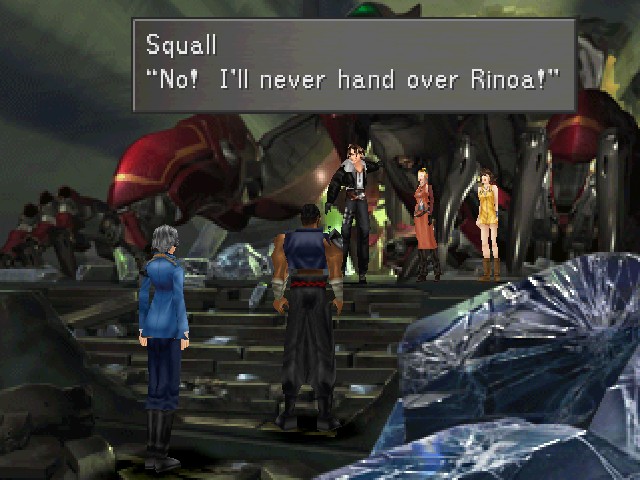
Damn, you know, I thought he'd go for that one.
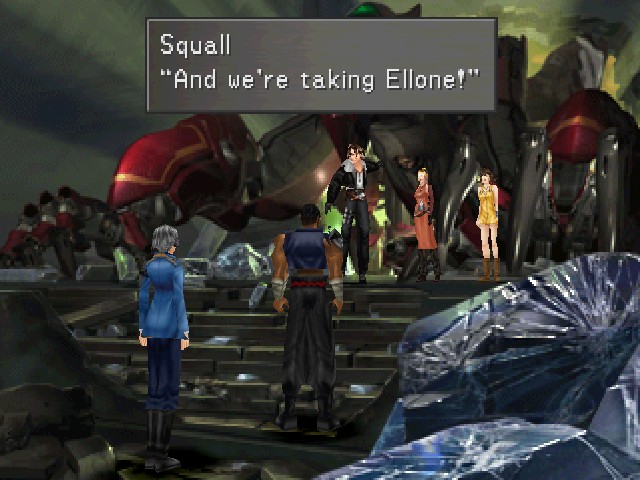
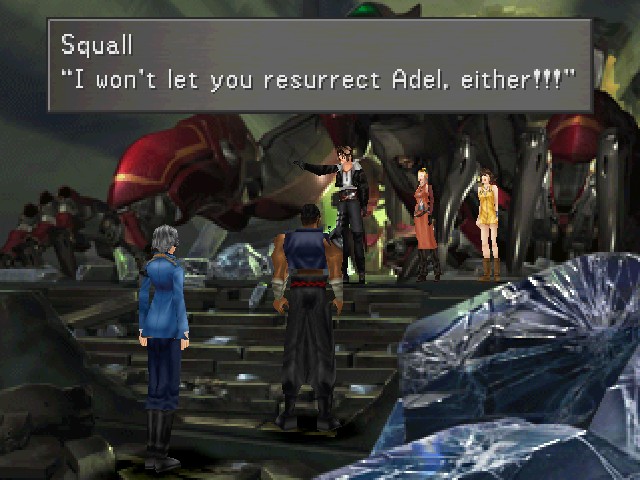
Funny little thing here: in between each of these three lines, Squall moves his arms back to his sides, then apparently remembers another goal and does a big sweeping gesture.
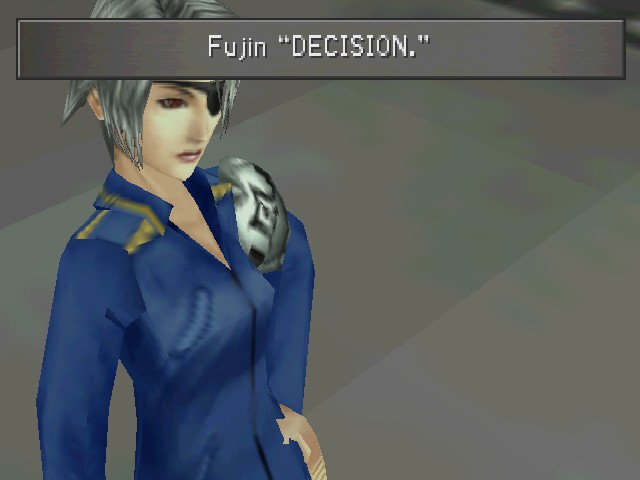
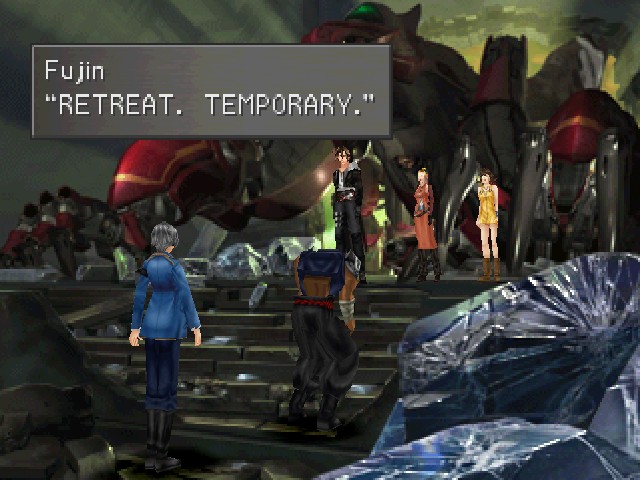
Fujin: PERSUASION, USELESS. SEIZE.
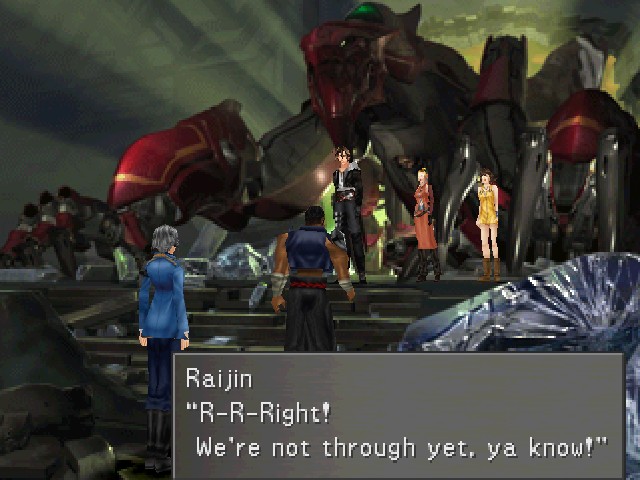
Raijin: She's right, ya know!? Let's go!
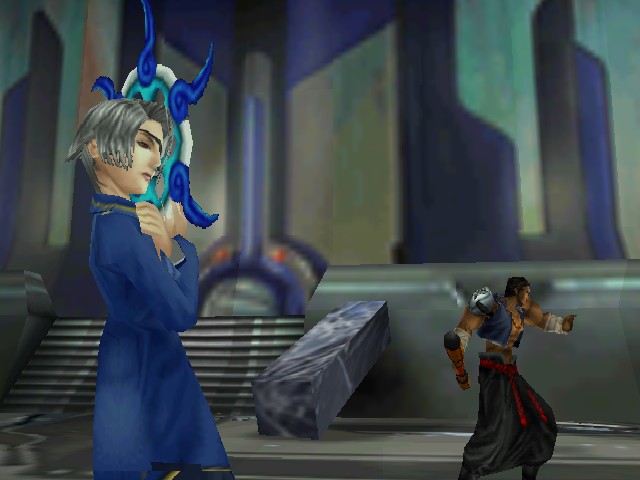
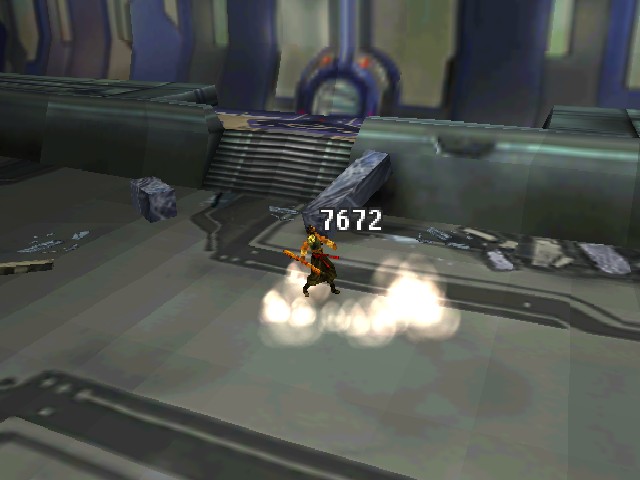
And just like that, we're fighting our first boss battle in Lunatic Pandora. Honestly, I'm not a huge fan of this fight being here. You encounter these two in Galbadia Garden and they just want Squall to get Seifer to stop, but now they're back on his side. I guess it's one last attempt to keep their group together, one more shot at backing up their friend, but it feels cheapened to me.
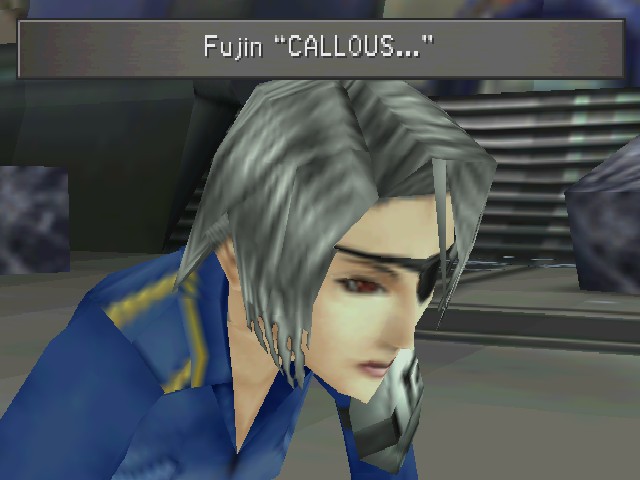
Fujin: ......
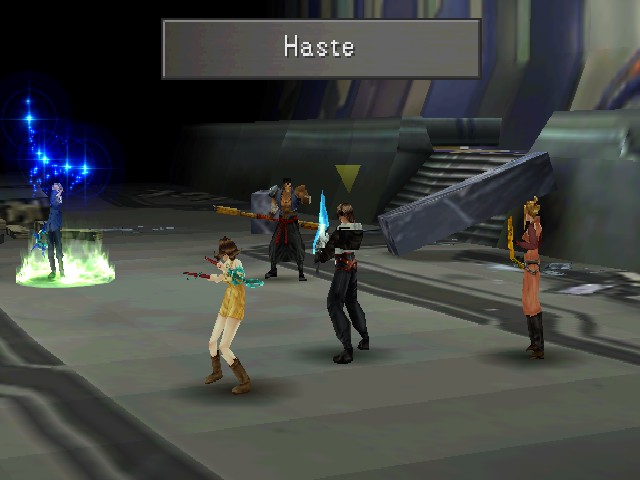
Fujin is probably the more dangerous of the two, since she's got Haste on hand.
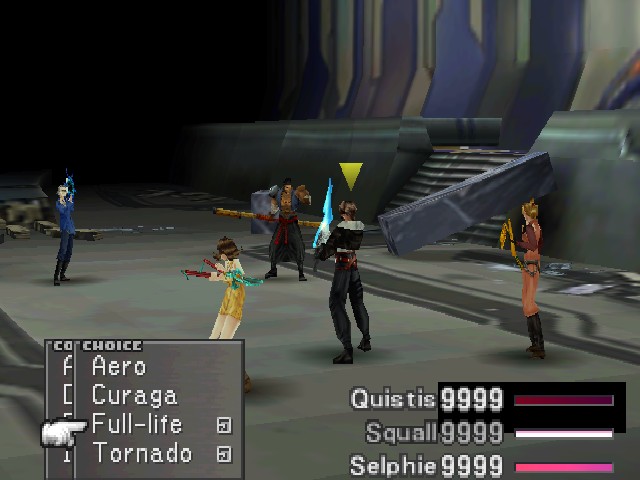
On the other hand, you might want to keep her around for a bit to draw Full-Life. Raijin has nothing interesting to draw.
Fujin: DESTROY. HELP, SEIFER.
This line is one of the times where I really hate Fujin's weird speech pattern. I think she means something like "we decided that we would destroy you to help Seifer" but it's impossible to be sure. This is something else that bugs me, there's something in this sentence that's meant to communicate their motivation to the player, but it gets garbled up in translation.
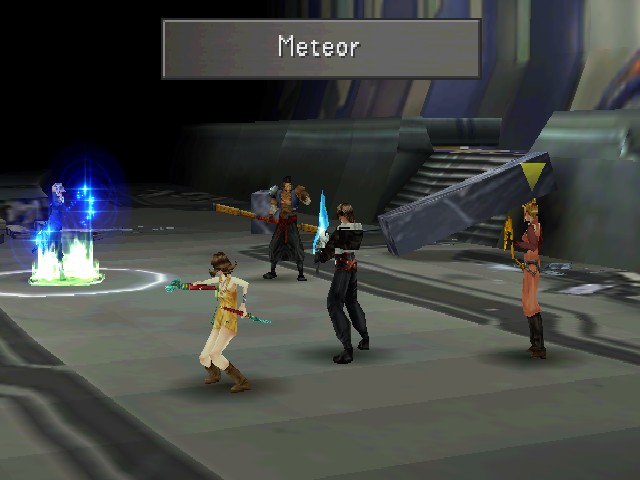
In addition to Haste, Fujin has a bunch of other powerful spells like this. Since Raijin can't hit multiple targets, Fujin should really be your first priority.
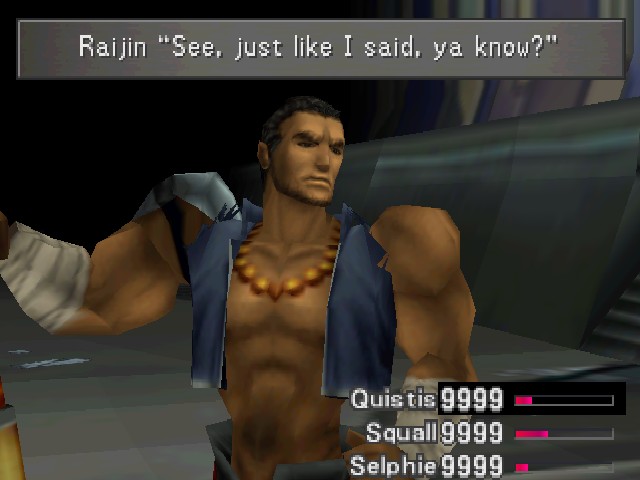
Neither of these guys are particularly powerful - Fujin here caps out at level 43, with 17,900 HP.
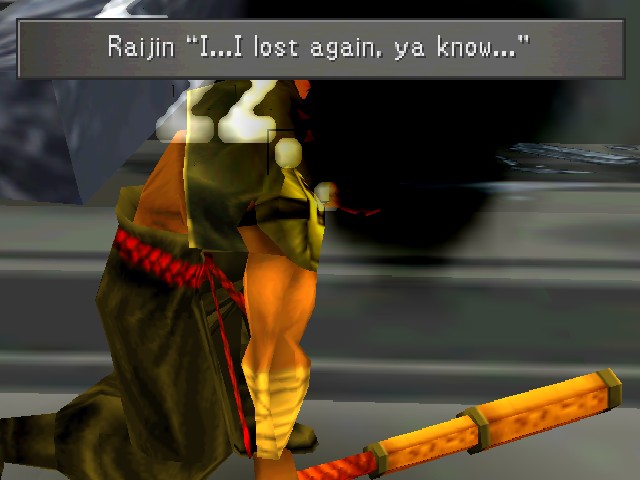
Raijin: No wonder Seifer fears ya!
Raijin's a little hardier, capping at 26,500 HP at level 43.
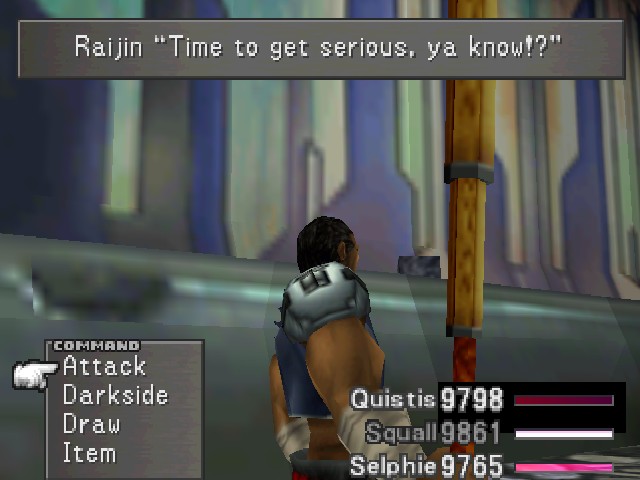
Raijin: Prepare yourself for defeat!
Like Fujin, Raijin has a buff. Since enemies don't have Crisis Level, it just boosts his damage output.
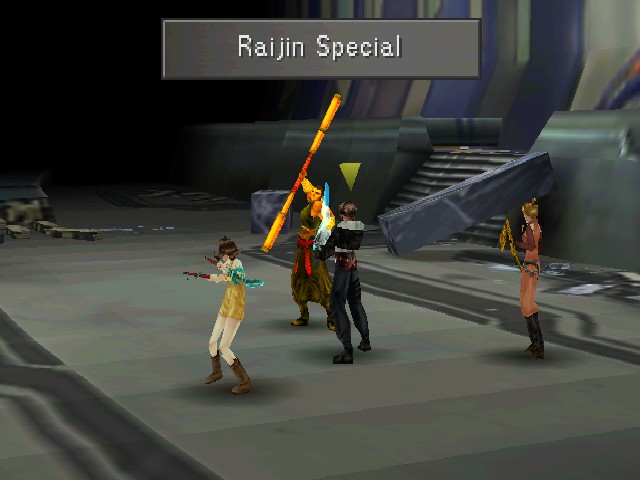
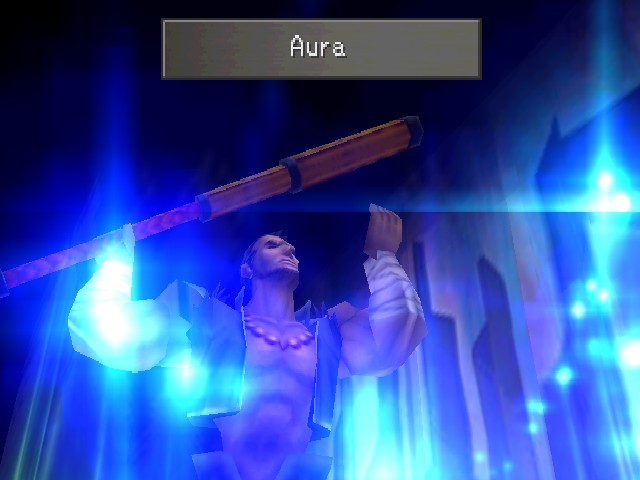
Once he uses Aura, he starts using Raijin Special.
Stacking stat bonuses really fucks with the game's difficulty, but I've honestly never found this fight very tough.
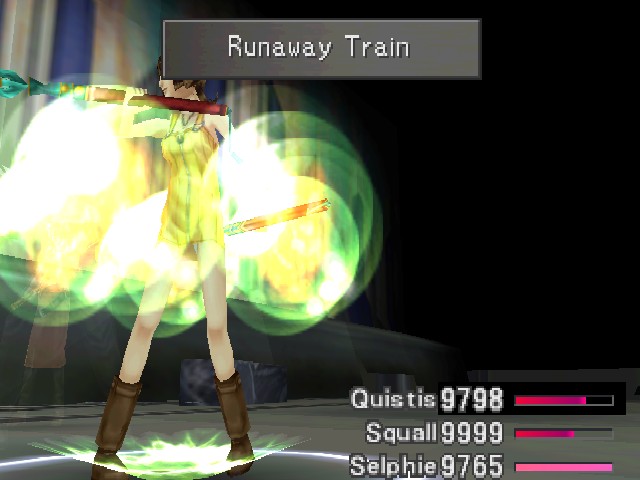
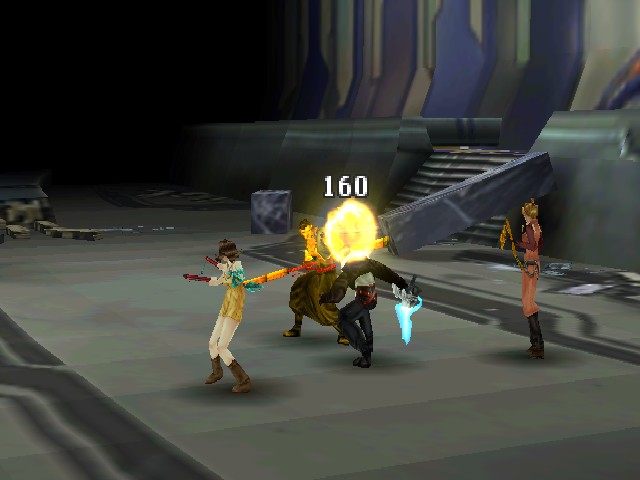
With Raijin about to die, I remembered that I wanted to summon Doomtrain to show off what he does.
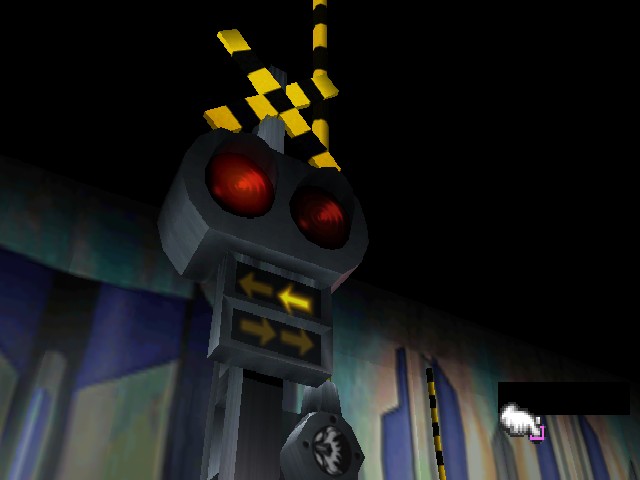
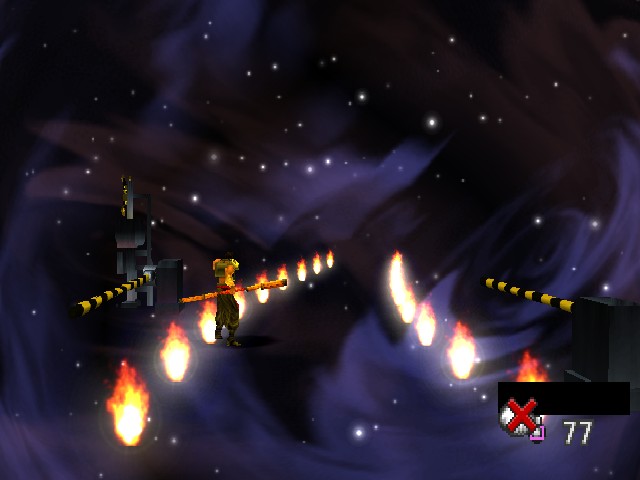
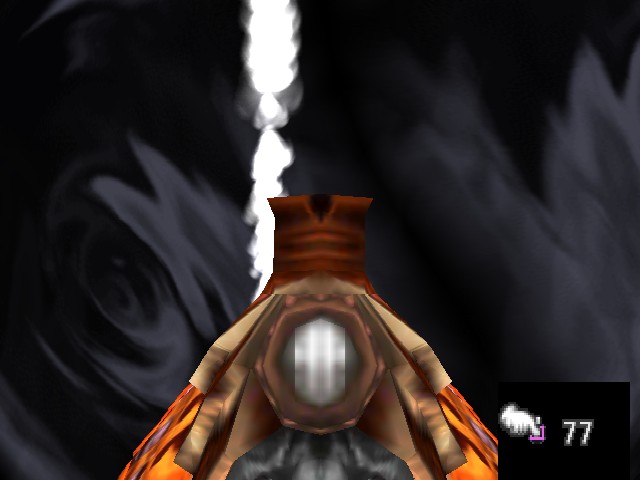
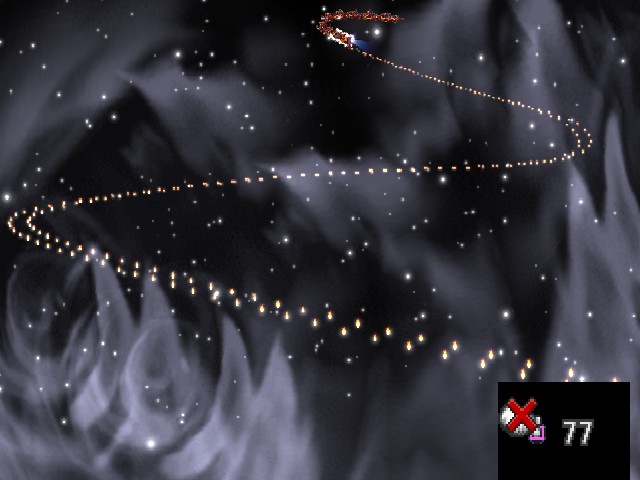
His animation is long but not very high-concept: he lays down flaming tracks from hell...
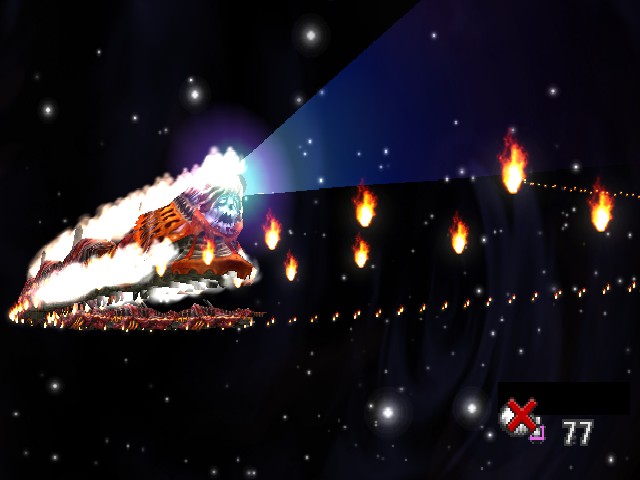
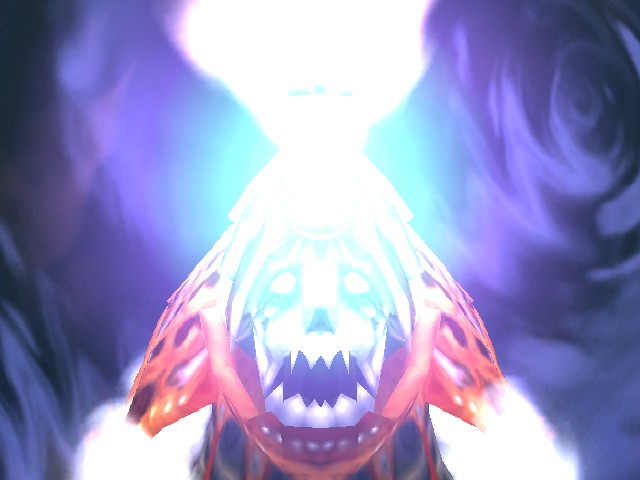
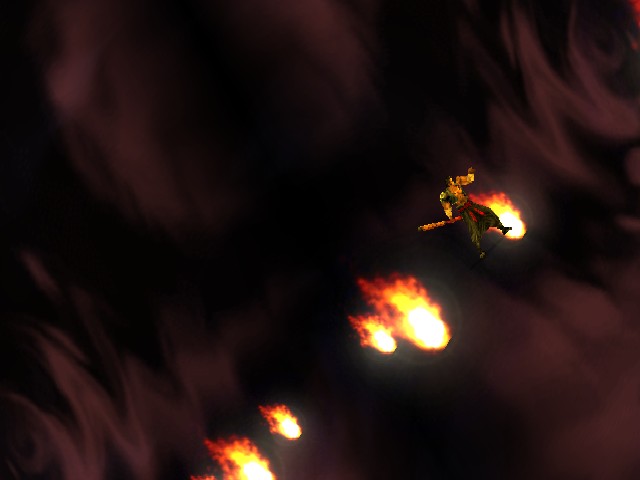
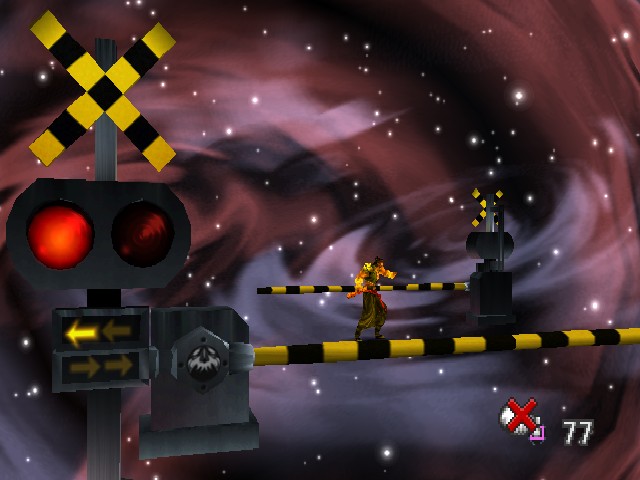
...and then he runs enemies over. In doing so, he deals Poison-elemental damage (one of only three attacks to do so - the others are Bio and Tri-Face's Poison Gas). He also inflicts a bunch of status effects. Most bosses are immune to everything but Vit 0, so most of those are unimportant, but Doomtrain's attack is the easiest way to Vit 0 other than casting Meltdown.
Fujin and Raijin are actually vulnerable to several status effects, but I forgot to start the battle with Doomtrain and instead he ended it. Oops!
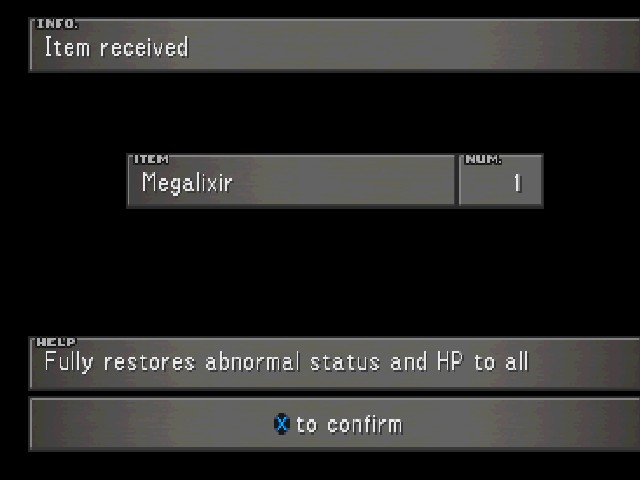
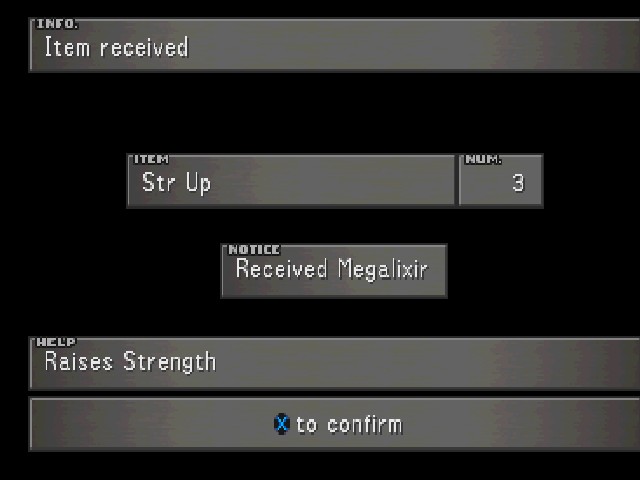
Fujin drops a Megalixir after the fight, but you can also steal it from her if you need a mid-battle heal.
You don't want to Mug Raijin, though - his steal is a Hyper Wrist, which just teaches Str+40%.
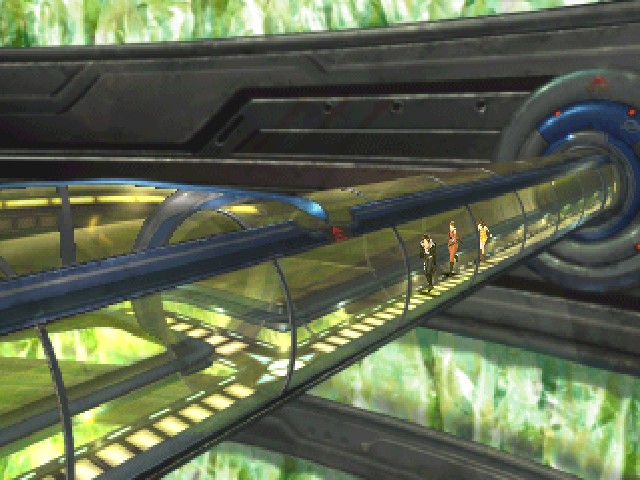
After the battle, Fujin and Raijin immediately fuck off and we're free to explore Lunatic Pandora.
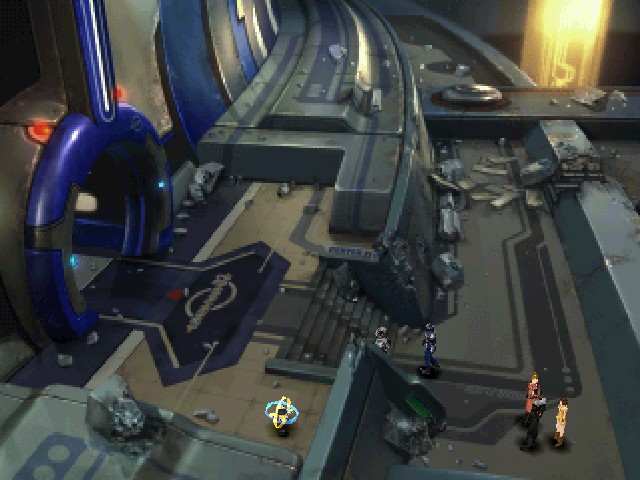
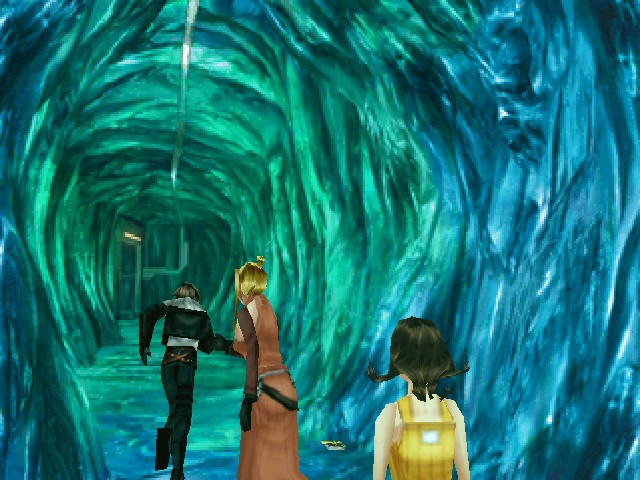
It's got cool backgrounds. I will never not love the look of Lunatic Pandora.

On the next screen, there are a couple Galbadian soldiers.
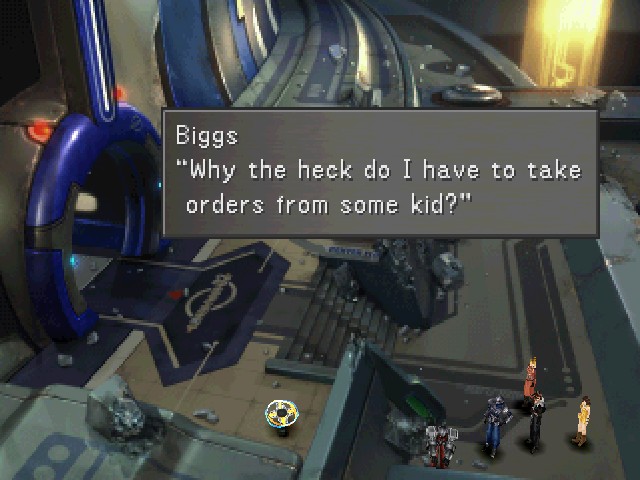
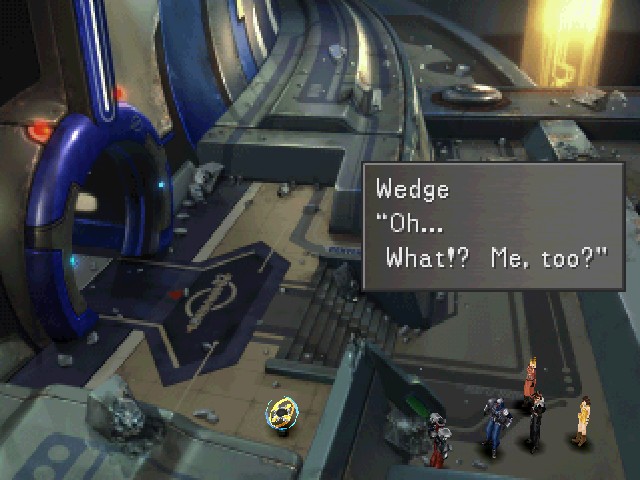
Ah, it's our old pals Biggs and Wedge! Haven't seen these guys since the Desert Prison!
Biggs: Don't you think I know that!? I chose the wrong career. Being ordered around by some punk...
They're complaining, just like always. I wonder if they got demoted again.
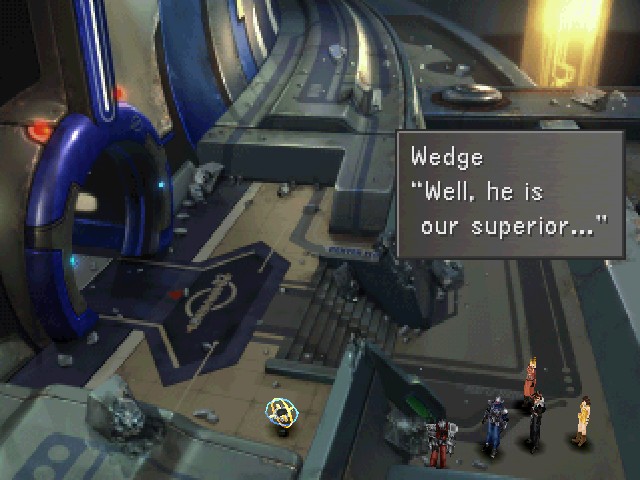
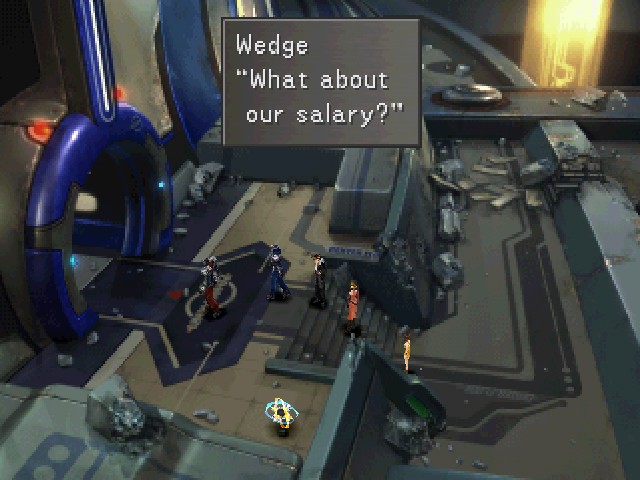
Wedge: Then why don't you quit and find another career, sir?
Biggs: ...Hmm...
Wedge: Ha ha ha! Just kidding, sir!
Wedge really put his foot in it this time.
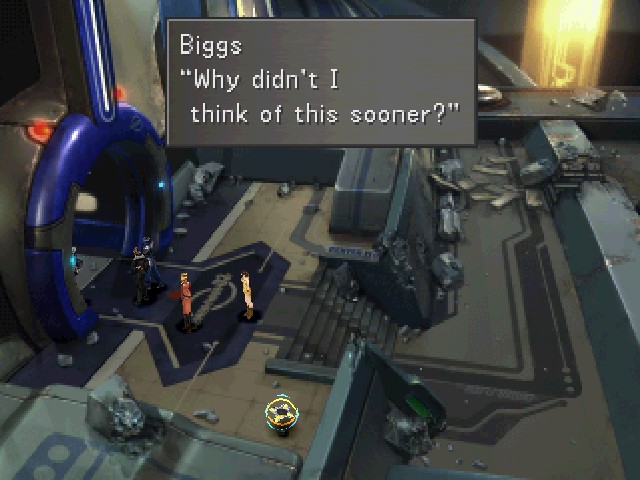
We're not fighting these guys today.

Biggs: Of course. Now, come on.
Wedge: But, but...
And there they go.
Leaving just these last two lines if you can catch up with them. And that's the last time we'll see the Galbadian Army. Despite the fact that we're in their base, they have no dudes here to kill. It's part of the themes of this area as well as being emblematic of the fact that we've really got these guys on the ropes.
Instead, Lunatic Pandora is just populated with monsters that fell from the moon. None of these guys are unique, but there is something interesting about them: every random encounter in Lunatic Pandora is at level 1. I meant to pick up some Scan to show it off but, uh, I decided to wait for a sale. Anyway, all the enemies in this place are incredibly easy to defeat because of it and there's no apparent reason for them to all be so weak.

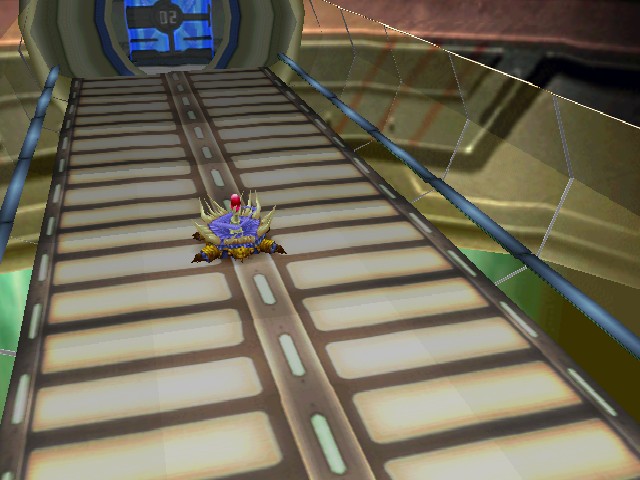
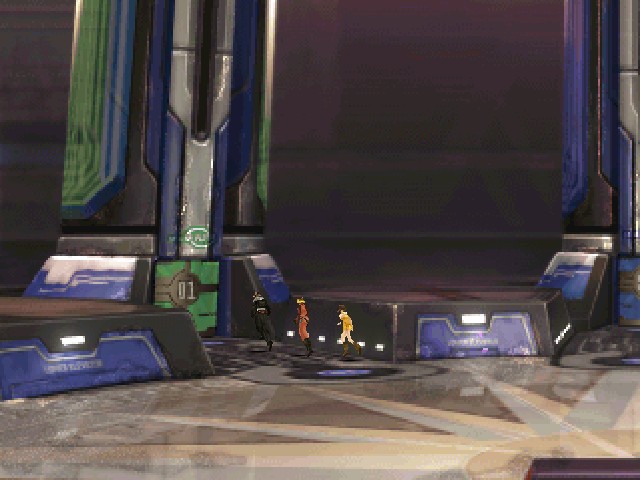
Going straight from where we came in, we can find a door labelled 02.
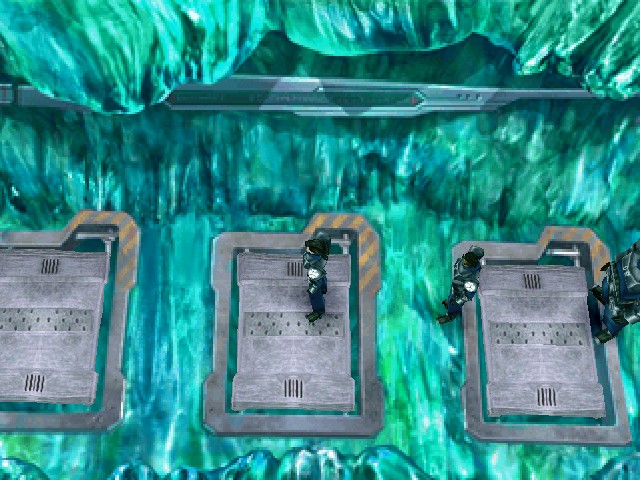
This leads to the elevator hub that Zell found when he busted into the place previously.
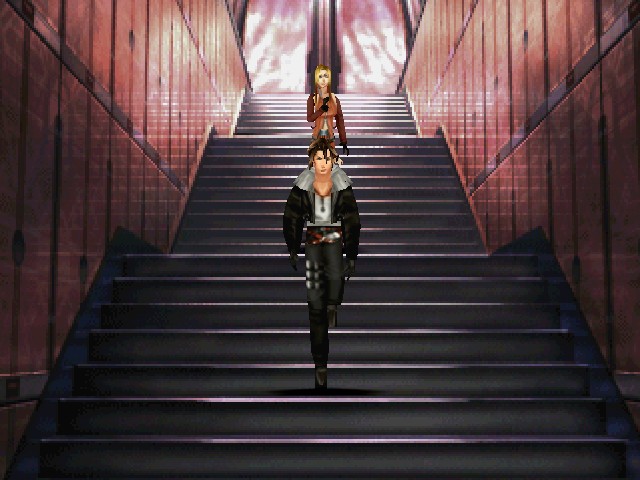
The stairs leading to the front door are still here, but we can't leave this way.
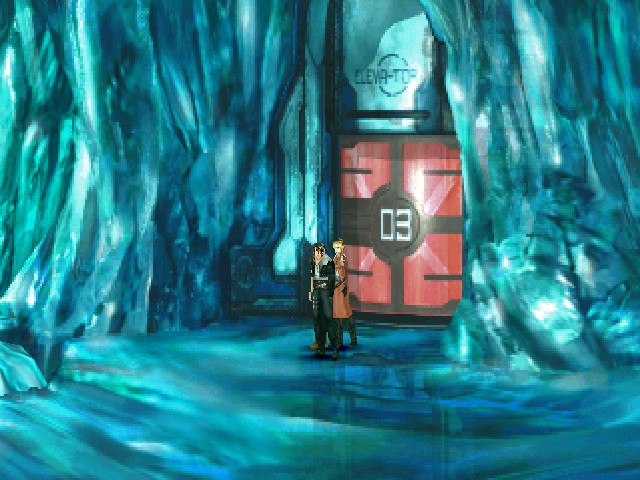
So let's do some exploring, instead! The plot is behind door number 1, so we're starting with 3.

Behind door number 3 is a ladder, which Squall was pretty finicky about using.
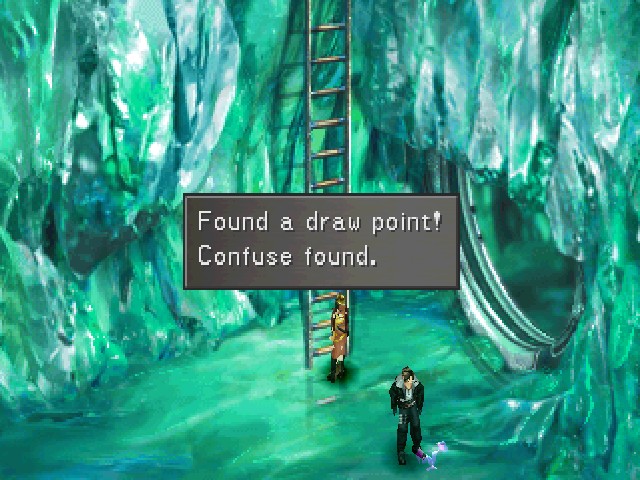
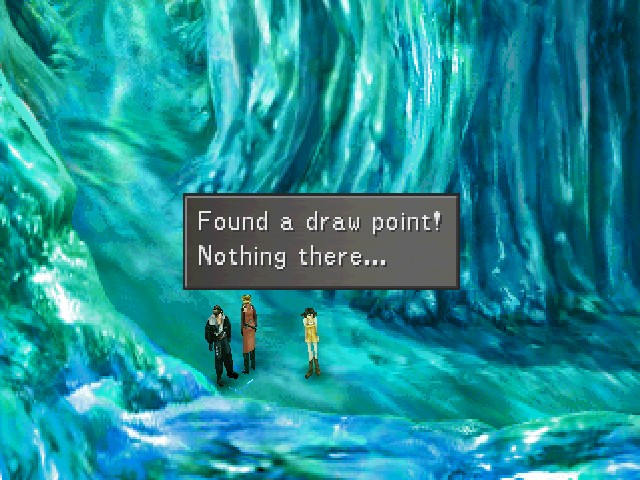
At the bottom of the ladder is a... Confuse draw point. This is not one of Lunatic Pandora's better treasures.
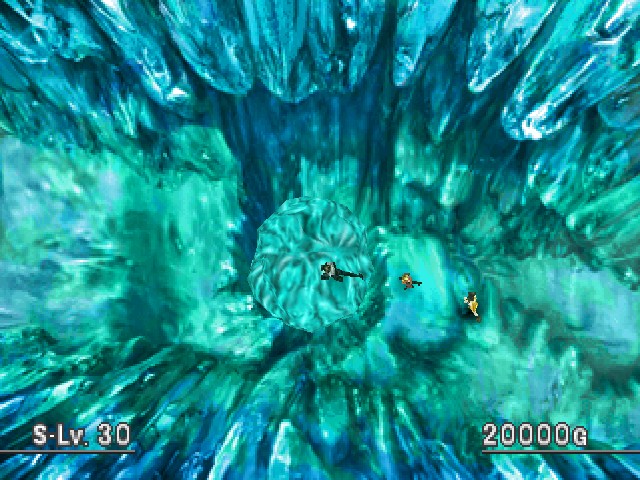
But past that, there's a passage over a boulder jammed into a hole in the floor.
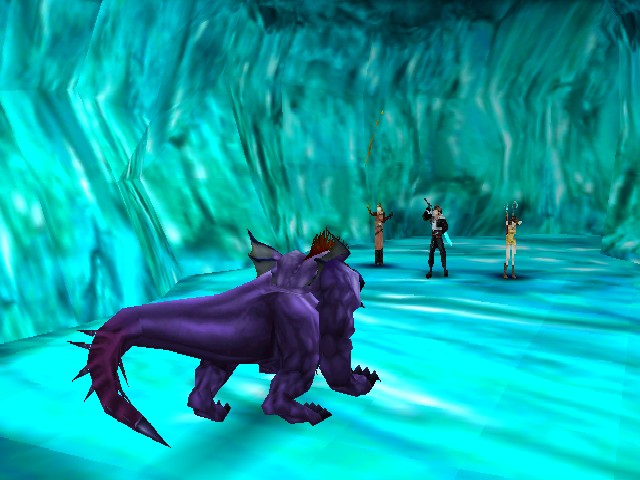
On that boulder, I encountered Lunatic Pandora's most dangerous enemy: the Behemoth. Behemoths are kind of an odd breed: at level 1, they have over 35,000 HP but that number doesn't increase much over time - at level 100, they only have 67,000. The rest of their stats show phenomenal growth, though - Behemoths are one of the strongest enemies in the game, but they have piss-poor Vit.
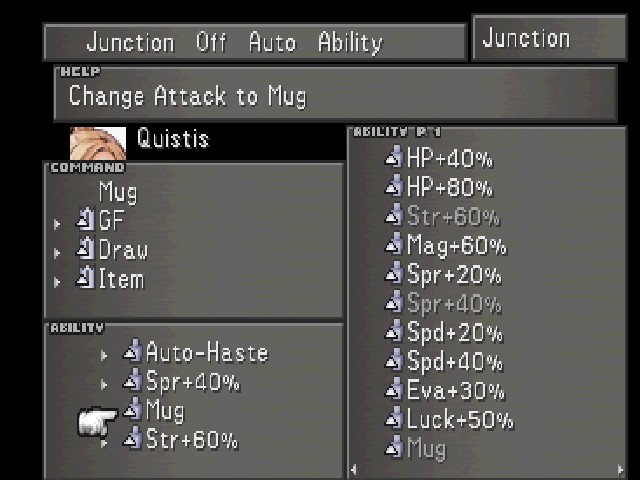
The most important point about Behemoths is that they have an item you can steal that teaches Quistis a Blue Magic spell. Unfortunately, I forgot to set Mug until after I'd killed one Behemoth, and I had to find another one later.
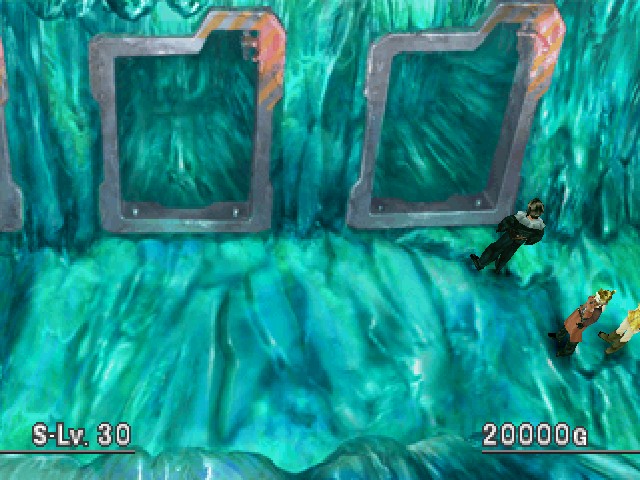
Past the rock, there are these open doors.
However, they're only open if you fiddle with the levers on them when you play the second Laguna flashback. That's a small gimmick in this dungeon, that you can pick up some extra items if you mess around while you're Laguna.
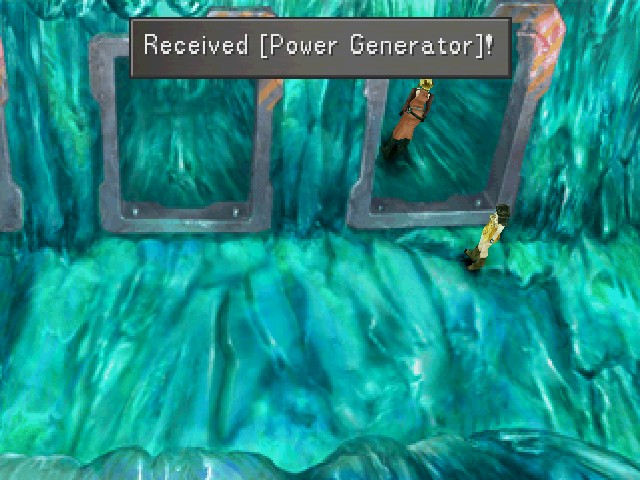
If you do open them, they have treasures! The first is a Power Generator.
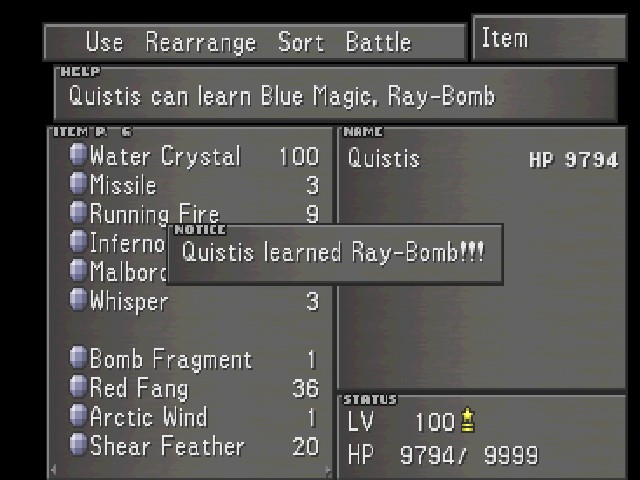
This teaches Quistis the Ray-Bomb Blue Magic. Ray-Bomb is a powerful non-elemental attack that hits all enemies. Not really worth using if you already have Shockwave Pulsar, but much easier to get.
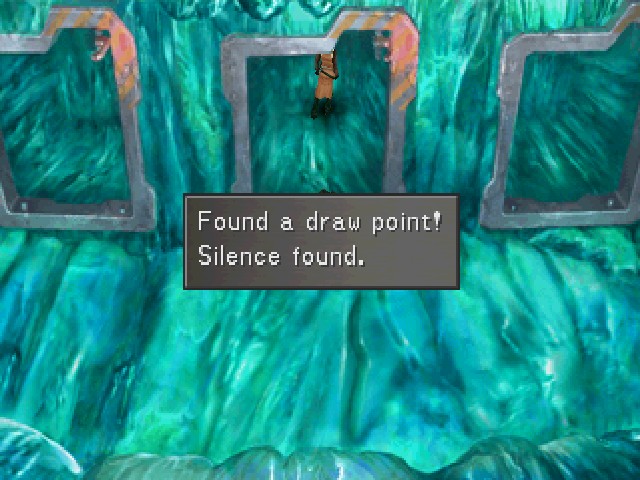
The second treasure, and the easiest to get, is a Silence draw point. That's all! The middle panel is the first one you can open as Laguna, and you have to open it to open the other two, so it gets the worst treasure.
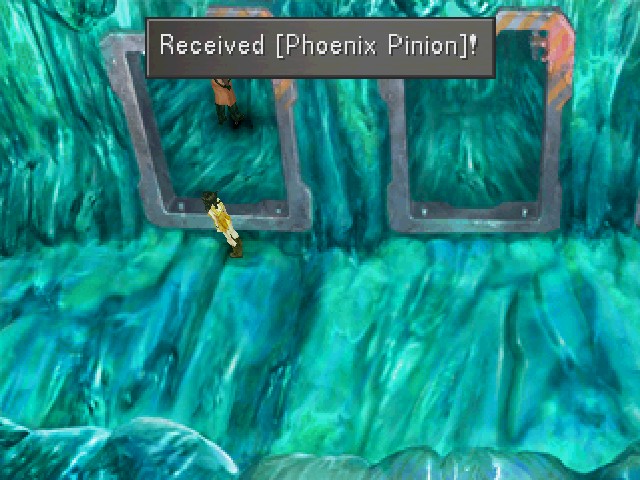
The last treasure is a Phoenix Pinion. Another chance to summon Phoenix, I guess. This one is more directly available than the one in Shumi Village, at least.
Further on, there's a magazine lying on the floor.
Who put this here? It only shows up if you use the detonator as Laguna, so I guess it belonged to a soldier who got crushed?


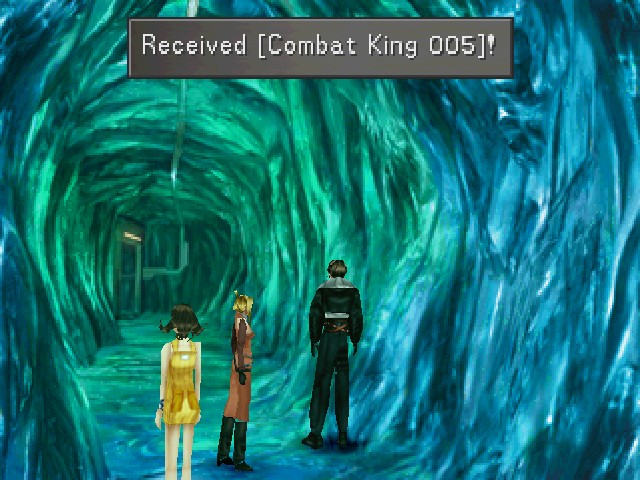
Anyway, Combat King 005 contains Zell's final Duel move, My Final Heaven!

 Like several of Zell's other limits, My Final Heaven is named after one of Tifa's limits in Final Fantasy VII (in this case, her ultimate move, Final Heaven).
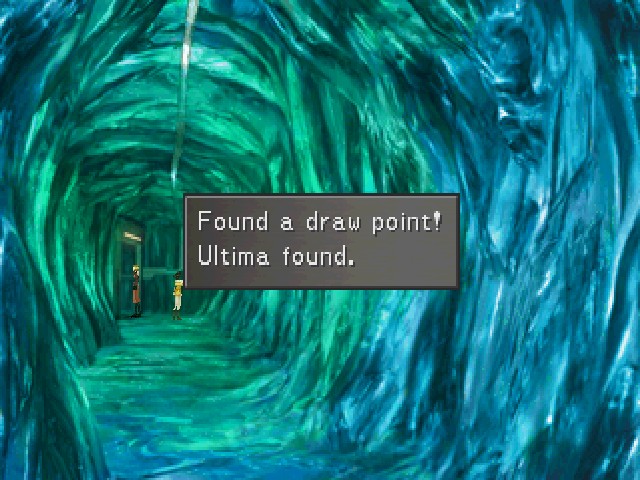
At the end of the hallway is an Ultima draw point that never refills.
I had to clean up Selphie's magic stocks a bit to use it.
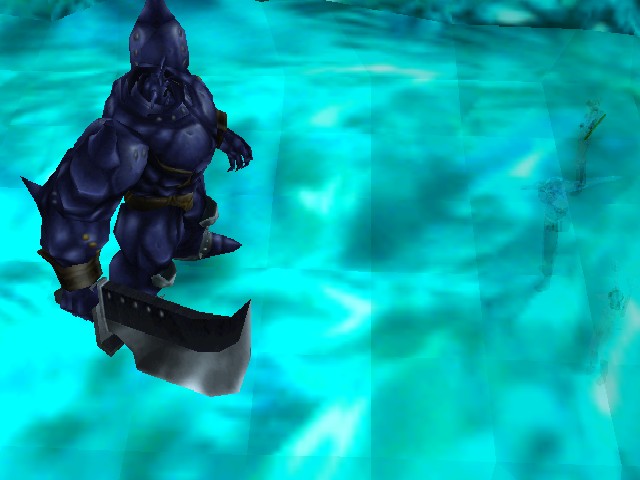
Another enemy that shows up in this area is the Iron Giant. Like the Behemoth's HP, it has massive Vit at level 1 (120) that shows little growth (126 at level 100). However, it only has 631 HP at level 1, so it dies in one hit.
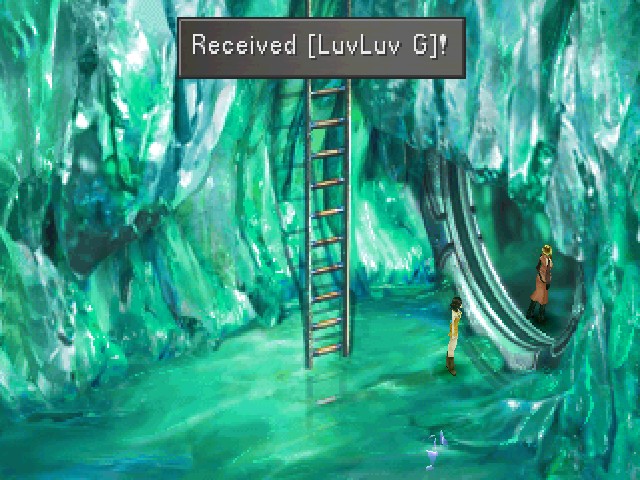
Going further back past the ladder under door 3, there's a LuvLuvG.
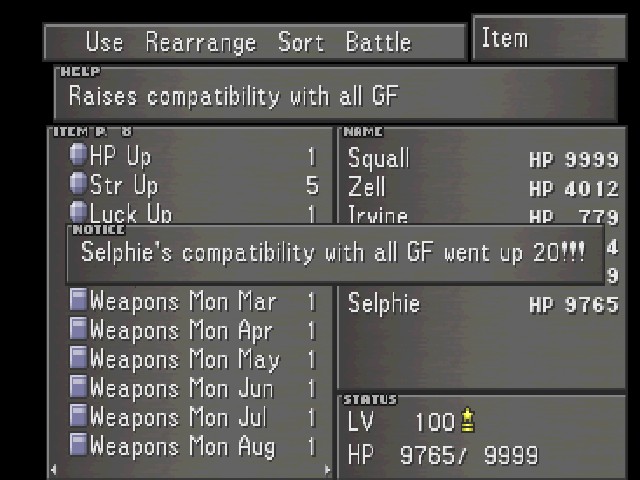
This is a compatibility item - since Selphie has Doomtrain and that's my favourite GF to summon, I fed it to her. I also fed her 100 Poison Powders off-screen to further boost her compatibility with that hellish vehicle.
If you go through door 3 but follow the path that doesn't lead down the ladder, it leads to a dead end, but it's down a long walkway first. It's quite annoying.
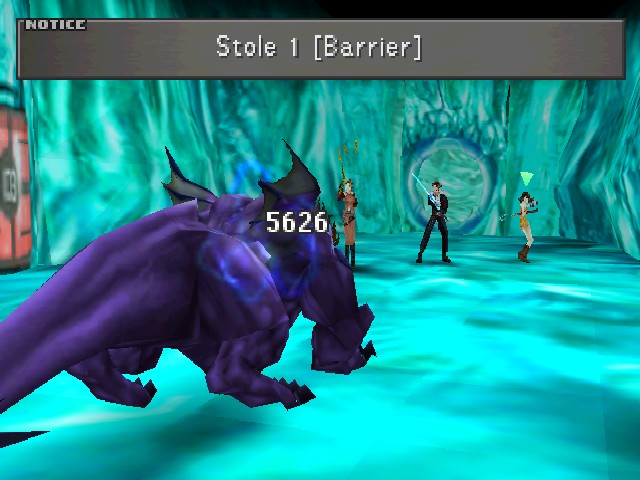
On my way back, though, I found another Behemoth, and I managed to rob this one.
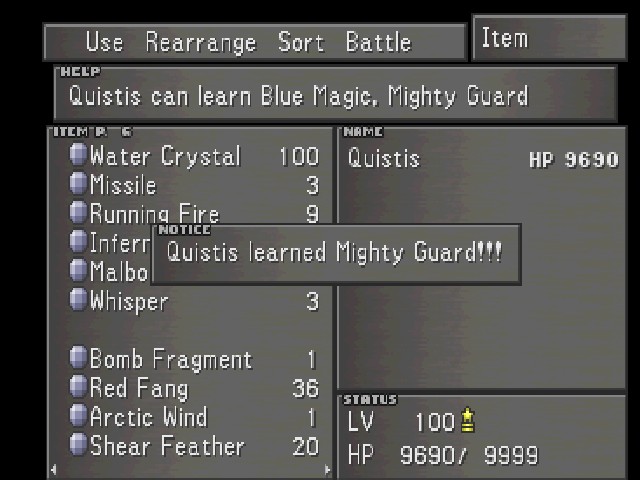
Barrier teaches Quistis Mighty Guard, which is a somewhat handy support ability. It applies various buffs depending on her Crisis Level. This also means that there's only one spell left for her to learn.

The next stop is the other side of door 1.
This is a Holy draw point, but I used it as Zell and it never refills.
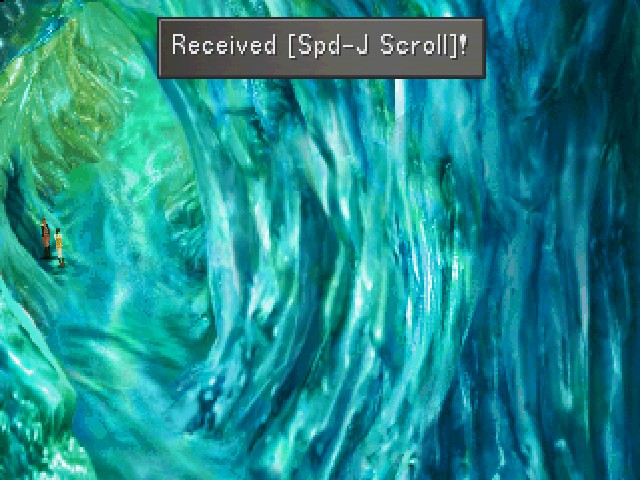
Also down this hallway is a Spd-J Scroll, one of two in the game. To get this, you need to shove a rock onto a soldier while playing as Laguna.
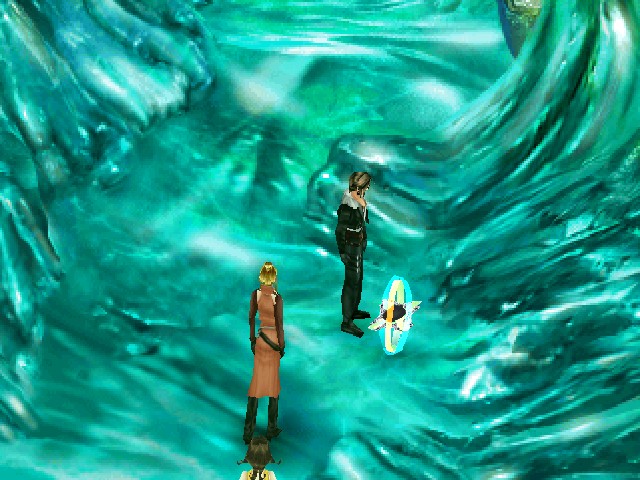
And then there's a save point right in front of a doorway. And since there's a lot of crap on the other side of that doorway, that's where we'll leave off today!